


Hey everyone! Gail here from Sunflower Seams Pattern Co. Today I’m sharing with you the perfect sun hat made using HeatnBond products!
It is starting to warm up in this part of the world and that means we will be spending much more of our days outdoors. My girls are like me in that they are very fair-skinned. We burn very easily and I like to protect their delicate skin in any way that I can while still being able to enjoy spending our time outdoors.
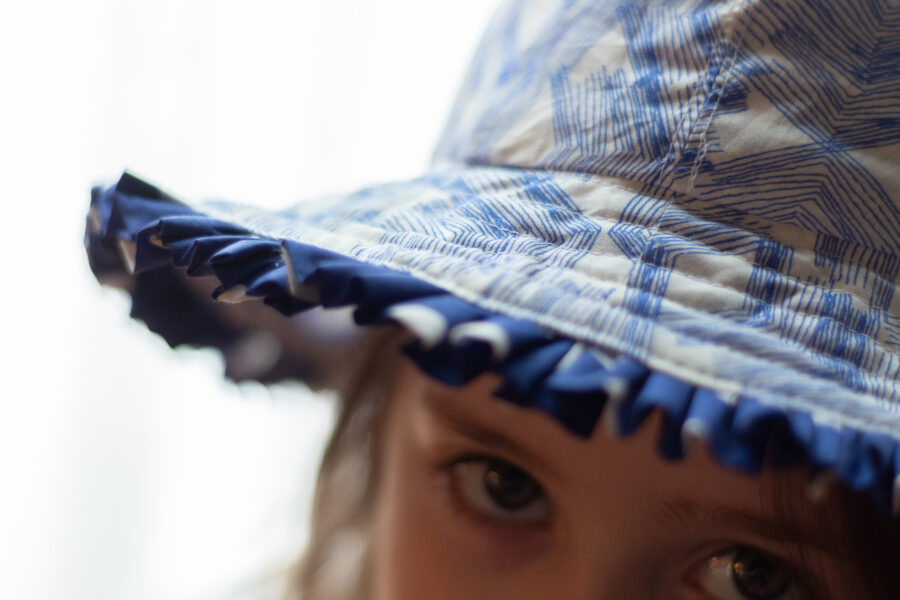
So when I saw this week’s theme I just knew I had to create an adorable little sun hat for my girls to wear. Not only does it look absolutely precious but it also helps to keep the sun out of their eyes and off their faces.
Sun Hat with HeatnBond
Supplies Needed:
- A pattern (I used this one here)
- Fabric of choice
- HeatnBond Fusible Interfacing (medium weight)
This pattern calls for woven fabrics like quilting cotton. In most cases, I always recommend sticking to the “suggested fabrics” that the pattern calls for. However, there are ways to work around this when you really love a print in a different fabric base.
In my case, I had these absolutely beautiful blue fabrics that I thought would match so many of my girl’s outfits. They were only 1-yard cuts so they weren’t enough to make dresses for my girls who are getting older now and require more fabric. The only issue? The fabric is Voile.
If you’ve never sewn with Voile it is an absolutely dreamy fabric to feel, but not always so dreamy to sew with. Voile is a lightweight, usually 100% cotton, fabric that has a higher thread count than most cotton fabrics which in turn results in a silky soft hand.
Voile can be semi-sheer, it is very lightweight, and breathable: perfect for summer sewing!
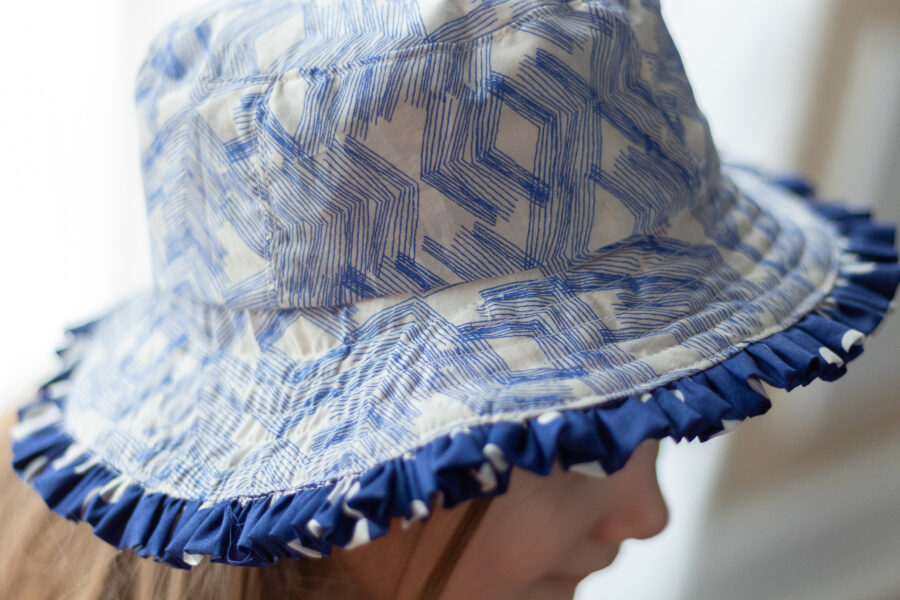
The only problem with this is that voile wouldn’t make a very structured hat. It is very “drapey”, i.e. it hangs beautifully (especially on skirts or dresses). The same goes for other types of lightweight fabrics or even knit (stretchy) fabrics. When sewing something like a sun hat you want structure so that the brim doesn’t hang right in your, or the person you are sewing for, eyes.
Some would just avoid using a lightweight or knit fabric completely, not I!
I knew that I needed to give the fabric structure to make this work so I used one of my favorite products, HeatnBond interfacing. I always have HeatnBond products on hand because they make sewing such a breeze!
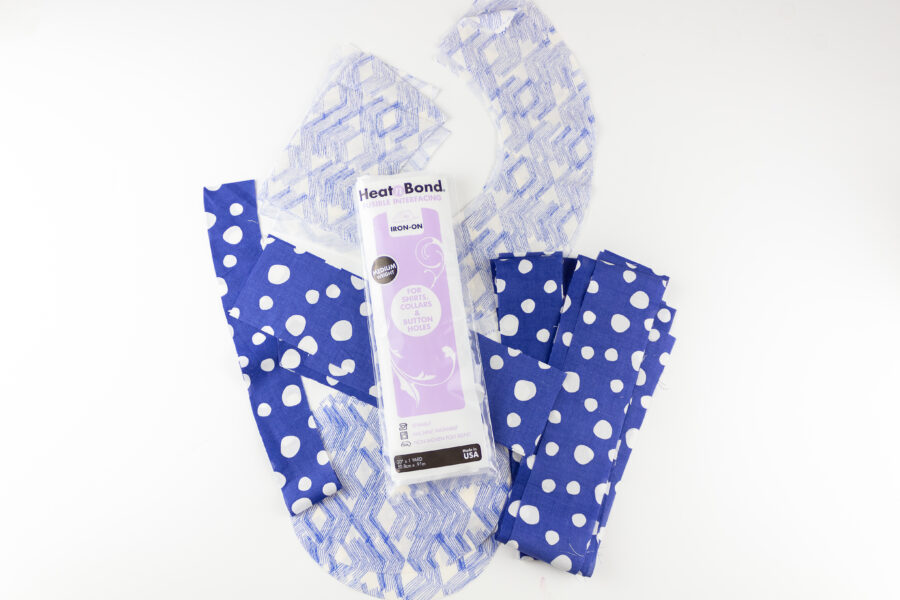
So how do I achieve this? It’s really simple and only requires two easy steps:
- Cut out an additional pattern piece using HeatnBond interfacing, one for each piece you cut with your fabric.
- Adhere the interfacing to each pattern piece using your iron.
That’s it. Now sew your hat following the pattern tutorial. It’s really that easy!
So now that you know how simple it is to use your favorite fabrics, even when they’re the “wrong” base, what will you be interfacing?
Happy sewing friends! xoxo – Gail