


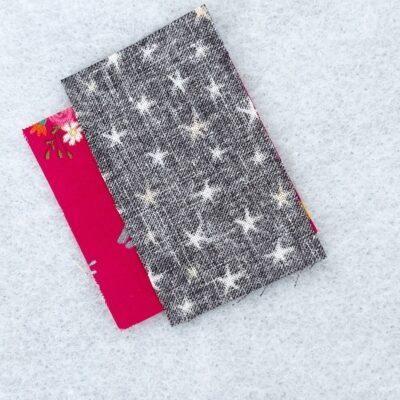
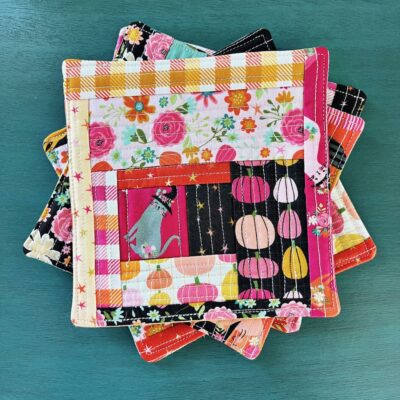
Hello friends! Have you ever wished you could sew up a super quick project to use as an impromptu gift? These Mug Rugs are the perfect solution to that! The best part is that you get to dig through your scraps and use your favorites! I chose to use scraps from a Poppie Cotton halloween collection that I loved. These are so fun to make in holiday fabrics!
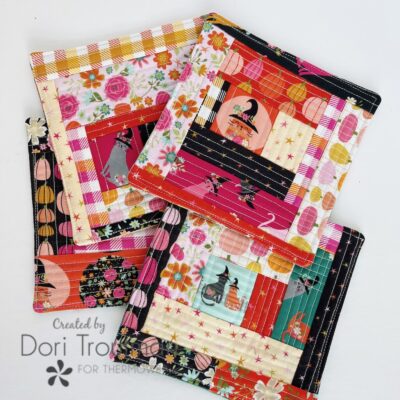
Are you reading this and thinking “what in the world is a MUG RUG”? I understand… I’ve been there as well! A Mug Rug is basically a little quilted coaster that is the perfect size for your mug to sit on! It’s that simple! A rug for your mug! Lets make some!

Necessary Supplies
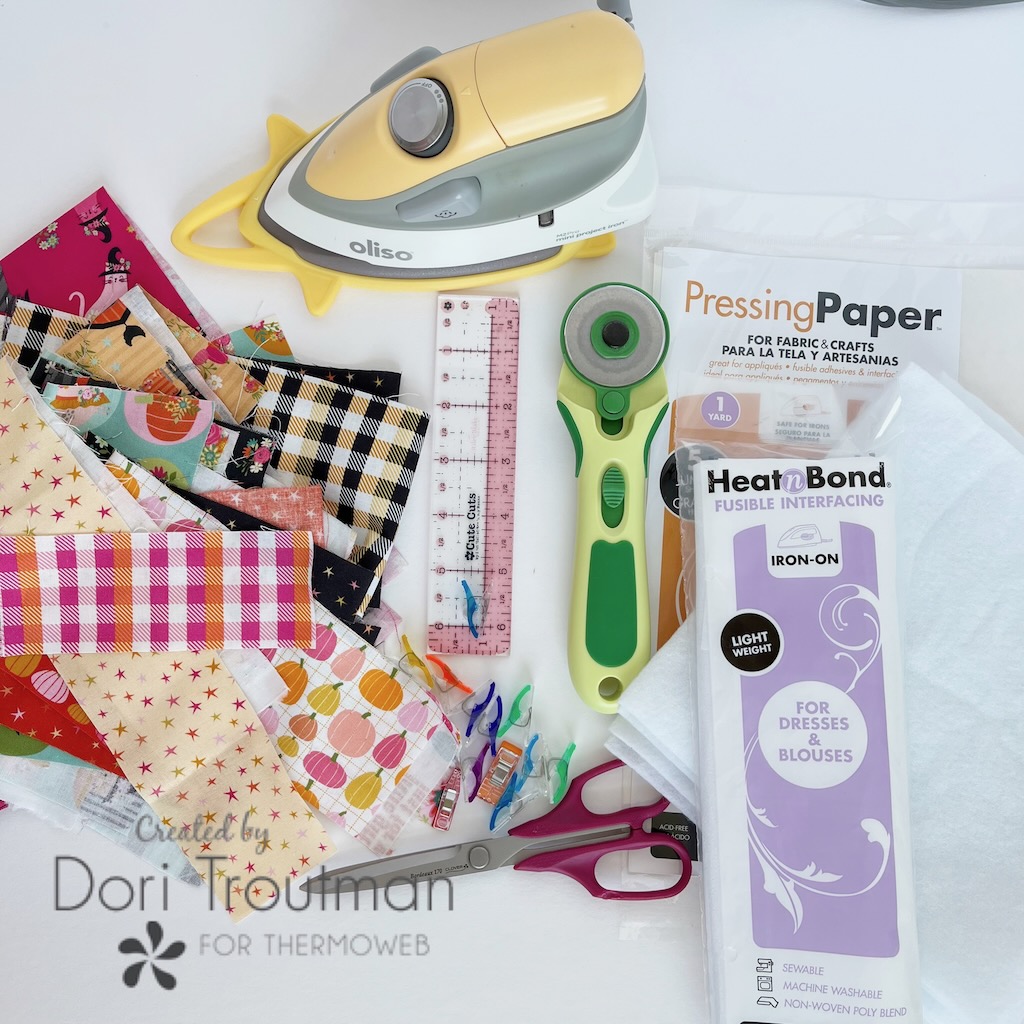
- Small fabric scraps
- Fabric scrap for backing
- Scissors or rotary cutter
- StitchnSew High Loft Sew-In Fleece
- HeatnBond Light Weight Non Woven Fusible Interfacing
- Pressing Paper Sheet
- Iron and ironing pad
- Sewing clips or pins
Instructions
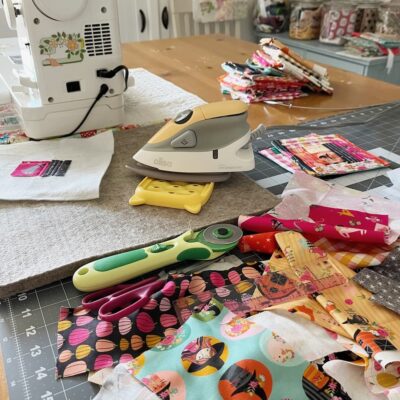
Before getting started I want to say that this project is what we call Improv Piecing and Quilt As You Go Quilting! Which literally means that we are cutting, piecing, quilting in any improvisational wonky way that you’d like! Or your improv method can be more structured. The goal here is to make them how you want!
TIP: Have a pressing station and cutting station next to your sewing machine. It will make this so much faster as you’ll need both continually as we sew along.
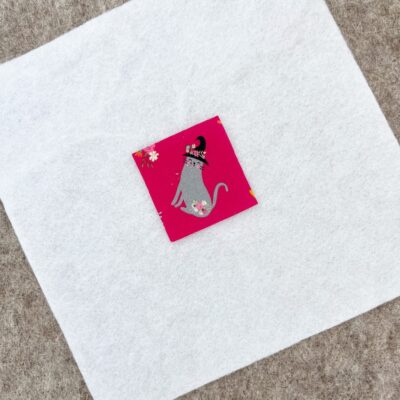
Step One: Cut a piece of your fleece to approximately 8 x 8 inches. Start with a small scrap of fabric for your center piece. Cut it any size you’d like; I like to start small. Make sure it has straight edges. Lay it right side up on the fleece. (This does not have to be a square scrap, the main thing to remember is to have straight edges.)
Step Two: Cut another scrap piece that you will sew to the first piece. Remember to make sure you have straight edges. Lay this piece right side down on top of the base piece, lining up the edges. This second piece doesn’t have to be the exact size; the little extra ends will be hidden as you keep adding fabric scraps.
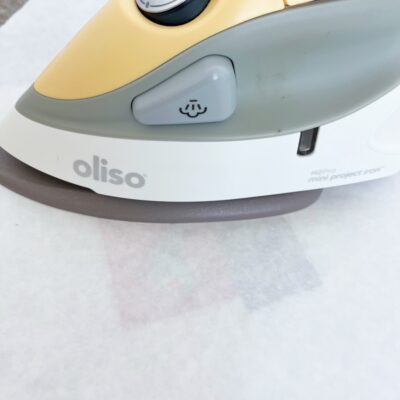
Step Three: Sew these two scraps together with a 1/4″ seam. Open the top piece and lay it flat and iron the seam. I use a Pressing Sheet for this so that your iron doesn’t hang up on the large fleece piece.
TIP: Once each set of scraps are sewn together, be sure to press the seams flat before quilting. This is very important!
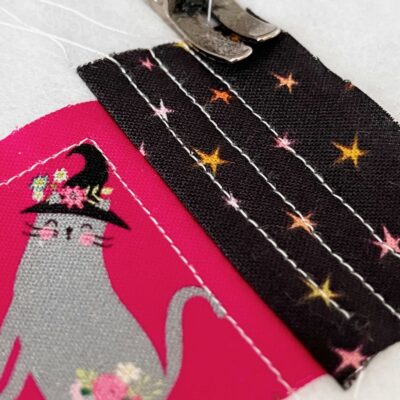
Step Four: Quilt these two pieces any way that you would like. I’m just sewing straight line quilting on mine. You can make the quilting lines as close to each other as you’d choose. Once again, remember this is improvisational!!! Feel free to quilt this any way you’d like!
Step Five: Cut another fabric scrap and attach to the top of the two previous pieces. (It actually doesnt have to be the top… you can attach it anywhere on the other two pieces.) Sew and iron flat. Quit it as well.
TIP: I do try to keep my scrap pieces somewhat straight at square as I add them; however, it’s okay if they aren’t! And chances are they won’t end up perfectly square anyway.
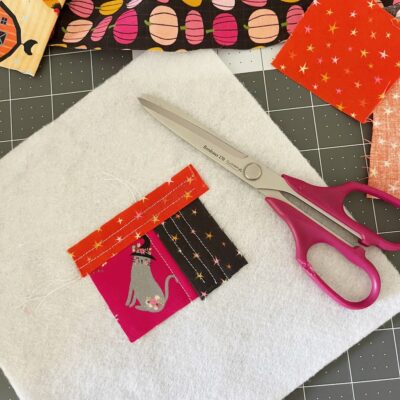
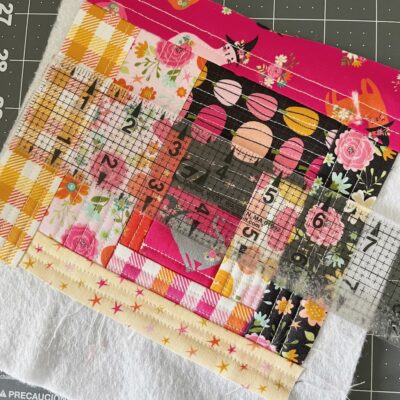
Step Six: Continue in this manner adding scrap pieces to your little Mug Rug in any way that you choose. Do not be concerned that your improv block is no longer centered on the fleece. It can get super wonky and that’s okay. We’ll trim it later. The most important thing here is just to make sure that on the final 6 x 6 inch block, there is fleece on the entire back of it. You can see in the picture below that mine is very uneven. That’s okay!
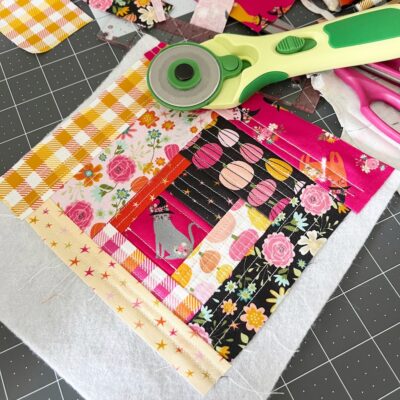
Step Seven: Keep measuring to make sure your block is at least 6 inches in each direction. I always go at least 6.5 inches so that you have plenty to trim in order to square it up nicely.
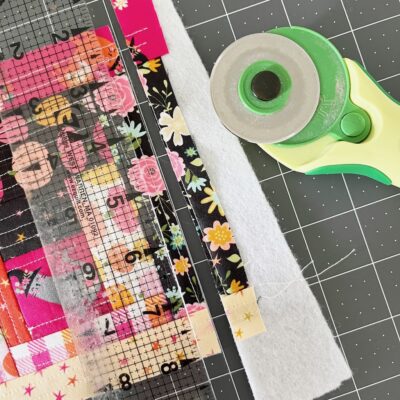
Step Eight: Once you get to the desired size use a ruler and rotary cutter to square it up… basically trimming off the edges (and excess fleece) until you are exactly 6 x 6 inches.
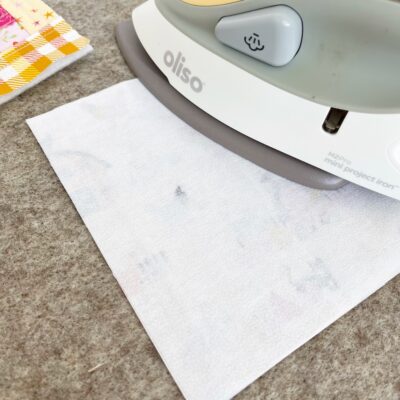
Step Nine: For your backing cut one fabric piece 6 x 6 inches and one piece of the non woven fusible interfacing to 6 x 6 inches. Iron the interfacing to the wrong side of the backing fabric. This may not seem like an important step, but it does add stability to the mug rug!
Step Ten: Place the Mug Rug and the backing piece right sides together and clip in place. Sew around the edges at a 1/4 inch seam, leaving a 2 inch opening for turning.
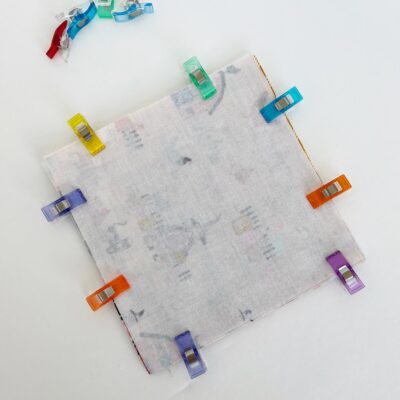
Step Eleven: Clip the corners, being careful not to clip through the seam. Turn the Mug Rug right side out through the opening that you left. Push the corners out and carefully press the opening closed.
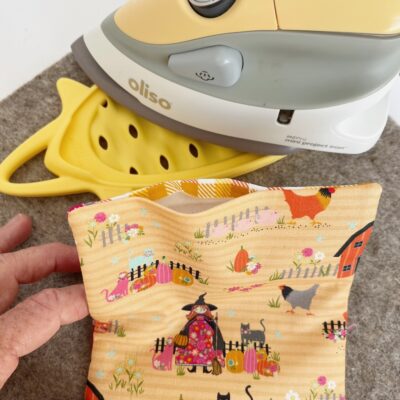
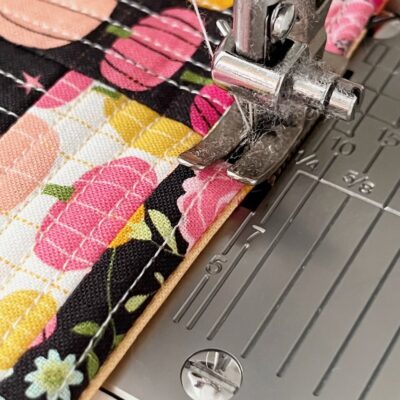
Step Twelve: Top stitch about a 1/8 inch around the outside edge; this will close up the opening that you left.
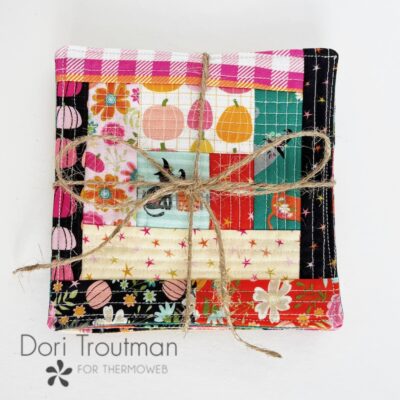
And your adorable Mug Rug is complete! I made a set of four, tied them with a piece of twine and am gifting them to a friend! I love how rewarding this project is!
Happy October my sewing friends!