


Hello Therm-O-Web friends! Shemaine here today to share an easy way to foil your stamped images with Deco Foil Transfer Foils if you own a Laserjet printer.
Many of us purchase digital images that we can print on a laserjet printer to foil but what about the stamps we have in our stash? I’ve tried using embossing powder but I don’t always get a clean foiled image. So a friend and I were discussing what was out there for foiling stamped images and sadly the toner stamp pads that were once available have been discontinued. So my friend Tom suggested stamping the image and then scanning it with a laserjet printer and I was like, “hey that’s genius!”
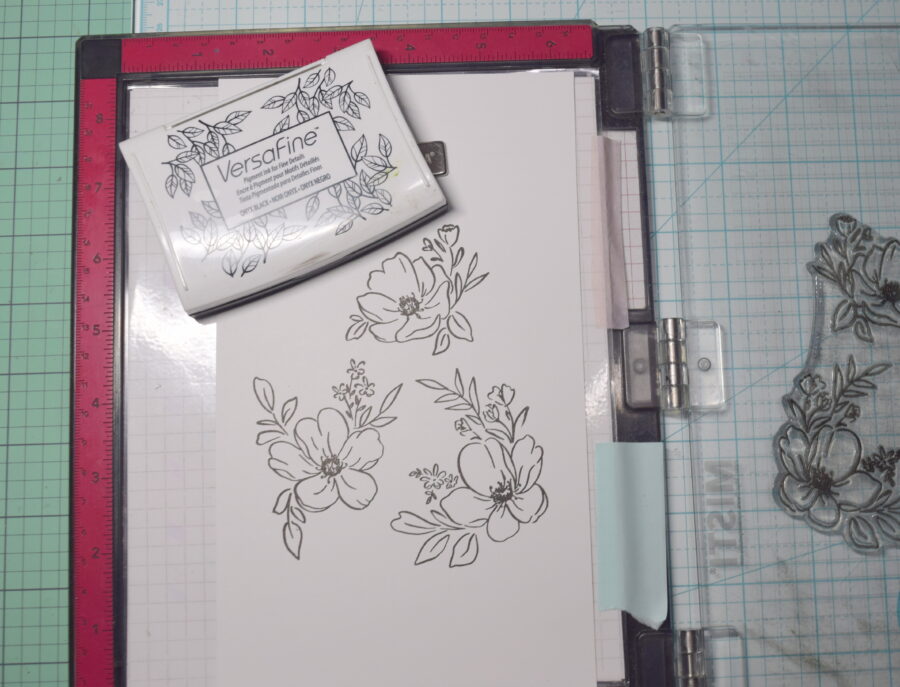
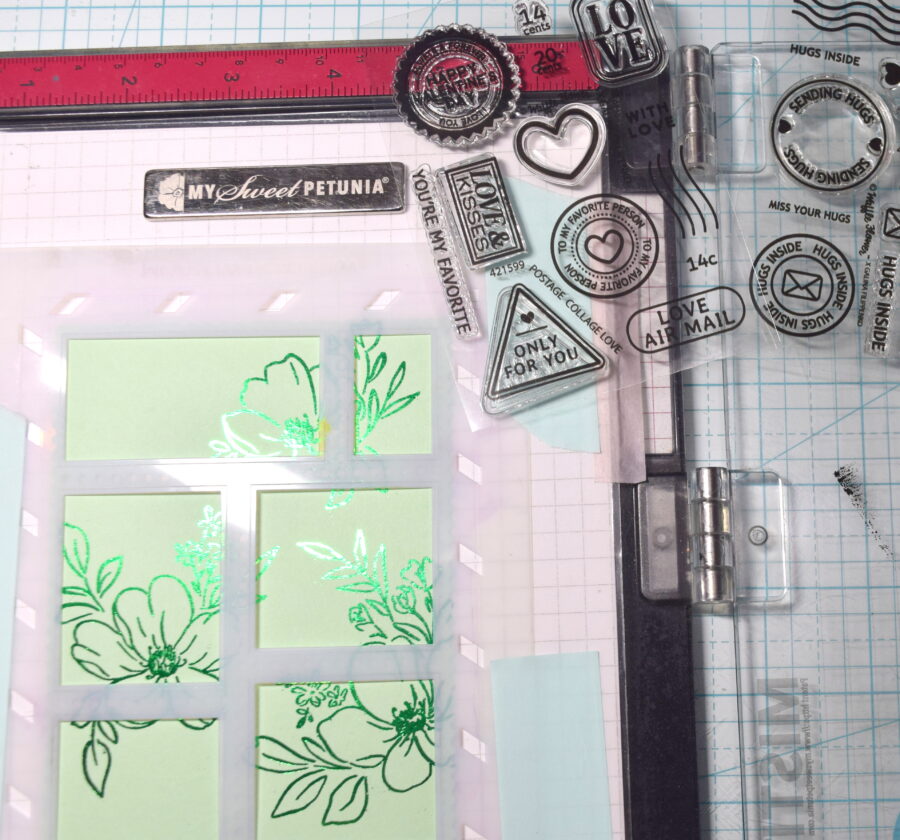
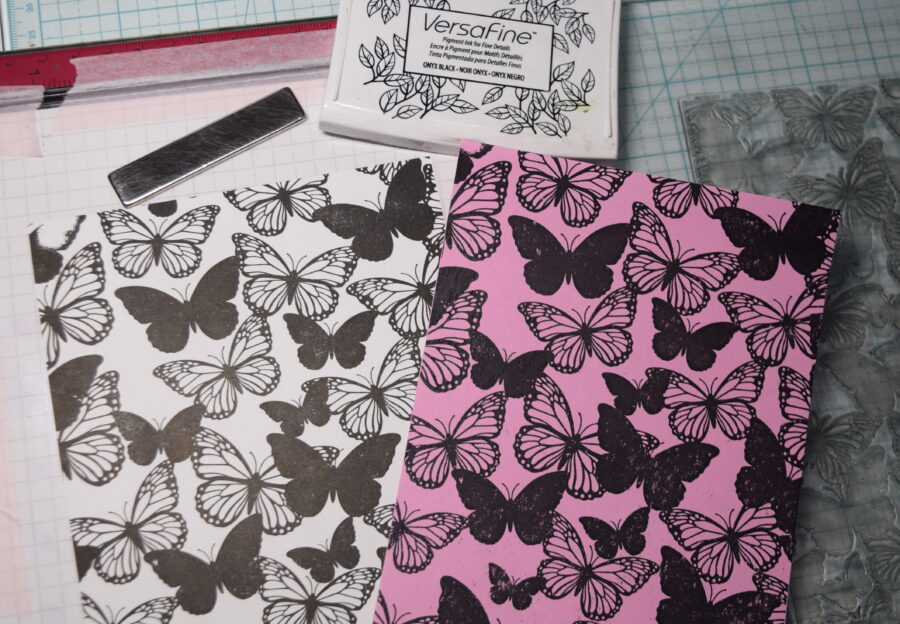
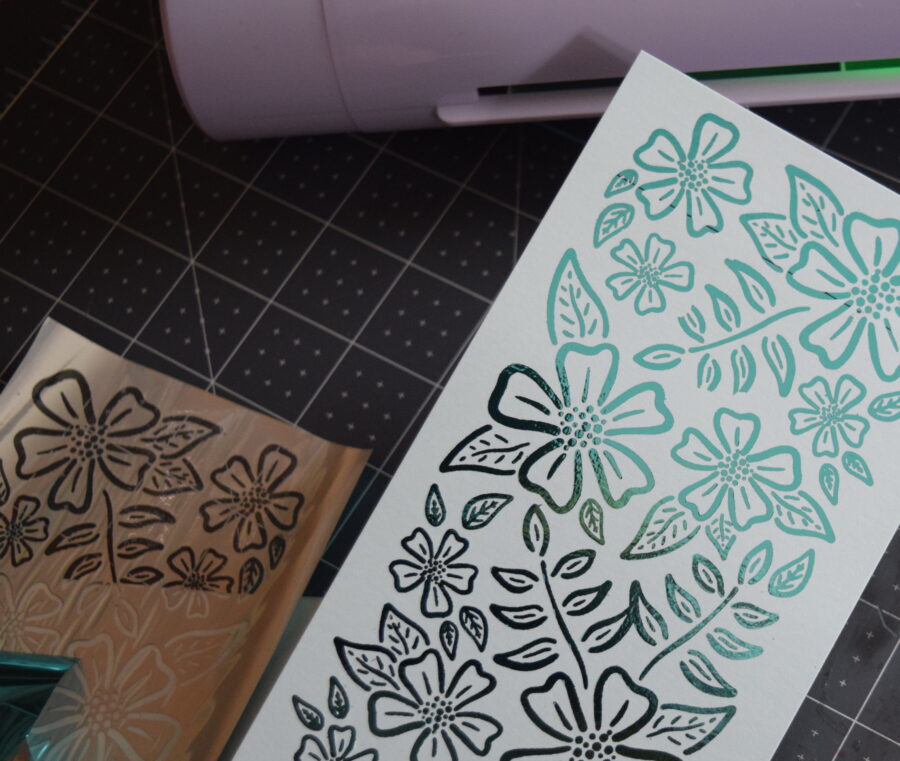
So I started out by stamping the image I want to use with Versafine black onyx ink on a piece of cardstock.
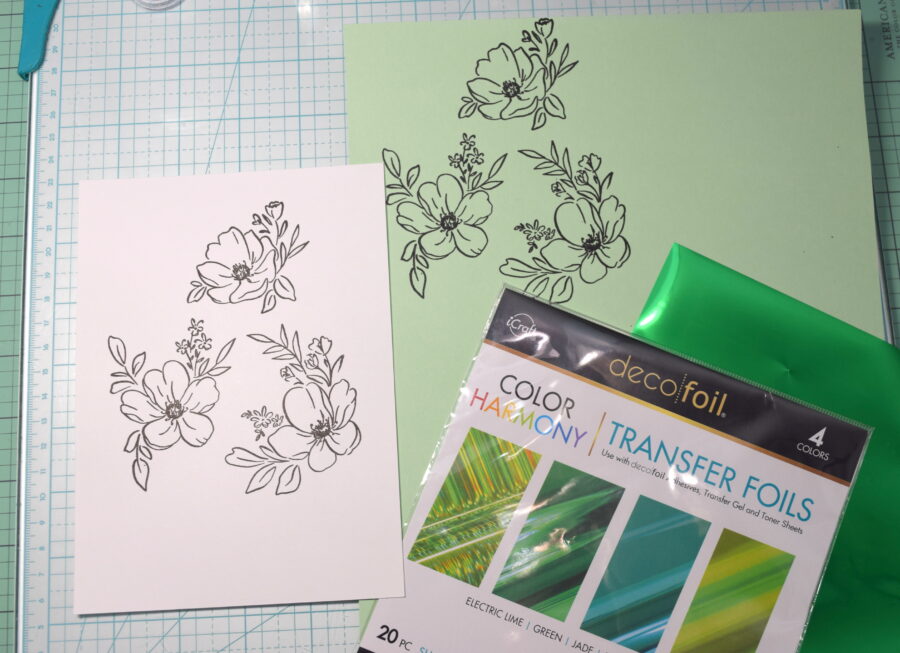
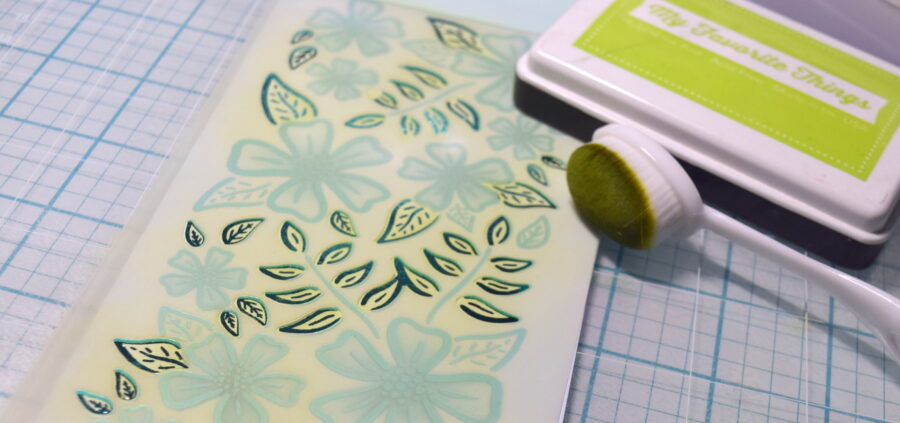
Place the stamped cardstock in your scanner and then choose the color of cardstock you would like to foil the images on. For this card, I wanted to make a monochromatic card so I chose this light shade to match the Color Harmony transfer foil in green. I then press scan on my printer and the image is scanned onto the color cardstock.
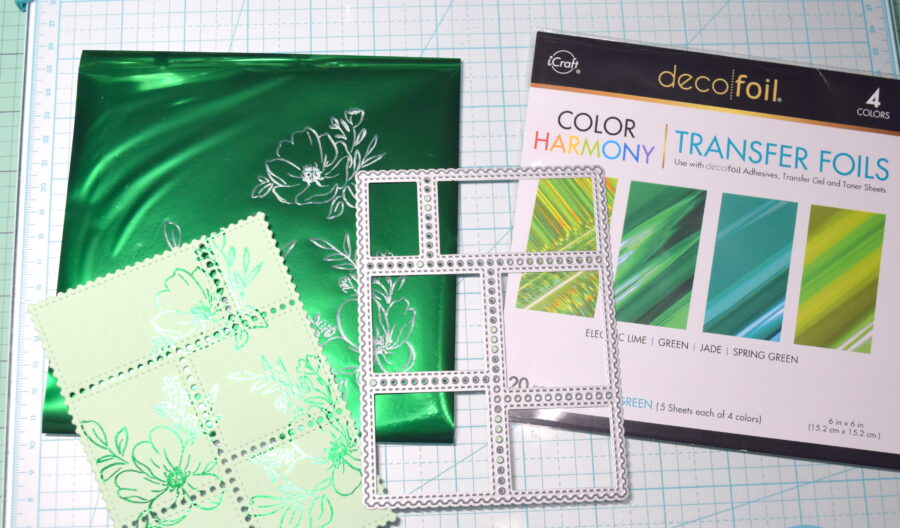
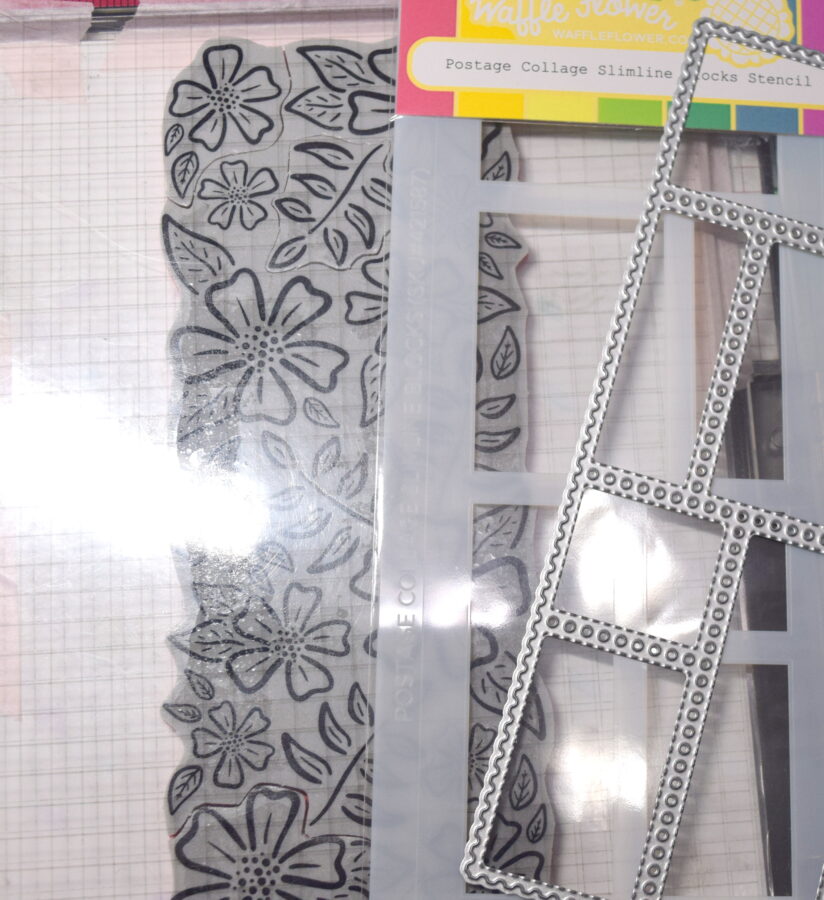
Then place the scanned cardstock and foil into a carrier sheet and foil. Then I used a postage collage die from Waffle Flower to die cut the image.
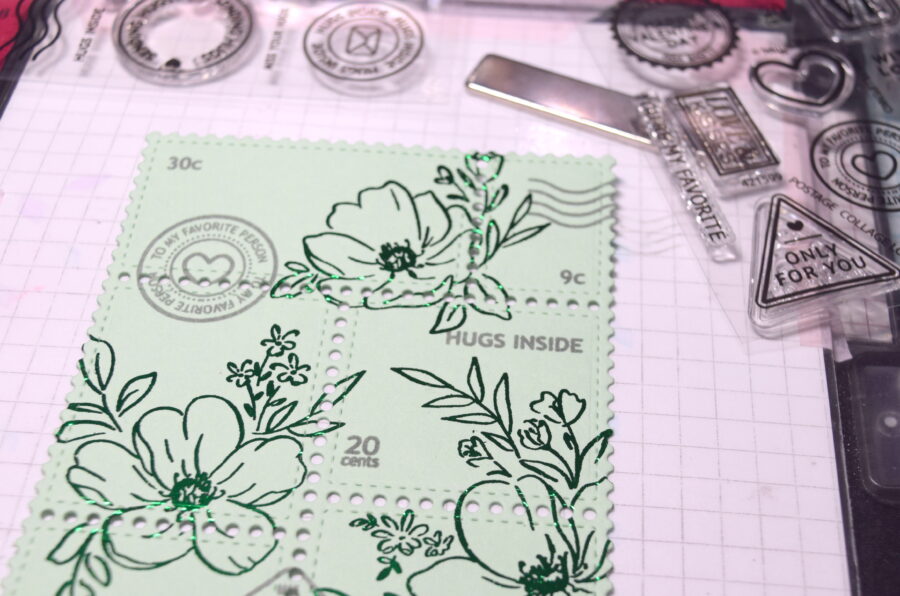
Next, I place the postage collage stencil from Waffle Flower over the die cut image to add some of the fun postage stamps from this collection on a grey ink.
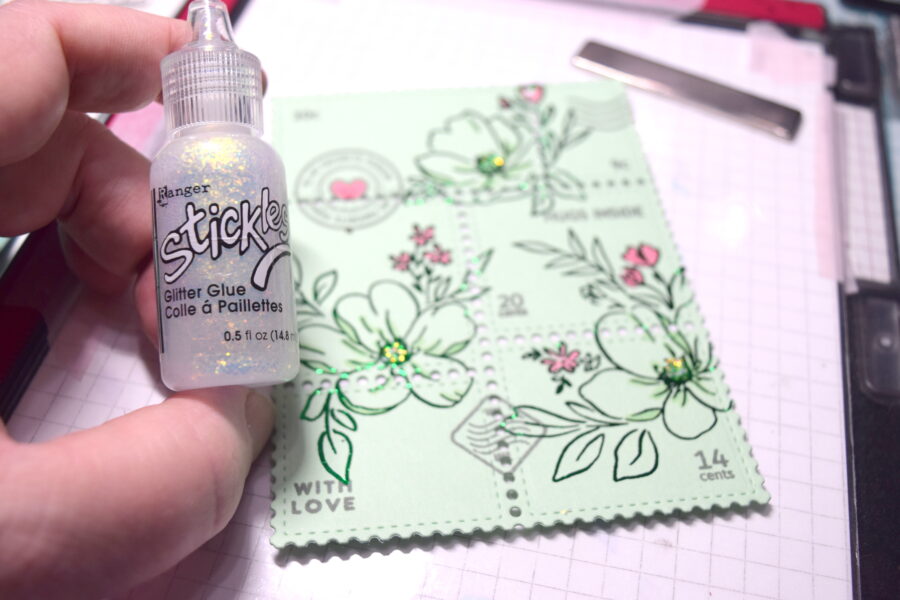
Next, I add some color using my Copic markers and finish with some Stickles.
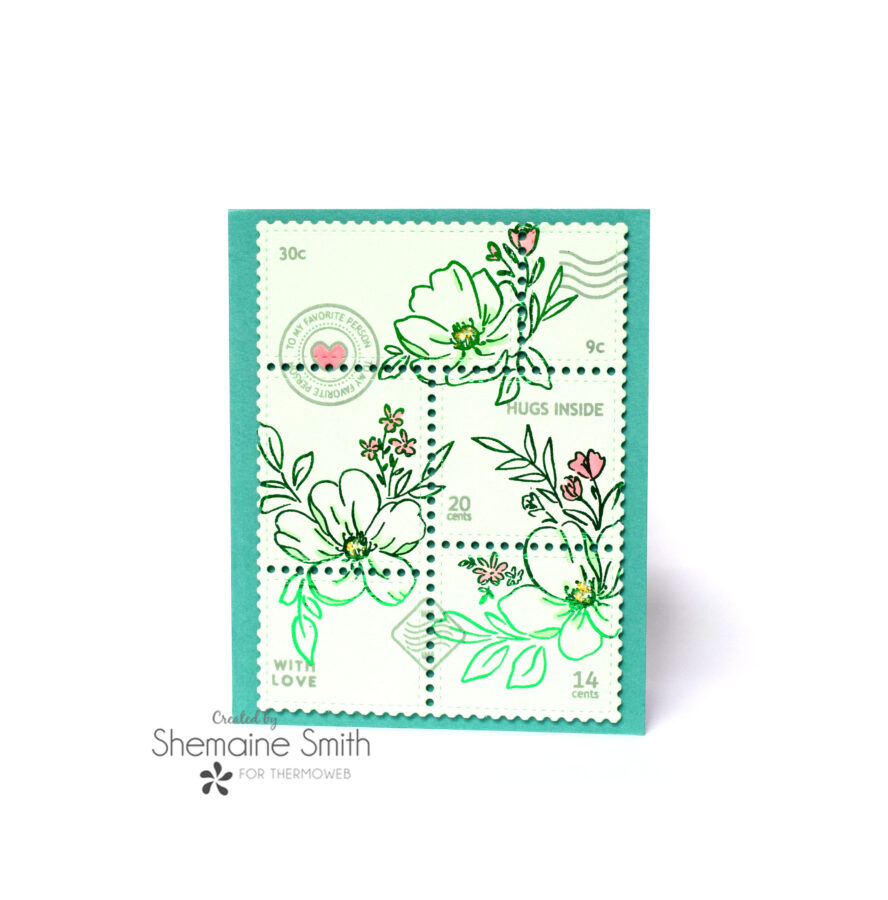
To finish the card, I use our foam tape to mount it on a darker shade of green cardstock.

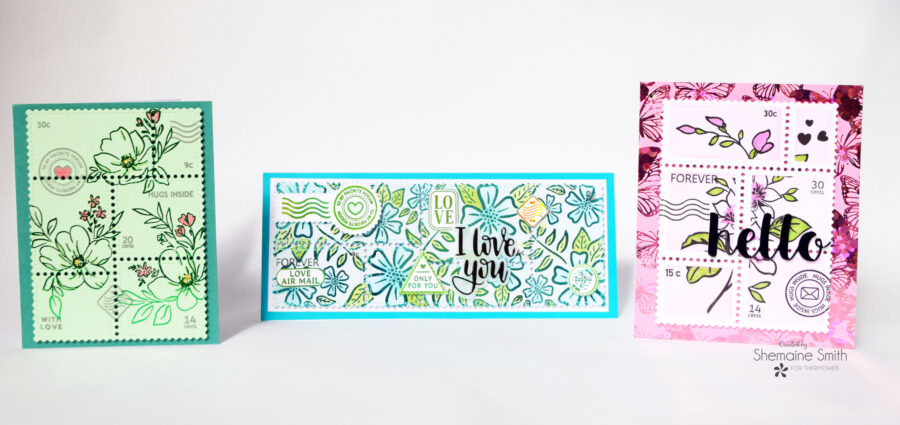
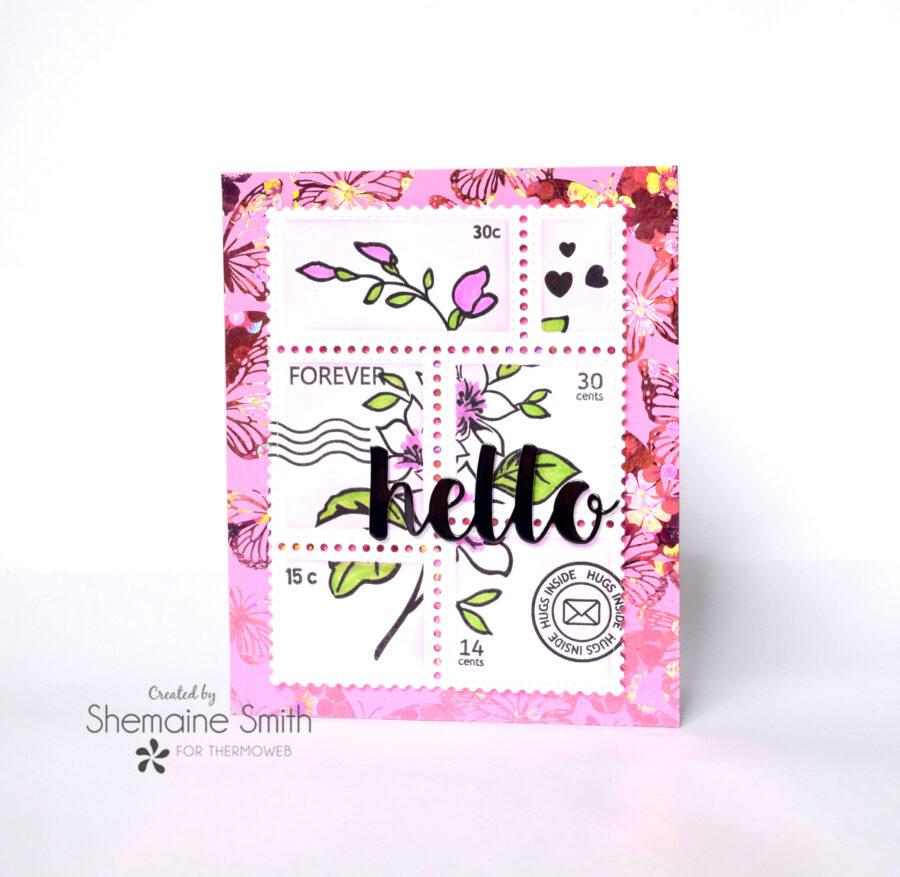
The finished card is a fun, foiled postage stamp collage.
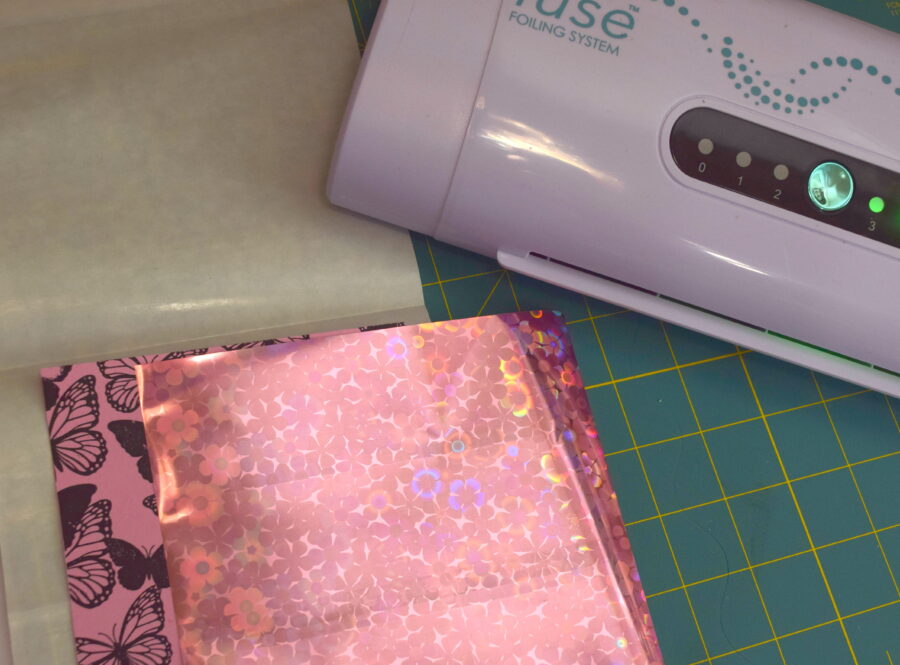
For the second card, I used a background stamp from Kingston Crafts and using the same ink, Inked it up on white cardstock and scanned the image onto pink cardstock.
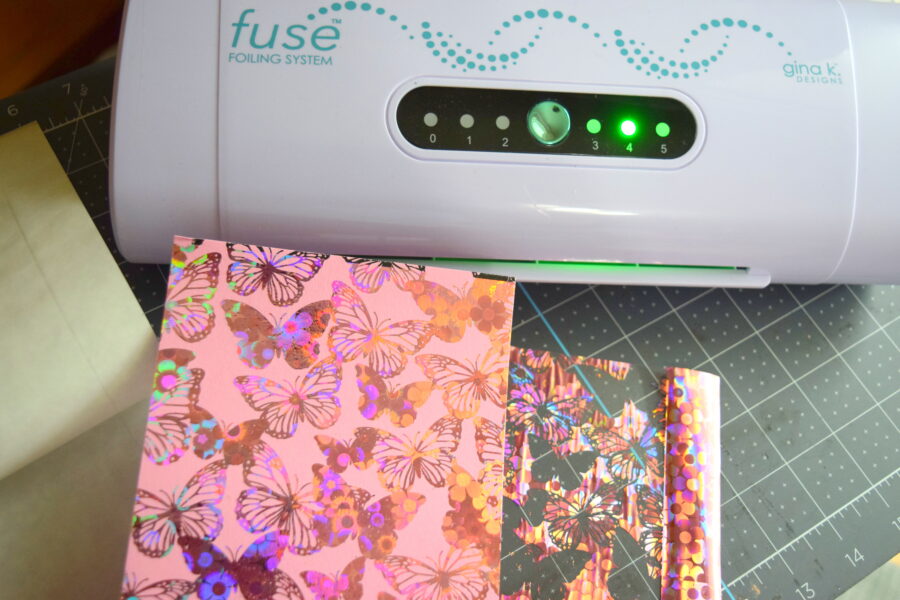
Next, using this fun Flower Child transfer foil from the Color Harmony Shades of pink.
The result is so colorful and creates a fun monochromatic background for the card.
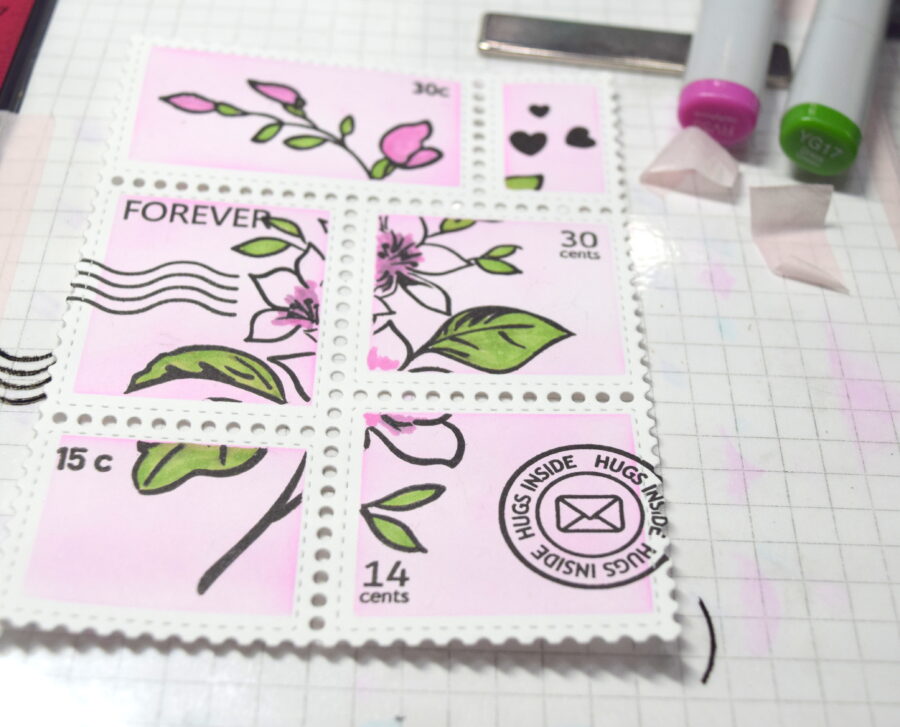
Next using the postage collage die, I cut out the die on white cardstock, used the stencil to color in the background stamps and then created a scene with some stamps from Altanew and Waffle Flower. I also added some color with Copic markers. I finish the card with a hello die-cut sentiment.
The finished card is so fun with a background that really shines.
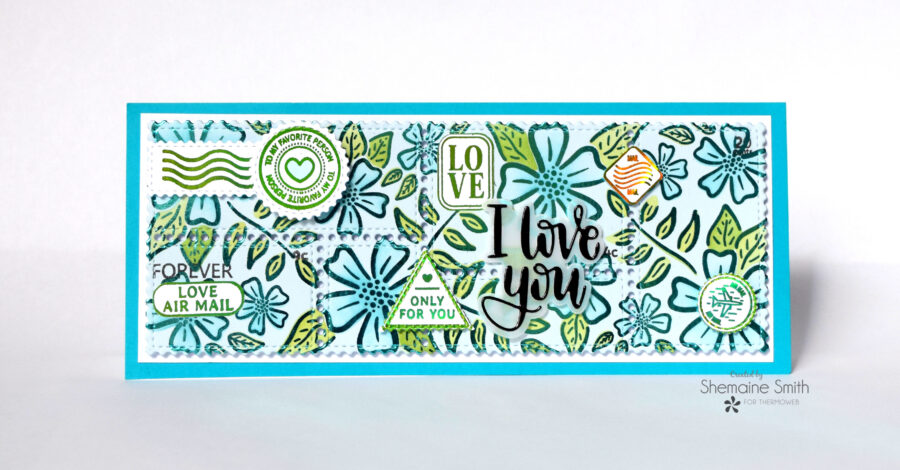
For the last card, I used a Simon Hurley slimline background stamp and the Postage collage Slimline stencil and die.
I foiled this image with the turquoise transfer foil instead of the Color Harmony packs because I needed a longer sheet of foil.
Next, I used the coordinating stencil to ink the image.
And for this card, I decided to foil some of the stamps.
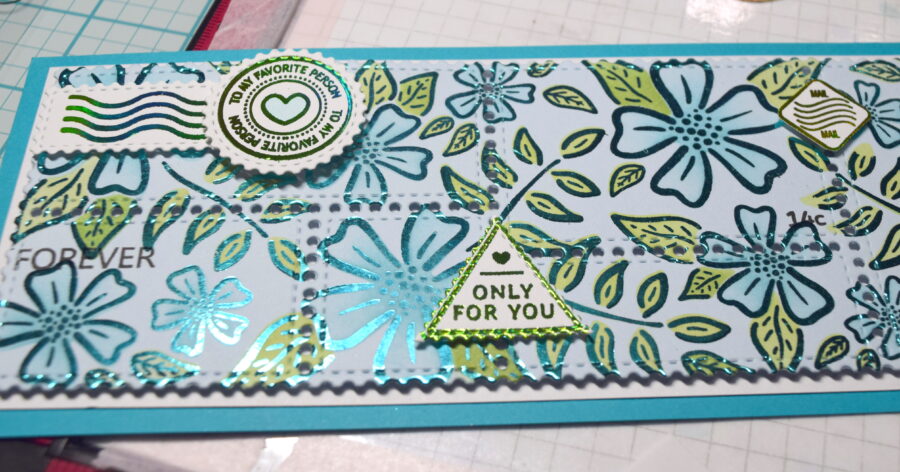
The finished card also features a beautiful foiled background with the foiled stamps too!
Therm-O-Web Supplies:
Deco Foil Color Harmony Transfer Foil Multi-Pack, Shades of Pink
Deco Foil Color Harmony Transfer Foil Multi-Pack, Shades of Green
Deco Foil Transfer Sheets, Lily Pad
Deco Foil Transfer Sheets, Aqua
Deco Foil Craft & Carrier Sheets
iCraft 3D Foam Tape Jumbo Roll (White) 1/8 Thick x 54 ft
Other Supplies:
Kingston Crafts butterfly background stamp
Altanew Cherry Blossom stamp
Waffle Flower Postage Collage Stamps, dies, and stencils.
Copic Markers
**If you try this technique be sure and check the Angel Policy for stamps you plan to create with if you plan to sell your cards.