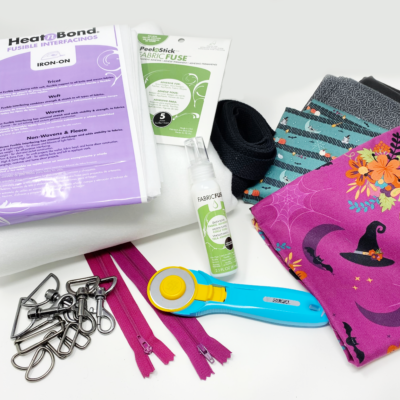
SUPPLIES:
- HeatnBond Non-Woven Fusible Craft Extra Firm Interfacing
- HeatNbond Fusible Fleece
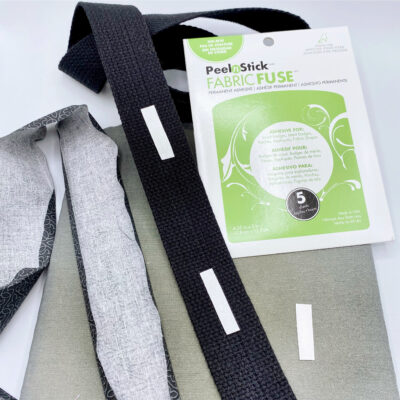
- Fabric Fuse PeelnStick Adhesive Sheets
- Fabric Fuse Liquid Adhesive
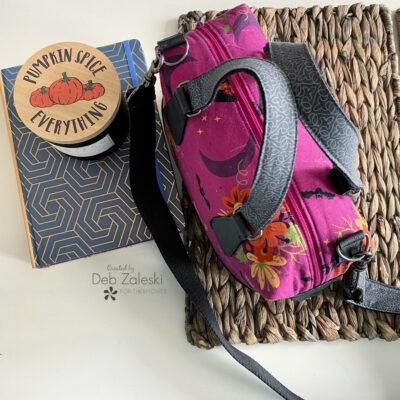
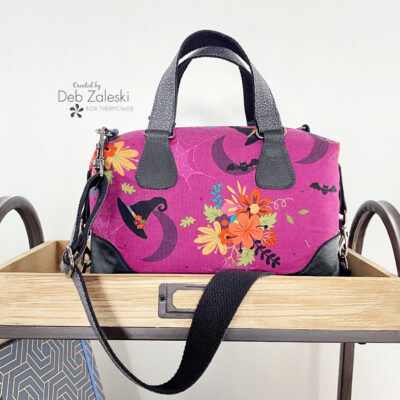
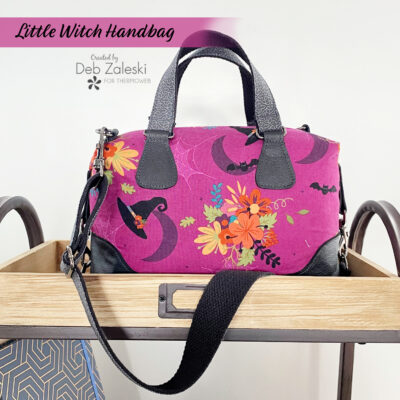
- Bag pattern, I used the Brooklyne Pattern by Swoon Patterns *
- Coordinating thread
- Fabrics *
- Leather accents (optional)
*Be sure to look at the list of fabric requirements and hardware required to make your bag pattern!
The fabric I used is Little Witch by Jennifer Long for Riley Blake Designs.
TOOLS:
- Sewing machine and walking foot (if using leather accents)
- Scissors
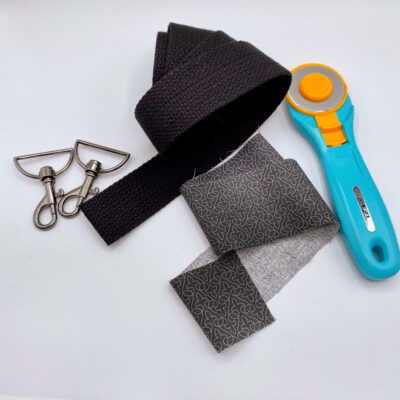
- Rotary cutter and self-healing mat
- Ruler
- Iron and ironing board or wool mat
GETTING STARTED:
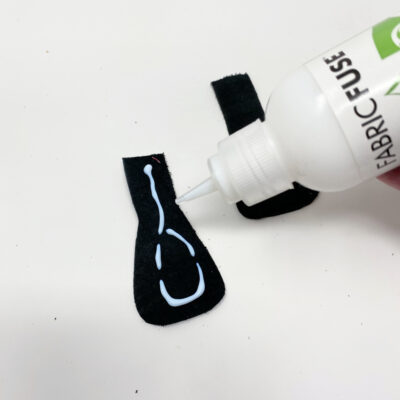
1. Using leather accents is not an easy task but I found Fabric Fuse Liquid Adhesive so helpful. Start by cutting out all the pattern pieces. I like to make mself a check list to make sure I haven’t forgotten any pieces.
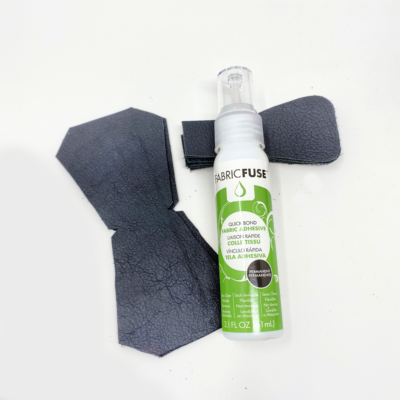
2. Using Fabric Fuse, glue all the leather pieces as directed in the pattern. Set them aside to let them dry.
3. Cut all the required pieces of interfacing, I used the HeatnBond Non-Woven Fusible Craft Extra Firm Interfacing. I added fusible fleece for more body to the two main panels instead of the suggested foam. Fuse the pieces according to the manufacturer’s directions and as indicated in the pattern directions.

4. When the time comes to add the handles to the main panels, I used PeelNstick Fabric Fuse to make sure everything would stay in place because you can’t use pins in leather!

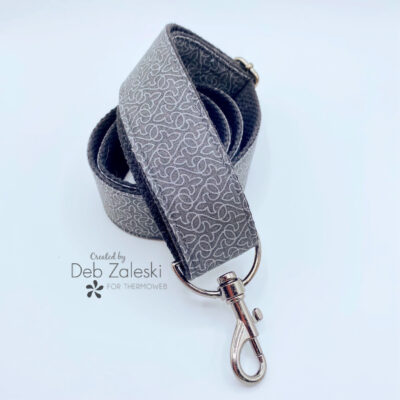
CREATING THE SHOULDER STRAP:
5. I used Fabric Fuse PeelnStick Adhesive Sheets in helping baste the fabric to the webbing, Cut the webbing to the desired length, I did add a little extra length to the required length by about 12 inches. If the webbing is 1.5 inches wide you’ll want to cut a strip of fabric 2 inches wide (add a 1/4″ to each side).
 6. Using a hot iron, press 1/4″ towards the wrong side of the fabric along the whole length of the strip. Pull out a ruler to make sure you have the full 1.5″ to cover the webbing.
 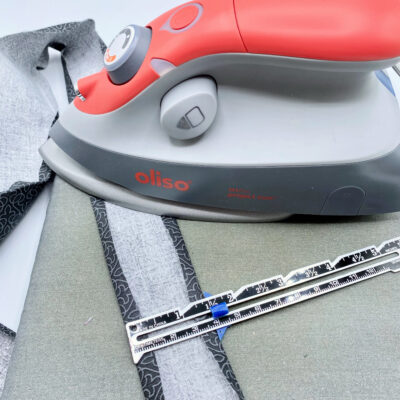 7. Use the PeelNstick Fabric Fuse sheets, cut into strips and sub cut the stips into about an inch long. Stick them along the webbing and then align the edge of the fabric to the webbing using the Fabric Fuse to keep everything in place.