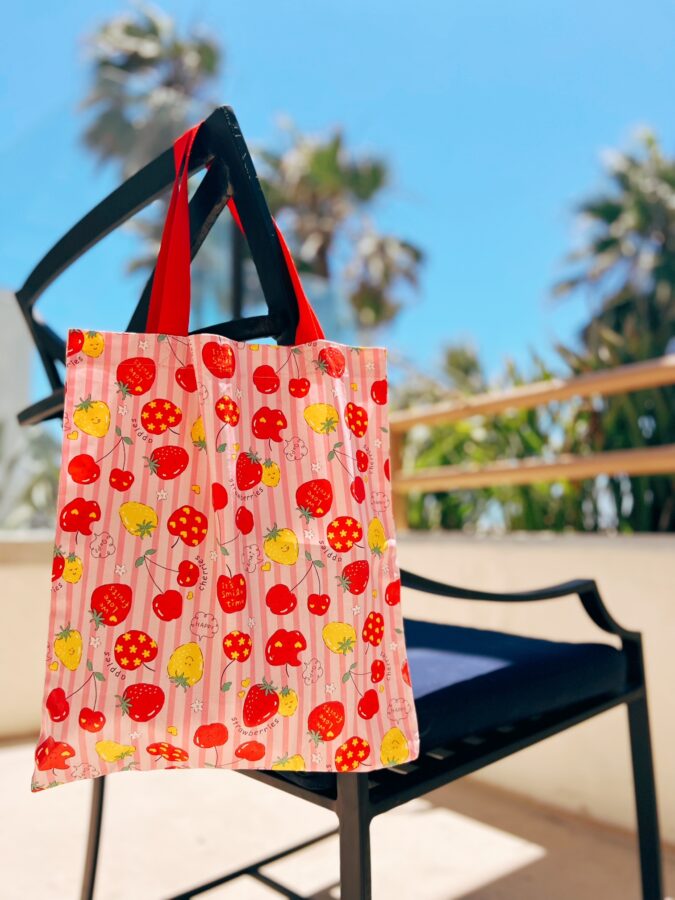
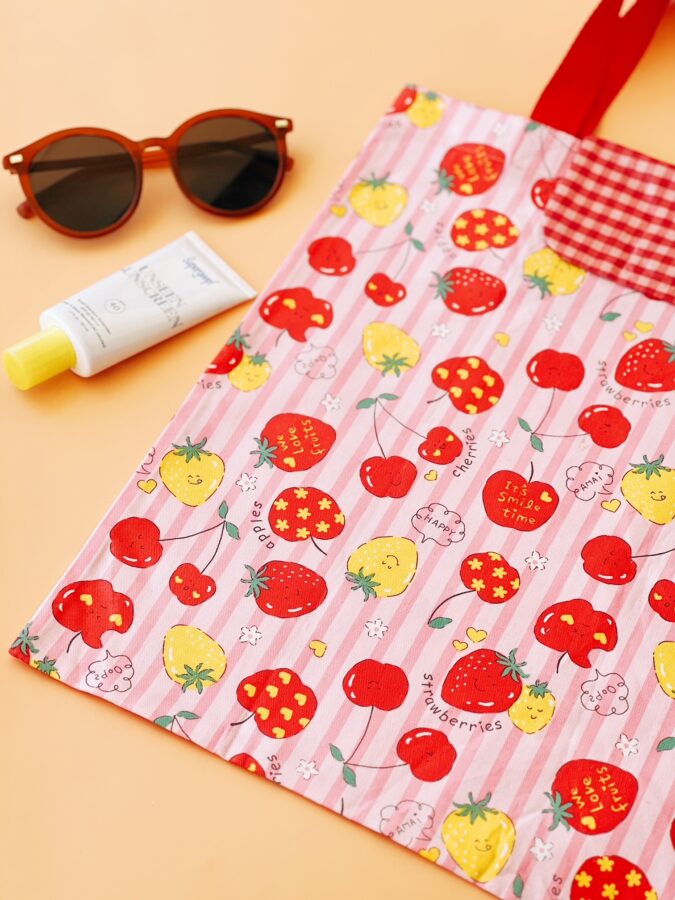
Hello! Hope you are having a great summer! Looking for a fun, summer project? Well I got one for you! I created a Foldable Waterproof Tote Bag with an attached Pouch. It uses one of my favorite products from ThermOWeb – HeatNBondLiquid Vinyl. This protects the tote bag and makes it easy to clean! This tote bag is perfect when you find yourself needing extra storage when your running errands. Simply fold into its pouch and stash it in your purse. Let’s make a Tote Bag!
Foldable Waterproof Tote Bag with Pouch Instructions
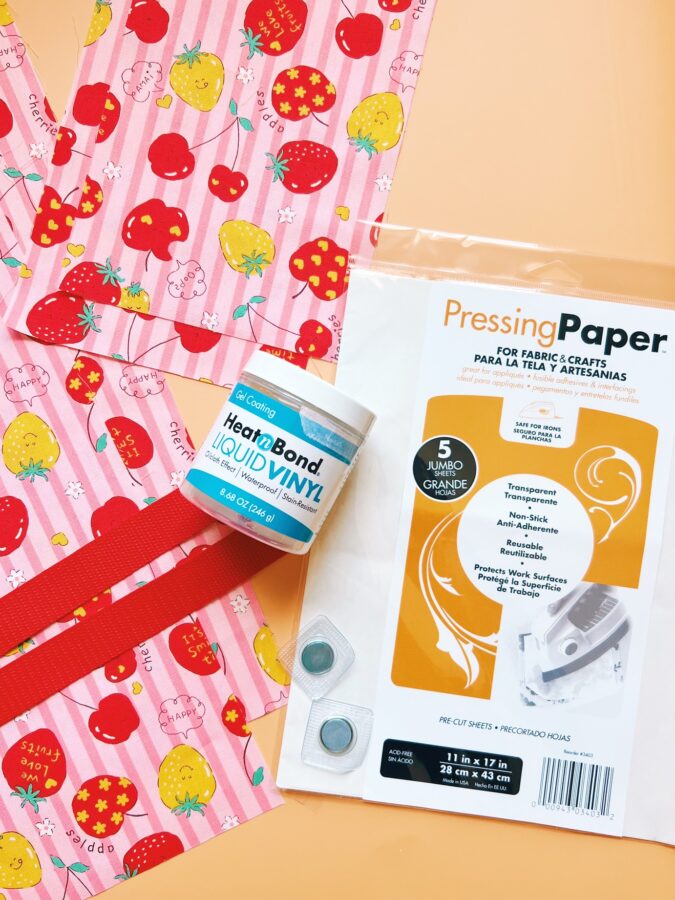
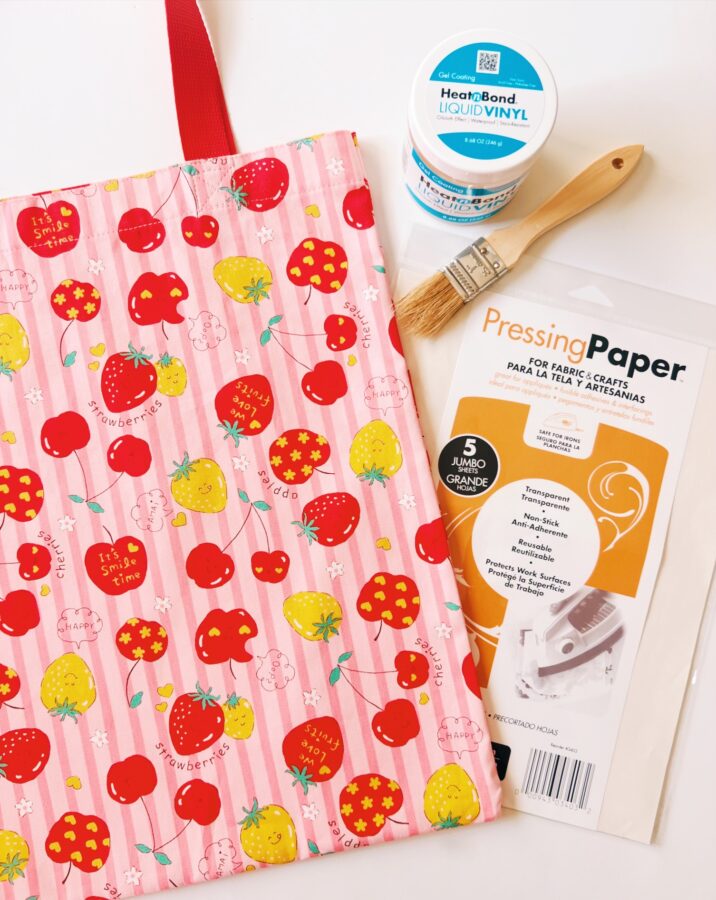
MATERIALS
- HeatNBond Liquid Vinyl
- HeatNBond Pressing Paper
- 1/2 yard of cotton fabric (for tote bag and pouch)
- 46″ one inch cotton or polyester webbing
- one set of magnetic buttons or snap cam buttons – for this project you can use the button of choice such as a cam button. I used invisible magnetic snap buttons which you can find here – Amazon Invisible Magnetic Snap Buttons
SUPPLIES USED
- Iron – I use Oliso
- Water Soluble Pen
- Turning Tool – Such as a stiletto or chopstick to get the corners and seam out
- Small cup – to trace and make curves for the flap of the pouch
CUTTING
- Cut two 20″ x 14 1/2″ cotton pieces – for the Tote Bag
- Cut two 23″ one inch cotton or polyester webbing – for the handles
- Cut two 12 1/2″ x 6 1/2″ cotton pieces – for the pouch
TIPS
- Use the directions as indicated for the HeatNBond Liquid Vinyl Application
- Use pressing paper when ironing such as HeatNBond Pressing Paper
- When ironing the tote and pouch after the the Liquid Vinyl has set, use pressing paper on the bottom and top of the tote and pouch (to prevent sticking)
- Seam allowance is 1/4″ unless noted otherwise
LET’S BEGIN
MAKE THE TOTE BAG
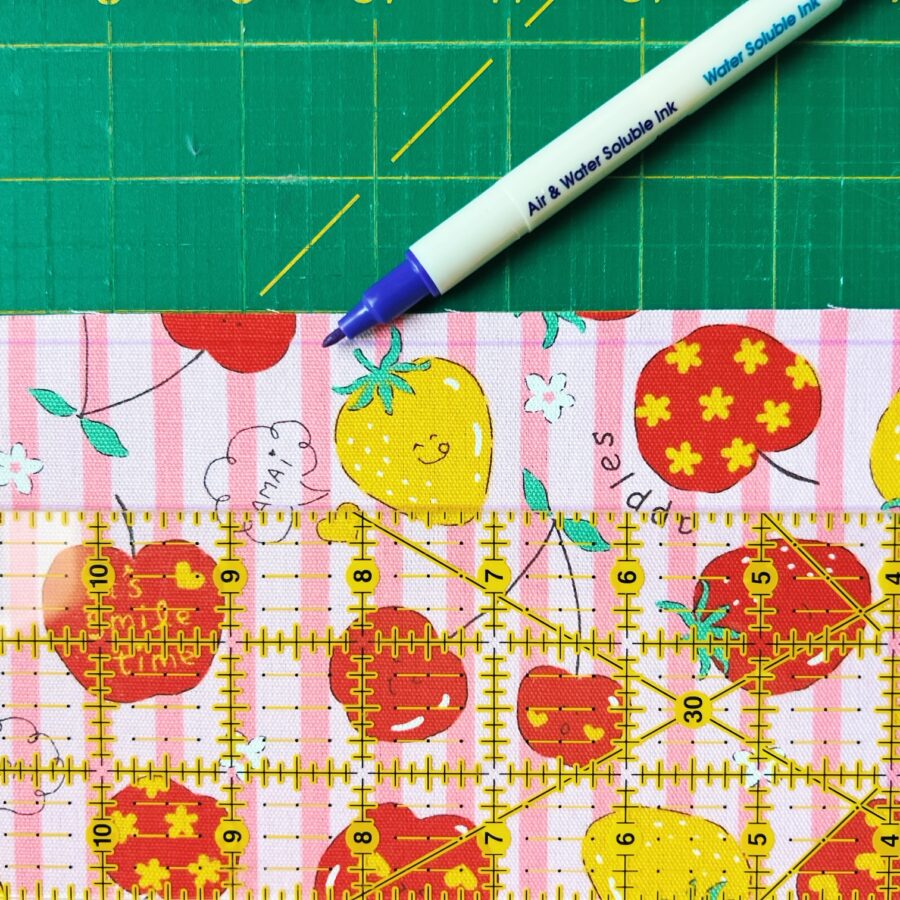
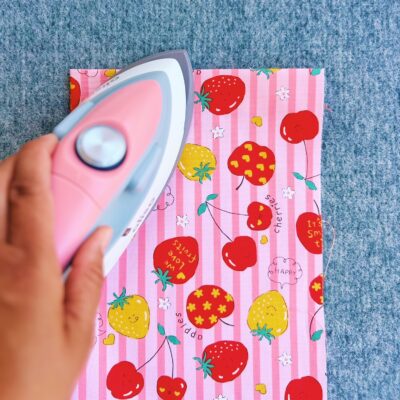
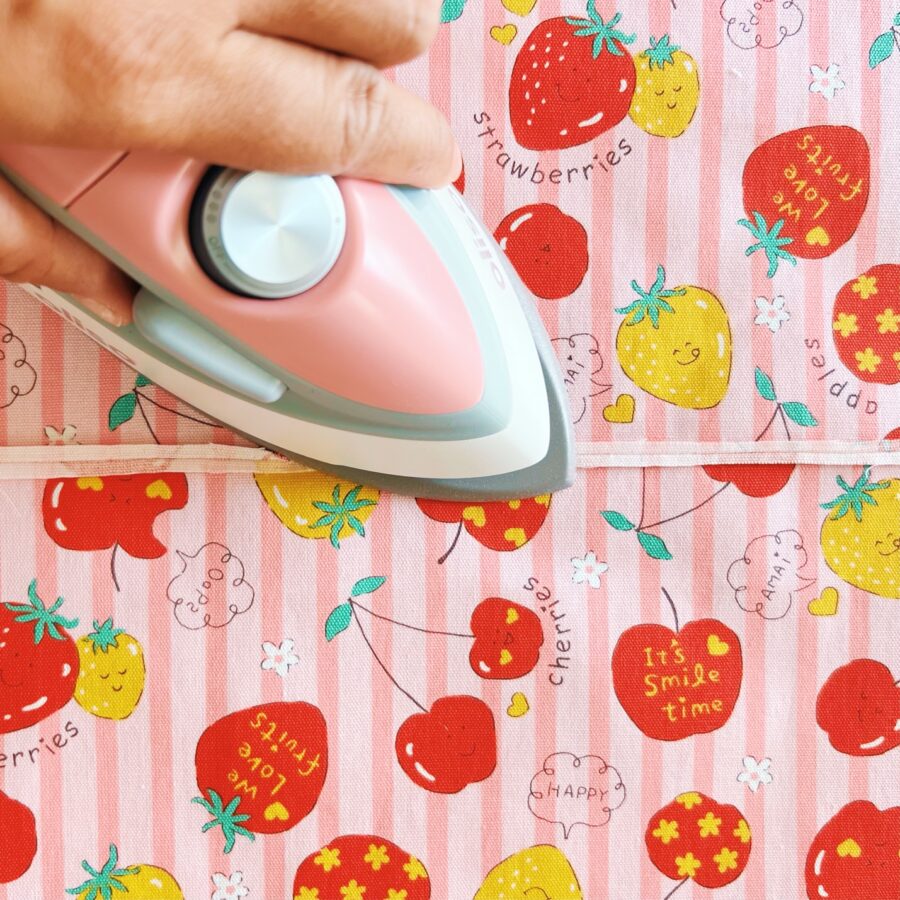
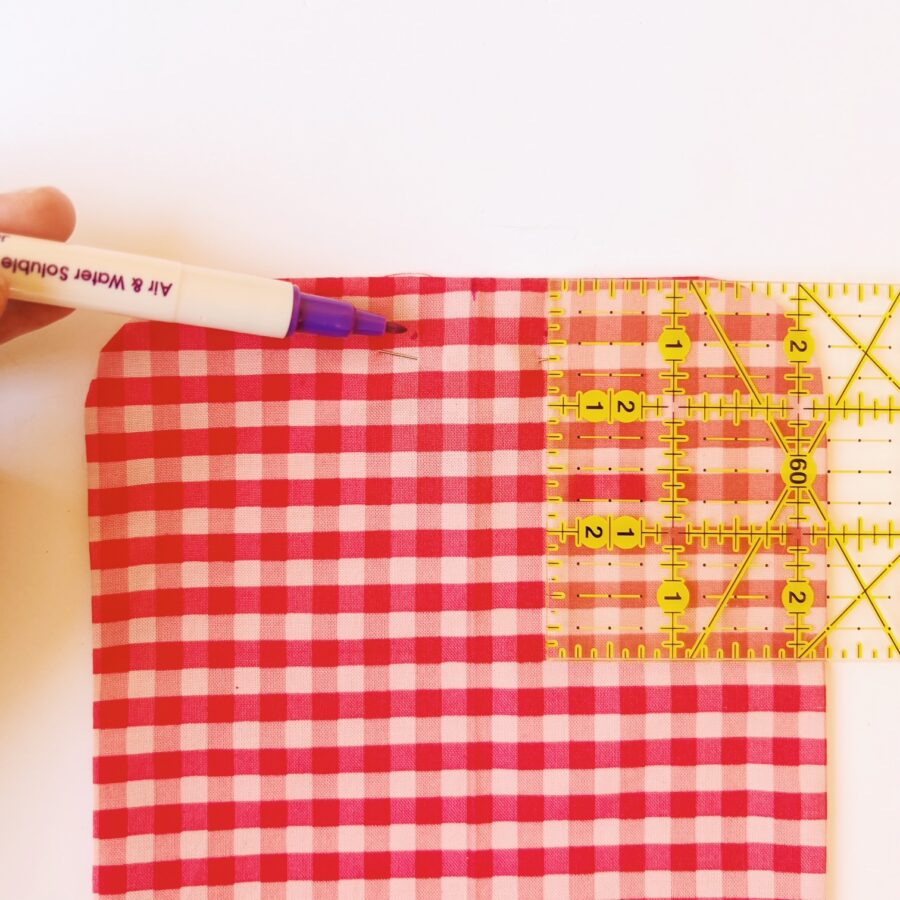
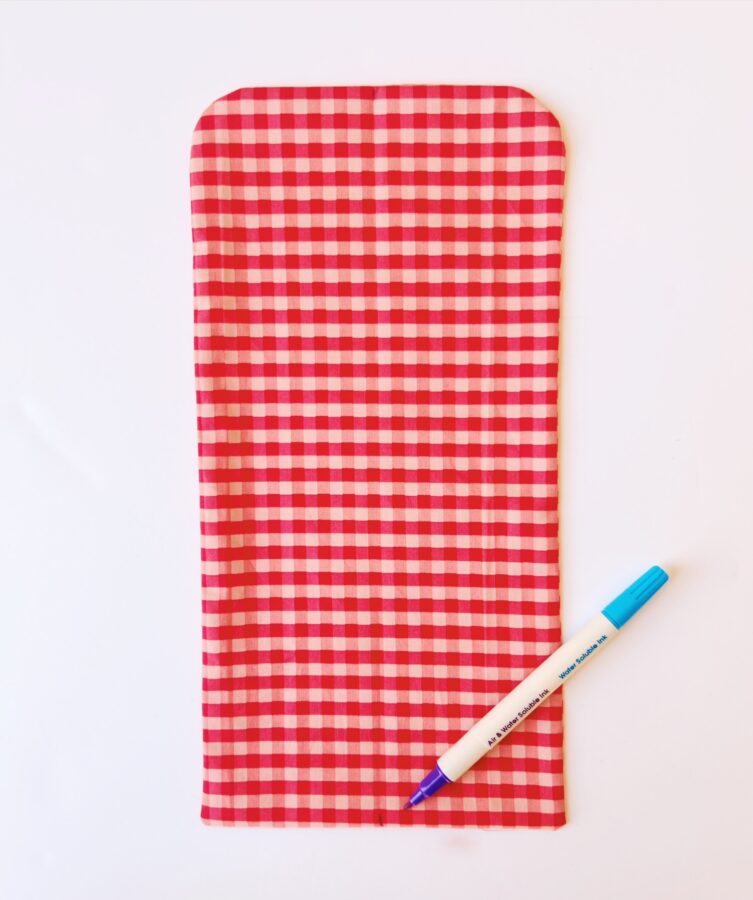
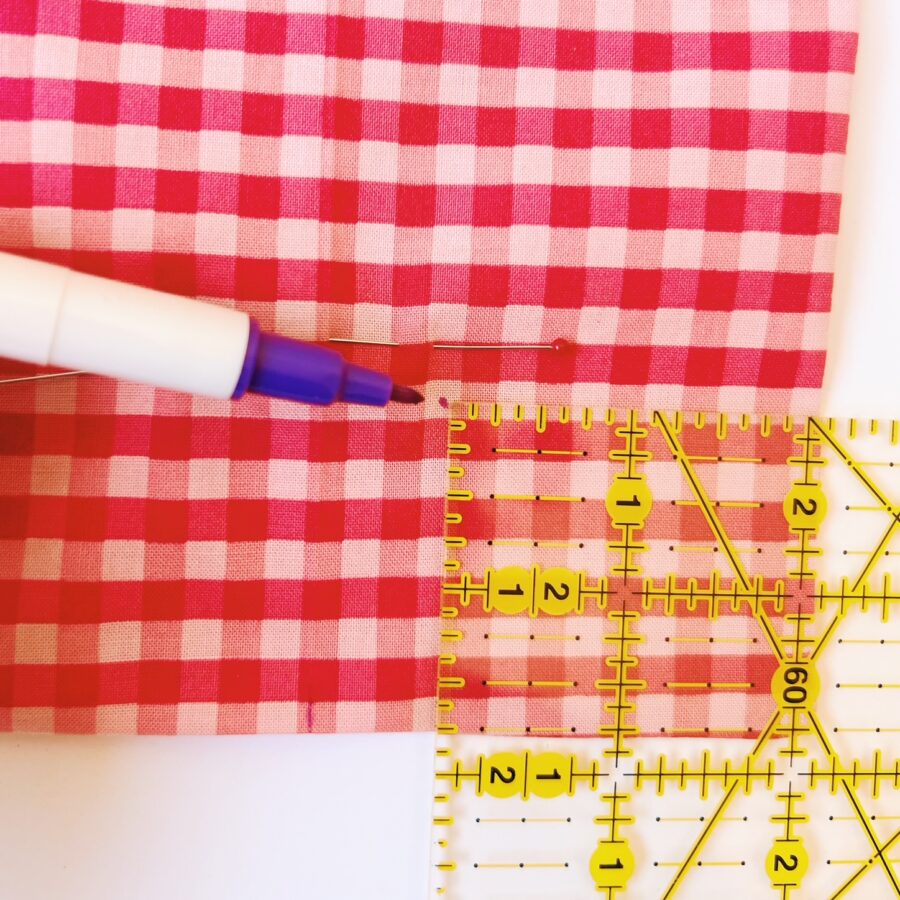
- Take one 20″ x 14 1/2″ cotton piece and create the folding guidelines. On the right side of the fabric, draw a 1/4″ line with a marking pen along the top length (14 1/2″ side). From the 1/4″ line drawn, go down 1 1/4″ and mark another line along the length.
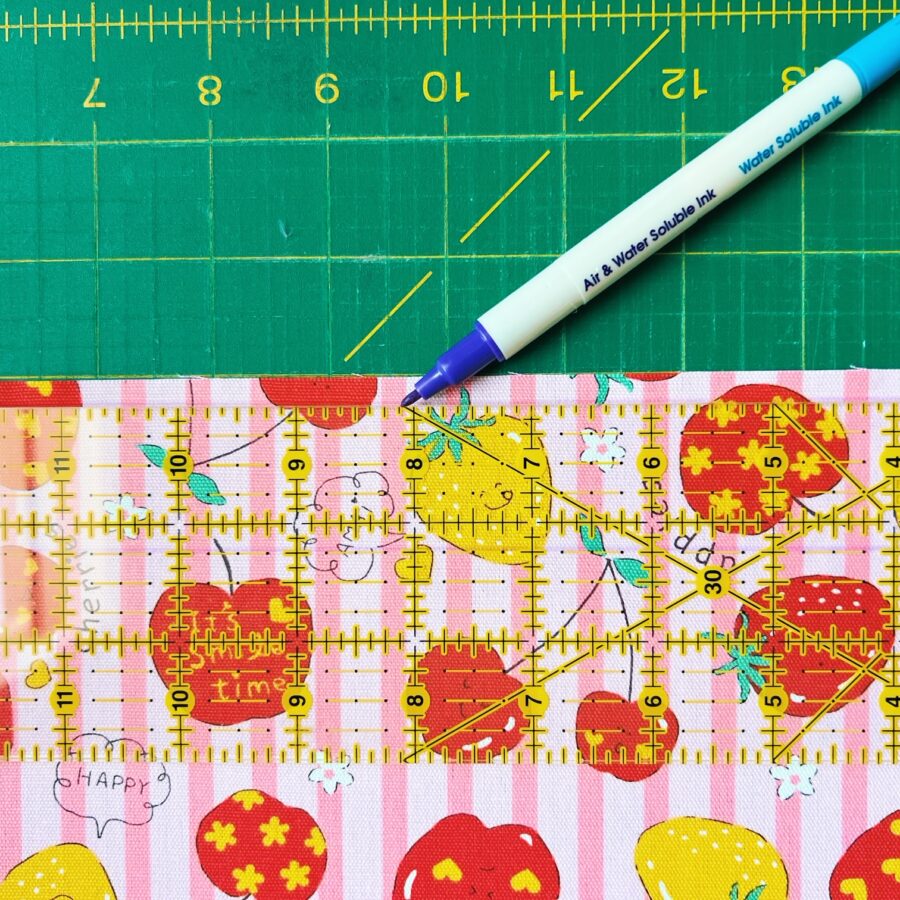
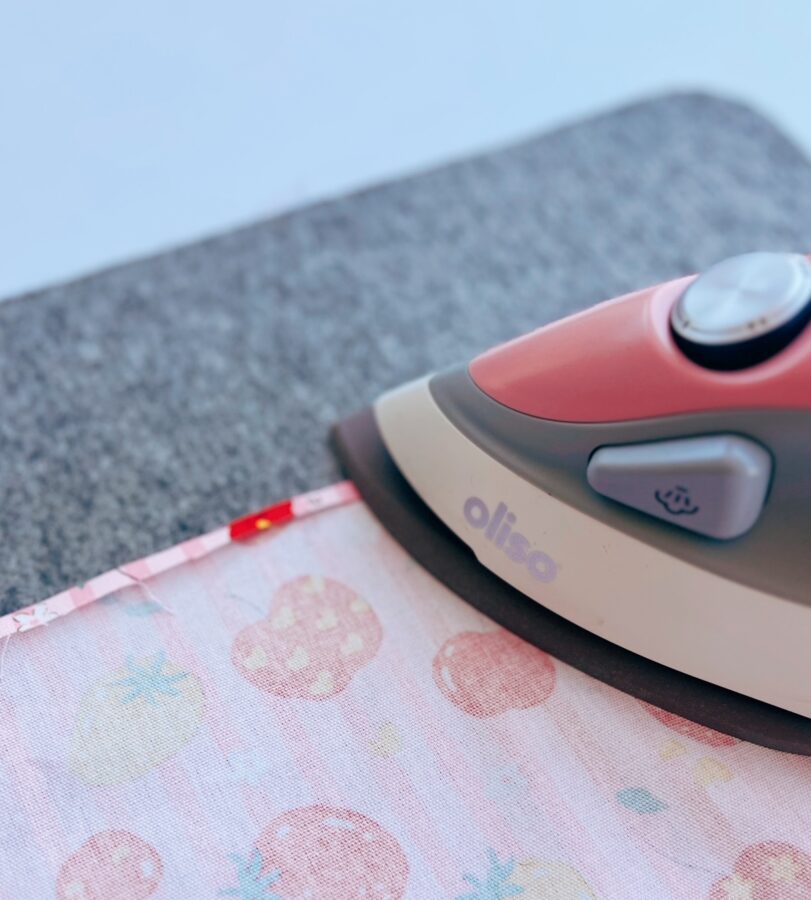
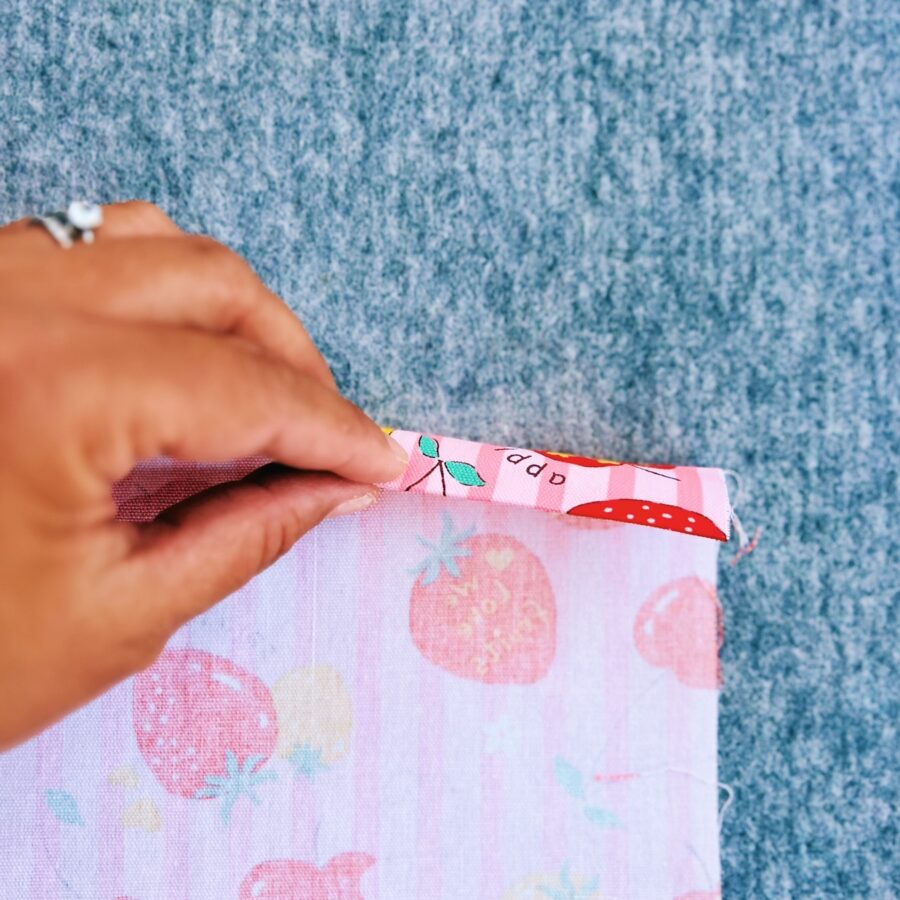
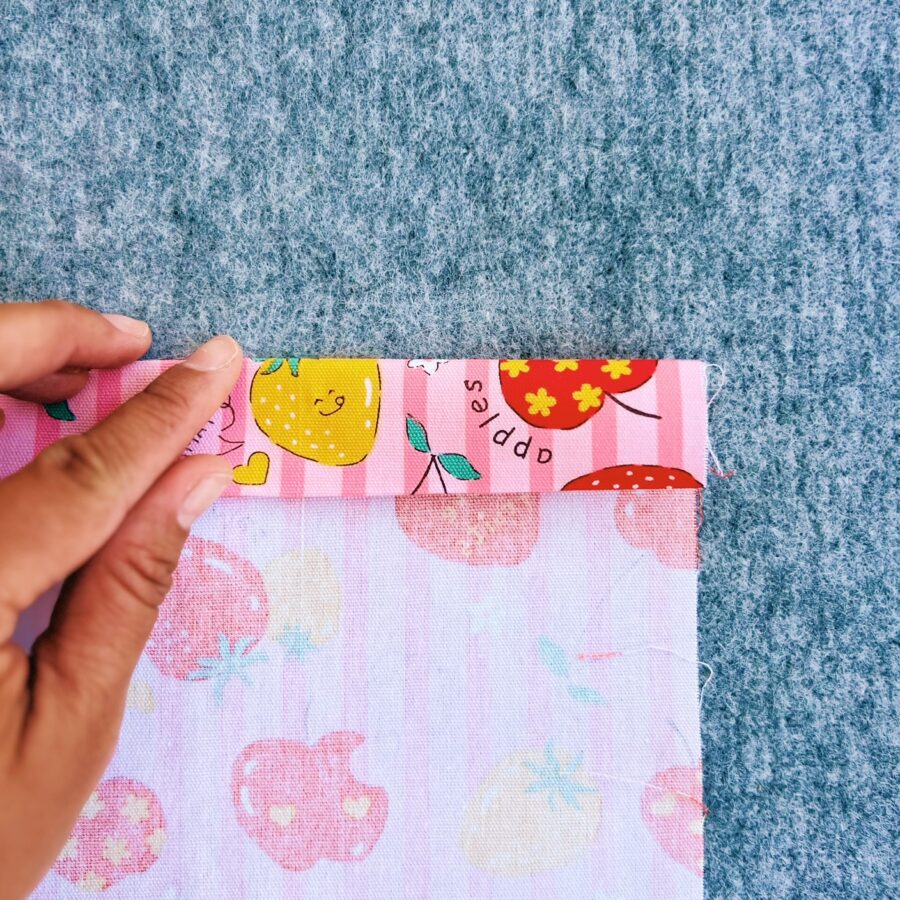
Use these guidelines to fold in in the marked areas, creating a channel. Fold along the 1/4″ line to the wrong side and press with your iron. Fold down again to the second line (still on the wrong side still) and press.
- To attach the handles, fold the piece in half along the height of the cotton piece and mark the top middle with a marking pen.
 Once you have marked the middle, starting on the right side from the marked middle, measure 3″ and mark with a pen and from there, measure 1″ and mark with a pen (this is where the handle will go). Repeat for the left side.
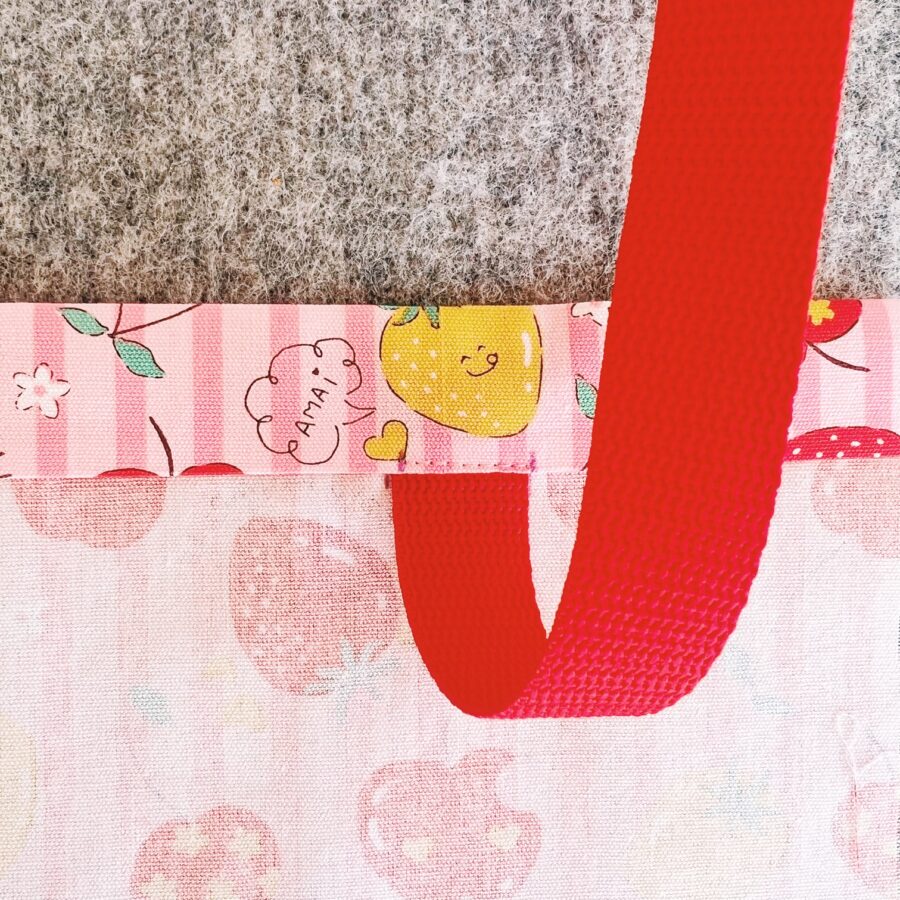
 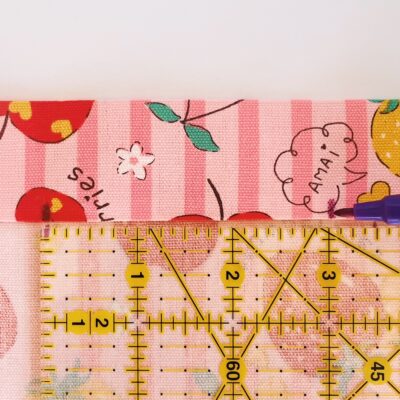 Open the channel and place one end of the webbing inside the marked 1″ space and pin in place. Baste near the bottom of the seam.
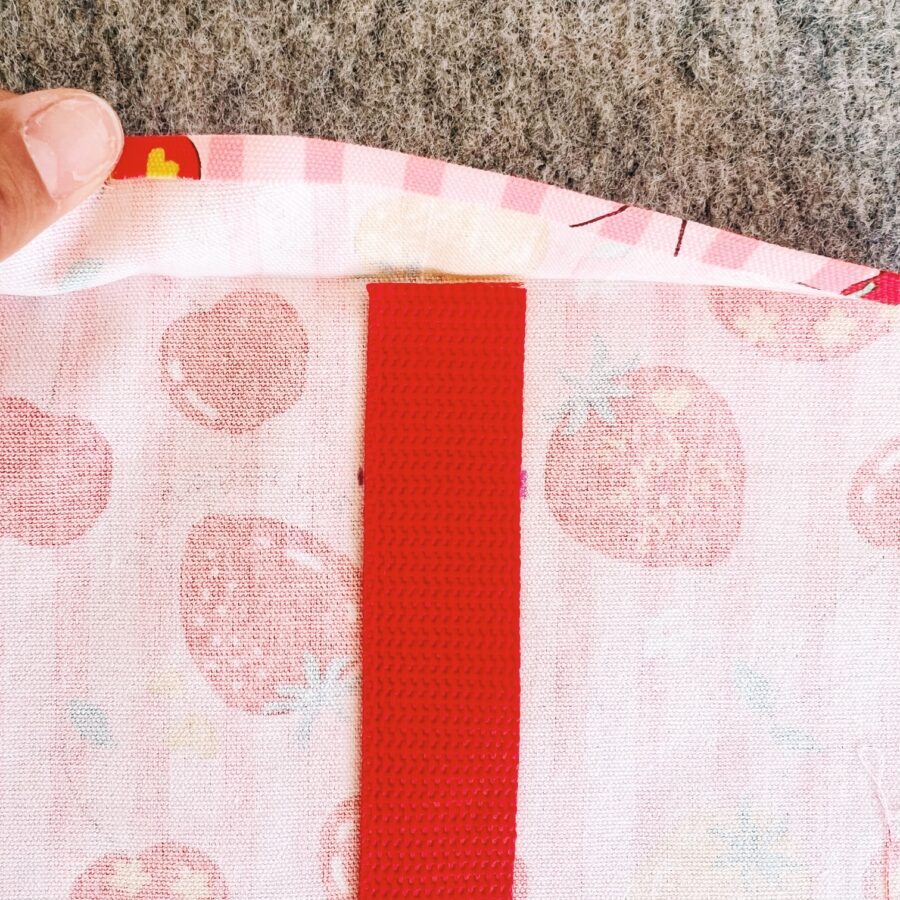
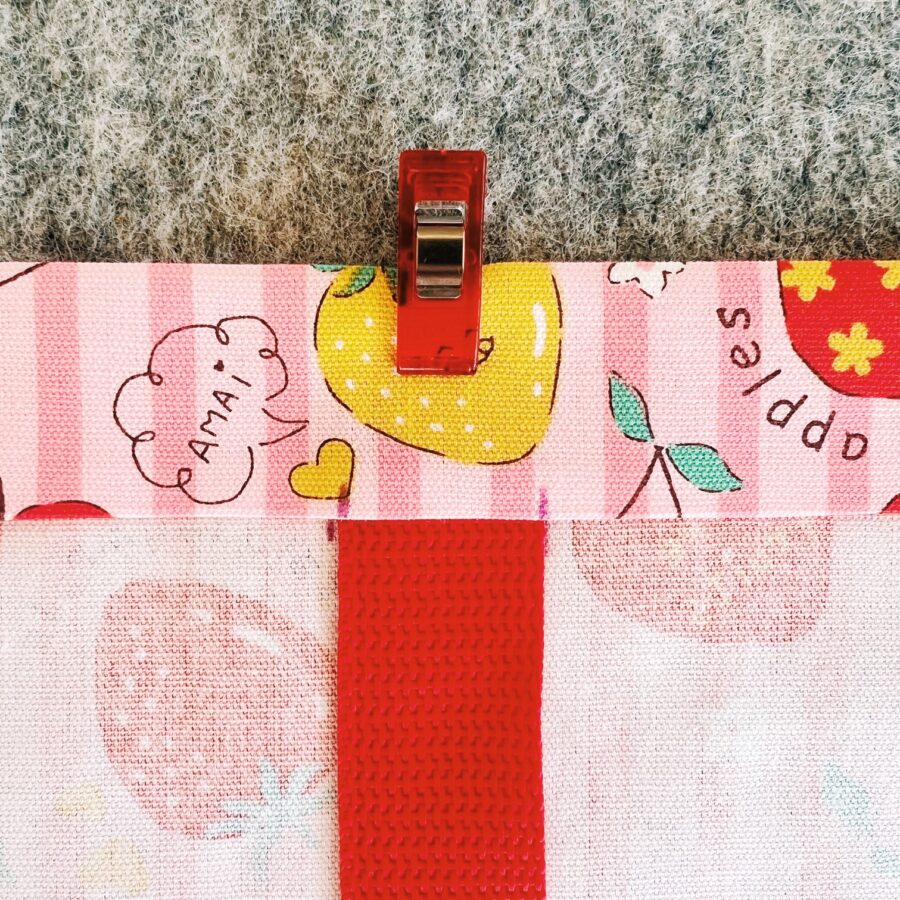
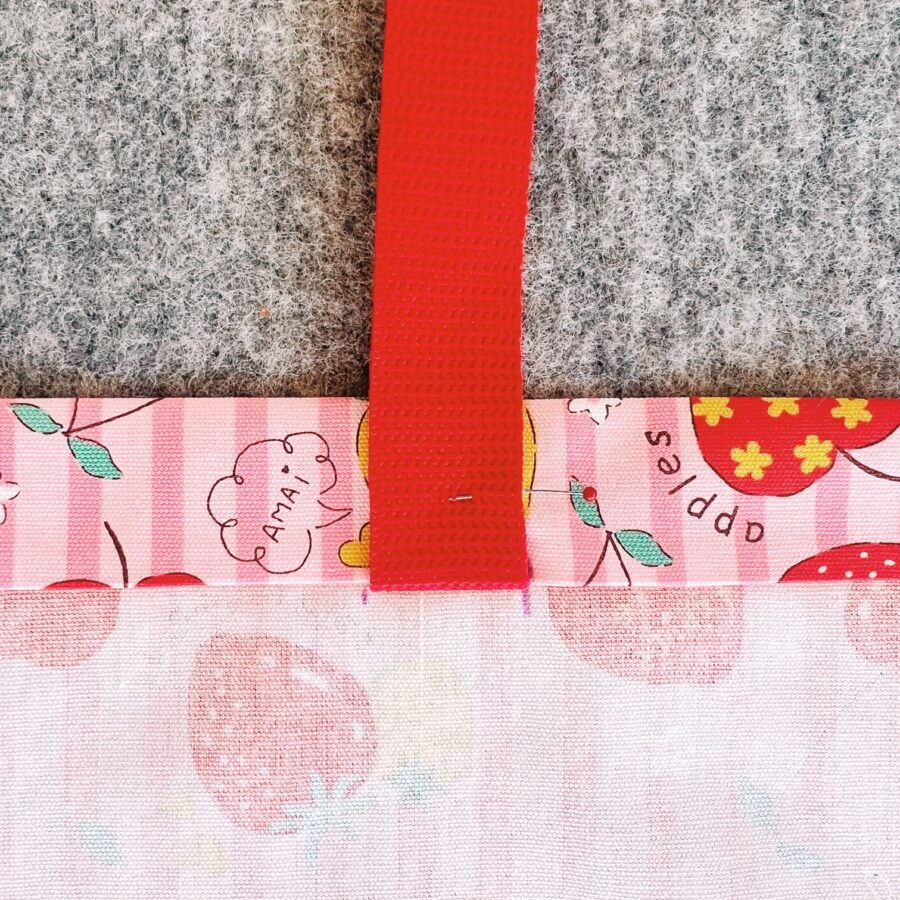
Now, fold the webbing up along the seam and pin in place.
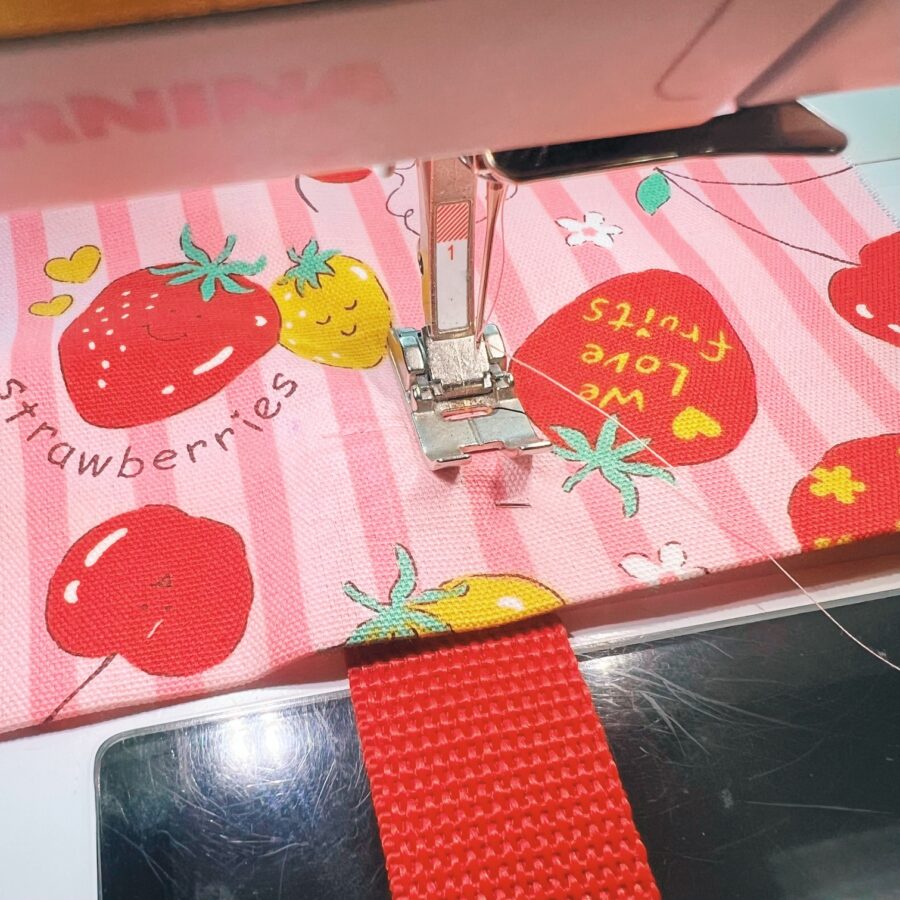
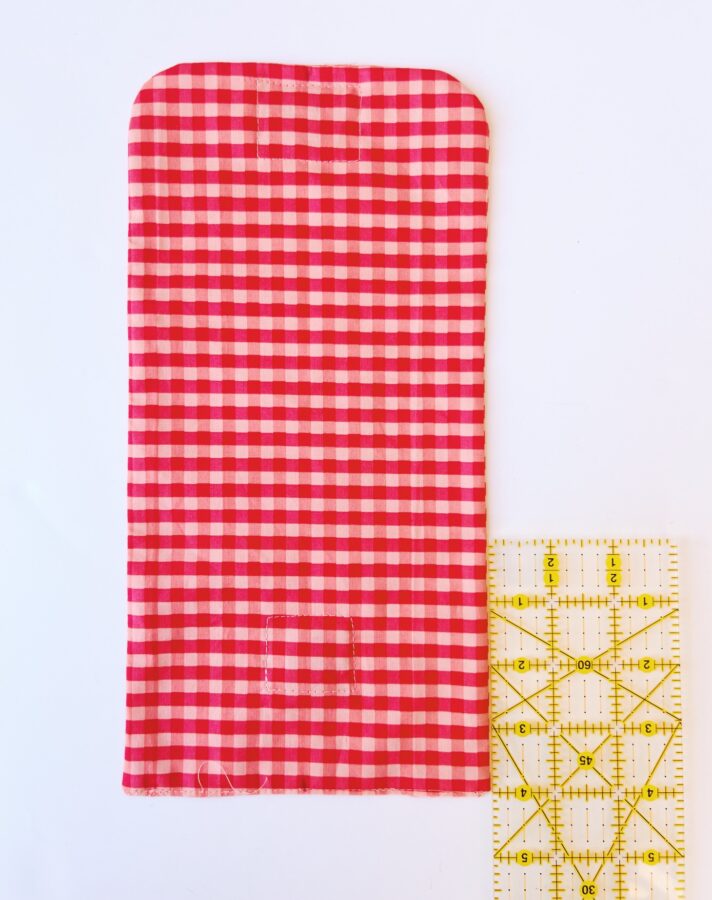
Flip to the right side of the fabric, and sew a square around the pinned area, sewing and “x” in the middle to make the handle more secure. Repeat these steps for the other side of the handle. Once finished, sew a seam as close to the top edge of the outer panel and a seam along the bottom channel (see picture below).

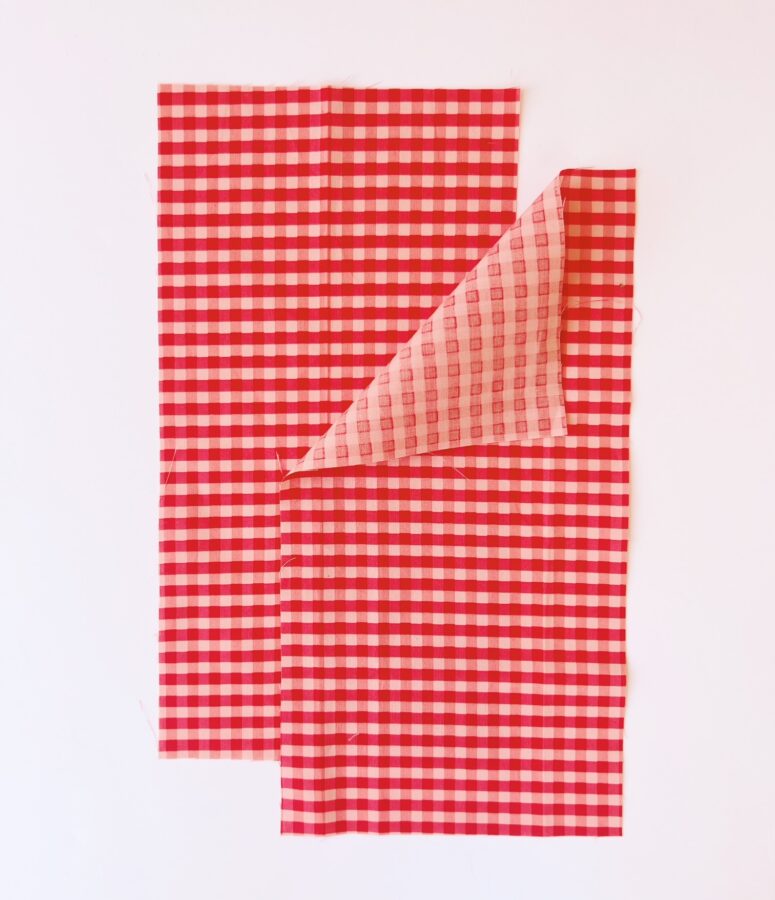
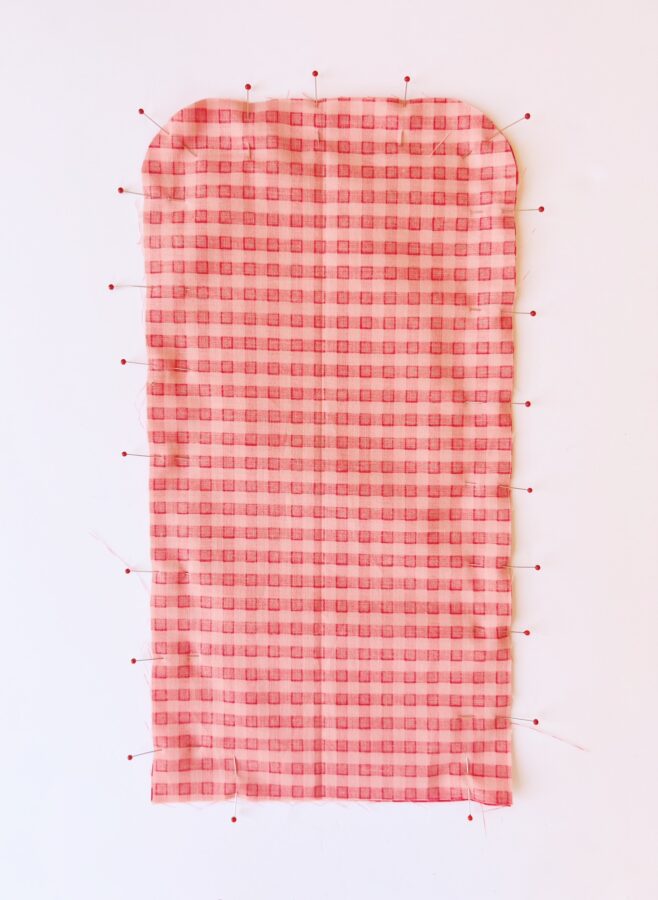
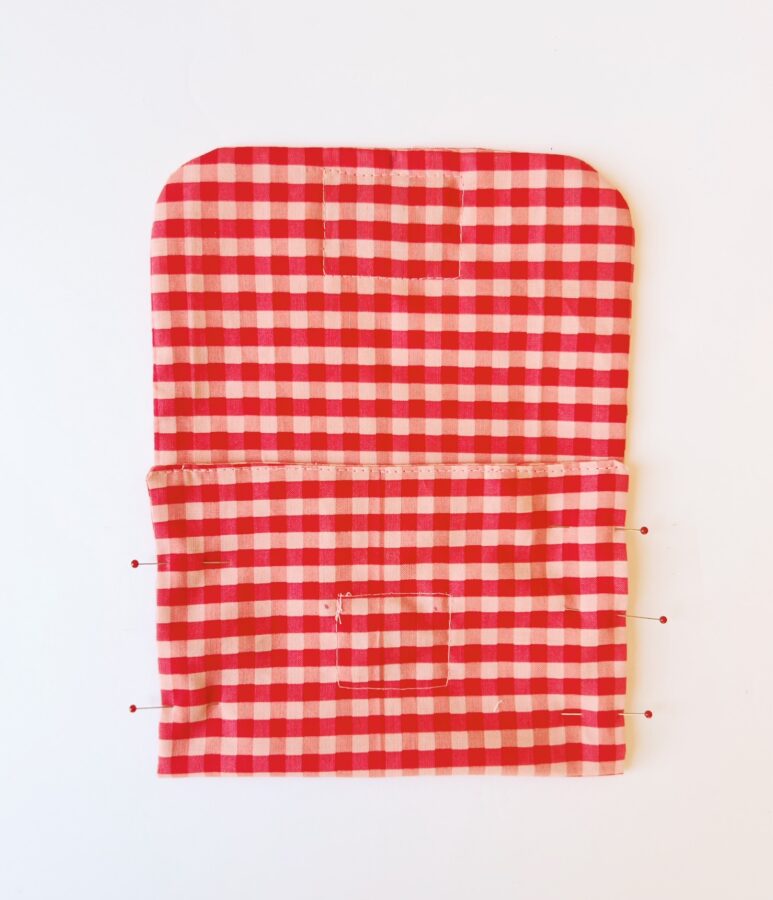
You will now repeat steps 1 and 2 for the other side of the tote bag. Once finished, with right sides facing out, place the tote panels on top of each other and pin the bottom in place.

- To assemble the tote bag, we are going to incase all the inner seams (so there are no raw edges). Start by sewing a seam along the pinned bottom edge. Open and press the seam.
Turn and flip the panels over to the wrong side, and press the bottom seam again.
 Sew a 1/8″ seam along the bottom edge seam. Open the seam again, and press.
 You will now flip it over again to the right side, and press the seam, lining up the handles and edges together

You will be repeating the same steps as the bottom for right and left sides. Let’s start with the right. Pin the right side in place and sew a 1/8″ seam along the edge (fabric should be facing right side out).
 Open and press the seam. TIP: when opening the seam create a triangle by popping out the seams, so you can get into the hard to reach areas of the seam (see picture below).
  Flip and turn to the wrong side, making sure to push out the bottom corner as best you can. Press with an iron and sew a 1/4″ seam along the right edge.
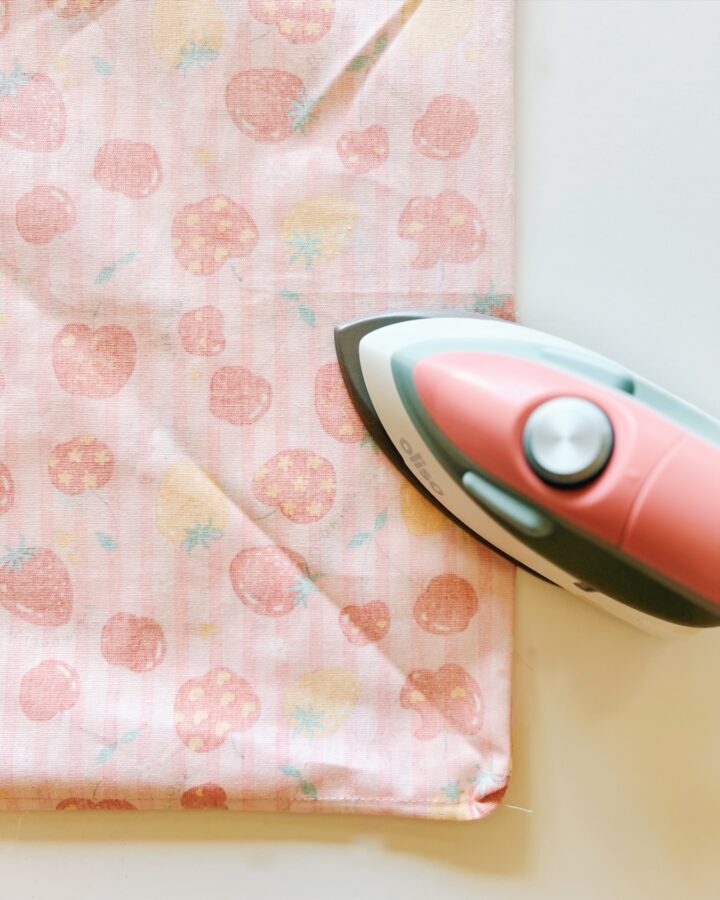
Now, turn the tote right side out and press along the seam. Repeat these steps for the left side. All the sides should now be incased and you are now done with the tote portion.
MAKE THE POUCH
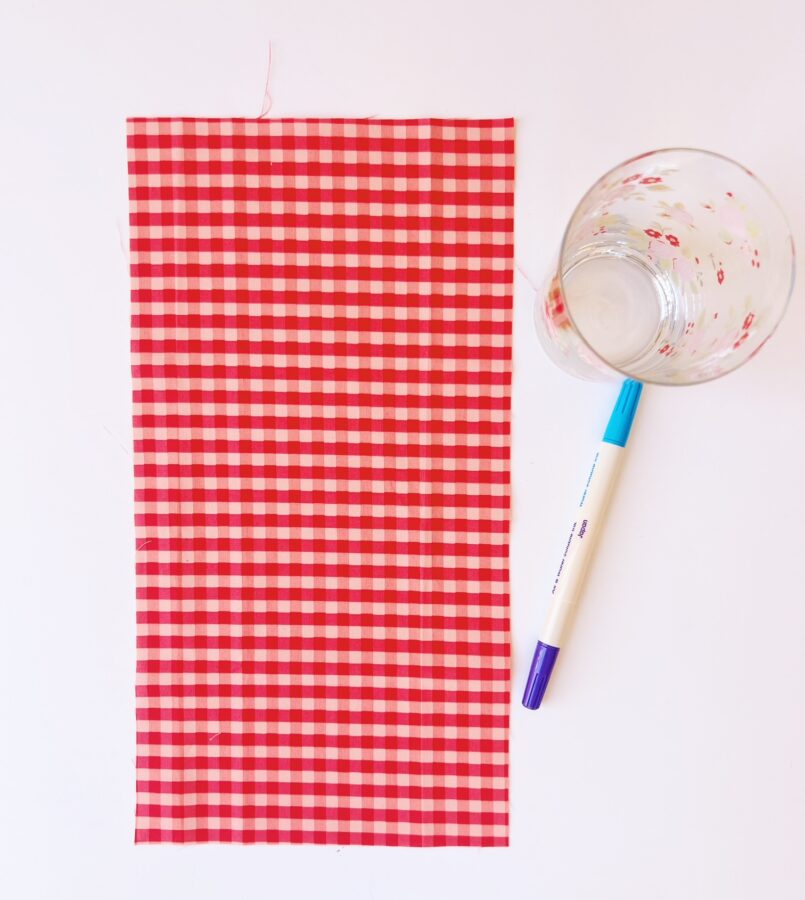
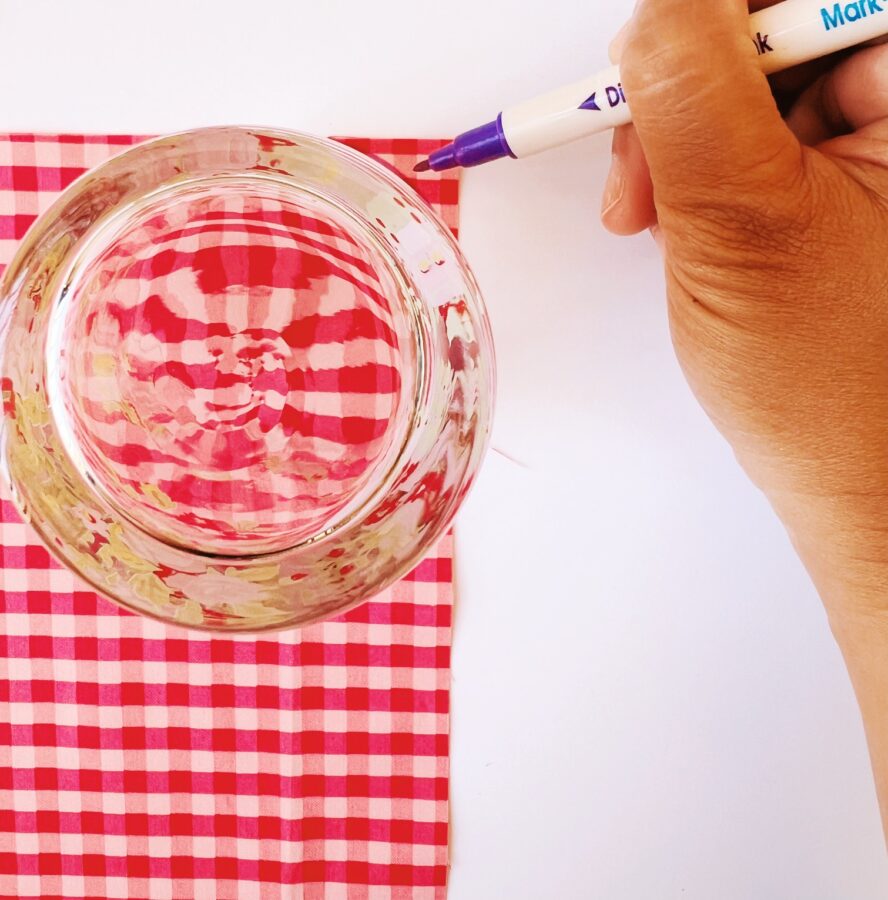
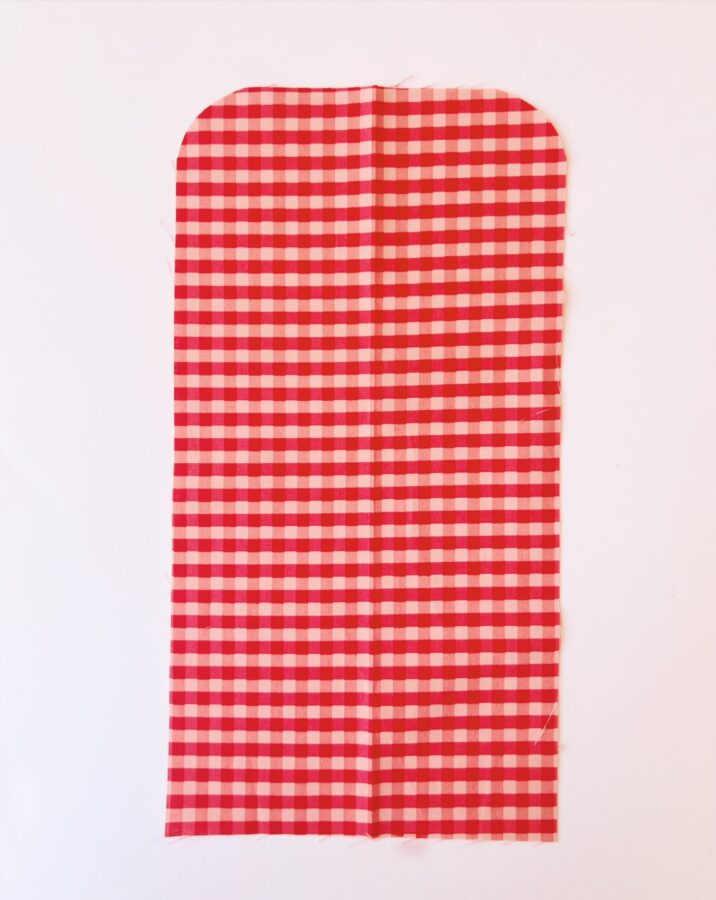
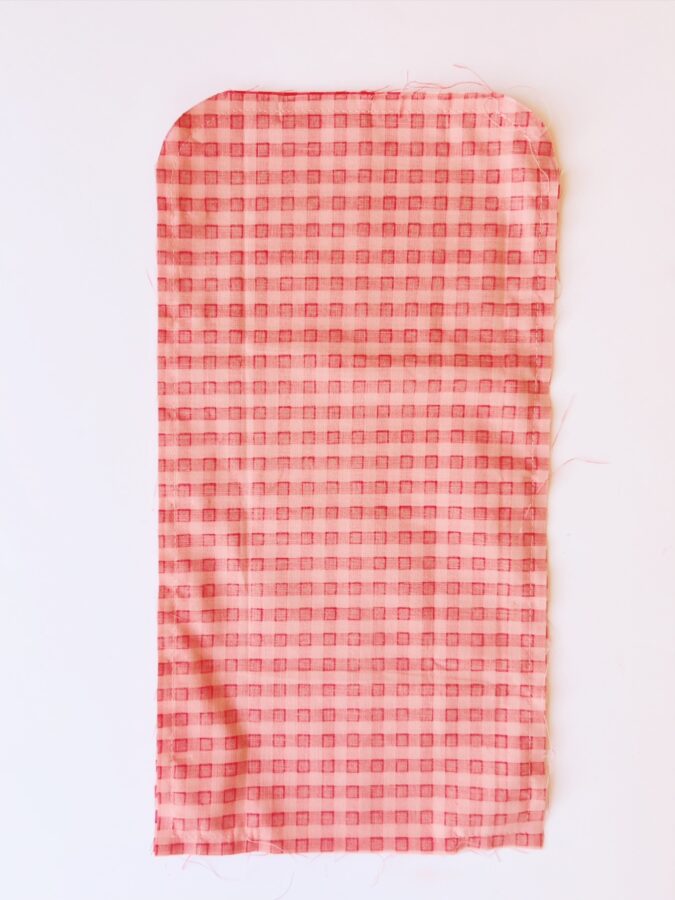
- To make the pouch, take a 12 1/2″ x 6 1/2″ cotton piece and create the flaps curved edges. Take a small cup and line up the cup to the top right edge of the fabric (the 6 1/2″ side) and trace around the curved edge. Repeat for the left side. Once done, cut the curved edges out. Repeat for the second 12 1/2″ x 6 1/2″ cotton piece.
- With the wrong sides facing out, place each piece on top of each other and pin in place. Leaving a two inch opening on the bottom (this is where you will turn the pouch right side out), sew a 1/4″ seam around the entire body (make sure to backstitch at the beginning and end of the opening).
From the two inch opening, turn the pouch right side out, taking your point turn tool and pressing out the curves and the seams. Leave the two inch opening unsewn. Press the body with an iron.
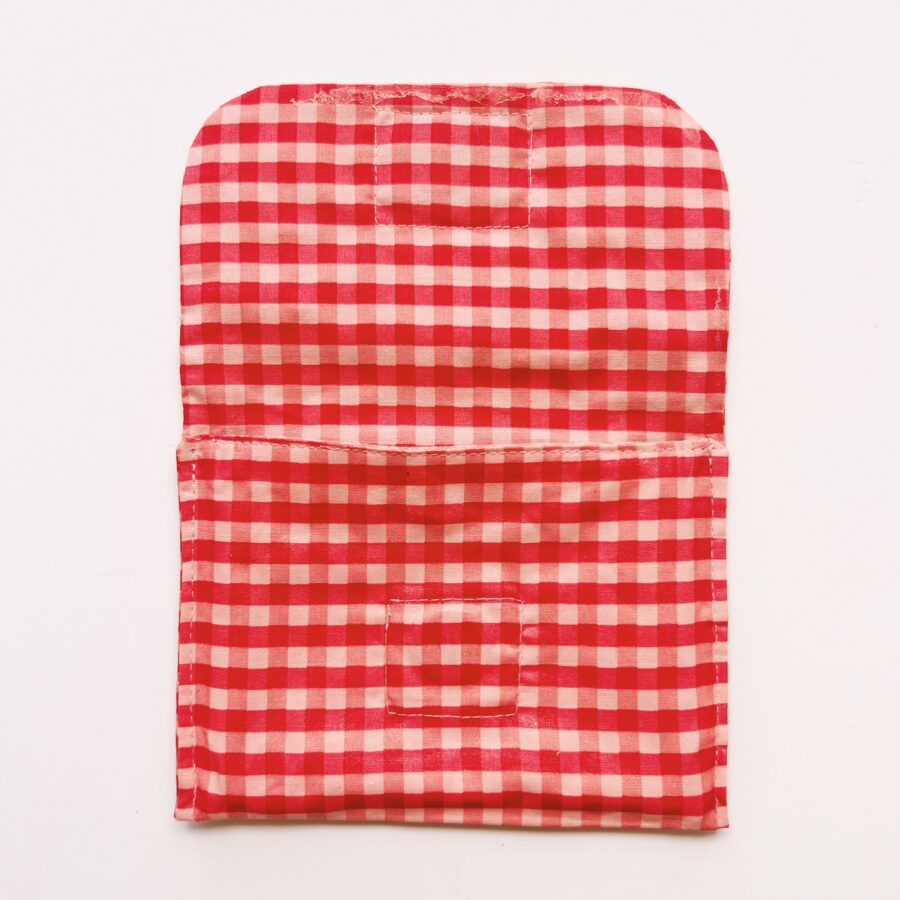
- You can now attach the buttons through the two inch opening. If you are using snap cam buttons, sew the opening closed and attach accordingly. Follow the instructions of the buttons. I used invisible magnetic snap buttons, so I will show you how I did this. Mark the top middle top flap, going down at 1/2″. From the marked middle, mark 1/2″ on both sides. Insert the magnetic button through the two inch opening. You will have to fiddle with a bit since it’s inside the pouch, but once centered, pin place. Sew a square around the pinned button.

To attach the bottom magnetic button, mark the bottom middle and go up 1 3/4″. Also mark 1/2″ from both sides of the middle. Insert the magnetic button through the two inch opening. Once centered, pin in place and sew a square around the pinned button. You can now sew the 2″ opening closed.

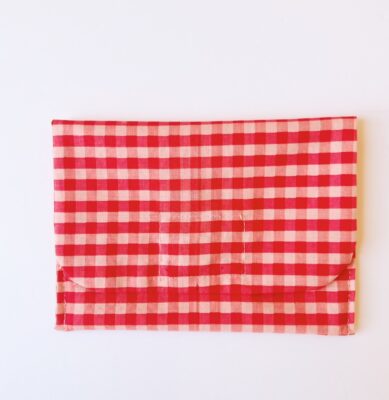
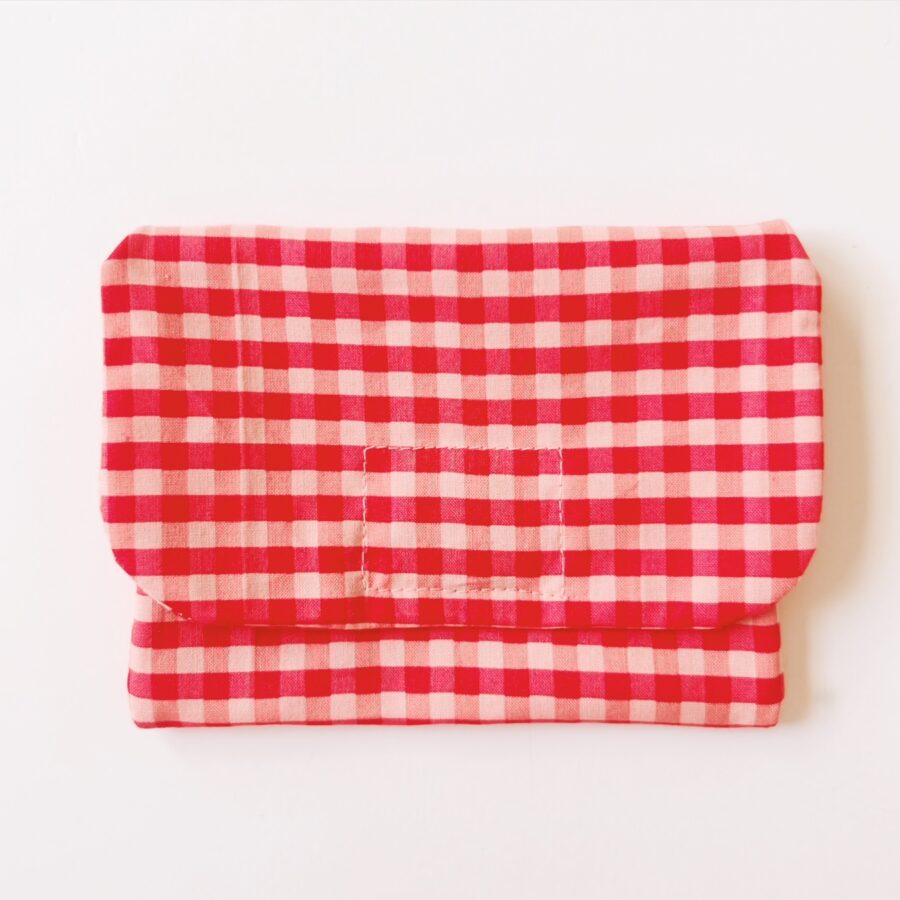
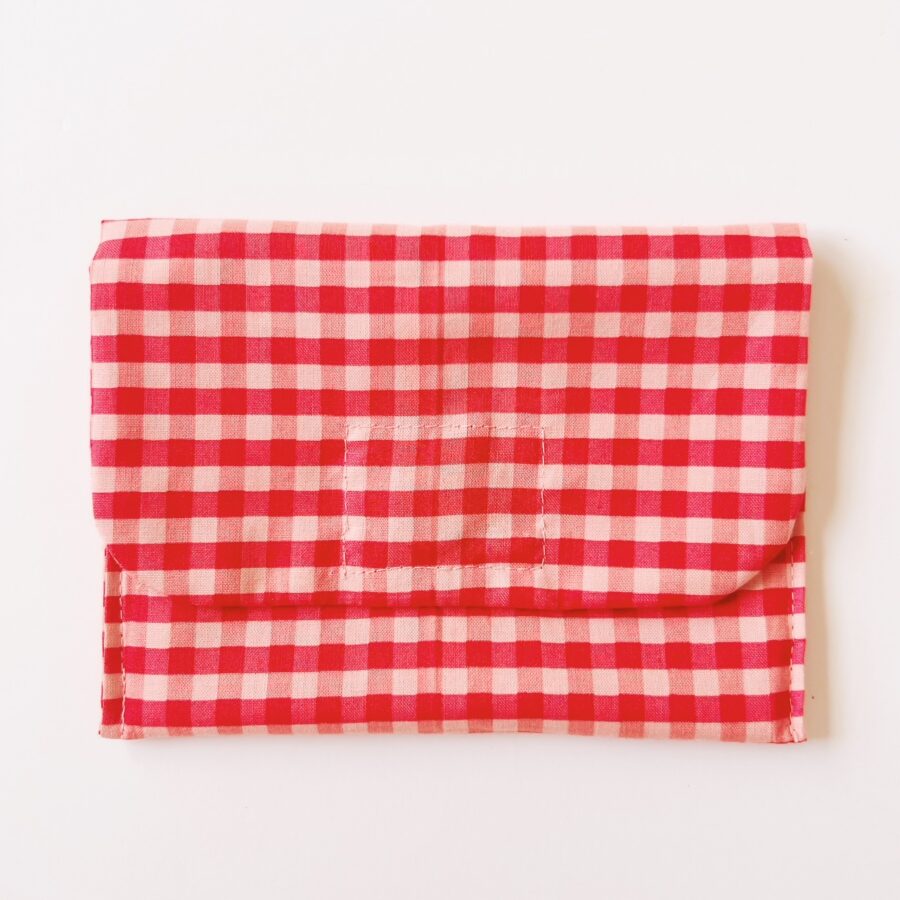
- To assemble the pouch, from the bottom, measure up 5″ and mark with a pen. Fold the bottom up to the mark. Pin the sides in place and sew along the folded seams, leaving the flap unsewn, making sure to backstitch.

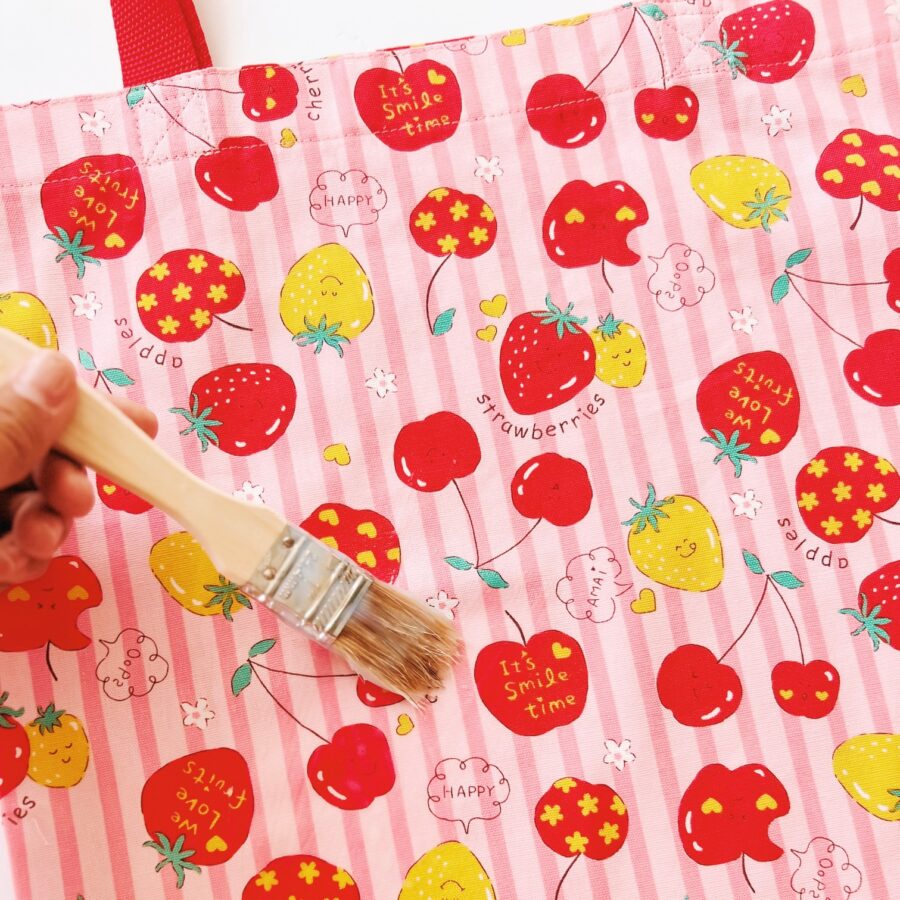
APPLYING THE LIQUID VINYL TO THE TOTE BAG AND POUCH
- Apply the liquid vinyl to the tote bag FOLLOWING THE INSTRUCTIONS on the package. I apply one coat to both sides. TIP: I sandwich the tote between 2 sheets of pressing paper when pressing with iron. This prevents sticking for both sides.
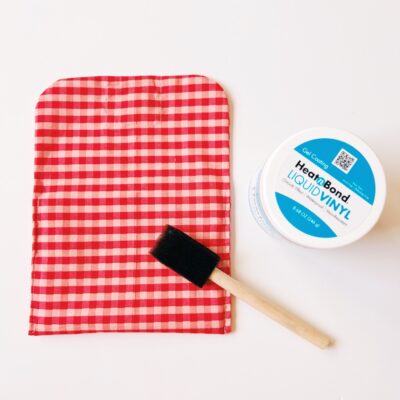
- While you are waiting for the tote to dry, apply the liquid vinyl to the outer pouch. FOLLOW THE INSTRUCTIONS on the package. Once the outer side is dry, turn inside out and apply liquid vinyl to this side as well.
ATTACHING THE INNER POUCH TO THE INSIDE OF THE TOTE BAG
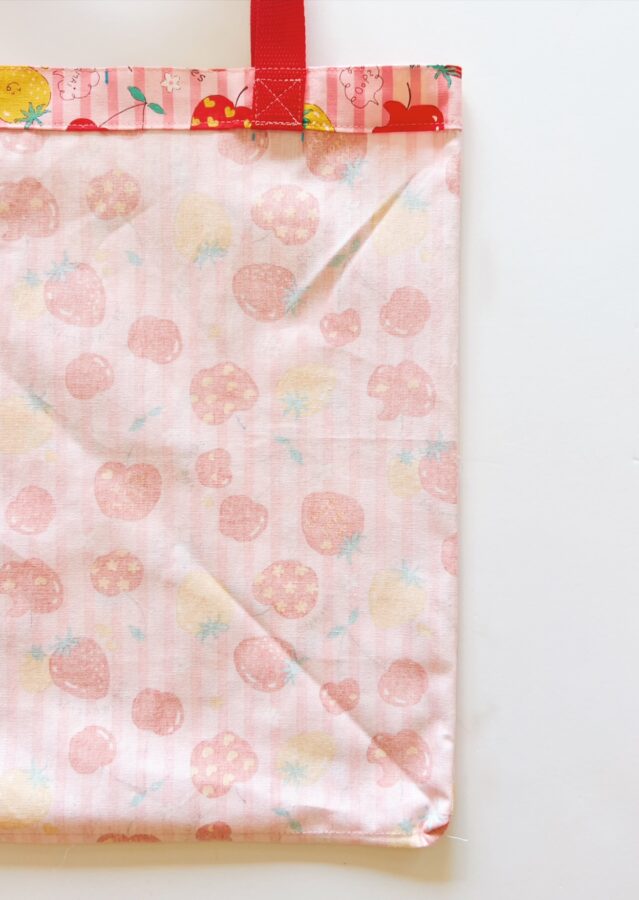
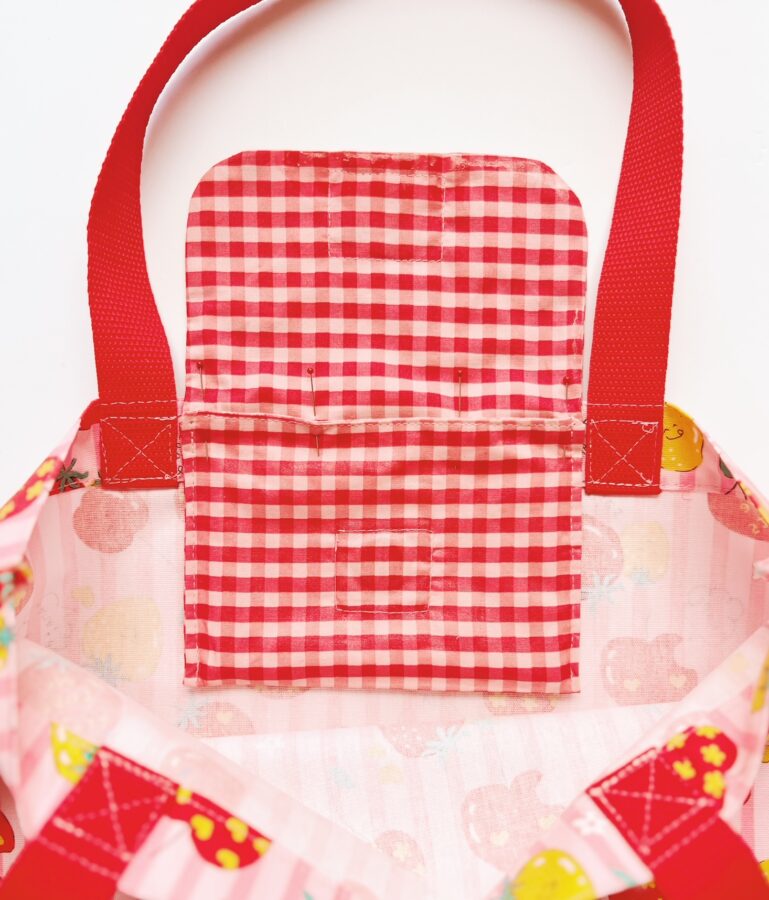
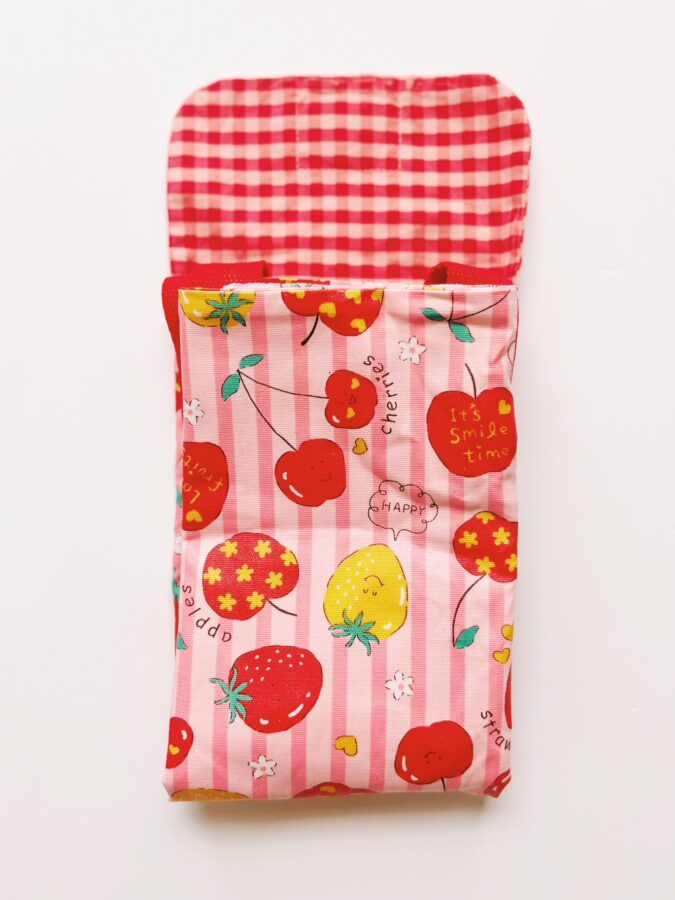
- Once the tote bag and pouch have dried and cured, you can attach the pouch into the inner top edge of the inside of the bag. Prep the pouch, with wrong side out (seams should be facing out), open the flap and center, lining up where the pocket is to the top edge of the tote bag, placing it around 1/4″ from the outer edge of the pocket, using the outer edge of the pocket as a guideline. Pin in place. Flip over to the right side of the tote bag and sew a seam along the top pinned top edge (close to the edge as possible, make sure to backstitch). You are now done!

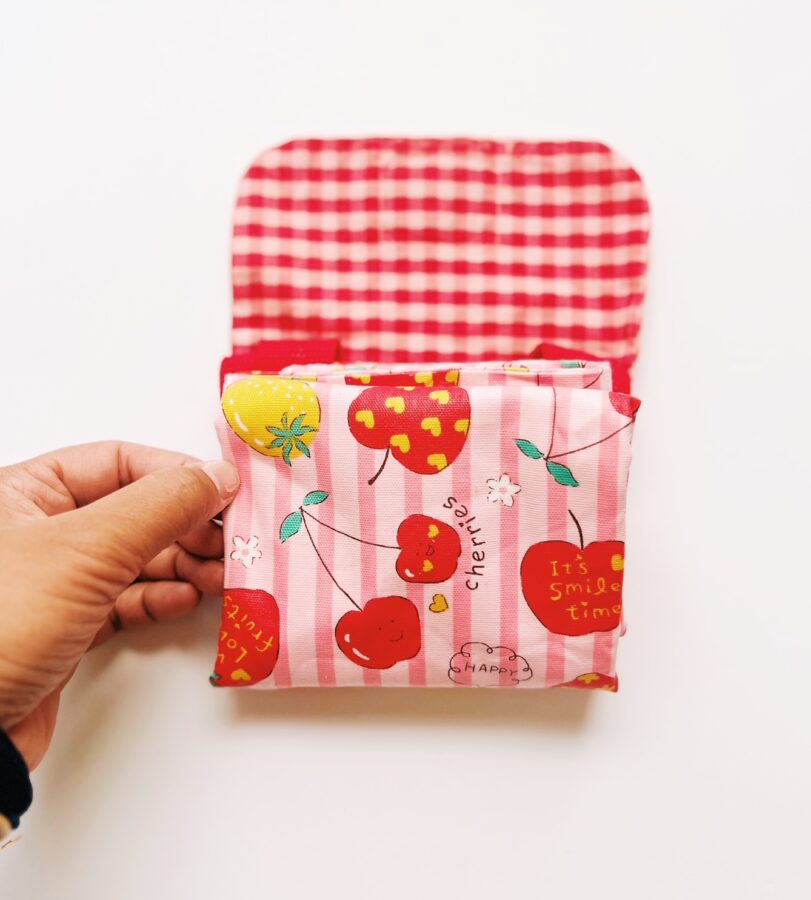
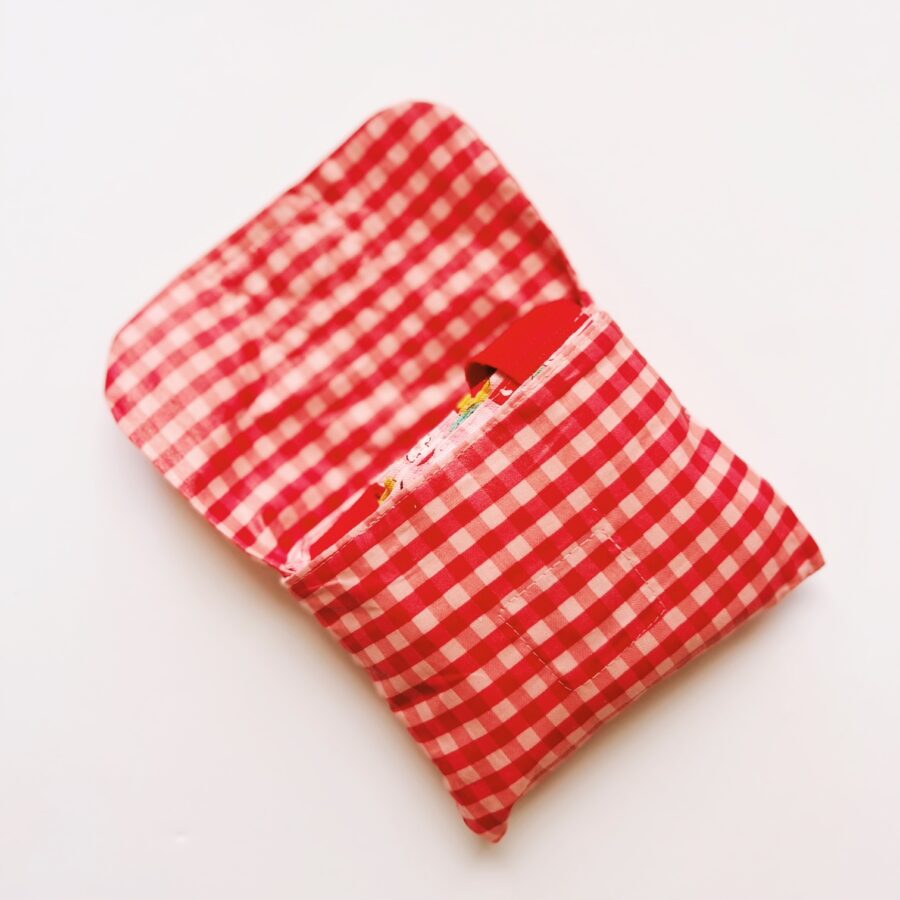
PLACING THE TOTE BAG INTO THE POUCH
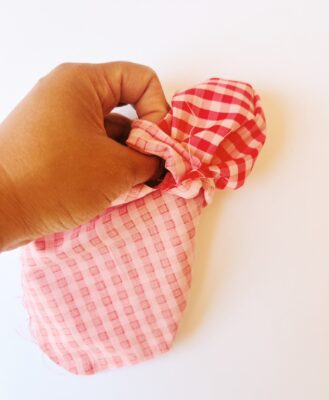
- To place the tote into the pouch, fold the tote bag in thirds and upwards into fourths, creating a square. Tuck the square into the pouch and close the flap. You can now throw the pouch into your purse for extra storage of your things! I hope you enjoyed this project tutorial and follow me over at Instagram @creamcraftgoods for more inspiration!

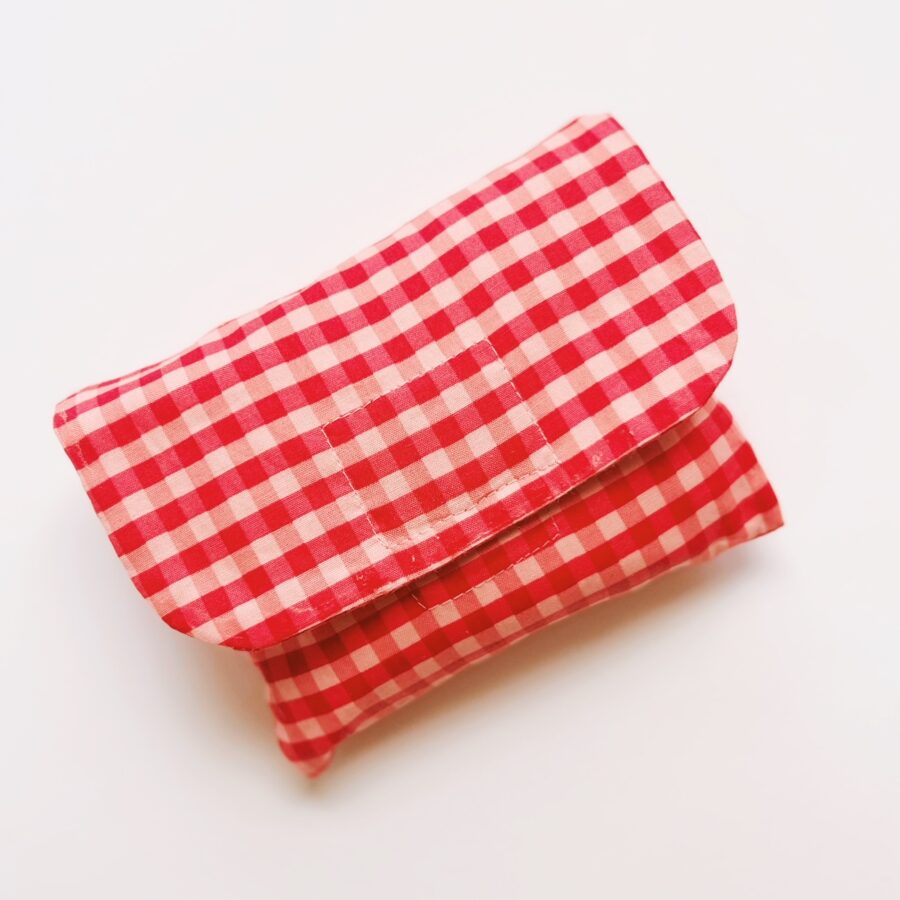
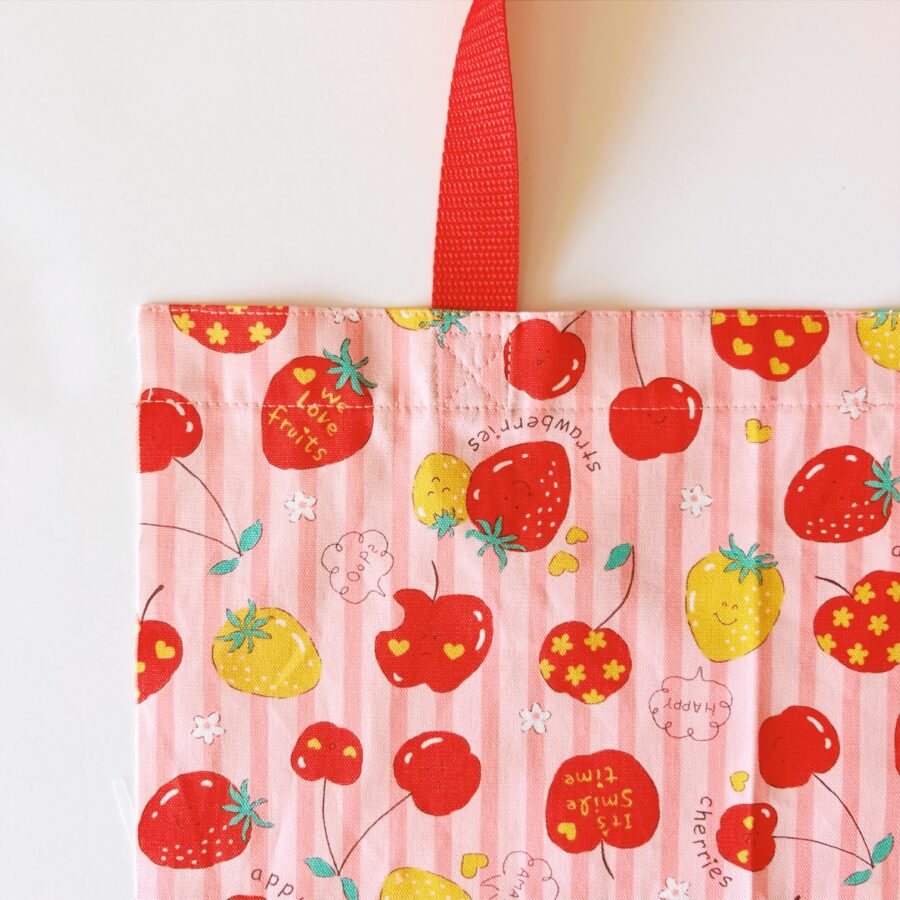
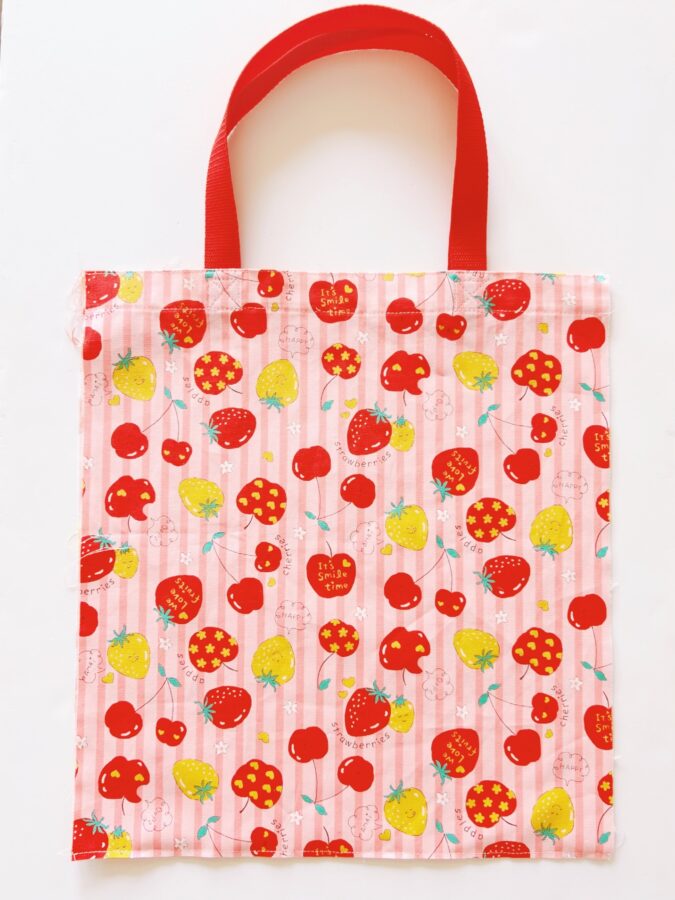
FINISHED TOTE BAG