Hello and welcome to Inflorescence Designs. I am so joyful you are here!
Today is my day for the Sew a Story: To Grandmother’s House Blog Tour hosted by Jennifer Long from Bee Sew Inspired.
The “To Grandmother’s House” fabric line by Riley Blake Designs was so fun to work with. I chose to make some special kitchen supplies with the fabric.
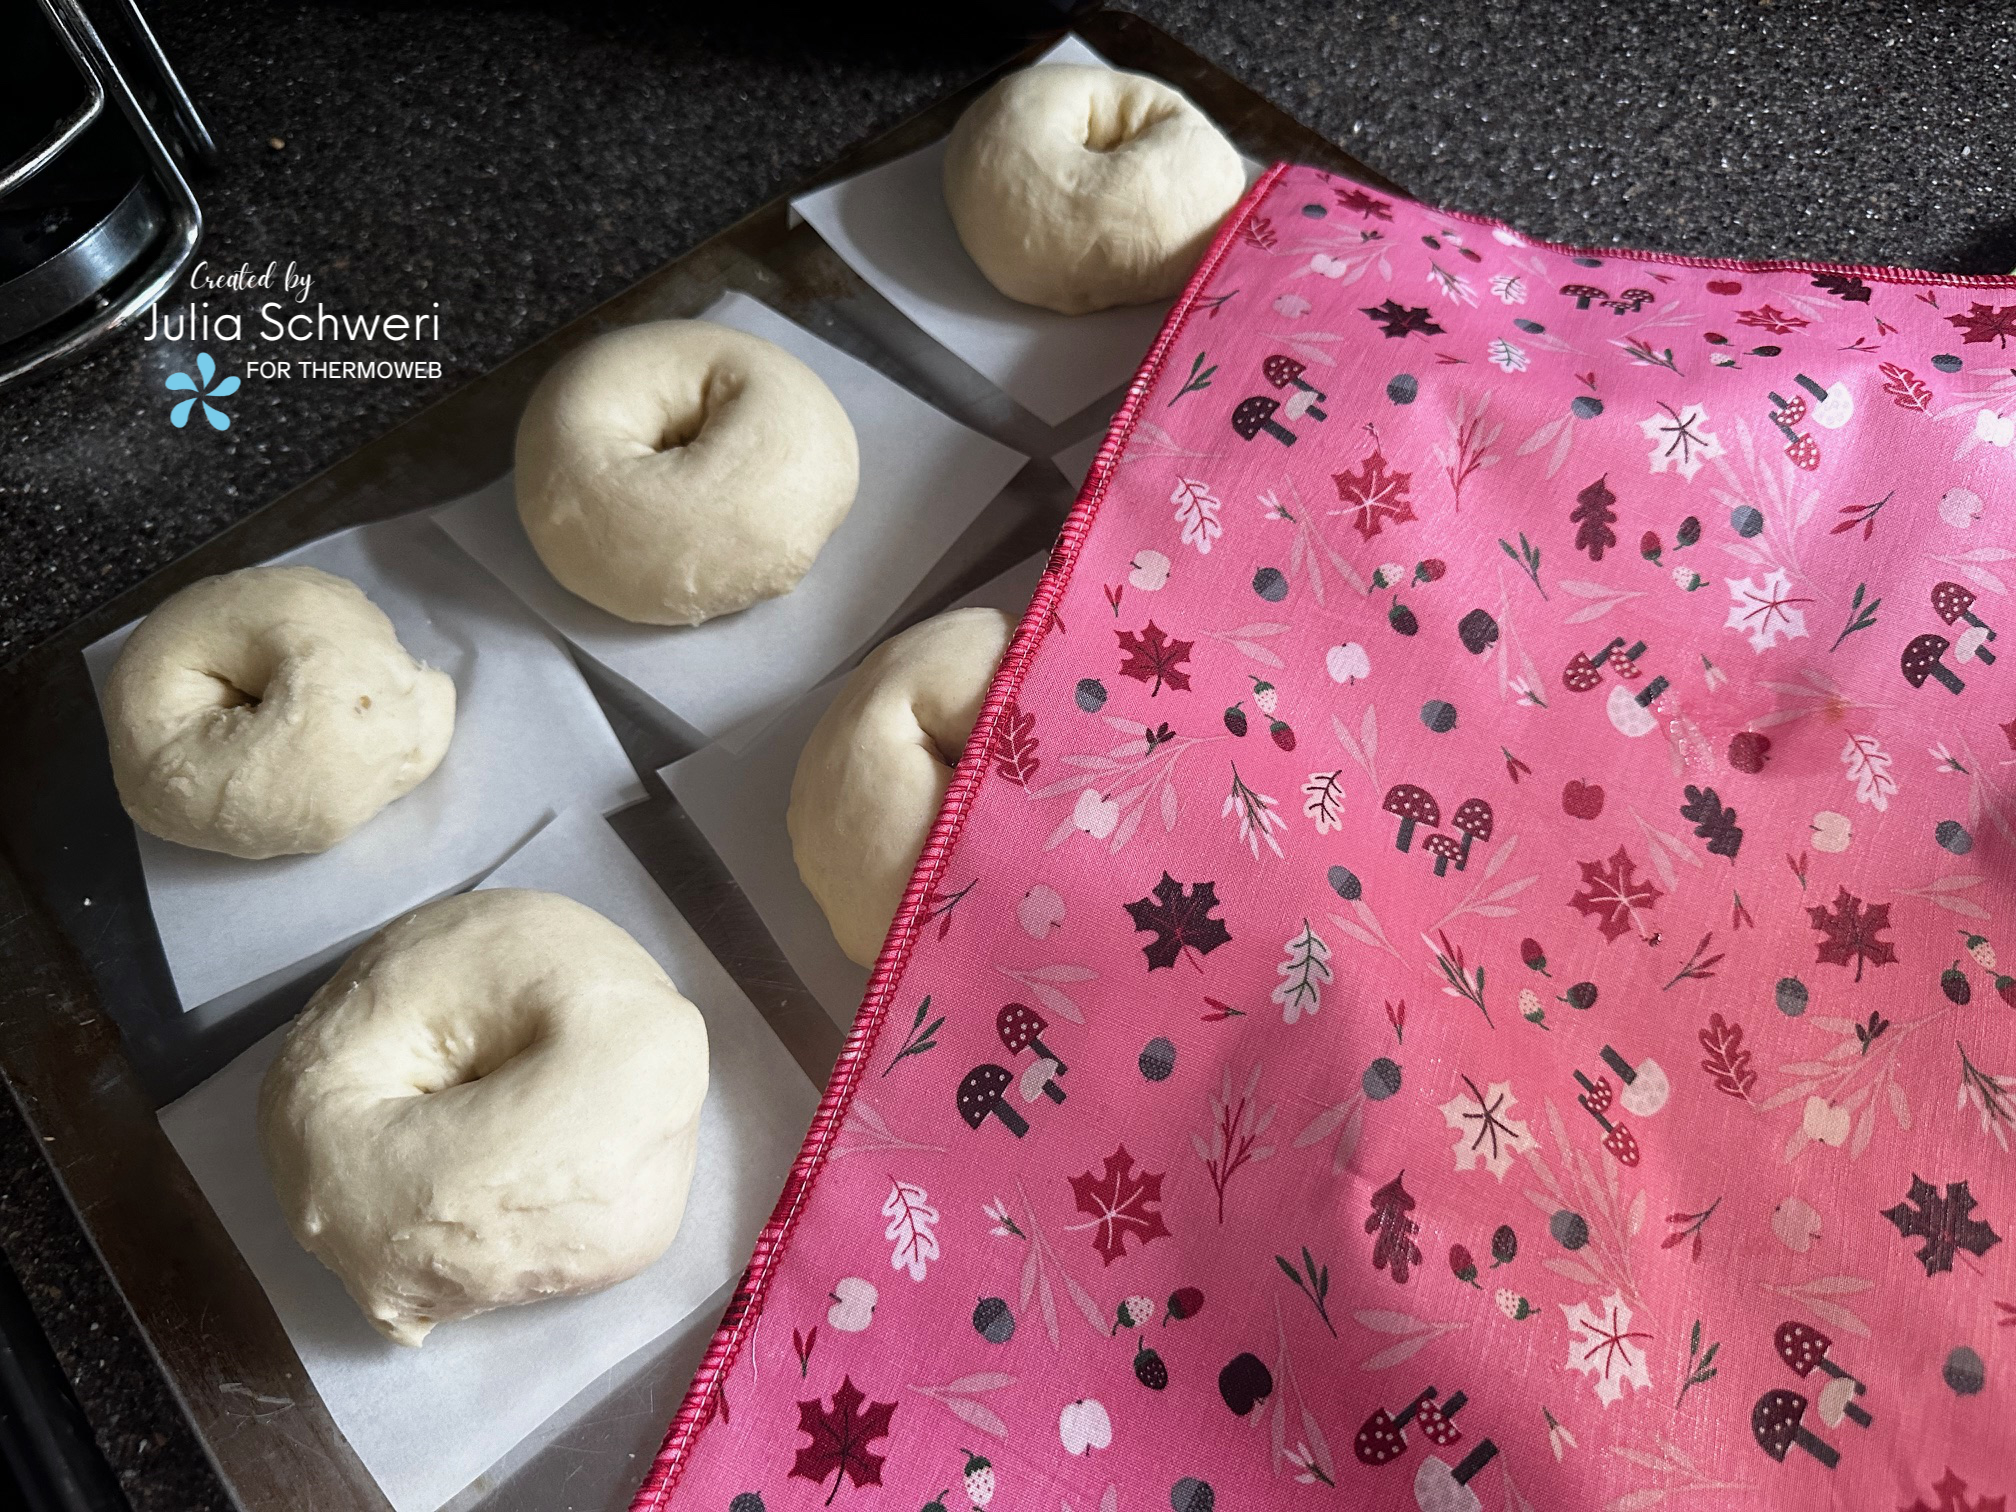
Over the past year I have been perfecting my bread making skills and I noticed a lot of recipes call for plastic wrap to be used when proofing the dough. I am always looking for ways to be more environmentally friendly and using less plastic is high on my list. When a bread recipe called for plastic wrap, I would simply use a towel. However, when using a towel, my dough would always be very dry and crusty on the top. Last summer, I developed a Proofing Bowl Cover for Thermoweb that used their Liquid Vinyl which eliminated the need for plastic wrap when covering my mixing bowl for proofing. The outside had the Liquid Vinyl applied but the inner lining was left plain, so it was safe for food. However, I wanted to take it a step further. 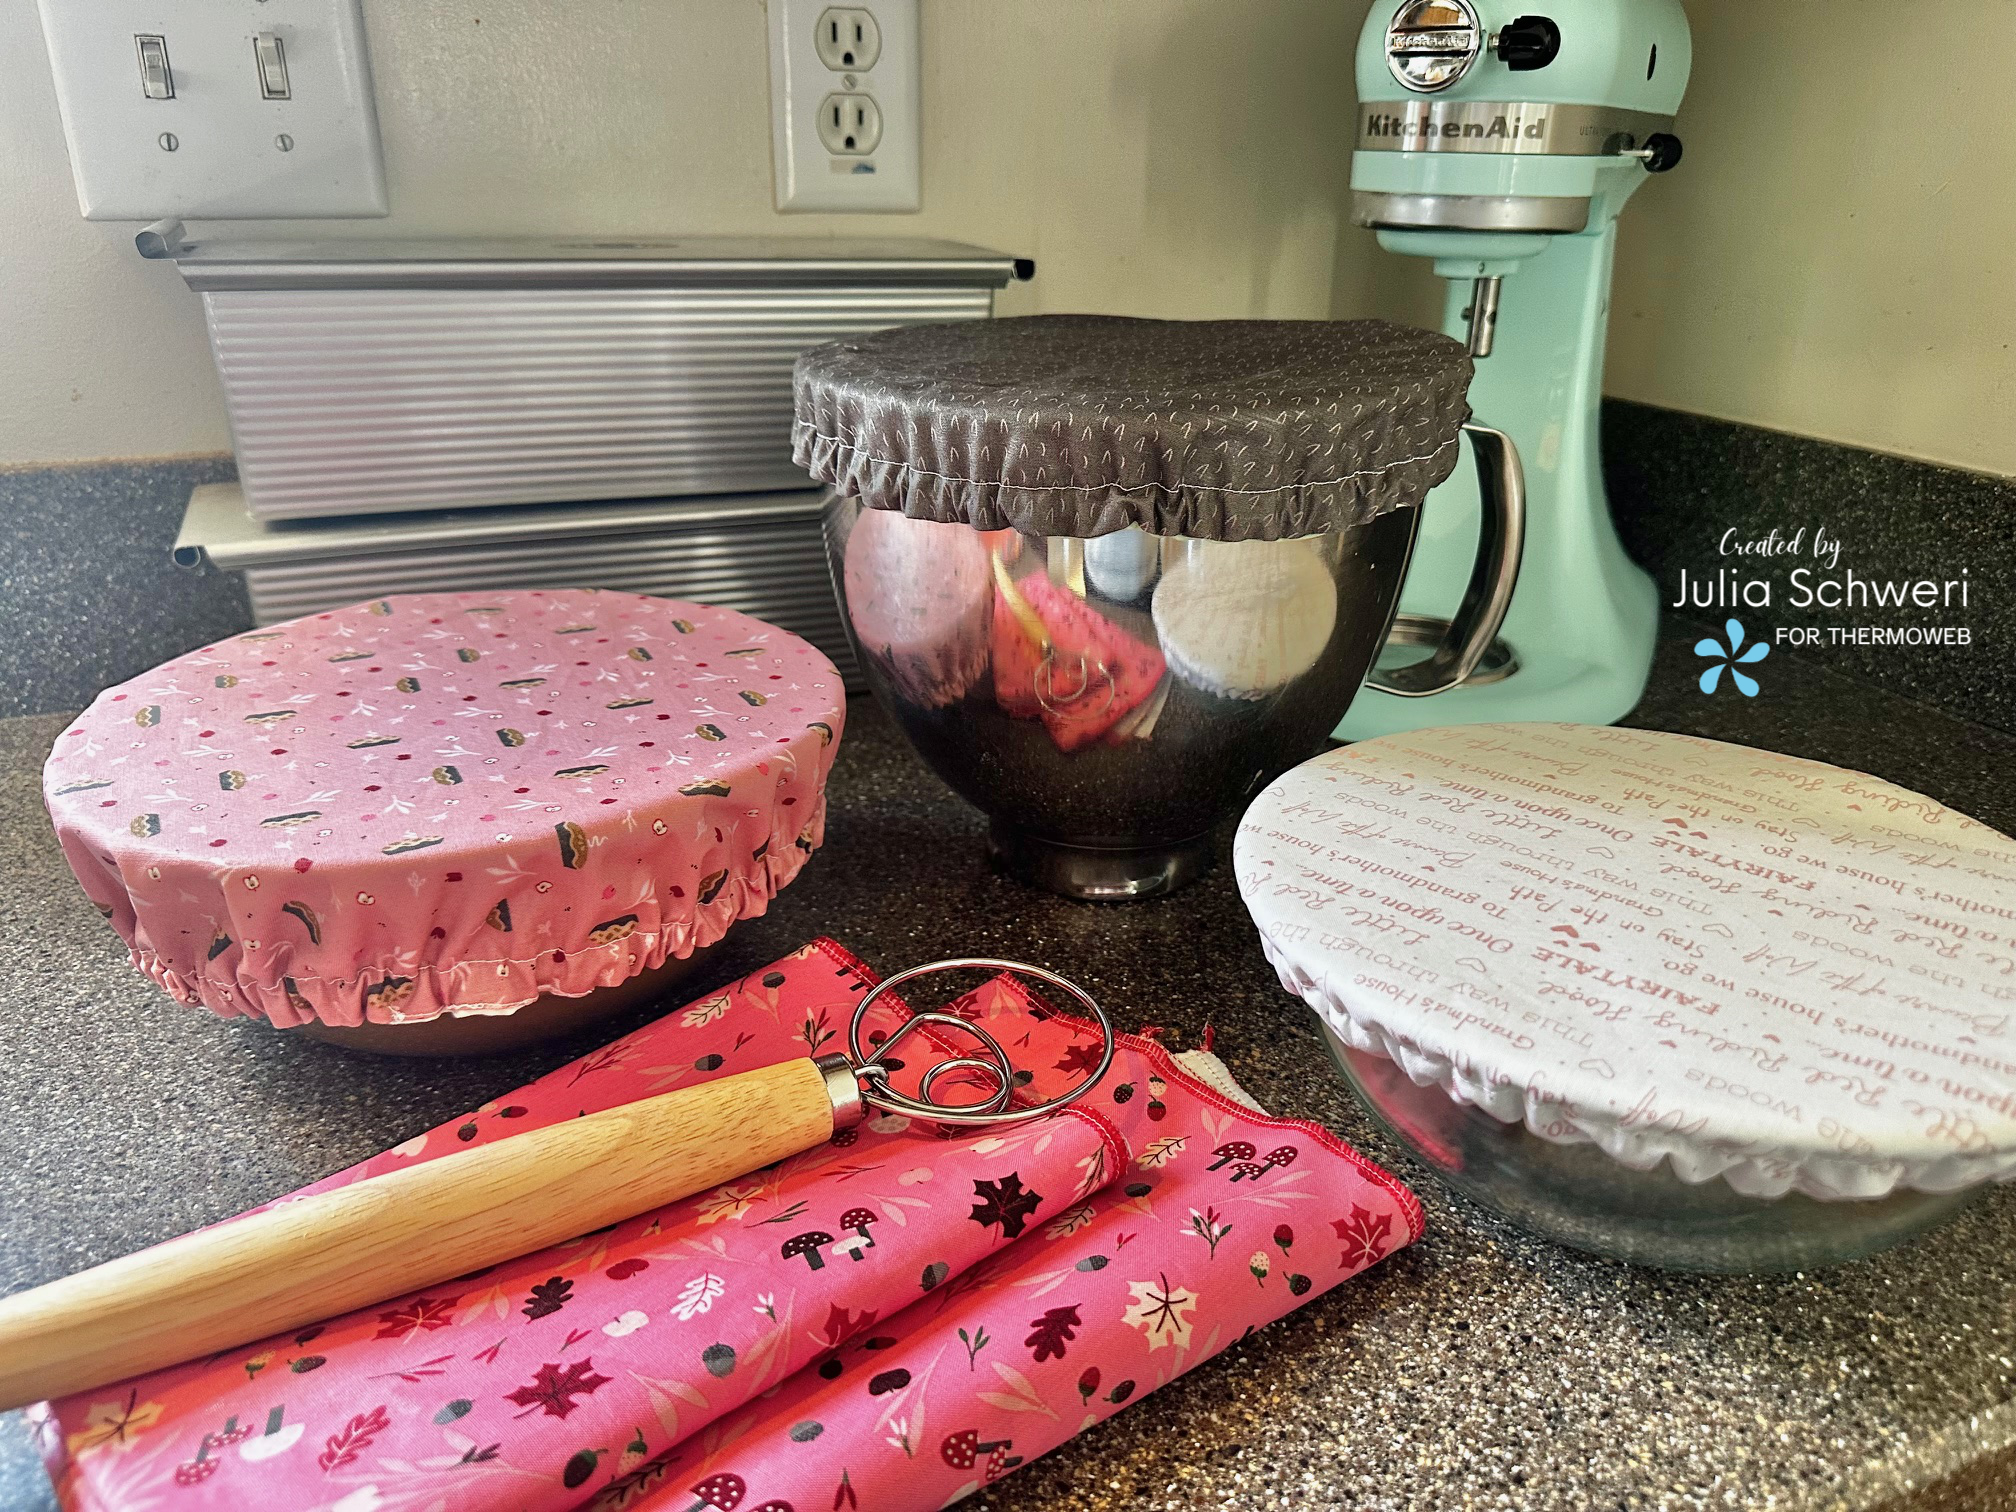 Not all containers used when bread making are circular, so I made a Liquid Vinyl cover out of a fat quarter!
Bread Proofing Cover
Supplies:
- 1 Fat quarter main fabric: pictured is Foraging in the Forest Rose by Riley Blake Designs
- 1 Fat quarter lining fabric
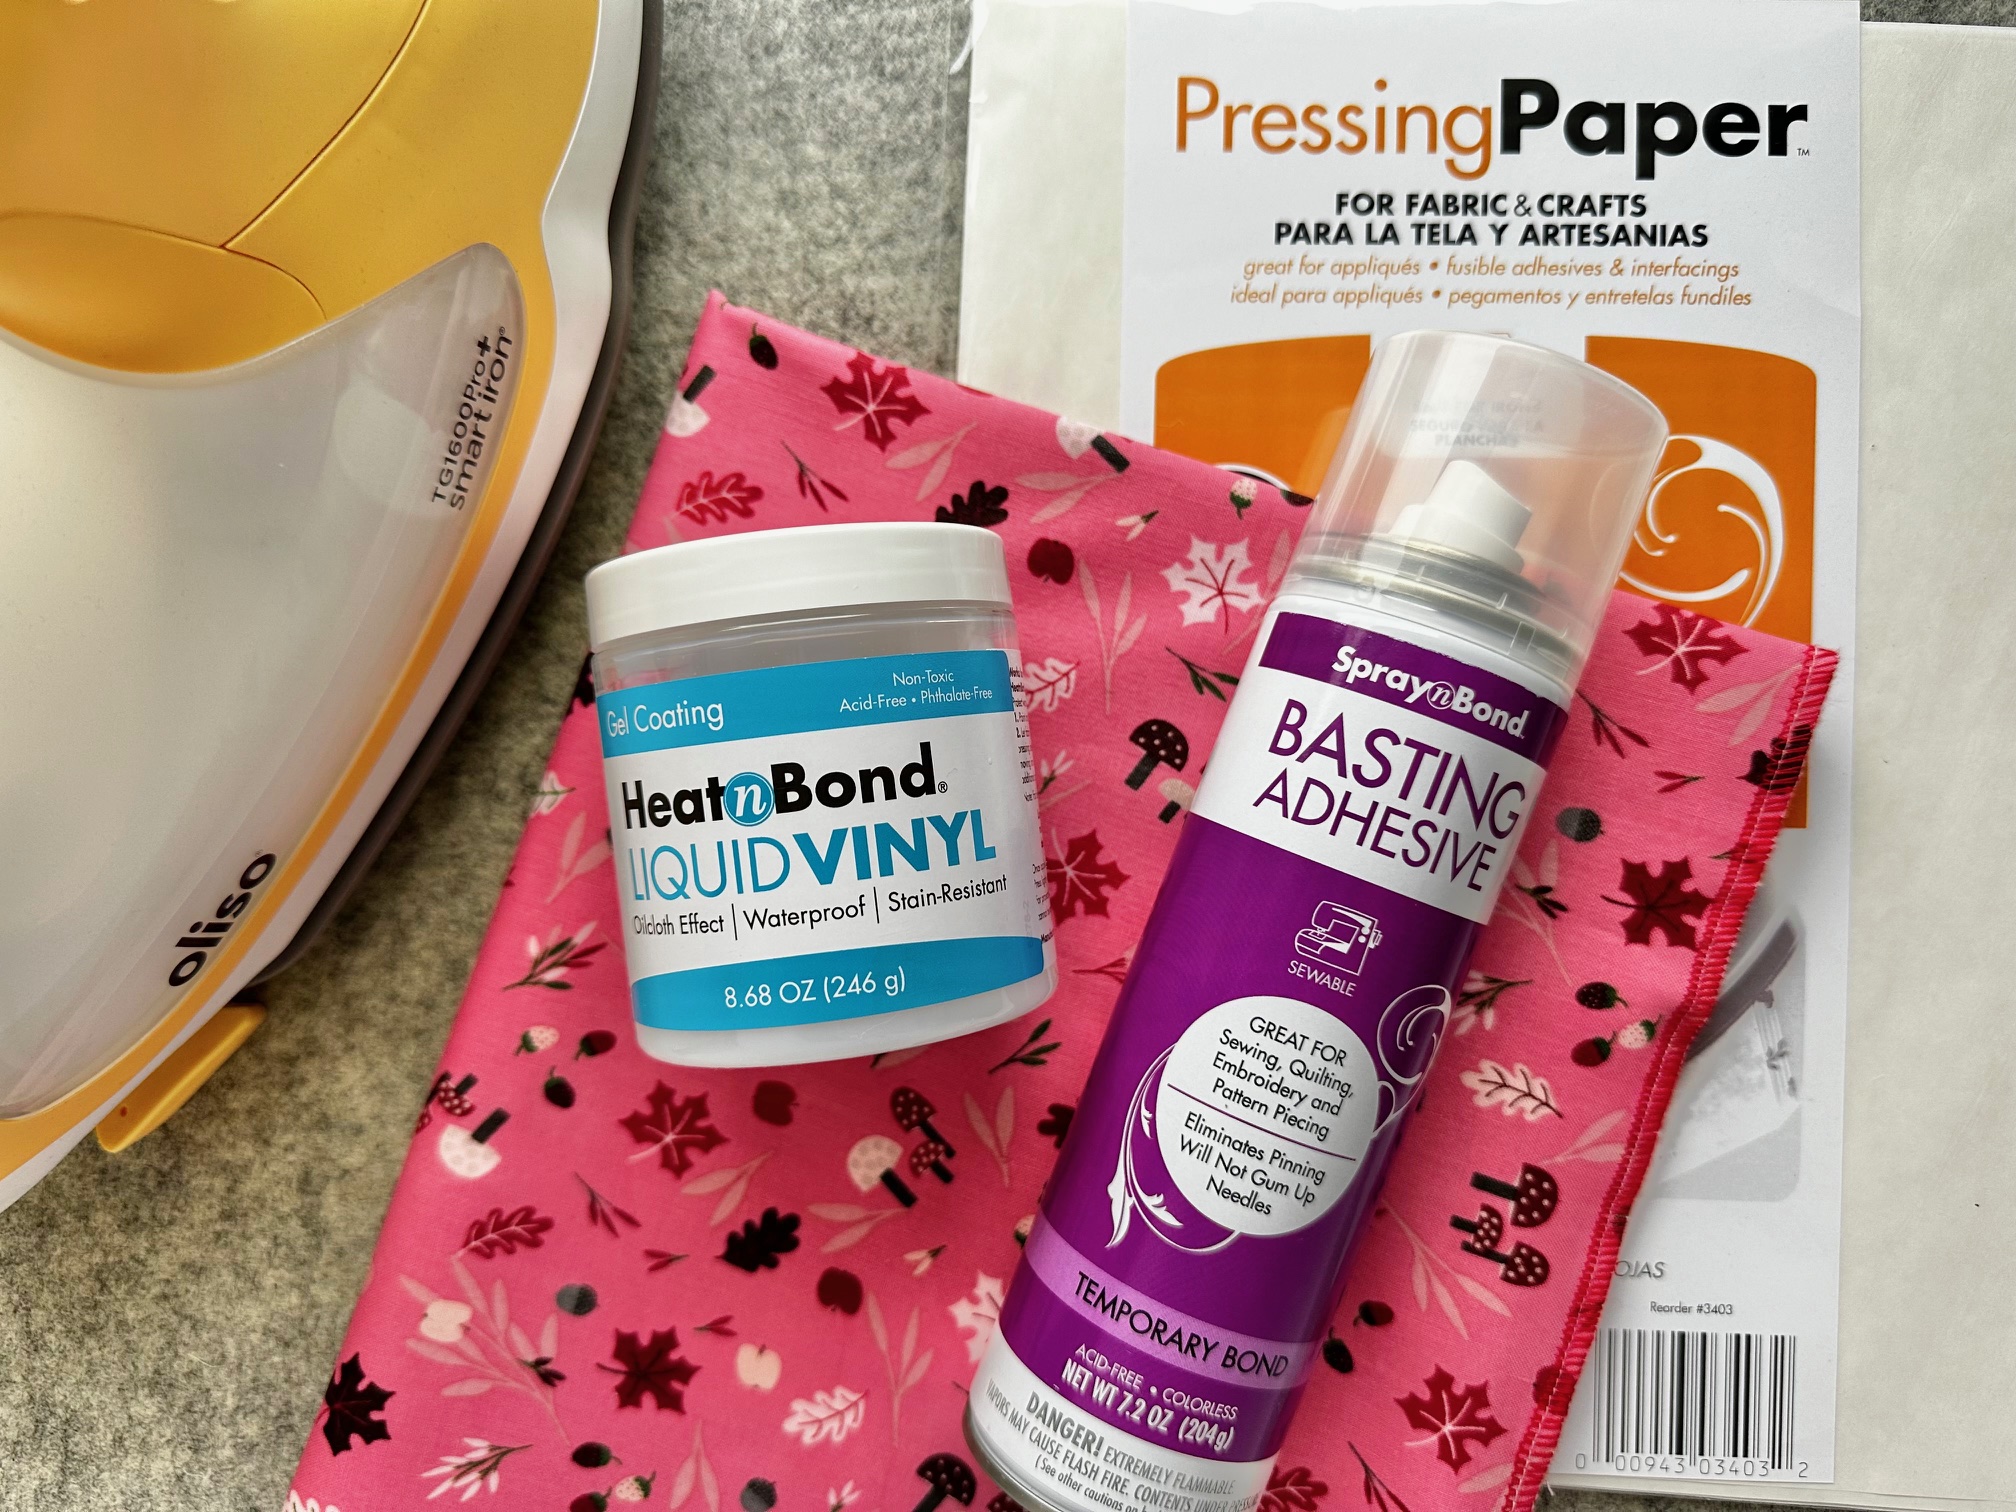
- SpraynBond Basting Spray
- HeatnBond Liquid Vinyl
- Pressing Paper
- Serger or Sewing Machine
Instructions:
Begin by…
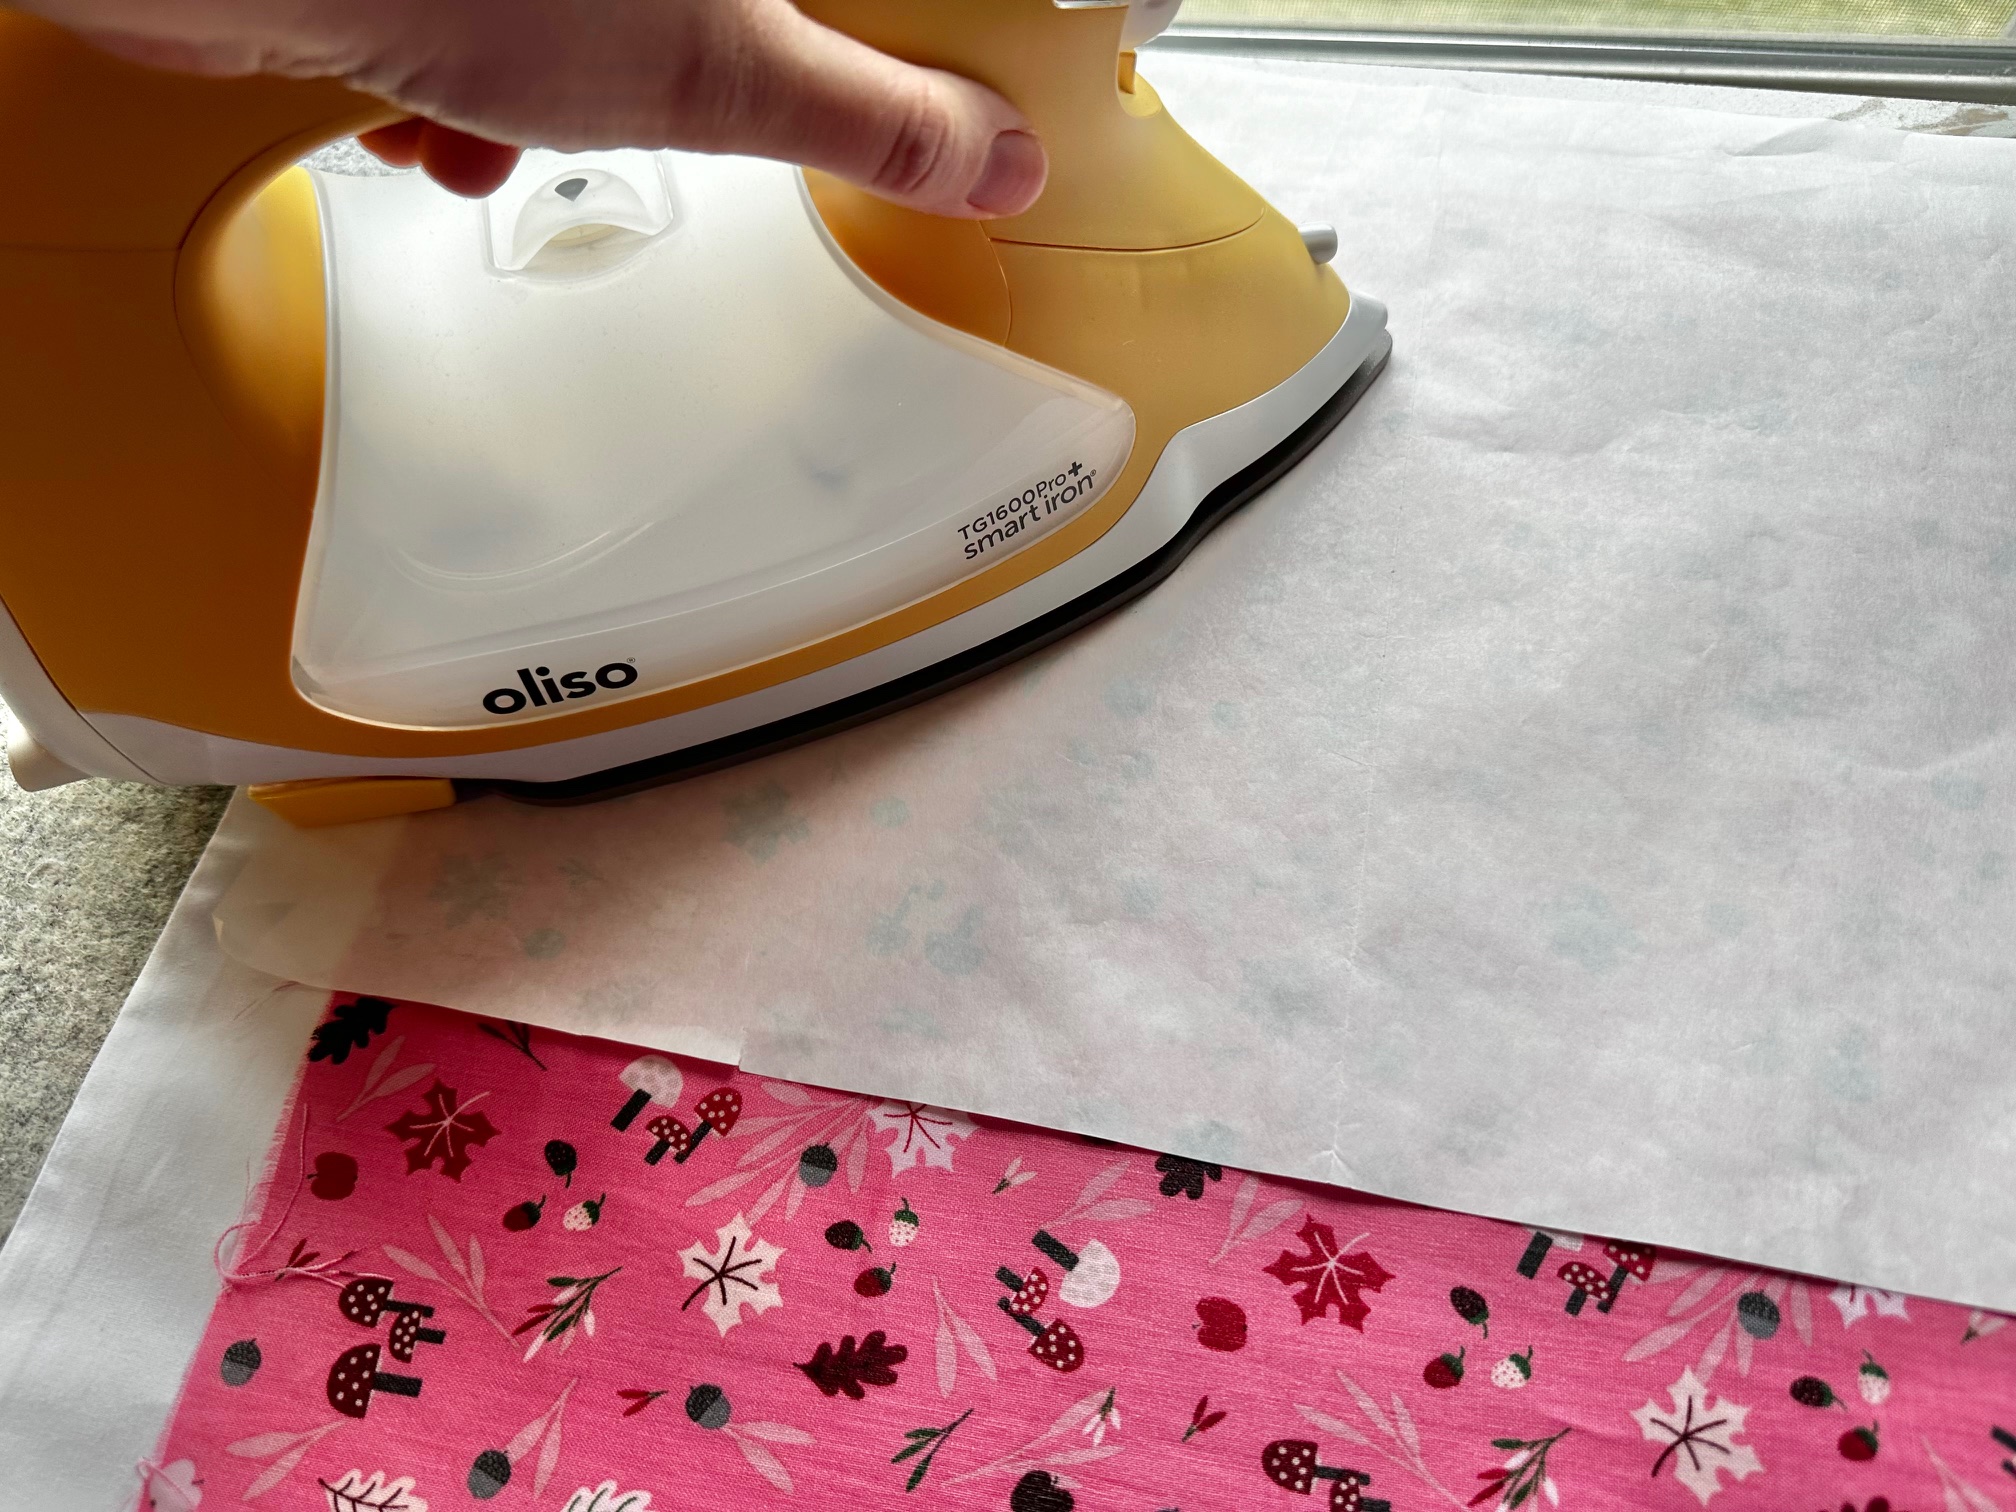
Apply the Liquid Vinyl to the right side of your main fabric. Liquid vinyl is non-toxic but has not been tested for food safety. Because of this, we are only adding the liquid vinyl to the outer top fabric. The lining will not have liquid vinyl which will protect your bread dough. Important Tip: Liquid Vinyl is machine washable after it has cured 24 hours. Wash on the cold setting and air dry. For this project, I used ONE coat of Liquid Vinyl. The number of coats is a personal choice for this project.
General Directions
Works best on smooth fabrics. Pre-wash and dry all materials without fabric softener. Please note, the application of HeatnBond Liquid Vinyl may slightly alter the fabric’s original appearance. For best results, always pre-test before starting the project. Protect the workspace with a non-stick surface such as HeatnBond Pressing Paper, parchment paper or a silicone craft mat.
- Paint on a thin layer of Liquid Vinyl using a soft-bristled paintbrush or foam brush; rinse the brush and wipe off the rim of the jar before recapping.
- Let fabric dry 30-45 minutes.
- Preheat the iron to medium heat, with no steam.
- Place fabric on top of parchment paper or a non-stick pressing sheet on a firm, heat-proof surface (not an ironing board) and cover with HeatnBond Pressing Paper. Press for 45 seconds, moving the iron slightly. For larger pieces, slightly overlap areas until the entire surface has been pressed.
- Repeat Steps 1-4 to apply additional coats of Liquid Vinyl, pressing after each coat.
Next…
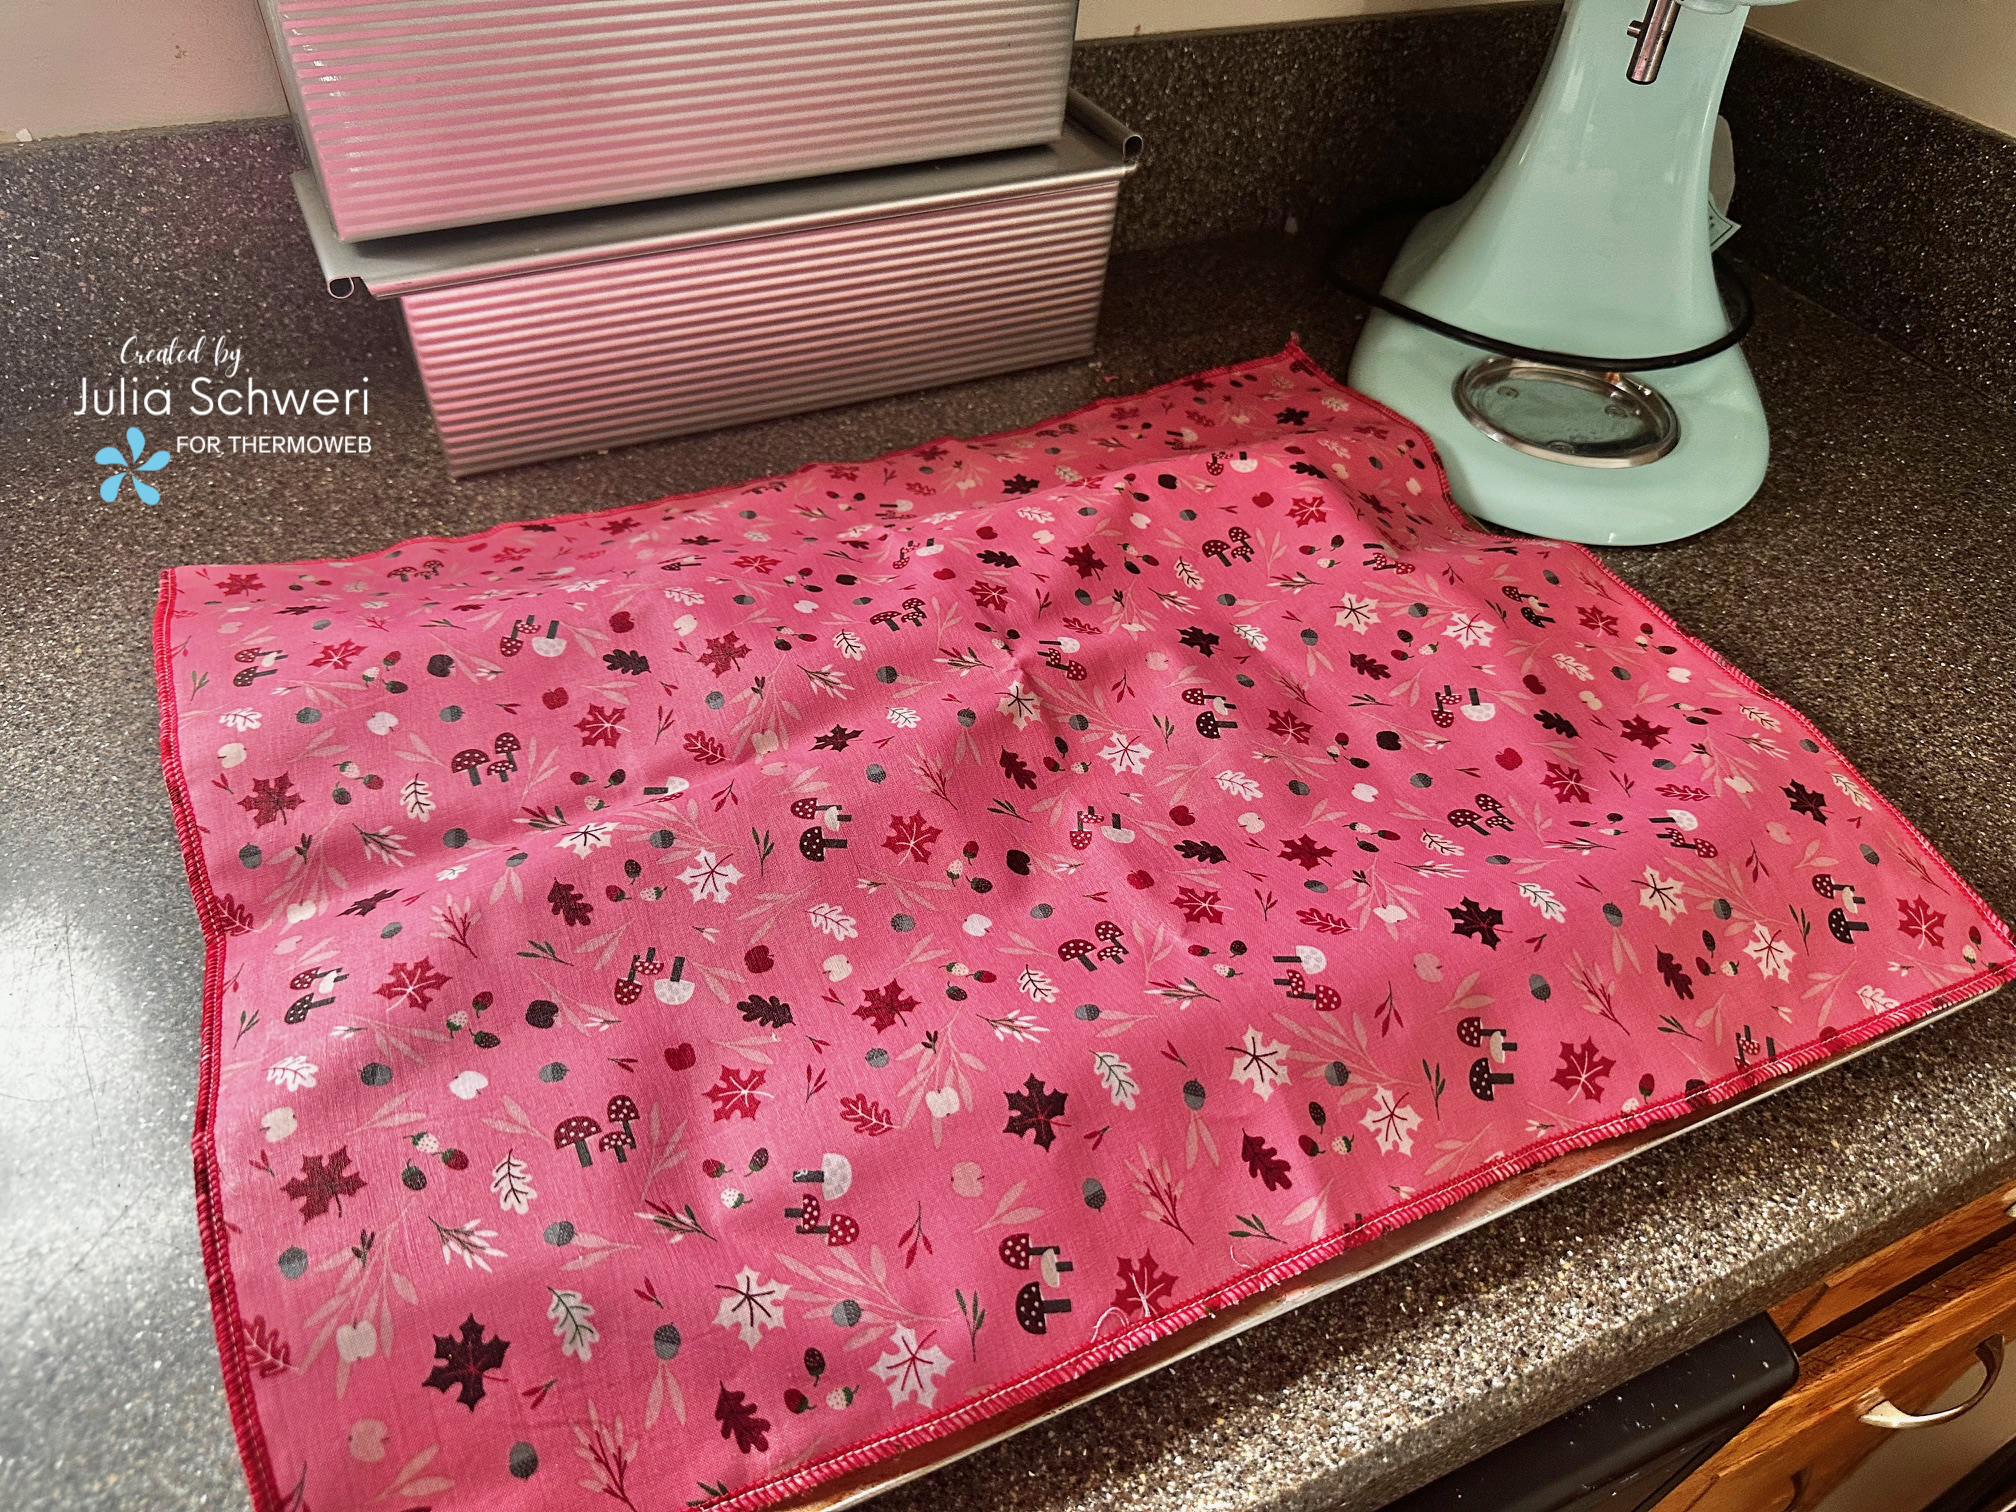
Once your top piece has been pressed, layer your front and lining fabrics wrong sides together. I used SpraynBond Basting spray to hold the 2 pieces together. You can either serge the edges, use an overlocking stitch or zigzag your raw edges together. 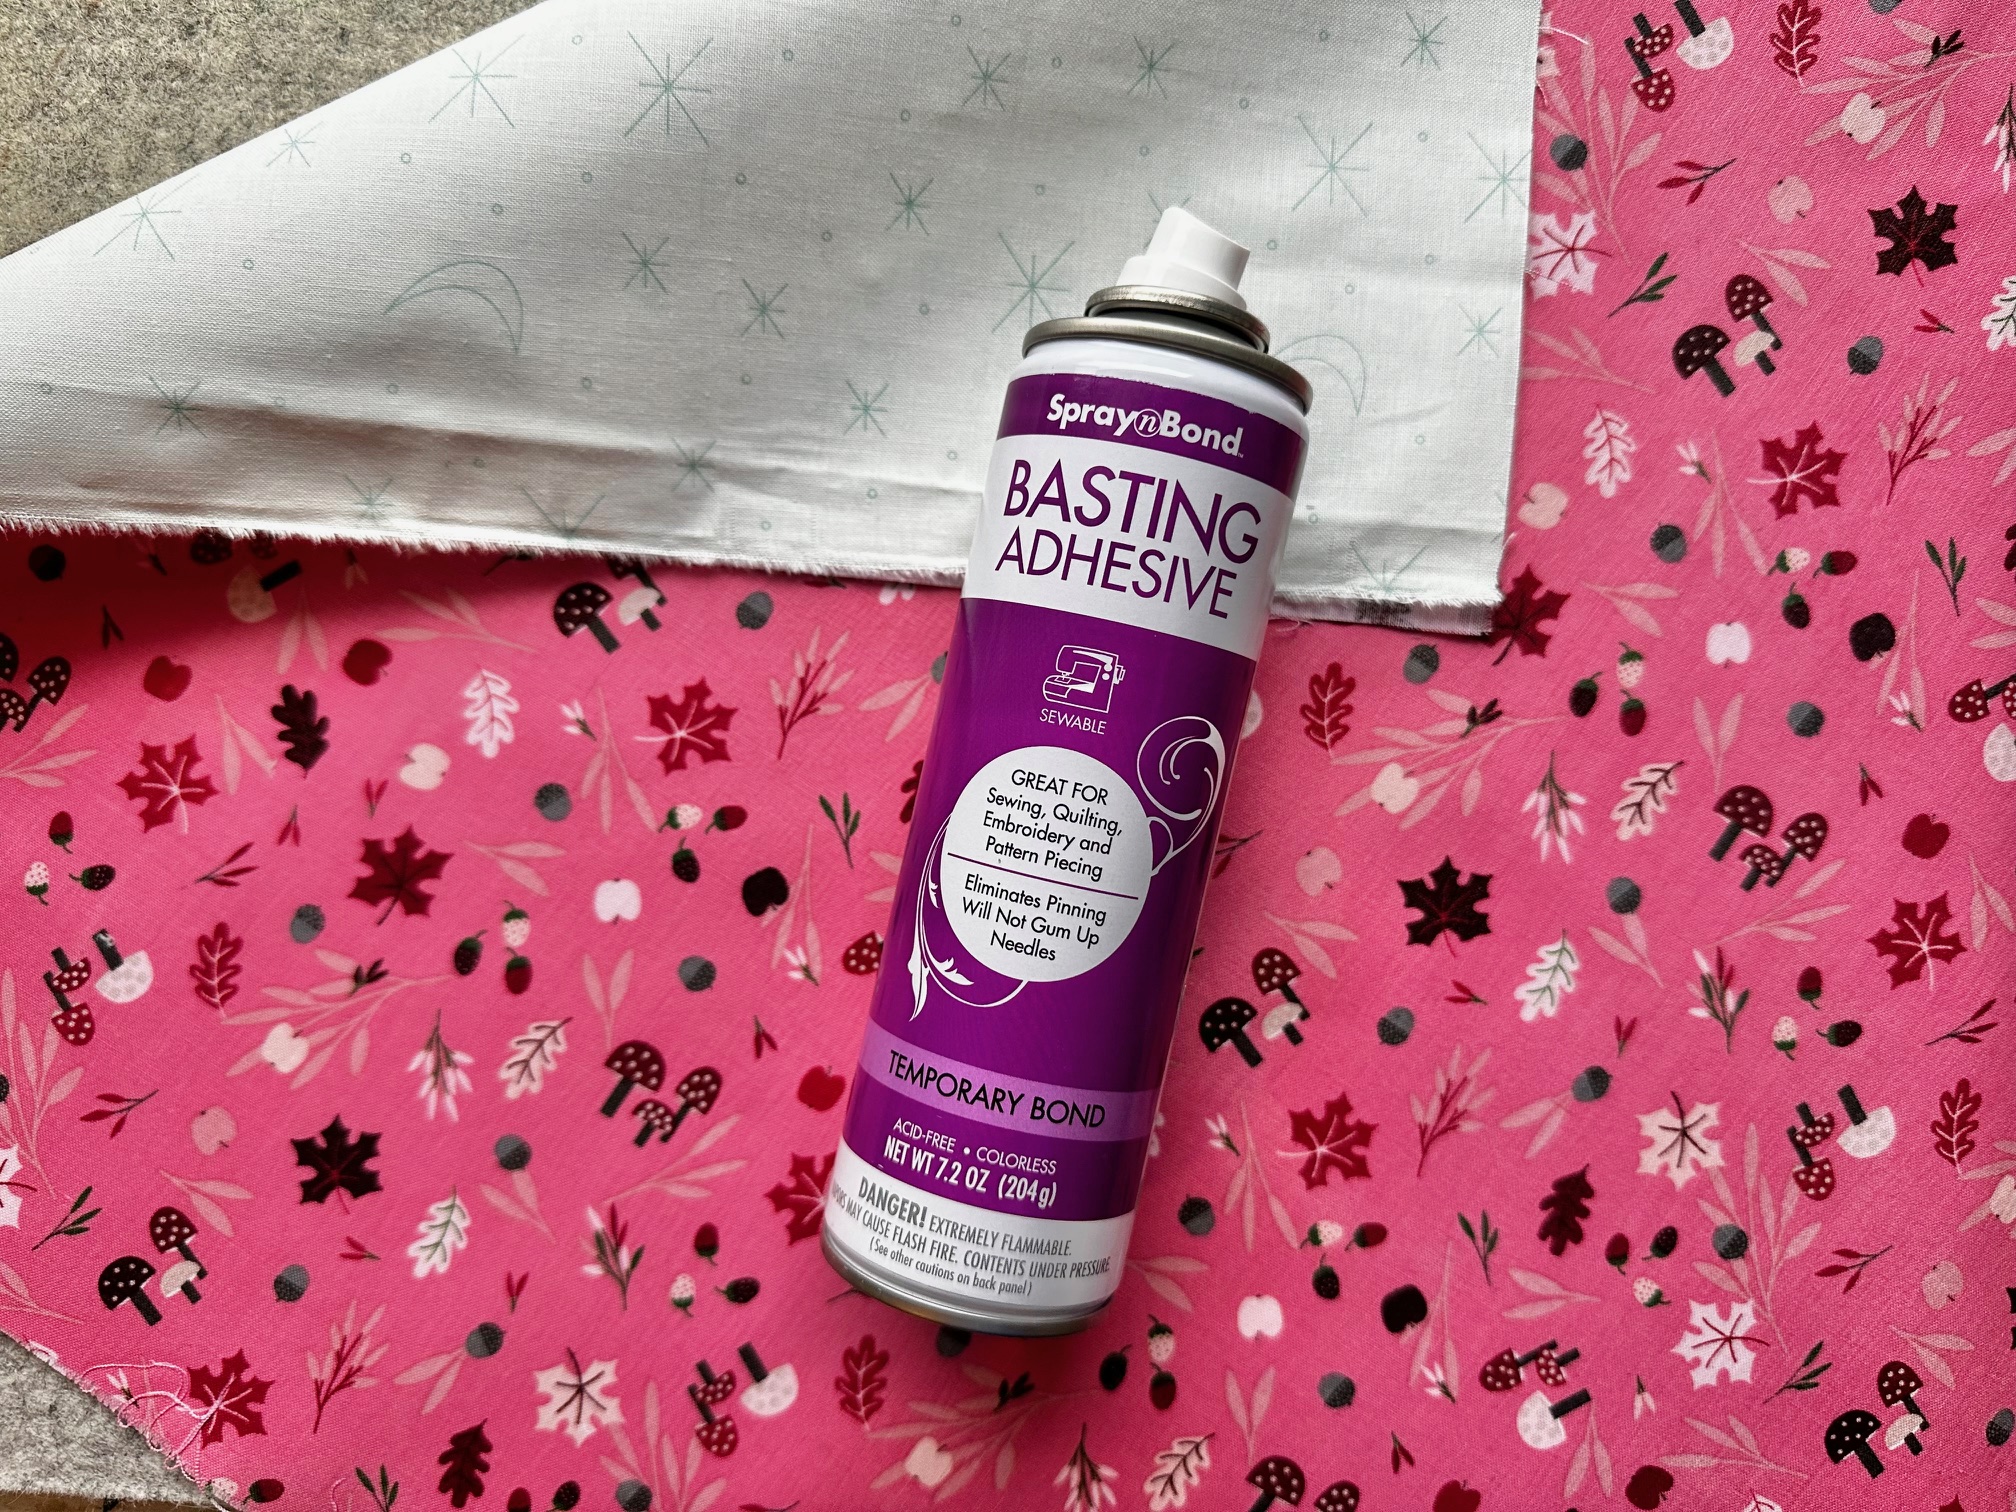
Finished!
 I also wanted to make new fridge handle covers and the “Basket Weave Grass” fabric from the same line was perfect! Find that tutorial HERE.
Thanks for stopping by. Don’t forget to check out the other designer on the blog tour as well! Find the list HERE.
Thank you for visiting today! Come back soon to see what else will be starting to bloom with Inflorescence Designs! Starting to bloom by choosing JOY ~ Julia
Janie Vantol
March 9, 2024 at 12:09 am (8 months ago)Such a beautiful Strawberry Basket Quilt! All of the cute kitchen projects are adorbs too. I am picturing a nice apron also! Thank you so much!