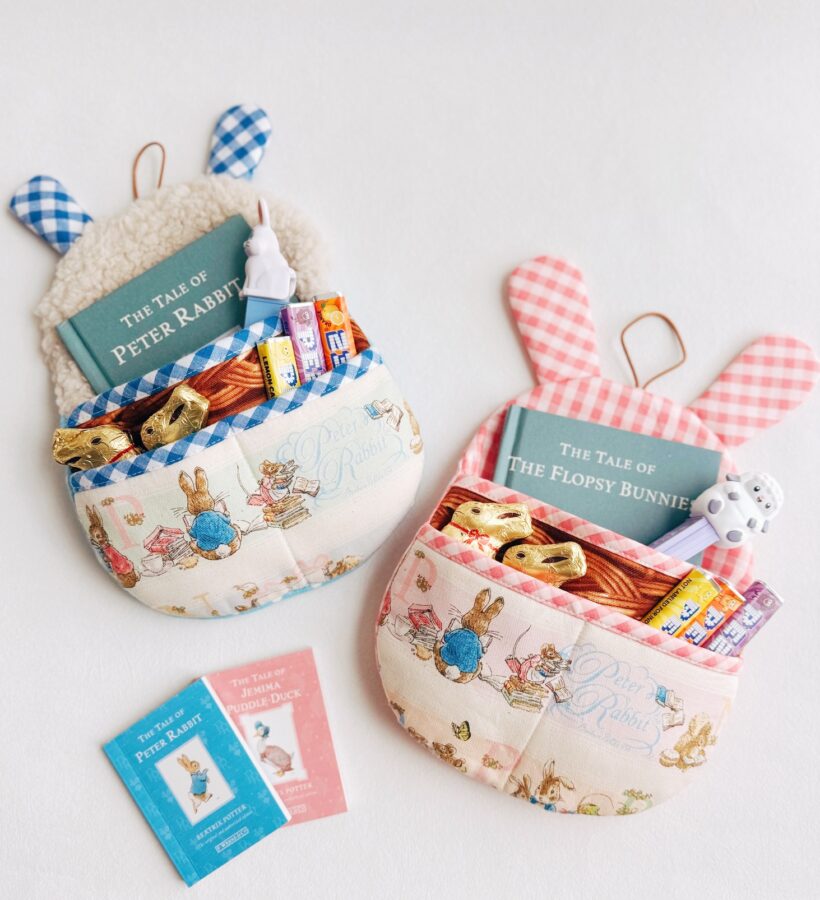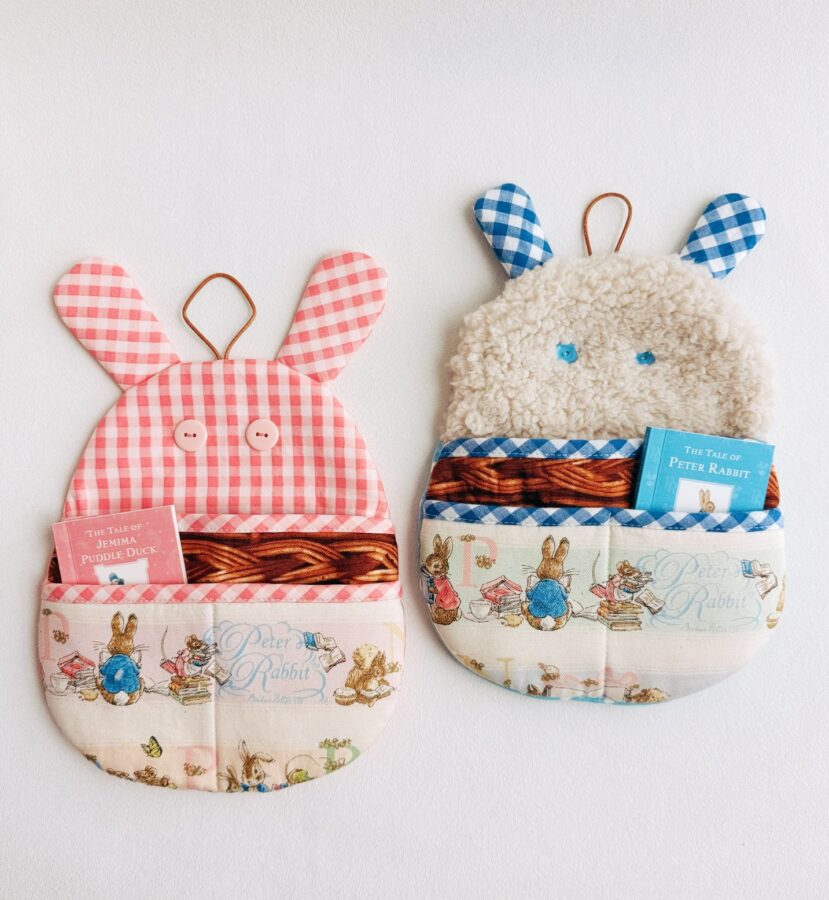
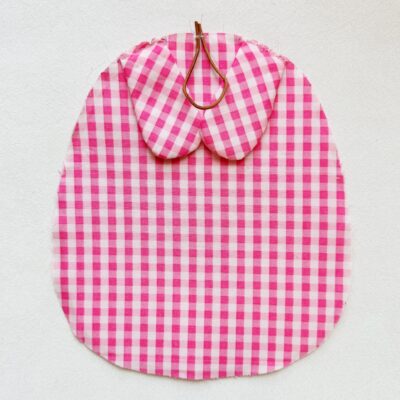
Hello and Happy Spring! Here is a sweet little project to make for your little bunnies or for yourself – a cute Bunny Holder. You can give this as an Easter present or use it for your own little things! It has multiple pockets to store little books, candy, pens, notebooks, and more. It has a little loop holder attached to the top so you can hang it as decor too! Let’s make this Bunny Holder!
Bunny Holder Instructions
Materials Needed:
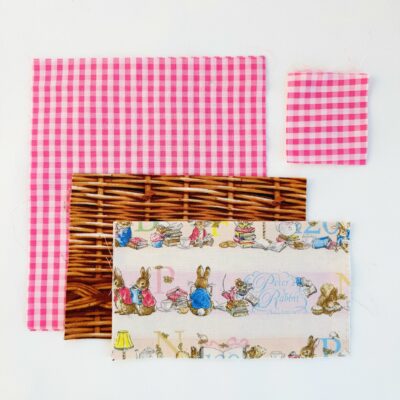
- about fat quarters of cotton
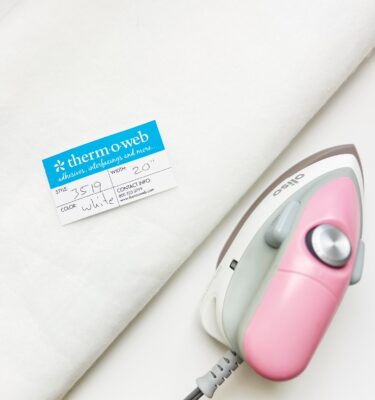
- HeatnBond Fusible Fleece
- cotton cording
- optional pair of button for eyes
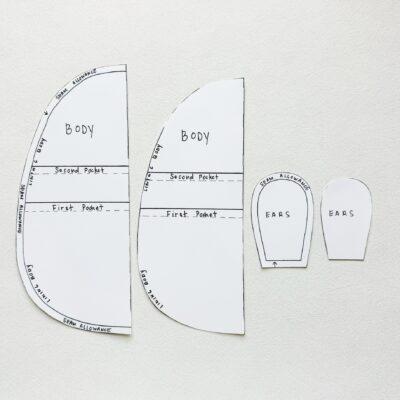
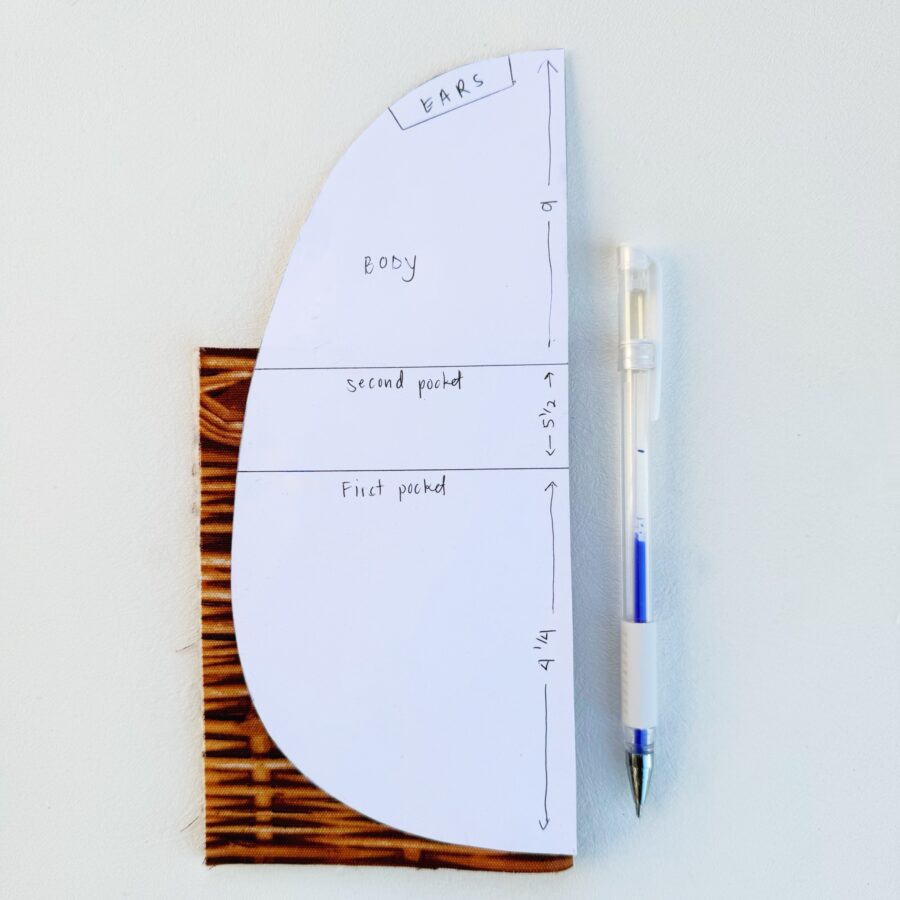
- Bunny Holder Template-Print onto cardstock twice – CLICK HERE FOR TEMPLATE
Tools Needed:
- Sewing Machine
- Rotary Cutter and Mat
- Ruler
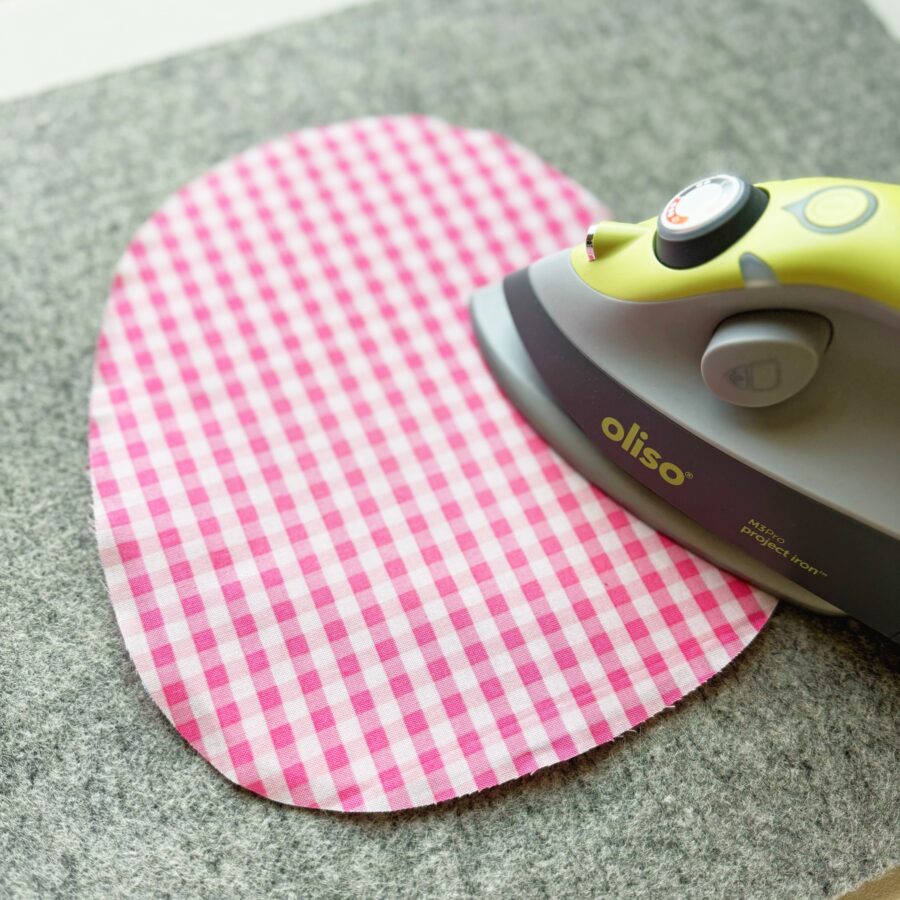
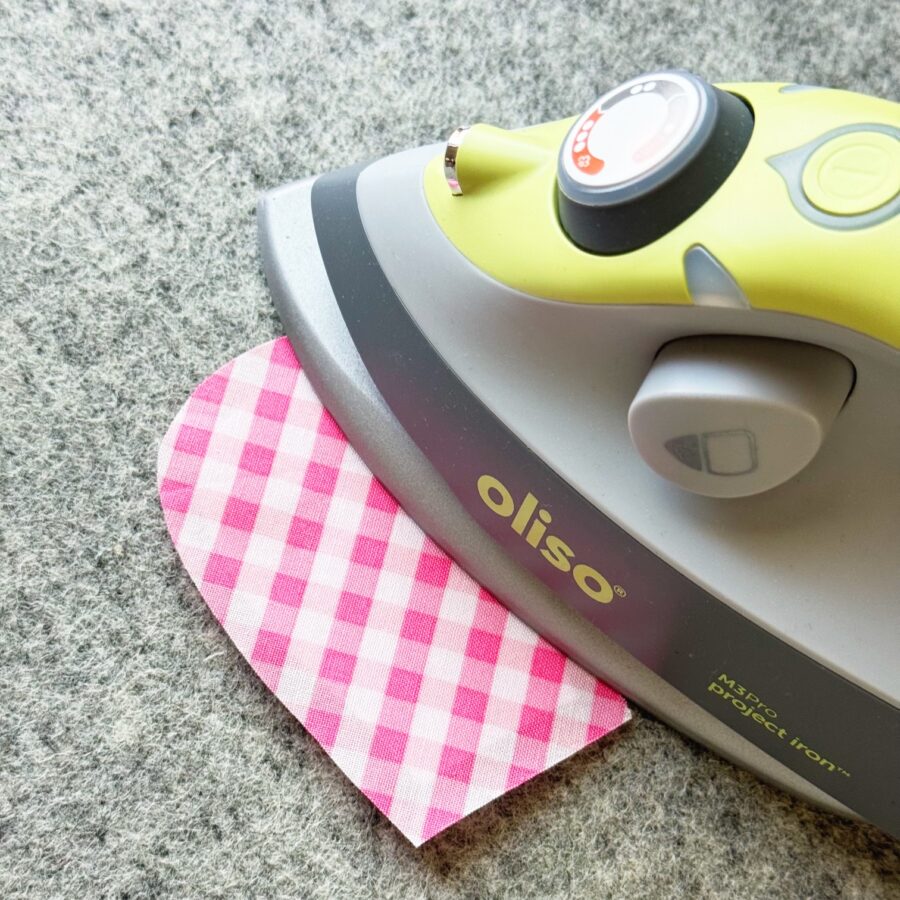
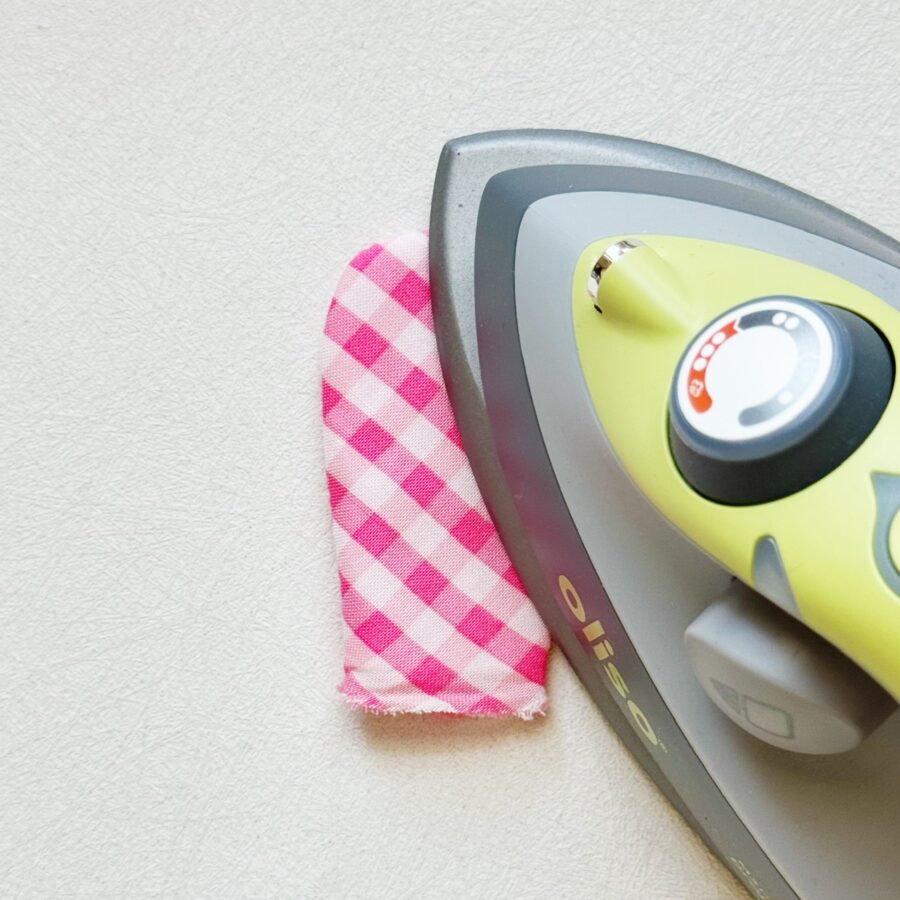
- Iron – I love Oliso!
- Stiletto or chopstick – to turn out project and smooth edges
- Erasable Marking Pen
- Needle and thread for optional bunny eyes
Cutting:
- Cut two 10″ x 9″ pieces of cotton and two 10″ x 9″ HeatNbond fusible pieces – for the main body
- Cut two 9″ x 5″ cotton pieces and two 9″ x 5″ HeatNbond fusible pieces – for the first pocket (smaller pocket)
- Cut two 9″ x 6″ cotton pieces and two 9″ x 6″ HeatNbond fusible pieces – for the second pocket (larger pocket)
- Cut four 4″ x 3″ cotton pieces and four 4″ x 3″ HeatNbond fusible pieces – for the bunny ears
- Cut two 2 1/4″ x 9″ cotton pieces for the binding – for the pockets
- Cut one 4″ cotton cording – for the top loop holder
Let’s Begin!
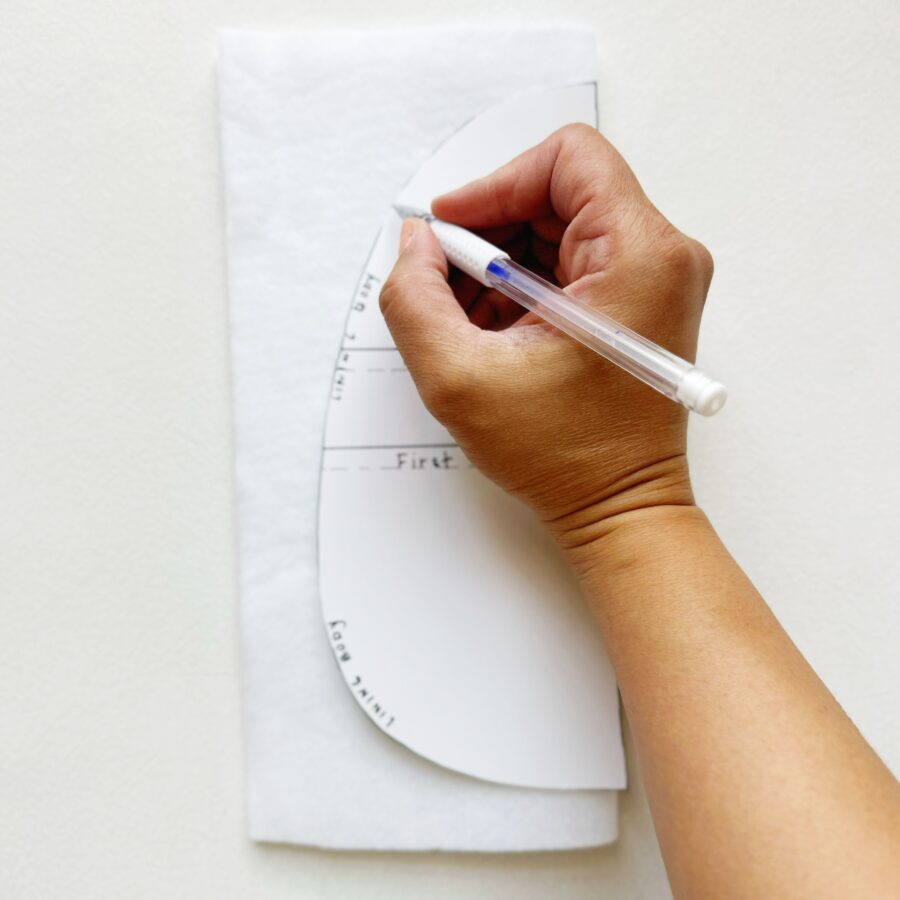
Prep the Main Bunny Body
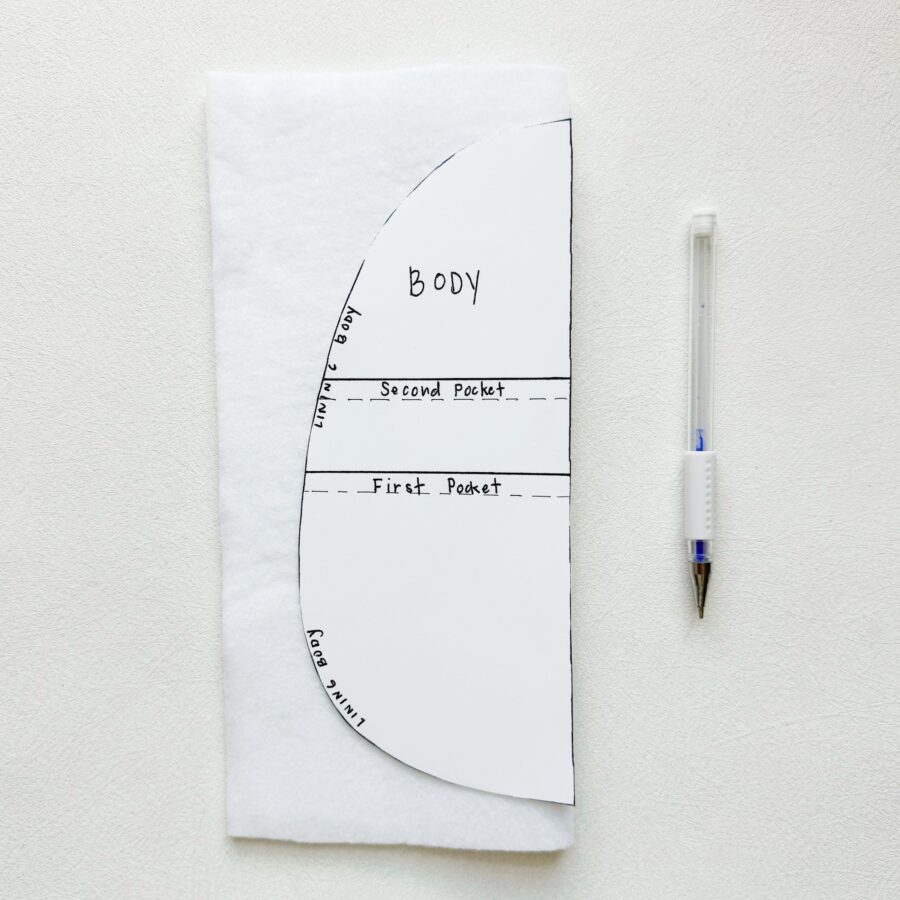
- Take a 10″ x 9″ cotton piece and fold in half along the 10″ side (long side). Using the template, place it along the fold and trace the body. Cut it out. Repeat for the second piece.

- Take a 10″ x 9″ HeatNbond fusible piece and fold in half along the 10″ side (long side). Using the template, place it along the fold and trace the body. Cut it out. Repeat for the second piece.
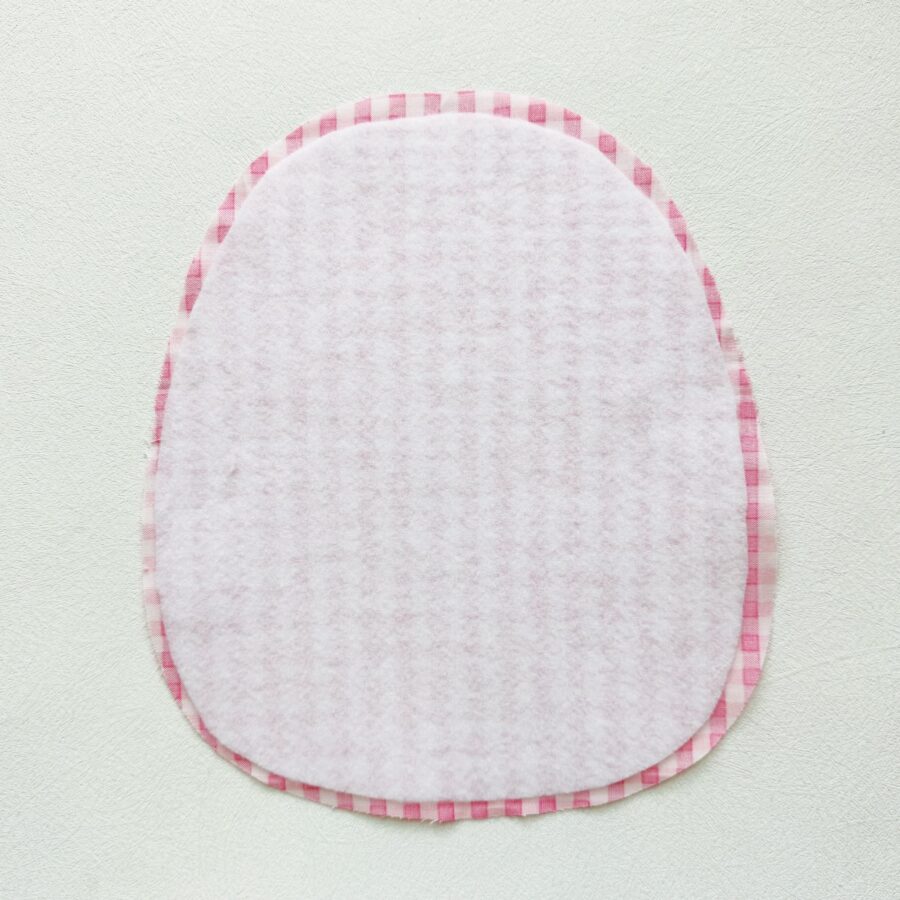
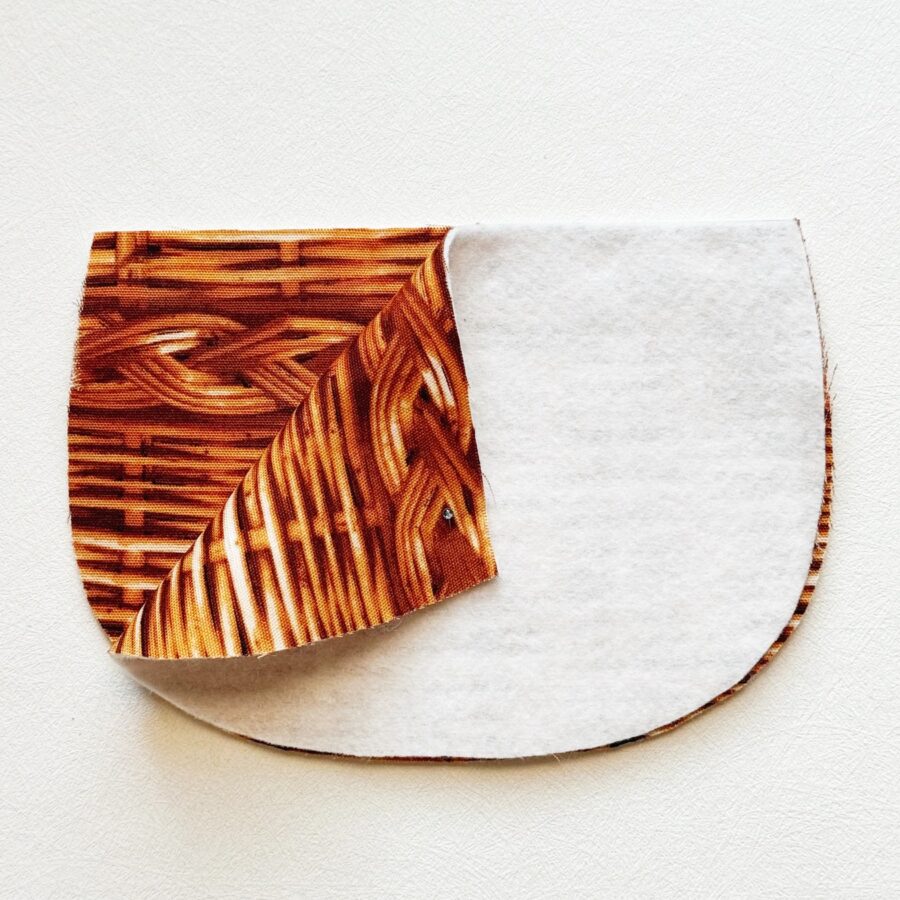
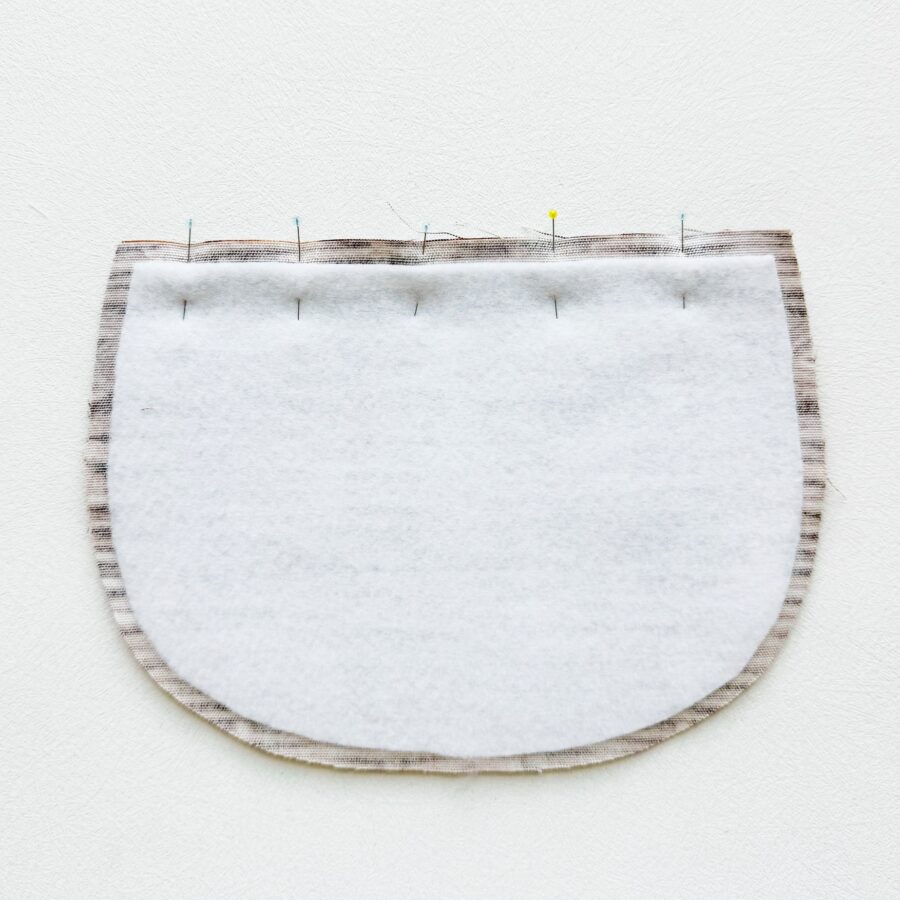
- Now, center the interfacing (with fusible side down) onto the back of a bunny body. Attach with an iron and press. Set the body aside and proceed to the pockets.
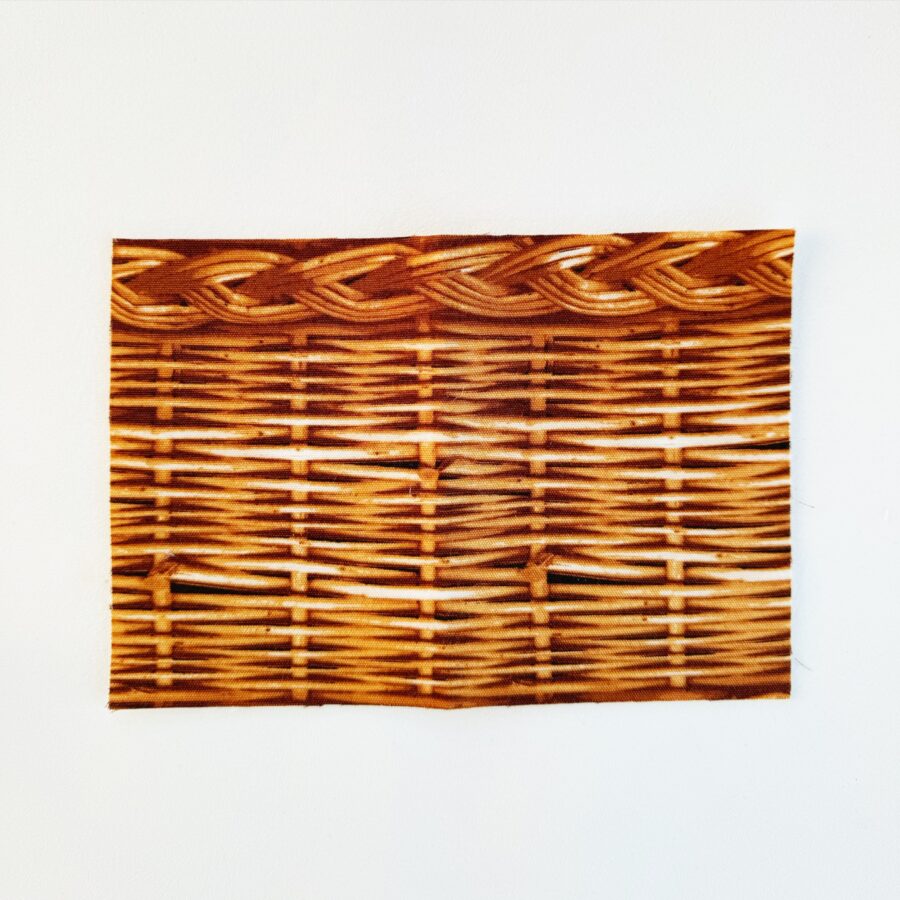
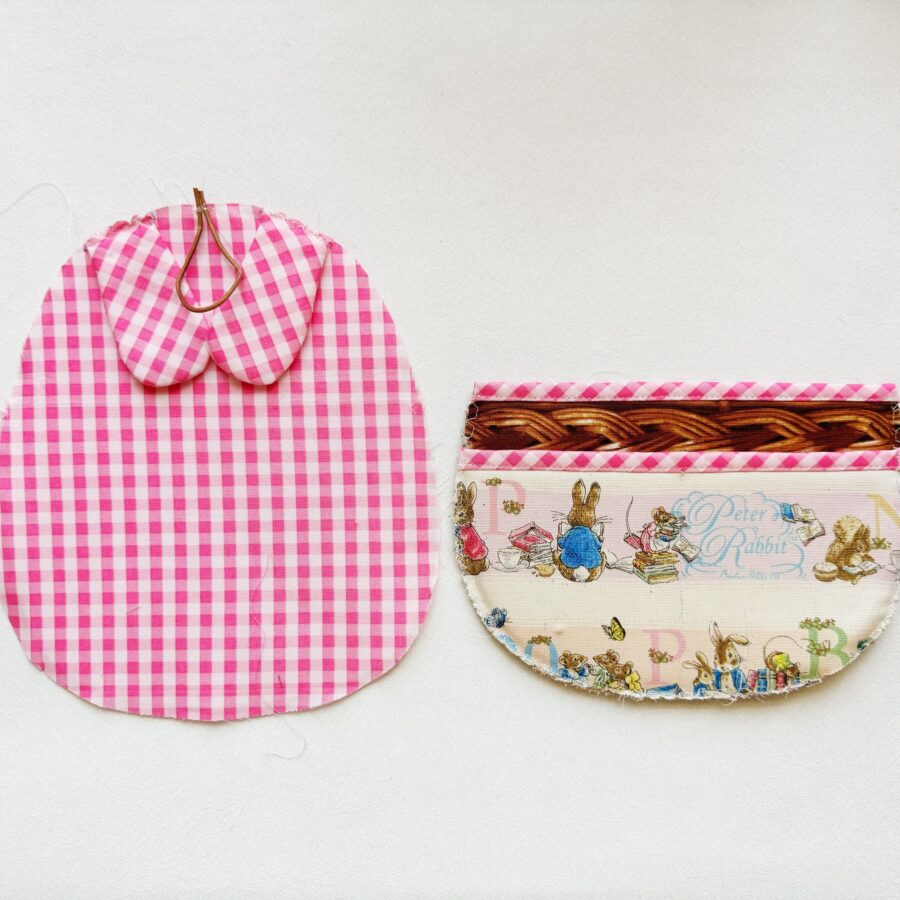
Prep the Pockets
- Starting with the second pocket (larger pocket), take a 9″ x 6″ cotton piece and fold in lengthwise. Using the template, place it along the fold of the interfacing and line up where it indicates SECOND POCKET. From that point trace the second pocket. Cut it out. Repeat for the second piece. Set aside and prep the interfacing.
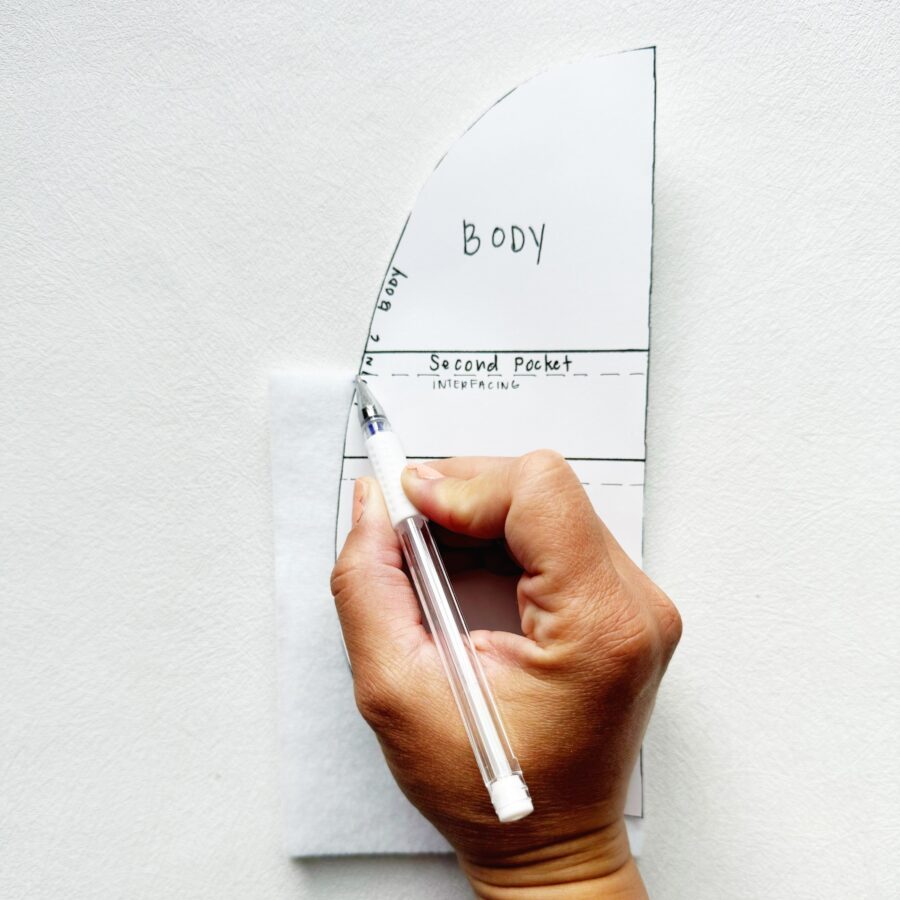
- Take a 9″ x 6″ HeatNbond fusible piece and fold in half along the lengthwise. Using the template, place it along the fold of the interfacing and line up where it indicates SECOND POCKET INTERFACING. From that point trace the second pocket. Cut it out. Repeat for the second interfacing piece.

- Now, center the interfacing (with fusible side down) onto the back of a first pocket piece. Attach with an iron and press. Repeat for the second first pocket piece.
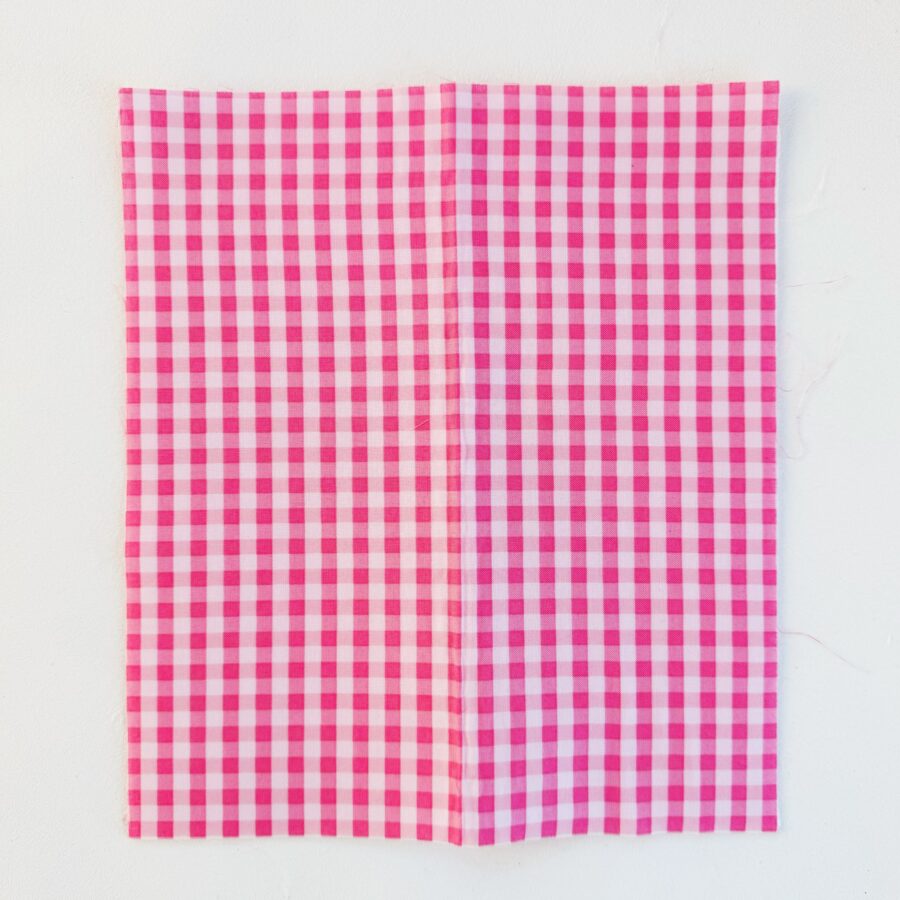
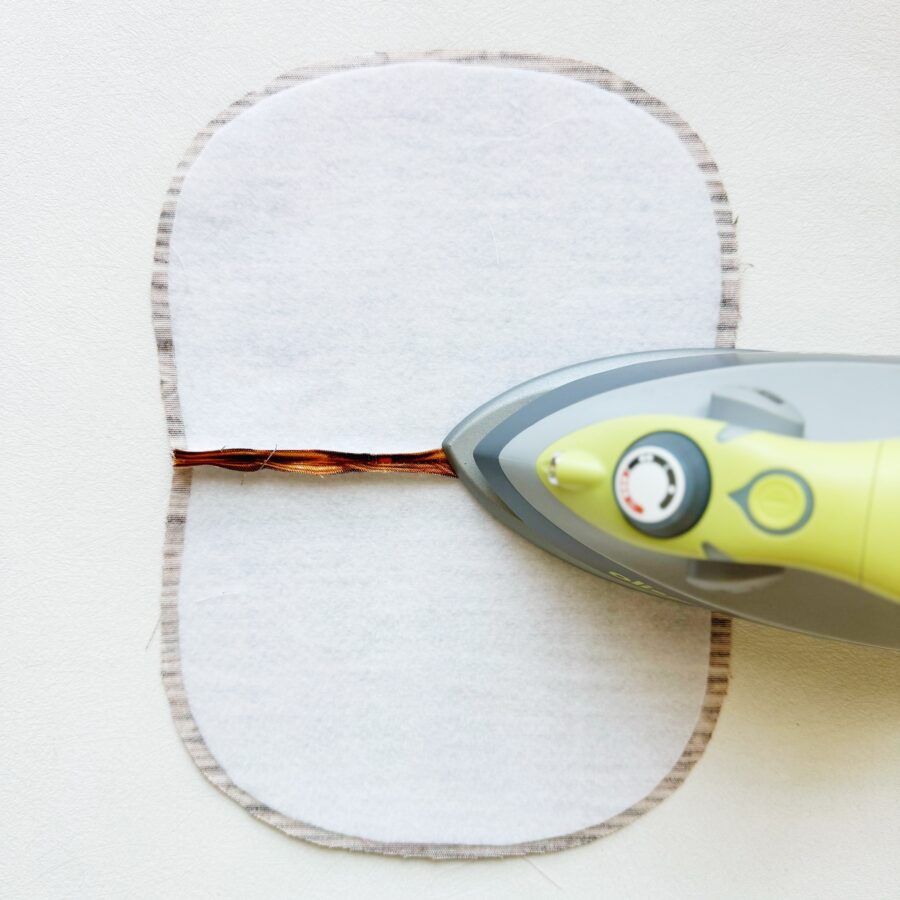
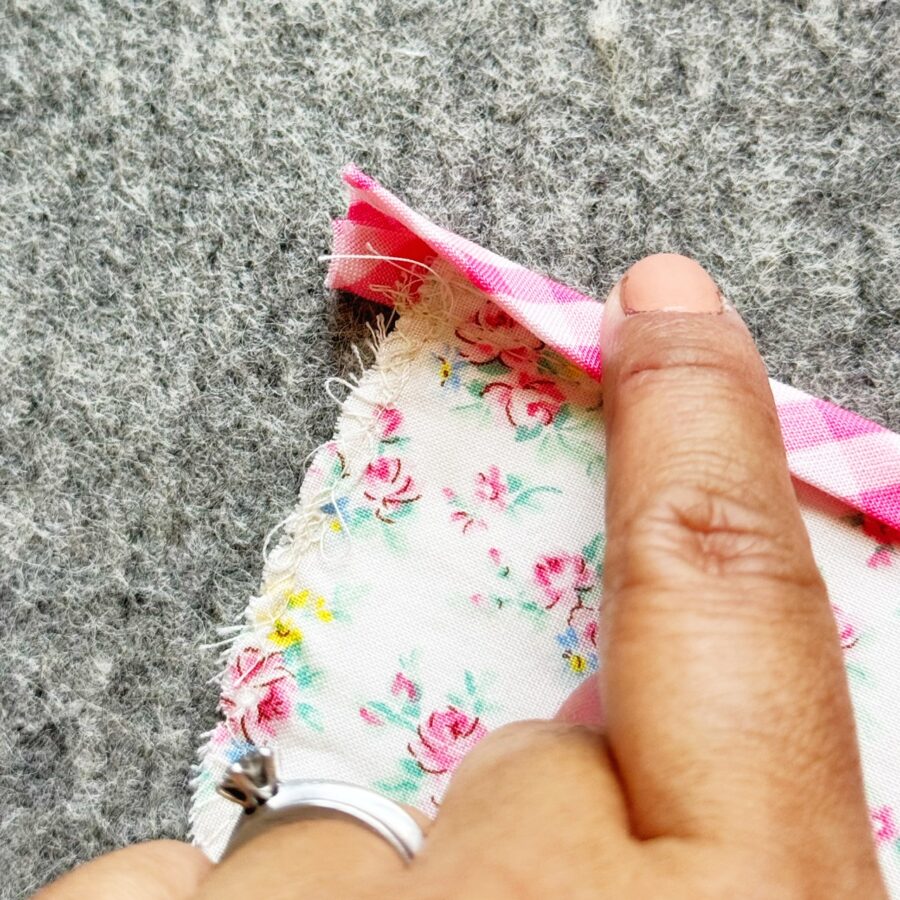
- To assemble the second pocket piece, with right sides facing together (wrong side facing out) line up the bodies. Sew along the top edge, leaving the outer curves unsewn.
Open the seam and press both sides of the seam.
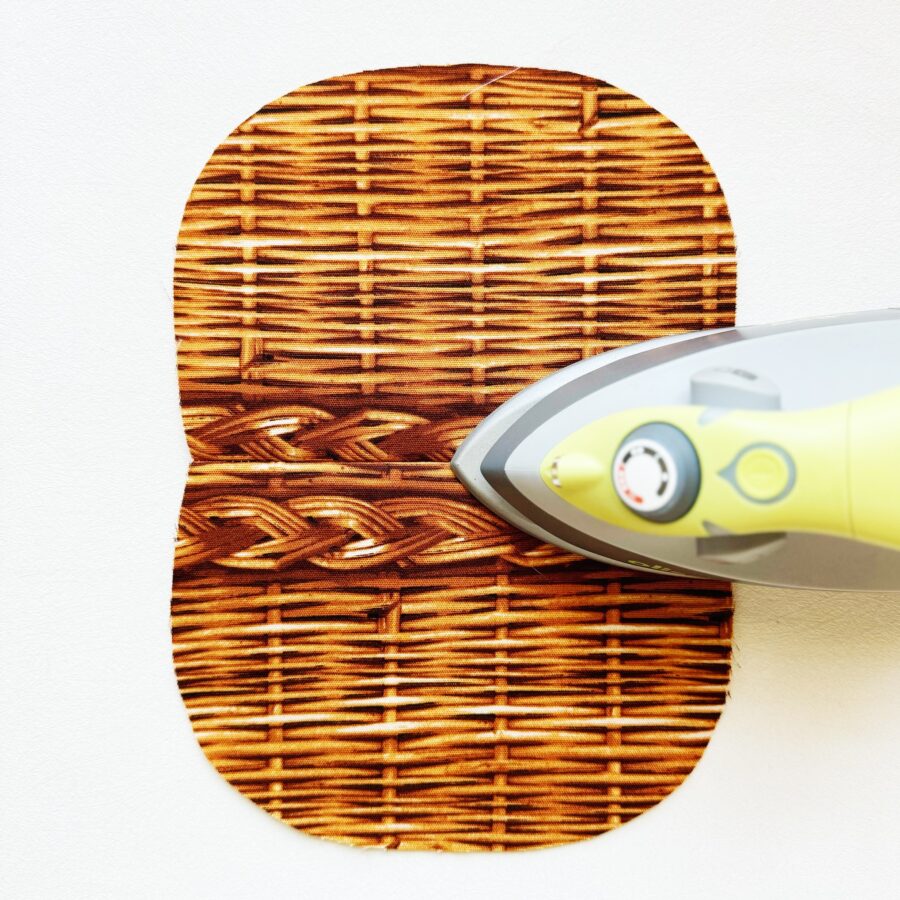
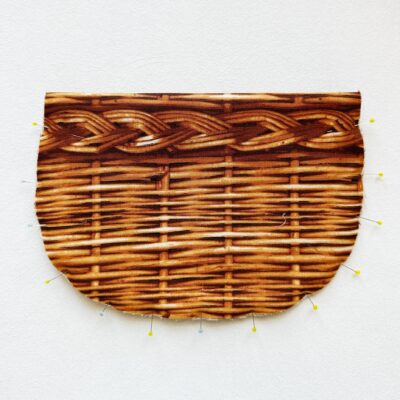
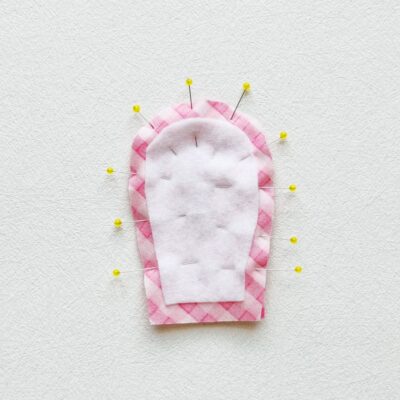
Fold in place, lining up the curved edges. Pin and baste in place.
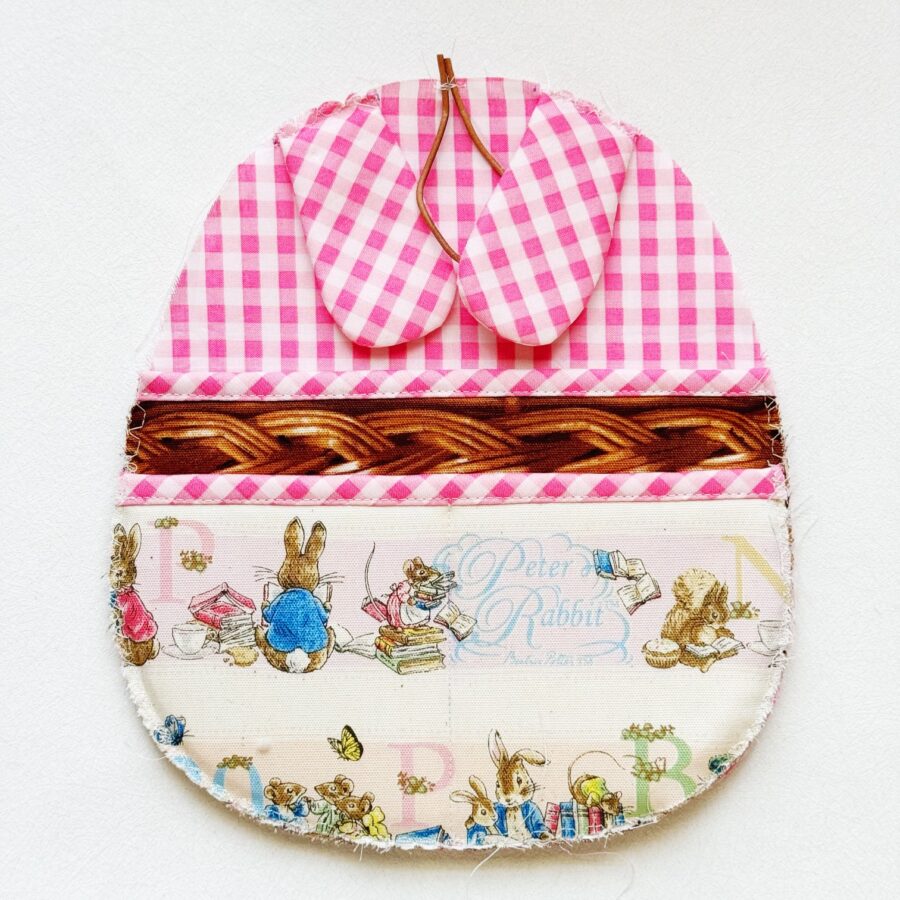
 To attach the binding to the top edge of the second pocket. Take a 2 1/4″ x 9″ binding piece and fold in half lengthwise. Take the raw edge of the binding and line up to the to edge of the pocket. Sew using a 1/4″ seam allowance. Turn the folded edge to the other side, pin in place, and sew close to the folded seam. Trim any excess binding.
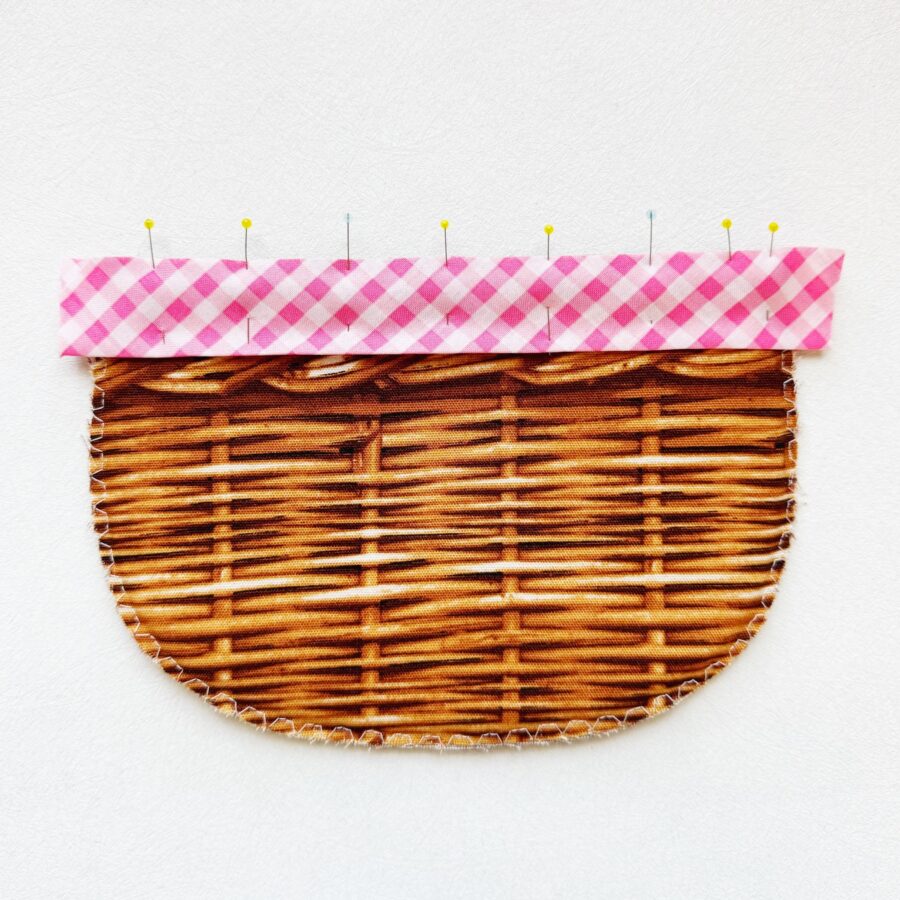
- To make the First Pocket (smaller pocket), repeat the same steps from Step 4 (for the Second Pocket).
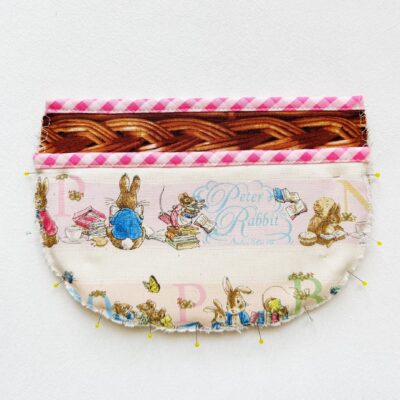
- To assemble both pockets together, take the First Pocket (smaller pocket) and line up towards the bottom of the Second Pocket (larger pocket). Pin in place and baste around the curved edges.
 To make the smaller pockets on the first pocket, find the middle and mark a line down the middle with a water soluble pen. Sew along the line, making sure to backstitch at each end.
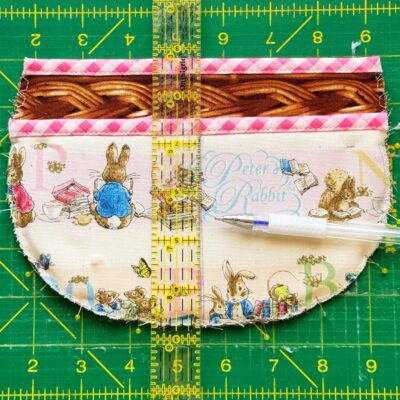
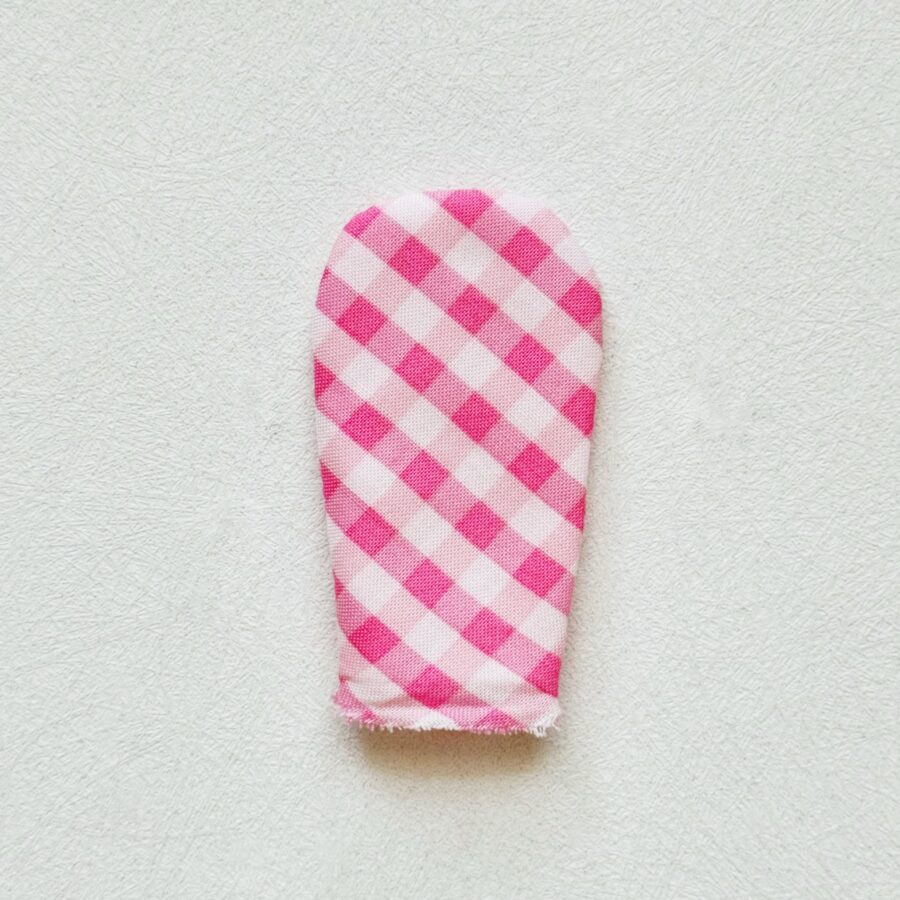
Making the Bunny Ears
- To make the ears, using the template, take a 4″ x 3″ cotton piece and trace the bunny ears onto the cotton. Cut out. Repeat for the 3 remaining ears.
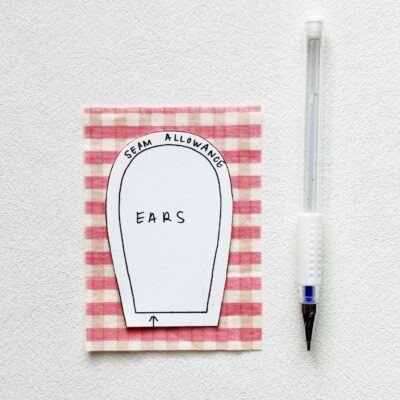 Take a 4″ x 3″ interfacing piece and using the second cut interfacing template, trace onto the interfacing and cut it out. Repeat for the three remaining interfacing pieces.
 Now, take an interfacing ear piece and lay the fusible side down onto the back of a cotton ear piece, centering it. Adhere with an iron and press. Repeat for the three remaining pieces.
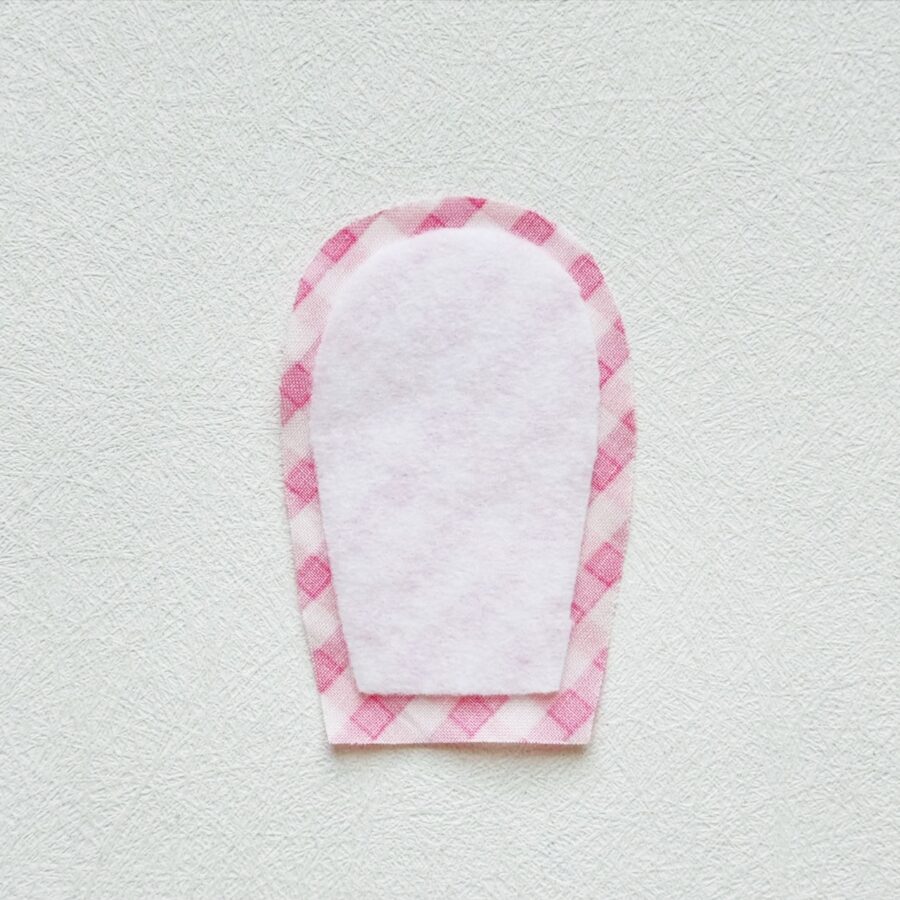
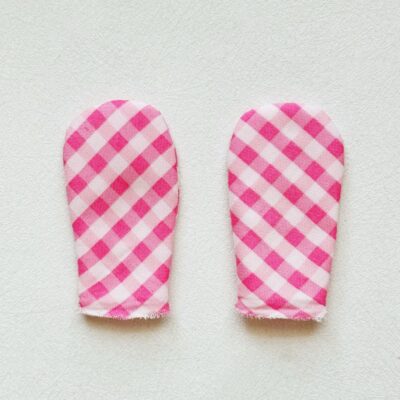
- To assemble the ears, take two ear pieces, and with wrong sides facing out and place onto each other and pin in place. Sew, using a 1/4″ seam allowance around the curved edges, leaving the bottom edge unsewn. Make sure to backstitch from beginning to end.
 Clip the curved edges.
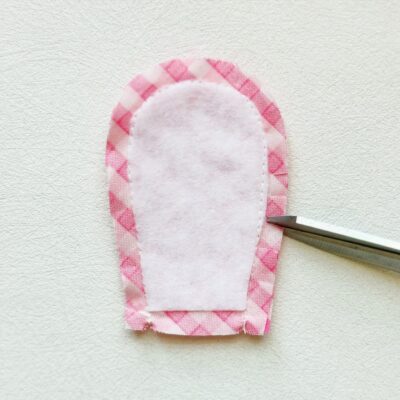
- Turn the ears right side out through the bottom opening. Push out the curves and press with an iron. Repeat step 2 for the second ear piece. Set the ears aside and proceed with assembling the bunny.
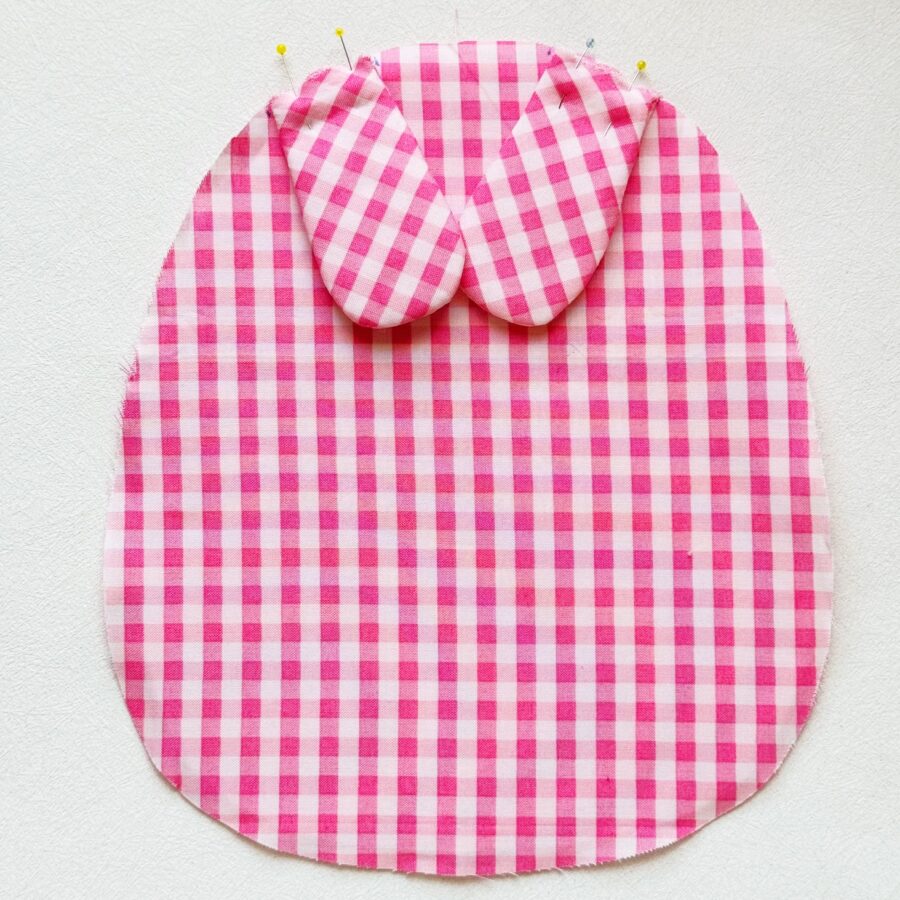
Assemble the Bunny
- To assemble the bunny, start with ears. Using the template. Locate where the bunny ears are and mark on to the right side of a bunny body. Do this for both ears. Baste the ears in place.

- Add the cording loop in the top middle (in between the bunny ears). Create a loop attach the raw edges to marked area. Baste in place.
- Attach the pocket piece towards the bottom of the front bunny. Pin in place and baste.
- Take the second bunny body and place the right side onto the top of the other bunny piece (wrong sides face out for both pieces). Pin in place. Mark a 2 1/2″ open towards the bottom (this will be where you turn the piece right side out). Starting at one of the marked openings, backstitch and sew using a 1/4″ seam allowance, making sure to also backstitch once you to the end of the marked opening.
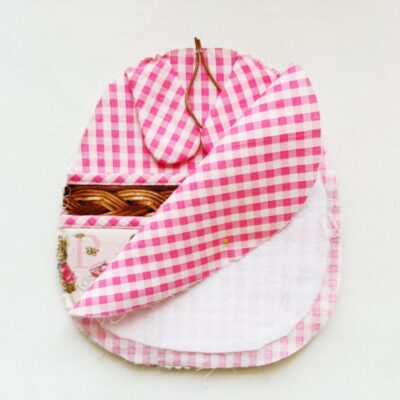
- You can clip the curved edges. Now, through the opening, turn the piece right side out, turning out all the curved areas with a stiletto or chopstick. Hand sew the bottom opening closed. Press the piece front and back. Attach the optional button eyes to the desired areas of the front bunny face. You are now done!