Welcome back! Today I’m sharing some cards that I used Transfer Gel Duo and multiple colors of foil with both heat and just pressure, like this one!

One of my favorite things to use for backgrounds are gel prints and I extra love to add foil to them. This one had lots of extra acrylic paint so I was expecting a good transfer.
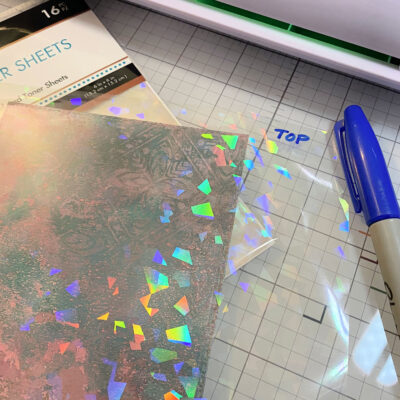
If you’re like me, you have a hard time figuring which side of the Magical Shattered Glass Deco Foil is the right one for the transfer. I usually cut a small piece of foam adhesive and touch the corner of the foil to it to see if there is transfer. Then right away I write on the top so when I have leftovers I know immediately which side.
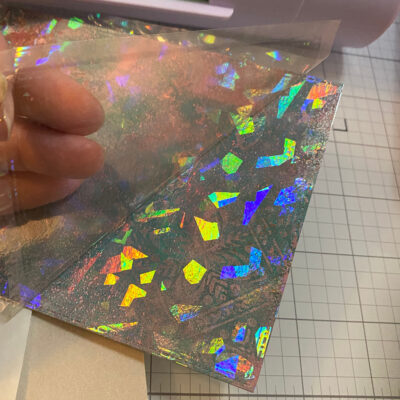
Check out this transfer! Sometimes if I want to ensure a good transfer I’ll spray the Gel Print with some Glitter Dust Spray first, let it dry and then add the foil.
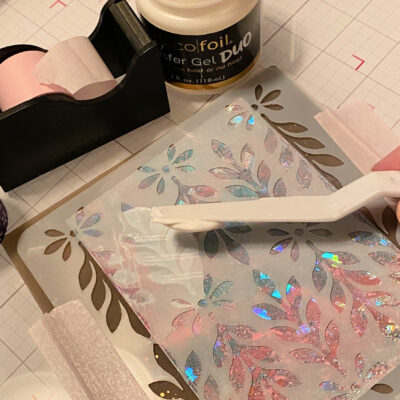
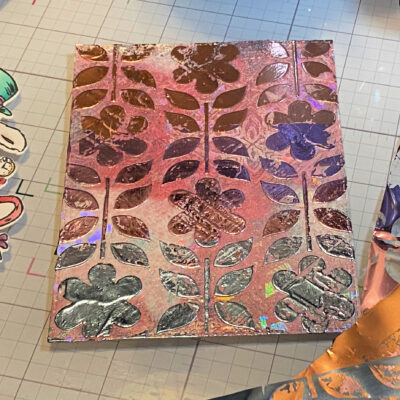
Next I added some Transfer Gel Duo through this pretty stencil from A Colorful Life Design and let it dry.
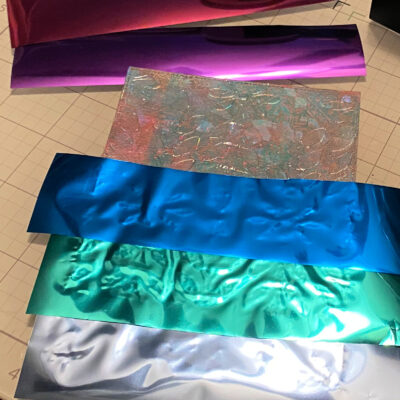
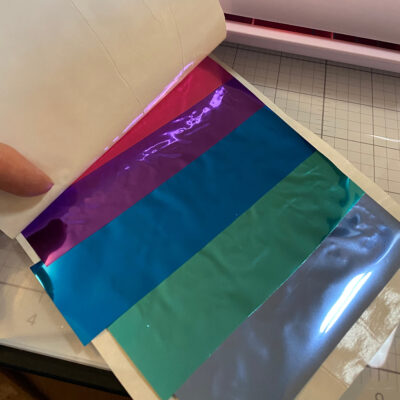
Once it was dry, I added strips of Deco Foil left over from prior projects.
And then ran it through the Fuse.
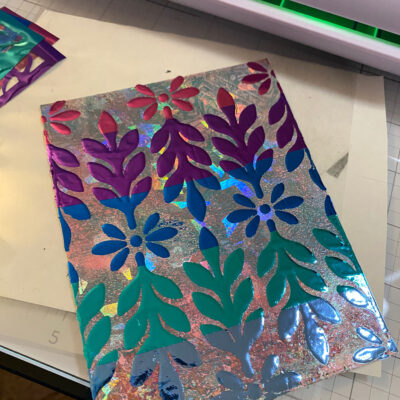
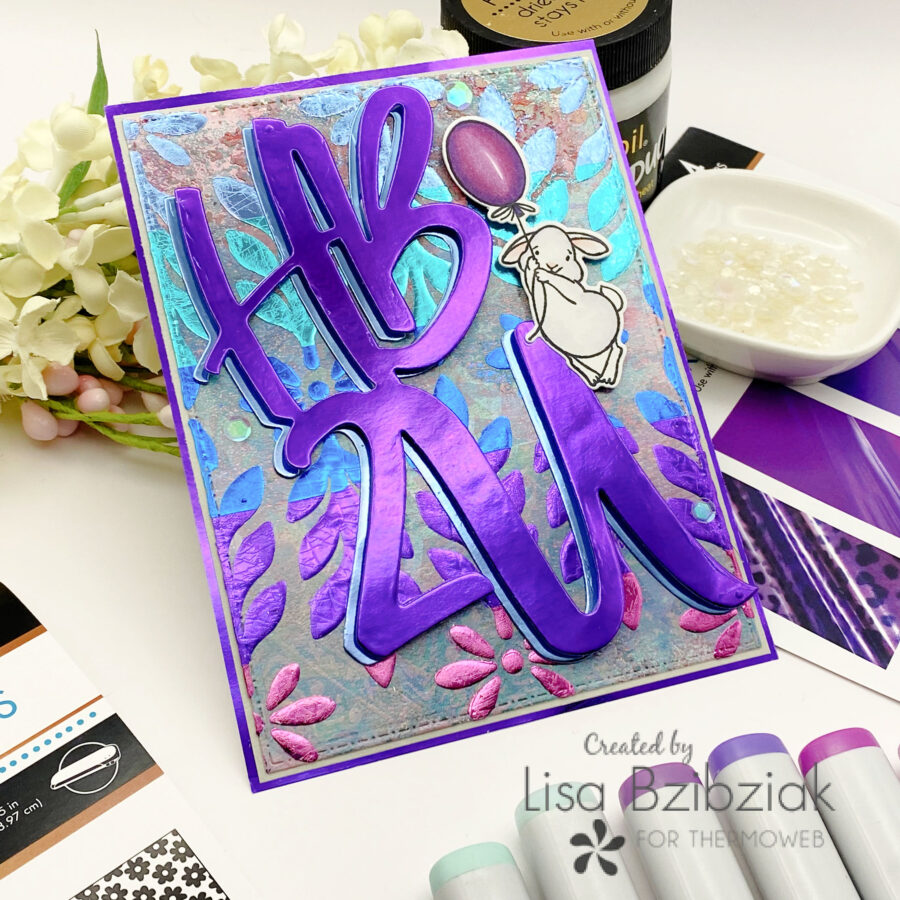
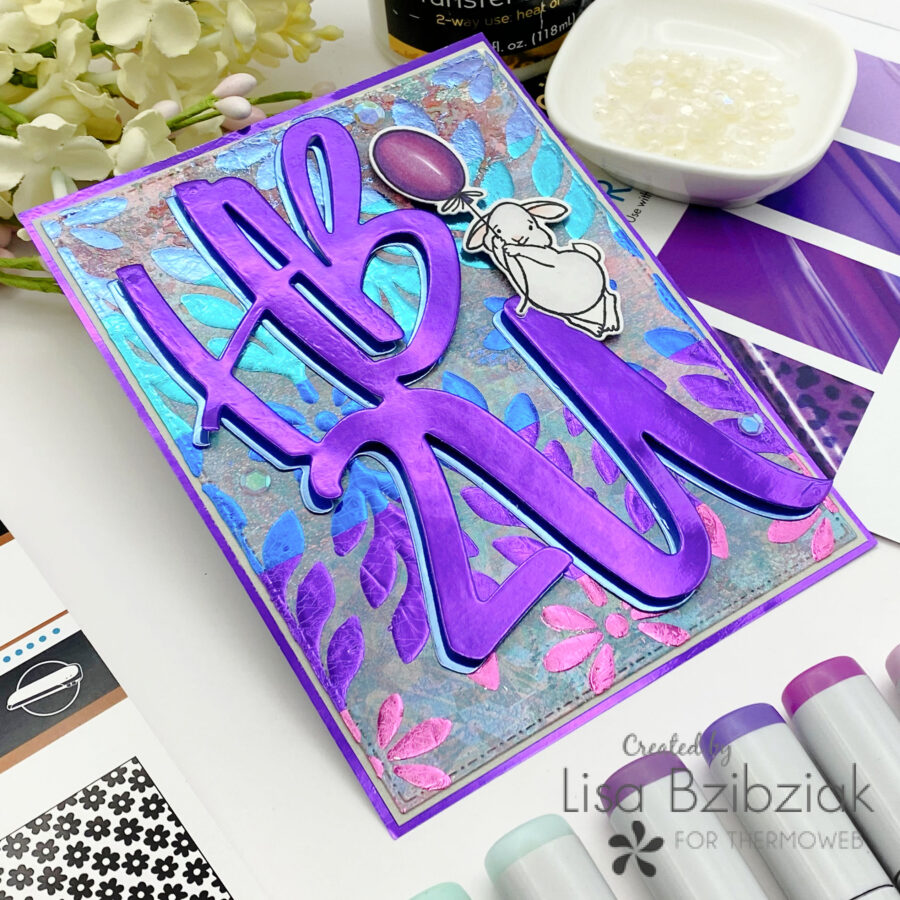
For this cool multi-colored background.
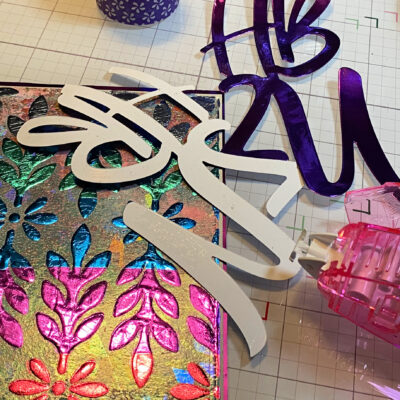
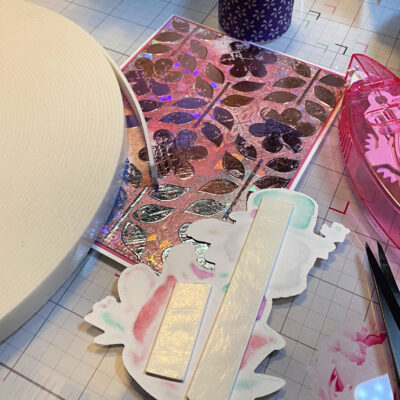
I foiled some toner paper and die cut that fabulous giant HB2U die from Picket Fence Studios from two of the foil colors used on the background. I used glue tape to attach one directly to the background, and then used foam tape to pop up the 2nd, positioning it just a bit offset to the bottom one.
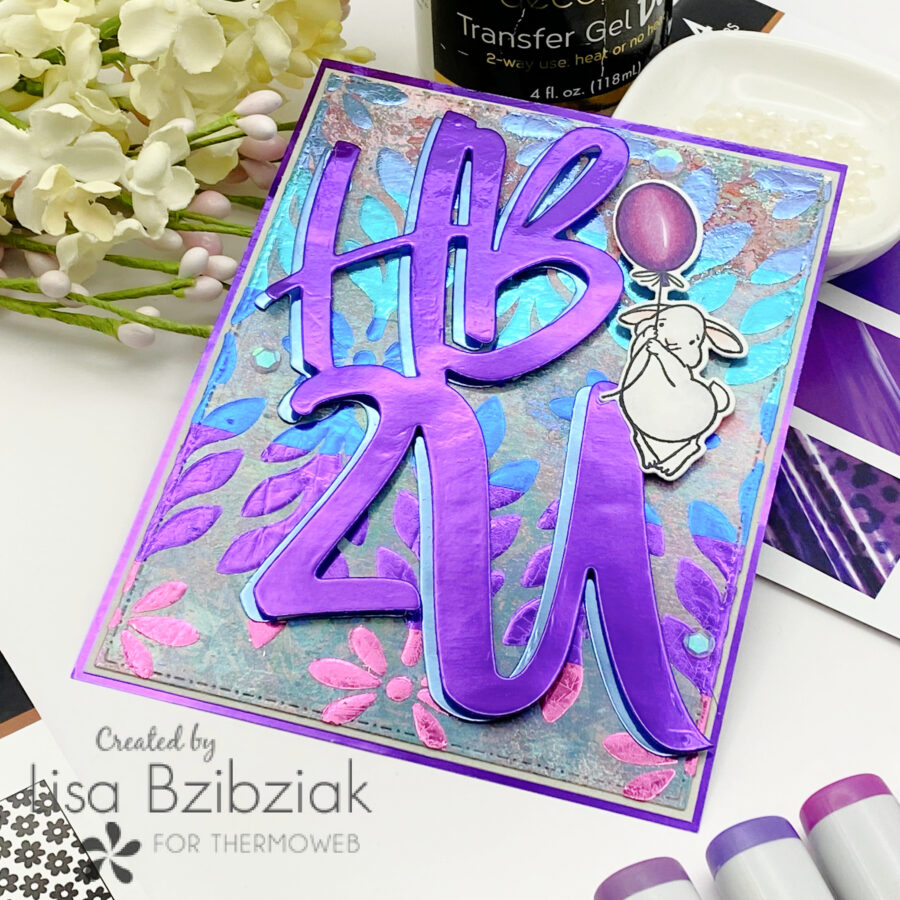
Finally I added that cute bunny with the balloon from Brass & Bliss Craft Co. So cute, right??
Second I created this one…
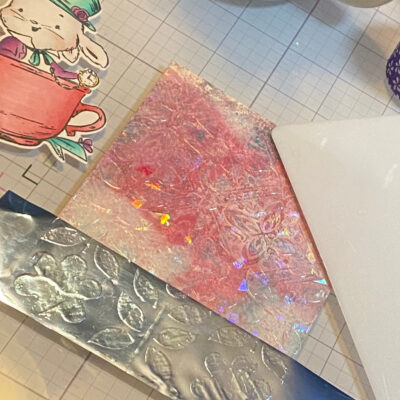
I started this one the same way, foiling the gel print and then adding foil through a stencil and set it aside to dry. Because I wanted a lighter, more distressed looking transfer I knew I’d be using pressure to transfer the foil, but I let it dry a little too long… “what was I doing again?”…lol. I picked it back up the next day and it wasn’t quite tacky enough so I warmed it up a little with my heat gun and then started transferring the foil.
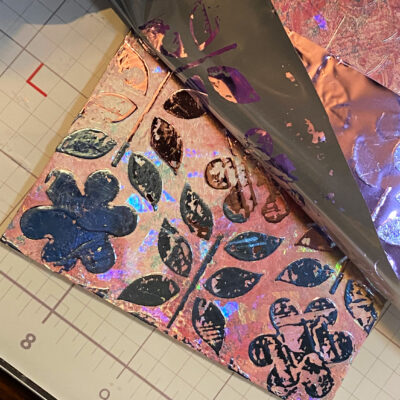
You can get a more solid look if you want it with this technique by applying it when the adhesive is a little tackier and it’s easy to go back in and add more foil in specific spots if you want it.
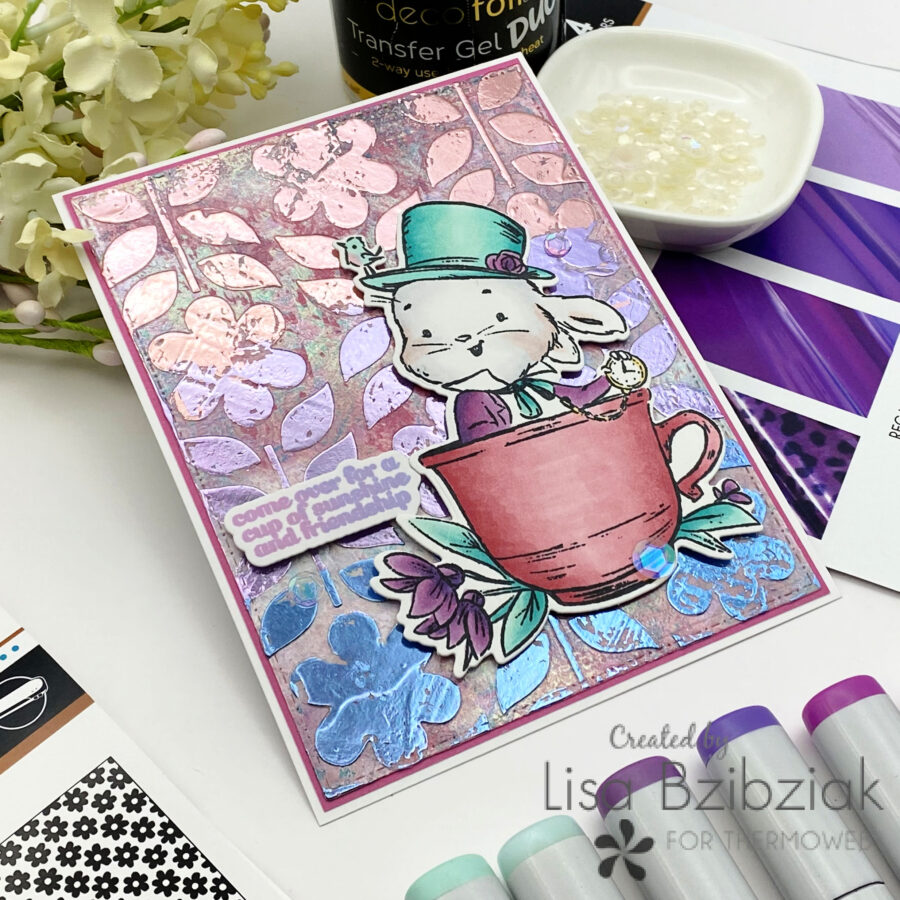
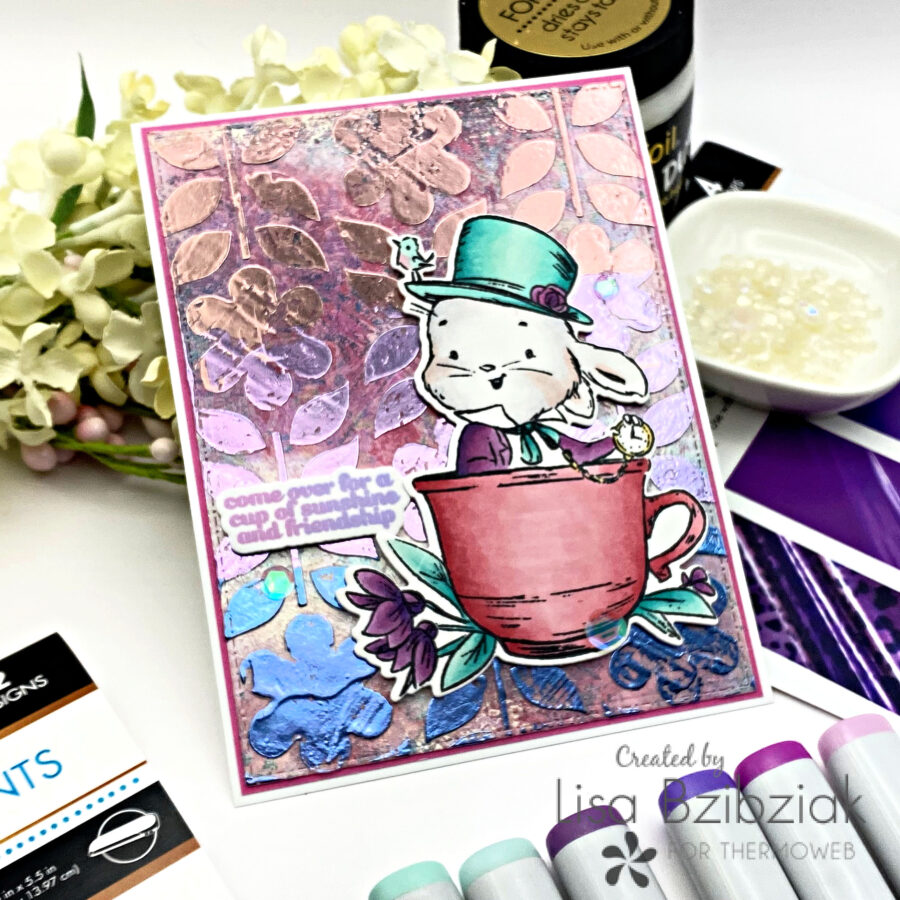
I love this distressed look!
I added an adorable image from Picket Fence Studios…
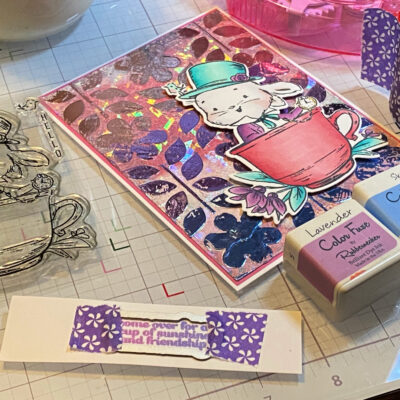
Along with a sentiment stamped in an ombre color using two different color of inks.
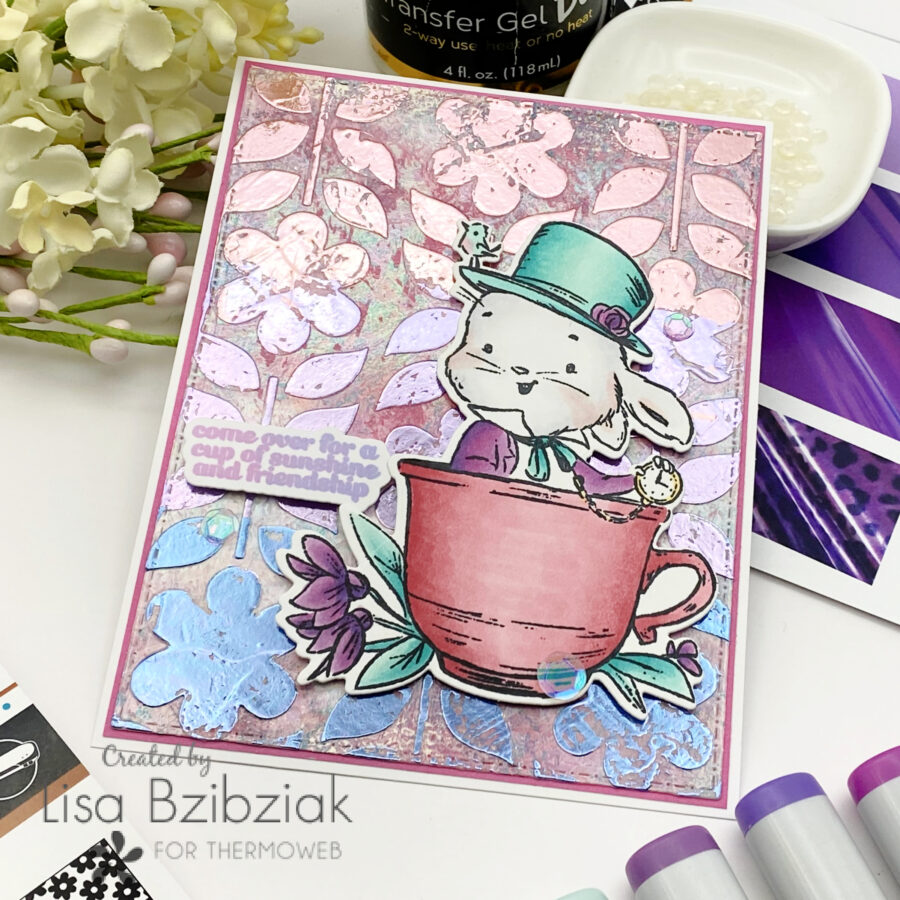
Super cute! I love the pastel look of this background.
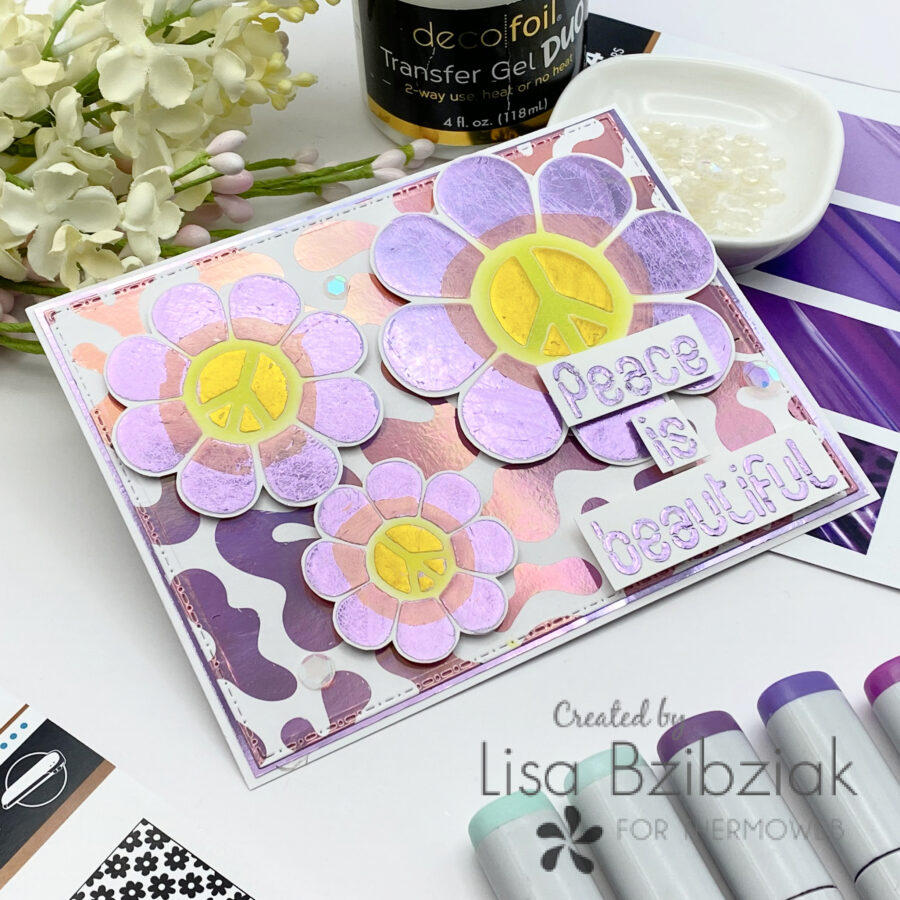
Finally, I used a toner card front from the Groovy pack as a backdrop for these groovy flowers!
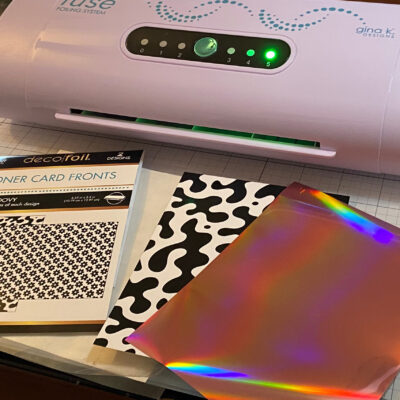
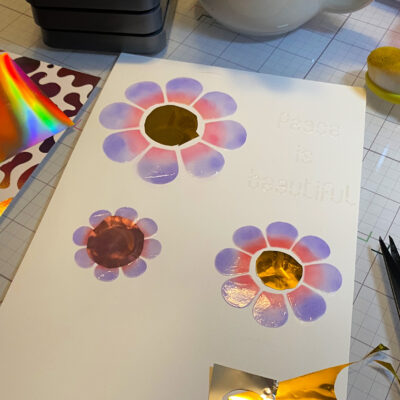
I foiled the card front in Enchanted Rose.
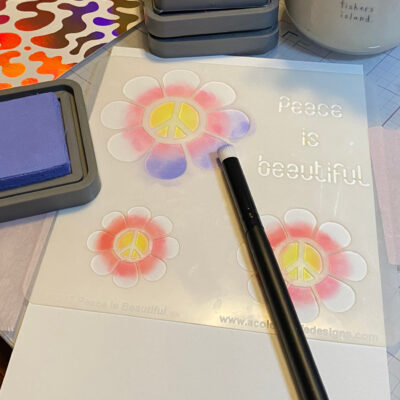
I used Distress Oxides to map out where I’d be foiling.
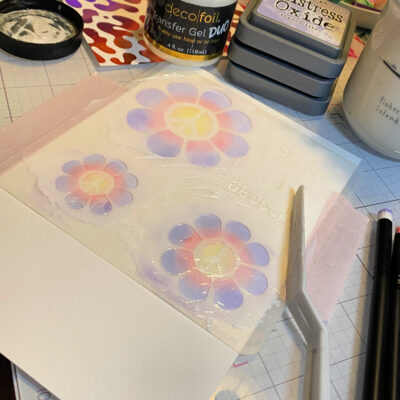
And then added Transfer Gel Duo over the top.
I let it dry to tacky and then laid the foil over specific areas and applied pressure.
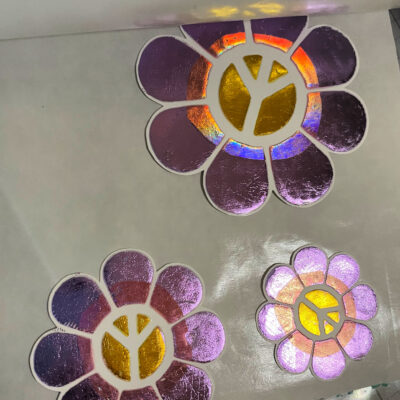
I decided after I foiled and cut them out, that instead of a super shiny surface, I wanted more of a matte look, so I then ran them through the Fuse.
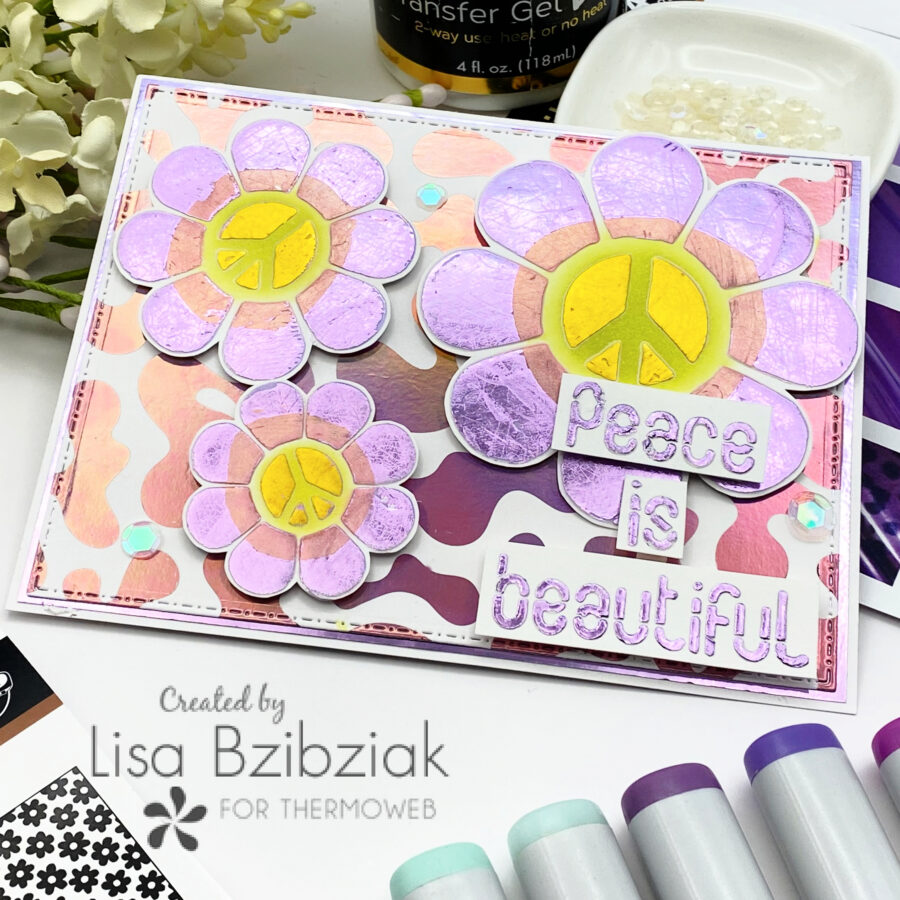
I added some Distress Oxide to the center of the flowers and then popped them up onto the card front. I didn’t plan it, but I also foiled the sentiment from the stencil and cut it in strips and added it also.
There are lots of ways to add multiple foils to your projects.
Each with its own look.
And I highly suggest mixing and matching them!
That’s me for today! Thanks so much for stopping and hope you’ll come again soon.