Hello friends, this is Jennifer Long from, Sew A Story, fabric designer with Riley Blake Designs and doll and quilt pattern designer.
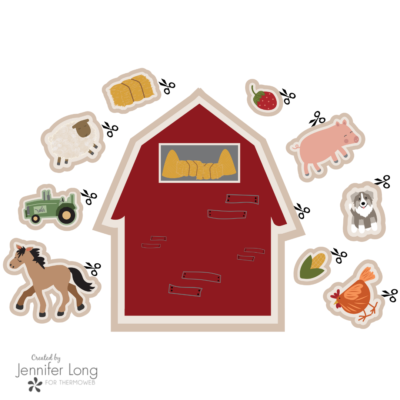
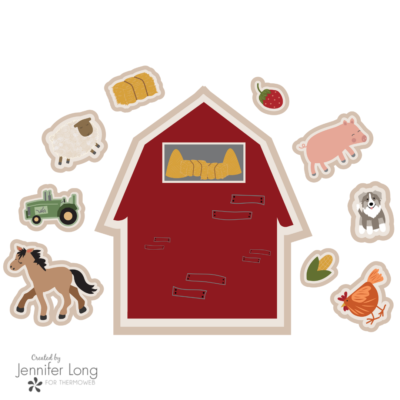
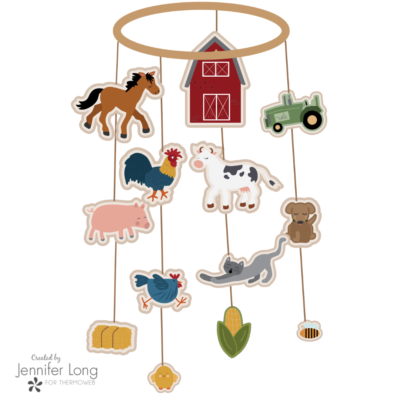
The Country Life 3-in-1 Felt Farm Play Panel is a MUST have for all ages of country loving babies and children. Turn the farm characters into a mobile that is sure to brighten any nursery or preschool room!
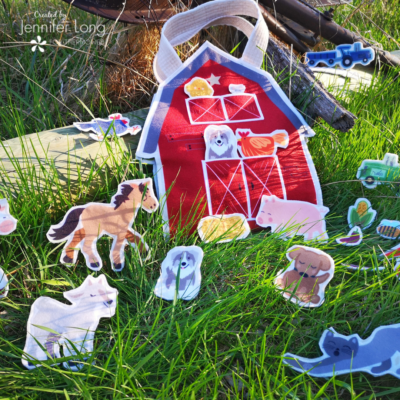
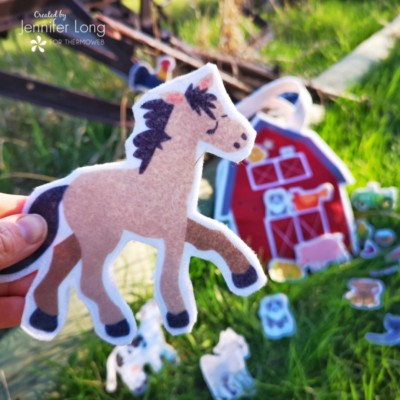
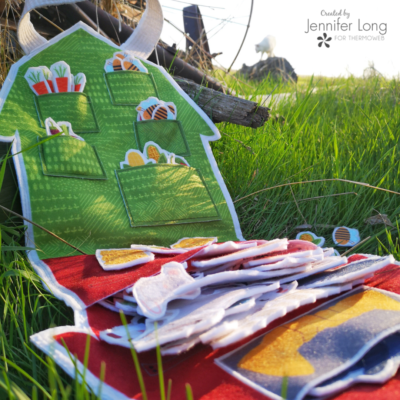
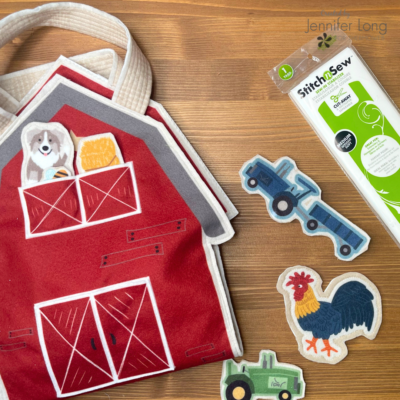
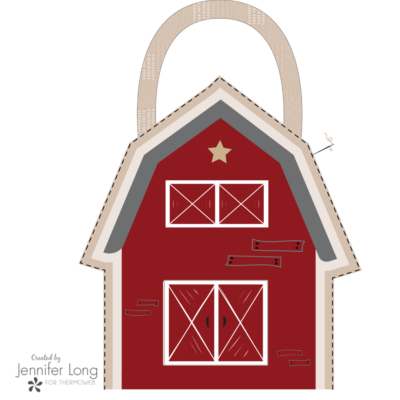
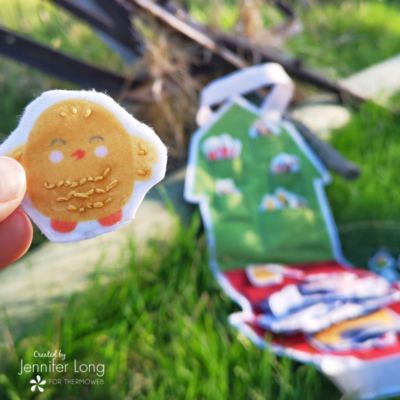
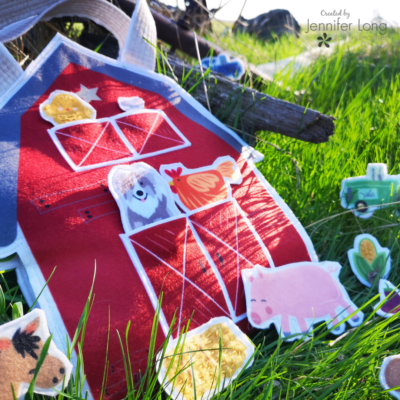
Sew up some quiet, play on the go, with Farm themed flat felt dolls and Barn carry bag. There are plenty of pockets on the outside and inside of the bag and you can open the bag up flat to have a contained and clean play surface, anywhere!
Place veggies in the field pockets and put the rooster to sleep in the barn loft. Enjoy some stuffed veggies and fruit for dramatic play in the kitchen!!! Don’t forget to complete the set with the coordinating Country Life Doll Panel.
1: Carefully cut out all the pattern pieces on the outer cut lines. All pieces are designed with 1/4” seam allowance. If you wish to have a larger seam allowance, please cut out wider than the cut lines
The Felt Dolls
2. Optional: Embellish the Felt Toy with any hand embroidery details or sewn on sequins or buttons. Be aware of age appropriateness for any embellishments you sew on.
3.
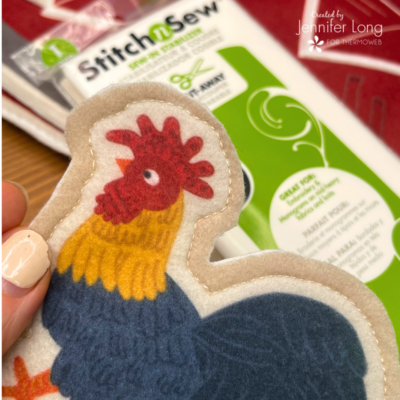
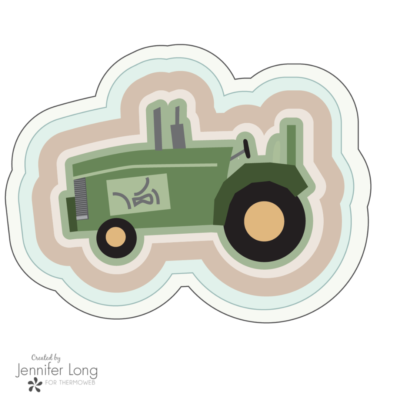
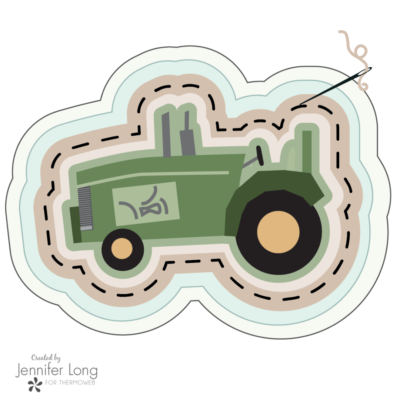
Layer a Felt toy, Craft Extra Firm Non-Woven Stabilizer and white craft felt RSO. Cut out the stabilizer and backing felt generously around each shape and pin in place.
4. Using a white bobbin thread, and a matching top thread to the most prominent color on each Felt Toy, sew on the seam allowance with a shortened stitch length (1.5- 2mm)
5. Trim the stabilizer and the backing felt to match the top printed Felt Toy outline with even, smooth scissor cuts. (Use a sharp, small pair of fabric scissors).
6. Repeat this step for all the Felt Flat Characters, Animals, and Accessories. Carefully cut out all the pattern pieces on the outer cut lines.
Making the PLAYMAT/BAG
NOTE: The EASY SEW INSTRUCTIONS are printed on directly on the panel and are provided for a NO-TURN easy solution and to stitch with children too! The Bag Turning Finishing Instructions are explained in the FREE download and on the Week 3 Video. Choose the Bag Option that works BEST for your own Bag Making skills!
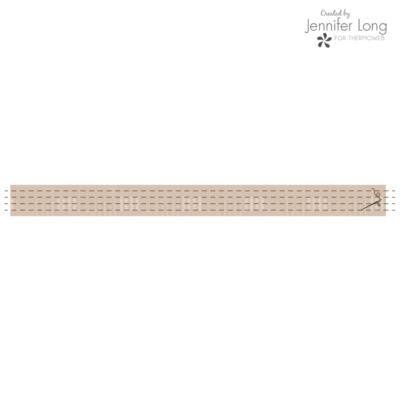
7. Prepare the handles by backing each handle with a piece of batting or stabilizer and folding RST. Stitch along both sides of the handles. Carefully turn the handle RSO.
8. For extra strength, stitch vertical lines along the length of the handle in a matching thread color. Set aside.
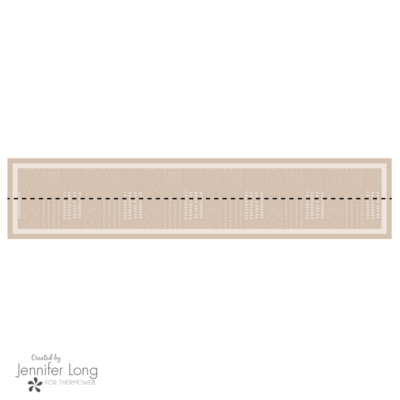
9. Prepare the pockets by folding the seam allowance to the back of each pocket and machine or hand sew each pocket hem in place.
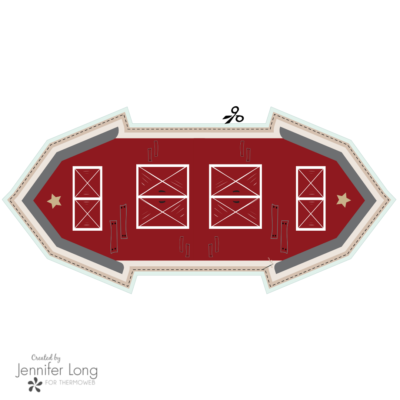
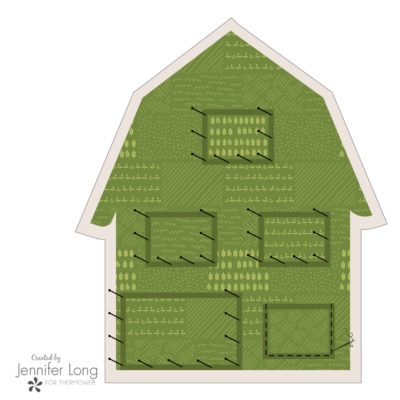
10. Pin and sew all the pockets in place to the outside and inside sections of the bag, leaving the pocket top open. Match illustrations on the main bag panels as desired. Be sure to backstitch starting, corners, and ending for reinforcement.
11. Layer the bag front with stabilizer by basting around the entire perimeter at 1/8” to keep the stabilizer from shifting during assembly. Set aside.
12. Position the prepared handles in place. Flip the handles so they are laying INSIDE the main part of the bag. Baste the handles on the bag with the raw edges of the handles extending out past the bag. Set aside.
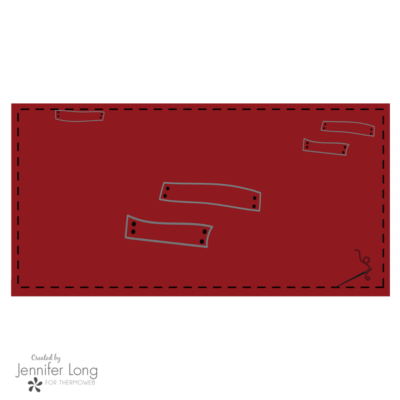
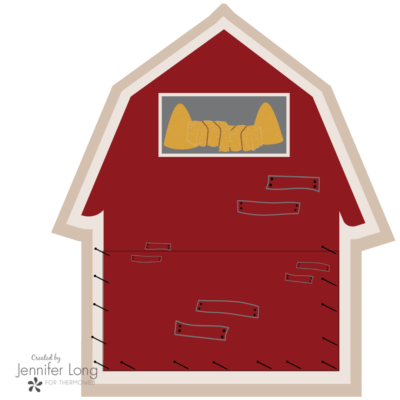
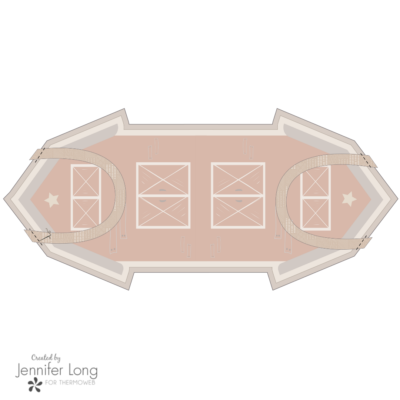
13. Gather the inside bag pieces. Position and sew the Field and Hay Loft pockets as desired.
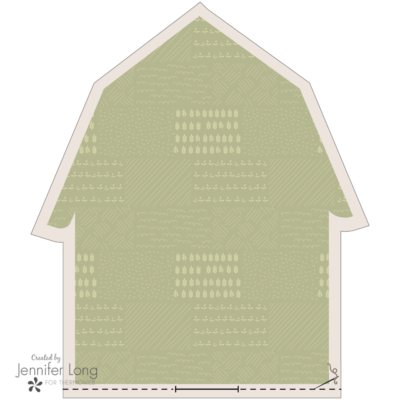
14. Pin and sew the (2) back pieces RST, leaving an opening in the center as shown.
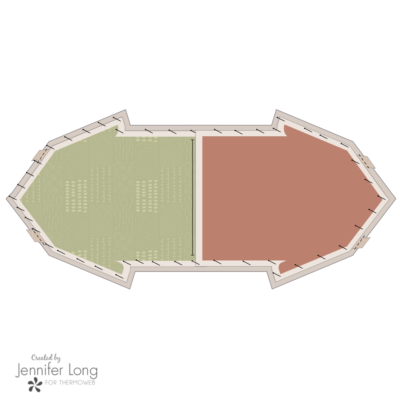
15. Layer the prepared backs on top of the prepared front of bag with RST. Pin with lots of pins to secure the entire perimeter. Note: The Barn will align one way only as it is hand-drawn
16. Sew around the perimeter of the bag.
17. Using a small pair of scissors, carefully clip around the perimeter of the entire seam allowance and notch out all the inside corners. Turn the bag RSO through the bottom opening. Push corners out with a point turner.
18. Finger press the entire seam allowance or CAREFULLY press with a cool iron. NOTE: heat from a hot iron can melt the acrylic felt panel. If you choose to iron, make sure to do a TEST press on a scrap of panel felt fabric first.
19. Using a coordinating thread color, stitch around the entire perimeter of the playmat/bag to give the edges a nice and clean finish. Note the top and bottom thread colors are matching the bag panel colors. Set aside.
20. Attach closures for the bag. I highly recommend using snap buttons and a snap button tool for safety, age appropriateness and aesthetics to close the playmat/bag. Velcro is also a good option. Make sure to position the snaps correctly by testing before you adhere them permanently. Follow the manufacturer’s directions to secure the snaps correctly and safely.
Assembling the Mobile
21. Choose the felt animals and farm designs for your mobile. You can make these hanging designs two-sided by using the reverse design on the back or simply use the white craft felt. Prepare the felt animals and farm designs for the mobile using the same directions as steps 1-6.
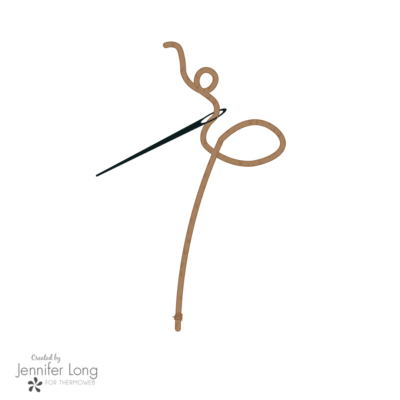
22. Using the mobile string of choice, thread a needle and sew a knot to the top of the farm design. Tie the other end of the string to the top of the 8″ wooden hoop.
23. Repeat to fill around the entire hoop with hanging farm characters at various string lengths. Space strings as desired around the hoop. Be creative!
24. To hang the mobile, tie (4)lengths of string evenly spaced around the hoop and join in the center tying them in a loop and hang from the ceiling.(Note: keep ALL mobiles out of reach of small children).
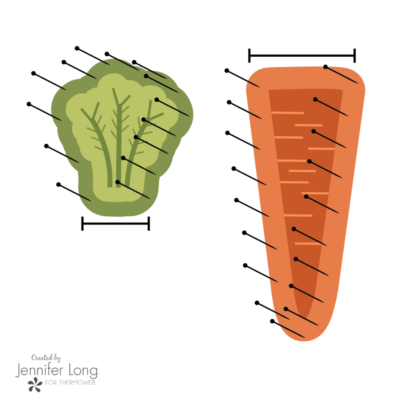
25. Optional: Embellish the Stuffed Veggies with any hand embroidery details or sewn on sequins or buttons. Be aware of age appropriateness for any embellishments you sew on.
26. Place veggies RST and pin and sew around the seam allowance, leaving the top open. Repeat with the tops of the veggies and leaving the bottom open.
27. Using a stuffing tool, stuff the veggie shapes with poly fill. Hand sew the opening closed and hand sew the top to the veggie.
Be creative! Use these Stuffed Veggies for decoration or play food.
Why not use a second set of Felt Toys to decorate a nursery, applique on children’s clothing, bags and more!
Enjoy and share your Felt Flat Toys using the hashtags #countrylifefabric #feltpanel #feltflattoy #sewastory @sewastory #rileyblakedesigns #iloverileyblake.
Jennifer Long grew up training to be a professional ballet dancer. She taught ballet and ran her own dance studio all the while sewing and designing costumes for herself and many of her collages and students. Jennifer is married and lives on a rural acreage in Prairie Canada with her husband and 4 children. She sold her studio to raise to raise her children and wanted to find dolls and toys for her children with healthy body images. She immersed herself Modern Rag Doll design and soon found she had a unique set of skills for Doll Making from all the years of costume design and aesthetic skills from the dance training. Her love of color and fabric has led her to become a professional Modern Rag Doll Designer and Quilt Pattern Designer designing not only under her own label (Bee Sew Inspired), but also for authors, fabric designers and International Companies around the world! Jennifer remains passionate about teaching and is the founder of two FREE educational FB groups Inspired Doll Making and Inspired Quilt Making. Come join her on this creative journey!!!
by Jennifer Long | Comments Off on Country Life Felt Panel Sew-Along Tutorial