


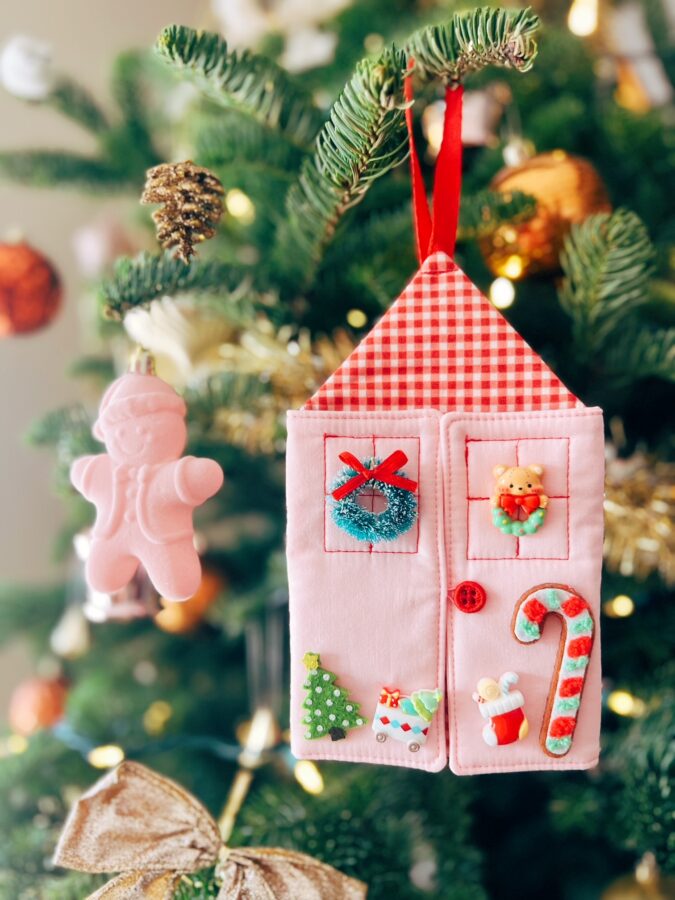
Hello and Merry Almost Christmas! Are you ready? I think I am, of course there are always last minute gifts to get. Easiest gift is a gift card, but I can never find the right size gift card holder for them. They usually come in odd sizes and I don’t want to take the gift card off from the store holder tag (someone might think I re-gifted it!), so I came up with a cute, useful way to display and give them to the recipient – a Cottage Gift Card Holder Ornament. If you have scraps laying around from Christmas projects made and cute embellishments, this is an excellent way to make a keepsake gift, holder, and ornament in one! Let’s get started!
COTTAGE GIFT CARD HOLDER ORNAMENT INSTRUCTIONS
MATERIALS
- HeatnBond Fusible Fleece
- 2 different prints of fat quarters or fabric scraps is great too
- Various Christmas embellishments (buttons, small felt decor, etc.)
- Button
- Elastic cording
- Ribbon


TOOLS USED
- Sewing machine
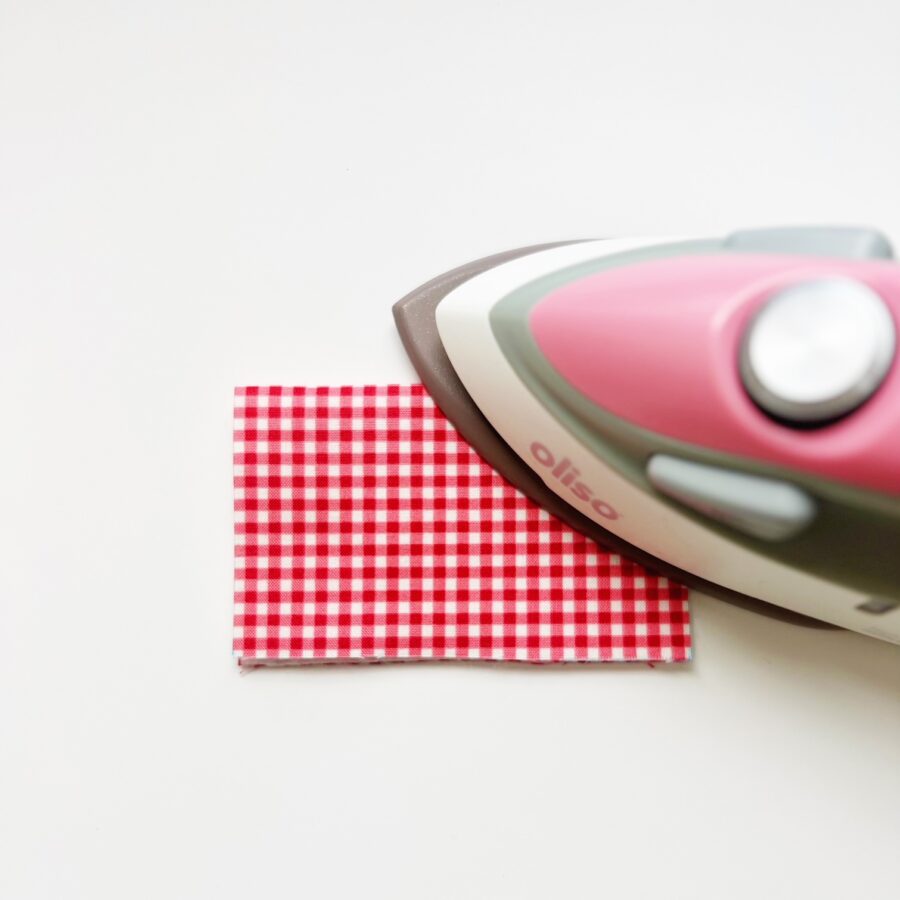
- Iron – I love OLISO!
- Scissors
- Water soluble pen
- Turning tool – such as a stiletto or chopstick
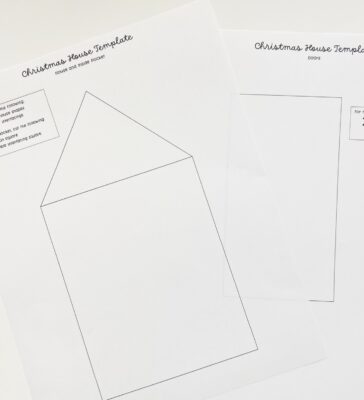
- Cottage House Template
- Hot glue gun and needle and thread for embellishments
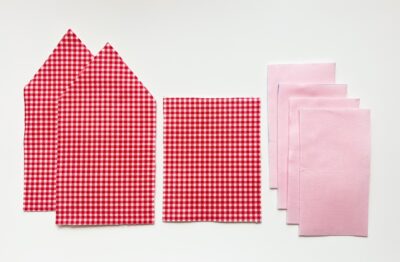
CUTTING
- Use the provided template to cut all the shapes and fusible interfacings.
PREP
- Prep all the cut fabric pieces by attaching all fusible interfacings to each piece with an iron.
TIPS
- Use a 1/4″ seam allowance unless noted otherwise
- Follow the instructions for the HeatnBond Fusible Fleece
LET’S BEGIN!
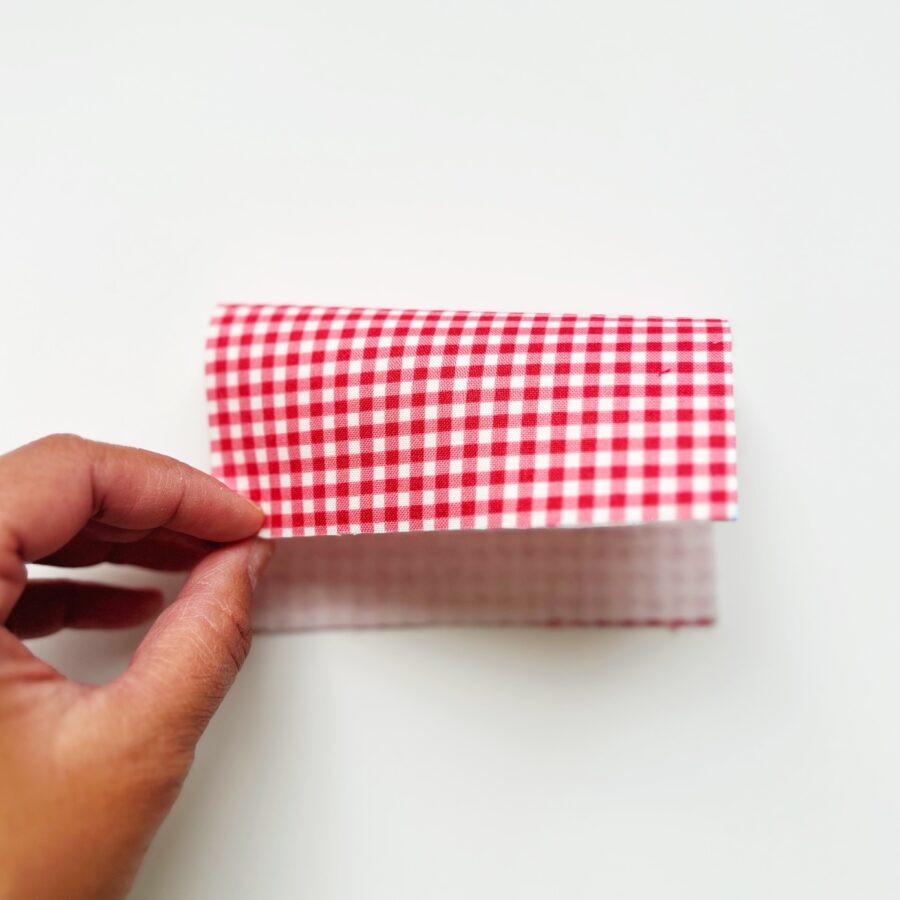
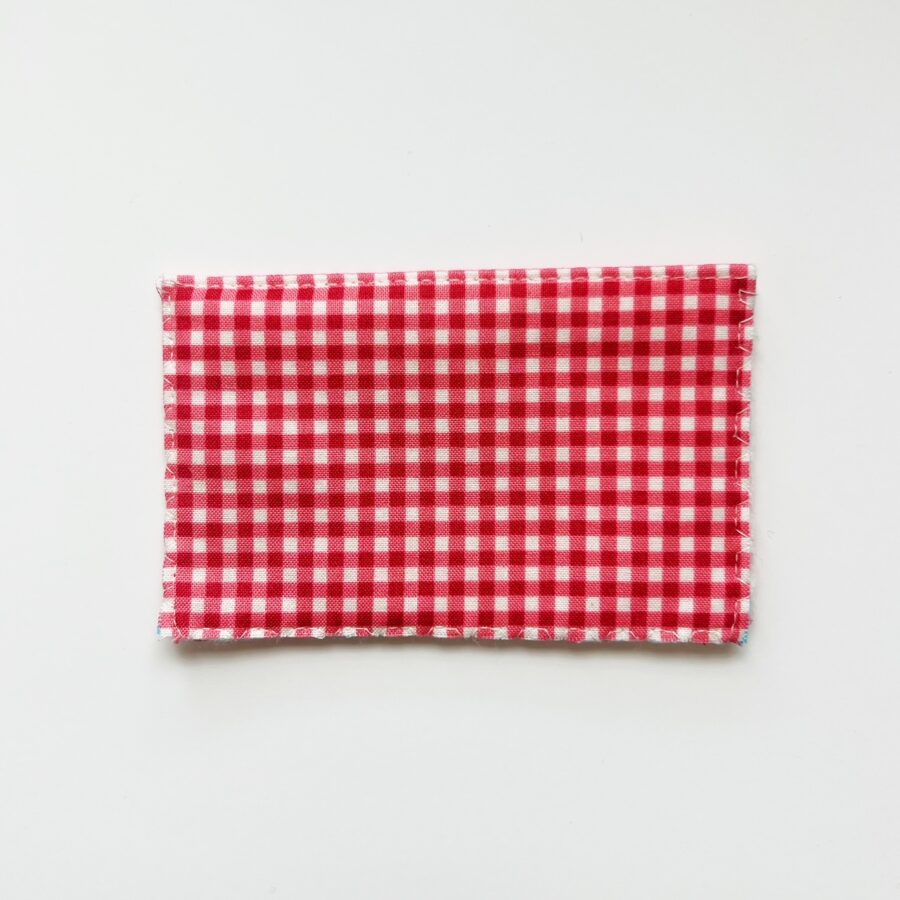
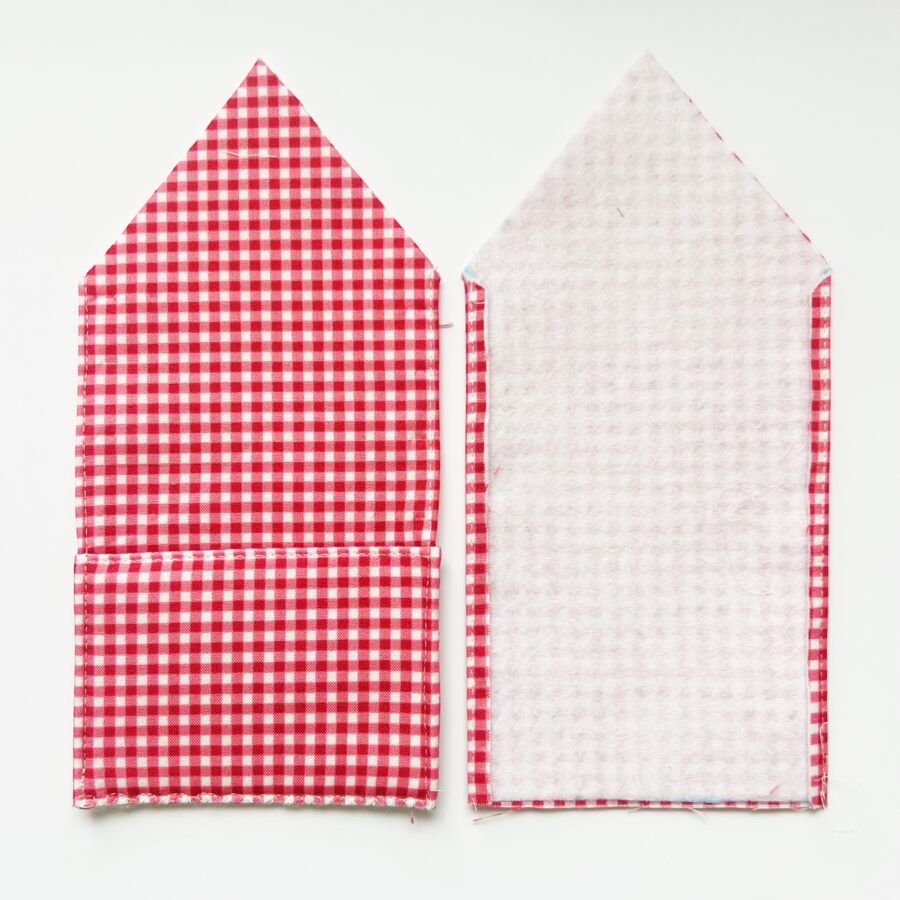
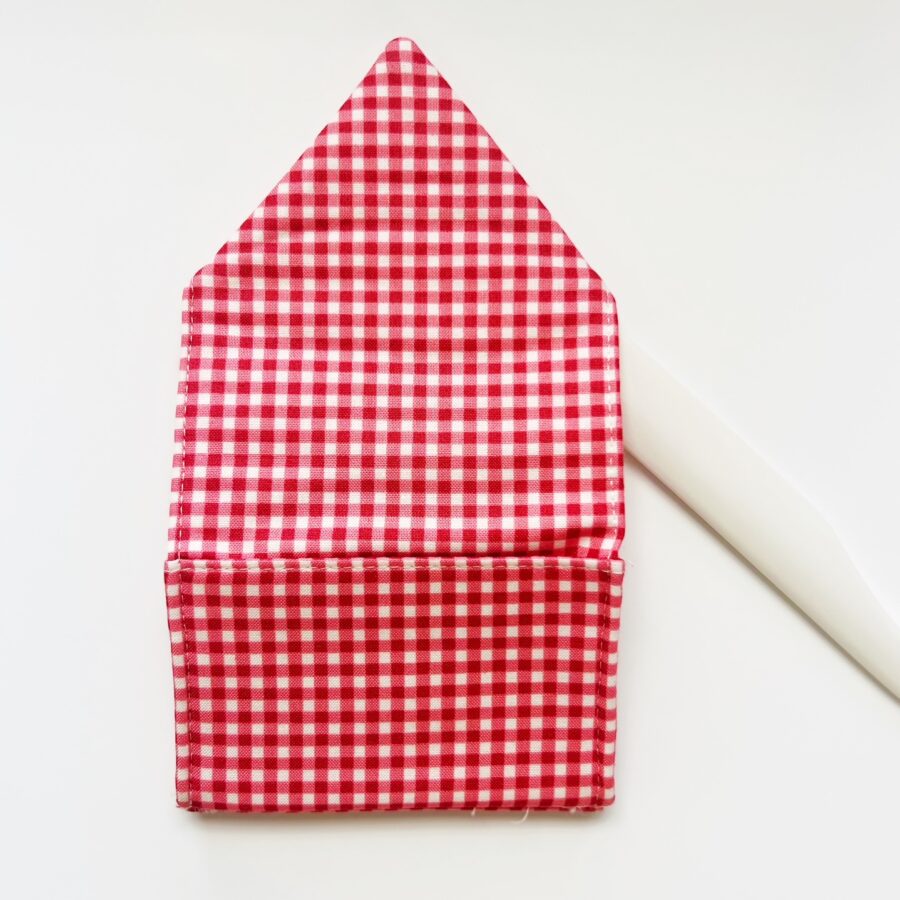
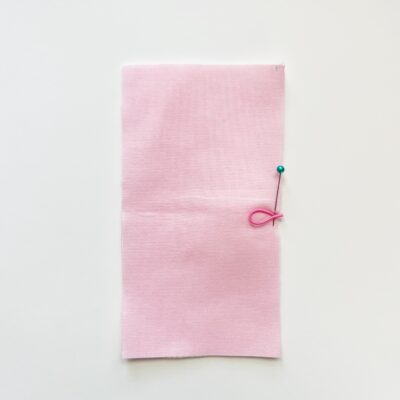
- Beginning with a the cotton square (this is the inner pocket square), fold the square in from top to bottom (long side). Press the folded seam with an iron and sew a seam close to the folded top edge. I also like to baste the raw edges as well.

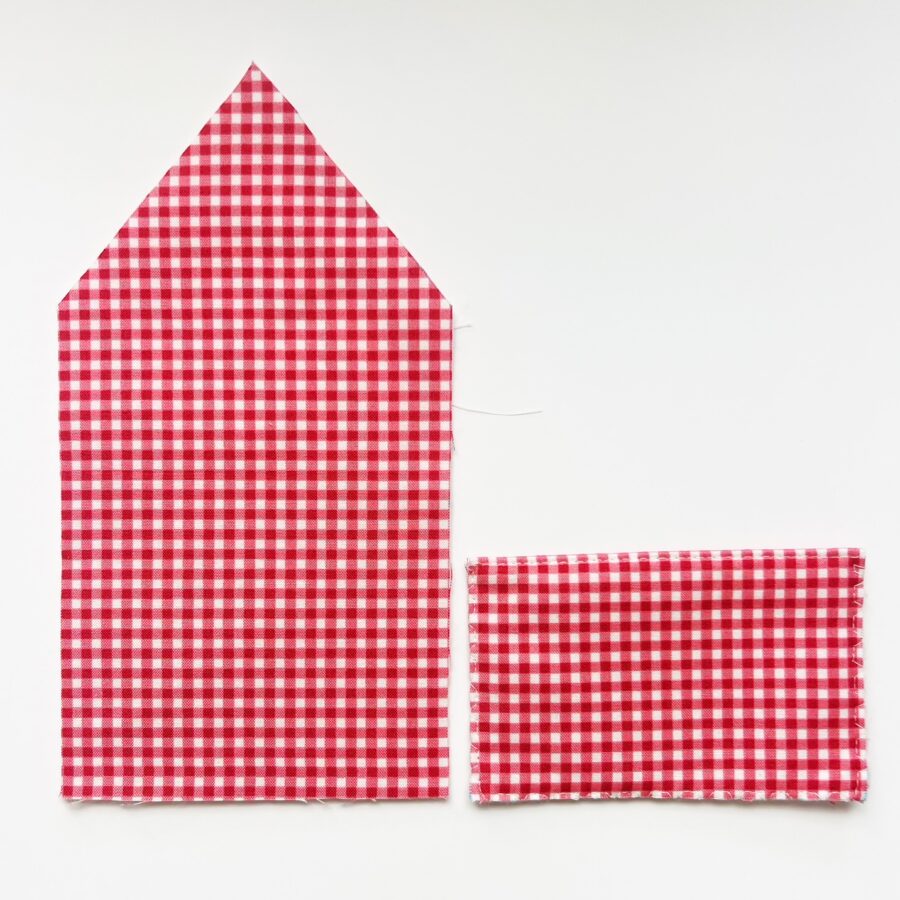
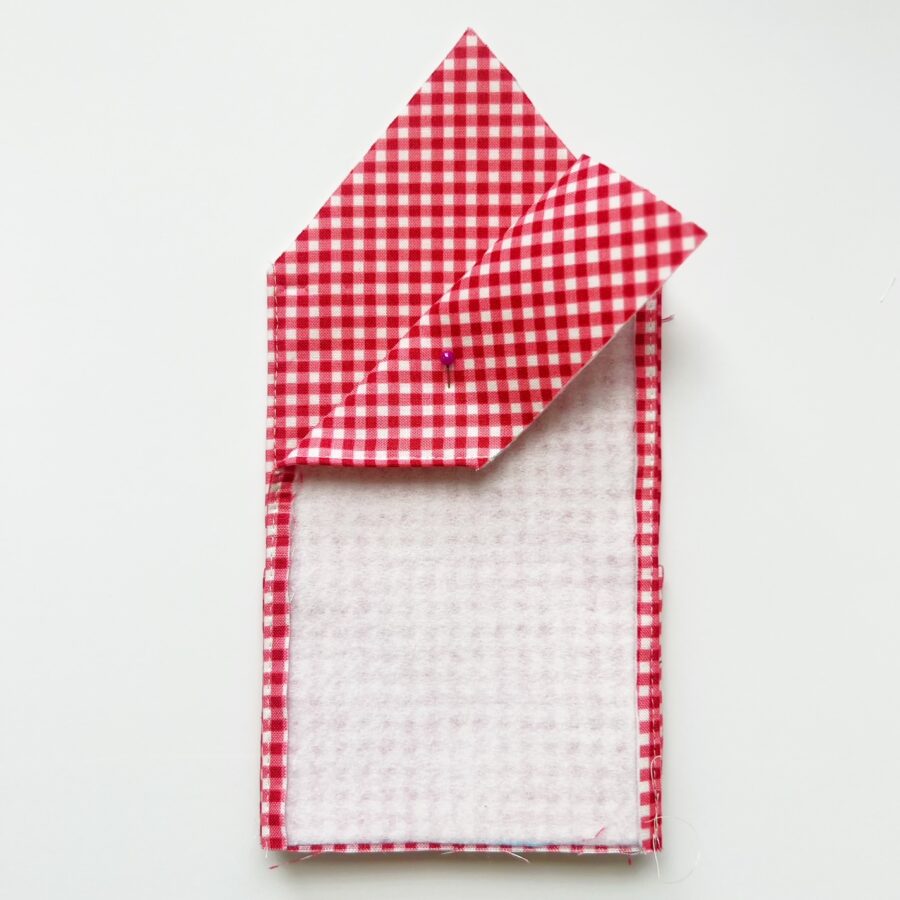
- Take the prepped pocket and place it towards the bottom front side of a house piece. Pin in place and baste around the side edges of the pocket area.

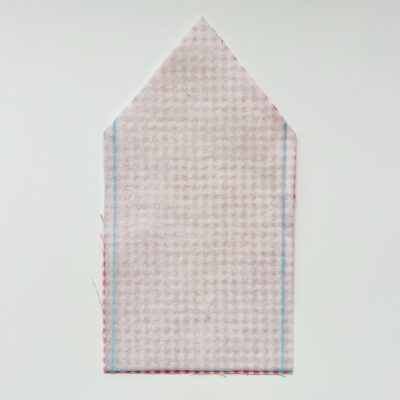
- With the prepped house piece (wrong side facing out), fold in the left and right sides by 1/4″. TIP – Use a water soluble pen and draw a 1/4″ guideline on the wrong side of the house piece. Fold in along the marked line and press the fold with an iron. Pin the folded seam in place and sew as close to the folded seam as possible (1/8″). Repeat for the second house piece.


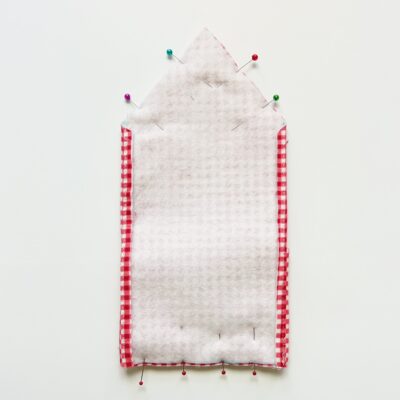
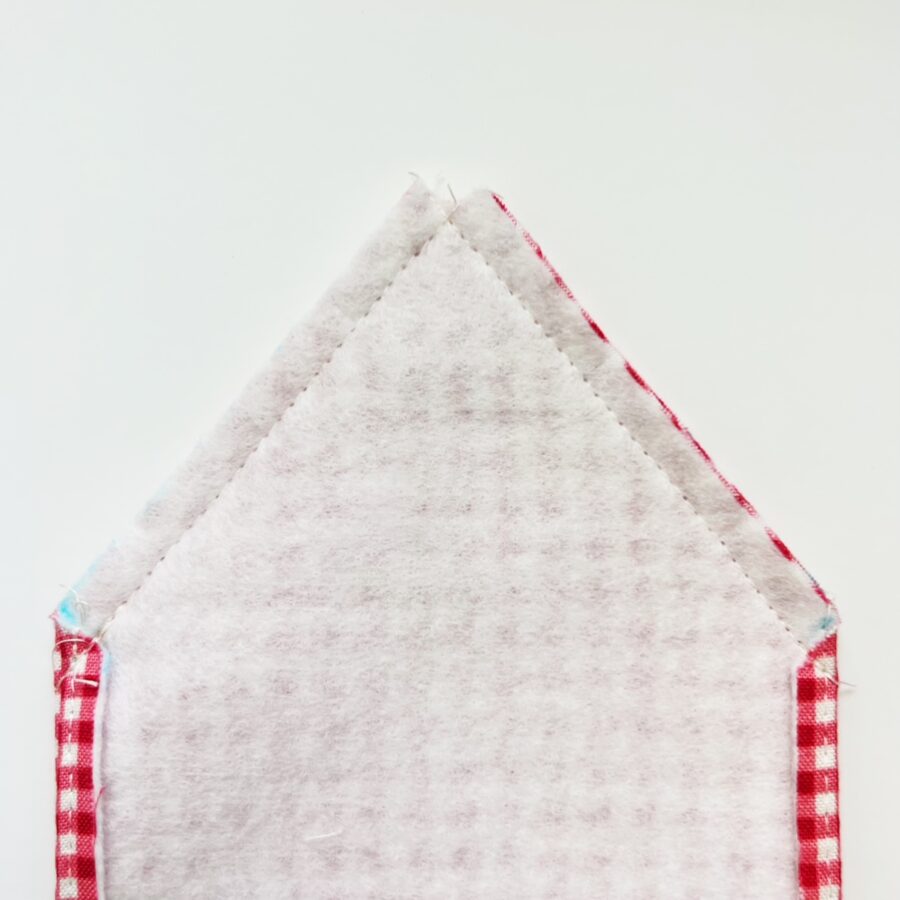
- Now, lay each house piece on top of each other (right sides should be facing in, wrong sides facing out). Pin in place and sew a seam along the roof area, and the bottom (make sure to backstitch while sewing these areas), leaving the sides unsewn / open.
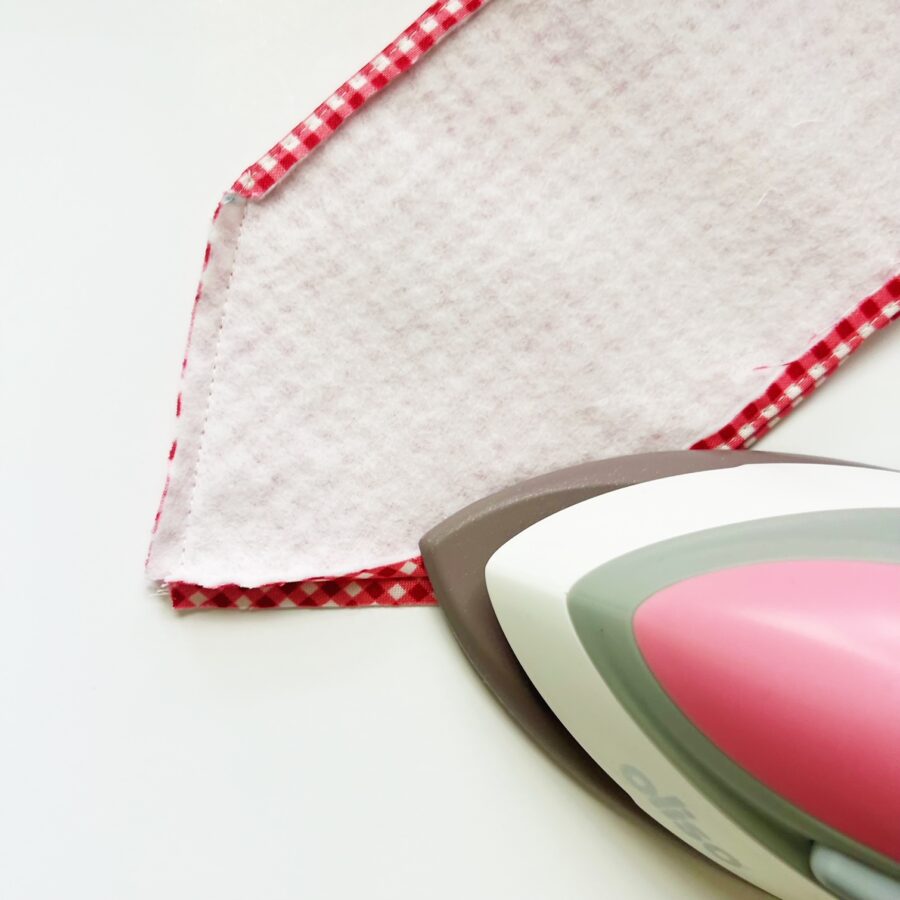
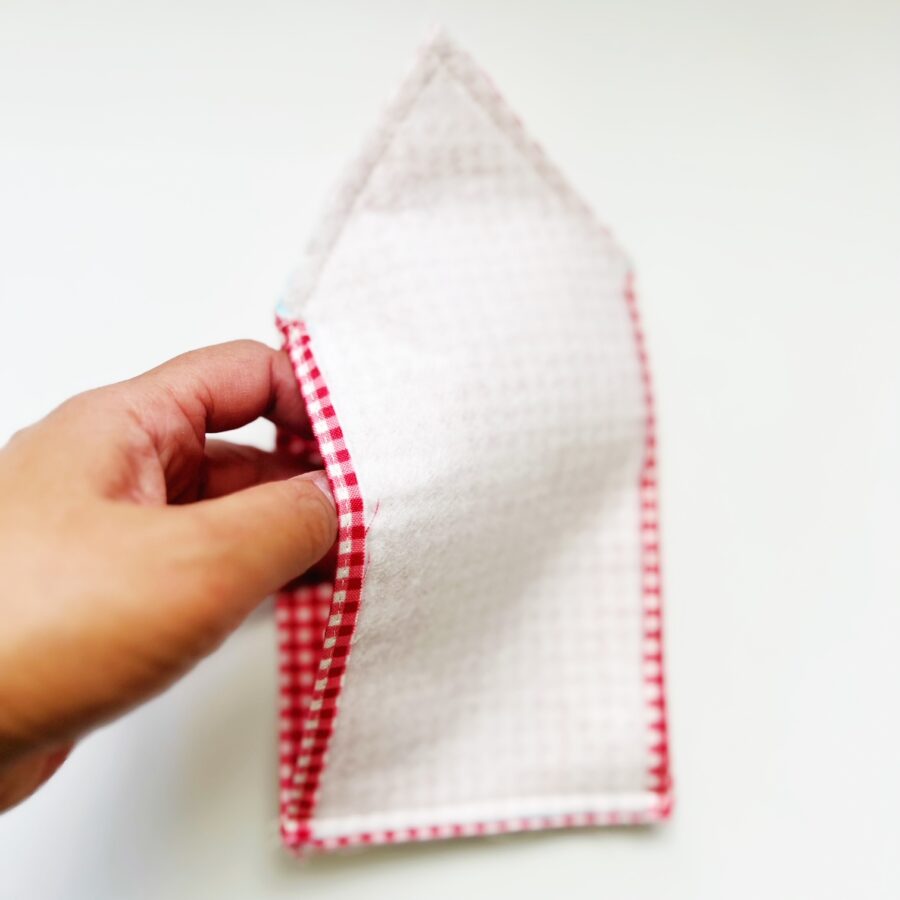
- Clip the tip of the roof area (making sure not to clip the seam). Turn the piece right side out through either open sides, using your chopstick or stiletto to smooth out the roof tip, edges, and bottom seam. Press open the seams as best you can and press on the right side of the seam as well. Press the piece once all the seams are pressed. Set the house aside and make the doors.
- To make the doors, first prep the elastic onto a door piece. Take one door piece and attach the elastic loop to the right side (right side facing out). Make a loop (you can baste the loop end in place) and place the raw edges of the loop to the right middle side of the piece. Baste in place.
- Now take a second door piece and lay it on top of the prepped door piece (right sides should be facing in, wrong sides facing out). Pin along the right, top, and bottom areas, leaving the left side open. Sew a 1/4″ seam along the pinned area (making sure to backstitch and leaving the left side unsewn). You can clip the corners and turn the piece right side out, smoothing out the corners and edges with your chopstick or stiletto. Press the piece.
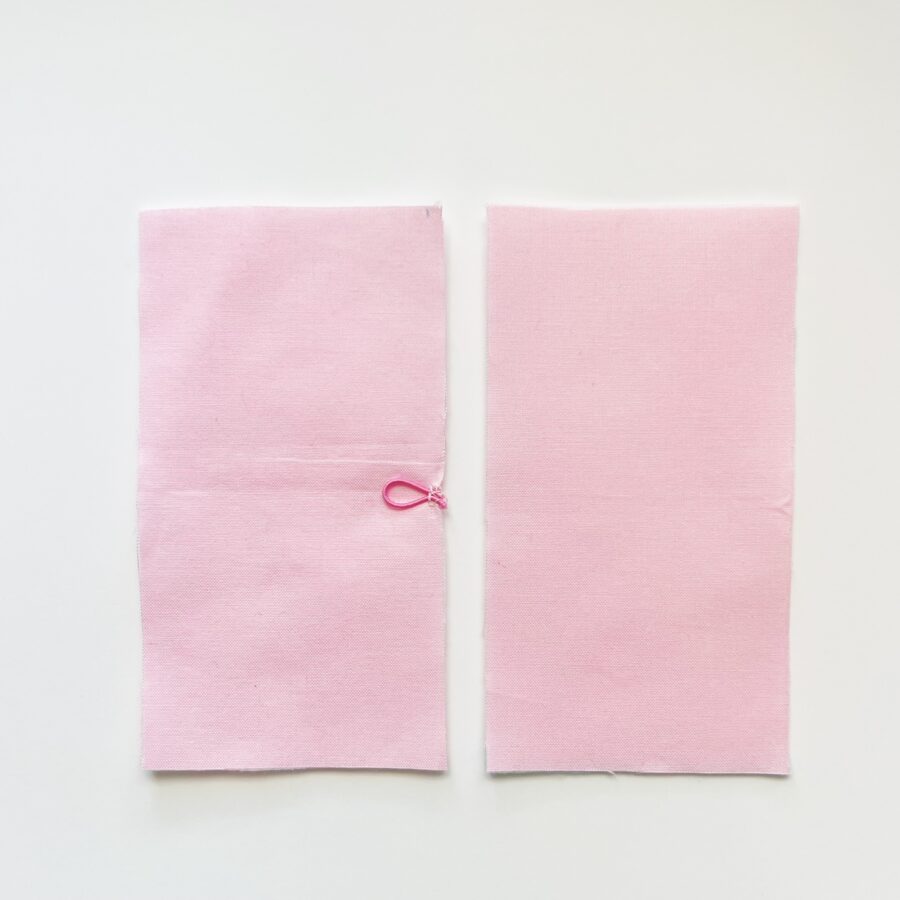

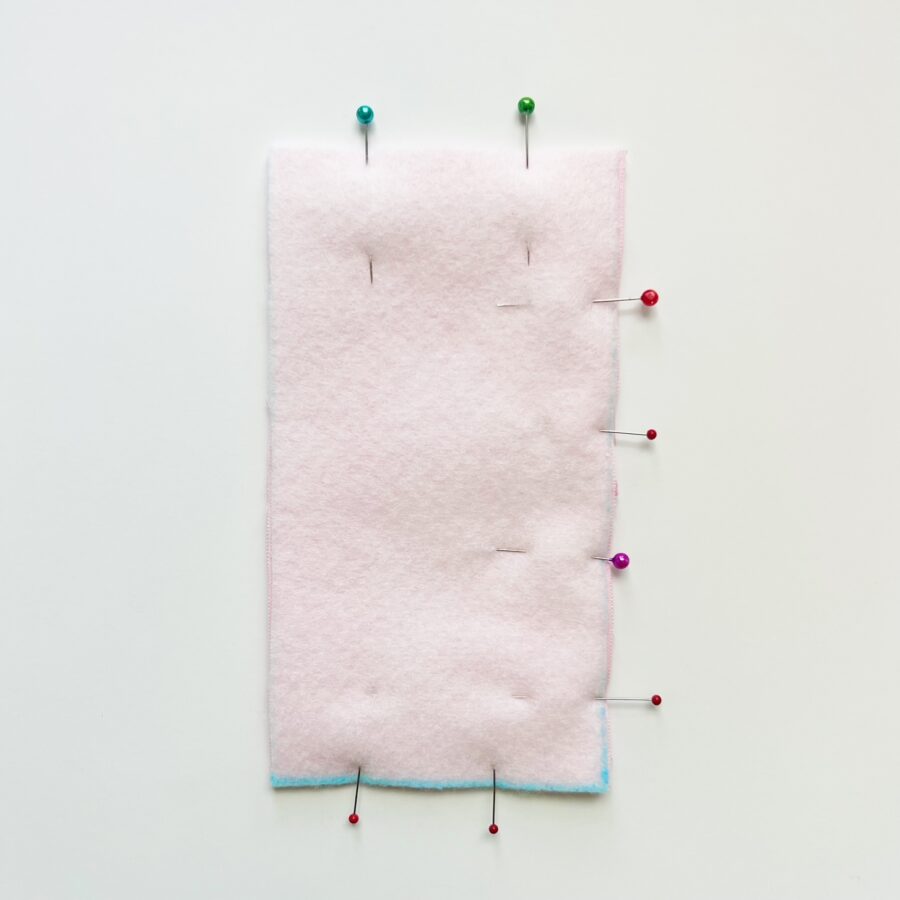

- Repeat step 7 for the second door, however, you don’t have to add the elastic piece. Since this is the right door, you will pin and sew along the left side of the piece, leaving the right side unsewn / open.
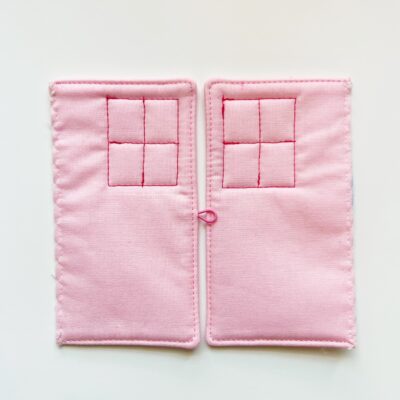
- Once the doors are made, add the windows. Starting with the left door piece, sew a box in contrasting thread (I use red), measuring 1 3/4″ x 1 1/4″ , close to the top right edge of the door. Add the window cross. Repeat for the right door piece, but sewing the window to the left of the top edge of the door.

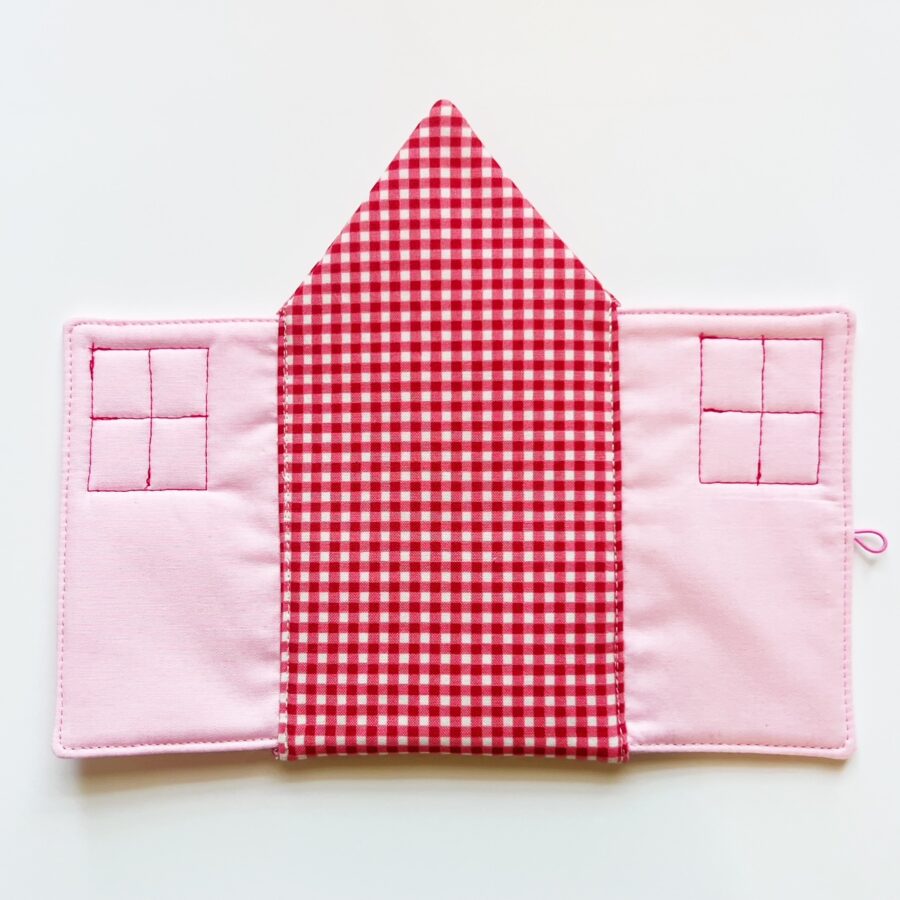
- Attach the doors to each side of the house. Starting with the left side, take the left door piece and insert in the left open area by 1/4″. Pin in place and sew as close to the edge as possible. Repeat for the second door piece on the right hand side.

- Sew the button to the right door area, so that it lines up to the elastic loop.

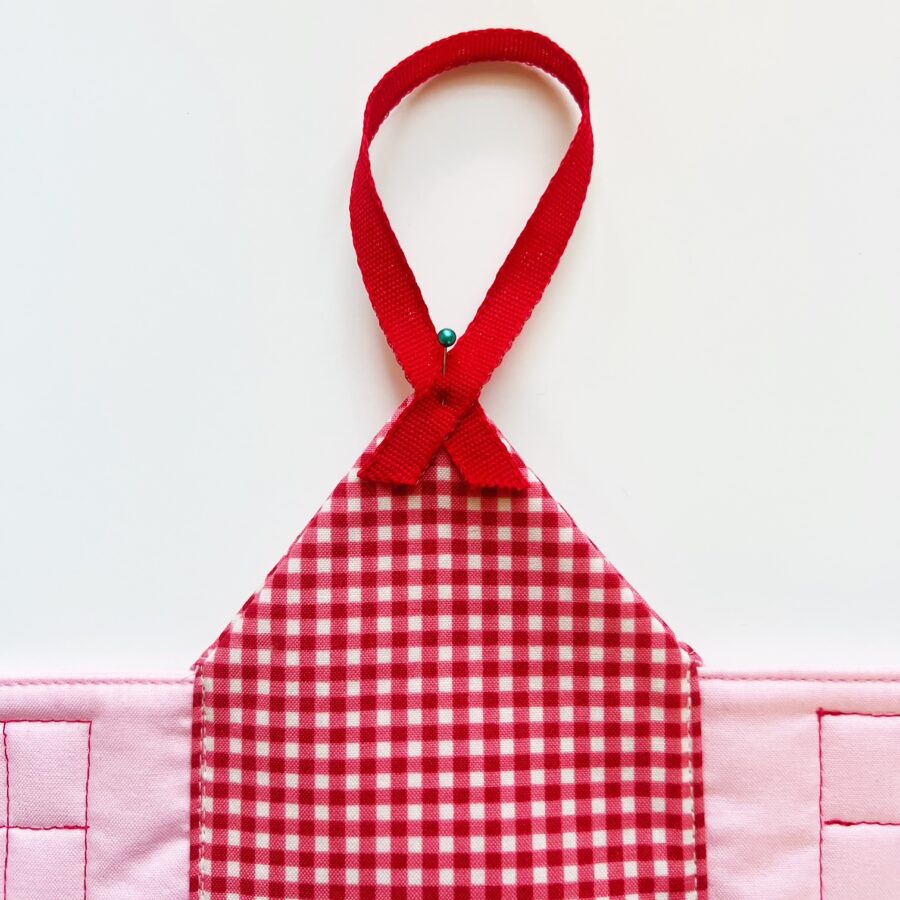
- Add the ribbon loop to the top of the roof. Take the ribbon and make a loop. Pin the raw edge area to the backside of the the roof (doors will be facing on the other side when closed). Sew in place.

- Add the embellishments to the desired areas of the front doors, either sewing or hot gluing in place. You are now done!

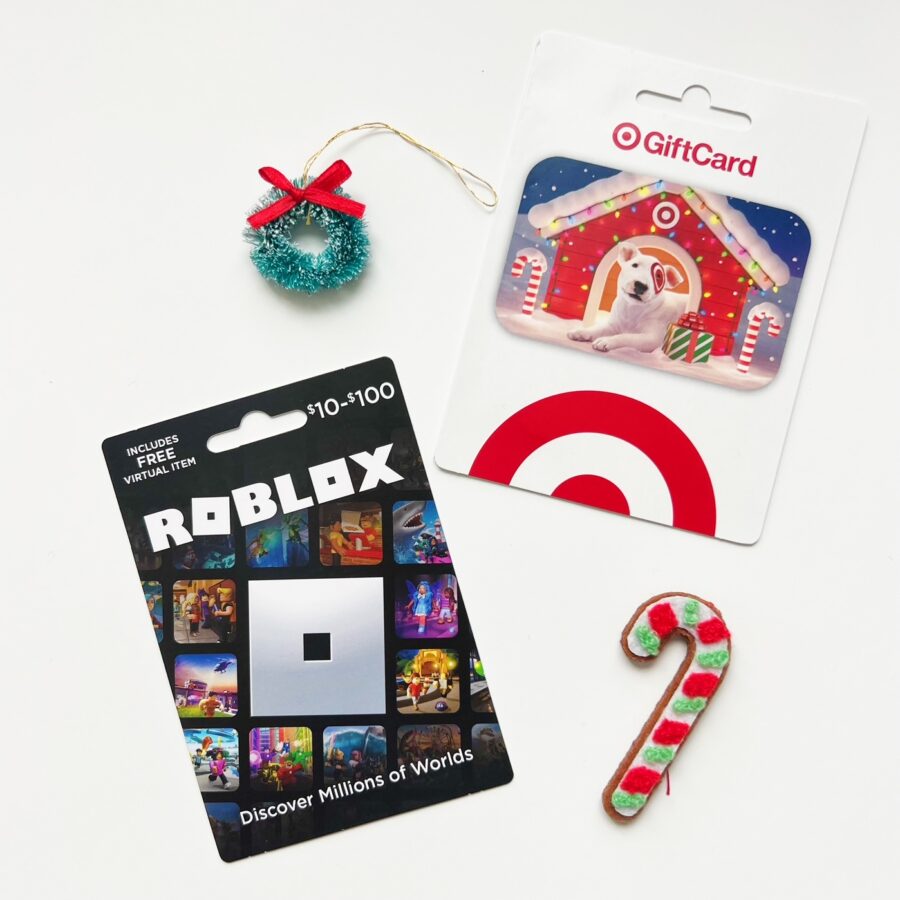
Here’s the size gift cards you can add.
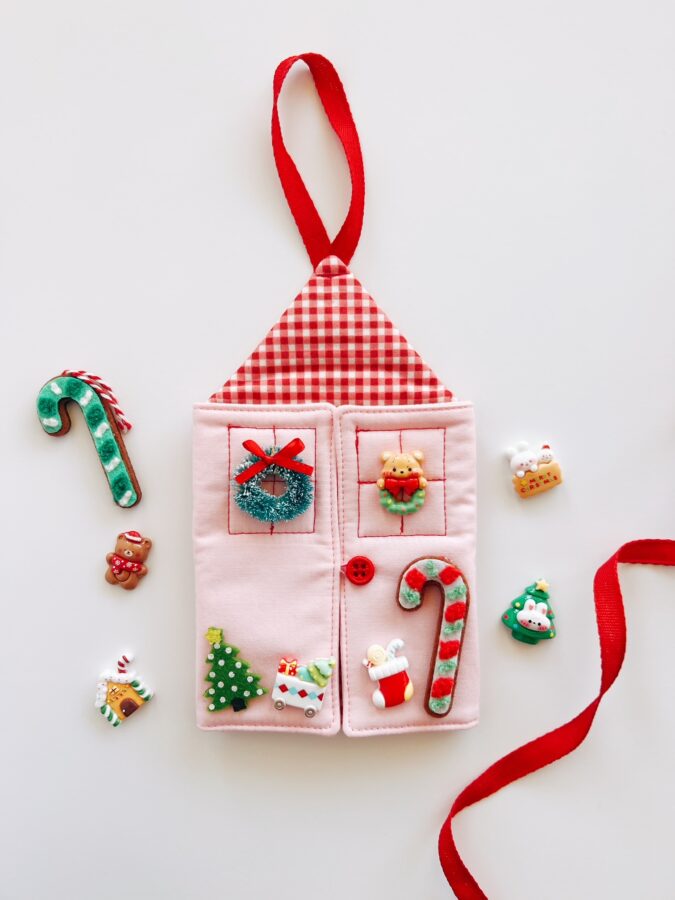
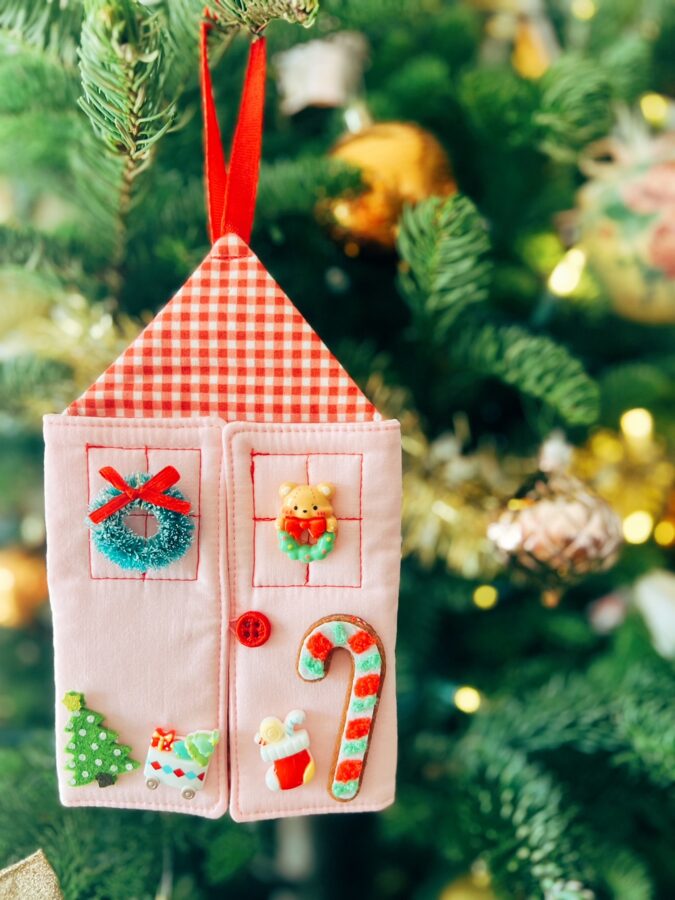
And here is the finished Cottage Gift Card Holder Ornament!

I hope you all have a very Merry Christmas with our loved ones! I will see you next year with new project tutorials!
Sincerely,
Karen