


We are celebrating love on the Thermoweb blog this week. Carla from Creatin’ in the Sticks has a fun take on the key to our love using HeatnBond interfacing.
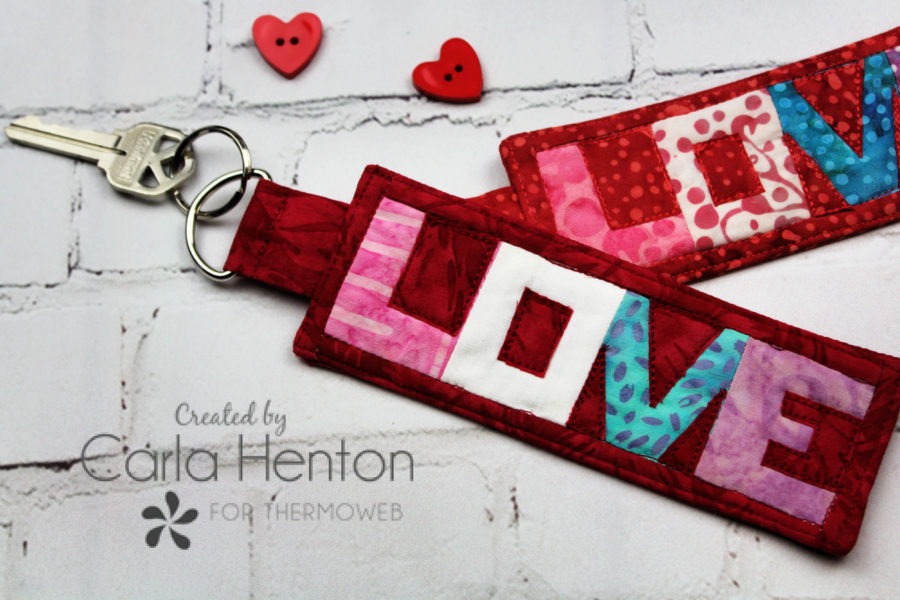
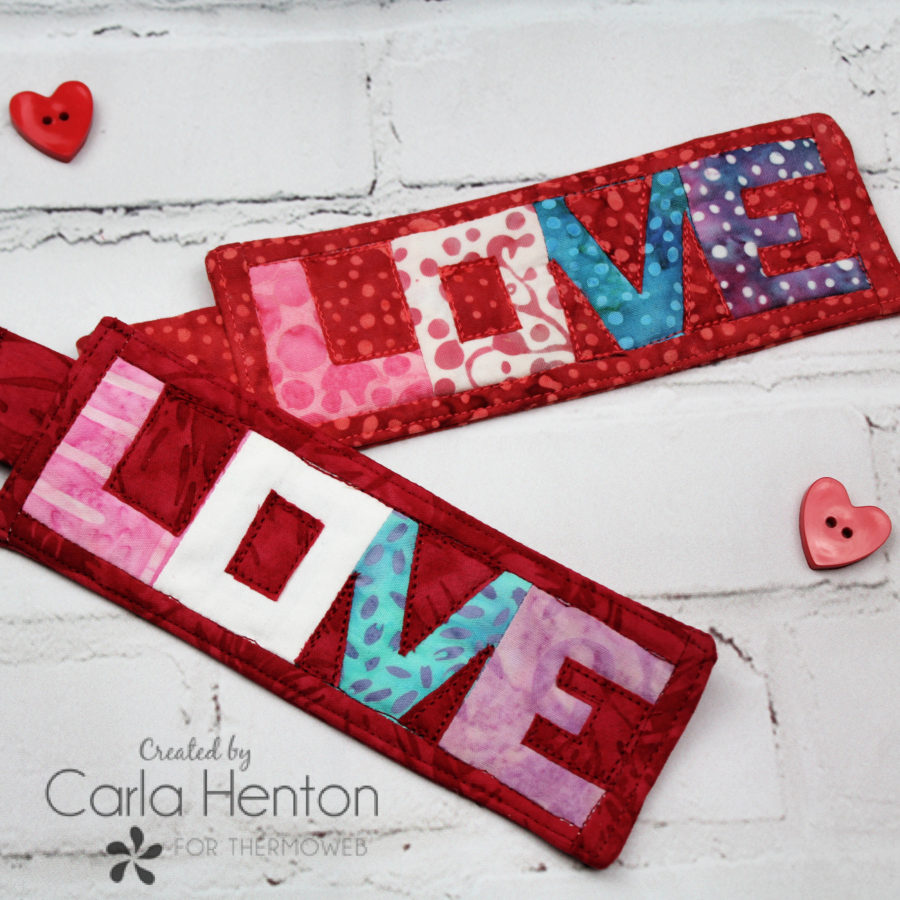
Quilted Love Keychain
by Carla at Creatin’ in the Sticks
Finished Size: 2” X 7”
please read through the complete instructions before starting.
All seams are stitched at ¼” unless otherwise stated.
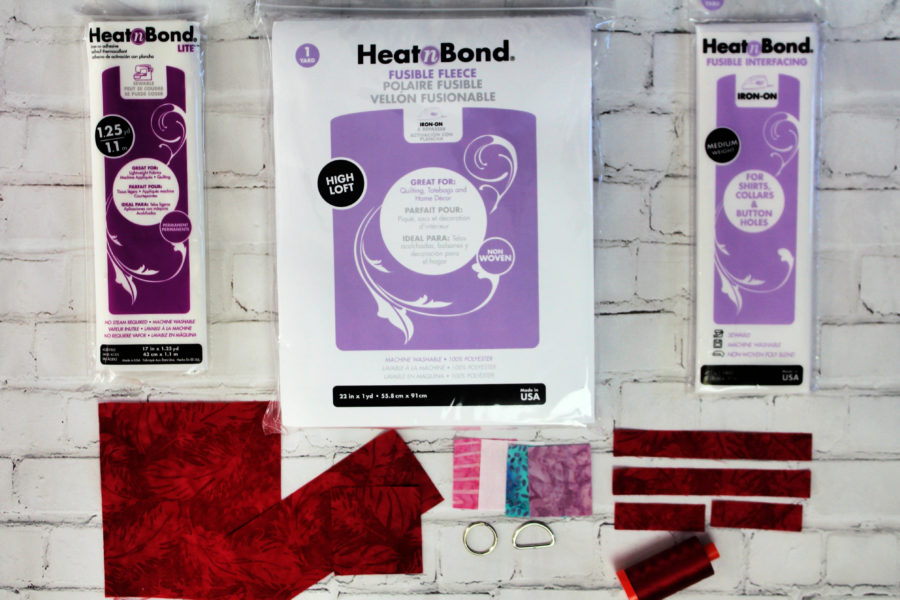
Supplies:
Print the FREE PDF pattern – Quited Love Keychain Pattern
HeatnBond Lite iron-on adhesive
HeatnBond Non-woven fusible interfacing, Medium weight
HeatnBond High Loft fusible fleece
InkJet Printer, Iron (I love my Oliso), sewing machine, sharp scissors, matching Aurifil thread,
1 key ring, one 1” D ring, and other basic sewing supplies.
Cotton Fabric Scraps: red, pink, white, teal, and purple
Cutting:
From the red fabric cut
2 strips ¾” x 5 ½”
2 strips ¾” x 2 ½”
1 square 2 ½”
1 rectangle 2 ½” x 6”
Applique pieces: instructions below.
From each of the pink, white, teal, and purple fabrics cut one 2” x 1 ¾” rectangle.
Cut one 2 ½” x 6” rectangle from the HeatnBond fusible fleece.
From the interfacing, cut one 2 1/2” square and one 2 ½” x 6” rectangle.
Prepare Patchwork Keychain Quilt top:
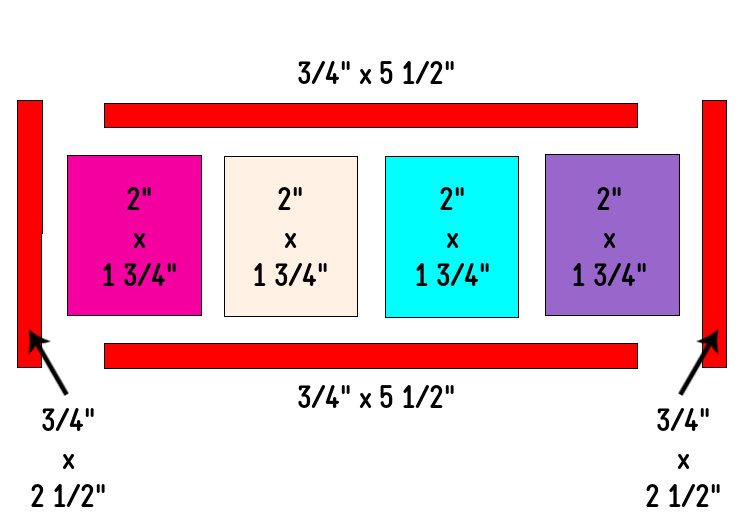
First, stitch the colored rectangles right sides together with ¼” seams. Press the seam allowances open. Next, stitch the ¾” x 5 ½” strips to the top and bottom of the rectangle unit. Finally, sew the ¾” x 2 ½” strips to the ends of the unit. This unit measures 2 ½” x 6”.
Following the package instructions, bond the adhesive side of the HeatnBond fusible fleece to the wrong side of the patchwork unit.
Bond the cut interfacing to the wrong side of the remaining fabric pieces.
Prepare the D ring fabric loop:
Fold the 2 ½” square in half and stitch a ¼” seam along the long raw edge to form a tube. Turn the tube right side out and press flat so that the seam runs in the center of the strip. Slide the D ring to the middle of the strip.
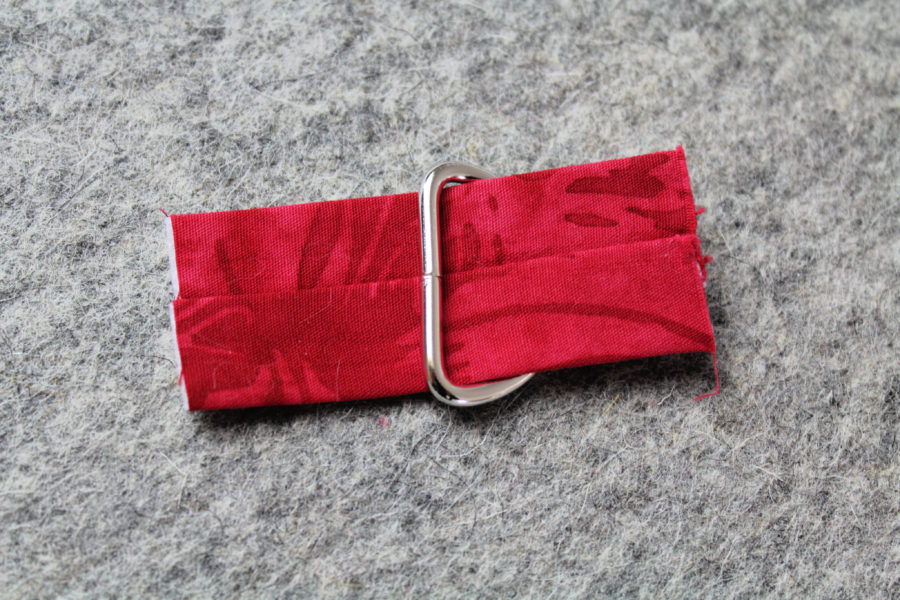
Fold the strip and stitch close to the ring to hold it in place.
Center the prepared D ring strip ends on the end of the pieced unit as pictured. Stitch 1/8” from the edge to secure.
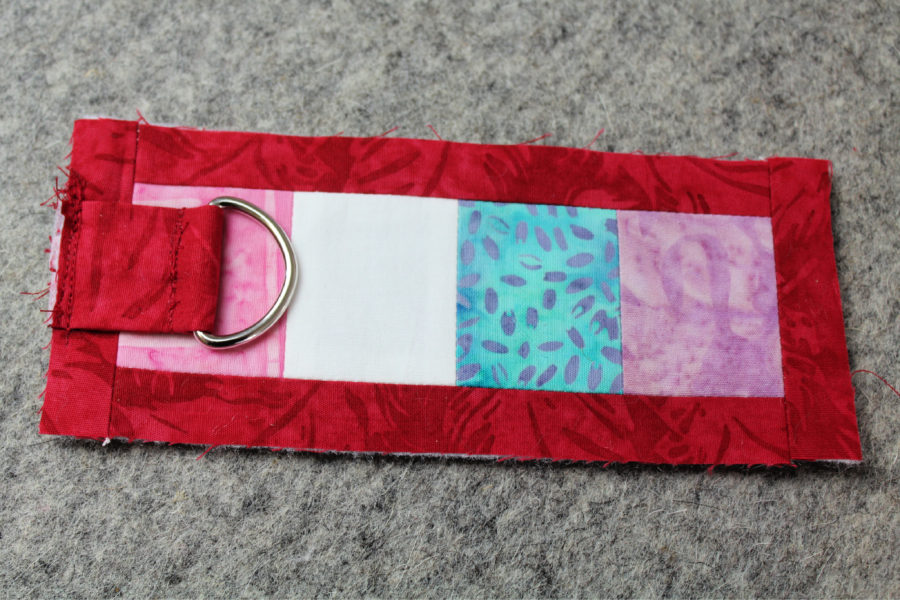
Pin the pieced unit to the 2 ½” x 6” Interfacing backed rectangle right sides together. Leave the short end open for turning and stitch around the unit with ¼” seam backstitch at the beginning and end.
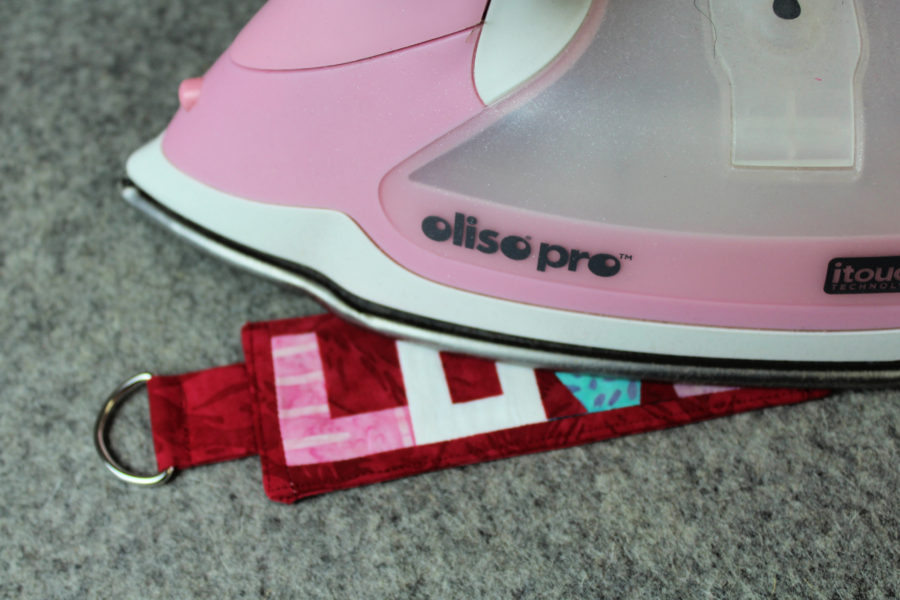
Trim the corners and turn the keychain right side out and press. Fold the short end inside ¼” and stitch the opening shut by hand or edge stitch around the unit to enclose the opening.
Applique:
First, place the applique patterns on the paper side of the HeatNBond Lite adhesive. Follow the manufacturer’s instructions for tracing the patterns and bonding to the wrong side of the red fabric.

After the HeatnBond is fused to the fabric, cut out the applique pieces on the drawn lines, peel off the backing paper, and place the appliques with the adhesive side down on the right side of the patchwork unit according to the key picture. Follow the package instructions to bond the appliques to the patchwork keychain.
Finally, use a straight machine stitch to stitch around the appliques and quilt the keychain as desired.
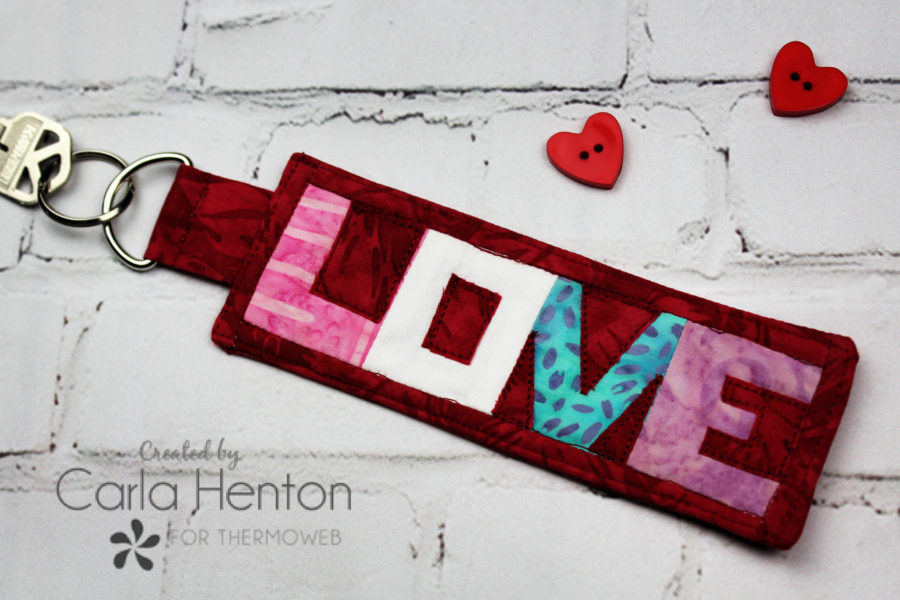
Give someone the key to your love!
Carla
In The Boon Docks
January 14, 2021 at 6:46 pm (3 years ago)Such a sweet Valentine gift! Thanks
Pat @ Life in the Scrapatch
January 19, 2021 at 7:42 am (3 years ago)Sew sweet! Thank you, Carla and Thermoweb, for the fun free pattern … 🙂 Pat
Robin
January 21, 2021 at 9:36 pm (3 years ago)As always a great pattern that looks hard but is not. Thanks for all the education you give us.
Jo Johnson
January 8, 2022 at 3:31 pm (2 years ago)Thank you and Thermoweb for sharing this cute easy project. I will definitely share it and your site with my quilt bee friends !