


Welcome to ThermOWeb…it’s me, Carol from Just Let Me Quilt, sharing today. There is no snow happening where I live in Las Vegas, but with the help of ThermOWeb’s Heat n Bond Lite Iron-on Adhesive, Heat n Bond High Loft Fusible Fleece, and Crafter’s Edge Dog Eared Triangles, Letters, and Snowflake, I have SNOW!
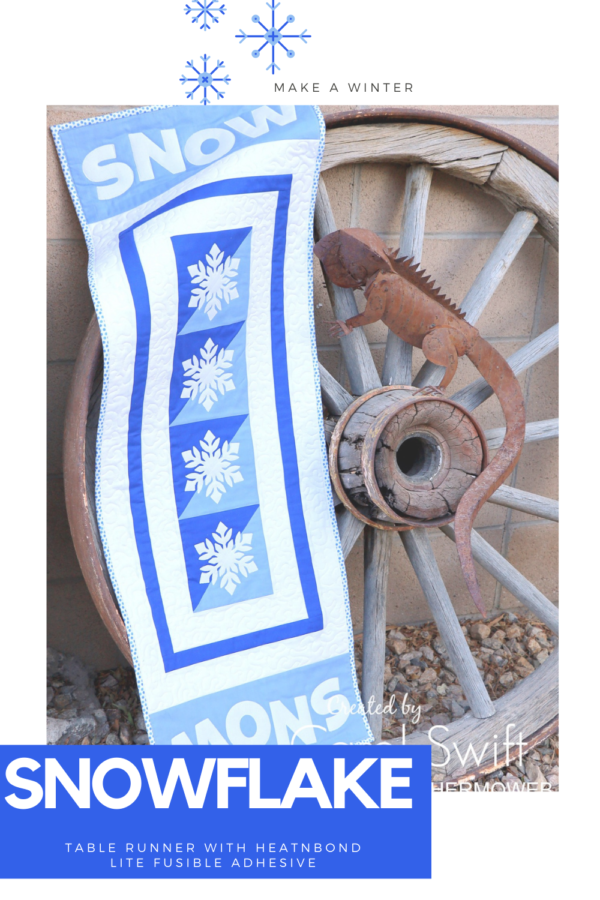
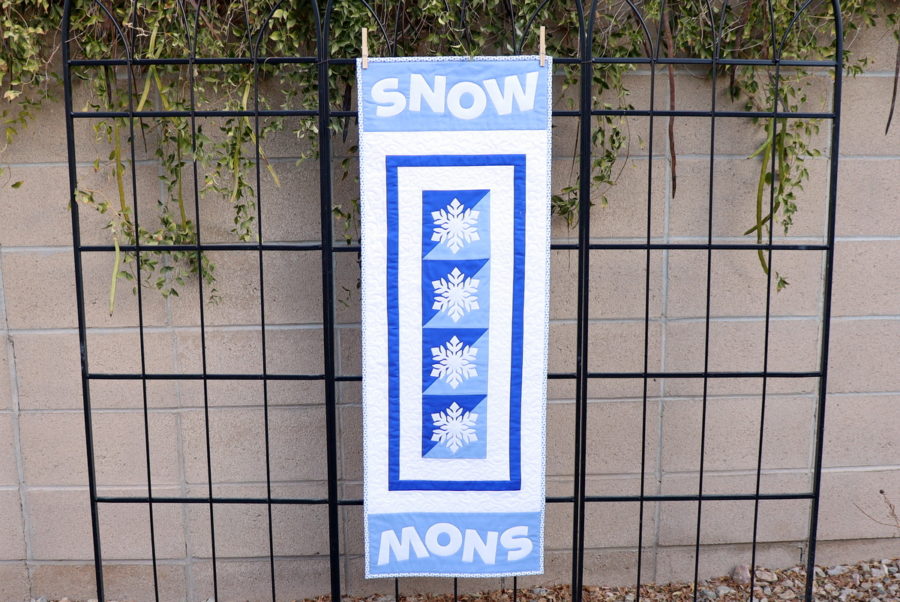
Where’s The Snow! Snowflake Fabric Runner
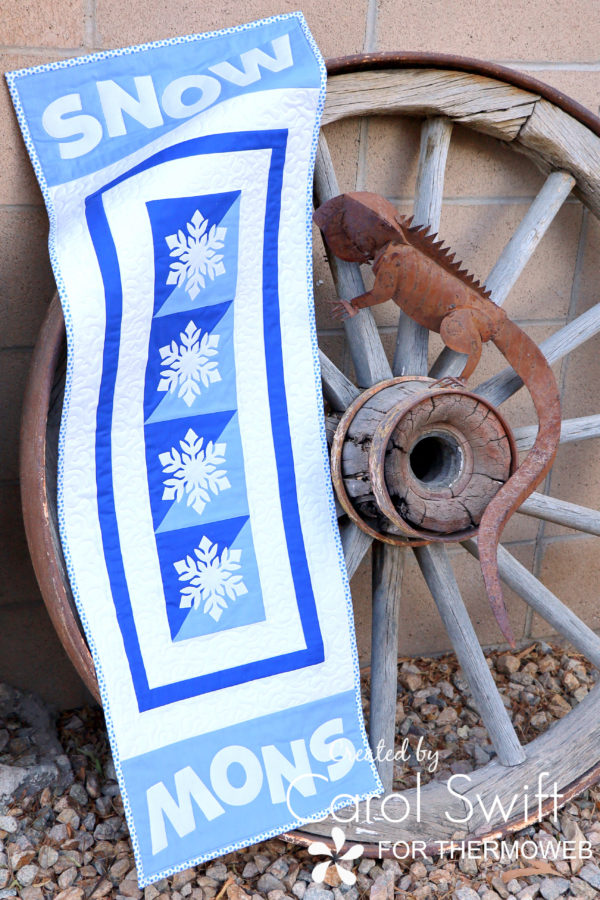
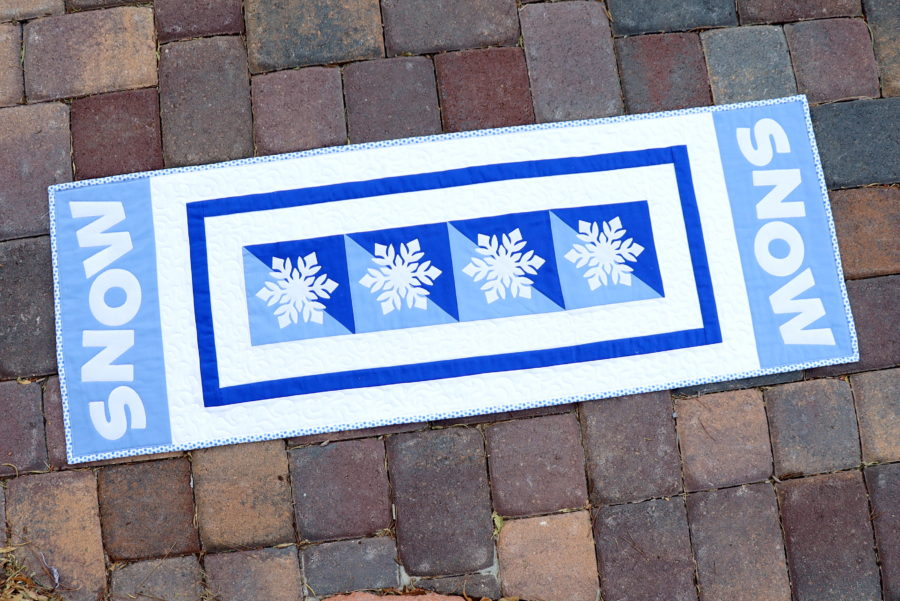
Well, sort of snow. A 16″ x 46″ table runner that says “SNOW” is as close as I can get to the cold stuff right now.
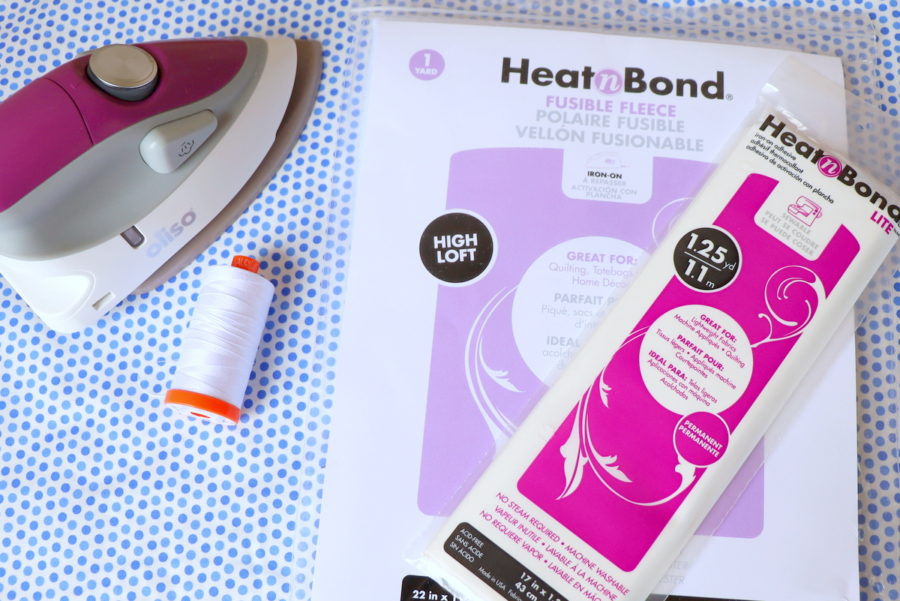
What you need to make “Where’s The Snow!”:
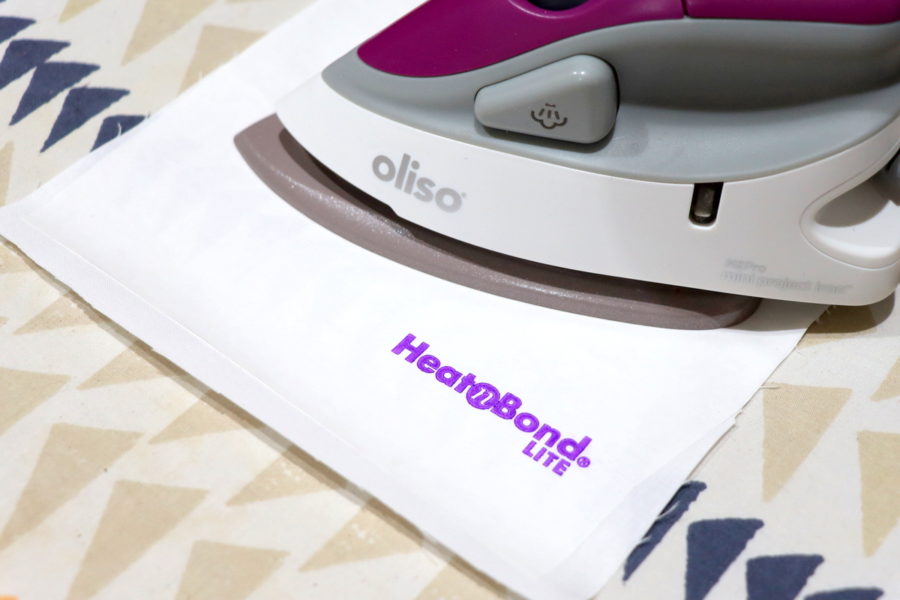
Heat n Bond Lite Iron-on Adhesive
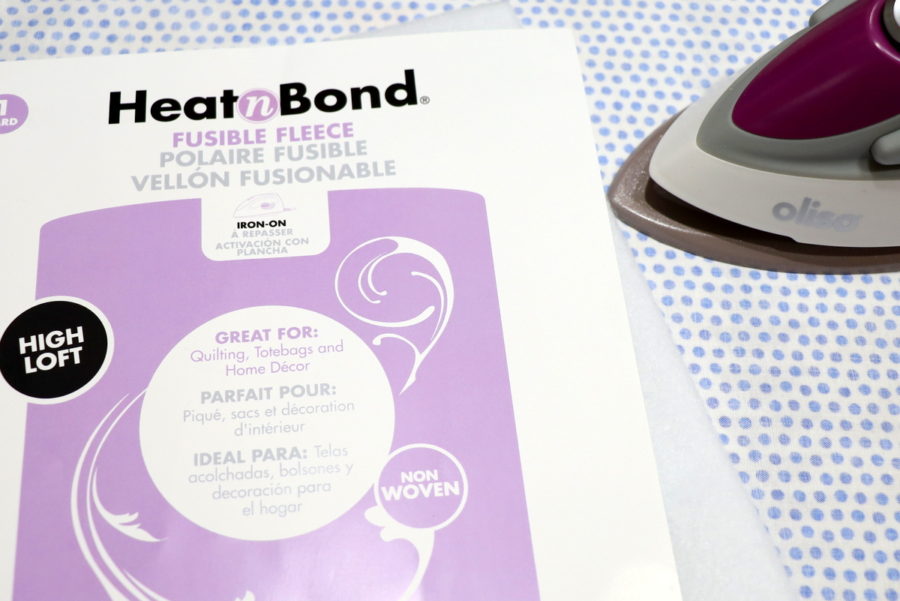
Heat n Bond High Loft Fusible Fleece
Aurifil Thread
Oliso Iron
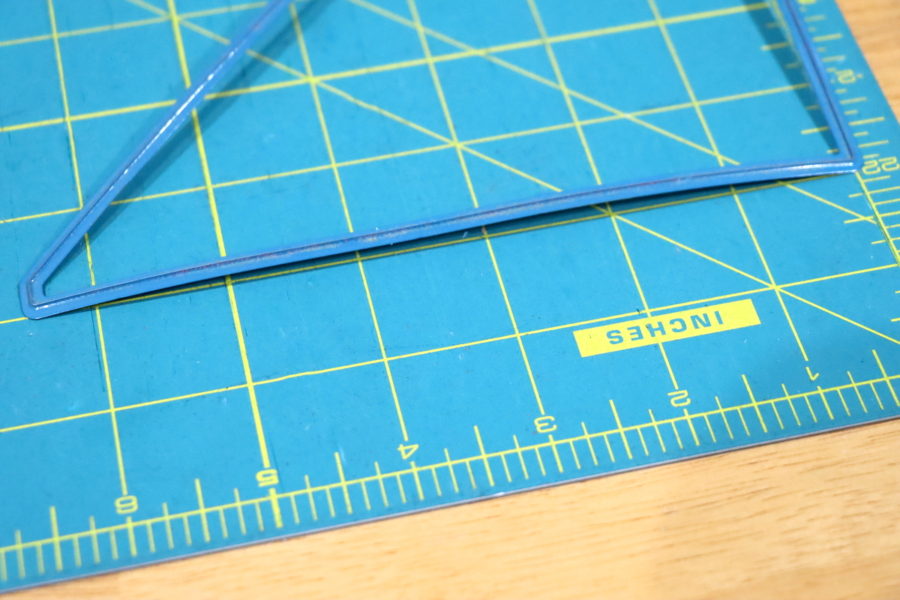
Crafter’s Edge Dog Eared Triangles (6 ½”)
Crafter’s Edge Snowflake
Crafter’s Edge Crossover II
Crafter’s Edge Letters – L, E, T, I, S, N, O, W
FABRIC NEEDED:
Light Blue– 1 yard
Dark Blue – 1/2 yard
White – 5/8 yard
Binding – 1/3 yard
Backing – 1 ¼ yard
CUTTING INSTRUCTIONS:
Cut 4 – 6 ½” CE Dog Eared Triangles, light blue, Center Blocks
Cut 4 – 6 ½” CE Dog Eared Triangles, dark blue, Center Blocks
Cut 4 – CE Snowflakes, white
Cut 2 – 2 ½” x 24 ½” strips, white, left and right Border A
Cut 2 – 2 ½” x 10 ½” strips, white, top and bottom Border A
Cut 2 – 1 ½” x 28 ½” strips, dark blue, left and right Border B
Cut 2 – 1 ½” x 12 ½” CE Strips, dark blue, top and bottom Border B
Cut 2 – 2 ½” x 30 ½” CE Strips, white, left and right Border C
Cut 2 – 2 ½” x 16 ½” CE Strips, white, top and bottom Border C
Cut 2 – 6 ½” x 16 ½” strips, light blue, top and bottom Border D
Cut 4 – 2 ½” x 43” strips, polka dot, binding
Cut 1 – backing to fit 16” x 46” table runner (allow extra for quilting)
Heat n Bond High Loft Fusible Fleece to fit 16” x 46” table runner (allow extra for quilting)
Snowflake Fabric Runner
The Crafter’s Edge dies have a non-sharp edge that can cut up to six layers of fabric.
SEWING/APPLIQUE INSTRUCTIONS: All seams are sewn with a 1/4” unless otherwise noted.
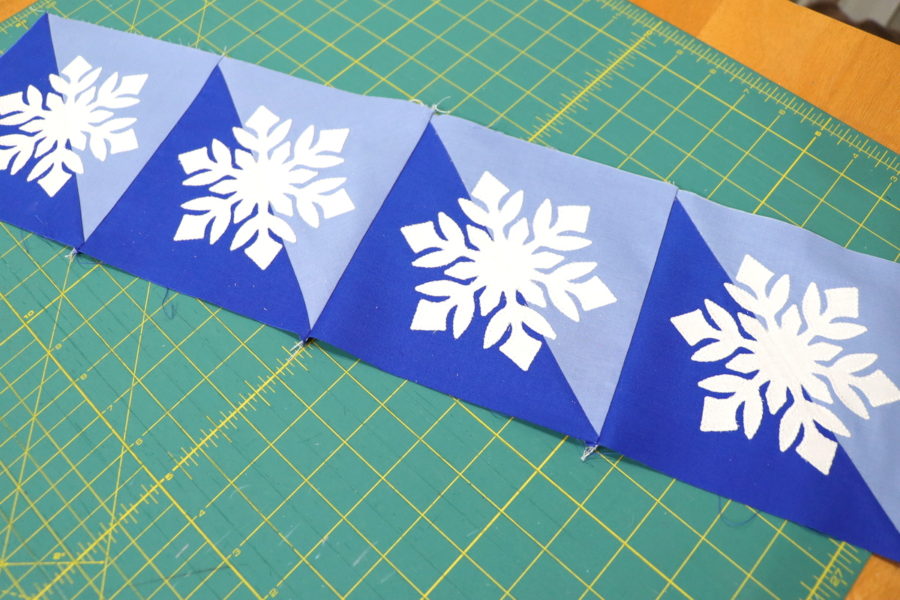
Step 1: Center Blocks (HST) – Use the CE Dog Eared 6 ½” Triangle to cut 4 dark blue triangles and 4 light blue triangles. With right sides together, sew a dark blue and light blue triangle together on long edge. Press seams to dark blue side. Repeat to make four blocks. *It’s important to sew triangles with a scant 1/4″ seam.
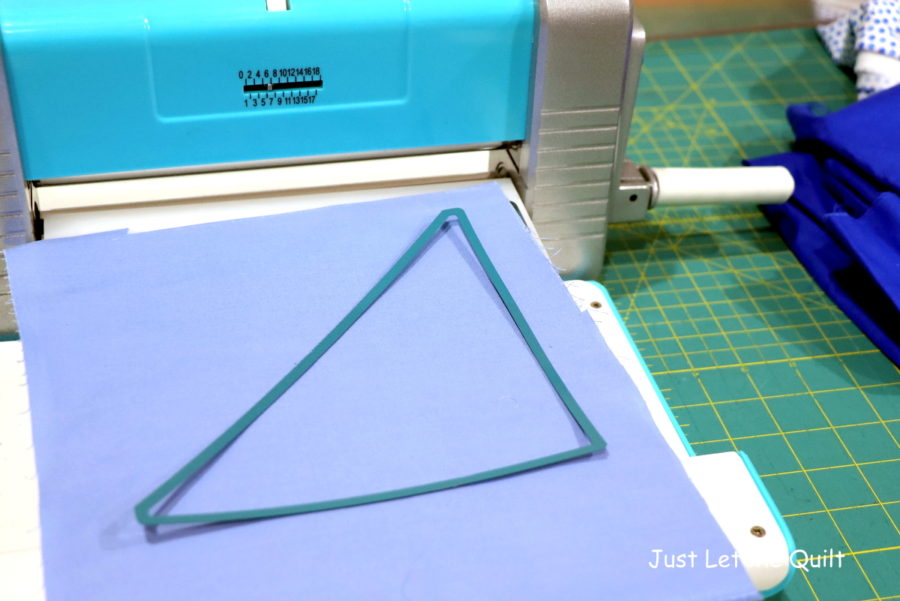

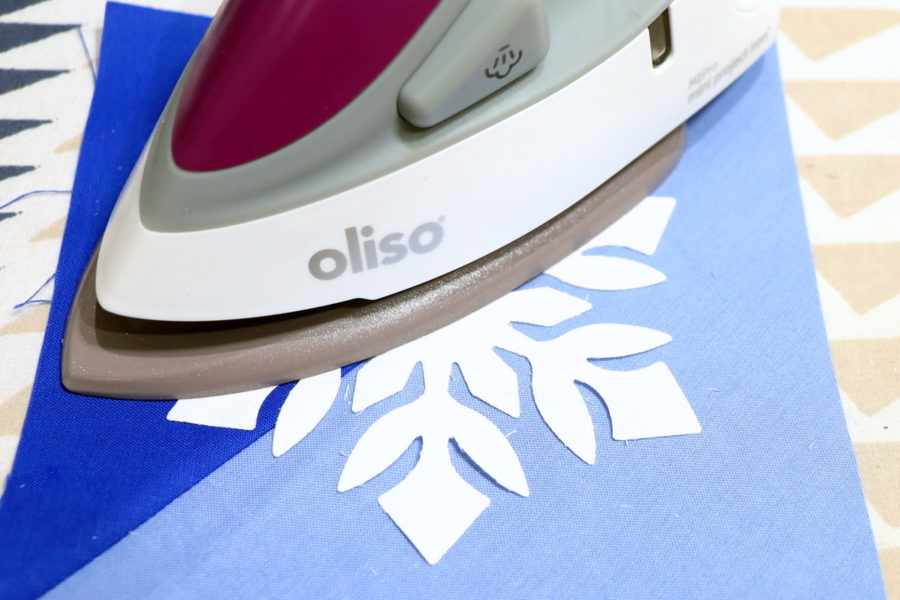
Step 2: Snowflake Applique – Iron Heat n Bond Lite Iron-on Adhesive to wrong side of white fabric; let cool. Following Crafter’s Edge instructions, place paper side of adhesive facing up on platform. Cover as directed before running snowflake through machine. Run die and fabric through machine. Peel off paper liner from the backs of snowflakes.
Place snowflake, adhesive side down, on right side of fabric and centered on HSTs as shown below. Press according to package directions until entire piece is bonded. Let cool. Sew around edges of snowflakes using a straight, zig-zag, or blanket stitch.
Step 3: With right sides together, sew HSTs with snowflakes together. Press seams to sides.
Step 4: Border A – With right sides together, sew 2 ½” x 24 ½” white strips to left and right of Center Blocks. Press seams towards borders. With right sides together, sew 2 ½” x 10 ½” white strips to top and bottom of Center Blocks. Press seams down.
Step 5: Border B – With right sides together, sew 1 ½” x 28 ½” dark blue strips to left and right of Border A. Press seams towards borders. With right sides together, sew 1 ½” x 12 ½” dark blue strips to top and bottom of Border A. Press seams down.
Step 6: Border C – With right sides together, sew 2 ½” x 30 ½” white strips to left and right of Border B. Press seams towards borders. With right sides together, sew 2 ½” x 16 ½” white strips to top and bottom of Border B. Press seams down.
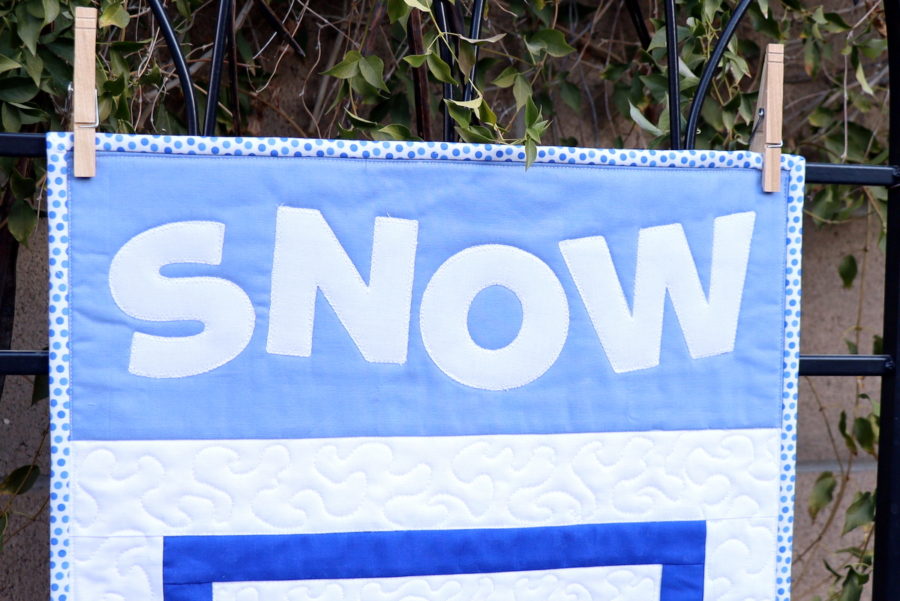
Step 7: Border D – Letters Applique – Iron adhesive to wrong side of white fabric; let cool. Following Crafter’s Edge instructions, place paper side of adhesive facing up on platform (if you place it fabric side up the letters will be in the wrong direction.) Cover as directed before running letters through machine. Run die and fabric through machine.
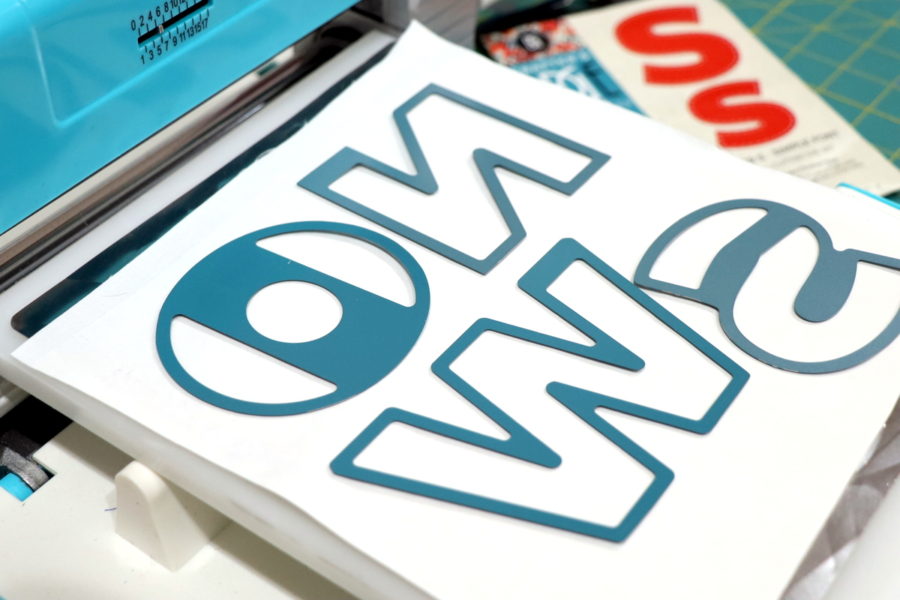
Peel off paper liner. Place letters, adhesive side down, on right side of fabric and centered on 6 ½” x 16 ½” light blue strips. Press according to package directions until entire piece is bonded. Let cool. Sew around edges of letters using a straight, zig-zag, or blanket stitch.
Step 8: With right sides together, sew 6 ½” x 16 ½” light blue strips to top and bottom of Border C. Press seams towards borders.
Step 9: Iron Heat n Bond High Loft Fusible Fleece to wrong side of runner backing following package directions.
Step 10: Finish runner using your favorite quilting and binding method.
Have a happy snow or no-snow day!