


 Hello and welcome!
It’s Julia from Inflorescence Designs! I am so excited to share with you this amazing tutorial and pattern.
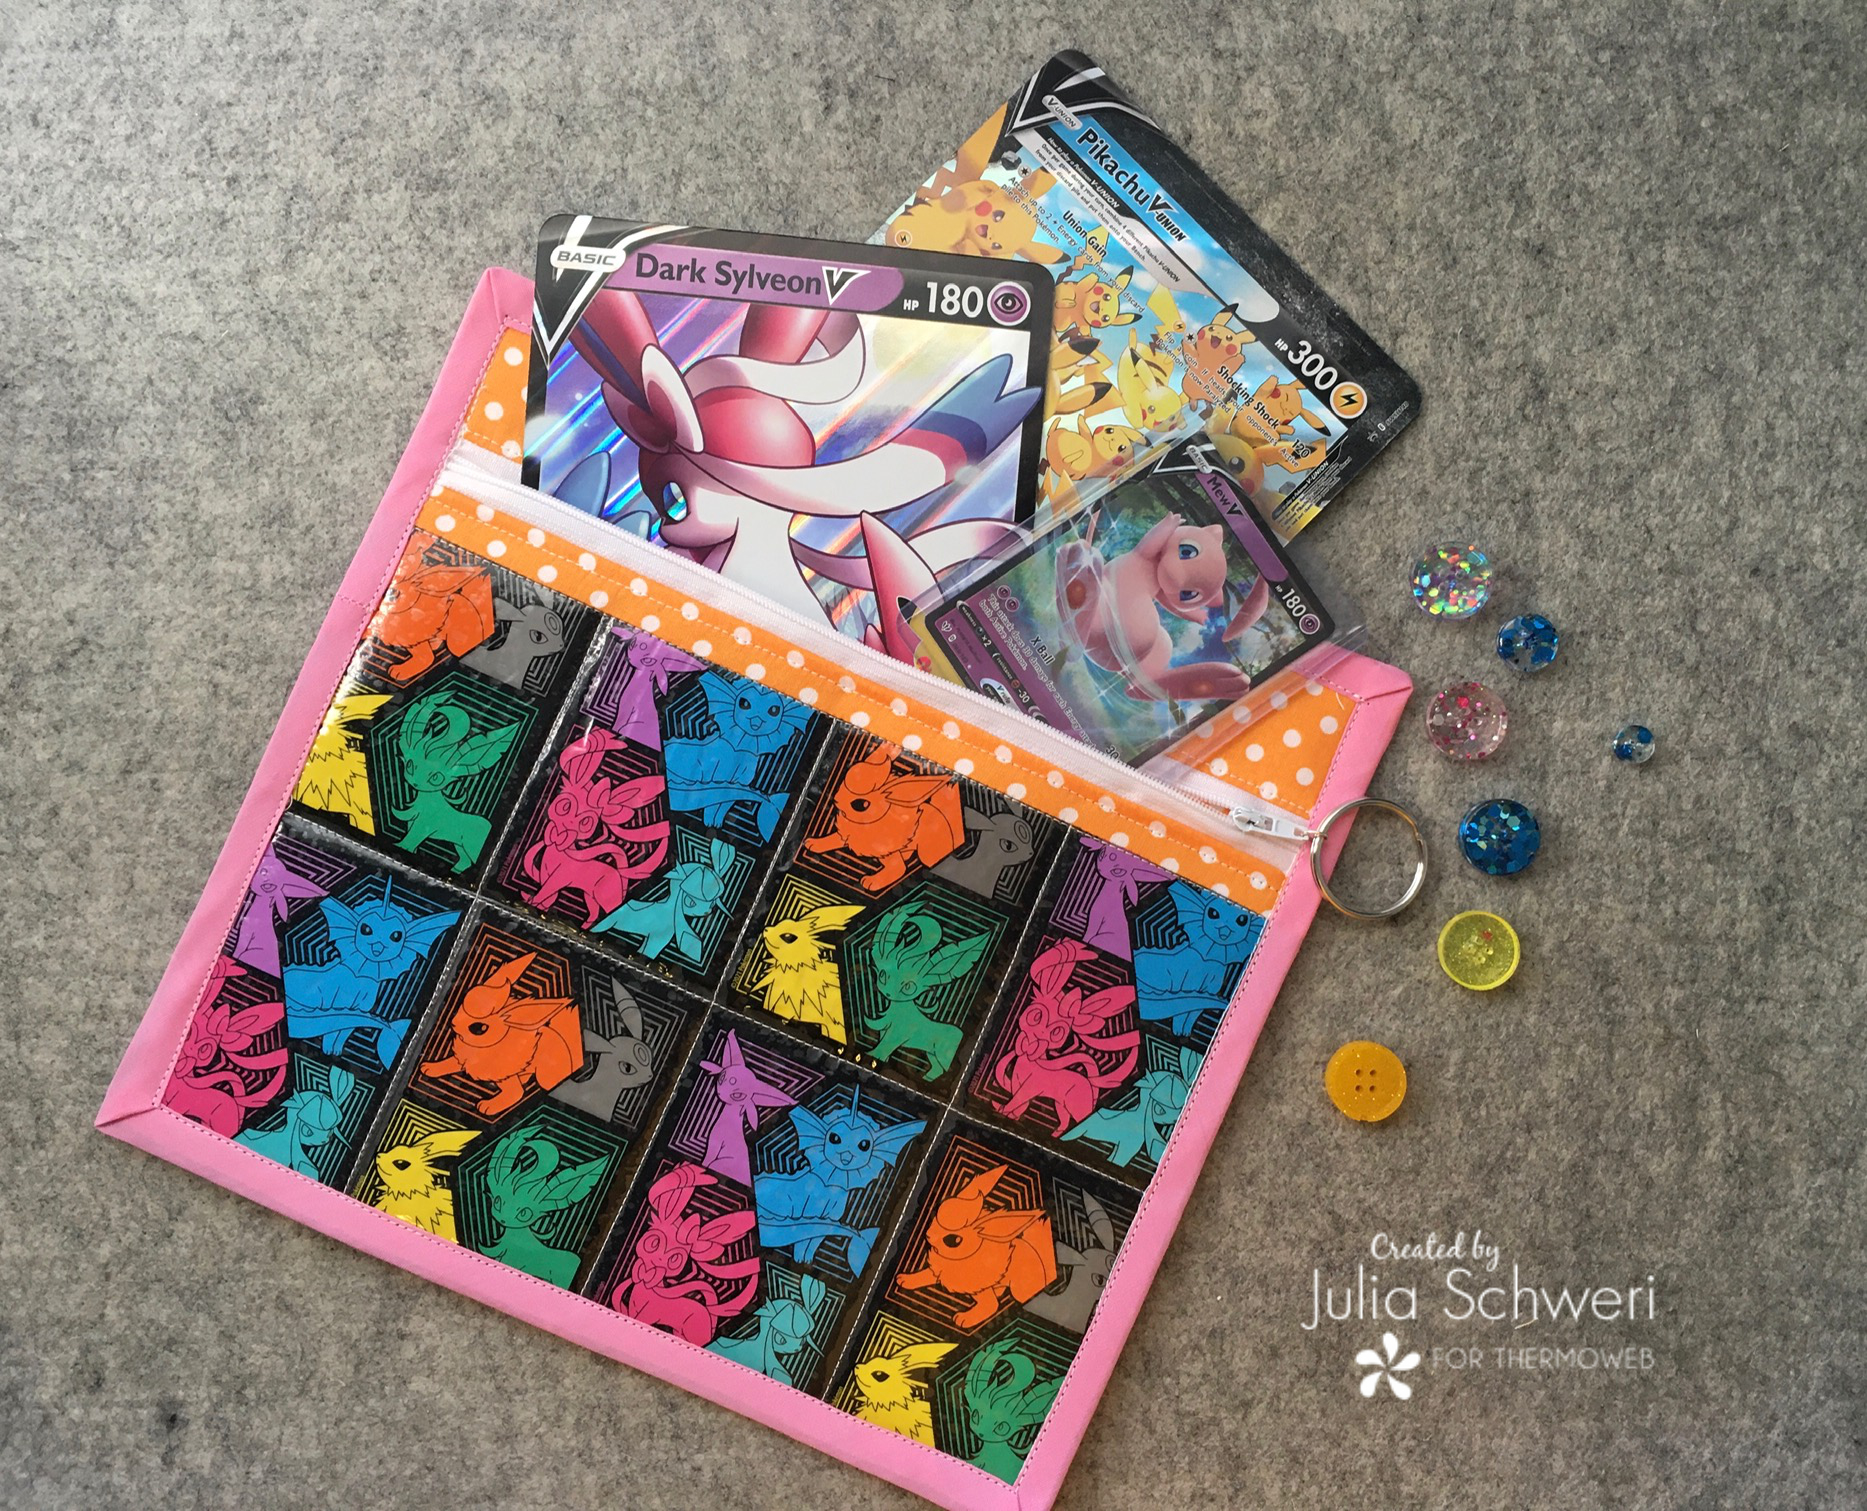
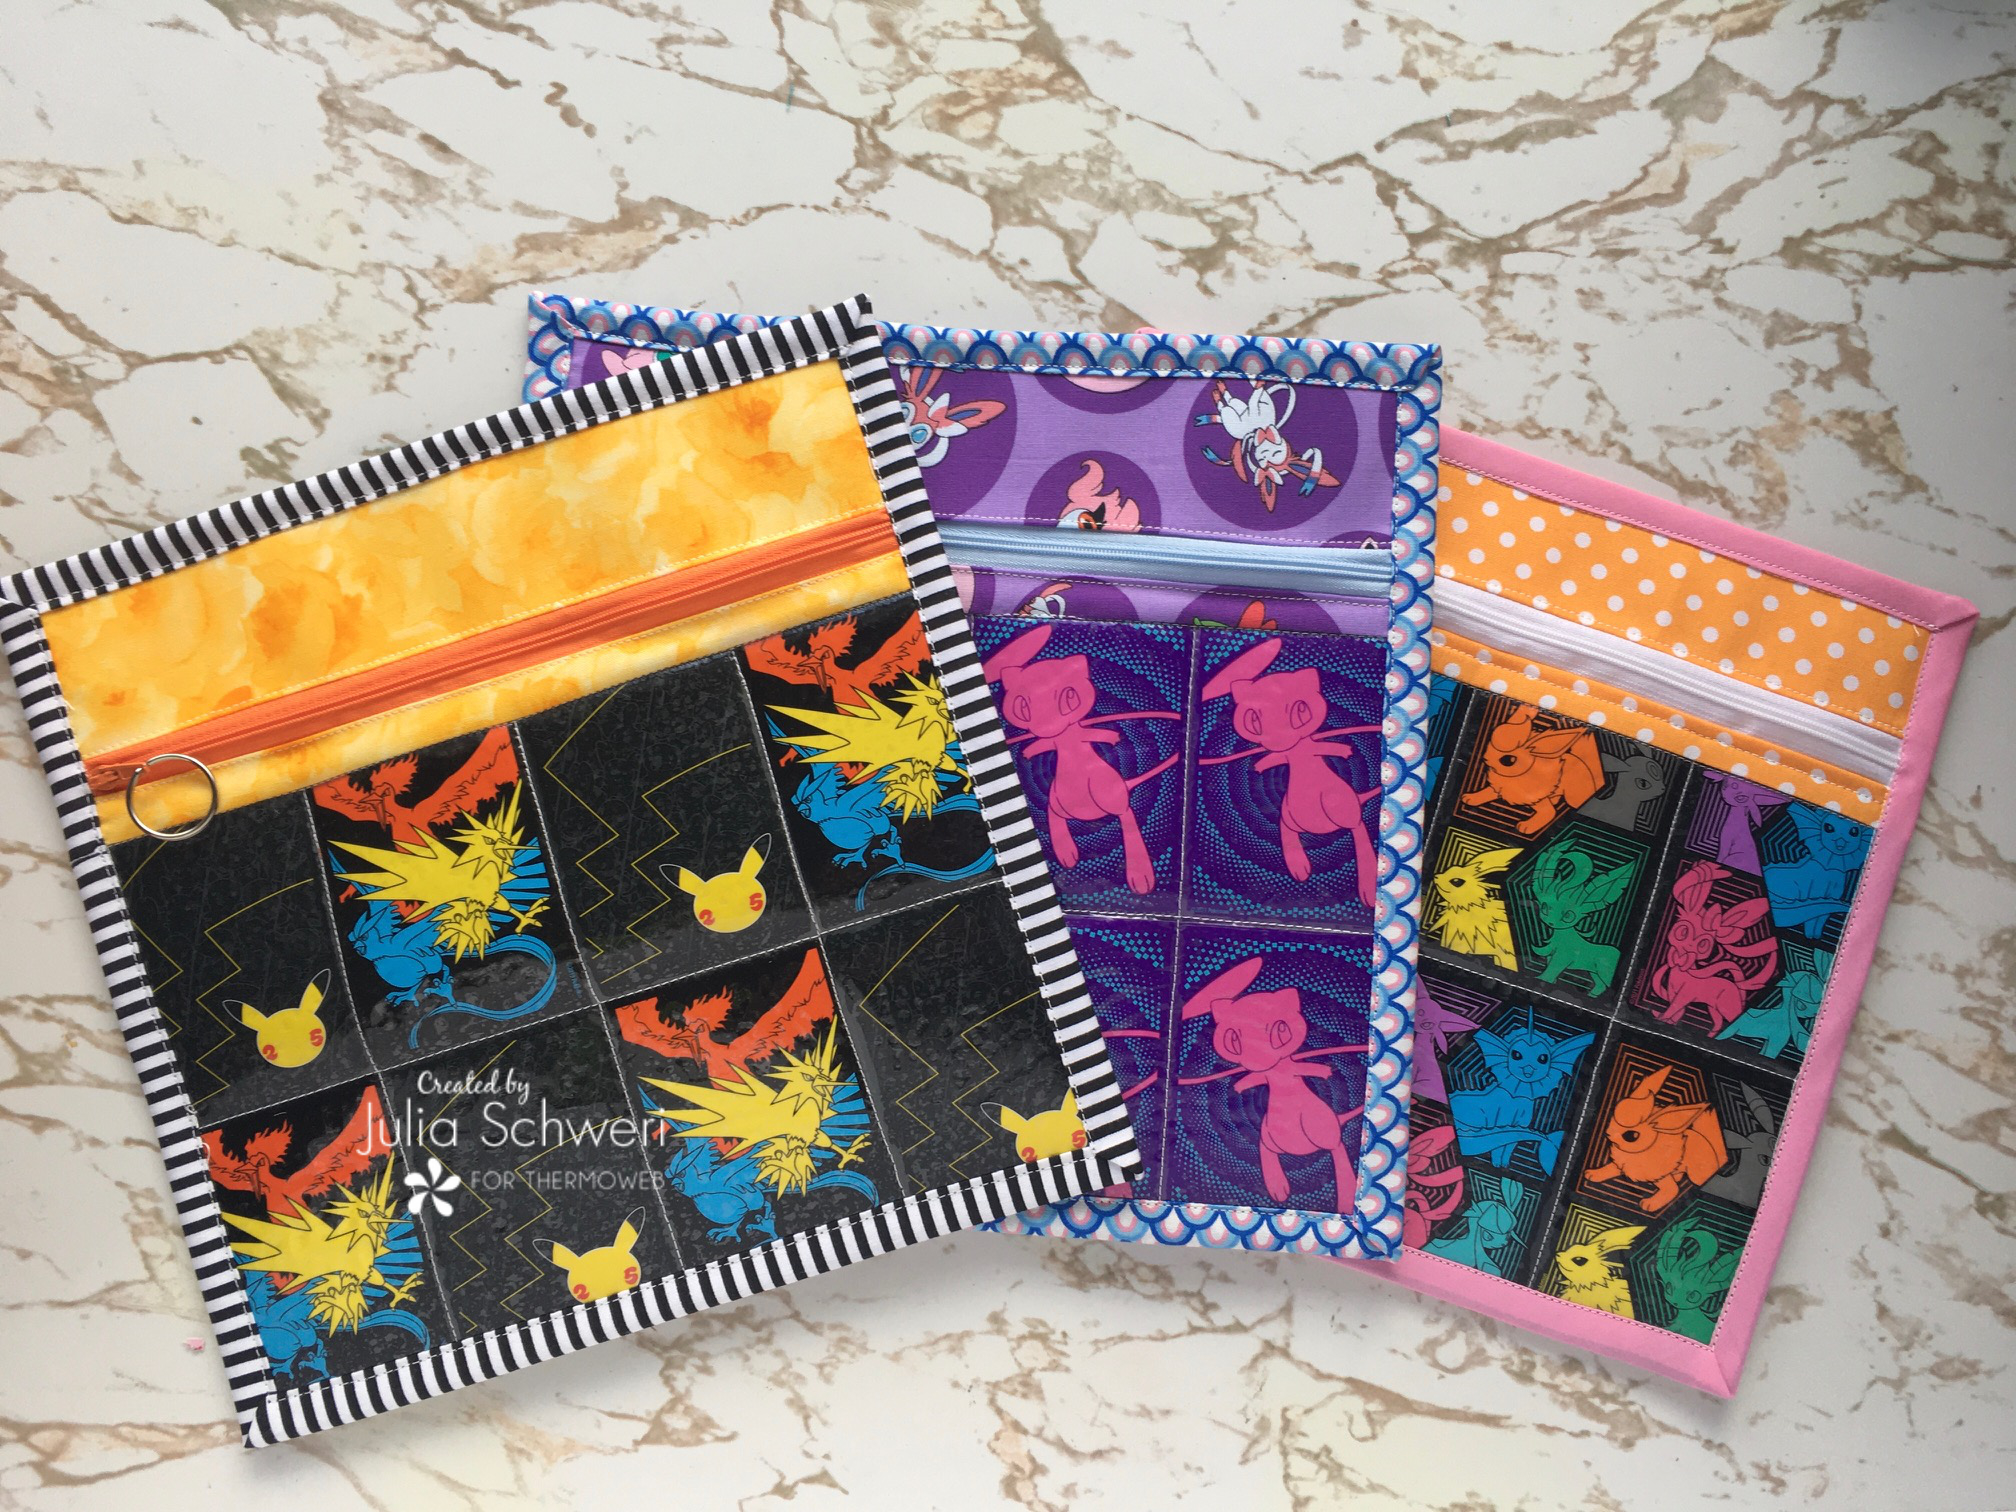
The idea for this zippy pouch came to me when my family was opening (way more than we should have) Pokémon cards. My husband, girls and I LOVE Pokémon and we have developed a fun game to play when we open new packs.
However, several of the packages come with items we don’t really need or use. One example is the card sleeves. They are not made of paper so therefore cannot be recycled and I just hated throwing them away.
I finally figured out a fun and creative way to use the sleeves and I am here today to share it with you!
Trading Card Sleeve Zippy Pouch
Beginner sewing pattern!
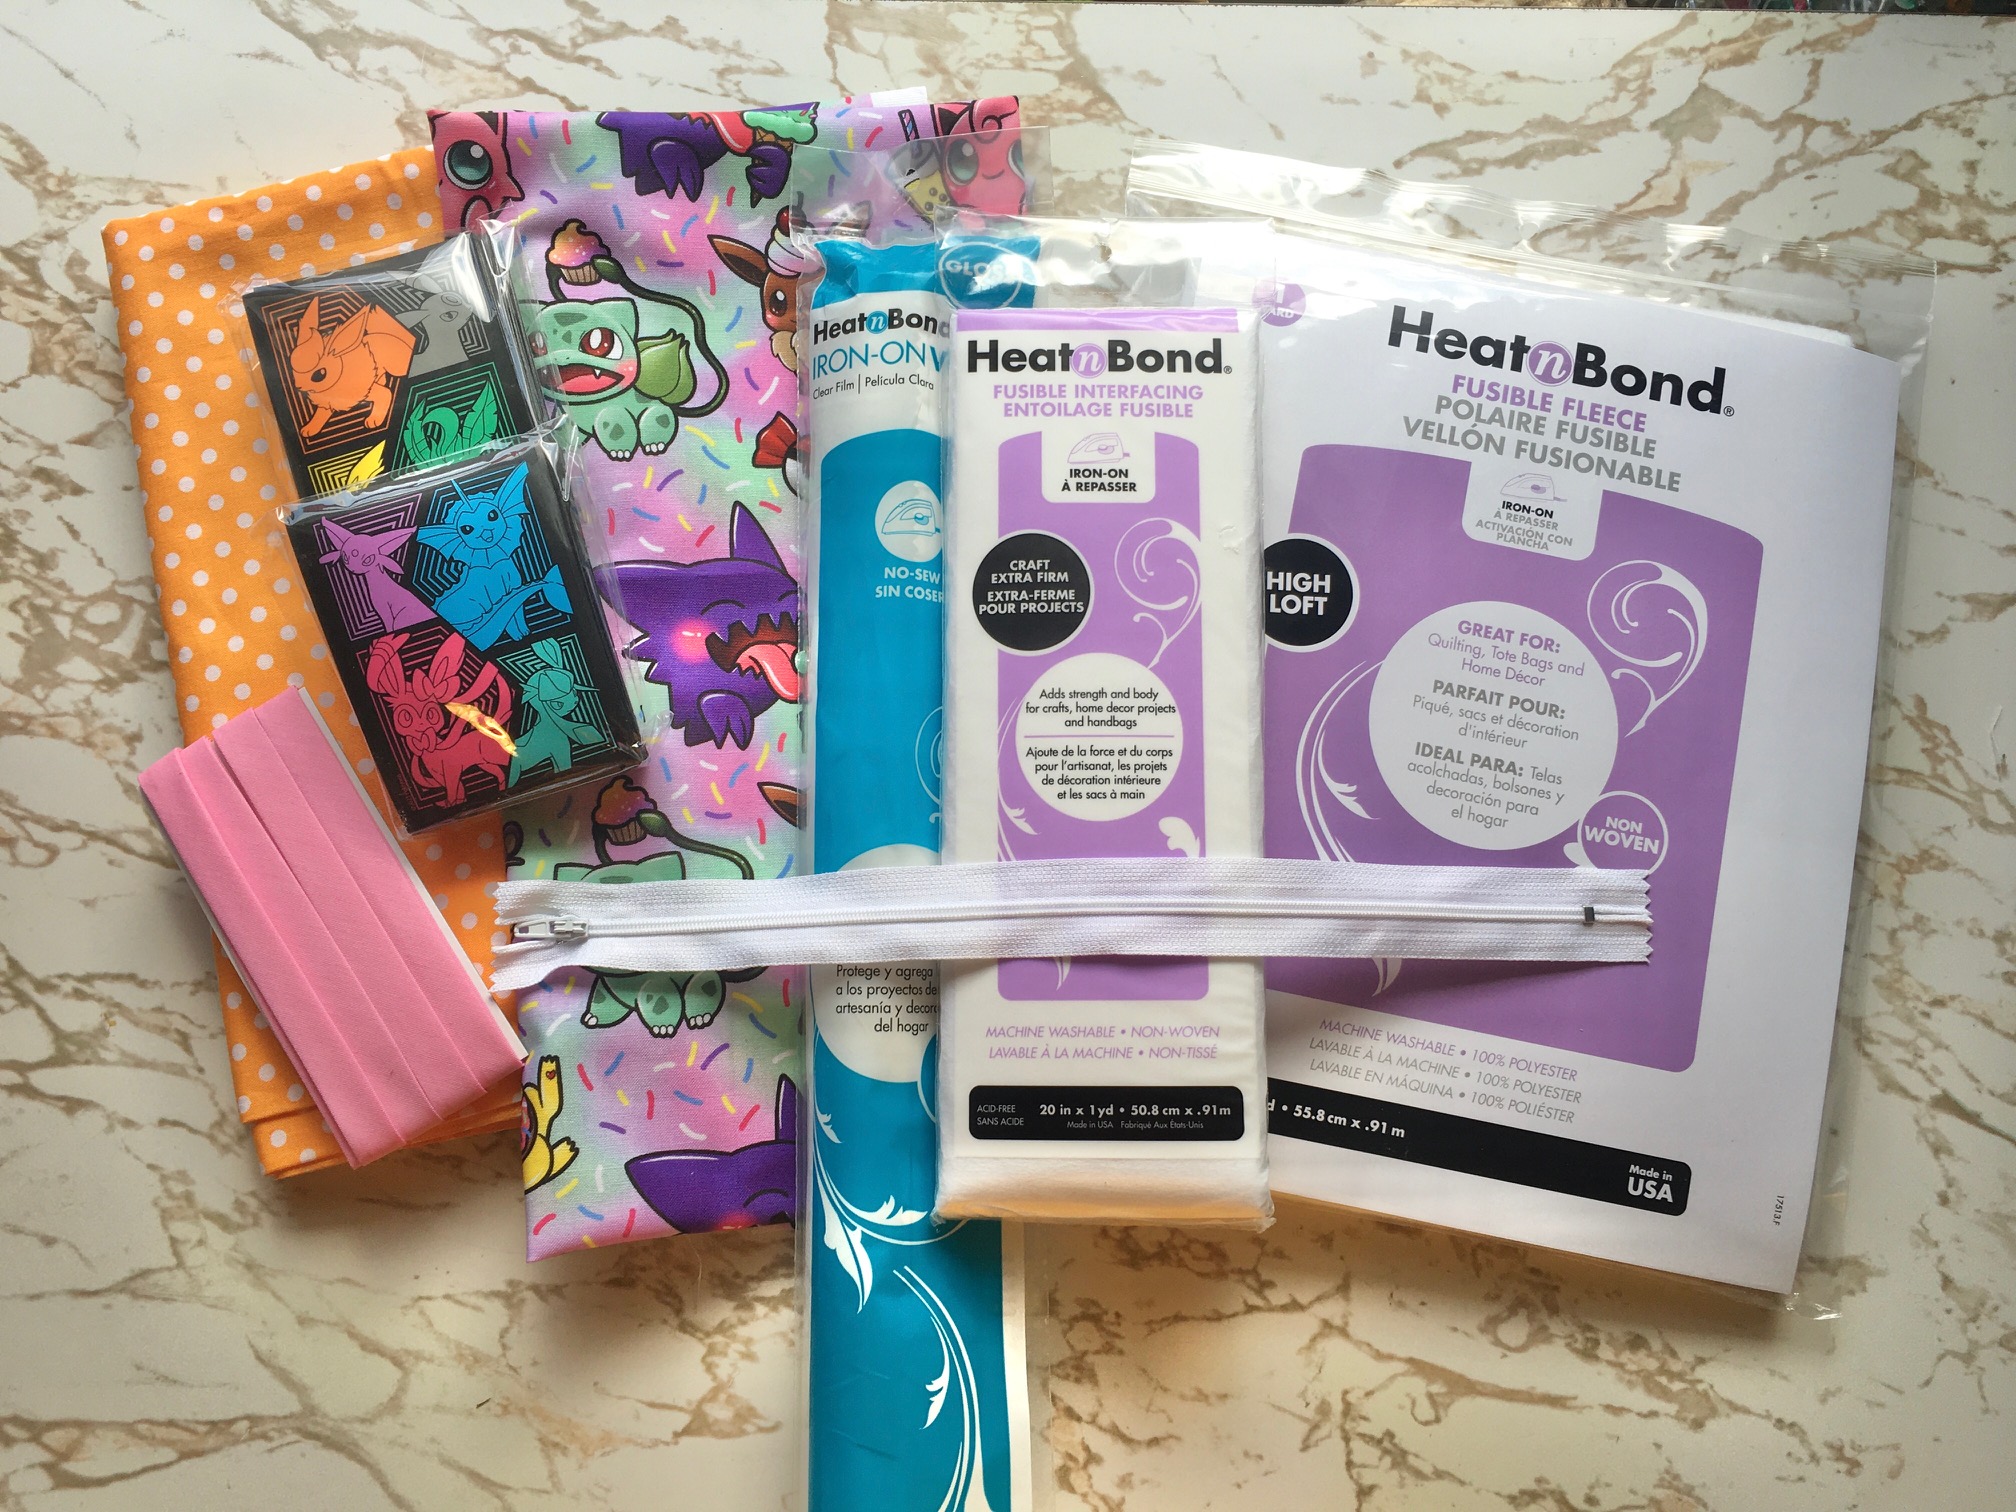
Supplies:
Front:
- HeatnBond Iron Vinyl: 10 1/2″ 7 1/4″
- HeatnBond Fusible Fleece: 11″ x 7 3/4″
- HeatnBond Fusible Interfacing EXTRA FIRM: 11″ x 2 1/2″
- Lining Fabric: 11″ x 7 3/4″
- 12″ or longer zipper
- Front Fabric Strips: (2) 11″ x 2 1/2″
Back:
- Lining Fabric: 11″ x 11″
- Back Fabric: 11″ x 11″
- HeatnBond Fusible Fleece: 11″ x 11″
Other:
- 8 Pokémon/trading card sleeves or wrappers (The sleeves/wrappers need to measure 3 5/8″ x 2 5/8″)
- Binding: at least 44″ long by however wide your preferred method is.
- Basic sewing notions, such as clips, scissors, sewing machine, zipper foot, iron etc.
Sewing Instructions:
Begin by…
Print off your FREE “Poke Pouch” trading care sleeve zippy pouch pattern located in the supplies list above. Gather your materials and cut out your fabric, interfacing, vinyl and fusible fleece.
IMPORTANT TIP: More instruction photos are included in the PDF pattern.
Next…
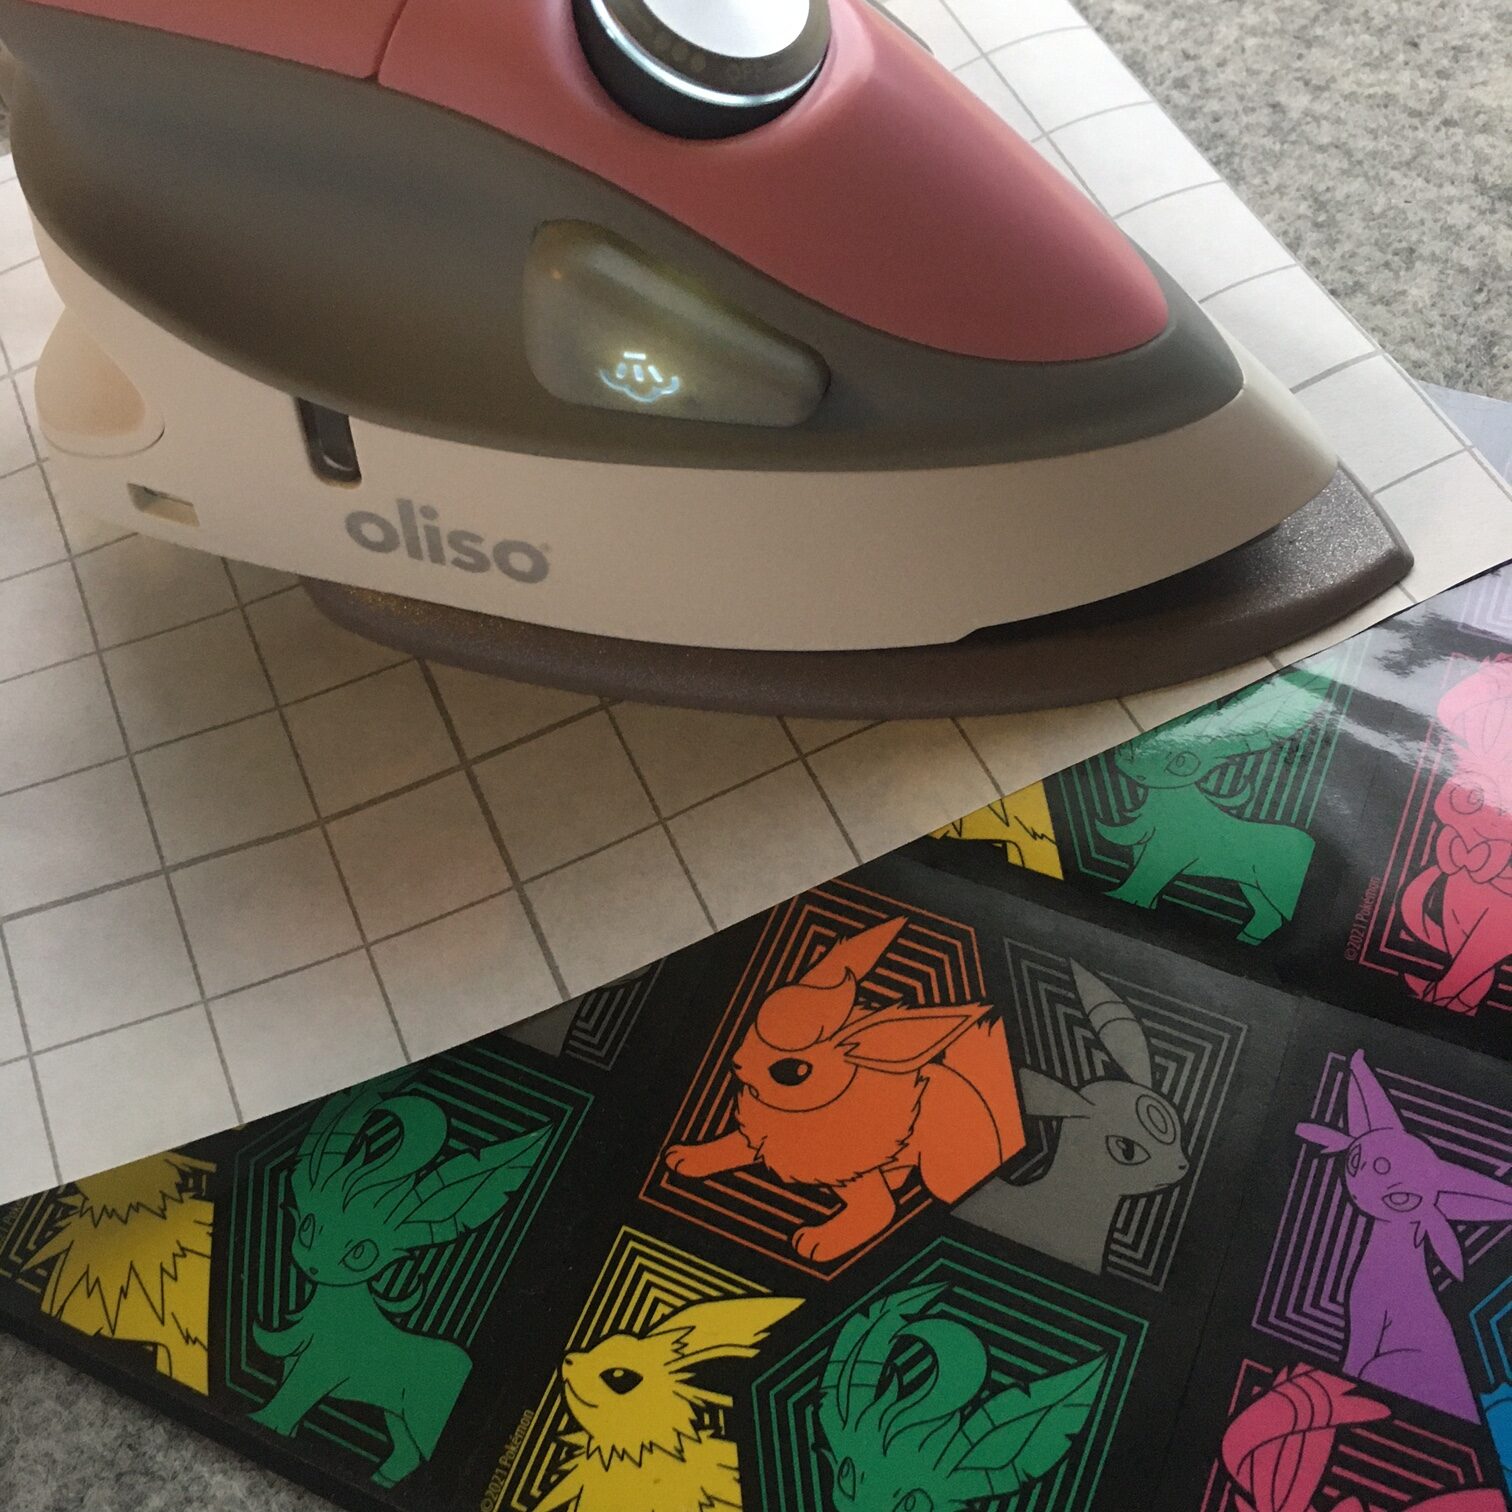
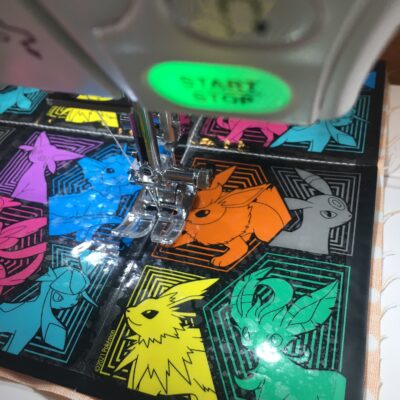
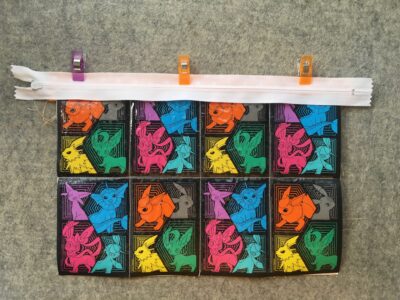
Decide on the arrangement of the card foils/card sleeves. Peel the iron-on vinyl and carefully place the cards onto it. The card sleeves easily peel off if the new placement is needed. Cover with the paper you just peeled off the vinyl and press and hold for 8 seconds. Repeat until the entire surface has been bonded.

Then…
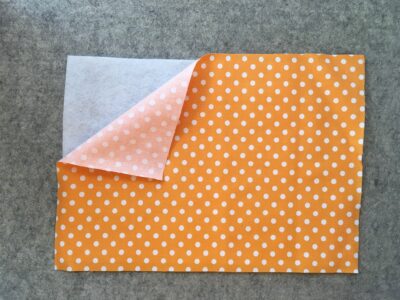
Layer the front lining fabric and the fusible fleece. Fuse according to the directions. With the wrong sides together, layer the pouch front and the front lining. Clip-in place.
Quilt the front of the pouch and then trim the top of the pouch only at this point.
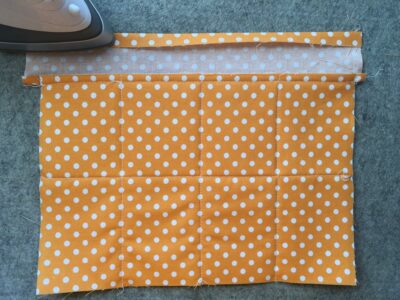
Using one of the 2 1/2″ x 11″ strips, place it on the trimmed top of the pouch. Sew
using a 1/4″ seam. Flip the top piece over and finger press. If using an iron, remember to place the pressing paper over the vinyl. The vinyl should not touch a hot iron!
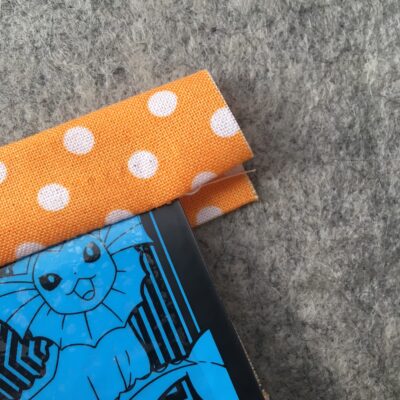
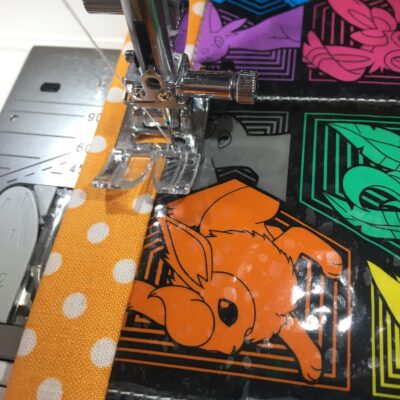
Fold over the top piece approximately 1/2″ and press creating a hem. Fold the top piece down to where it overlaps the card section about 1/4″. Pin in place. There will be a little gap between the cards and the top crease of the fabric. Topstitch on top of the cards and directly next to the fabric, making sure to catch the folded edge on the back.

Next…
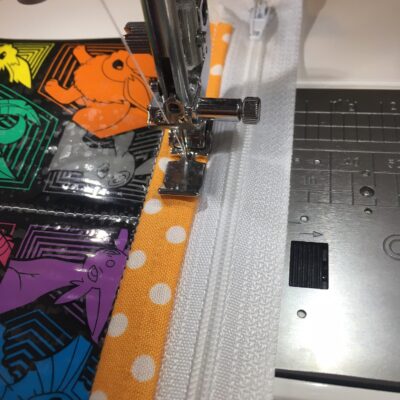
Attach the zipper to the fabric. The zipper should not be sewn to the quilted front. It
should only be attached to the fabric applied in the previous steps.
Topstitch the zipper.
Continue…
By bonding the firm interfacing to the other 2 1/2″ x 11″ fabric strip.
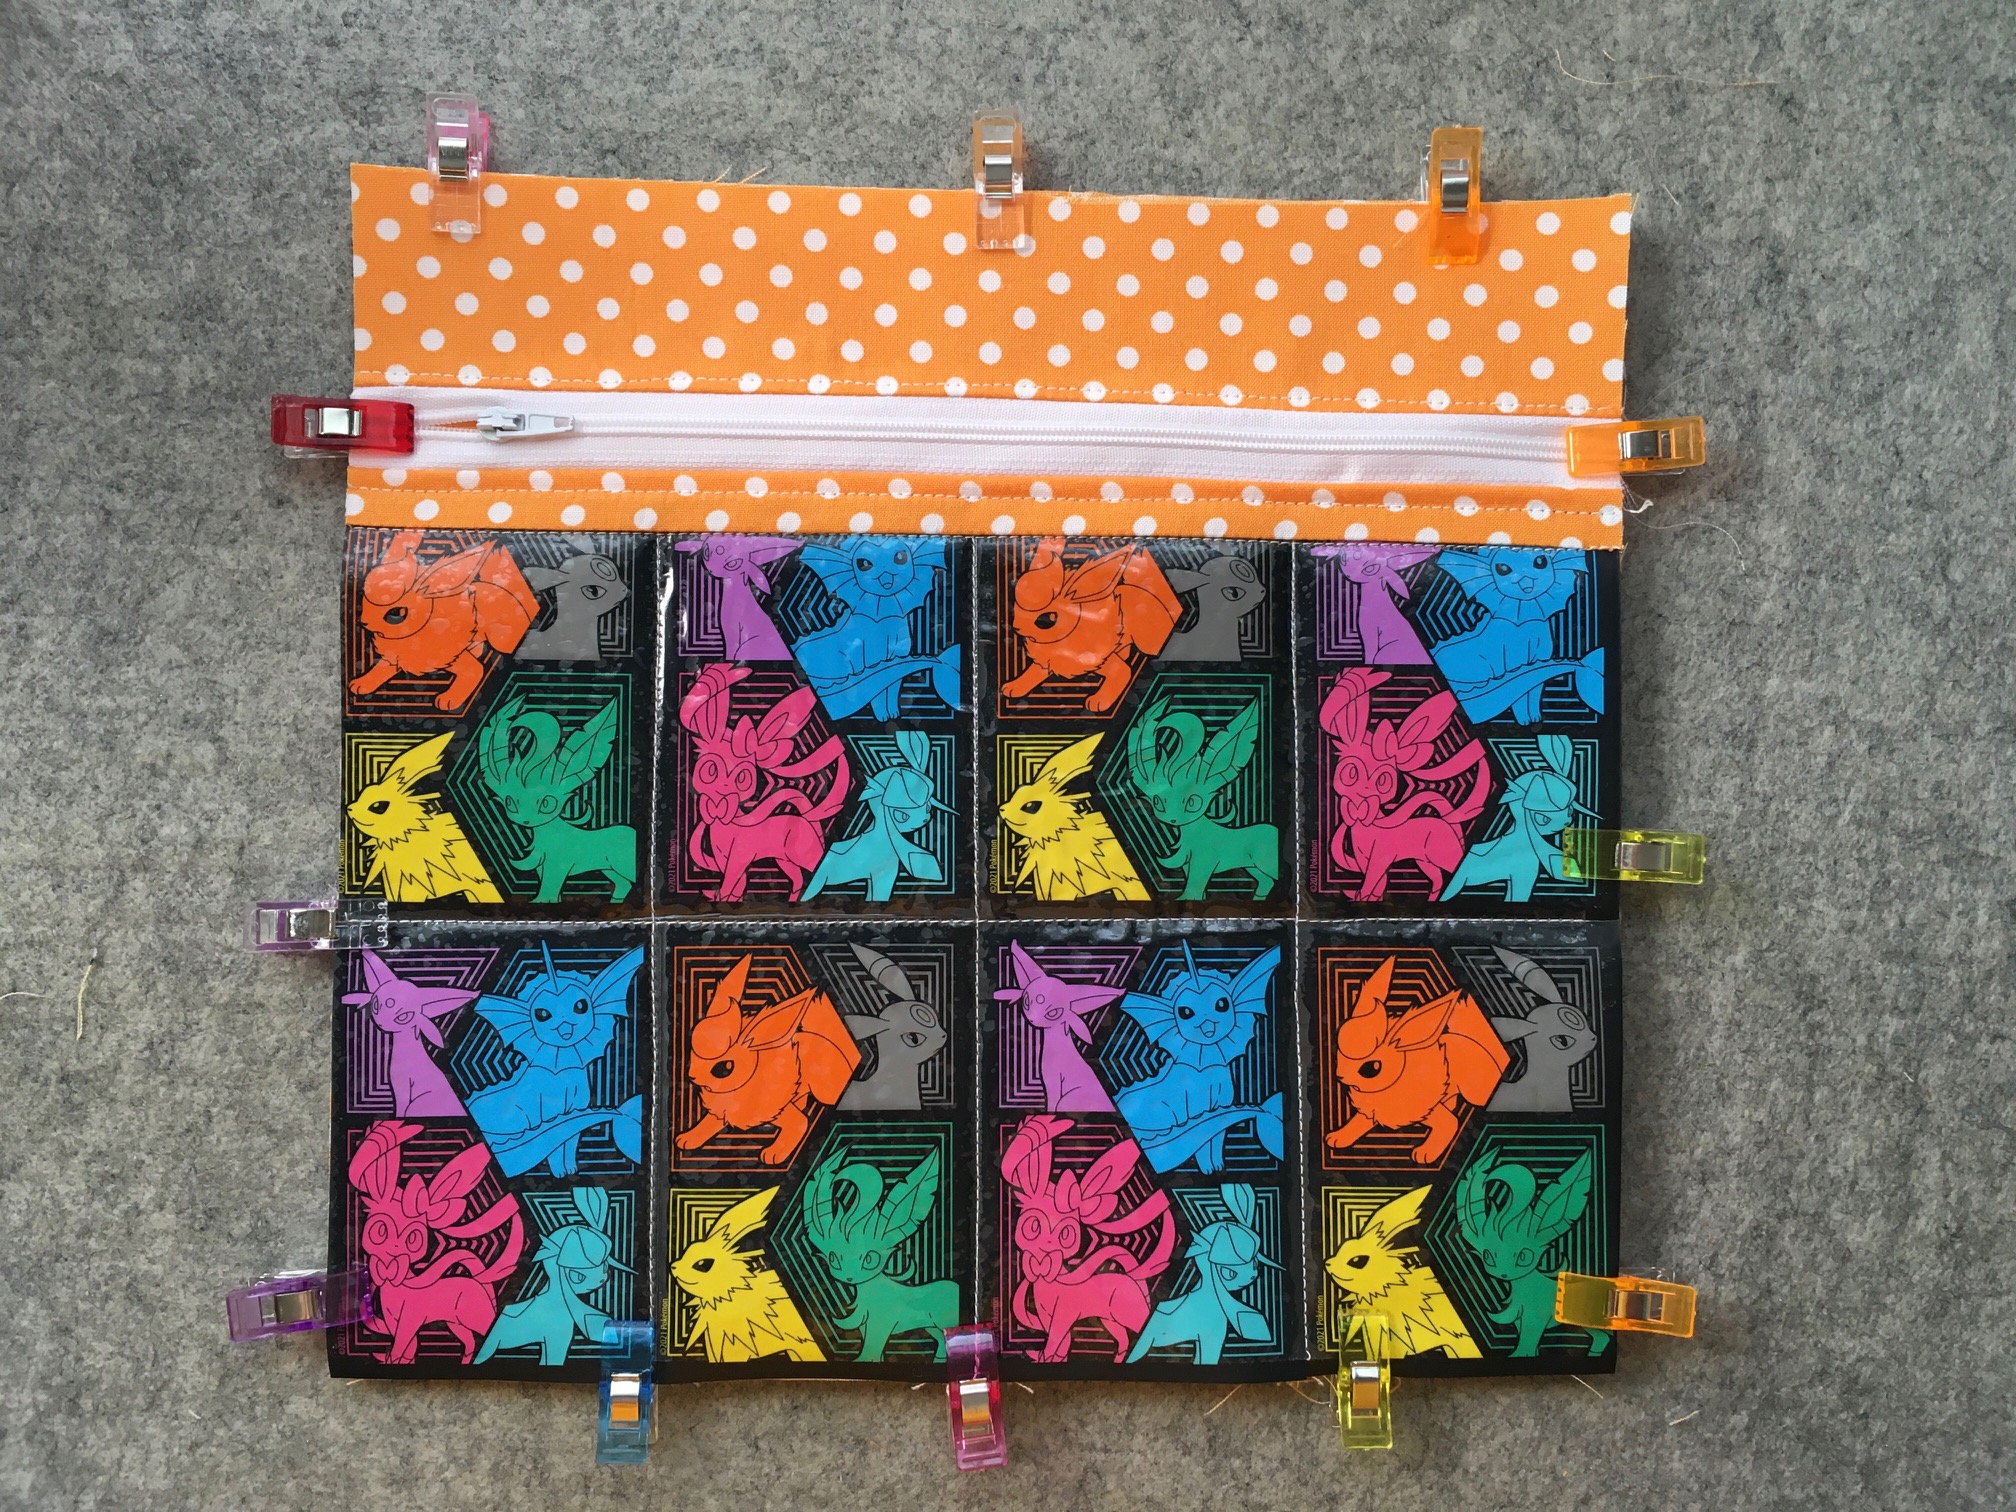
Next, layer the fabric strip to the top of the zipper. Sew, then topstitch. When topstitching, fold the zipper over so that it encloses the raw edge.
Move the zipper pull to the center and trim the front to 10 1/2″ (wide) x 10 1/4″ (long).
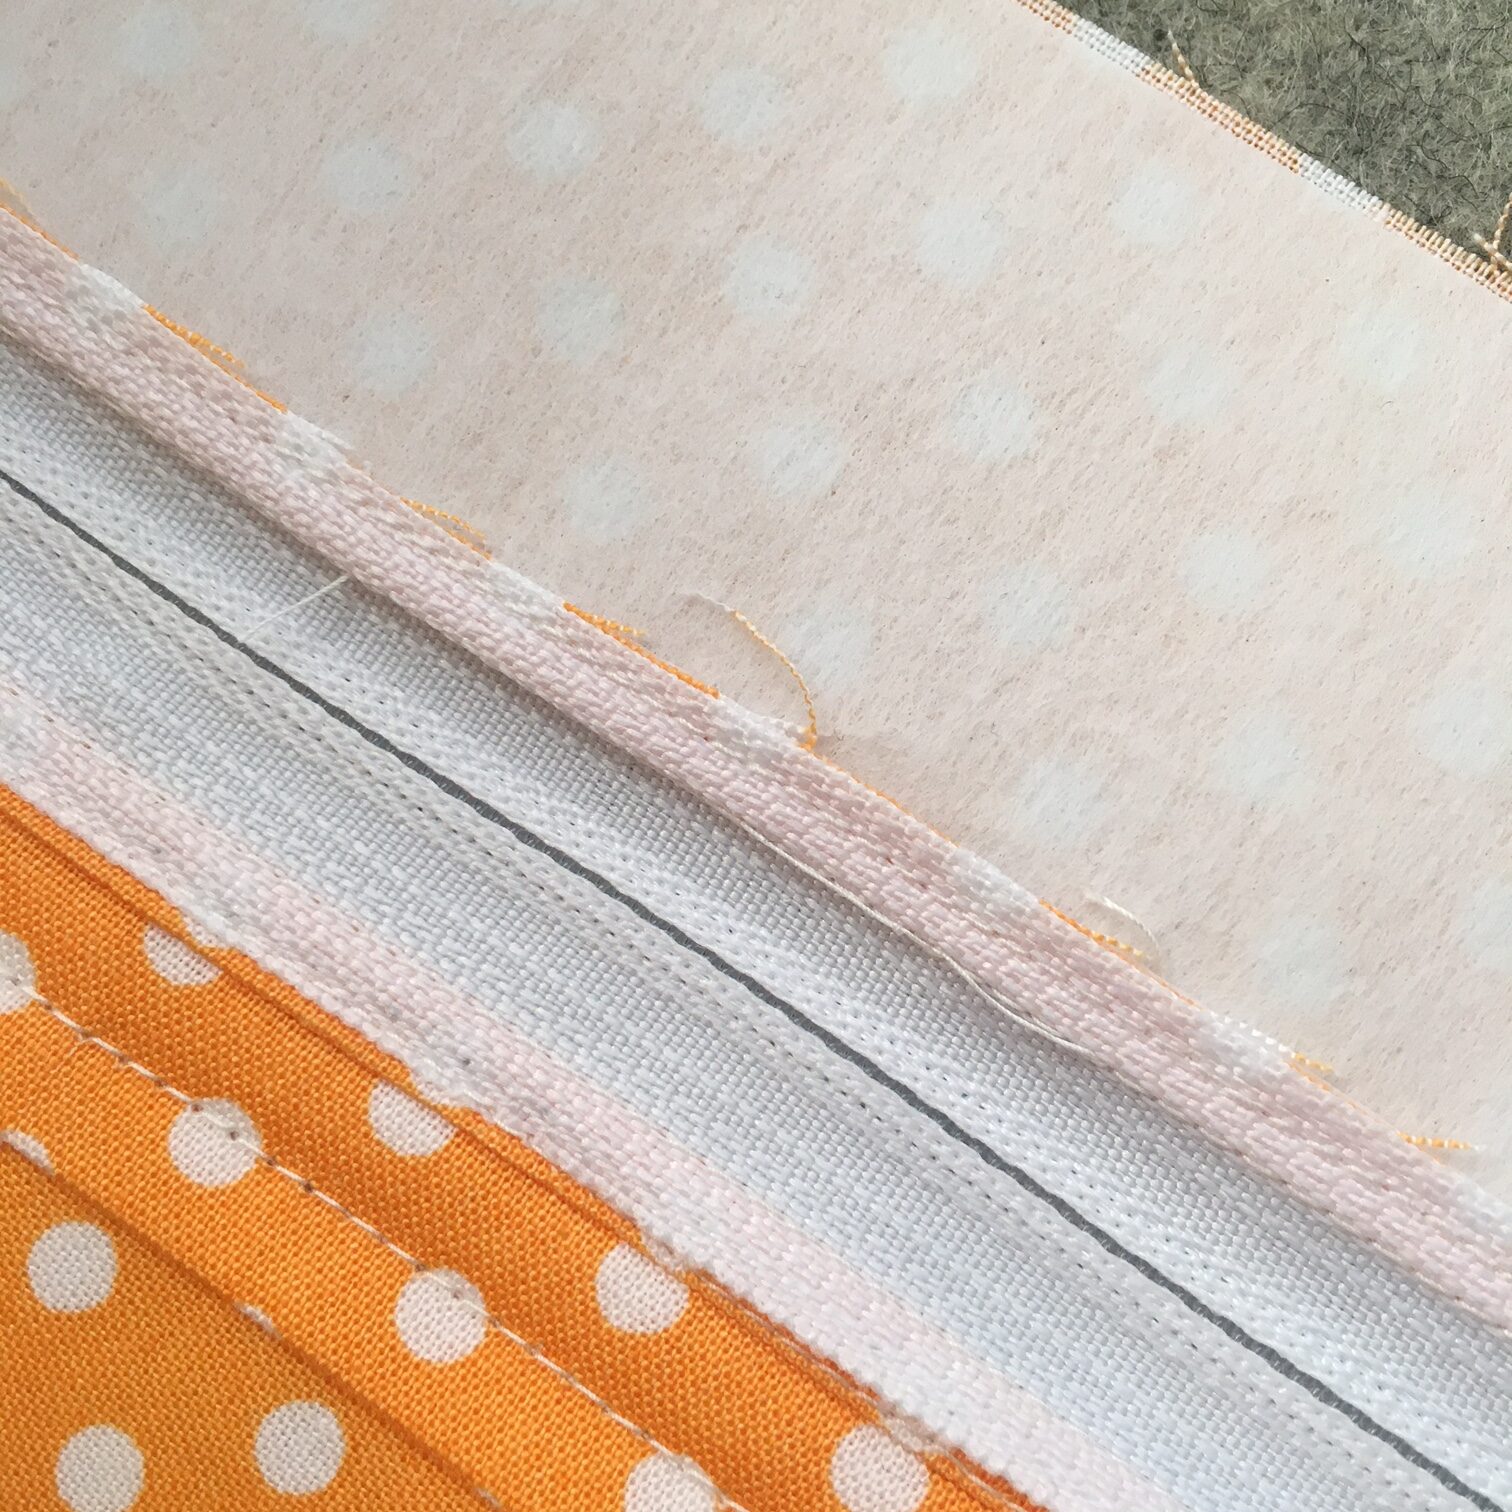
Photo Above: Raw edge is enclosed.
Next…
Bond the backing fabric and the fusible fleece, then place the lining on the other side of the fusible fleece. Quilt and then trim the back to 10 1/2″ x 10 1/4″.
Next, layer the front and back of your pouch wrong sides together and sew 1/8″ around to baste.
Finally…
Add the binding using your favorite method.
FINISHED!
Thank you for following along with me today! I hope you enjoyed my “Poke Pouch” zippy tutorial. Come back soon to see what else will be starting to bloom with Inflorescence Designs!
Starting to bloom by choosing JOY ~ Julia
[…] Pokemon, Yu-Gi-Oh!, and other trading card game lovers will appreciate this card sleeve zippy pouch. […]