


For the next few weeks, the Therm O Web Design Team will be sharing projects created with NEW Treasured Threadz™ Fabric Panels. Here’s some information about this fun new collection we know you’ll love . . .
Treasured Threadz Fabric Panels are designed especially for sewing, quilting and embellishing projects. Curated and designed by Amy Barickman using her collection of rare vintage art, textiles and quilts, Treasured Threadz Fabric Panels are a shortcut to creating your own unique style. Upcycle thrift-shop finds, refresh favorites from your closet or make entirely new clothing, accessories and home décor.
Panels are 100% cotton, measure 14”x44” and feature faux patchwork and original collaged art ideal for applique and small projects, plus embroidery, quilting, stitching and collage techniques. Every panel purchase includes exclusive QR Code Content: three original PDF patterns, video tutorials and a digital Look Book that features 25+ pages of project ideas and creative inspiration. Treasured Threadz Favorite Fusible Stabilizer, a low-loft fusible batting designed for hand quilting and embroidery projects, adds extra stability and dimension to projects; purchase includes PDF instructions and video tutorials for Amy’s signature applique techniques. Treasured Threadz products are distributed by Colonial Patterns.
To learn more about Amy and her story, check out her conversation with Brandy Maslowski of the Quilter on Fire Podcast, episode #155; search your favorite podcast app or listen here.
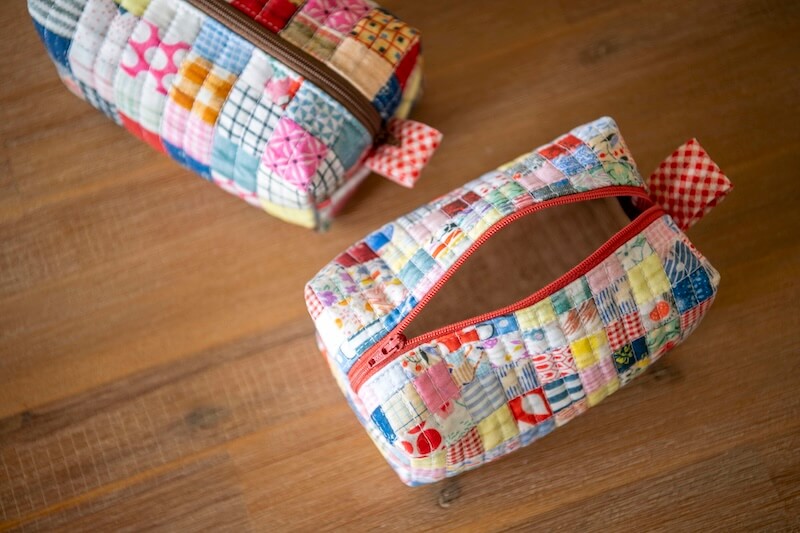
Now, on to today’s Treasured Threadz + Therm O Web Design Team Tour, featuring a wonderful pair of Boxy Zipper Pouches by Lisa Summerhays. Read all about the exciting giveaways happening this month and enter for a chance to win at the end of this post.
____________________________________________________________________
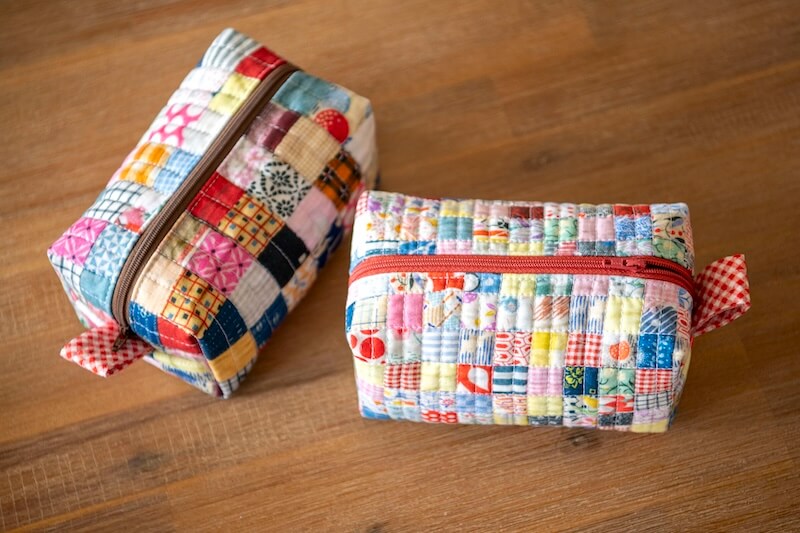
Today we are going to be sewing with a fun Treasured Threadz patchwork panel by Amy Barickman called “Postage Stamp Retro”. Looks like you spent all day cutting out tiny fabric squares and sewing them together when in reality it’s all been done for you. The panel block we will be using is the exact measurements we need as well. Win, win. Let’s get started.
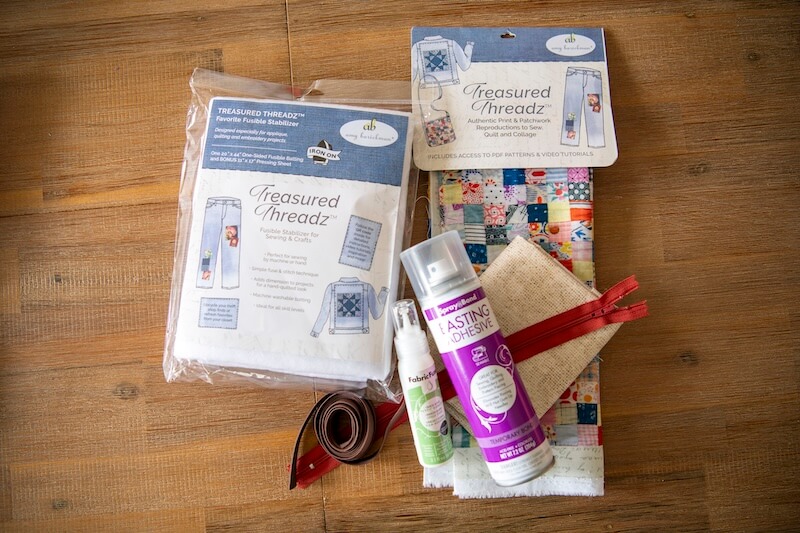
Supplies
- Treasured Threadz panel
- Coordinating fat quarter (lining)
- Treasured Threadz Favorite Fusible Stabilizer
- SpraynBond Basting Adhesive
- 12” zipper or zipper tape
- Fabric Fuse Quick Bond Fabric Adhesive
- Double-fold bias tape (optional)
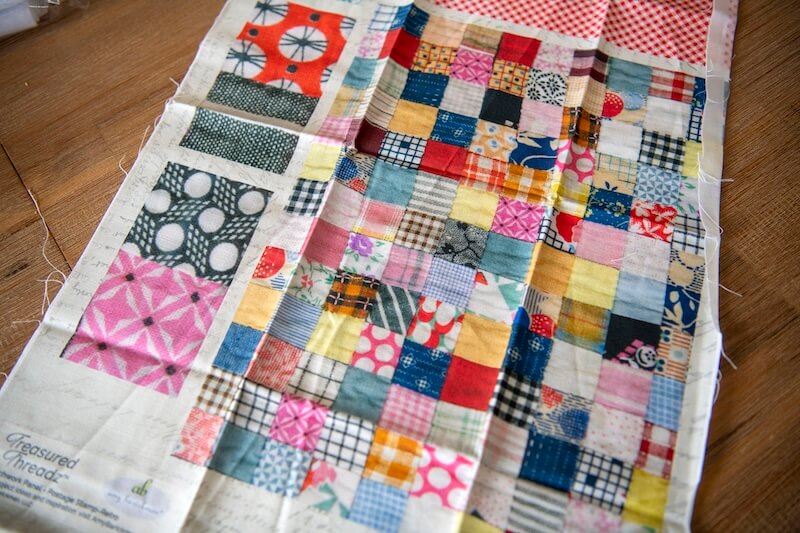
Open your Treasured Threadz panel. We will work with one of the larger patchwork panels.
Cut out one of the larger panels (10.5”x13.5”) leaving approximately ¼” extra around the outside. From one of the solid fabric blocks cut a 4.5” square (this will be our tab).
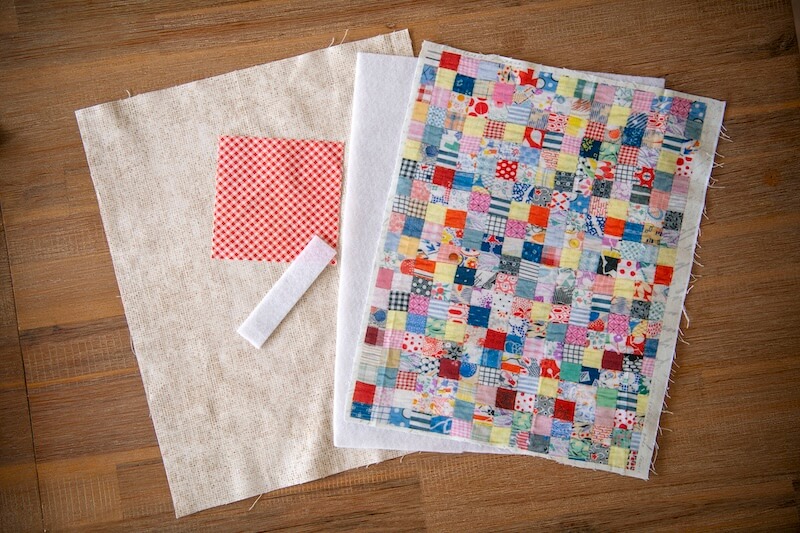
From your Favorite Fusible Stabilizer, cut a 10.5”x13.5” rectangle as well as a 1”x4.5” strip.
From your lining cut a rectangle a tad larger than your main panel. I cut mine at 12”X15”. We will be trimming it down later.
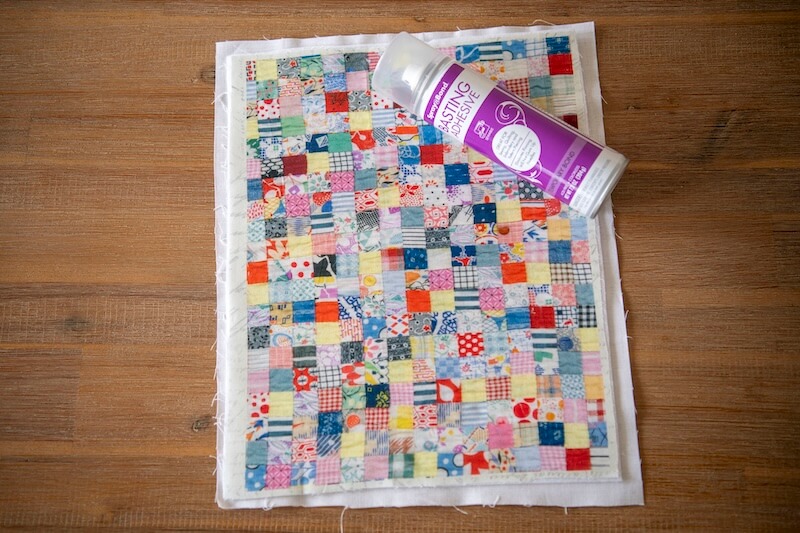
Ok, let’s get assembling. Take your fusible stabilizer and your main patchwork panel. Adhere the fabric to your stabilizer. Next grab your backing fabric and your SpraynBond Basting Adhesive. Use the spray to adhere the backing fabric to the back of the stabilizer. You want the right sides of your fabrics facing out with the stabilizer sandwiched between the two.
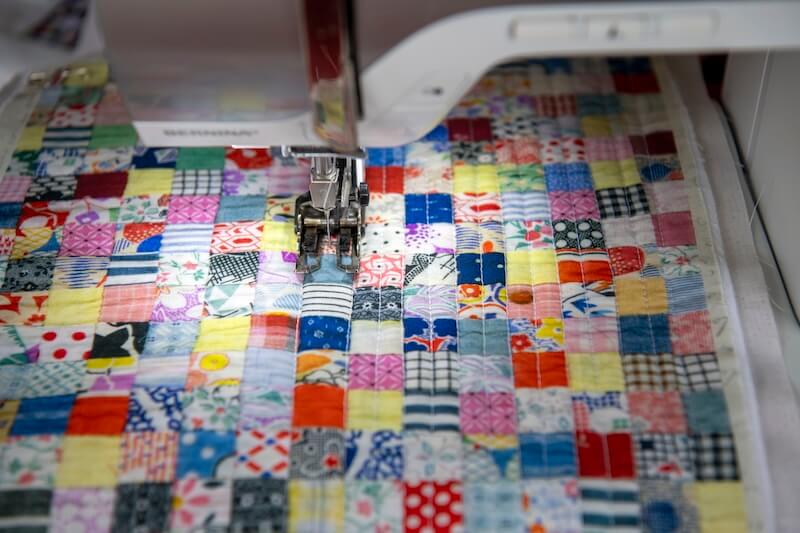
Quilt your panel as desired.
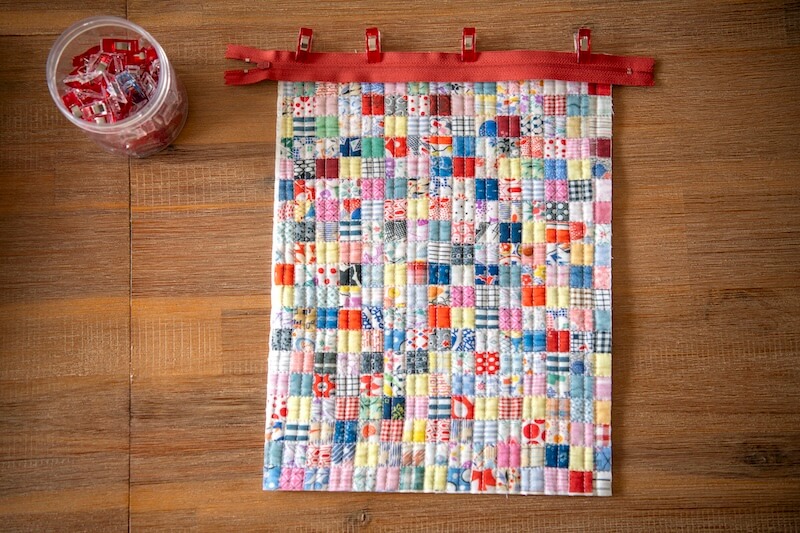
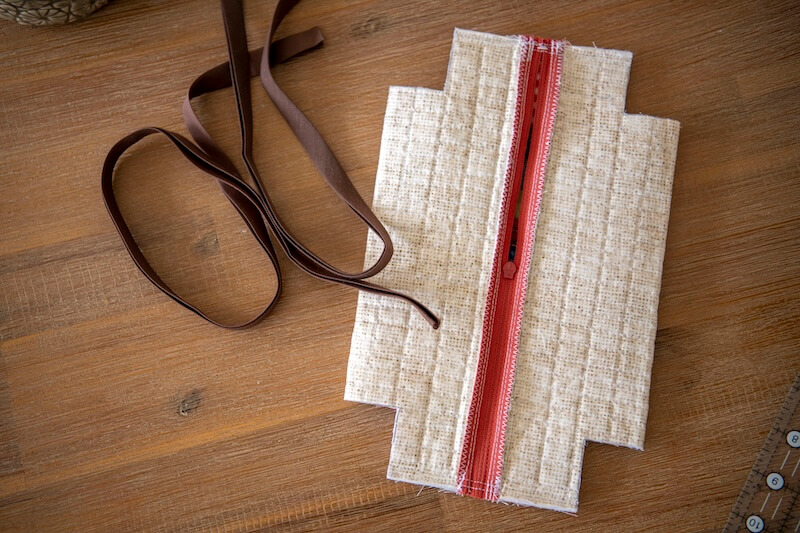
Trim and square up your panel after you finish your quilting. Next, install your zipper on the shorter sides of your panel.
After installing your zipper, your panel should look like this. Next we will be making the tab.
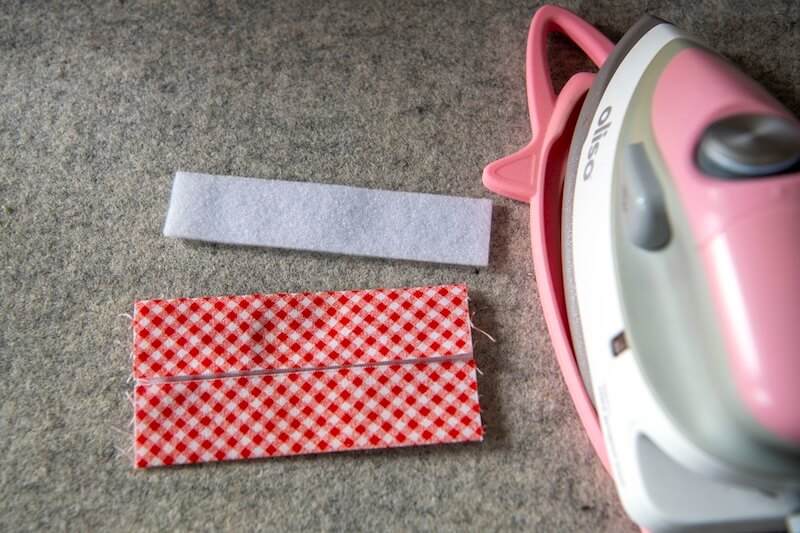
Take your remaining strip of stabilizer and your 4.5” square. Fold your square as you would double-fold bias tape. Fold down the middle to find the center, then fold both outer edges in to meet that point and press as shown above. Place the stabilizer on one half, fold fabric to sandwich the stabilizer in the middle and stitch closed, adding more quilting if desired. Fold in half and sew together at the short ends to create a loop.
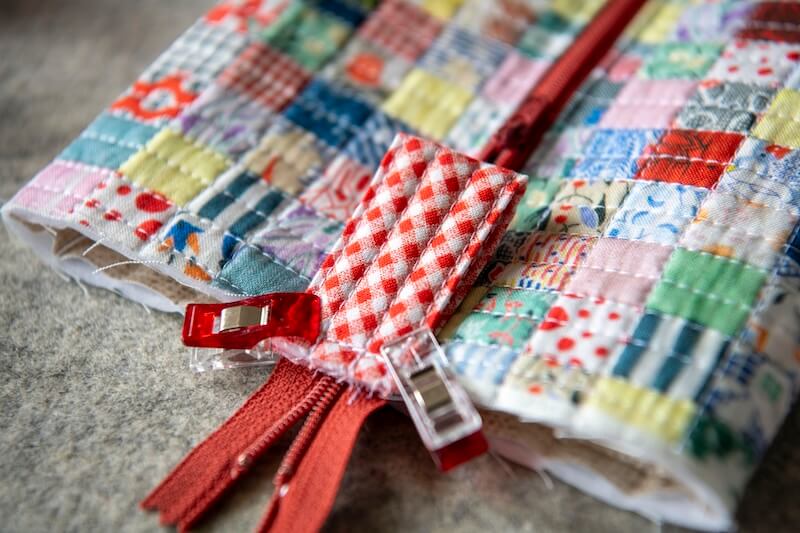
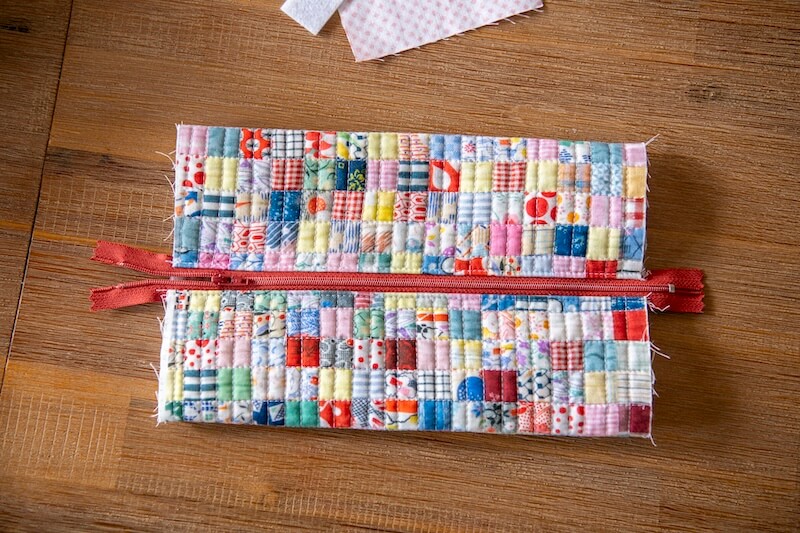
Take your loop and attach it to your main panel, lining it up with the zipper pull side of your zipper tape. Make sure not to catch the underside of the panel. Move the zipper pull toward the center of the zipper to leave an opening for turning later. Turn your panel wrong side out.
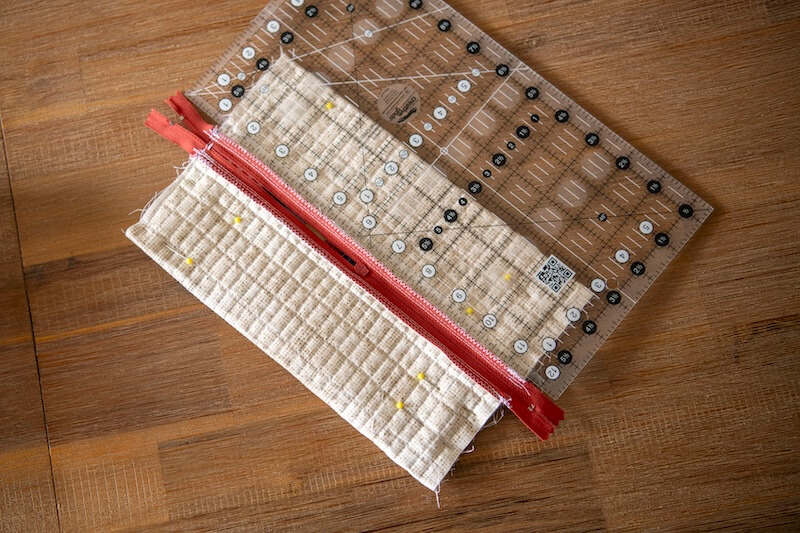
Lay the panel flat and move it about until the zipper tape is centered and equal on both sides. There should be approximately 2-3 ⁄ 4” on both sides of the zipper tape. Pin the raw edge ends together.
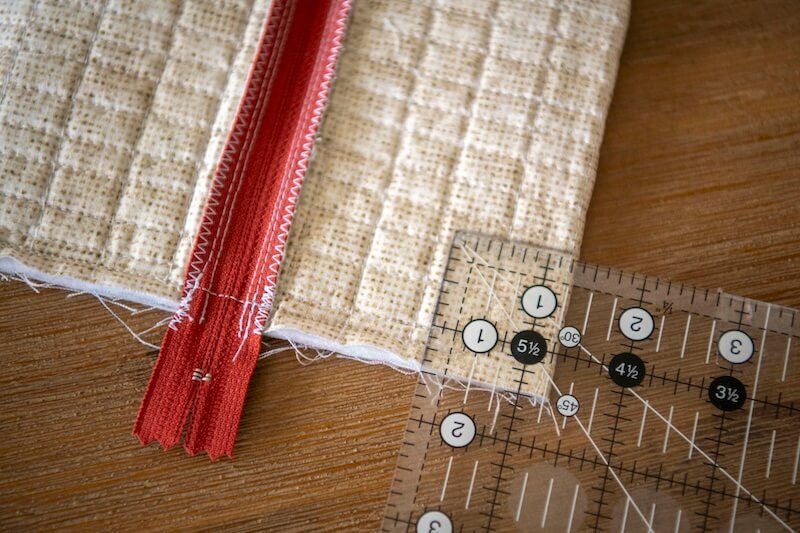
Sew along the ends using a ¼” seam allowance. Then, box the sides by drawing 1-¼” squares in each corner. Make sure to measure from your seam line on the ends (so on the ends where you just sewed, you’d measure in 1-½” inches from the end to make up for that ¼” seam).
Cut out your squares and trim up the excess zipper tape.
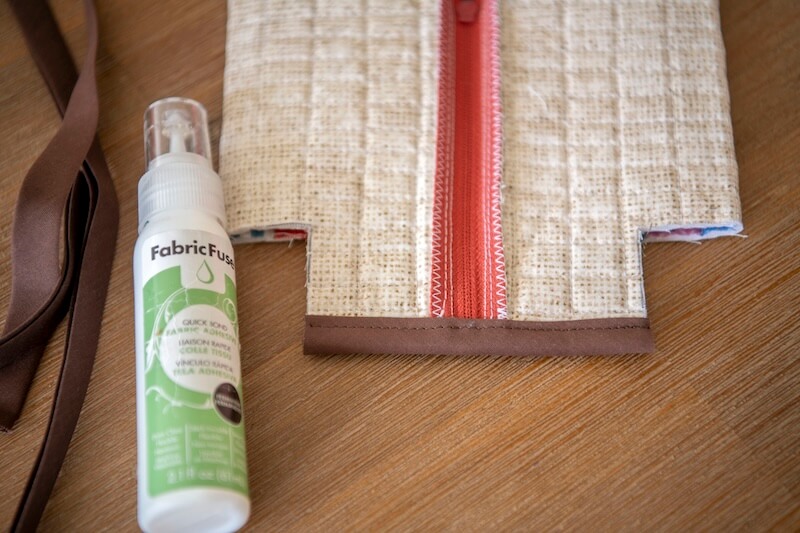
Either zigzag your seams or cover in double-fold bias tape. I use the Fabric Fuse glue to help secure the bias tape in place before topstitching. Repeat at both ends.
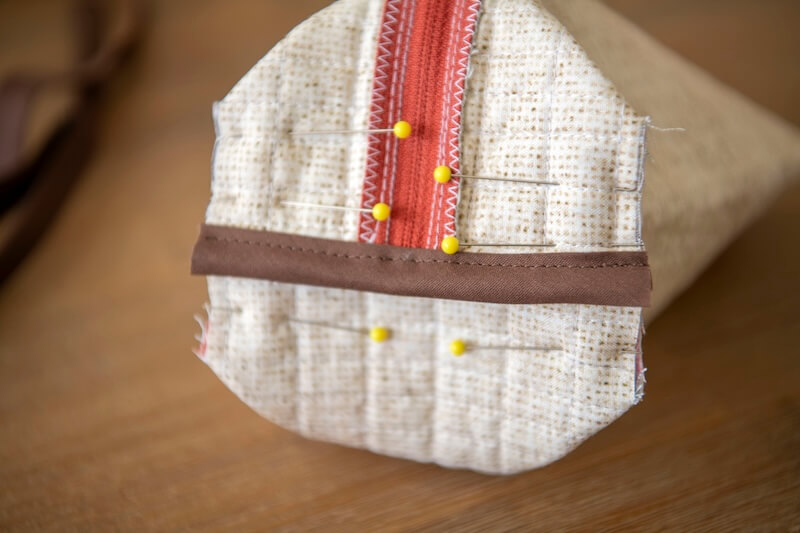
Once the bias tape is done, we will sew our boxed corners. Place your fingers inside the first corner and pull until the two cut edges come together. Flatten out the fabric and pin. Repeat with the other three corners. Sew each, making sure to back stitch at the beginning and end.
Cover those seams with your bias tape or zigzag the ends so your raw edges are treated.
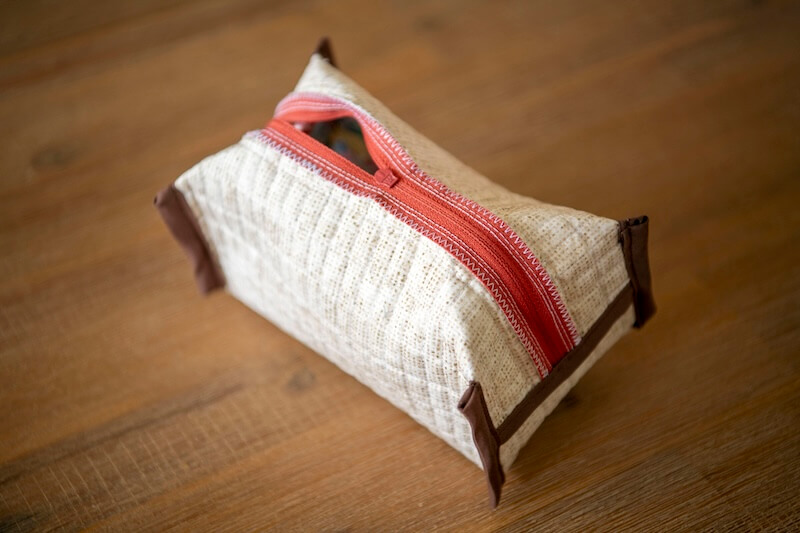
Turn right side out through zipper opening and you are finished! Such a fun little project and makes a great quick gift. Thanks for sewing along with me today!
ENTER OUR GIVEAWAY!
Would you like to win a $25 gift card to shop your favorite Therm O Web adhesives, interfacings and specialty sewing products in our online store PLUS a vintage-inspired sewing book written by Amy Barickman, the creator of this amazing Treasured Threadz™ product line? Click the link and enter your email address for a chance to win one of six $25 Therm O Web gift cards and one of six copies of Amy’s inspiration-packed sewing books, including Denim Redesign, Vintage Notions, Stitched Style and many more. Limited to one entry per email address; your name will be included in all available remaining prize drawings.
http://www.thermoweb.com/#TreasuredThreadzTOW (link is case sensitive)
Winners will be announced here on our blog every Monday, Wednesday and Friday from Friday, April 12th, through Wednesday April 24th, so be sure to visit the blog each day for a brand-new post and winner announcement. Good Luck & Happy Creating!
We have our first giveaway winner! Congratulations, Tammy L. Davis! We will be sending you a $25 digital gift card to shop http://www.thermoweb.com as well as one of Amy Barickman’s wonderful, vintage-inspired sewing resources. Please watch your in-box for a confirmation email. Thanks for entering the Treasured Threadz + Therm O Web Design Team Tour Giveaway. Enjoy your new creative goodies!

Kathy
April 12, 2024 at 11:59 am (4 months ago)Adorable project! I like to have this kind of project made up for impromptu gifts!
Dawn Gehring
April 13, 2024 at 1:52 pm (3 months ago)We agree, Kathy! And this one is so easy, you could make several to keep on-hand for gifts anyone would love. Thanks for following our blog!
Tammy L Davis
April 12, 2024 at 12:09 pm (4 months ago)Thank you SO much! I am so excited!
Dawn Gehring
April 13, 2024 at 1:51 pm (3 months ago)You’re welcome! Thanks for following our blog and entering the giveaway. Just sent your giftcard!