


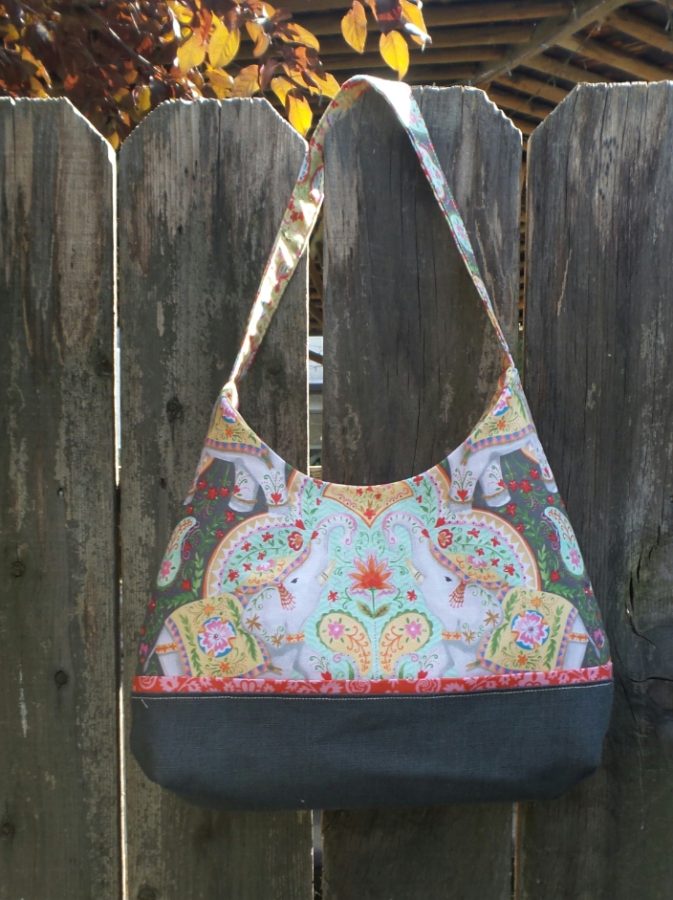
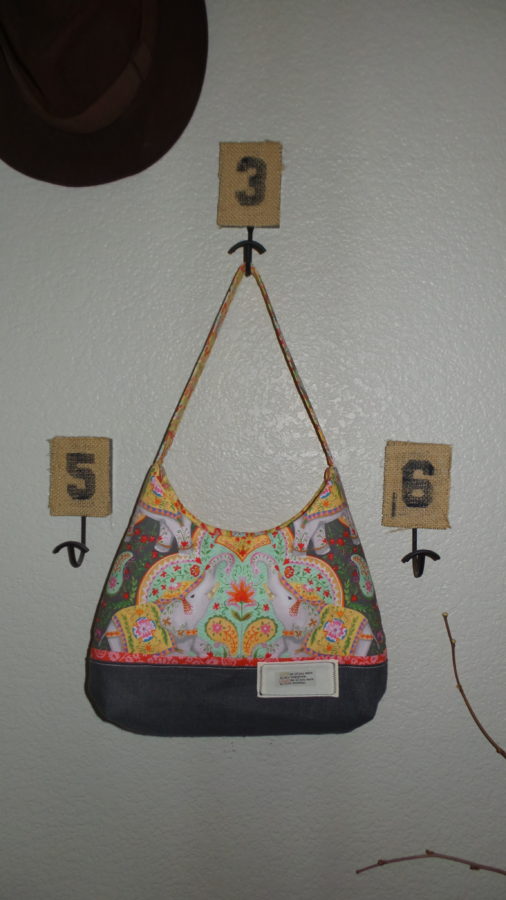
Inspired by Anna Griffins beautiful line Season of Love I needed to make a project that put these majestic elephants front and center. The Phoebe is a great free pattern by Beki Lambert available on the Craftsy site and seemed the perfect spot to place these lovable pachyderms. I couldn’t leave well enough alone…I had to play a bit and add a little me. Since Beki’s pattern has all the pattern pieces and sewing instructions I will just share my little spins on her original design.
 The pattern calls for:
1/2 yard for exterior
1/2 yard for lining
1/2 yard fusible interfacing, HeatnBond® Fleece Fusible High Loft
1/2 yard fusible fleece, HeatnBond® Fleece Fusible High Loft
I added:
HeatnBond® EZ Print Inkjet Transfer Sheets • For Light Colord Fabrics
6 inches- 1 1/2 inch twill tape
1/4 yard contrast bottom, rustic linen
1 1/2 inch contrast band 2- (16 inch strips)
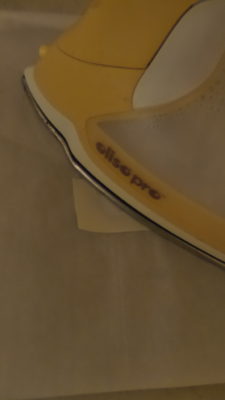
Oliso Iron
In the pattern it calls out the fleece as “optional”, I disagree! USE IT, HeatnBond® Fleece Fusible High Loft adds the structure that shows off the fun shape of this purse. Note that I took the time to fussy cut the purse front and back to center up the image on the purse, this will take a little more fabric and time but I think it is worth it.
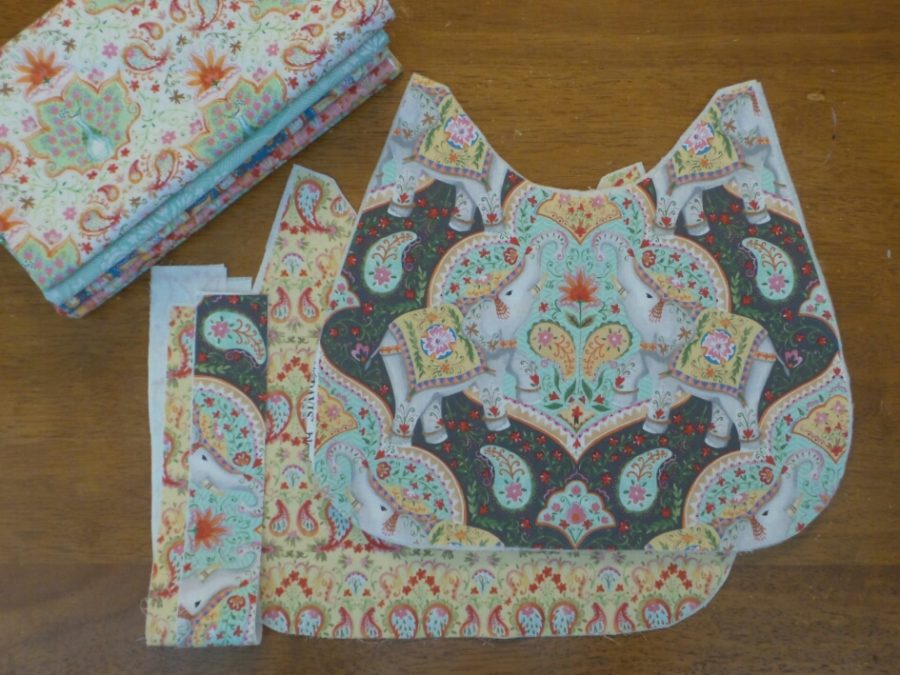
Cut and press pieces with HeatnBond® Fleece Fusible High Loft for exterior pieces and HeatnBond® Fleece Fusible High Loft for all other pieces.
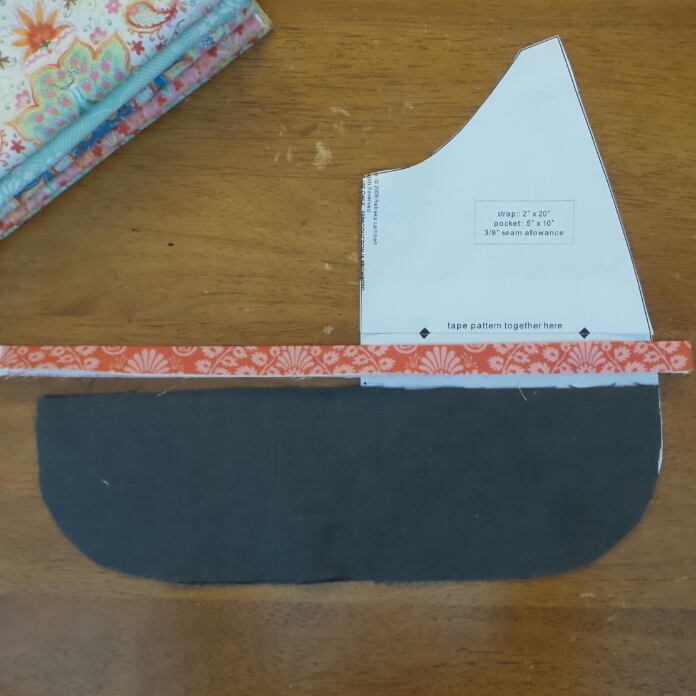
Adding a contrast bottom of a linen, canvas or denim will allow for lots of wear and tear…and super cuteness! Using the body purse create pattern piece for bottom contrast measuring 5 inches up from the bottom. Press 1 1/2 inch strip of fabric in half and sew in place along top of contrast bottom with 3/8 inch seam allowance. Flip raw edges towards bottom and press. Sew in place on purse exterior fabric with a topstitch close to the edge of the linen fabric. Repeat for both sides. You could just top here…the purse will be totally adorable, see…
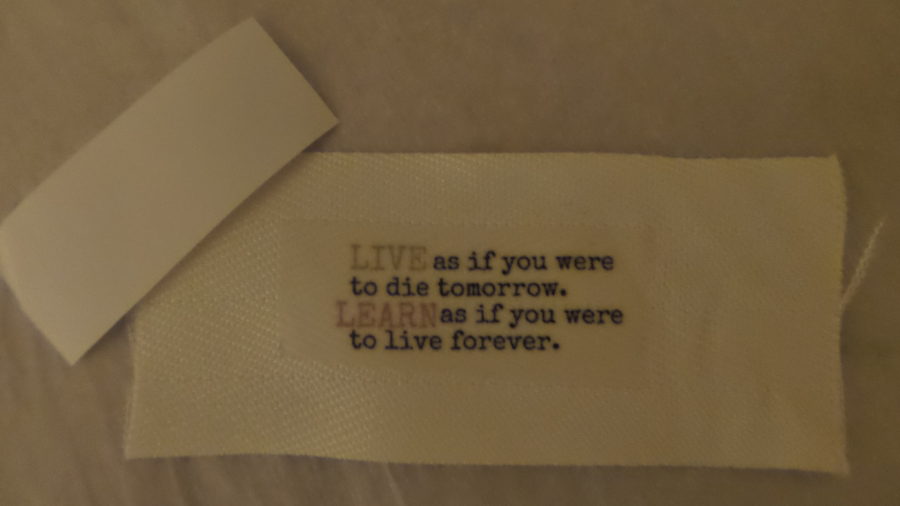
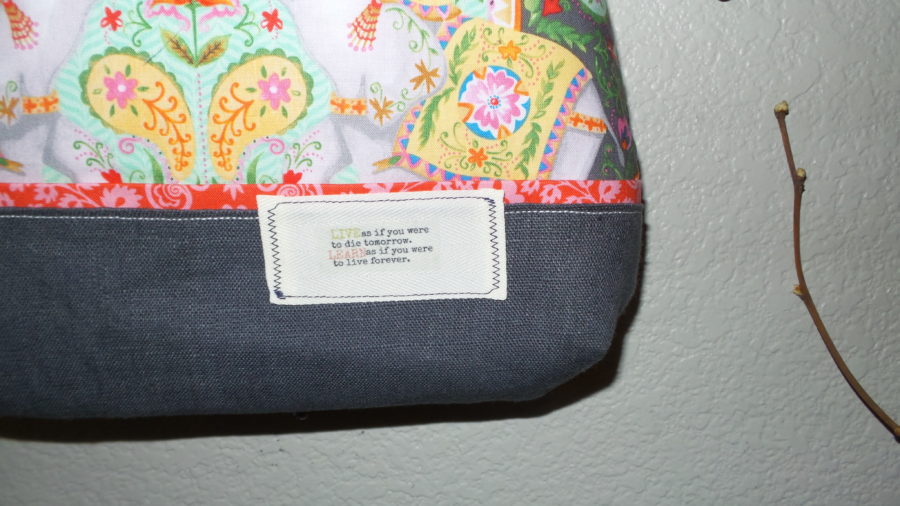
But alas I am not done. Using HeatnBond EZ Print Inkjet Transfer Sheets and twill take I created a tag with a quote. I used a quote from Gandi, you can choose to just label the bag hand made by you or even “property of ME hands OFF” what ever you choose there will be no other like yours! Following the directions contained in the HeatnBond EZ Print Inkjet Transfer Sheets I created a printable, flipped the image and printed it on my inkjet printer….place, press (as directed)…
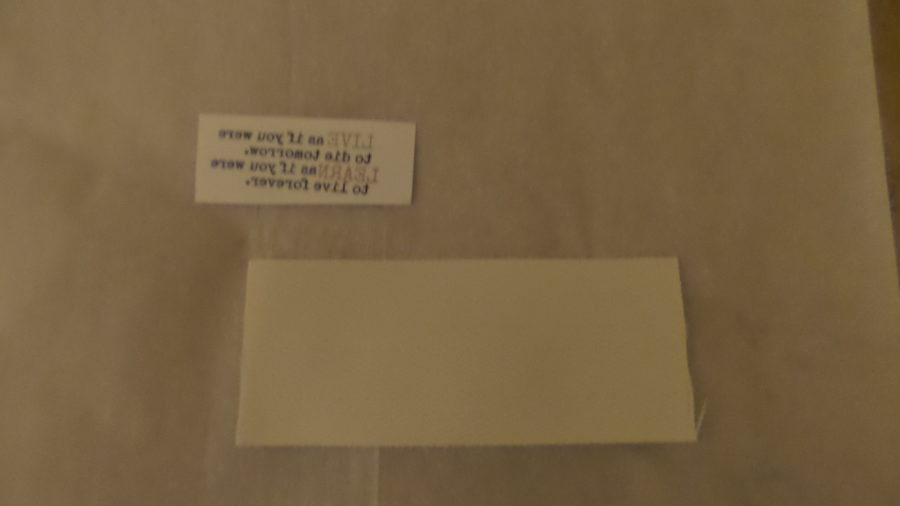
Fold under the raw edges and add some zig zag and straight stitches around the edges for the look of a vintage patch. This patch can be added with Heat n Bond® UltraHold at the very end or sewn in place prior to sewing in the the darts on the bottom.
Happy Sewing!
-Jennifer Davey
Save
Be sure to pick up our HeatnBond® EZ Print Transfer Sheets as Jennifer used in her tutorial! On sale starting today so don’t miss out!