


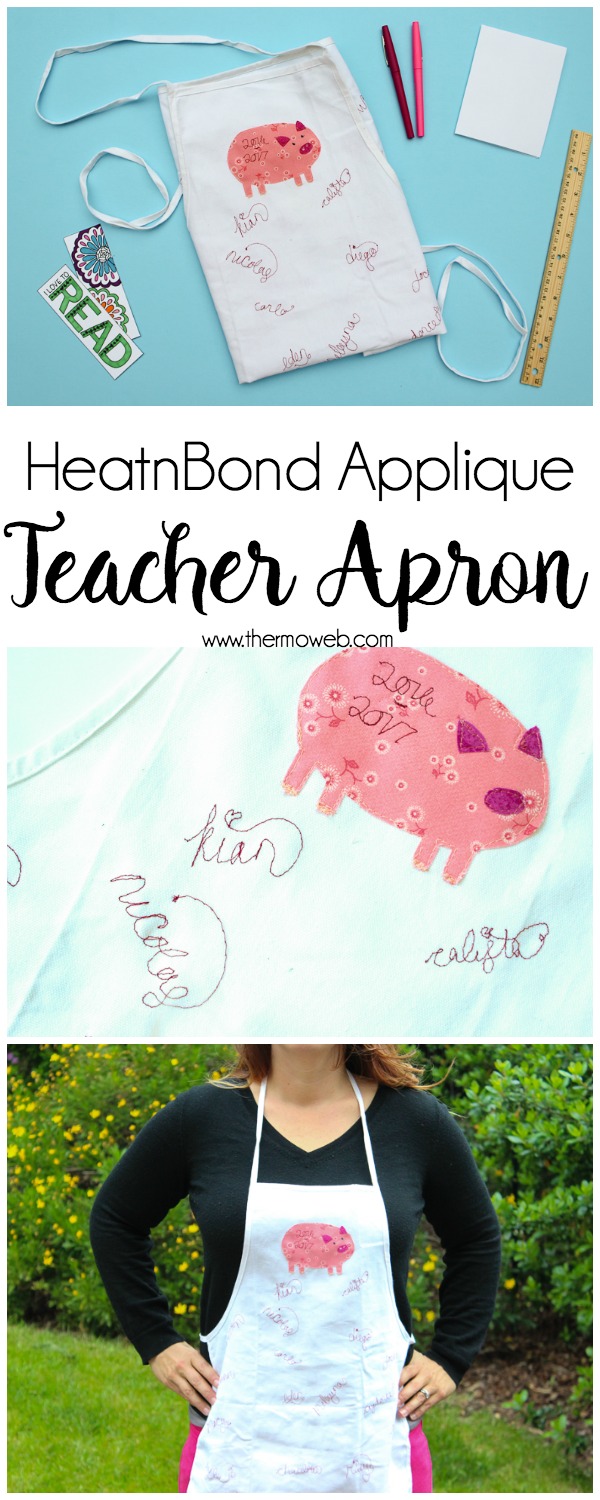
HeatnBond Teacher Appreciation Apron
Alicia here from Sew What Alicia. It is time again to wrack your brain to figure out what in the world to get for your kiddos teachers! This year I actually thought ahead, which is somewhat rare (ok totally and completely rare!) I decided to make a fun customized gift so here is a HeatnBond® Teacher Appreciation Apron tutorial so you can make a fun gift too!
HeatnBond Teacher Appreciation Apron
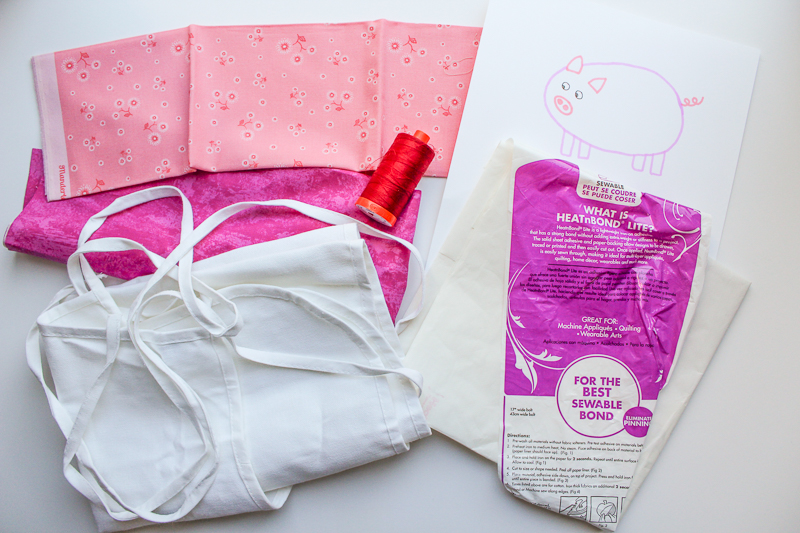
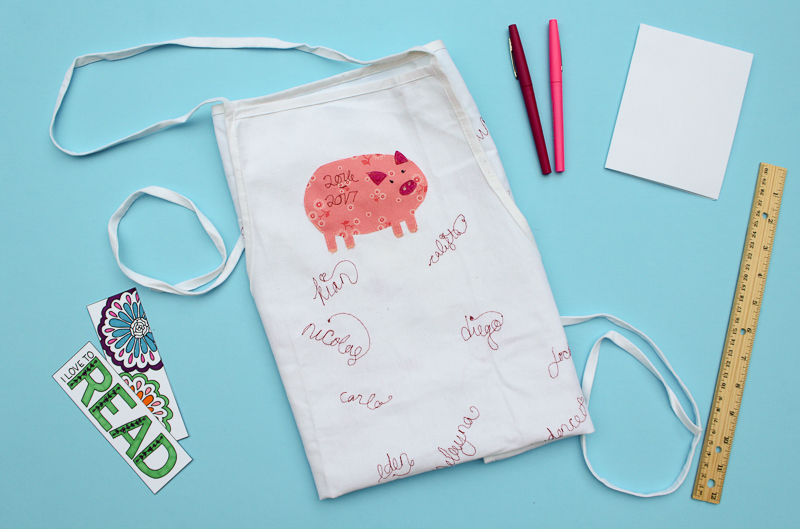
Supplies:
Plain Apron (I found mine at Joann’s)
Aurifil Thread (pictured: Wine 2260)
Coordinating Fabrics
Instructions:
The first step is to decide what you want to appliqué onto the apron. My son’s teacher has a classroom full of pigs so it was an easy choice! Sketch, trace or print your appliqué image. You want something that is simple without a lot of little pieces (you could pick something more complicated but it will take a lot longer!) Trace the different parts of the appliqué onto your HeatnBond Lite and then roughly cut the images out. Iron the HeatnBond® Lite onto the back of your fabric.

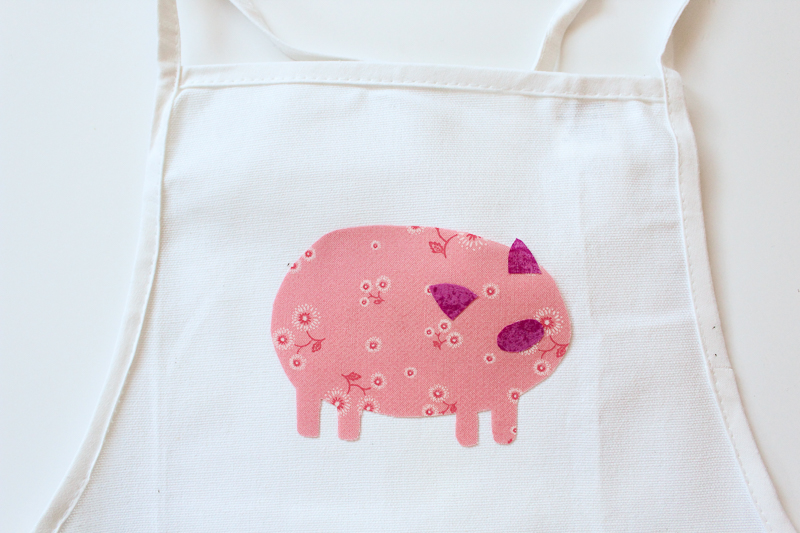
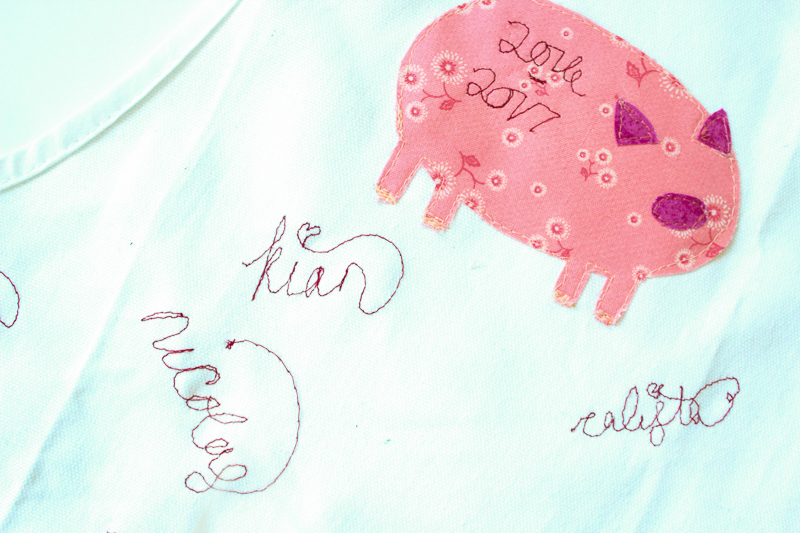
Cut the pieces out and iron them onto the apron. Isn’t it fun how the fabric happened to look like a little smirking mouth?!?!
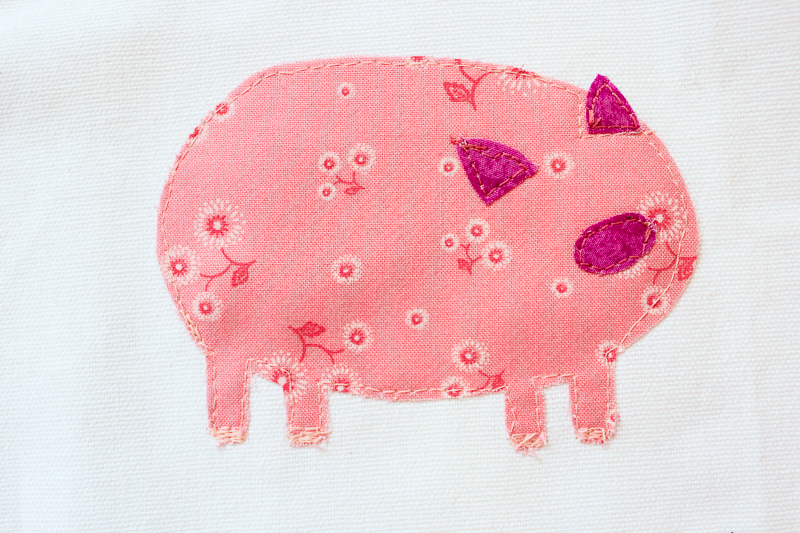
Now using a coordinating thread top-stitch the pig and his parts onto the apron. You could use the no sew HeatnBond to avoid the sewing step but I happen to love the look of a top-stitch!
The next step is to attach your quilting foot and plate (you could also hand embroider.) Use a free motion quilting technique to write the names of all the students in the class onto the apron. A good tip is to practice writing the name with a pencil in cursive without lifting the machine a few times. Then move the fabric the way you moved the pencil. One more tip is to leave the dots and crosses until the very end and then add them as a flourish. (As I have done with the name Kian and Calista as pictured below.)
The last step is to add the facial details on the pig. Don’t forget the tail, which I did and am just realizing now!)
Some other options that would be fun is to add some pockets on the bottom of the apron, add the teacher’s name, or add some fun ribbon as the tie backs.
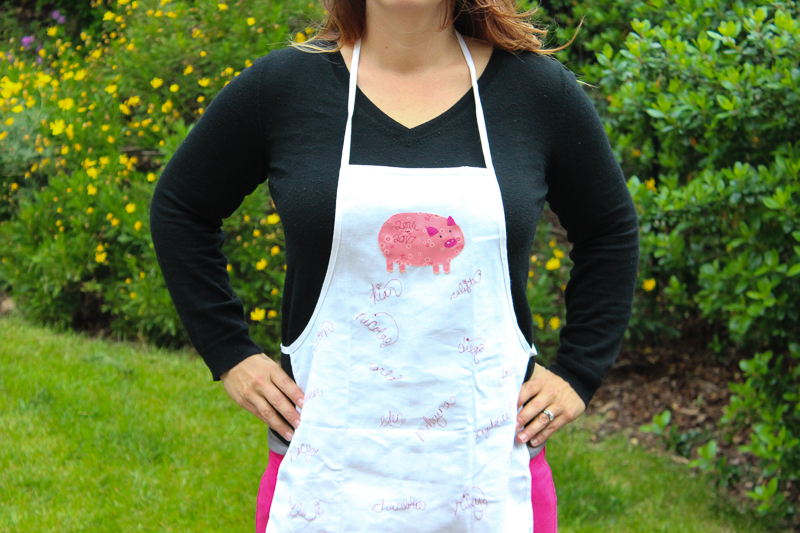
Put the apron into a gift basket or give it as a solo gift either way the teacher in your life is sure to be tickled pink…see what I did there??

Connect with Sew What Alicia
Facebook // Pinterest // Instagram // Twitter