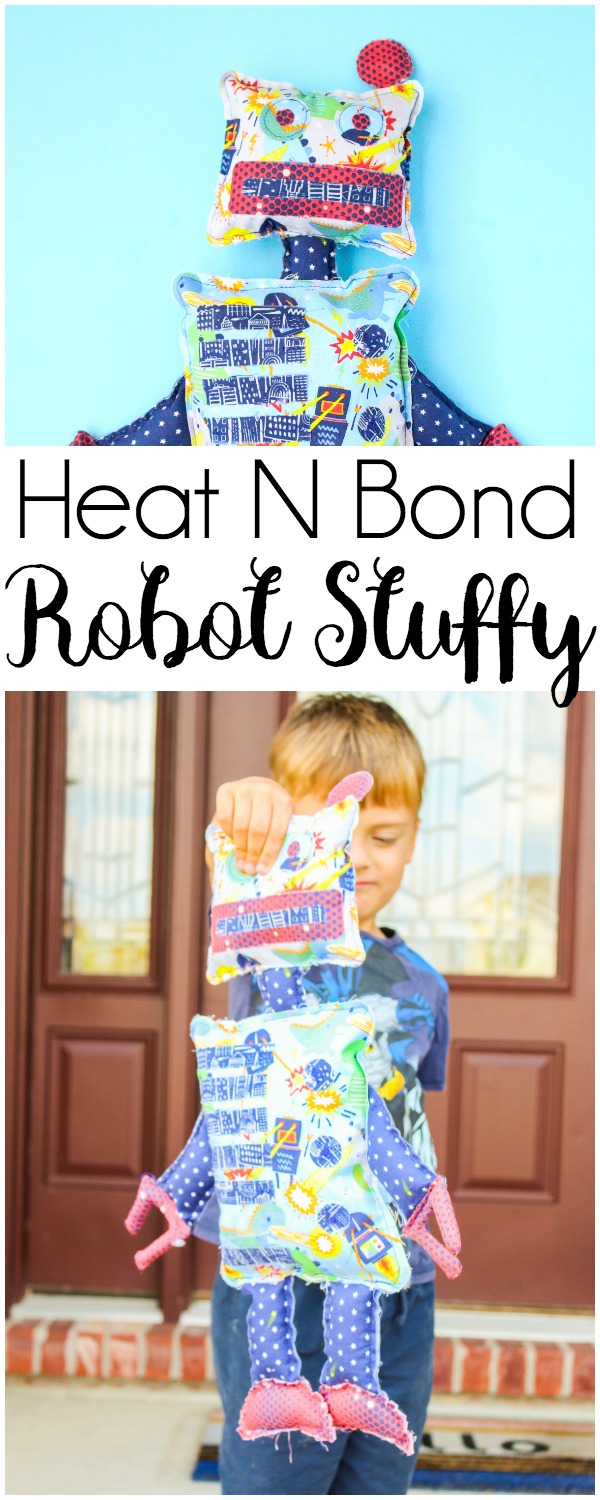
HeatnBond Robot Stuffy
Hi friends, Alicia here from Sew What Alicia. I am excited to be sharing this fun stuffed robot toy with you today! I love making stuffed toys and working with this adorable Blend fabric was a total dream.
Heat N Bond Robot Stuffy
Supplies:
HeatnBond Lite Fusible Adhesive – Sewable
Blend Robot Fabric
Stuffed Animal Stuffing/Filling
Robot Template: PDF for hand cutting.
Robot Template: Use the following with your cutting machine.
Robot Cutting Instructions:
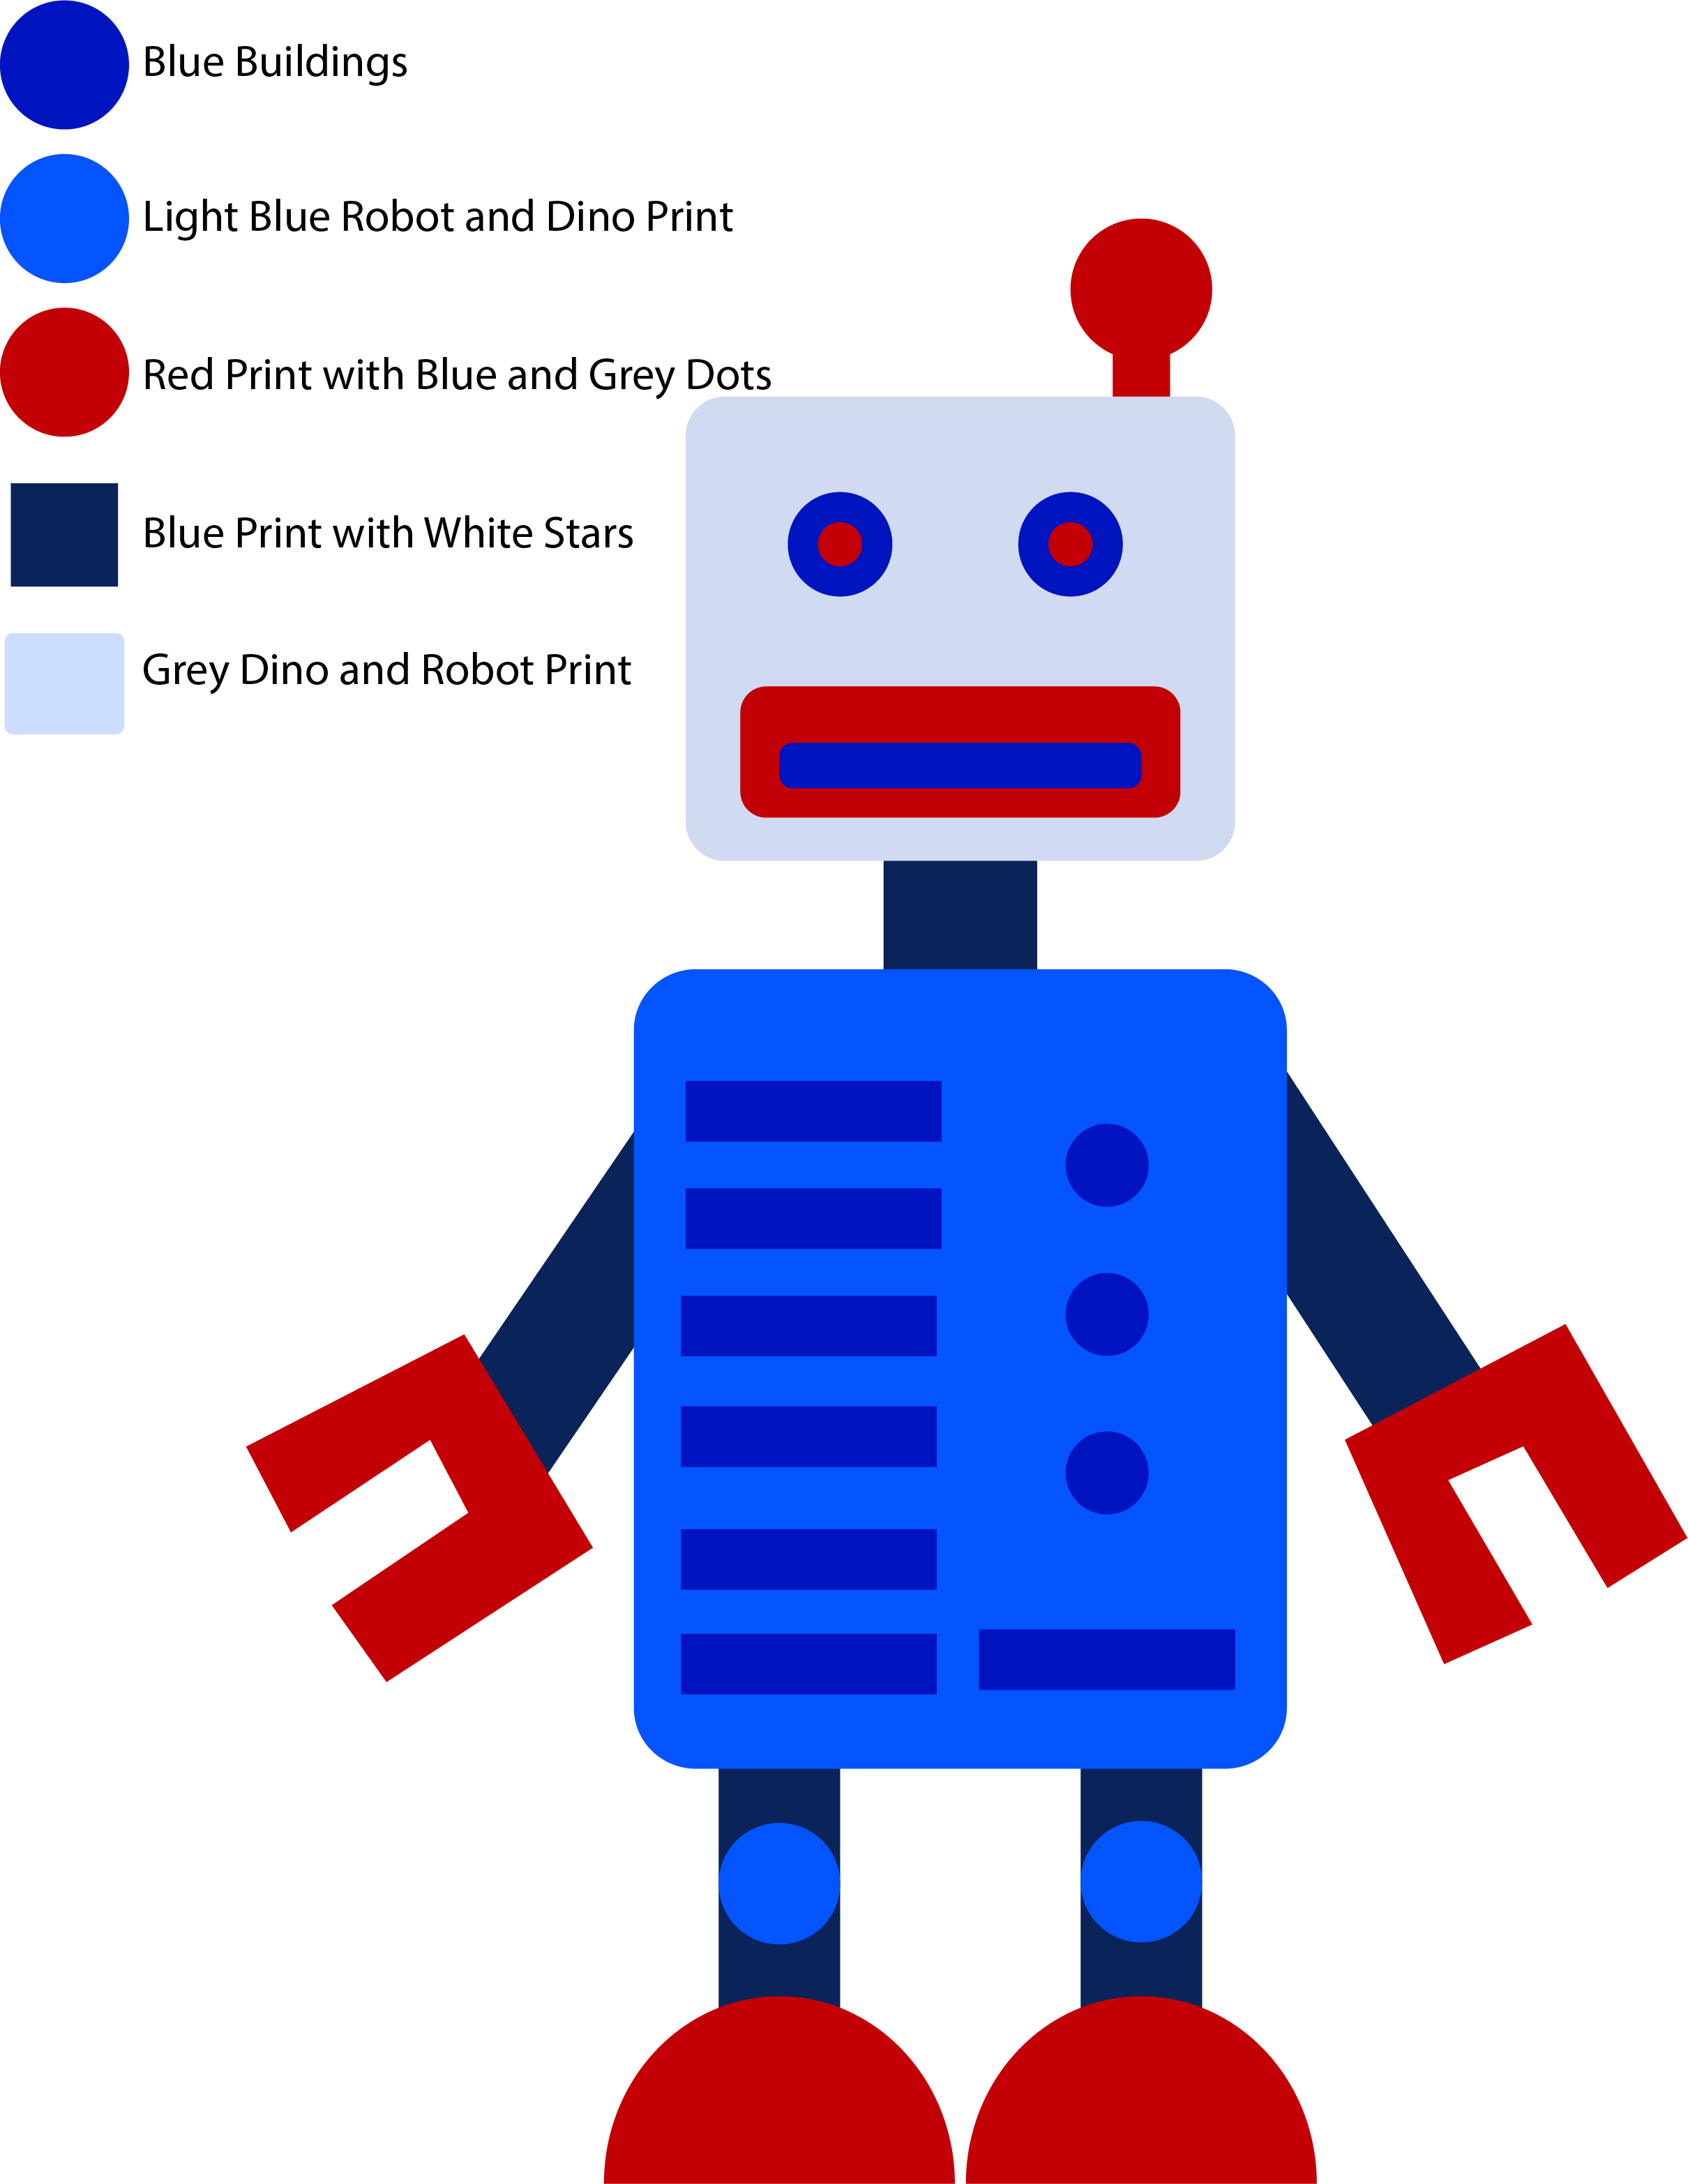
Use the following color-coded image to cut your stuffed robot pieces.
Robot Stuffy Detail Instructions:
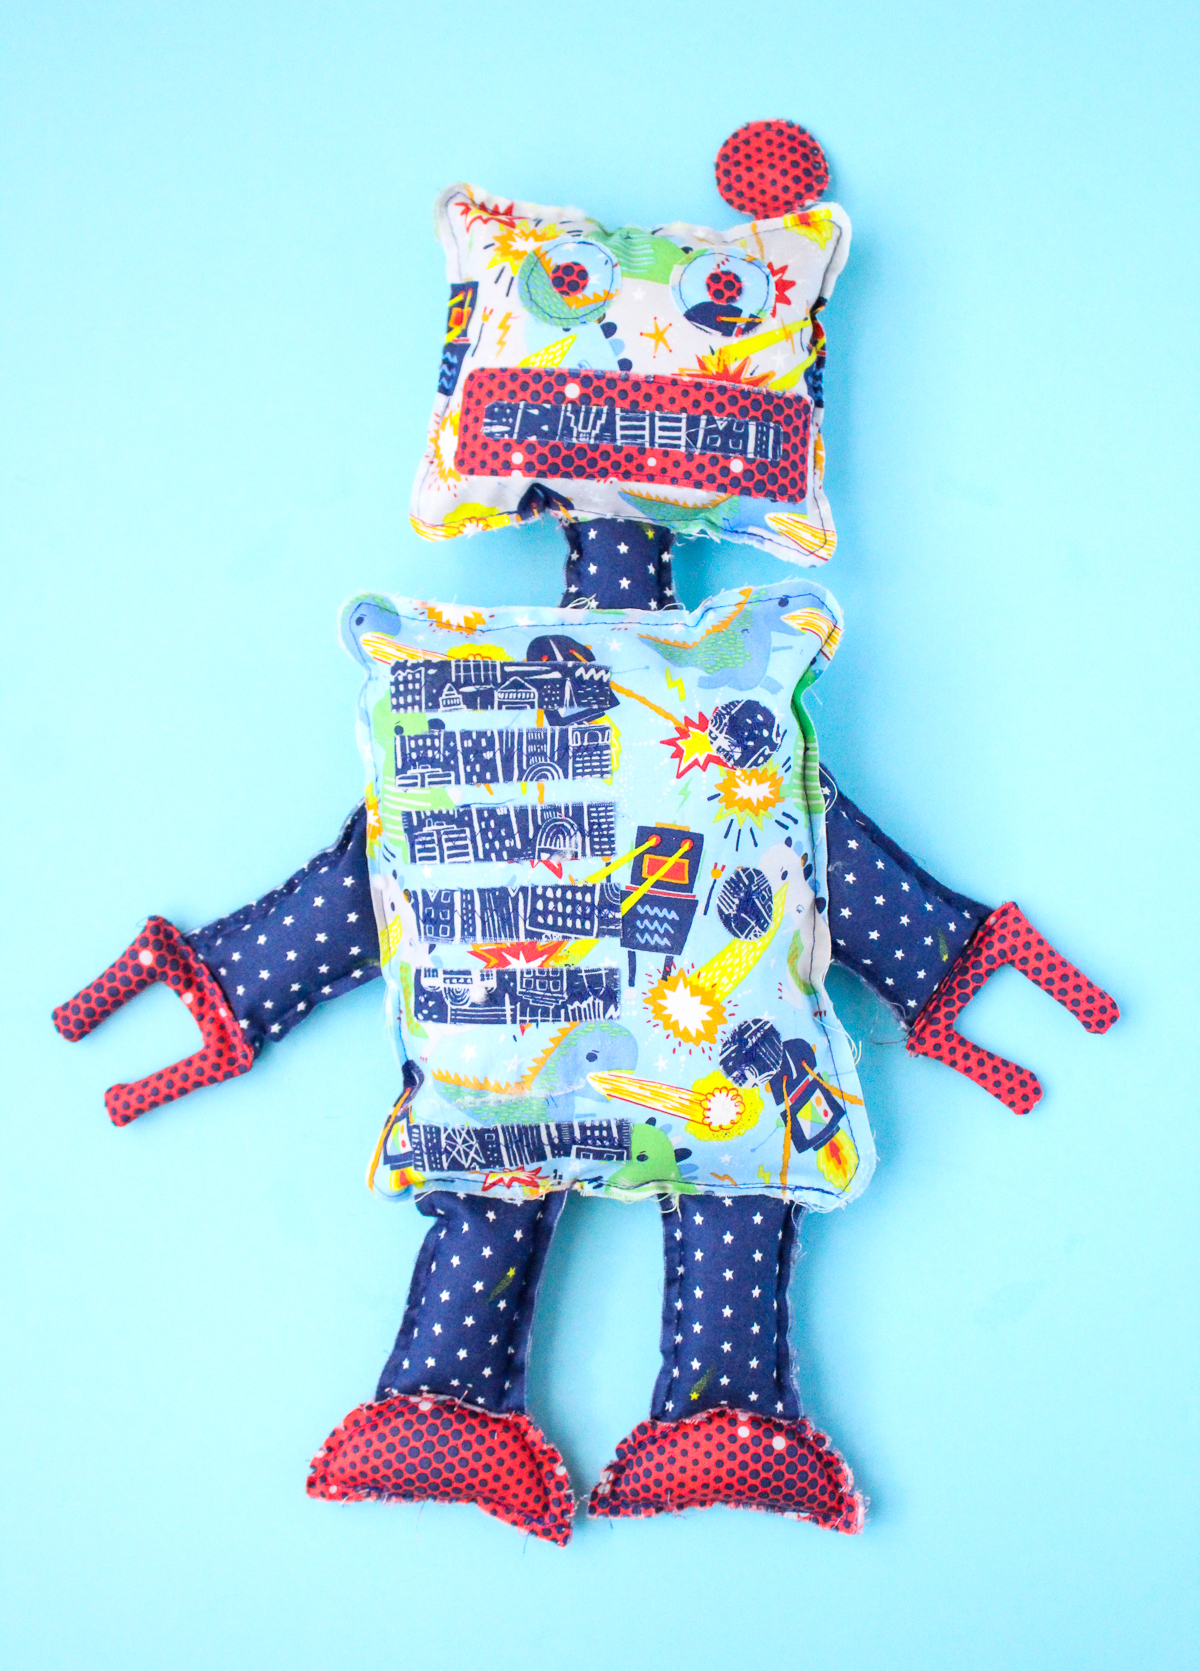
Iron the HeatnBond to small sections of the detailed fabric. Cut the pieces by hand or with your cutting machine. Iron the details onto the robot as shown in the image above.
Sew with a coordinating thread around the details. This step is optional but I like the way the stitching looks. I think it goes well with the raw edges in the next step.
Robot Assembly Instructions:
Start assembling the robot at the top. Sew around the edges of the antenna leaving the bottom open. Stuff the antenna and then pin it to the headpieces. Sew around the top and both sides of the head. Stuff the head and then pin the neck pieces to the headpieces.
Continue in this fashion working your way down the body of the robot until you have stuffed and attached all pieces.
This robot has been assembled with a raw edge. You can leave the edges raw or use fray check to keep the edges from fraying further.
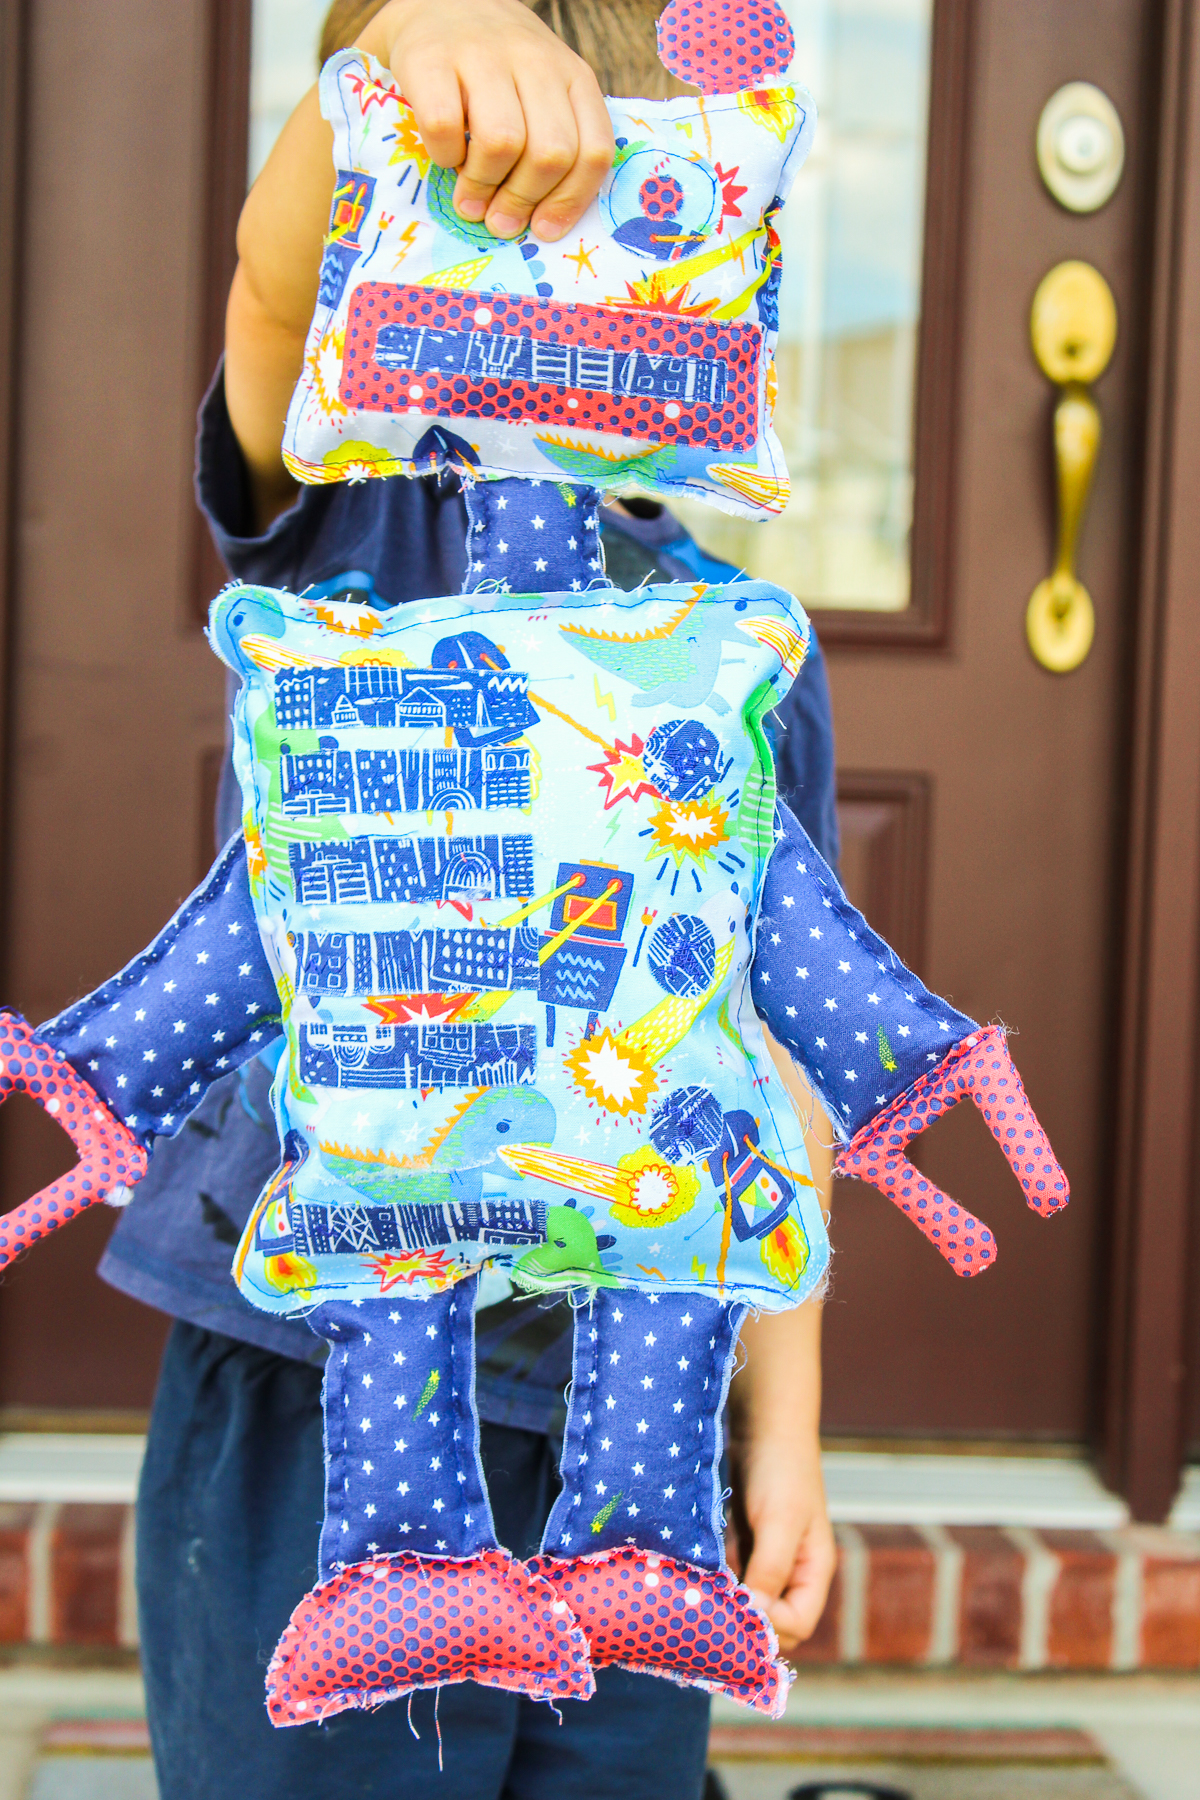
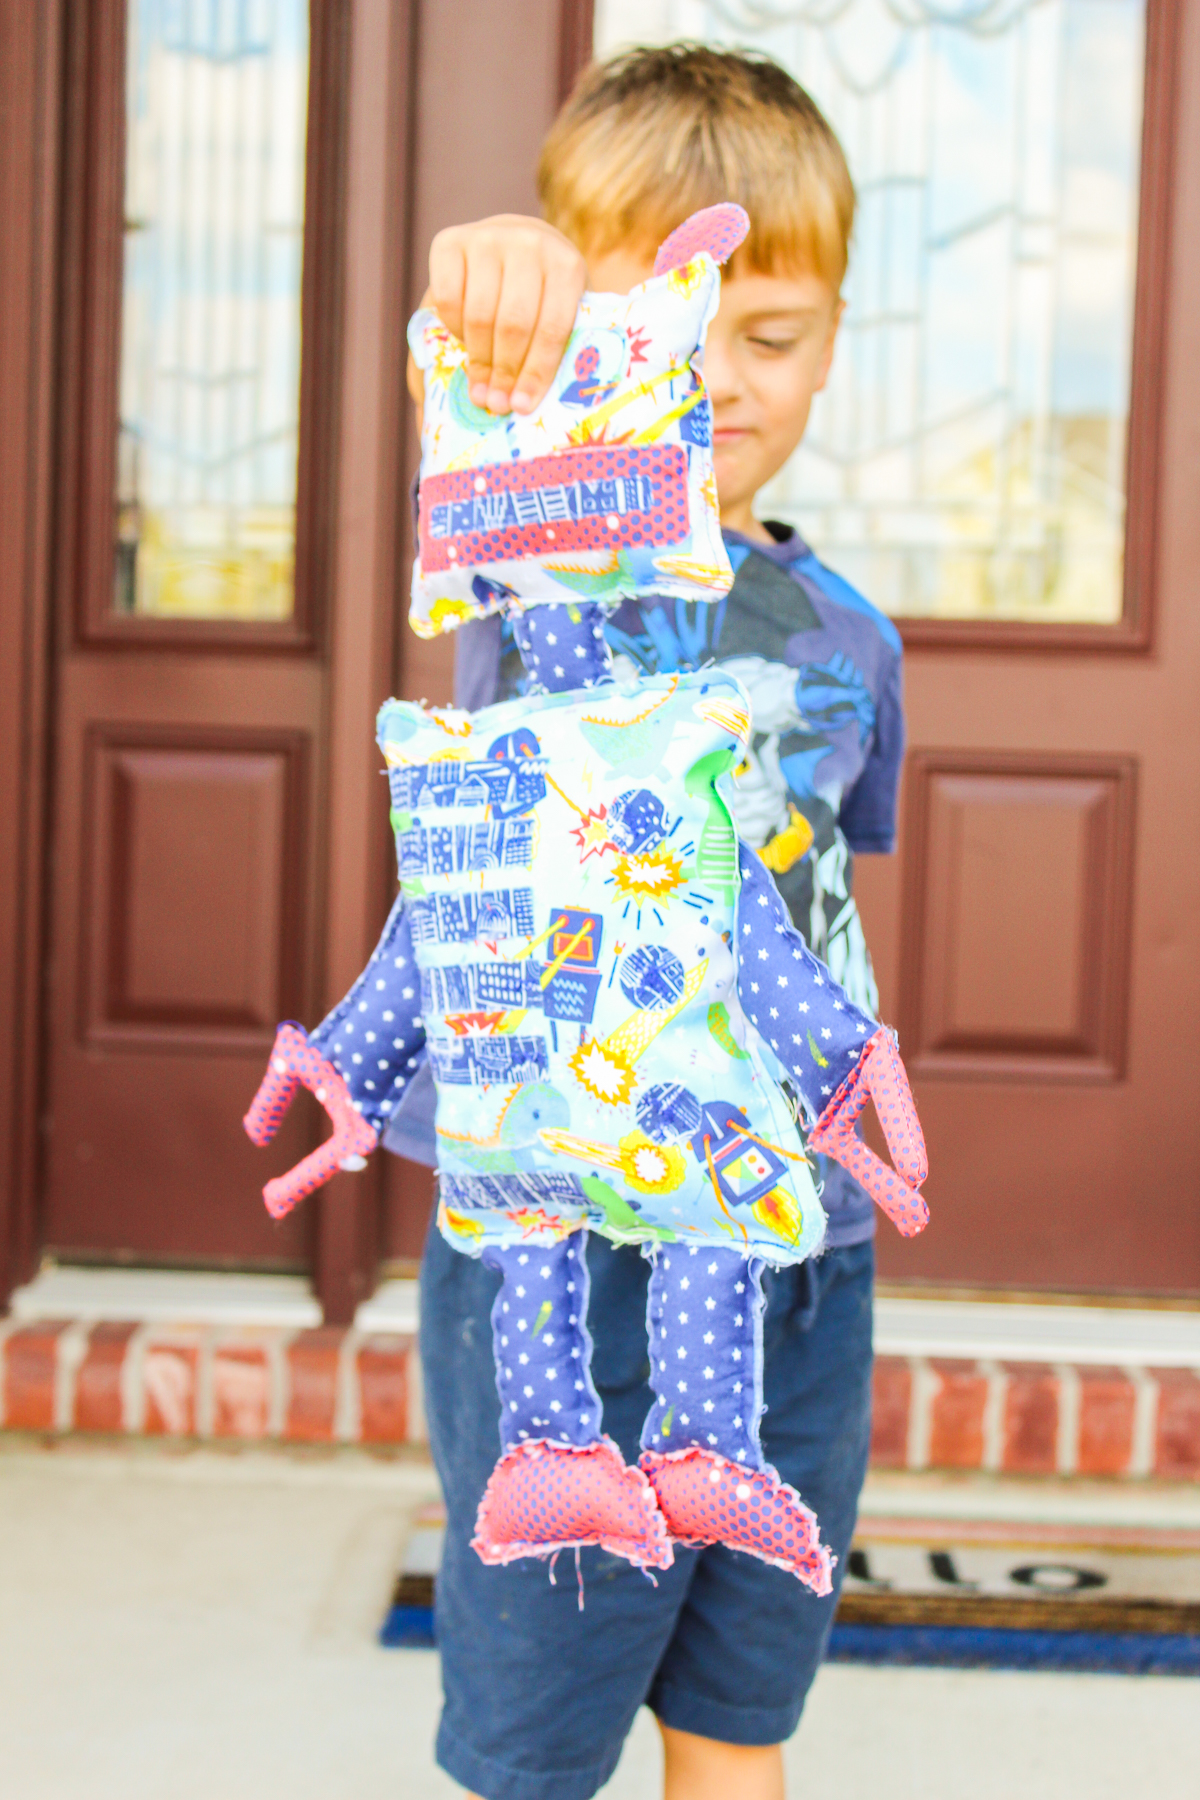
Your little one will love this robot! Don’t you just love how fun this dinosaur and robot fabric is? I think I need to make a stuffed dinosaur to go along with the robot what do you think?
Check out these other fun stuffed items over on my blog. Stuffed Dog, Stuffed Star Wars Toy, and Stuffed Dog Bone.

Connect with Sew What Alicia
Facebook // Pinterest // Instagram // Twitter

