


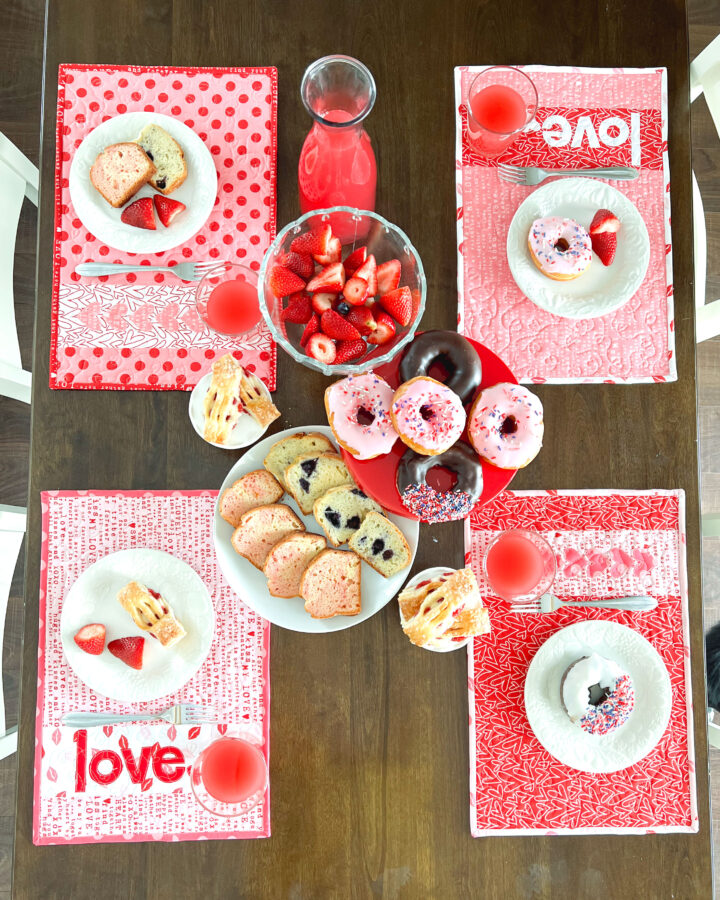
Dress up a table with these quick and easy placemats. Add applique to liven them up with designs or phrases to customize to your hearts’ content. I’m Amy from Ameroonie Designs and I can’t wait to share this fun tutorial with you! So, let’s SEW! For a full video tutorial, you can go to my YouTube channel here.
Accent Strip Valentine Placemat Tutorial
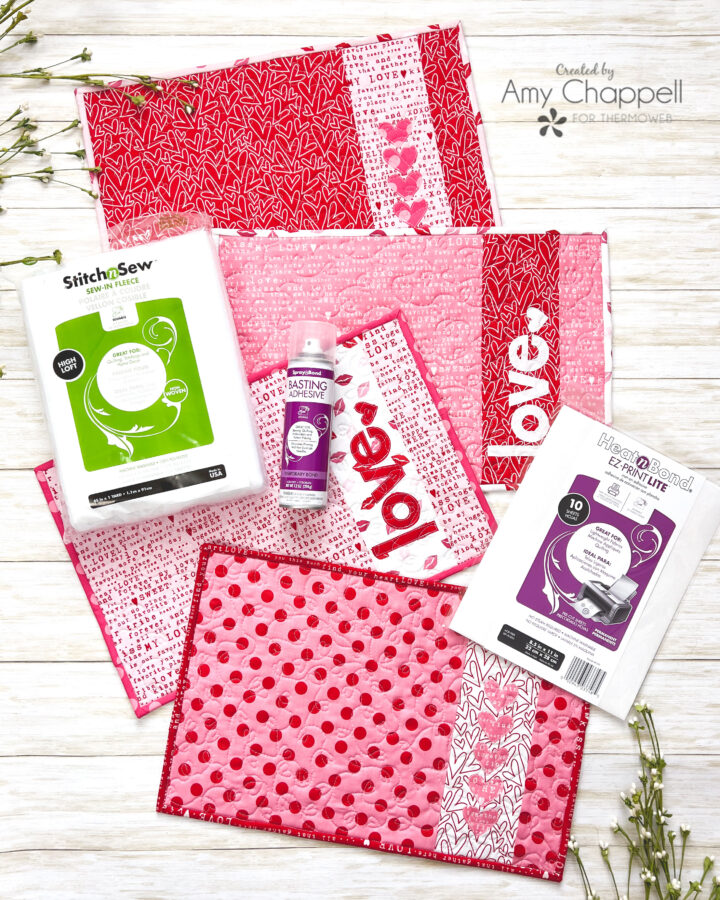
Supplies:
links are affiliate links
- Main feature fabric- fat quarter or 1/3 yard. I am using fabric from the Sending Love line by Riley Blake Designs.
- Accent fabric- fat quarter or 1/3 yard or scrap
- Backing fabric- fat quarter or 1/3 yard
- applique fabric- scraps work well
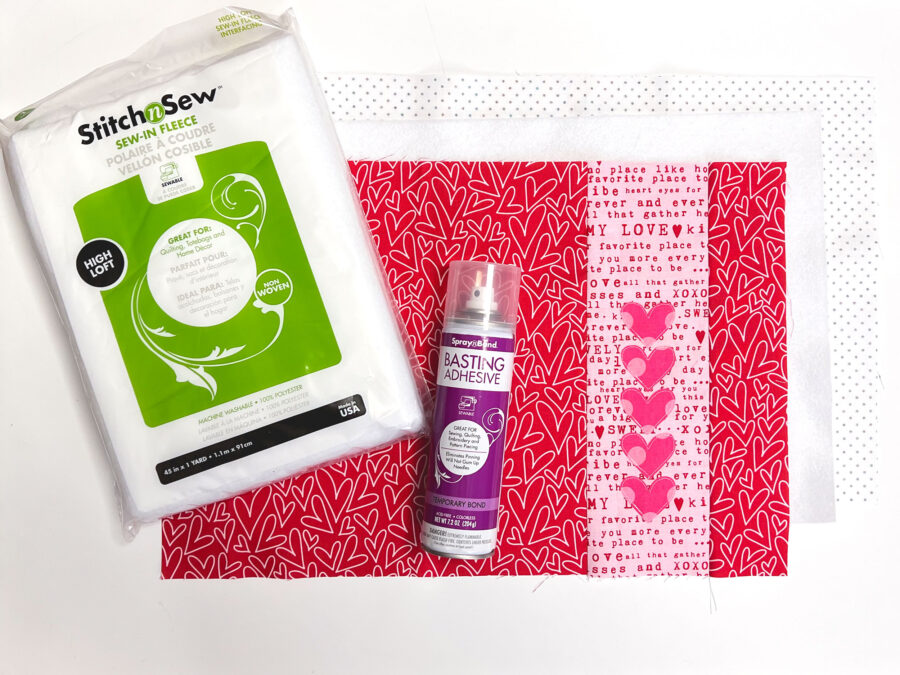
- Sew-in fleece
- EZ print Heat n Bond Lite
- Spray n Bond Basting Spray
*Note: if you get a 1/3 yard cut of fabric it is enough fabric to make 2 placemats or the front and back of one placemat. Scraps would also work for the accent fabric- you only need a 4″ X 12″ piece.
Cutting and Placemat front assembly Instructions:
- From Main Feature Fabric:
- Cut 1 piece 12″ (h) X 12 1/2″ (w)
- Cut 1 piece 12″ (h) X 2 1/2″ (w)
- From Accent fabric: cut 1 piece 12″ (h) X 4″ (w)
- From Backing fabric and Sew-in Fleece: Cut 1 piece of each 12″ (h) X 18″ (w)
- Binding fabric- cut 2- 2 1/2″ X WOF strips
Arrange the front fabric pieces as follows: main fabric 12″ X 12 1/2″ piece, Accent fabric, main fabric 2 1/2″ piece. Sew pieces together using a 1/4″ seam allowance. Press the seam away from the darker fabric.
Prepare Applique
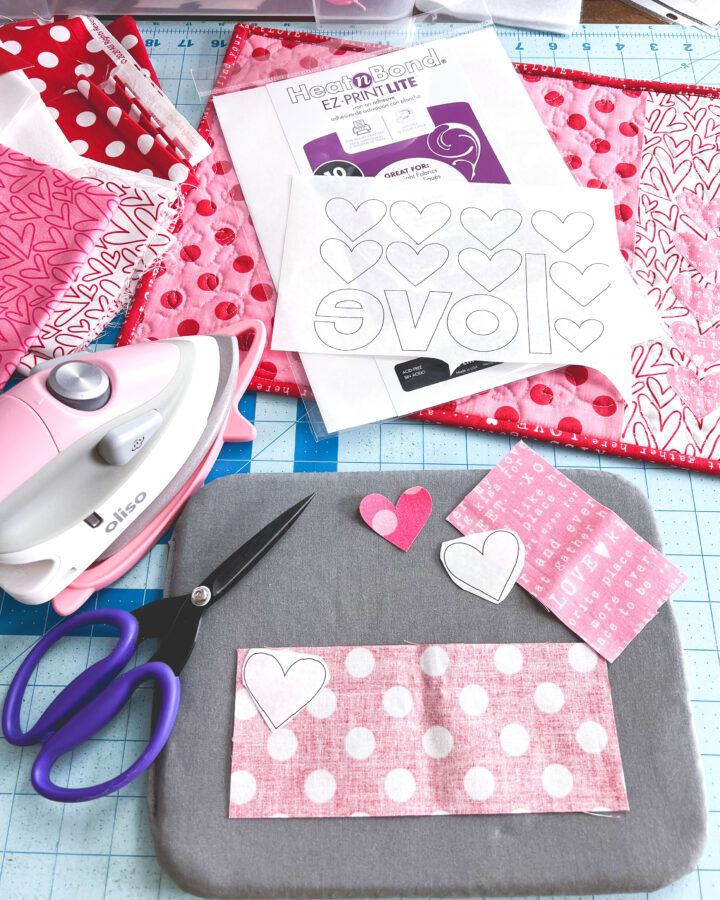
Print your applique pattern onto the EZ Print Lite. The applique pattern pieces I am using are from my Bring the Love mug rug pattern available in my Etsy shop. The pdf instructions for this add-on placemat project are included in the pattern purchase.
Cut out around the pattern pieces, leaving a slight margin around each one. (if the group of pattern pieces is going to be cut out of the same fabric you can leave the group together.
Follow package instructions to fuse the Heat n Bond to the wrong side of the applique fabric. Allow cooling. Cut out on the printed or traced line.
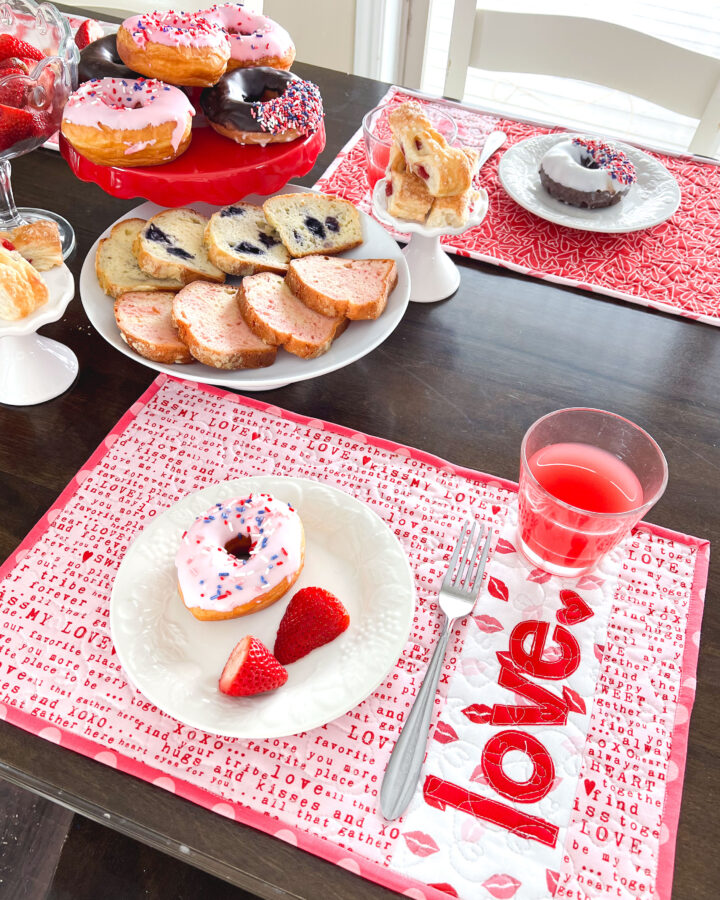
Peel away the paper backing and arrange the applique pattern pieces on the placemat front as desired. For these pieces, I center the hearts on the accent strip lining up the point and the valley of the heart with a line that is 1 3/4″ in from the sides of the accent strip. The “love” pieces are placed so the “l” is 1/4″ away from the seam line and the “love and heart” are 1/2″ from the right seam. Fuse the applique into place.
Sew around the applique pieces. I like to use a straight stitch, but if you plan on heavily using your placemats- I recommend using a narrow zig-zag stitch.
Finishing Instructions
Baste the placemat front, Stitch n Sew Sew in Fleece, and backing fabric using Spray n Bond Basting Spray. Quilt the placemat as desired. Attach the binding. If you are new to binding, I have a video playlist on my YouTube channel showing all the steps.
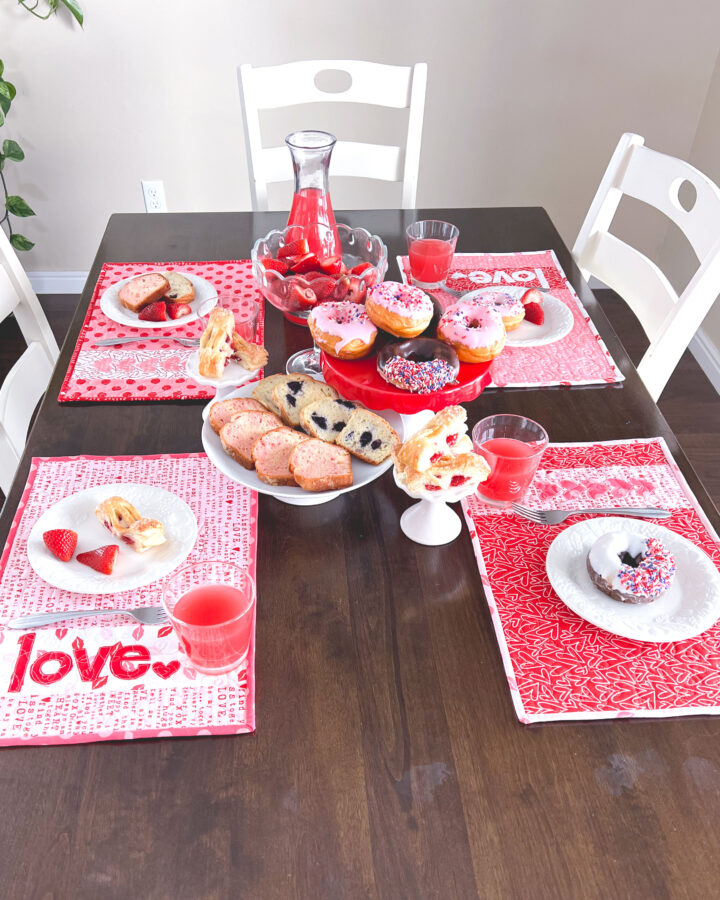
With this fun and fast tutorial, you can make any meal a special event! I hope you have enjoyed this tutorial. I would love to have you follow me on Instagram and YouTube @amerooniedesigns.
See you there!