


 Hello and welcome!
It’s Julia from Inflorescence Designs! I’m so joyful you are visiting today. This week we are jet-setting to winter vacation destinations. What winter vacation destination team are you on? Team snowy mountain for some skiing or snuggling up by the fire? Or are you team tropical, walking barefoot on the sand collecting seashells?
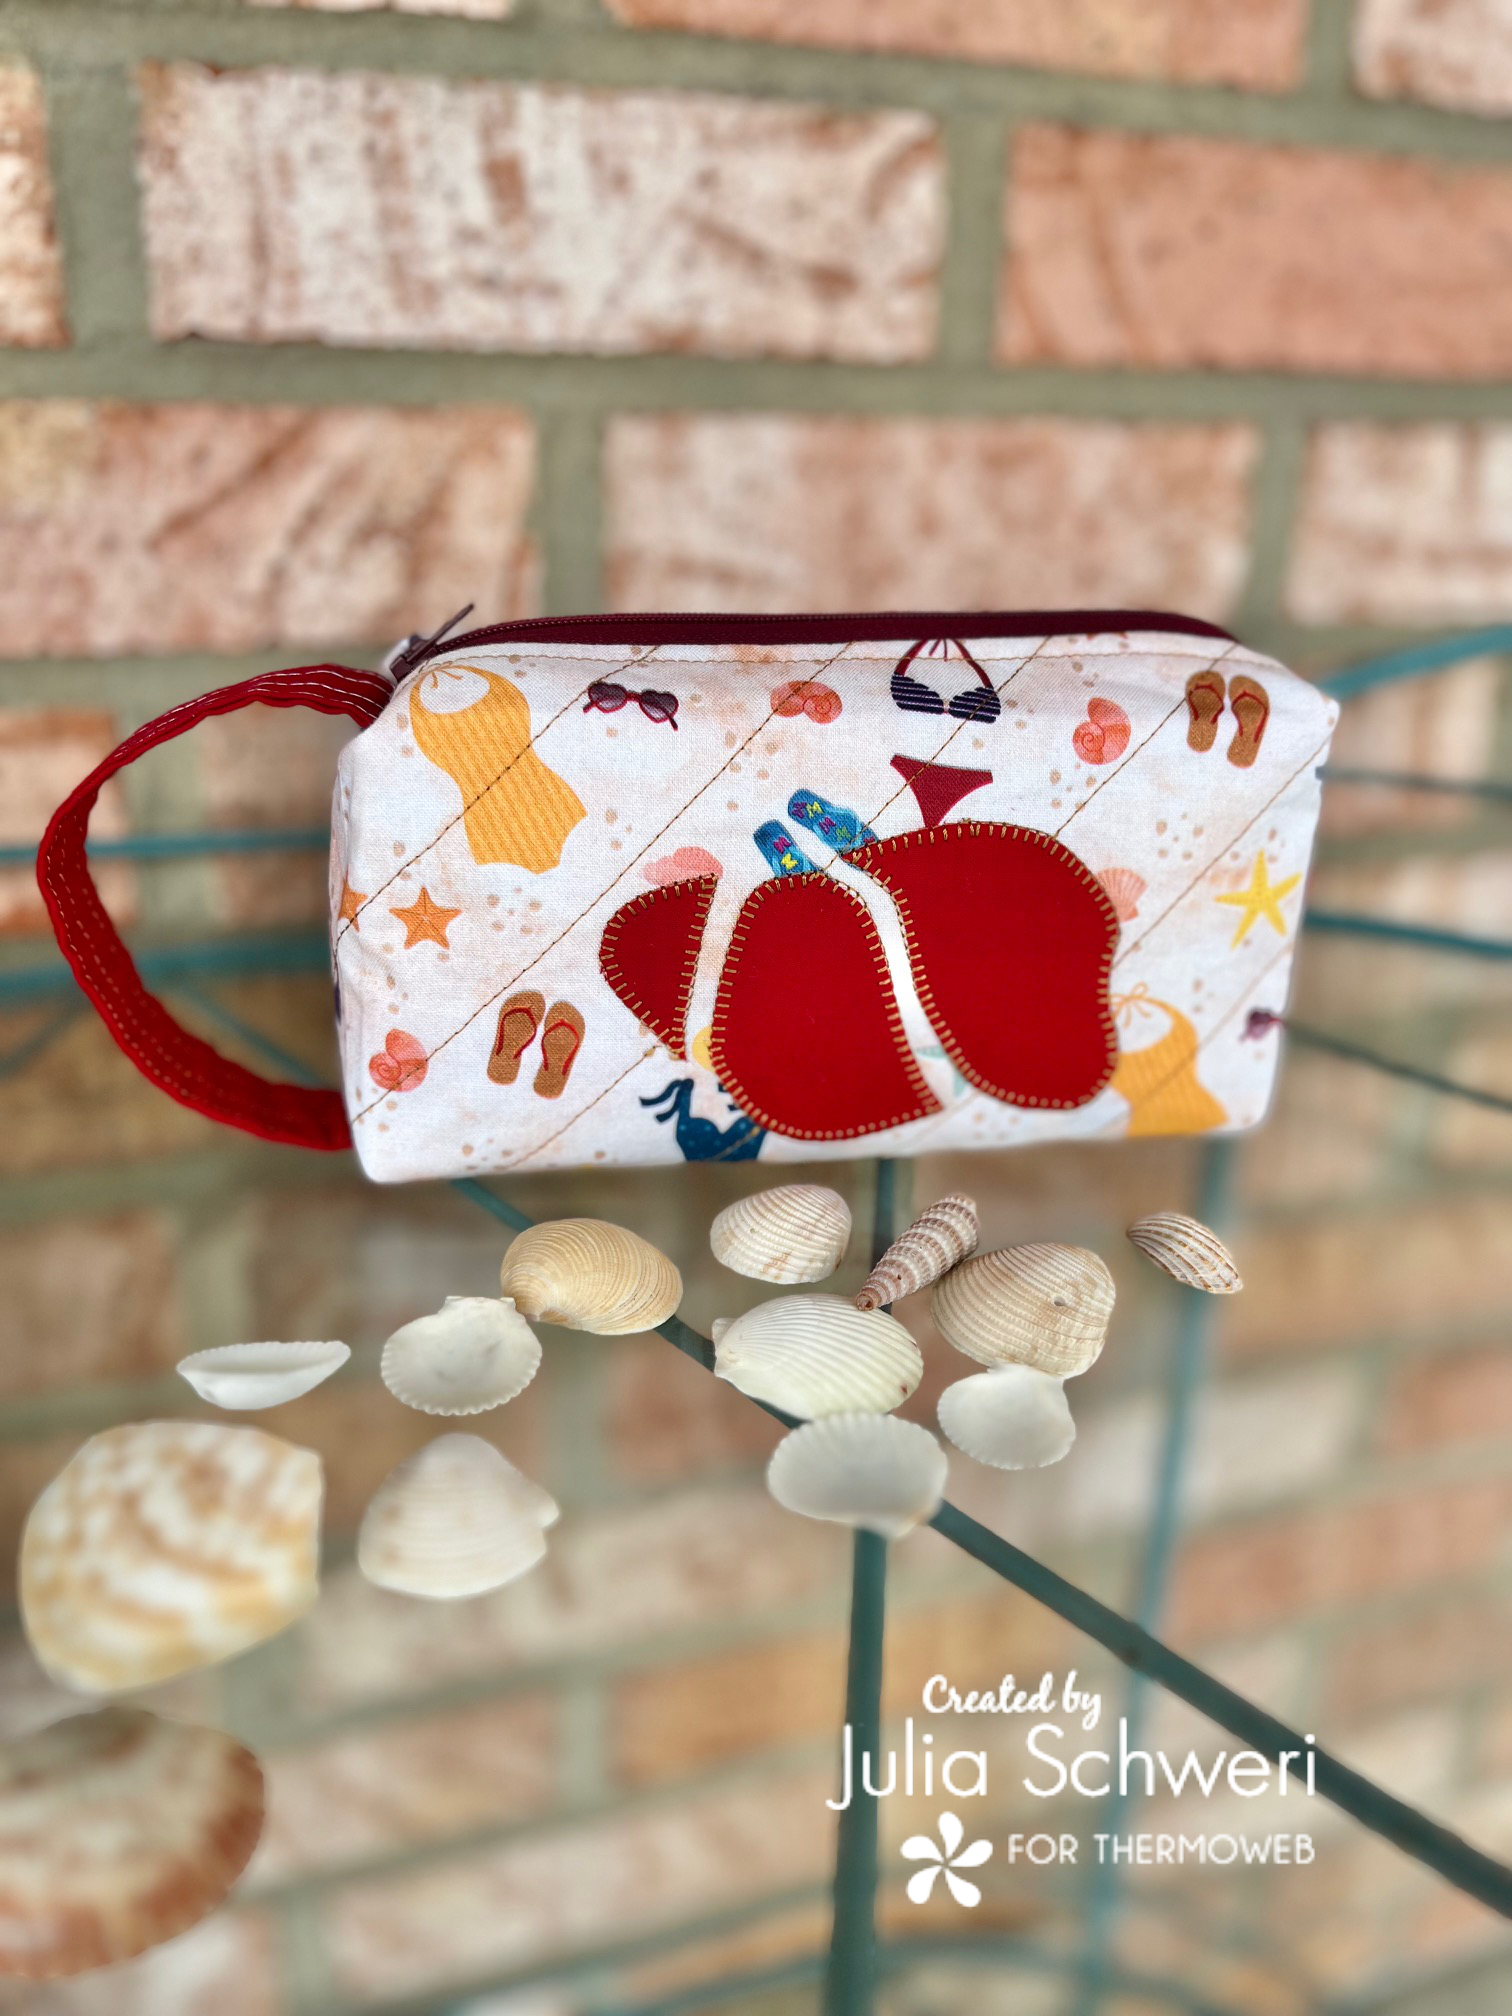
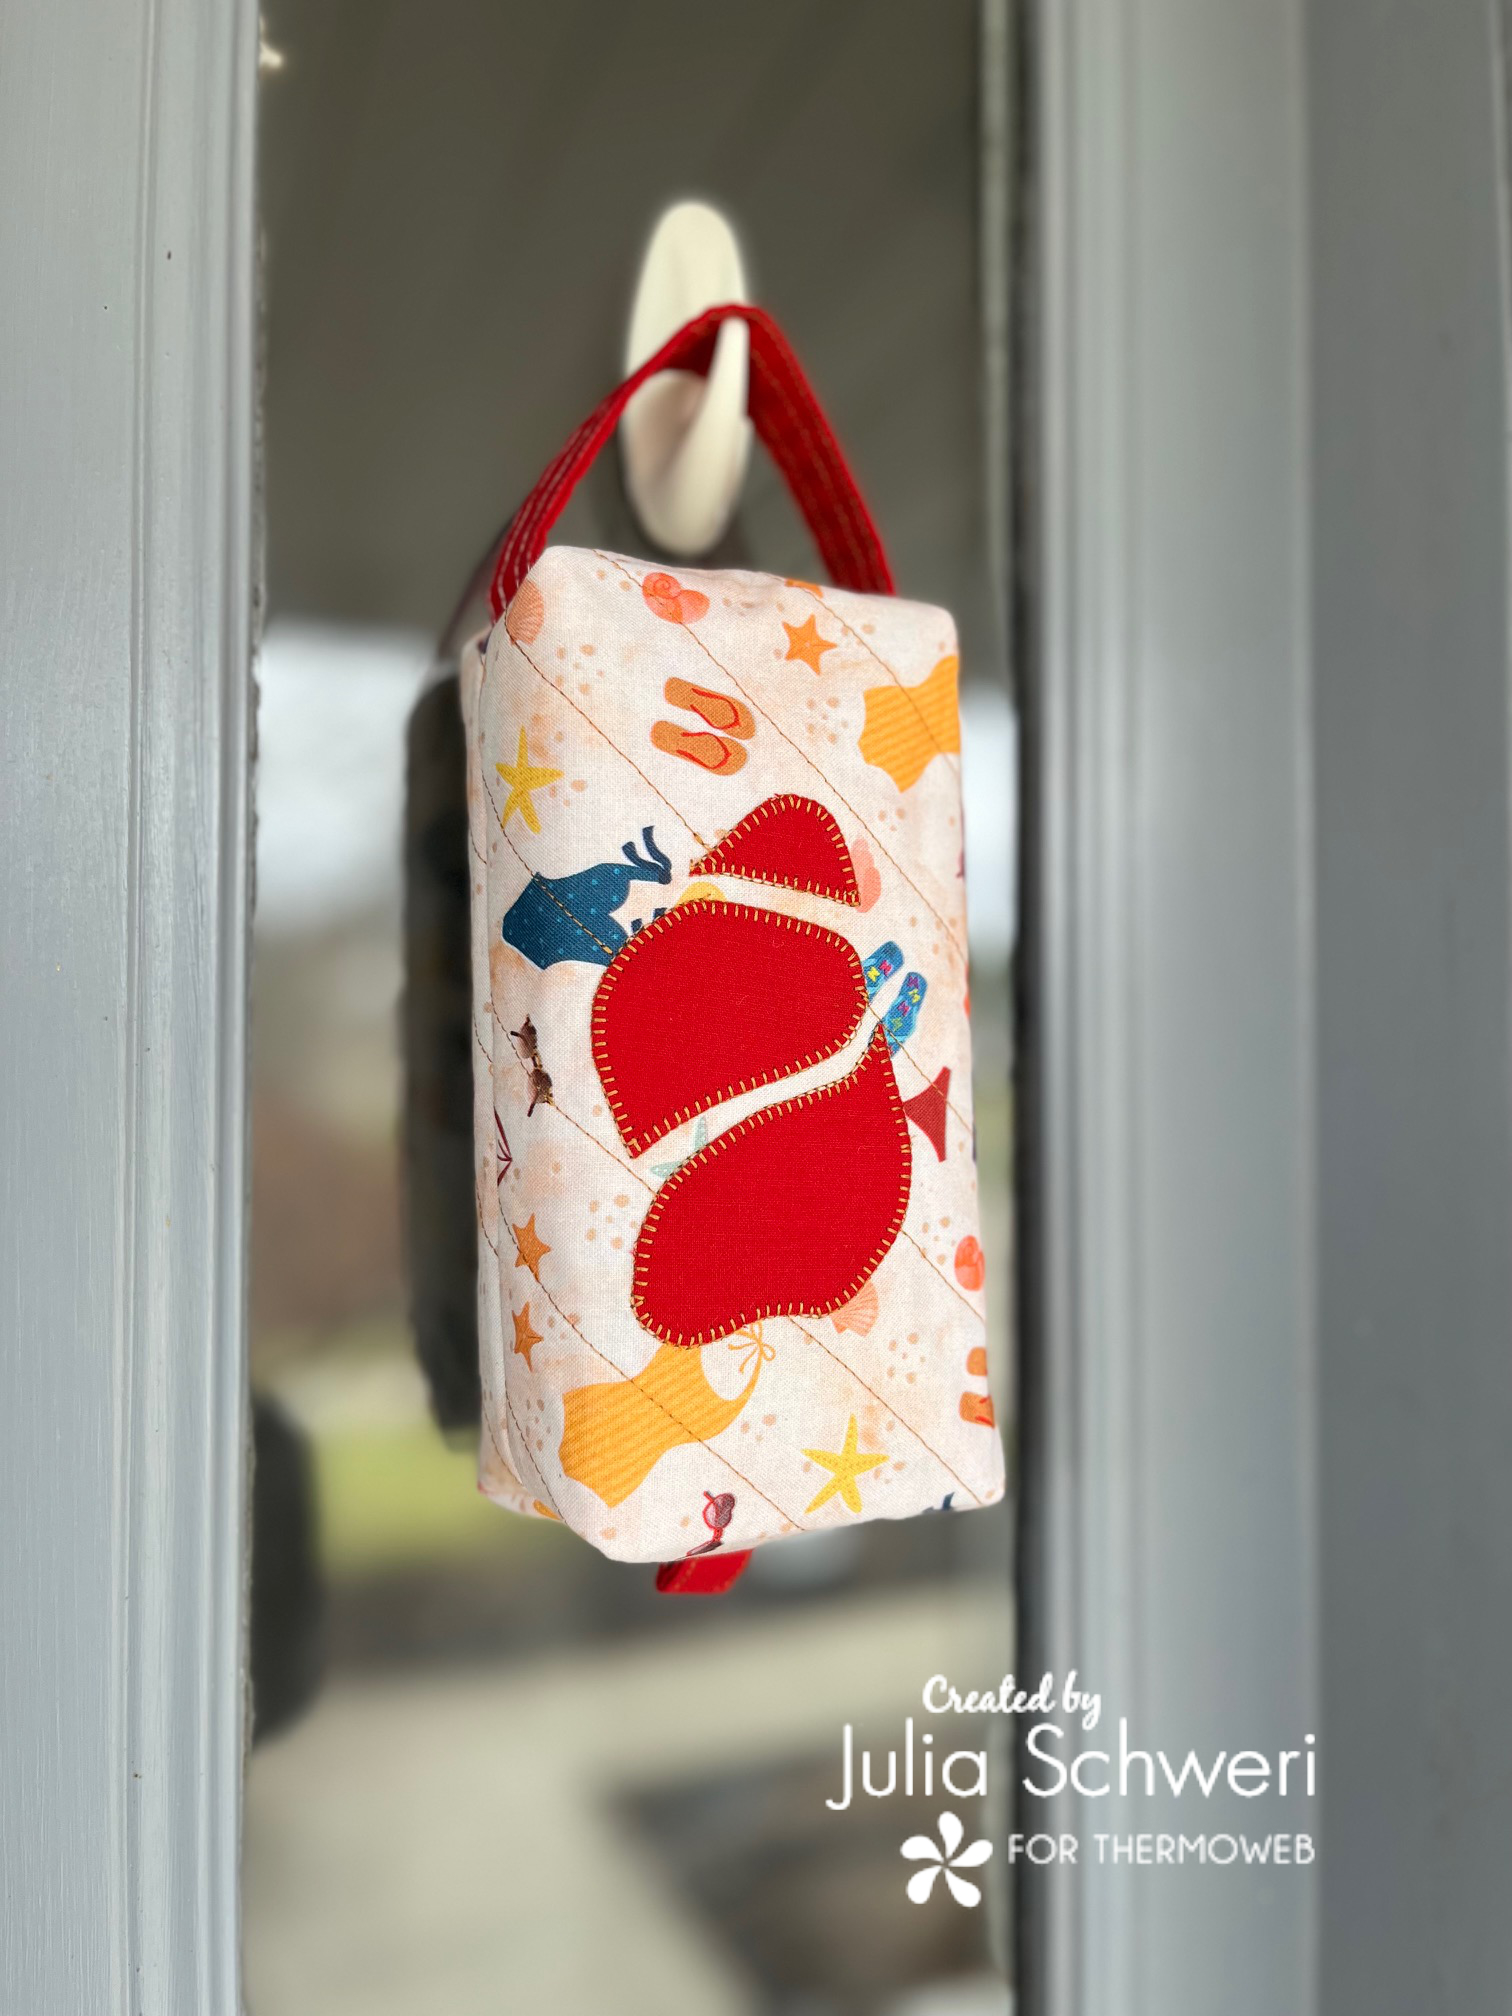
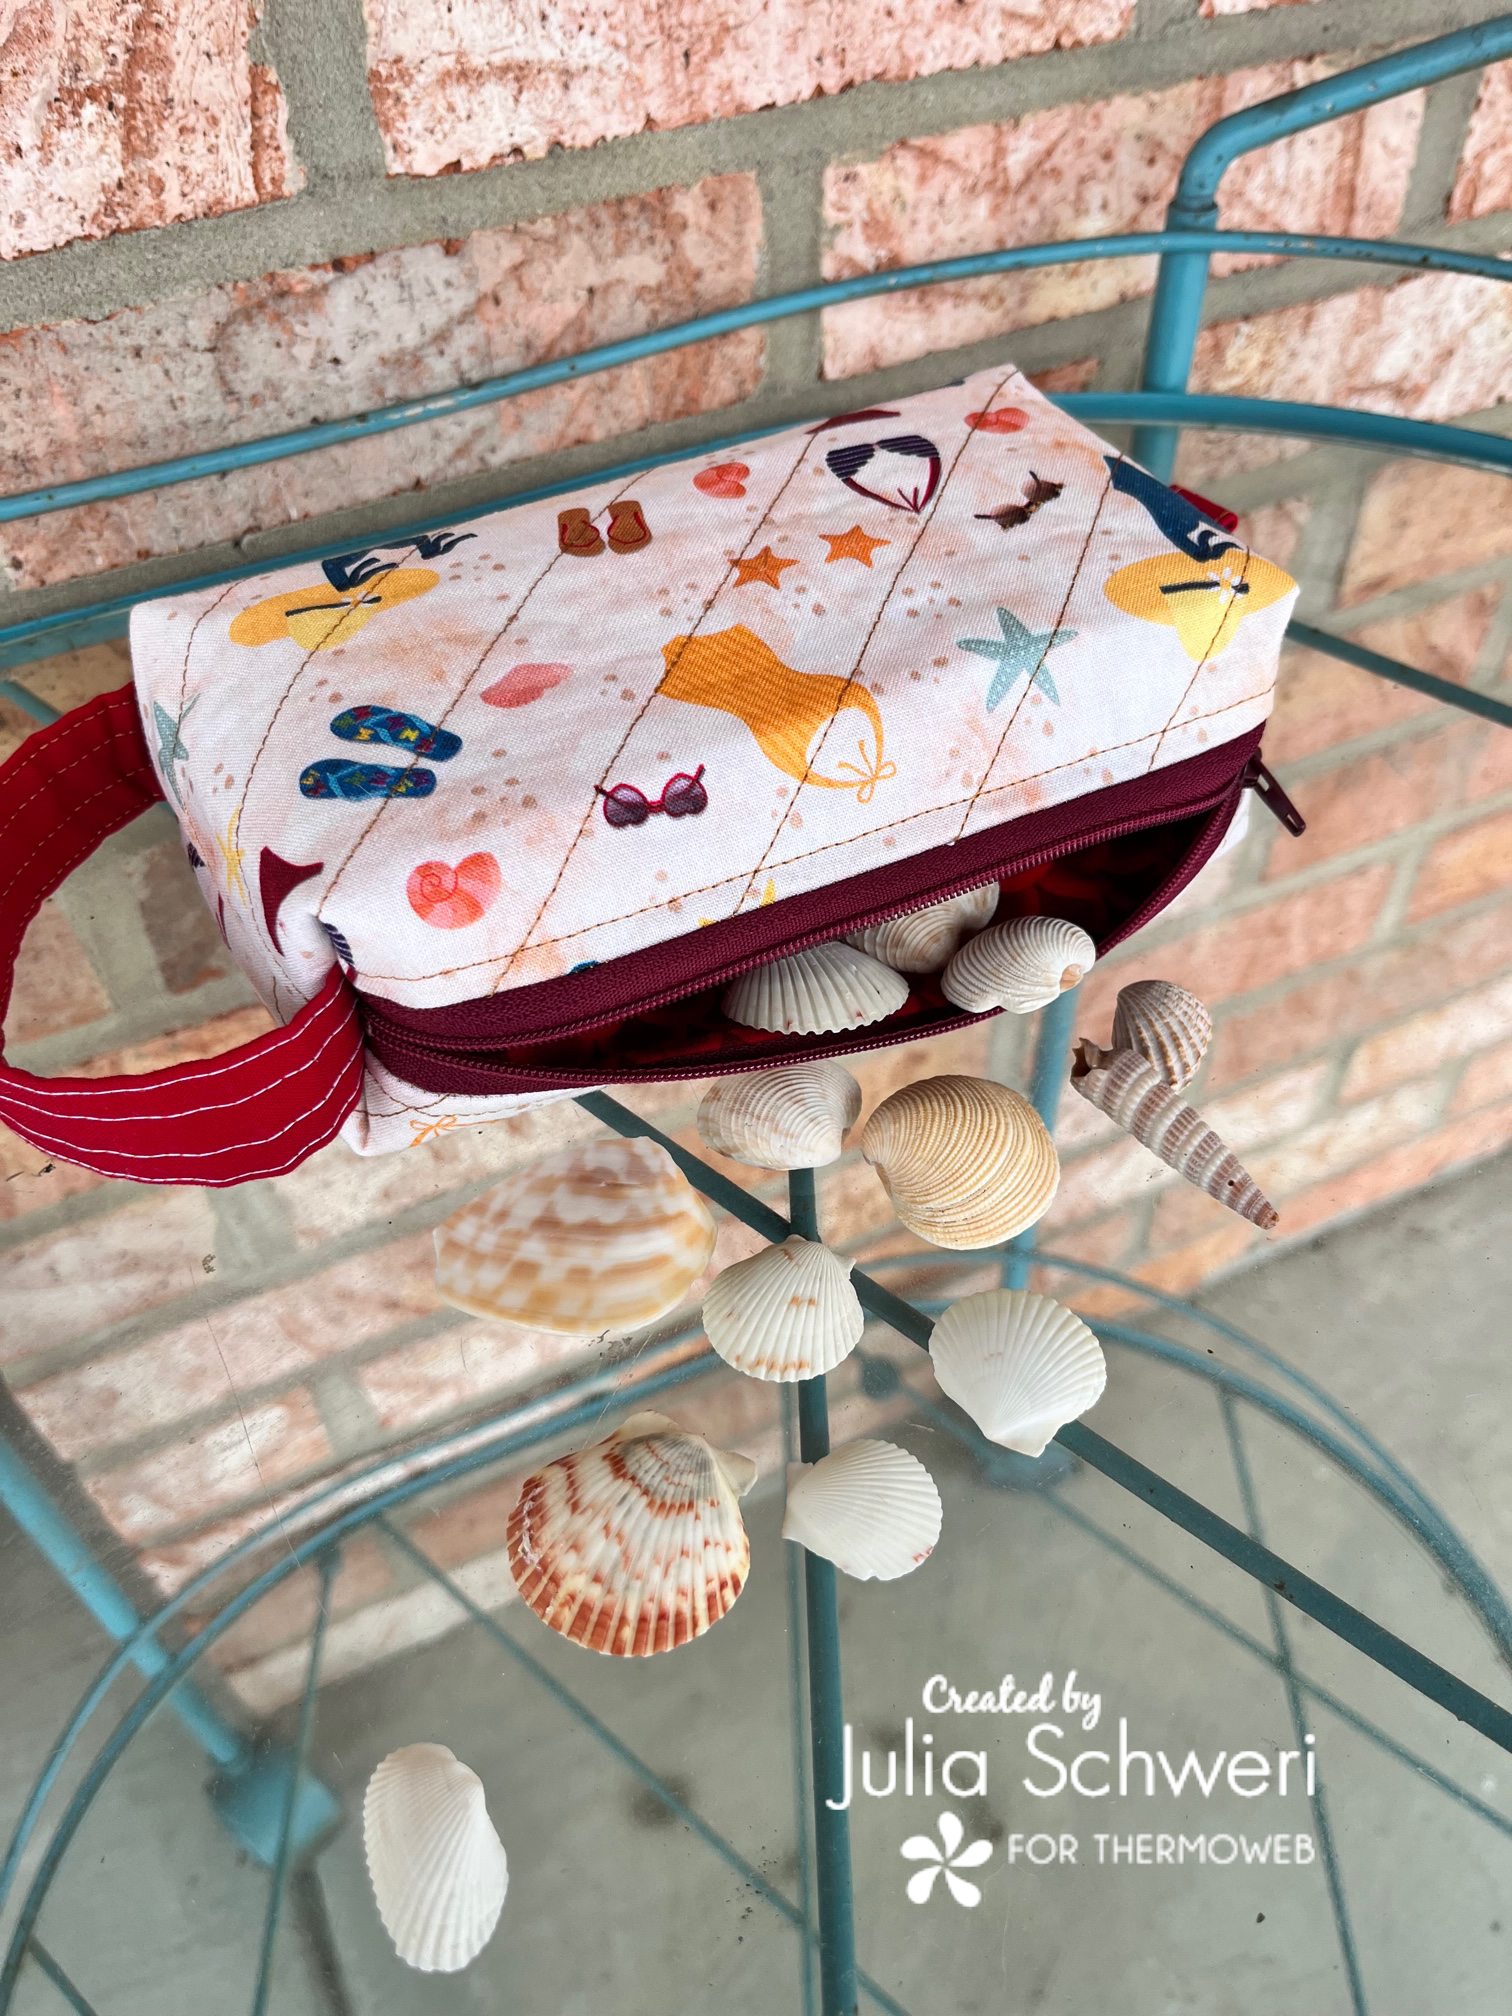
I am definitely on team tropical! I do not like the cold and if I had to choose a vacation it would be somewhere warm where I could relax in the sunshine! So, since I am team tropical, my project today is inspired by my love of collecting seashells on warm sandy beaches.
Winter Vacation Seashell Applique Fabric Pouch
This pattern is Thermoweb product friendly! The cutting requirements make for less wasted materials and for the smaller requirements, scraps are really all you need!
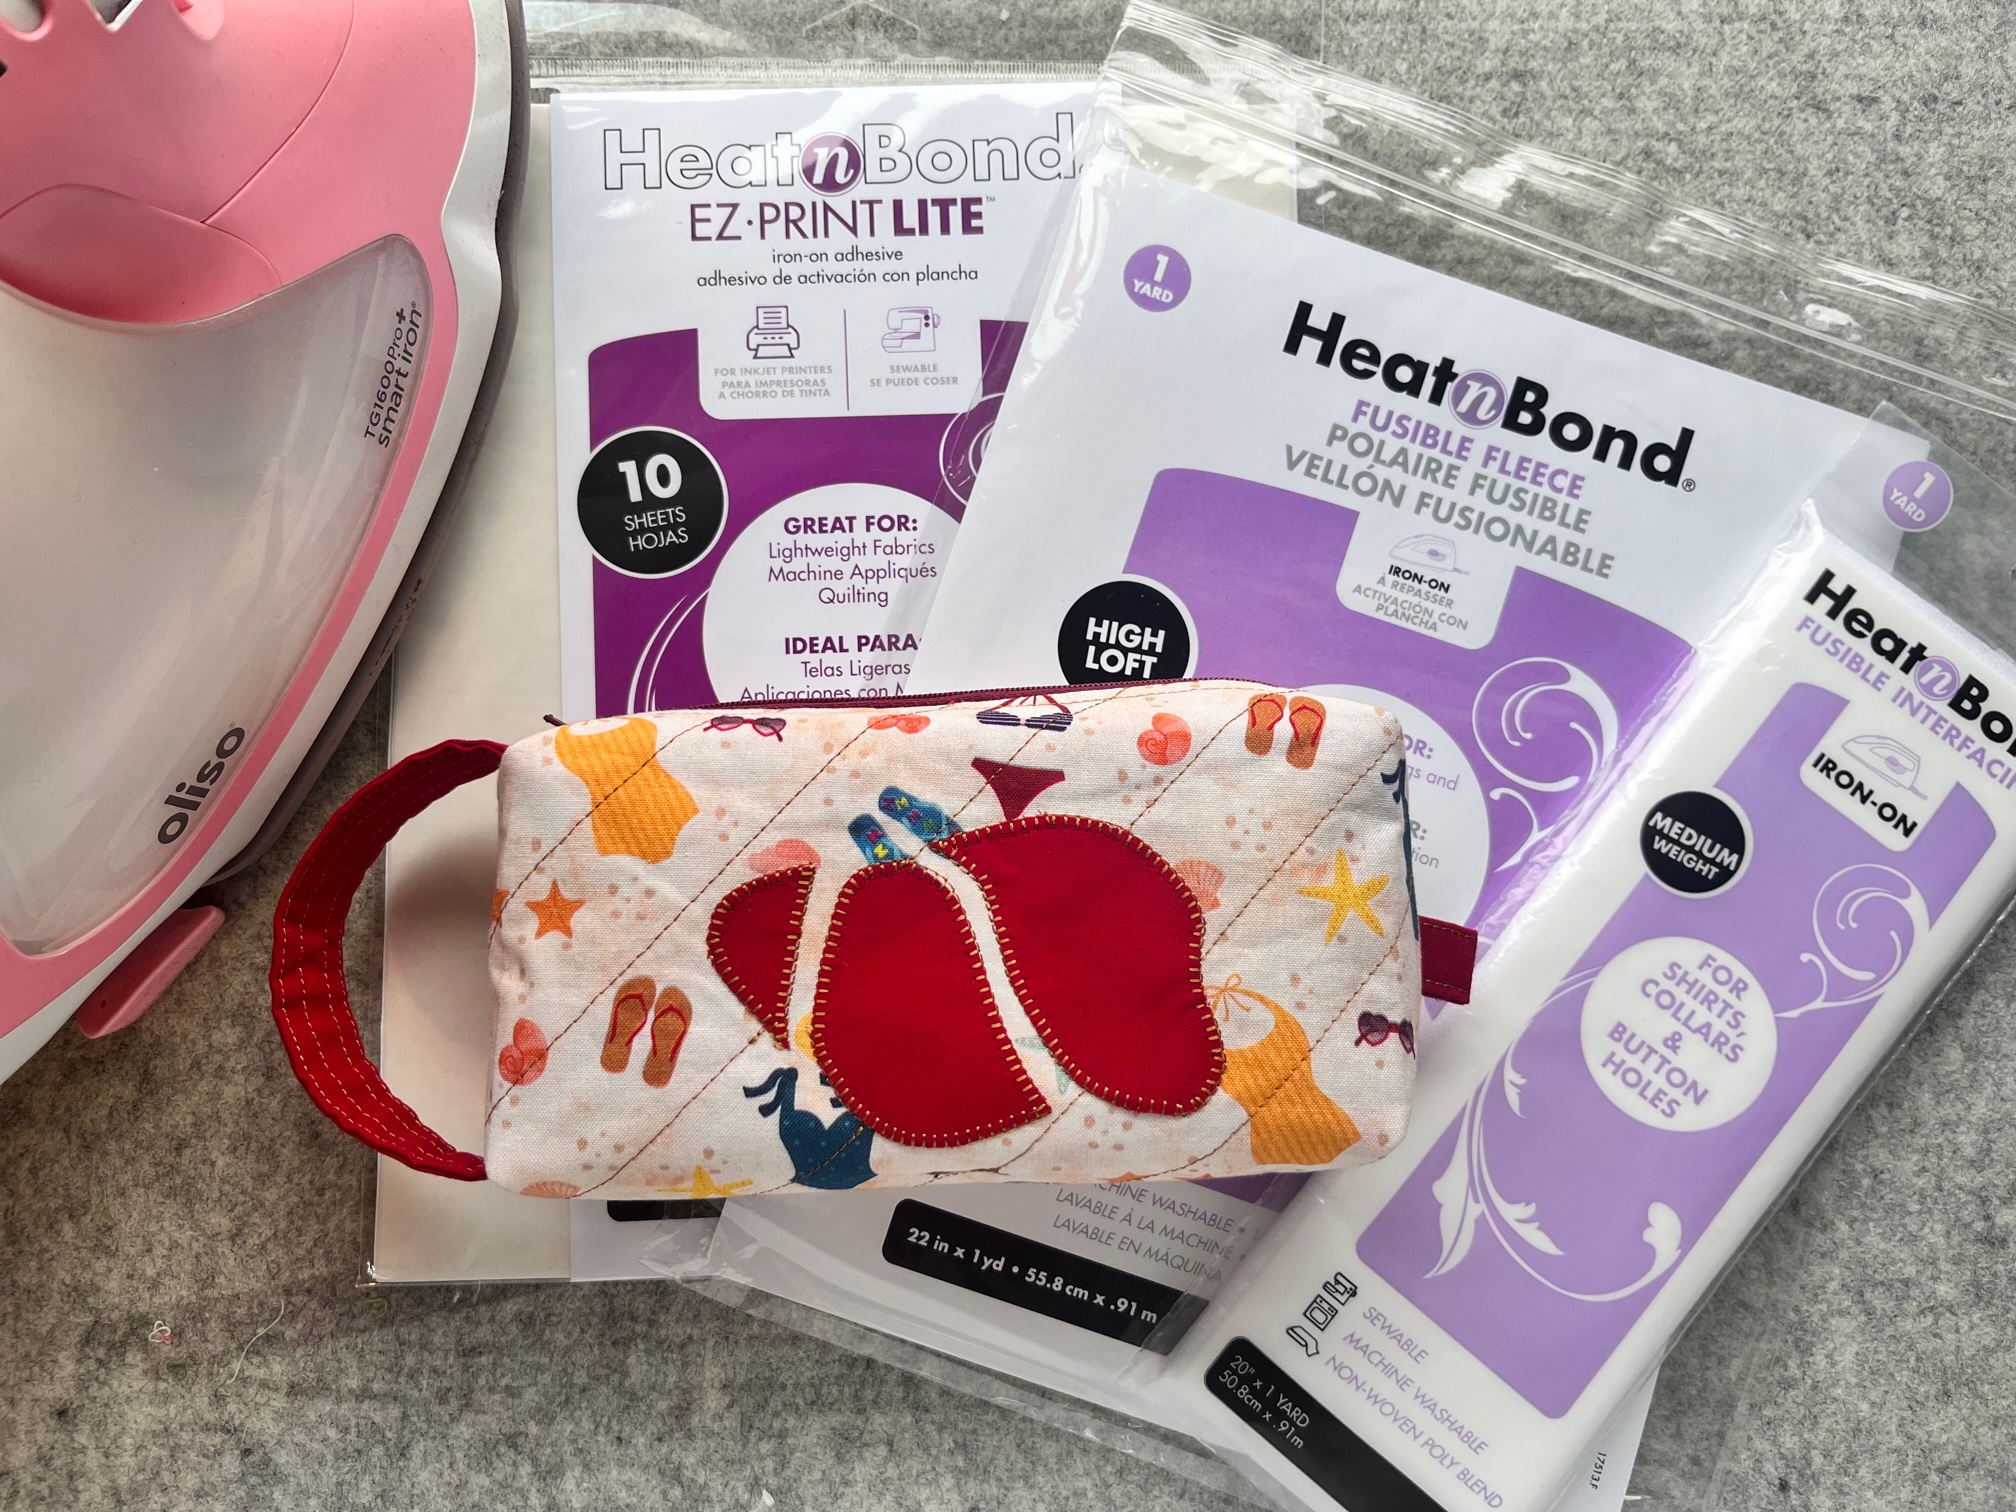
Supplies:
- My Little Melody Pouch Pattern by Inflorescence Designs
- Fabric requirements provided in the pattern
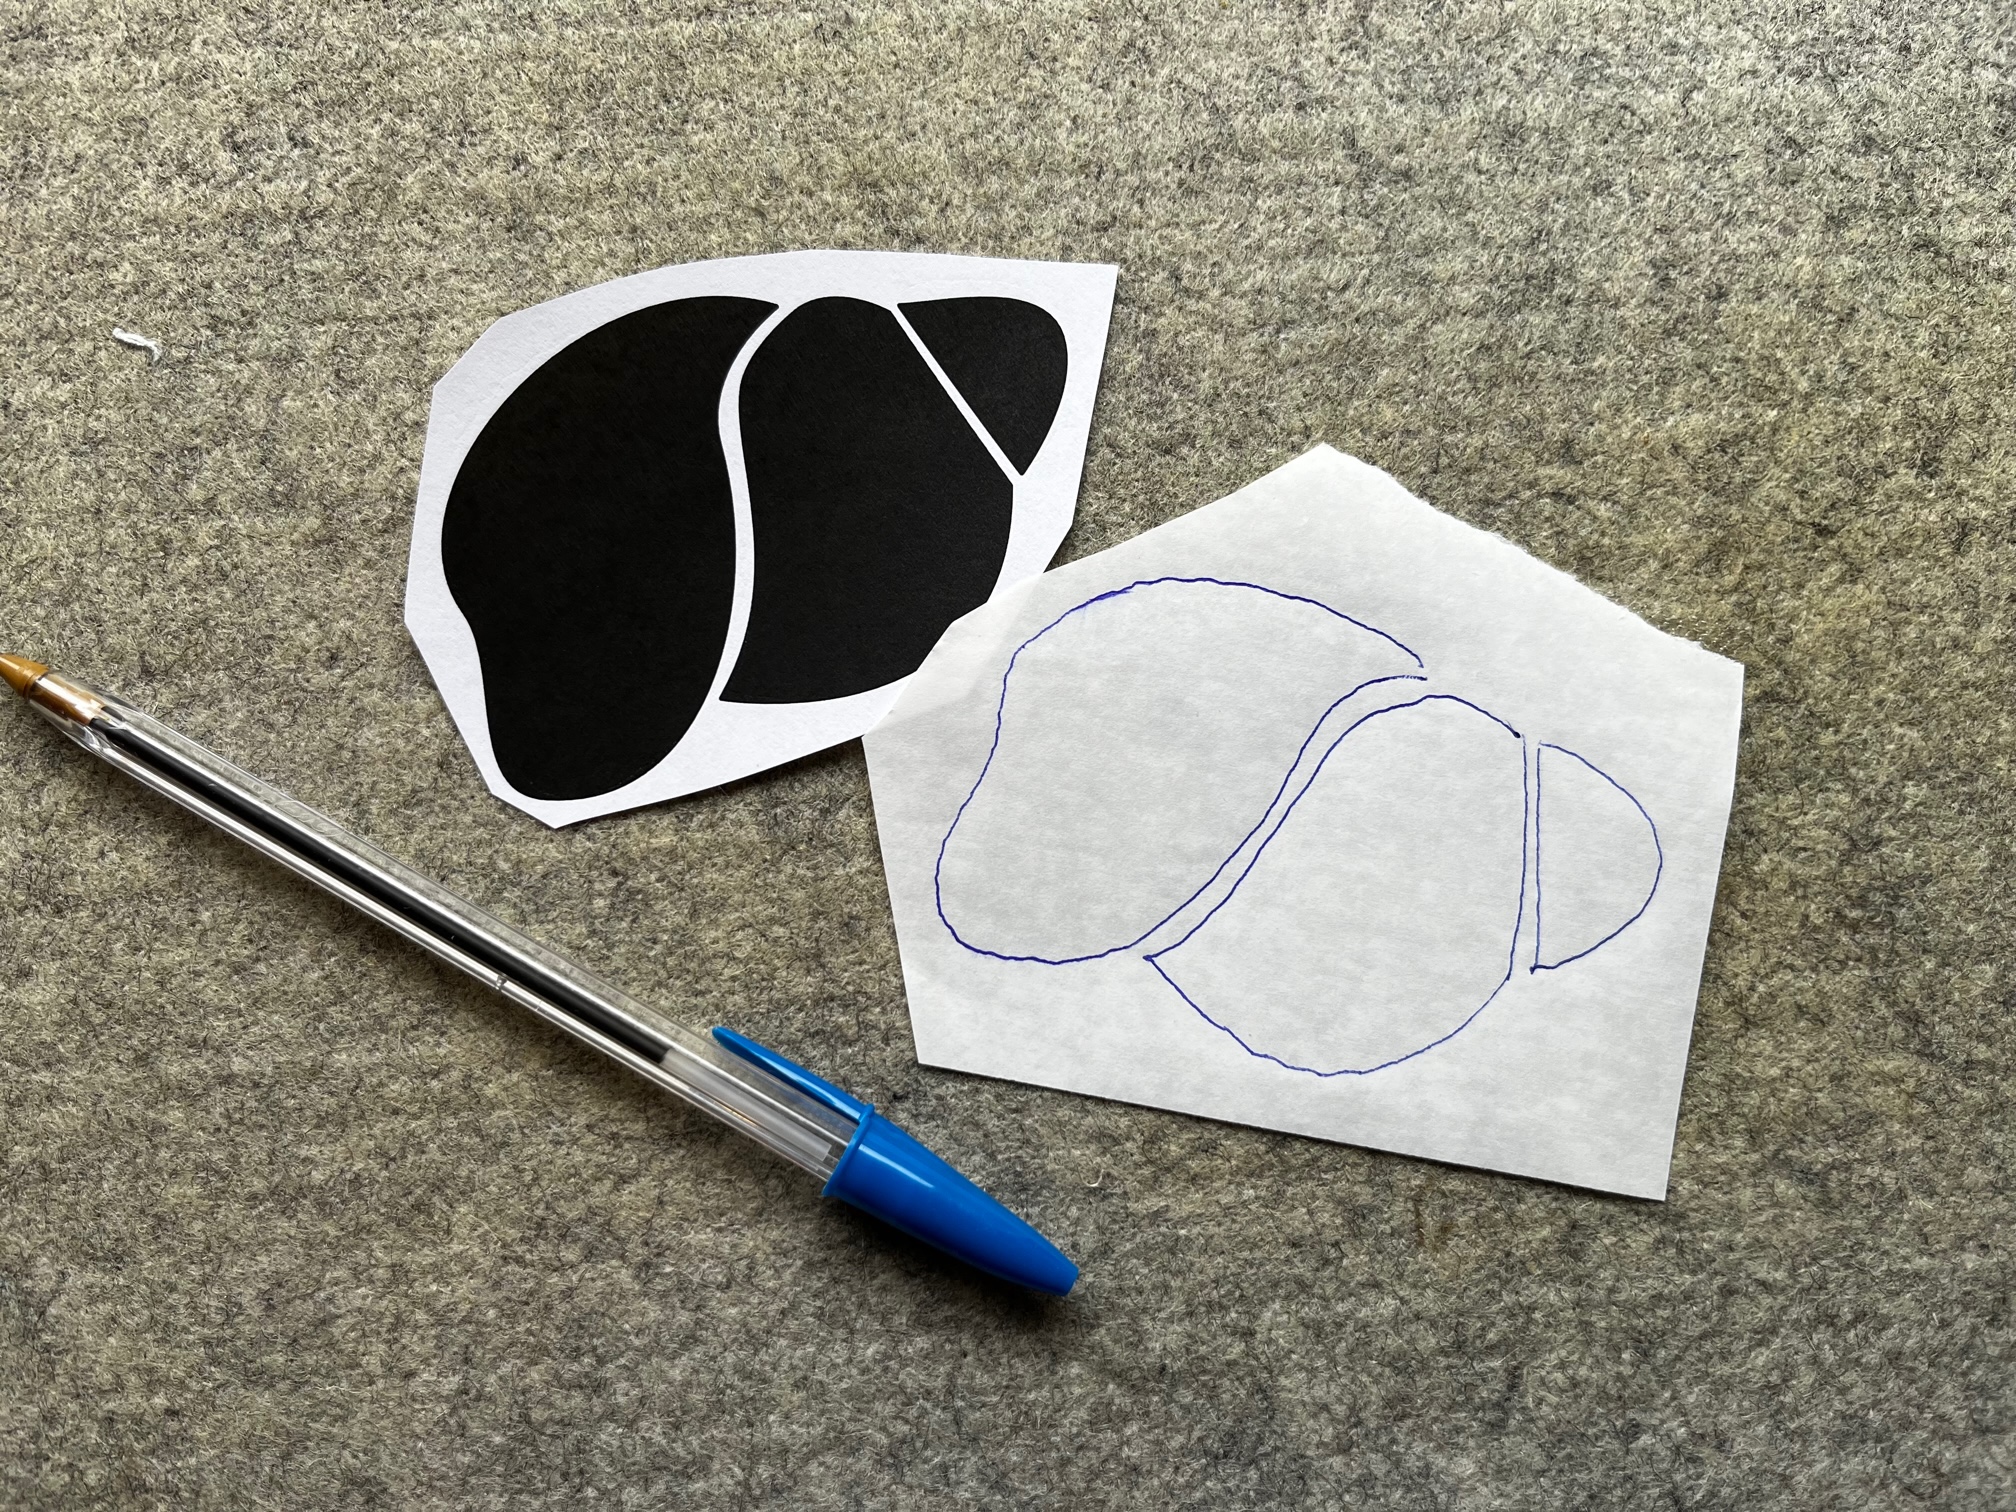
- Seashell Applique Print Out (FREE): There are several seashells to choose from, each will fit on the My Little Melody Pouch.
- HeatnBond Lite
- HeatnBond Fusible Fleece
- HeatnBond Medium Weight Interfacing
- Basic Sewing Notions
- Oliso Iron
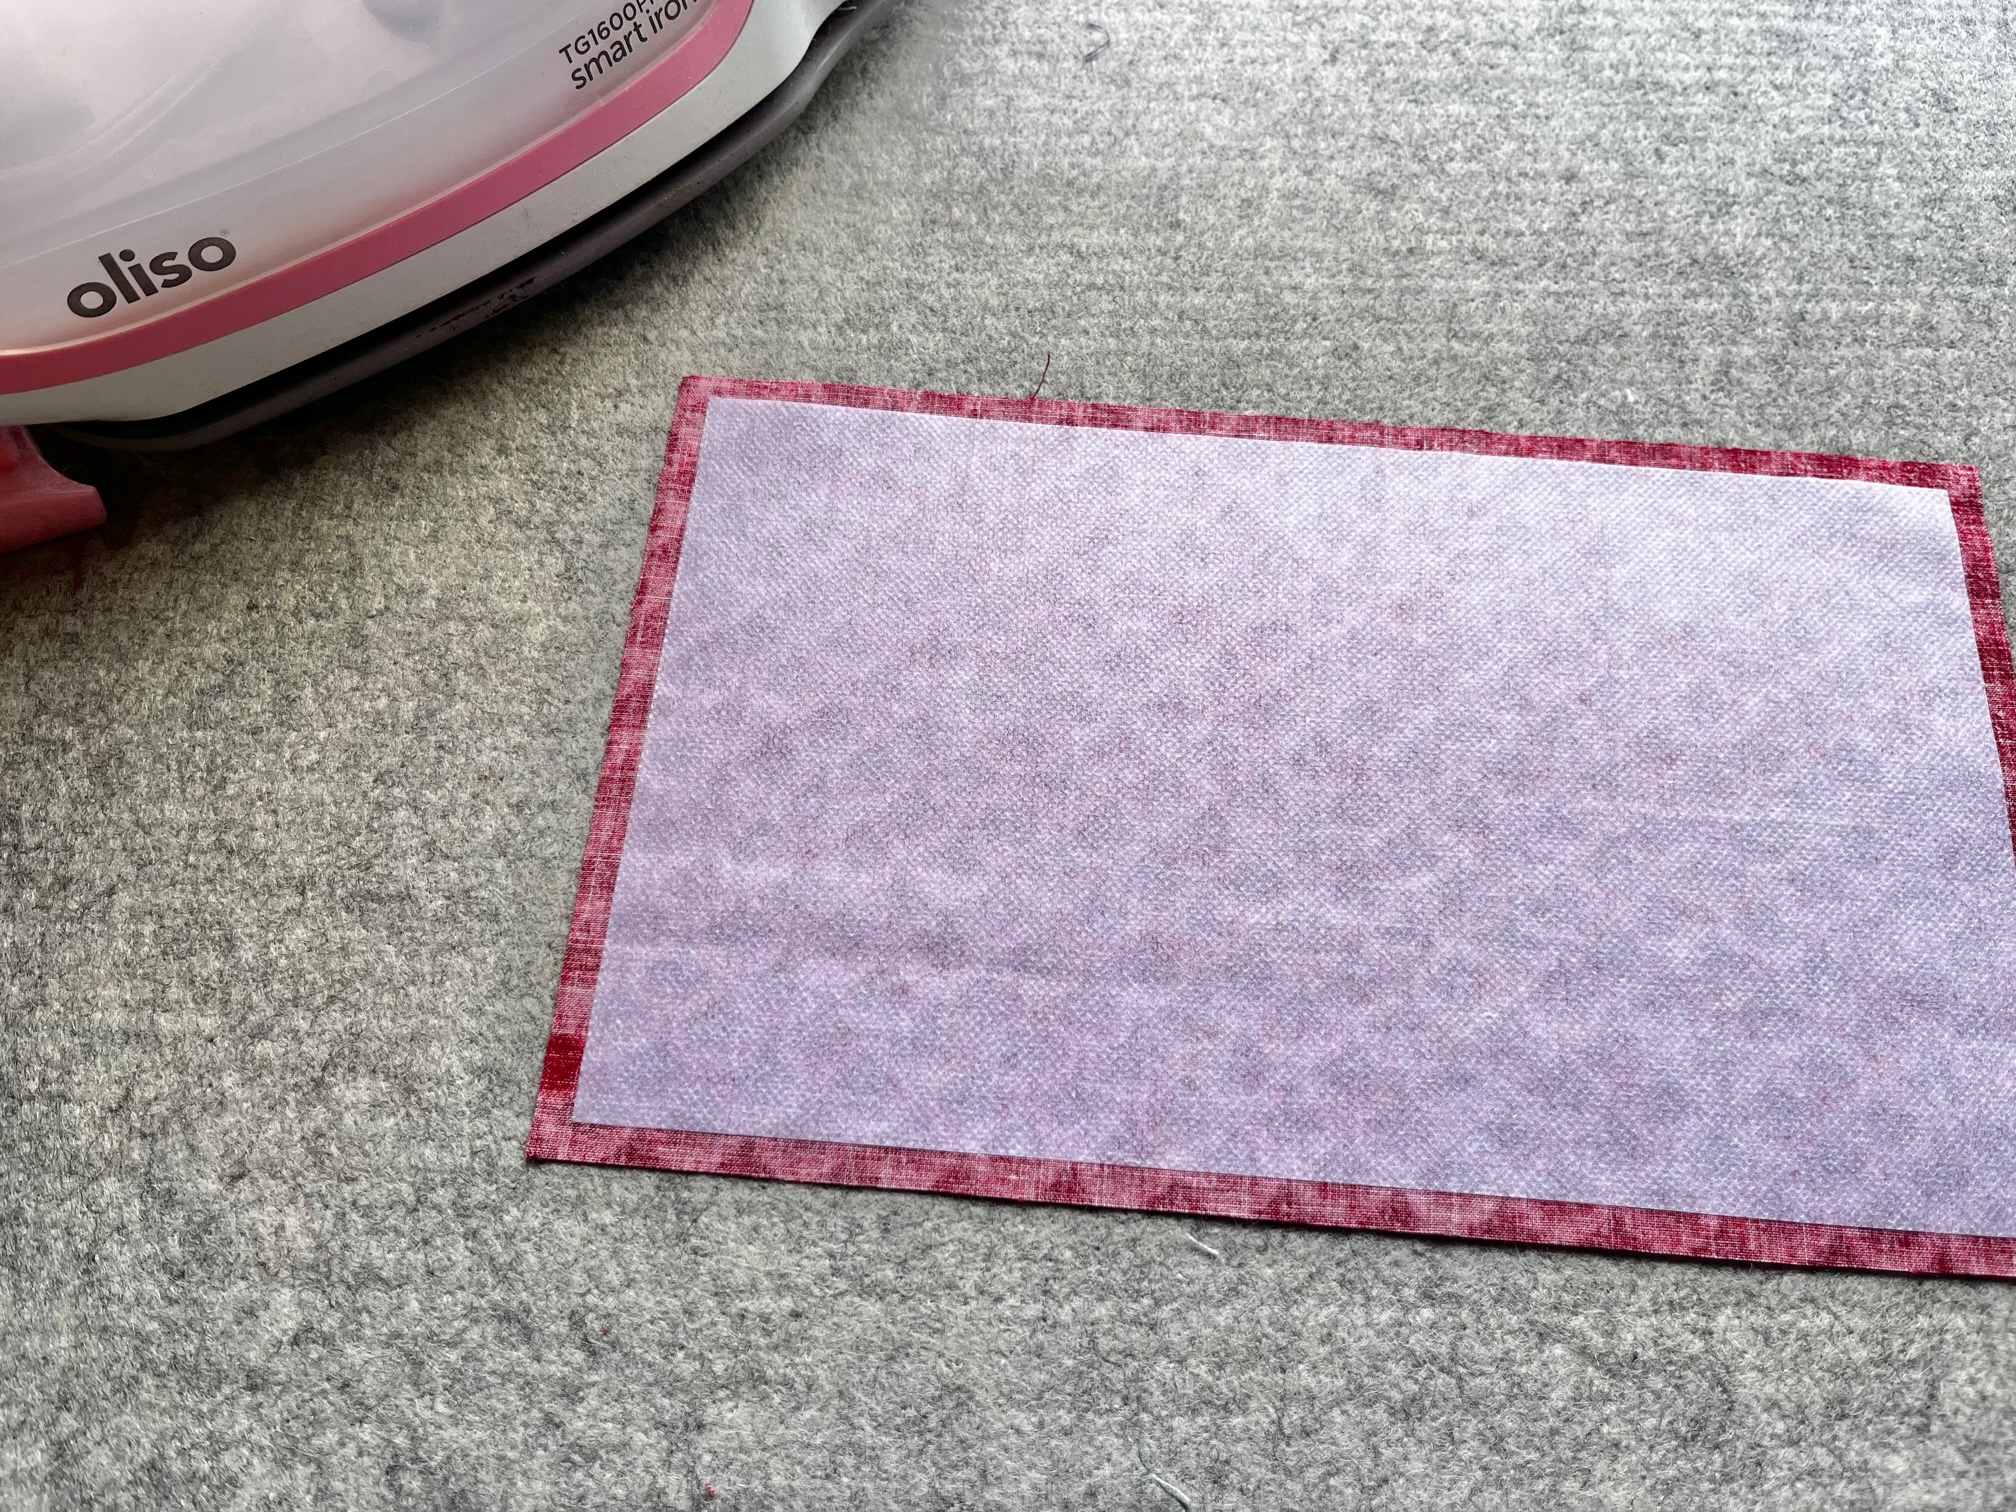
HeatnBond Instructions:
Begin by printing off the seashell applique pattern. You can print on regular paper and trace the image to the HeatnBond Lite or the file is perfect for EZ-Print HeatnBond Lite Sheets. Once the image is on the HeatnBond Lite, adhere the fusible to your fabric. Once fused, cut out the shapes.

Next…
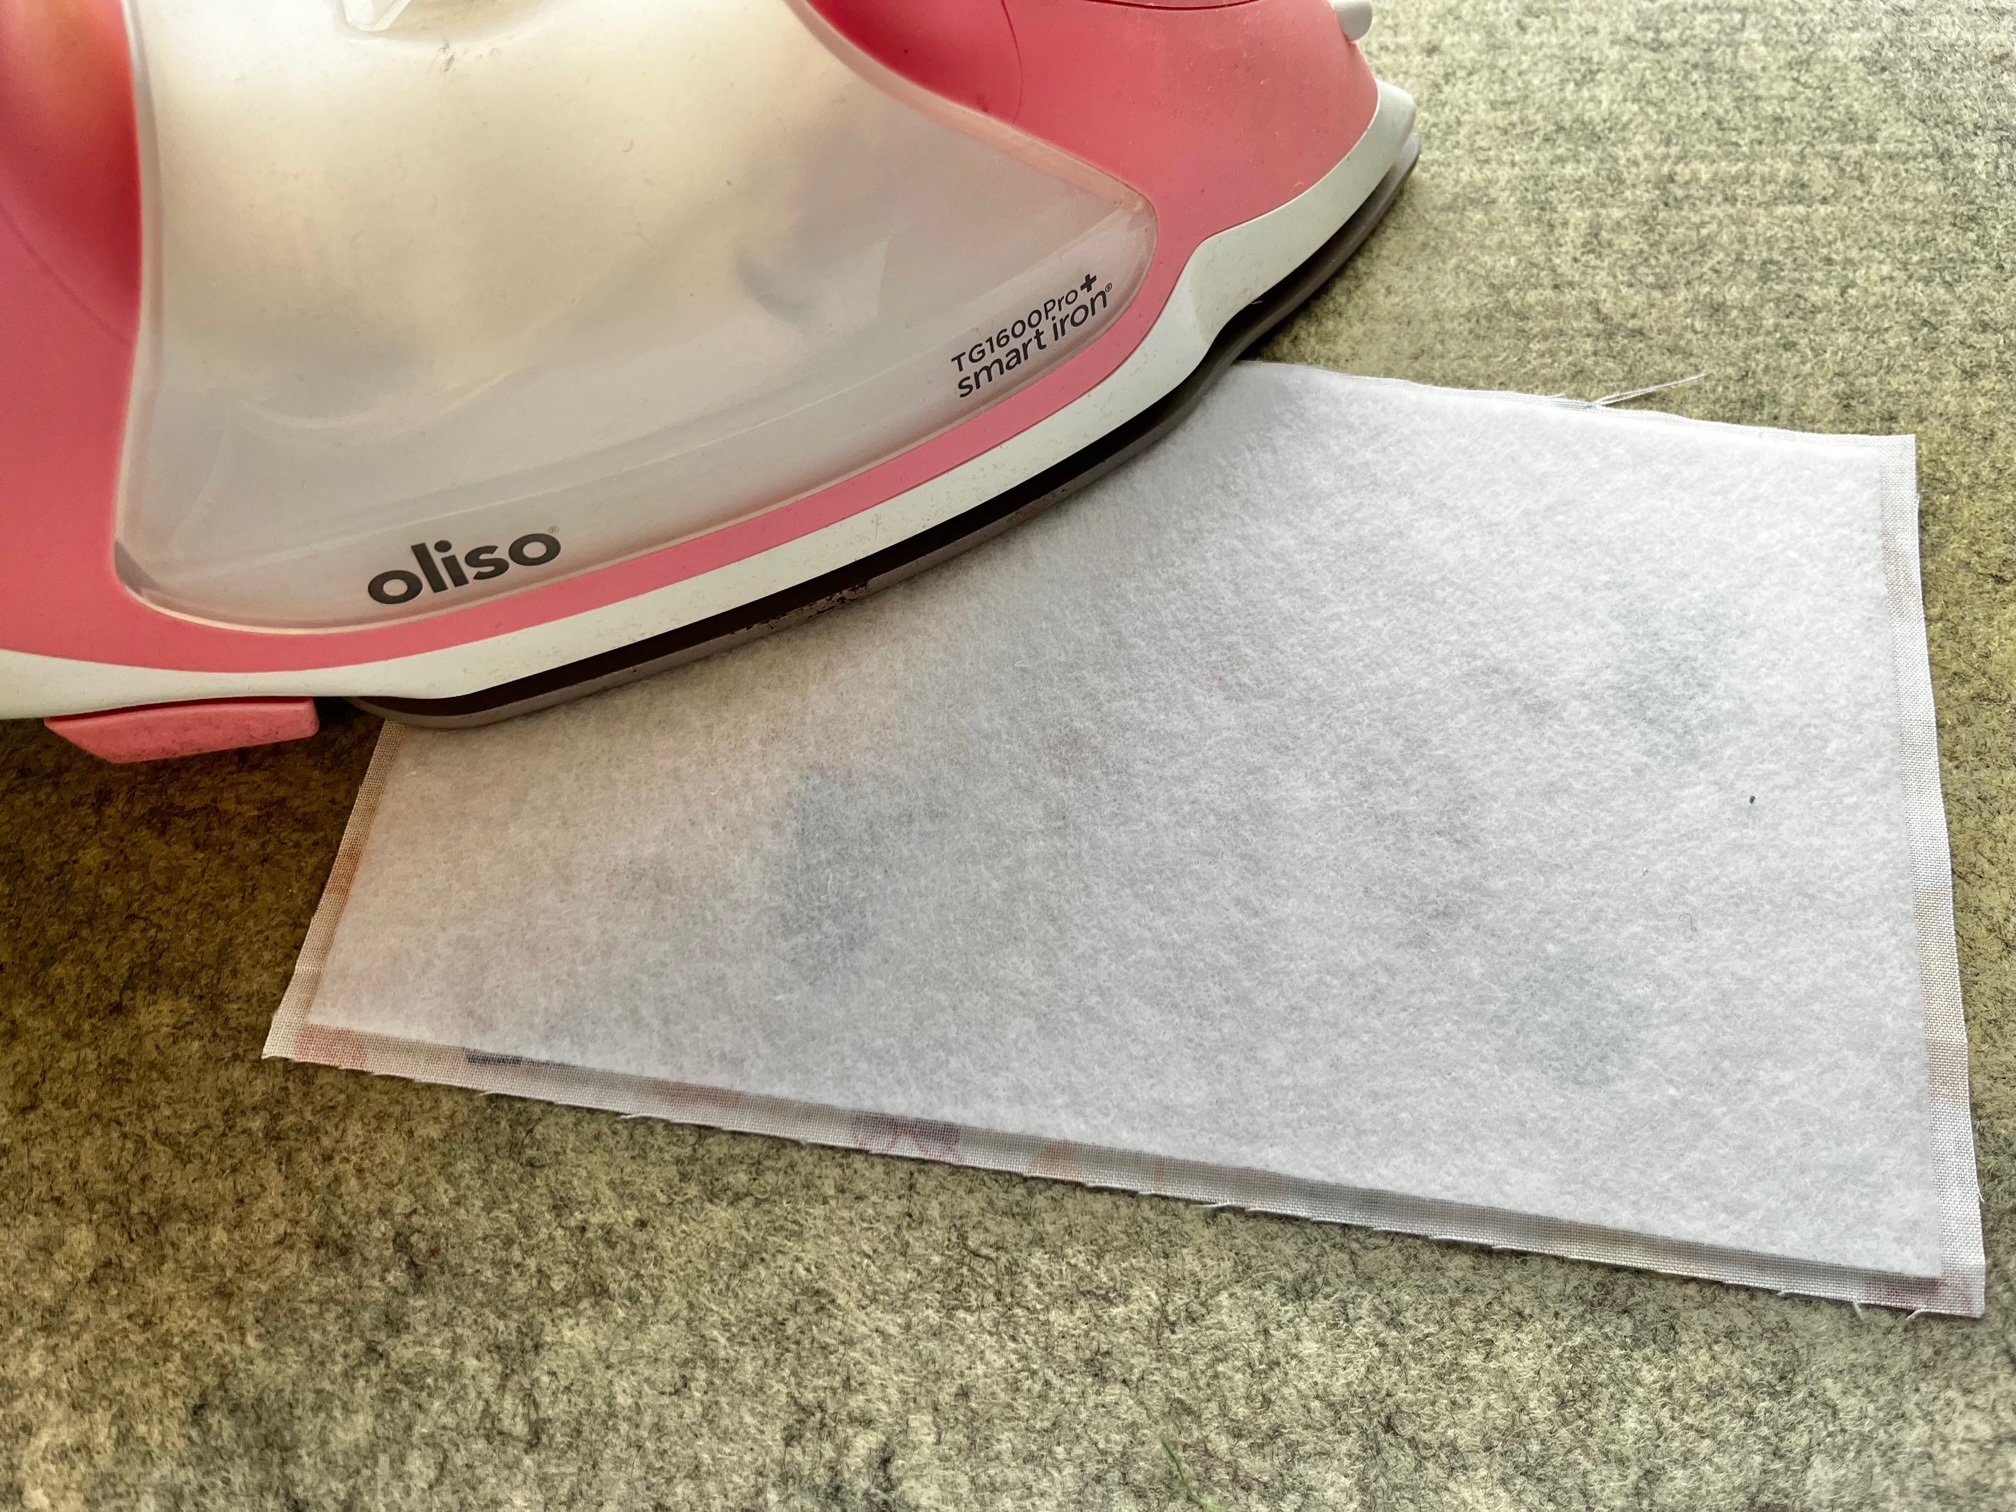
Adhere the fusible fleece to the wrong side of both main fabric pieces.
Then…
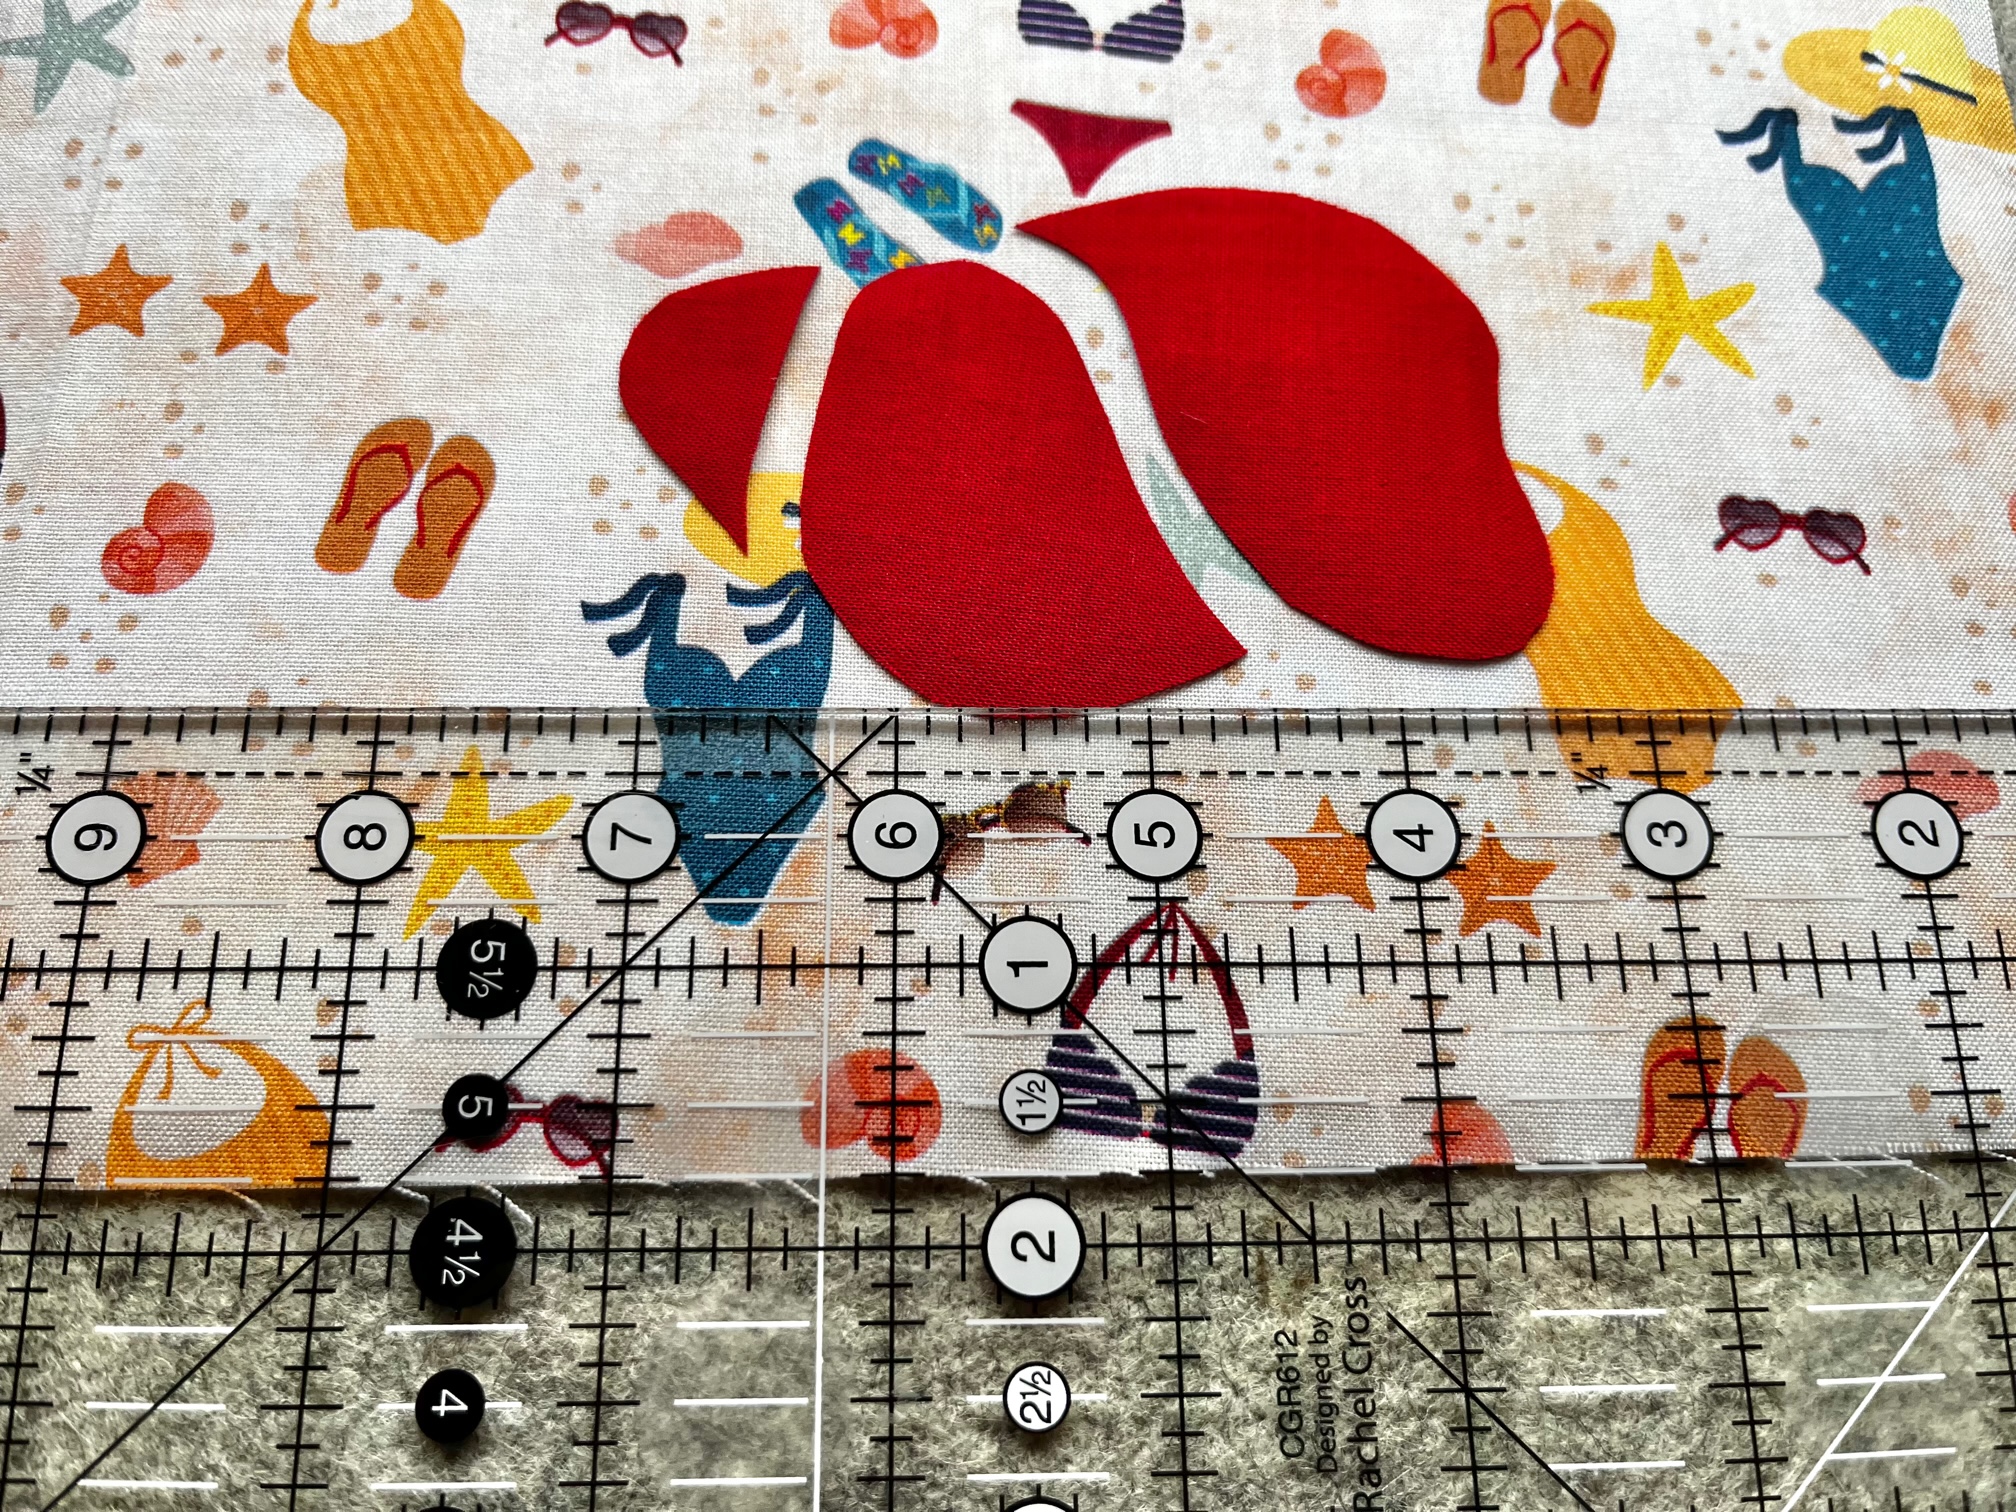
Place the cut-out applique pieces on the right side of one of the main fabric pieces. Make sure your applique is centered horizontally and is at least 1 3/4″ to 2″ from the bottom raw edge. Your applique needs to sit at either of those two measurements or it will get lost under the bag or get lost in the top zipper.
Continue by…
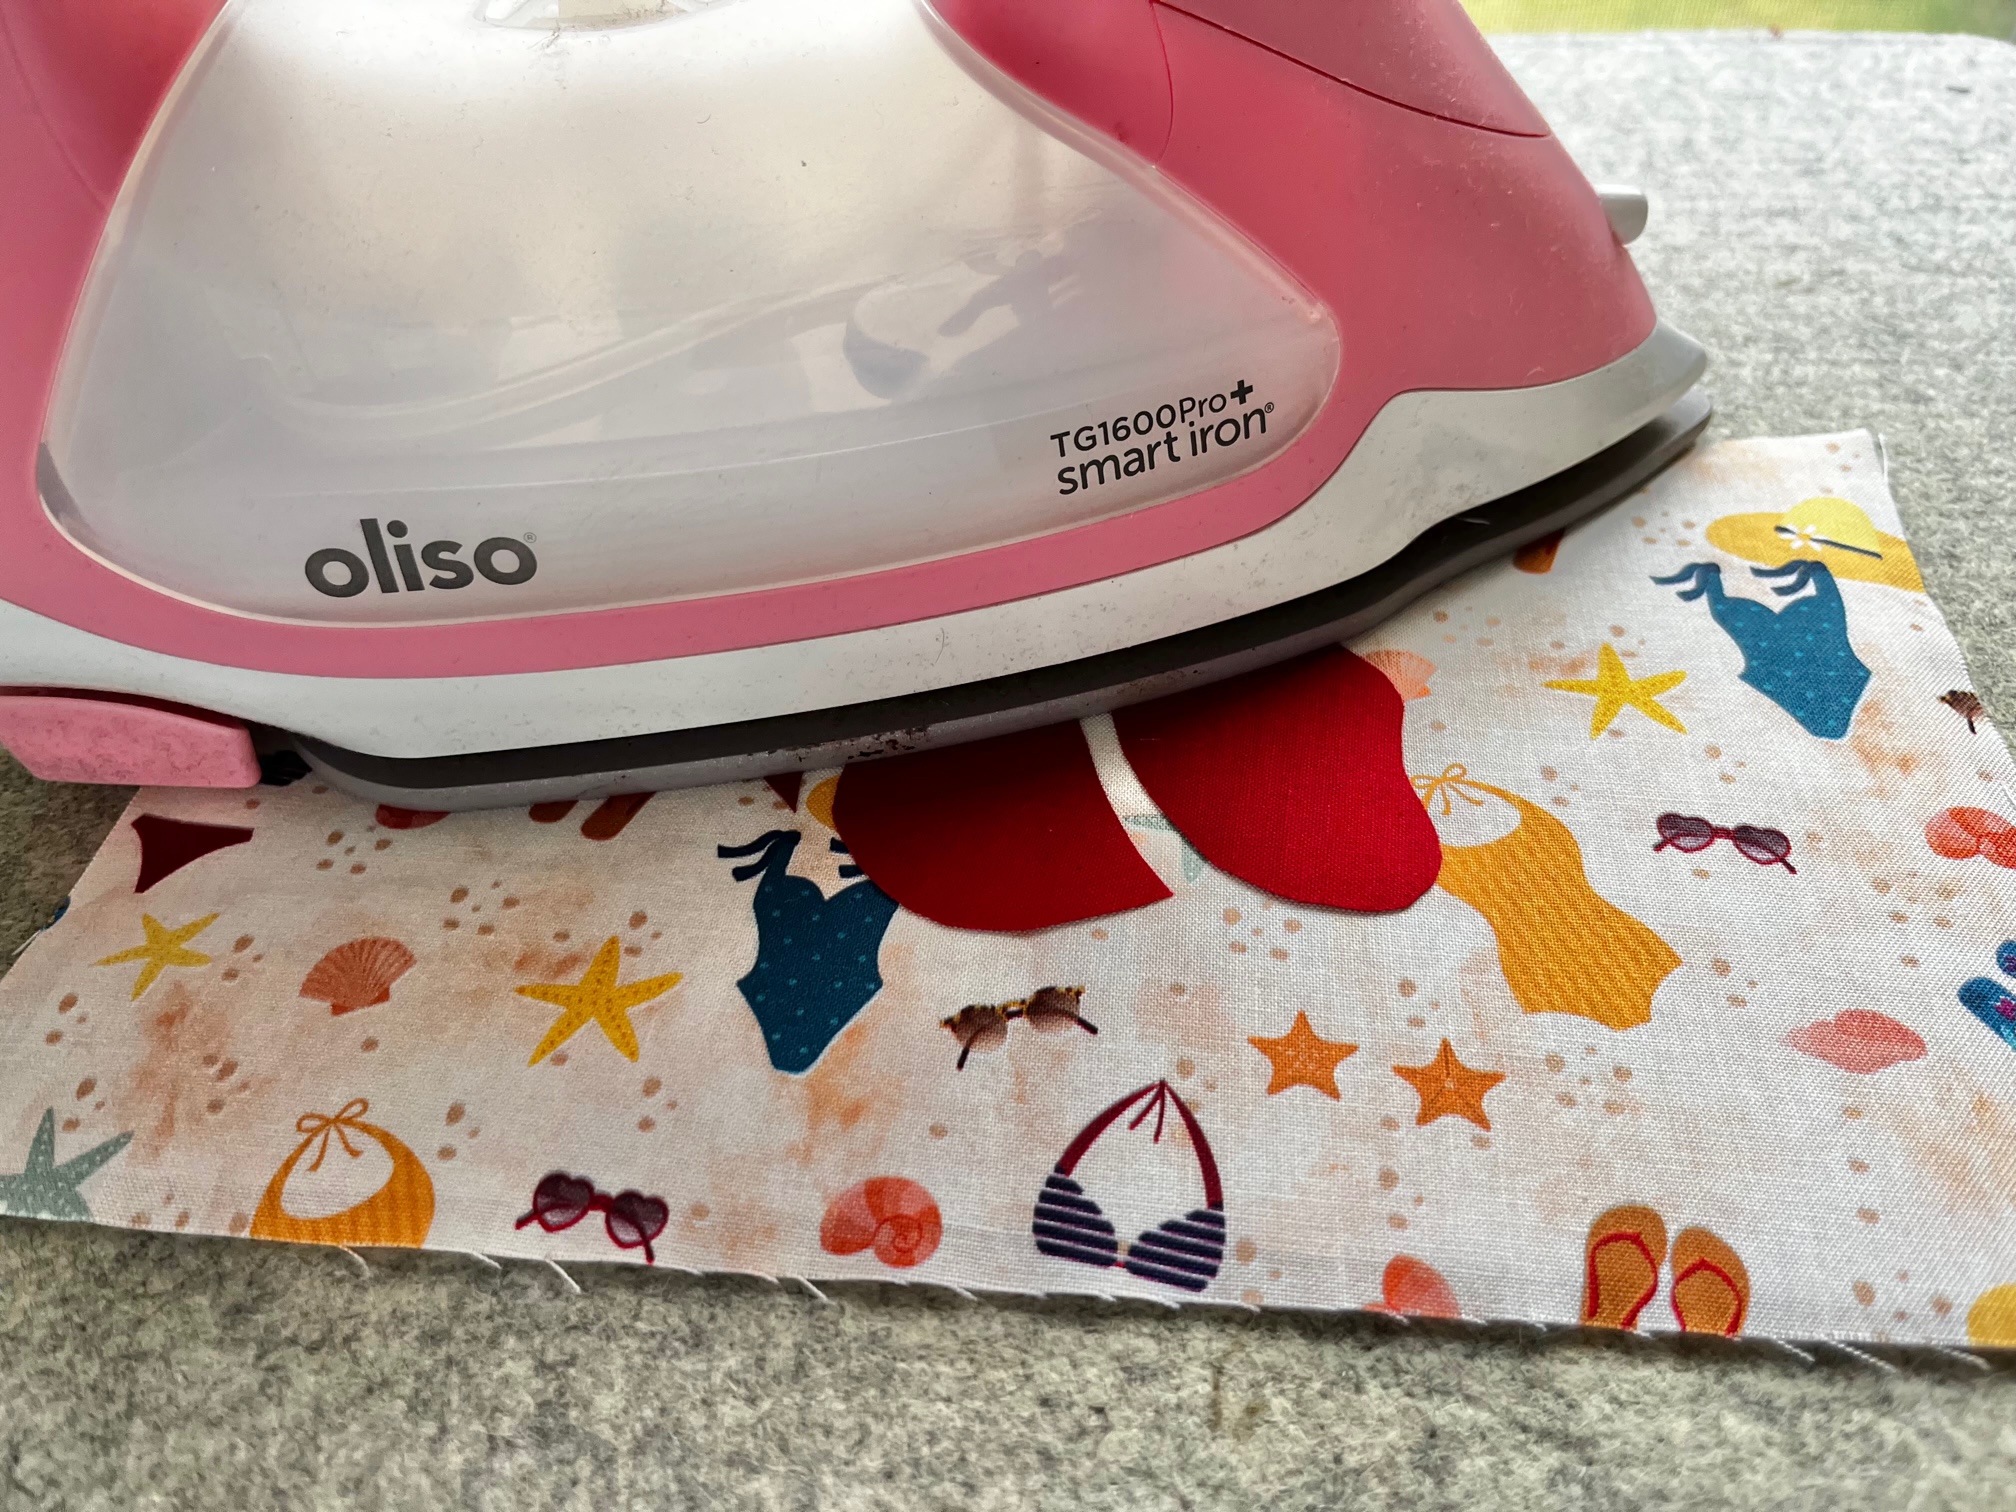
Once your applique is situated where it needs to be, peel off the paper backing and fuse to the front of the mini zipper bag piece.
Next…
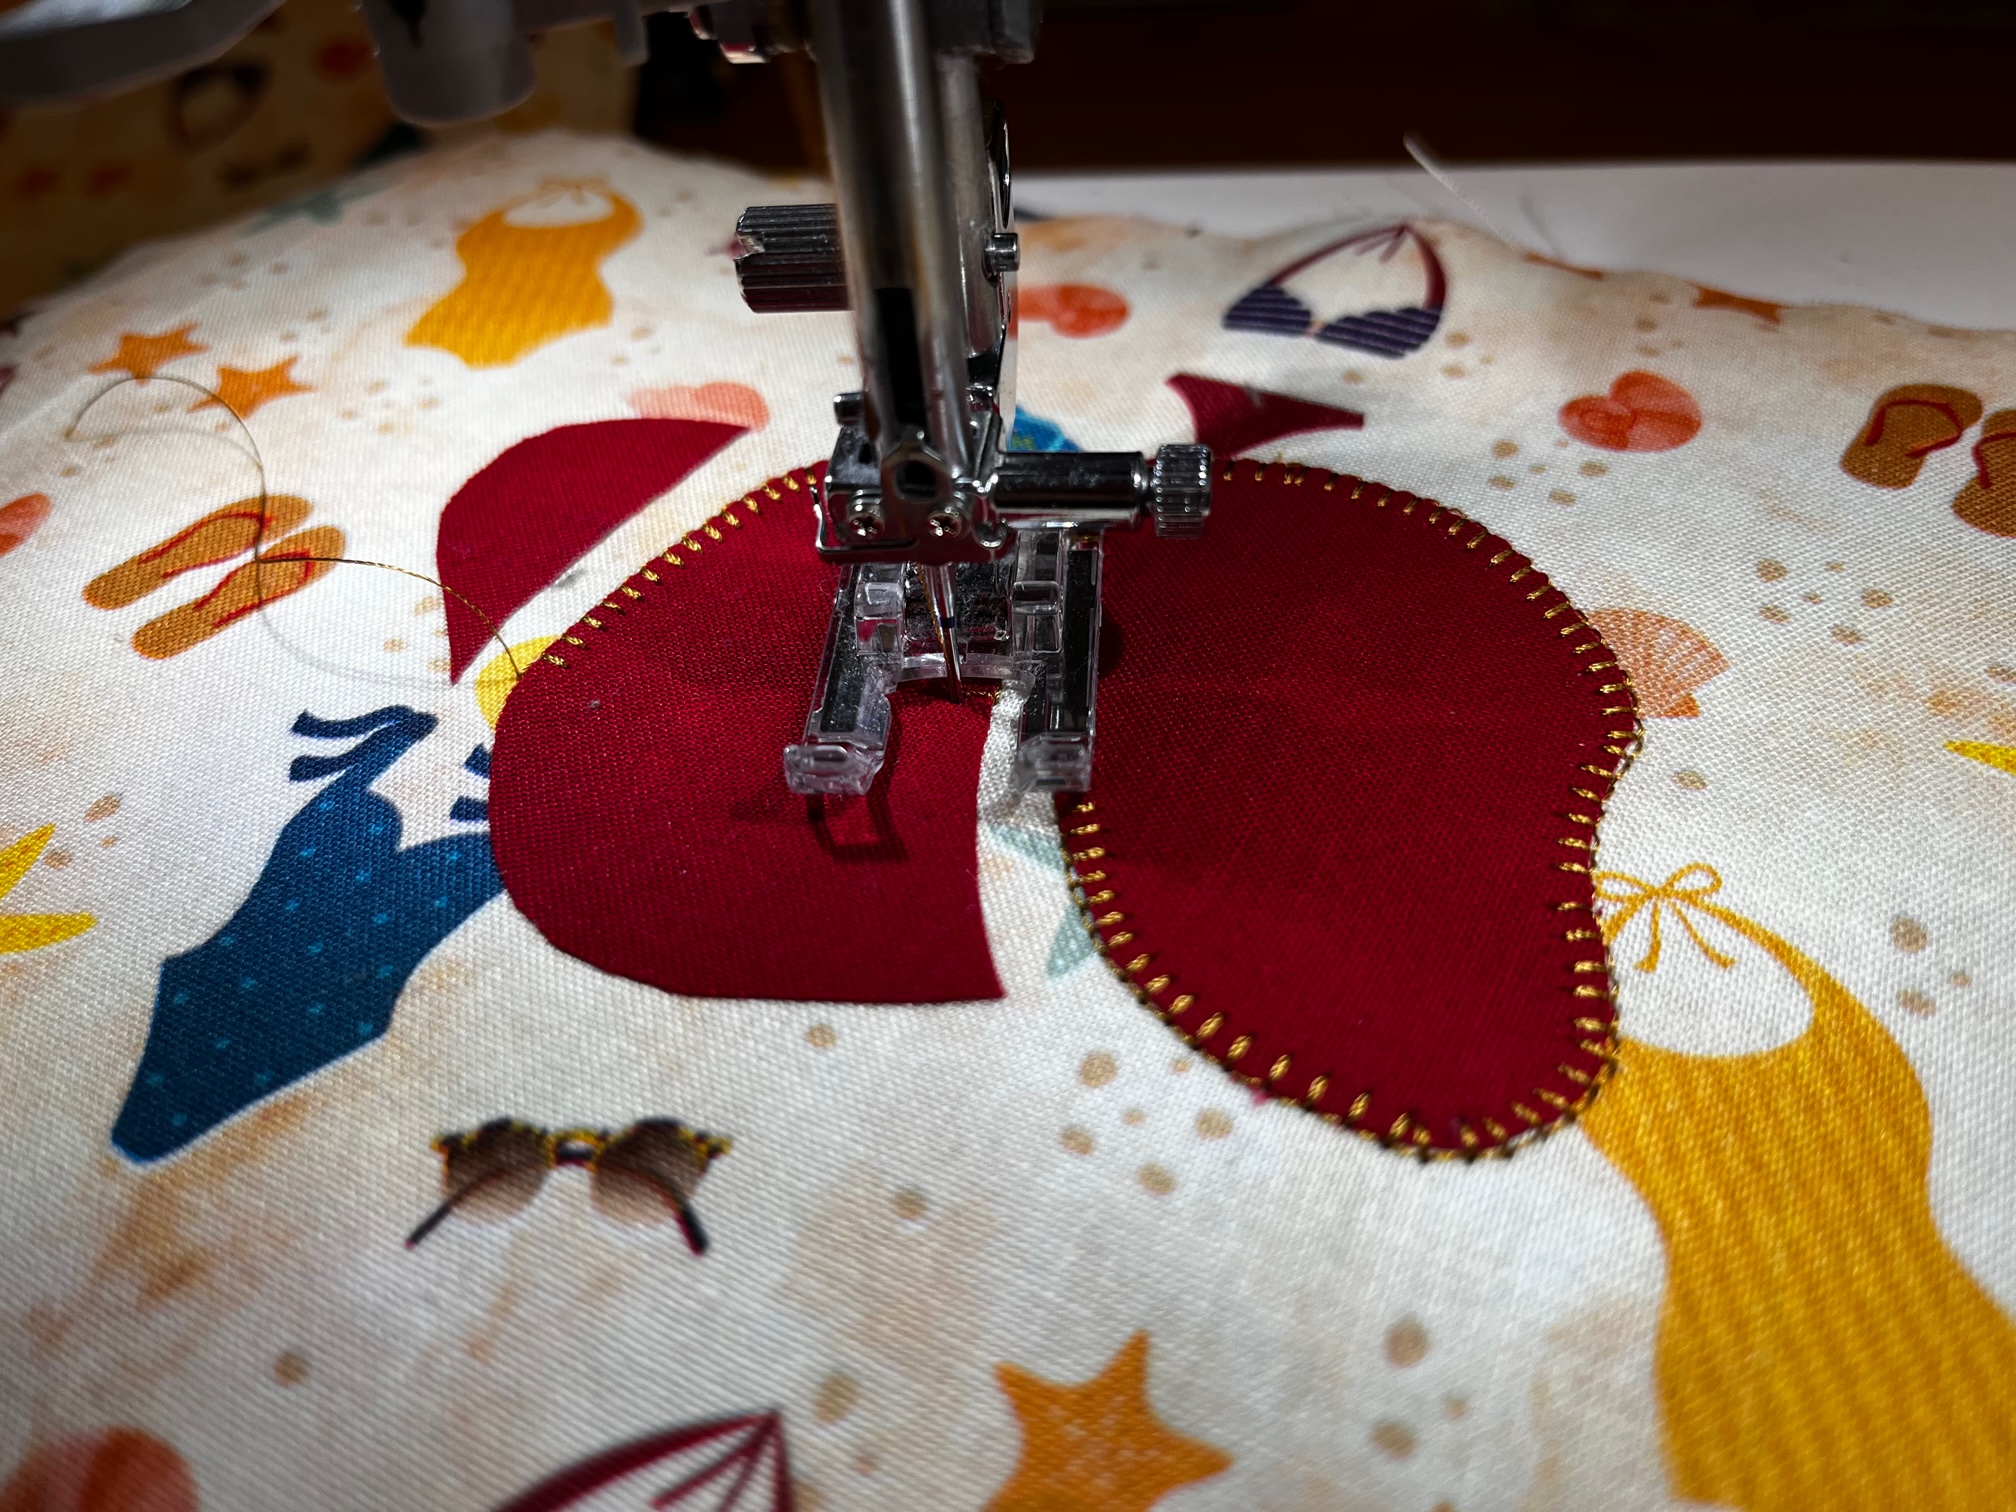
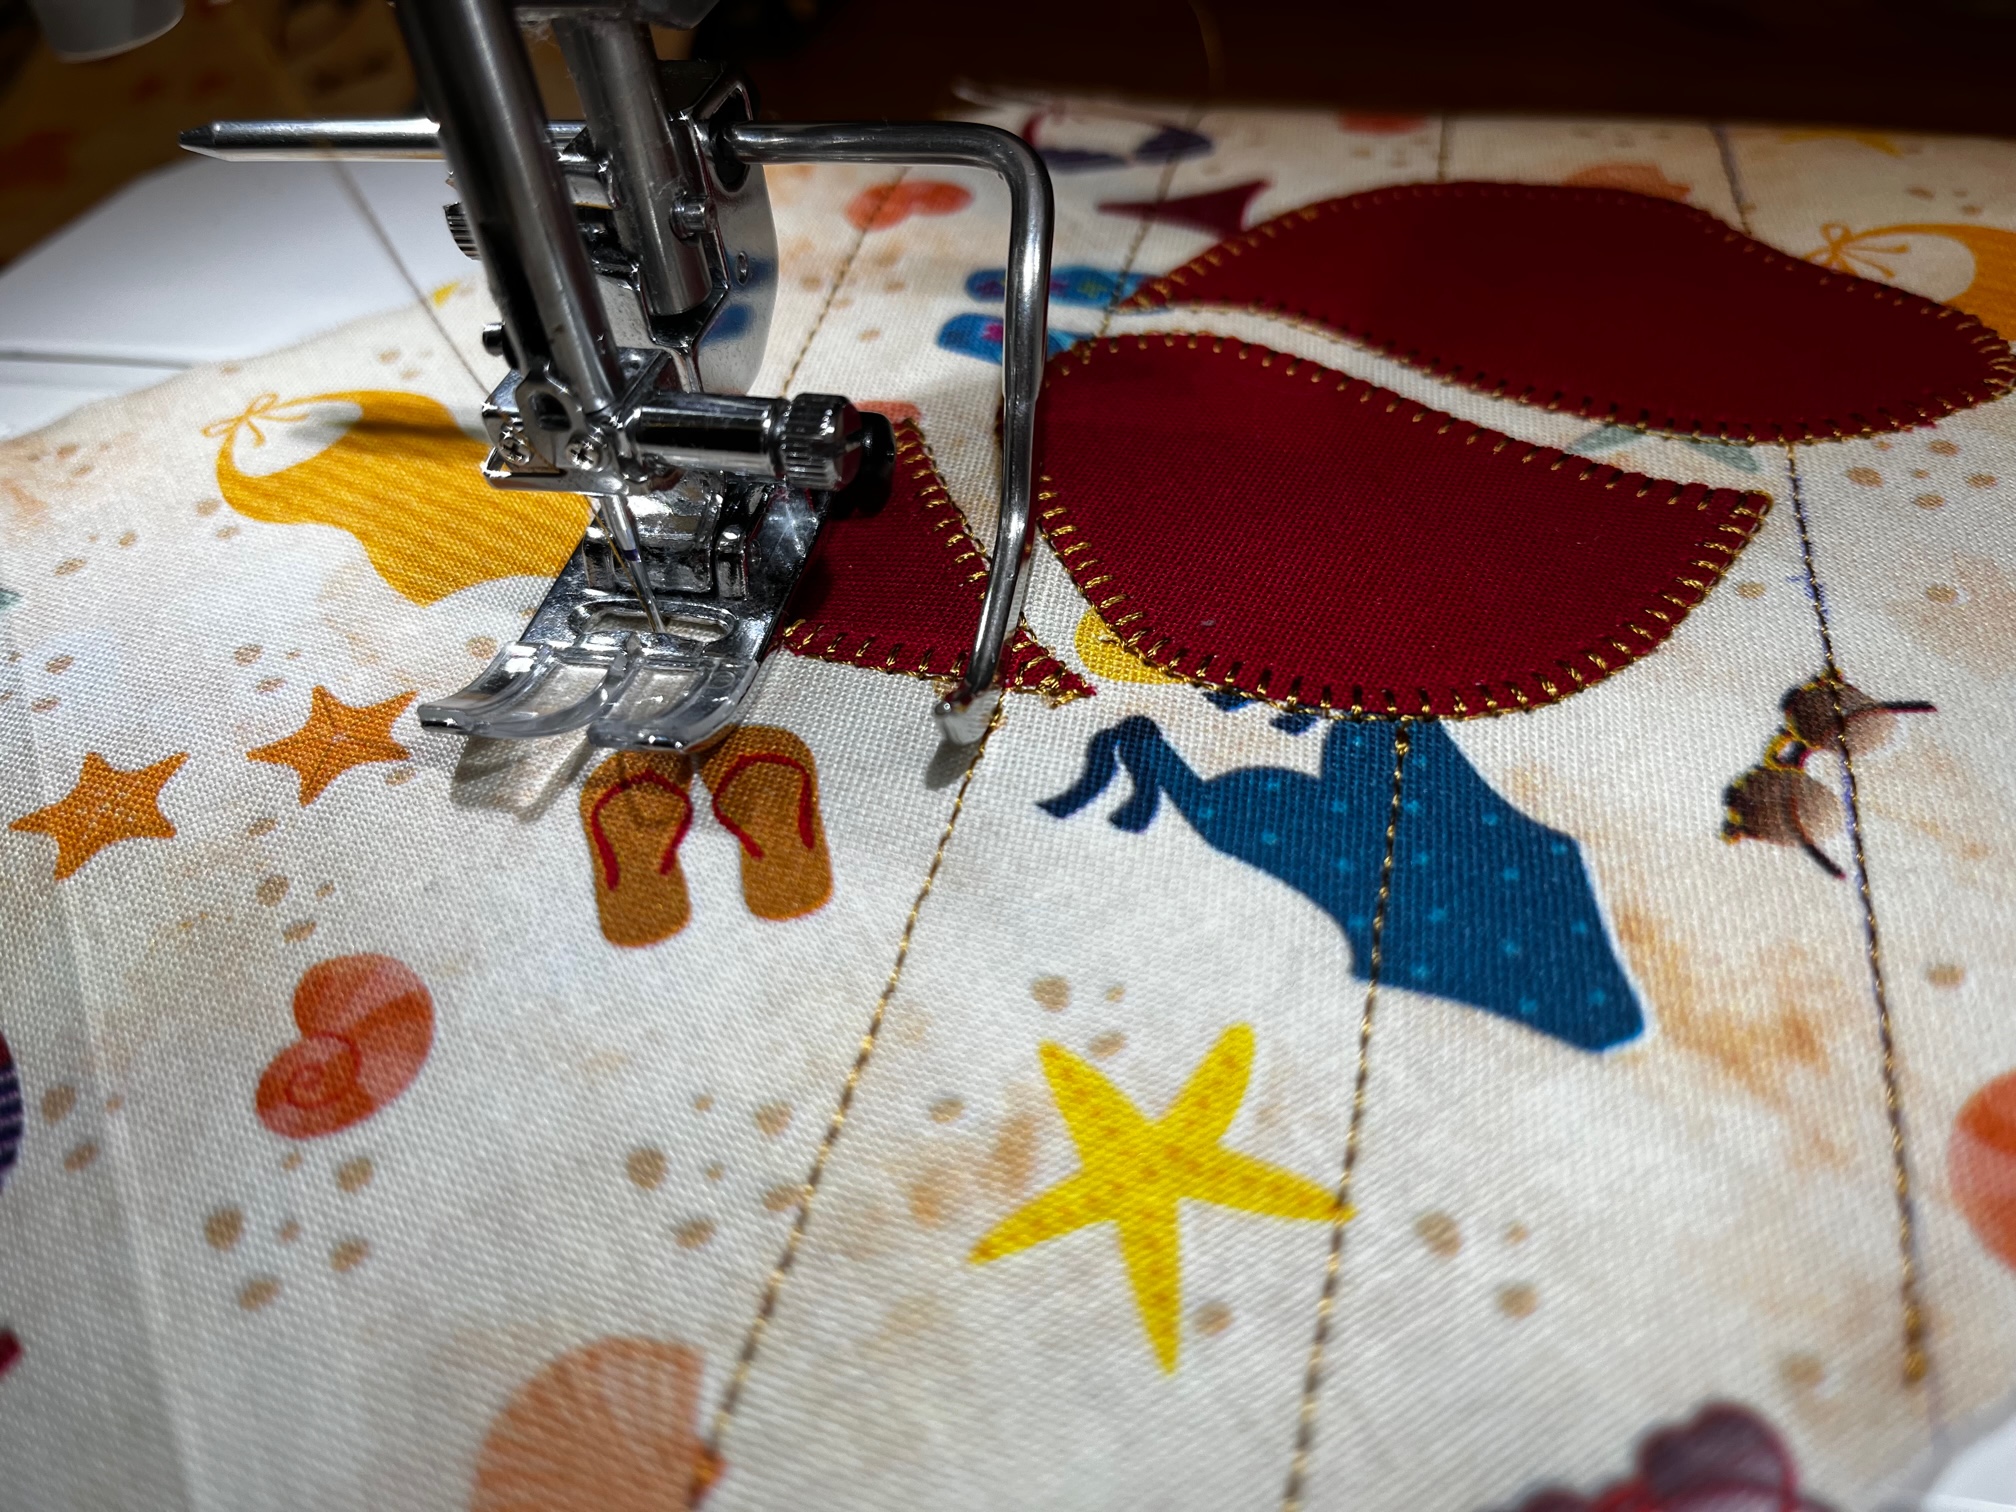
Applique and/or quilt both main mini zipper bag pieces.
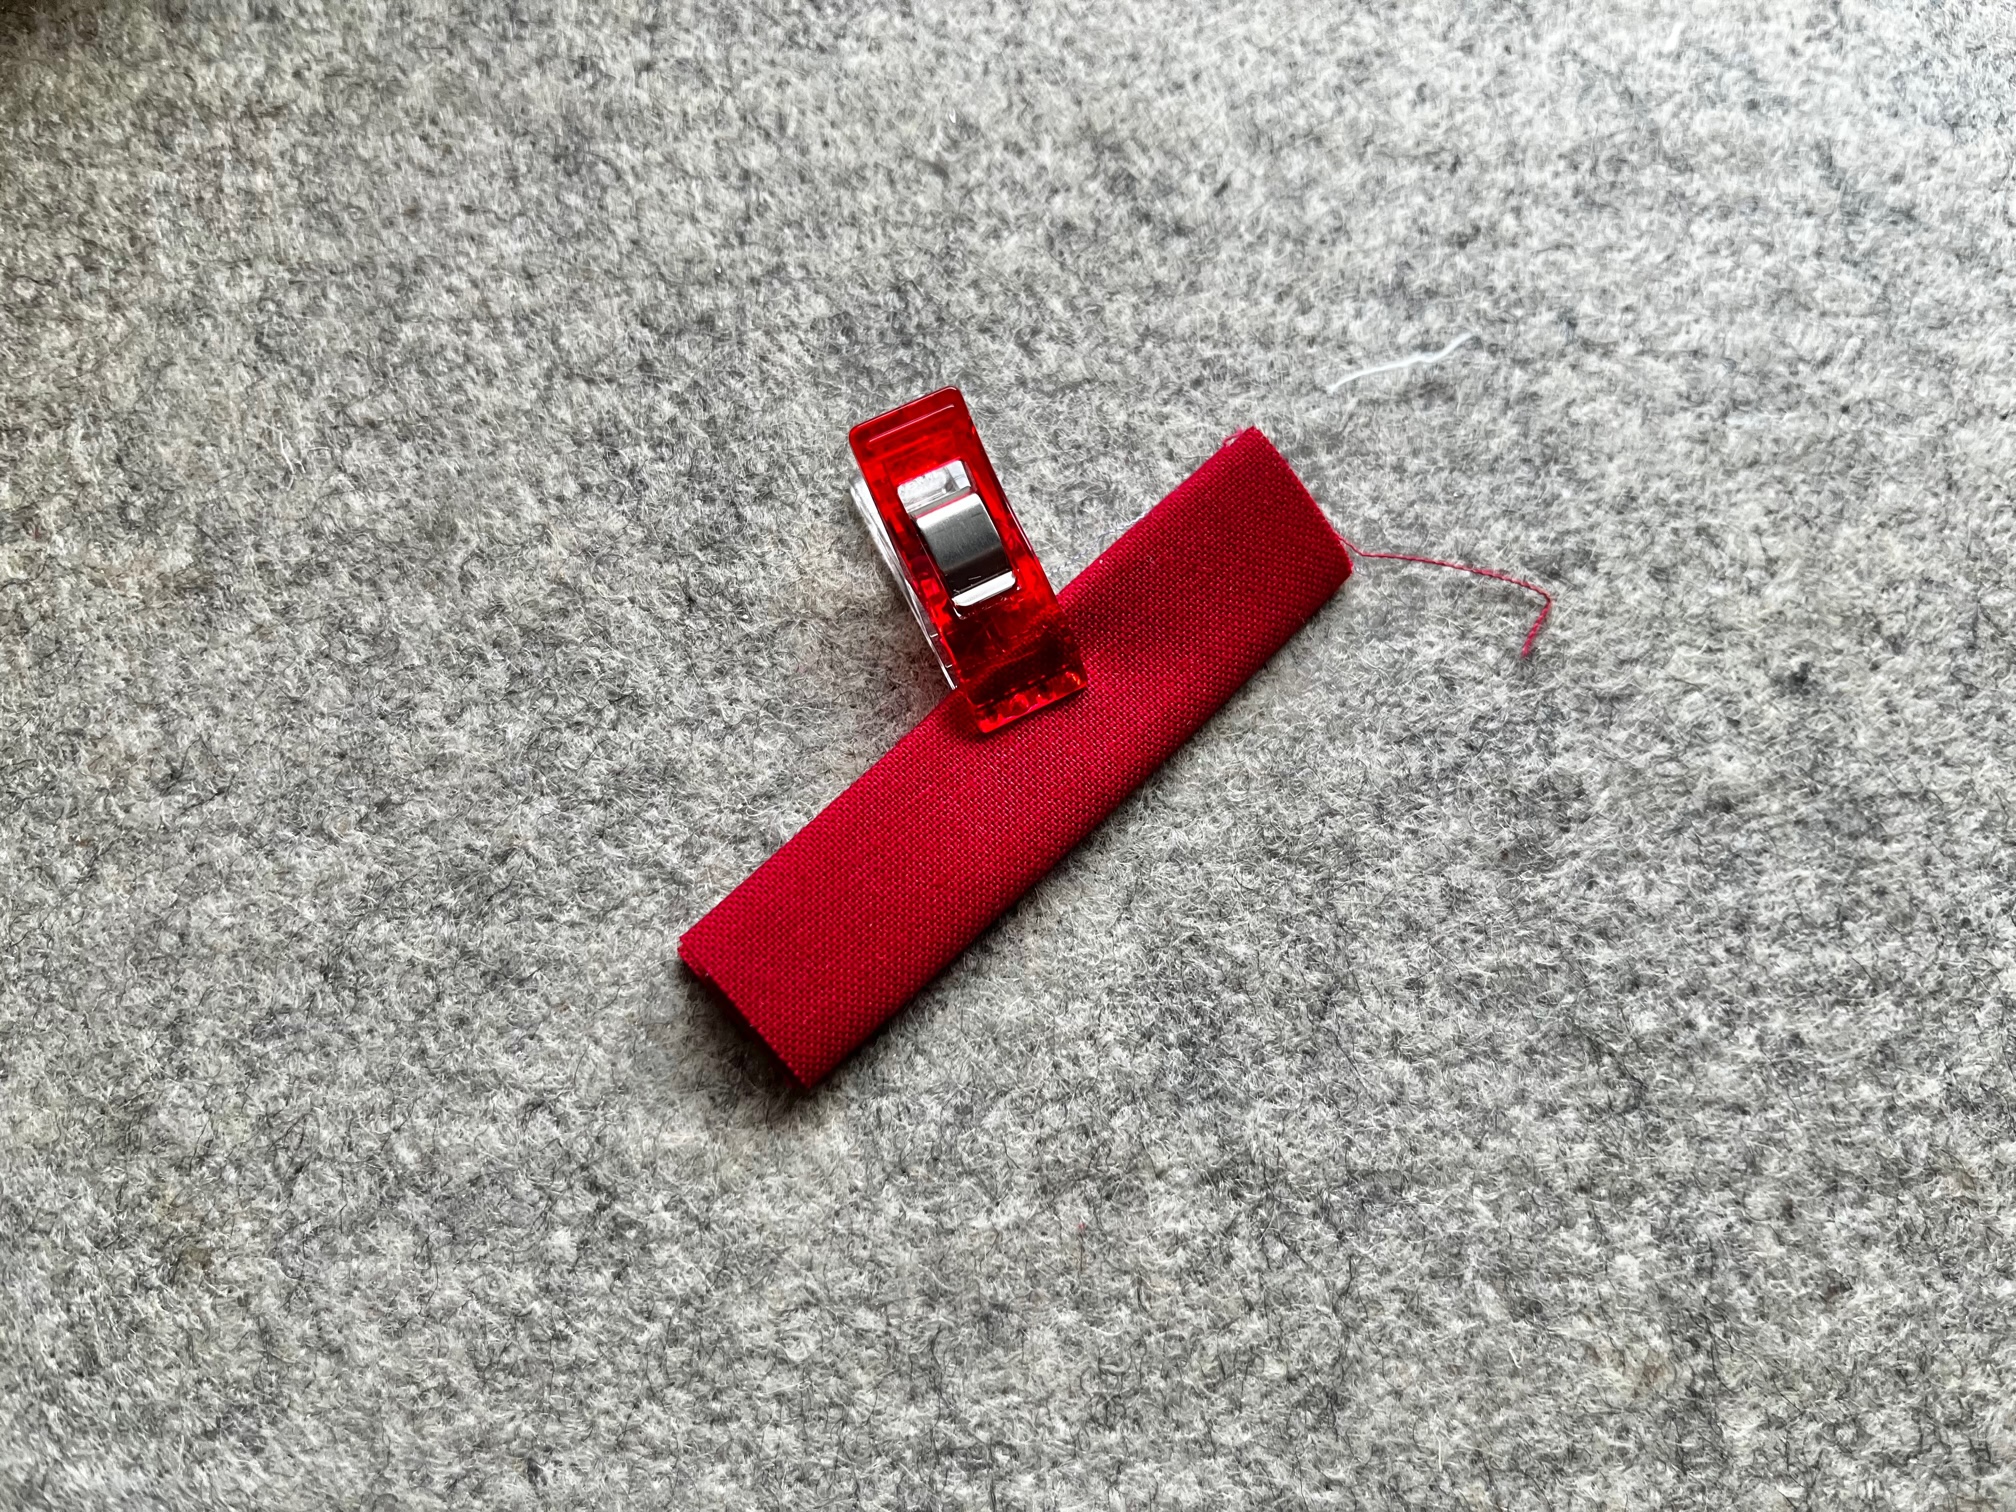
Preparing the Zipper Tab and Handle
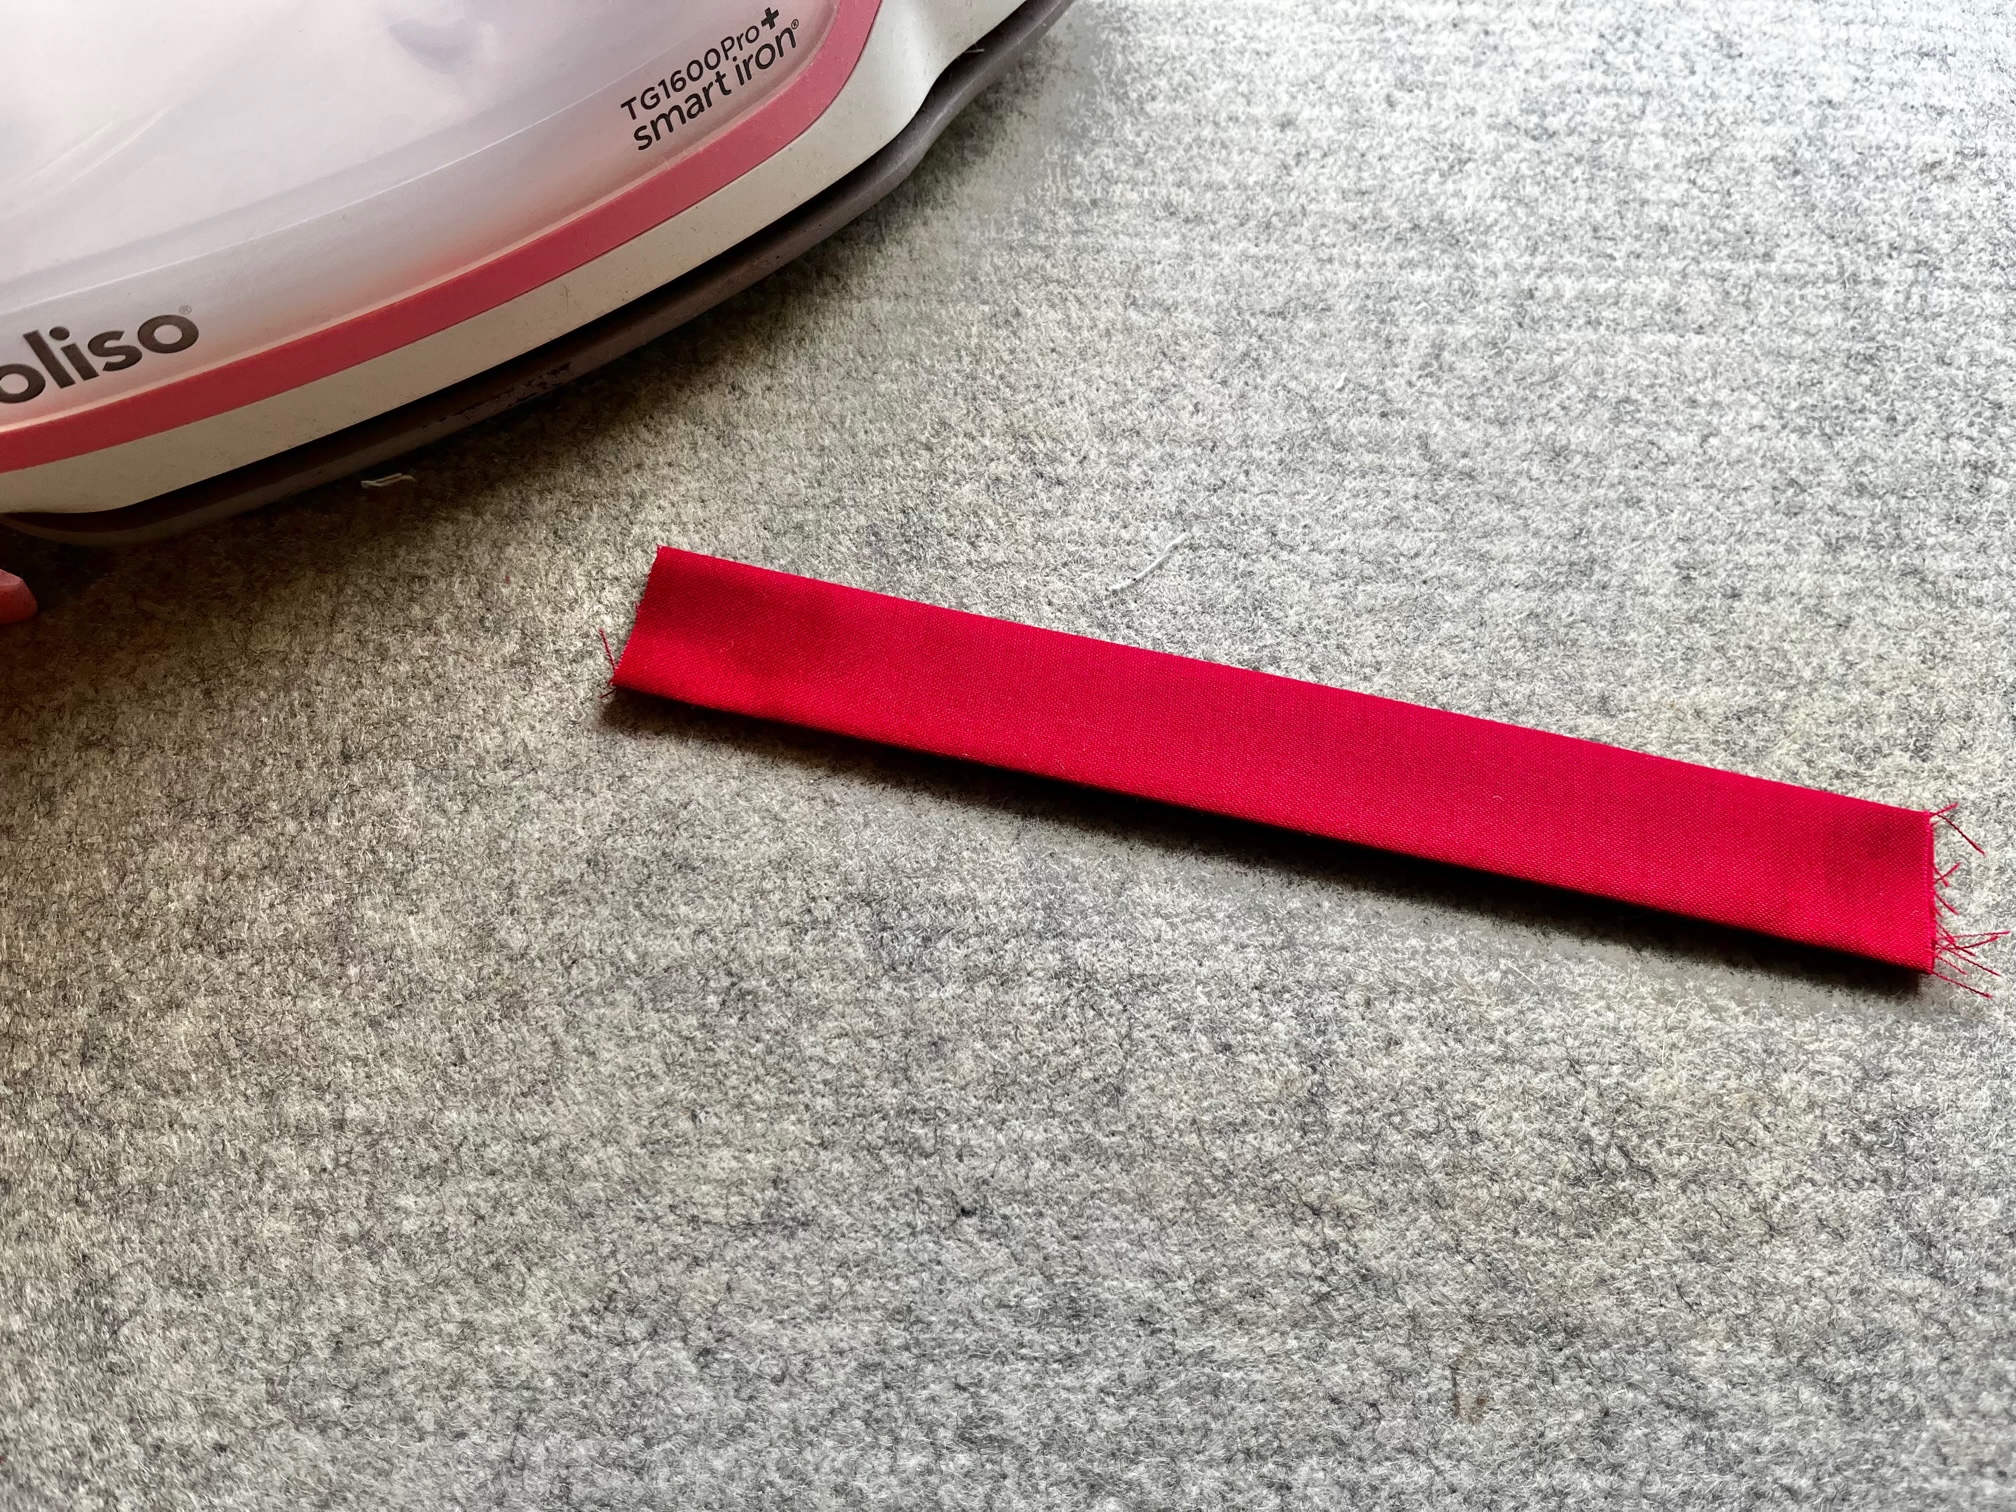
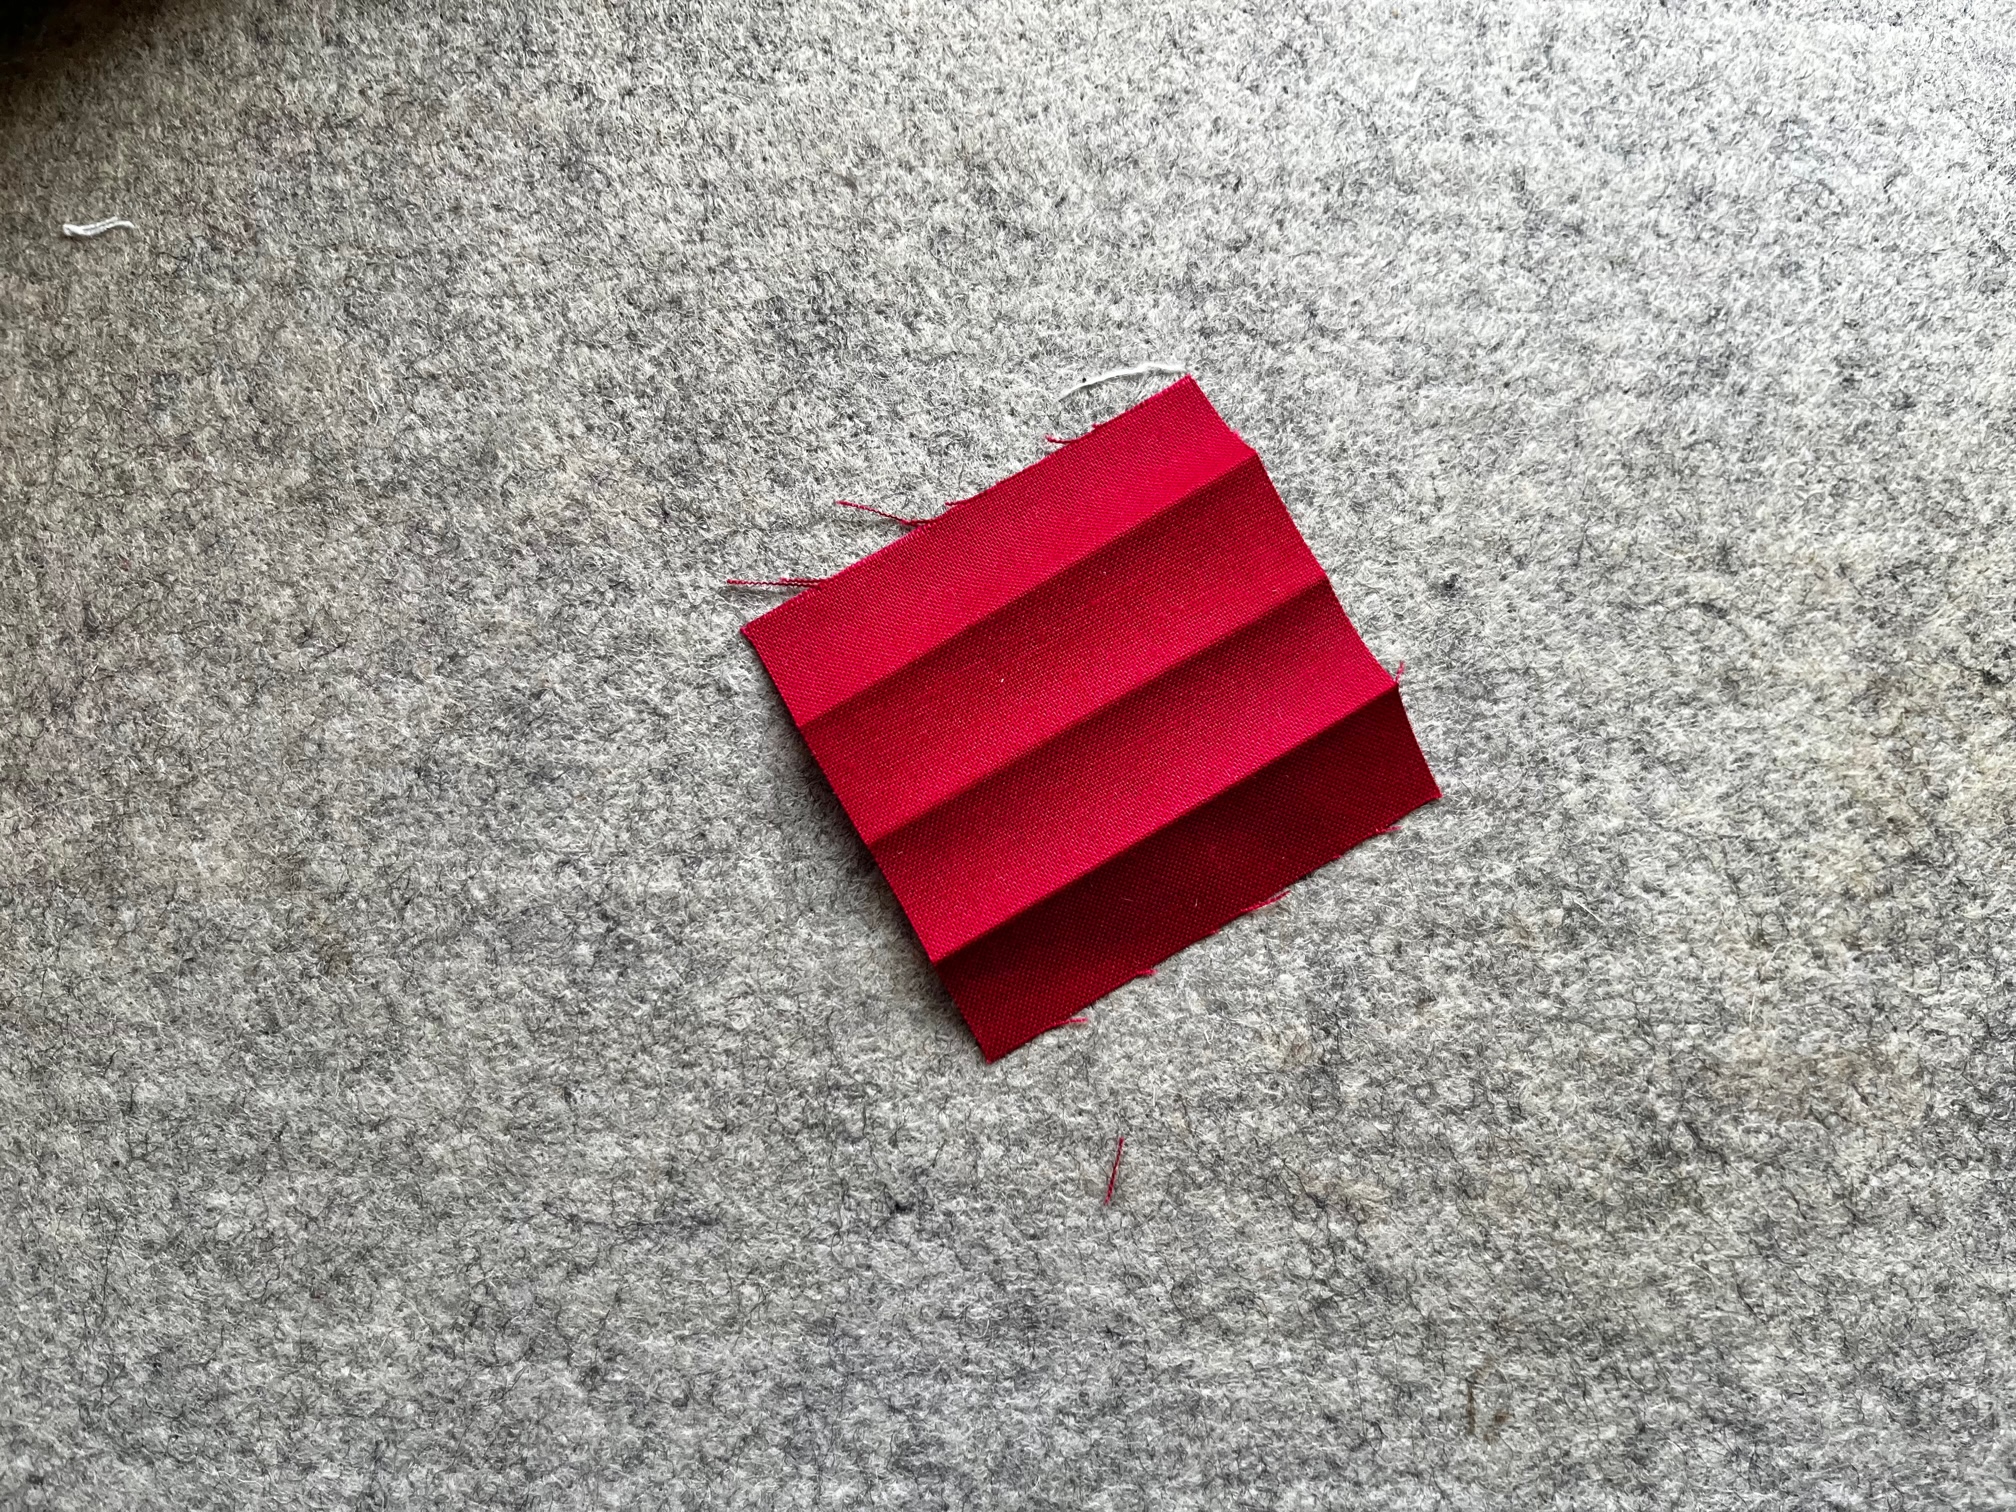
Begin by, pressing the handle fabric in half. Next, fold each side to the center crease. Fold over again and press. Once you have created the creased lines, open the fabric up and place the fusible fleece in one of the center creased sections. Press to adhere to the fusible fleece. Then fold the fabric the same way you created the creases. Press. Next, top stitch around the edges 1/8″ and then again 1/4″ in to create 4 topstitch lines.

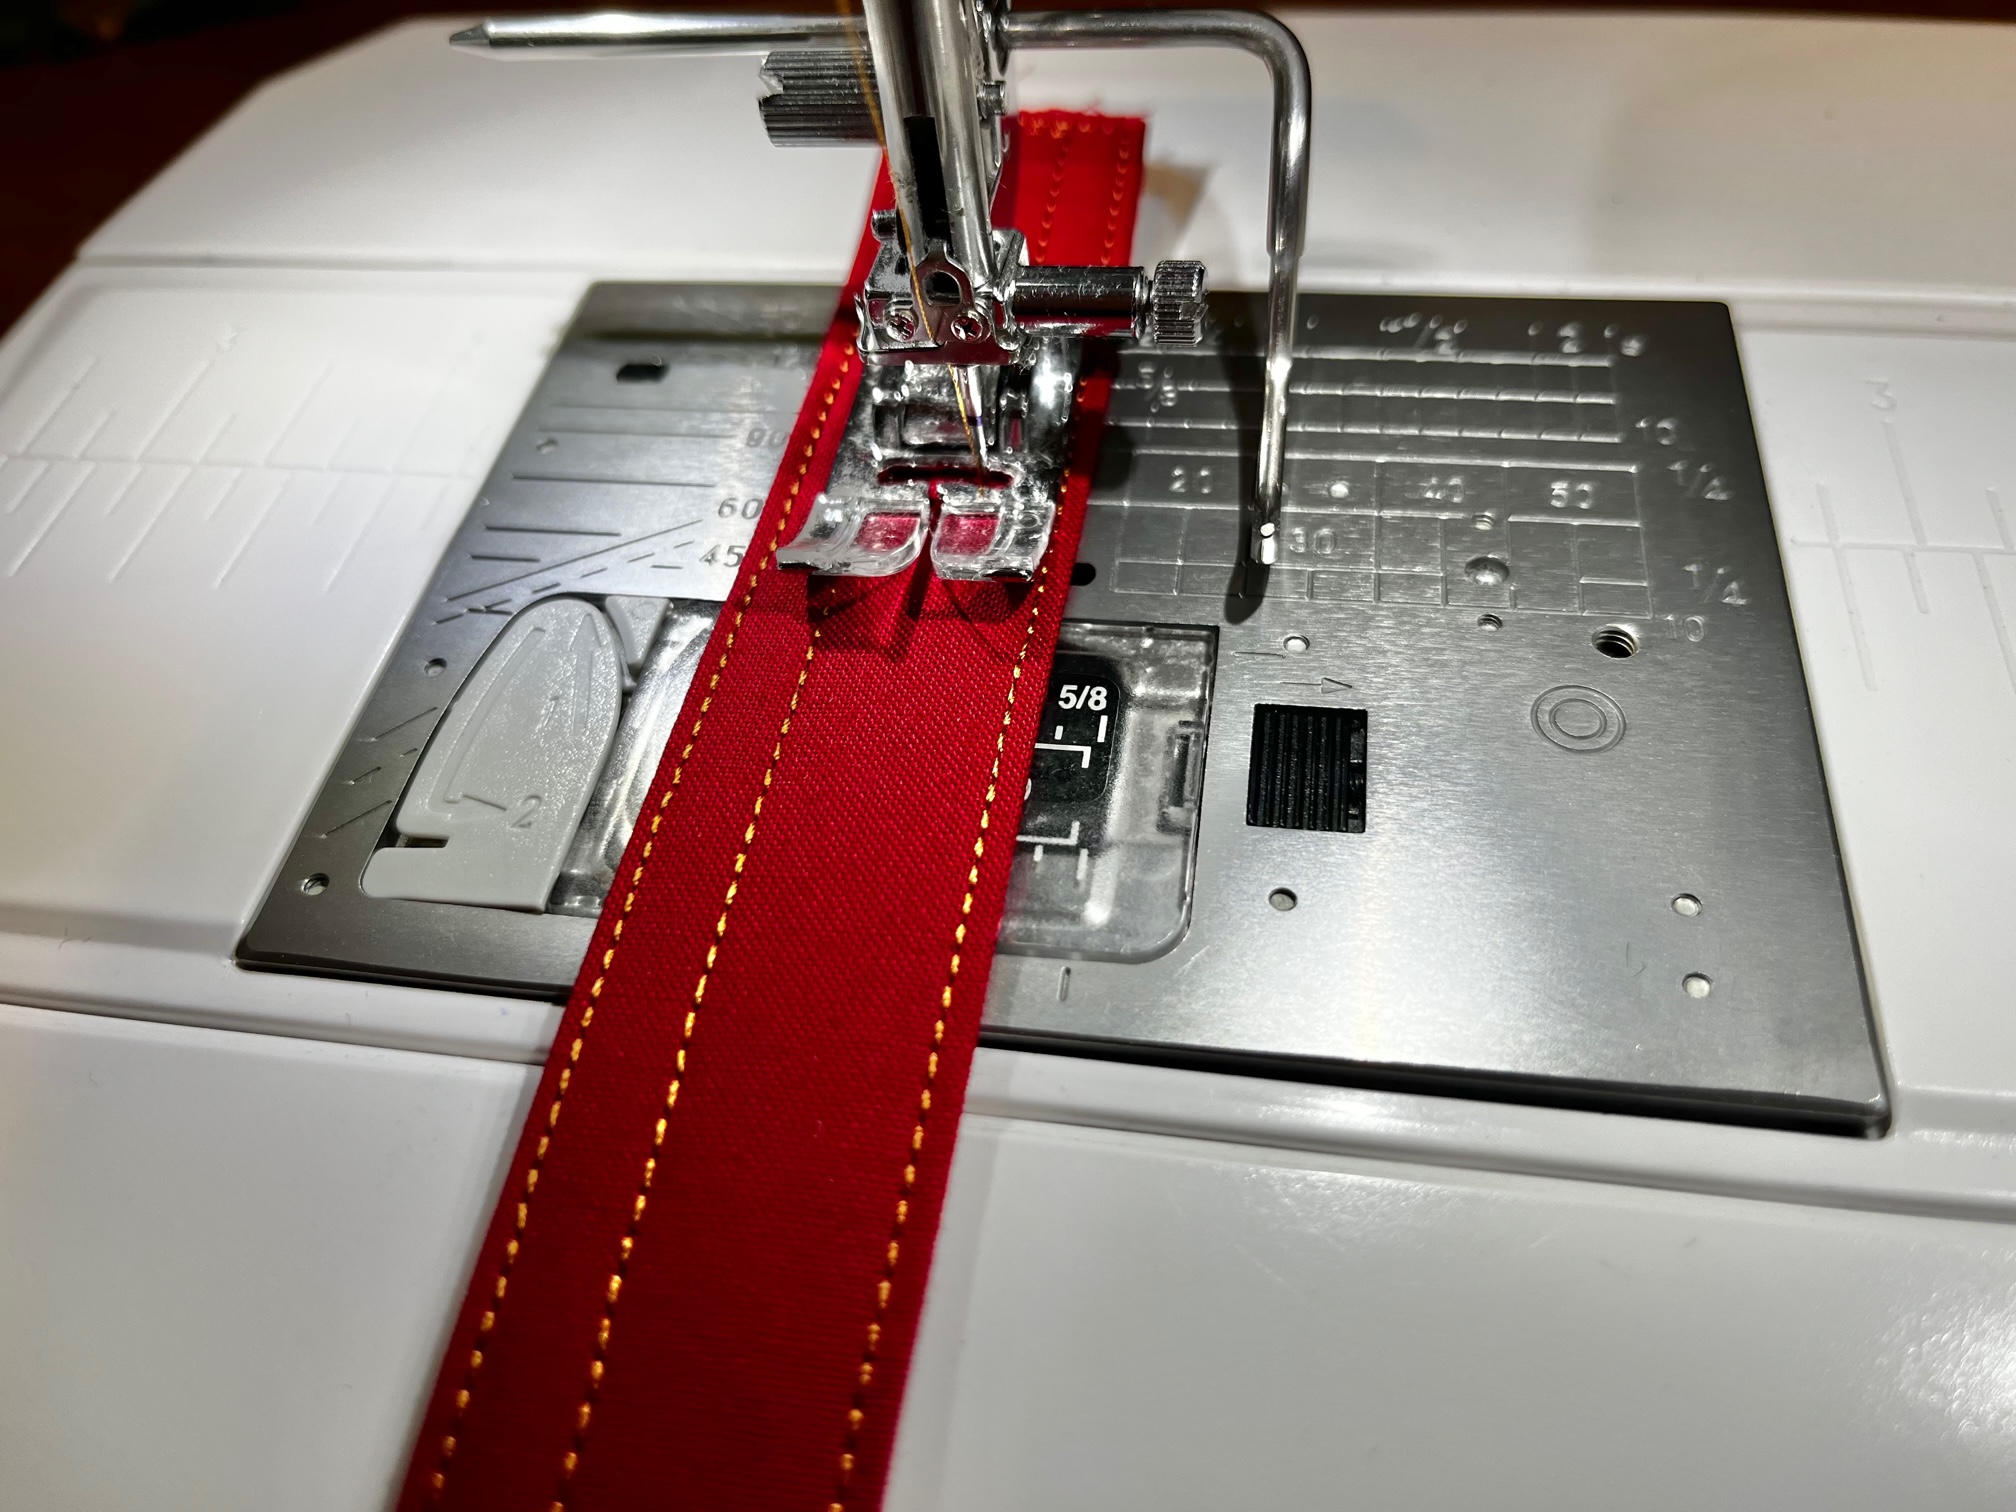
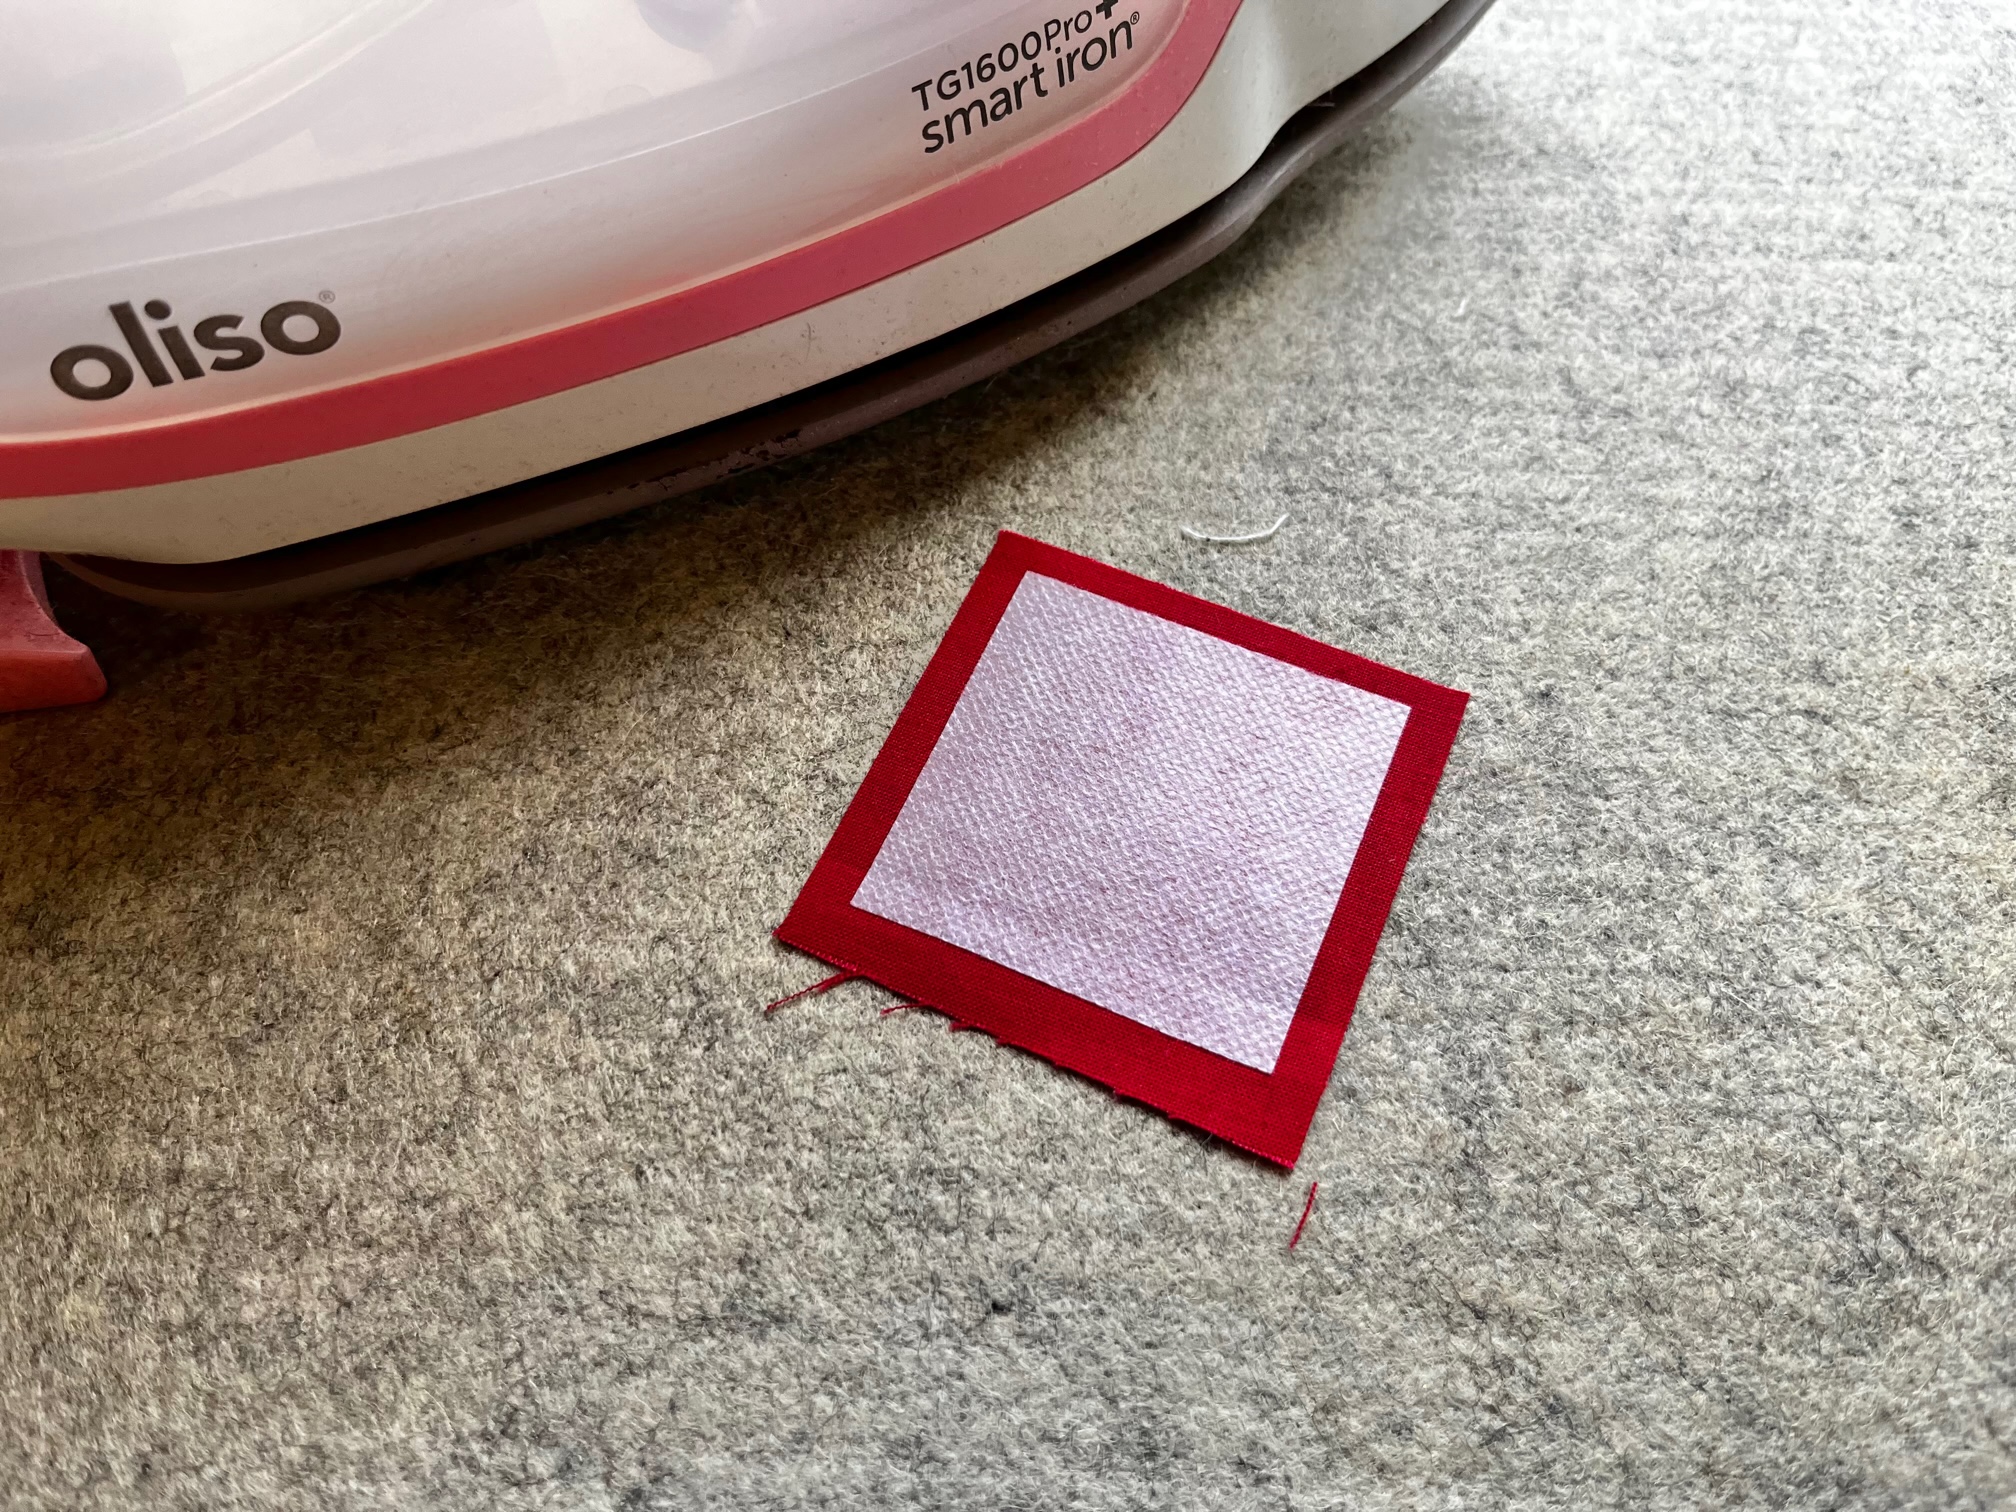
To make the zipper tab, adhere the medium-weight interfacing to the wrong side of the zipper tab fabric. Fold the fabric in the same way as above. Once completely folded, top stitch the two long edges.
Finally…
The final step with Thermoweb’s HeatnBond products is to fuse the medium-weight interfacing to the back of both lining pieces.
Finishing the Bag
Now that all your pieces have been fused with the appropriate interfacing you are now ready to follow the remaining My Little Melody Pouch pattern instructions. You can purchase the My Little Melody Pouch and other quilt/quilt block patterns by Inflorescence Designs HERE.
Thank you for visiting today! Come back soon to see what else will be starting to bloom with Inflorescence Designs!
Starting to bloom by choosing JOY ~ Julia