


Hello and welcome!
It’s Julia from Inflorescence Designs! I’m so joyful you are visiting today. This week is all about Halloween Treats! NO TRICKS ALLOWED!
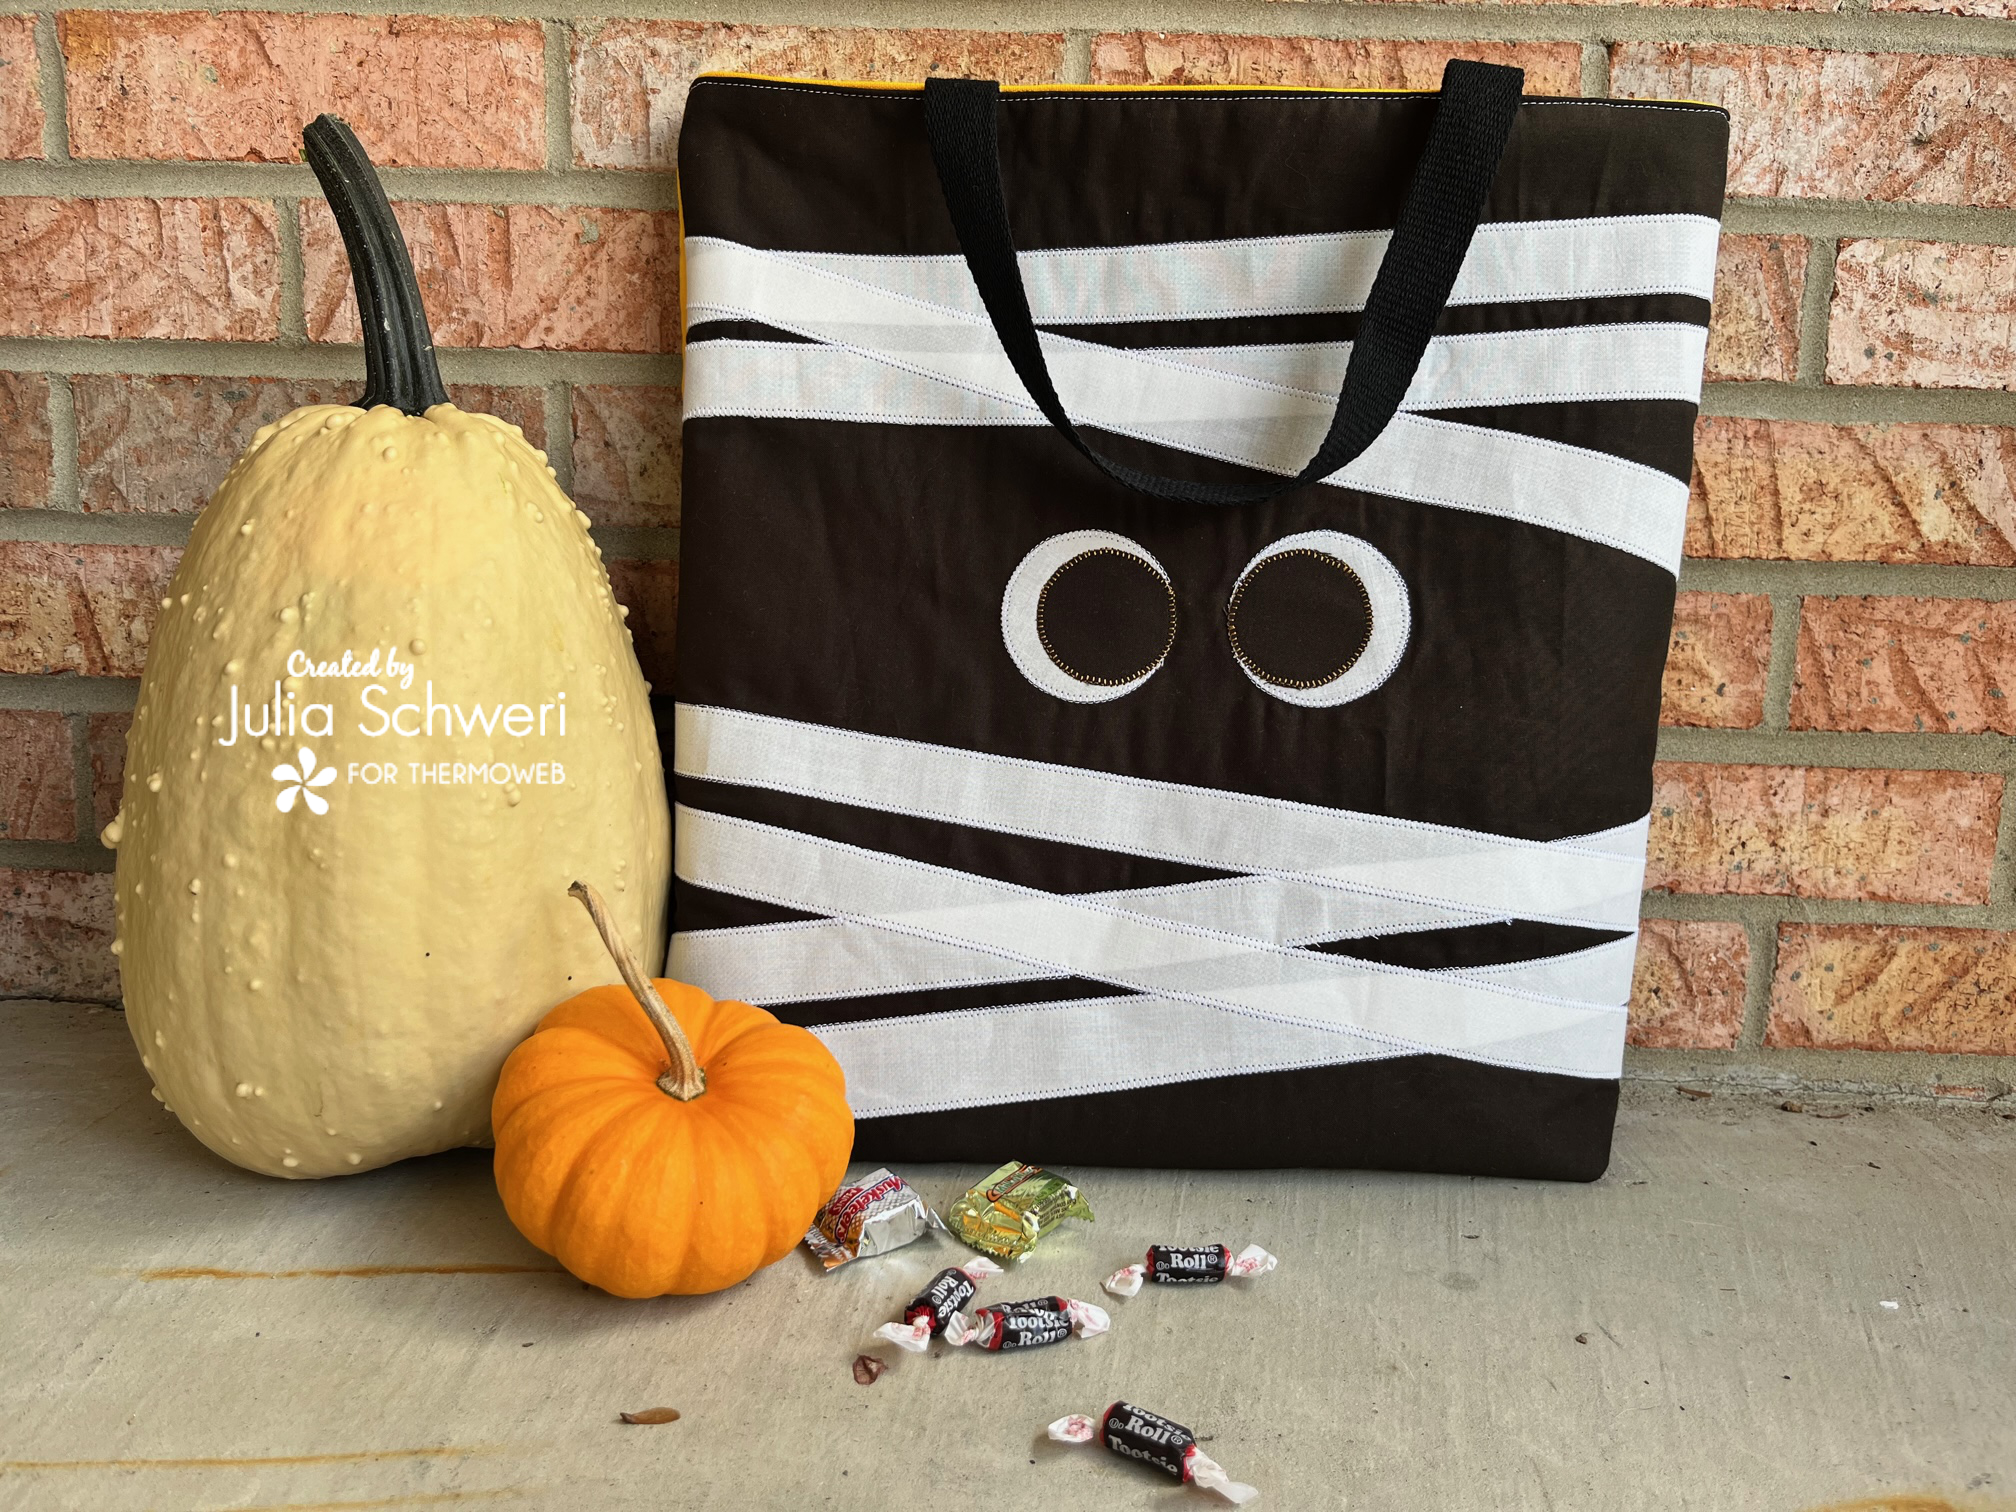
Fusible Fleece Yummy Mummy Candy Bag
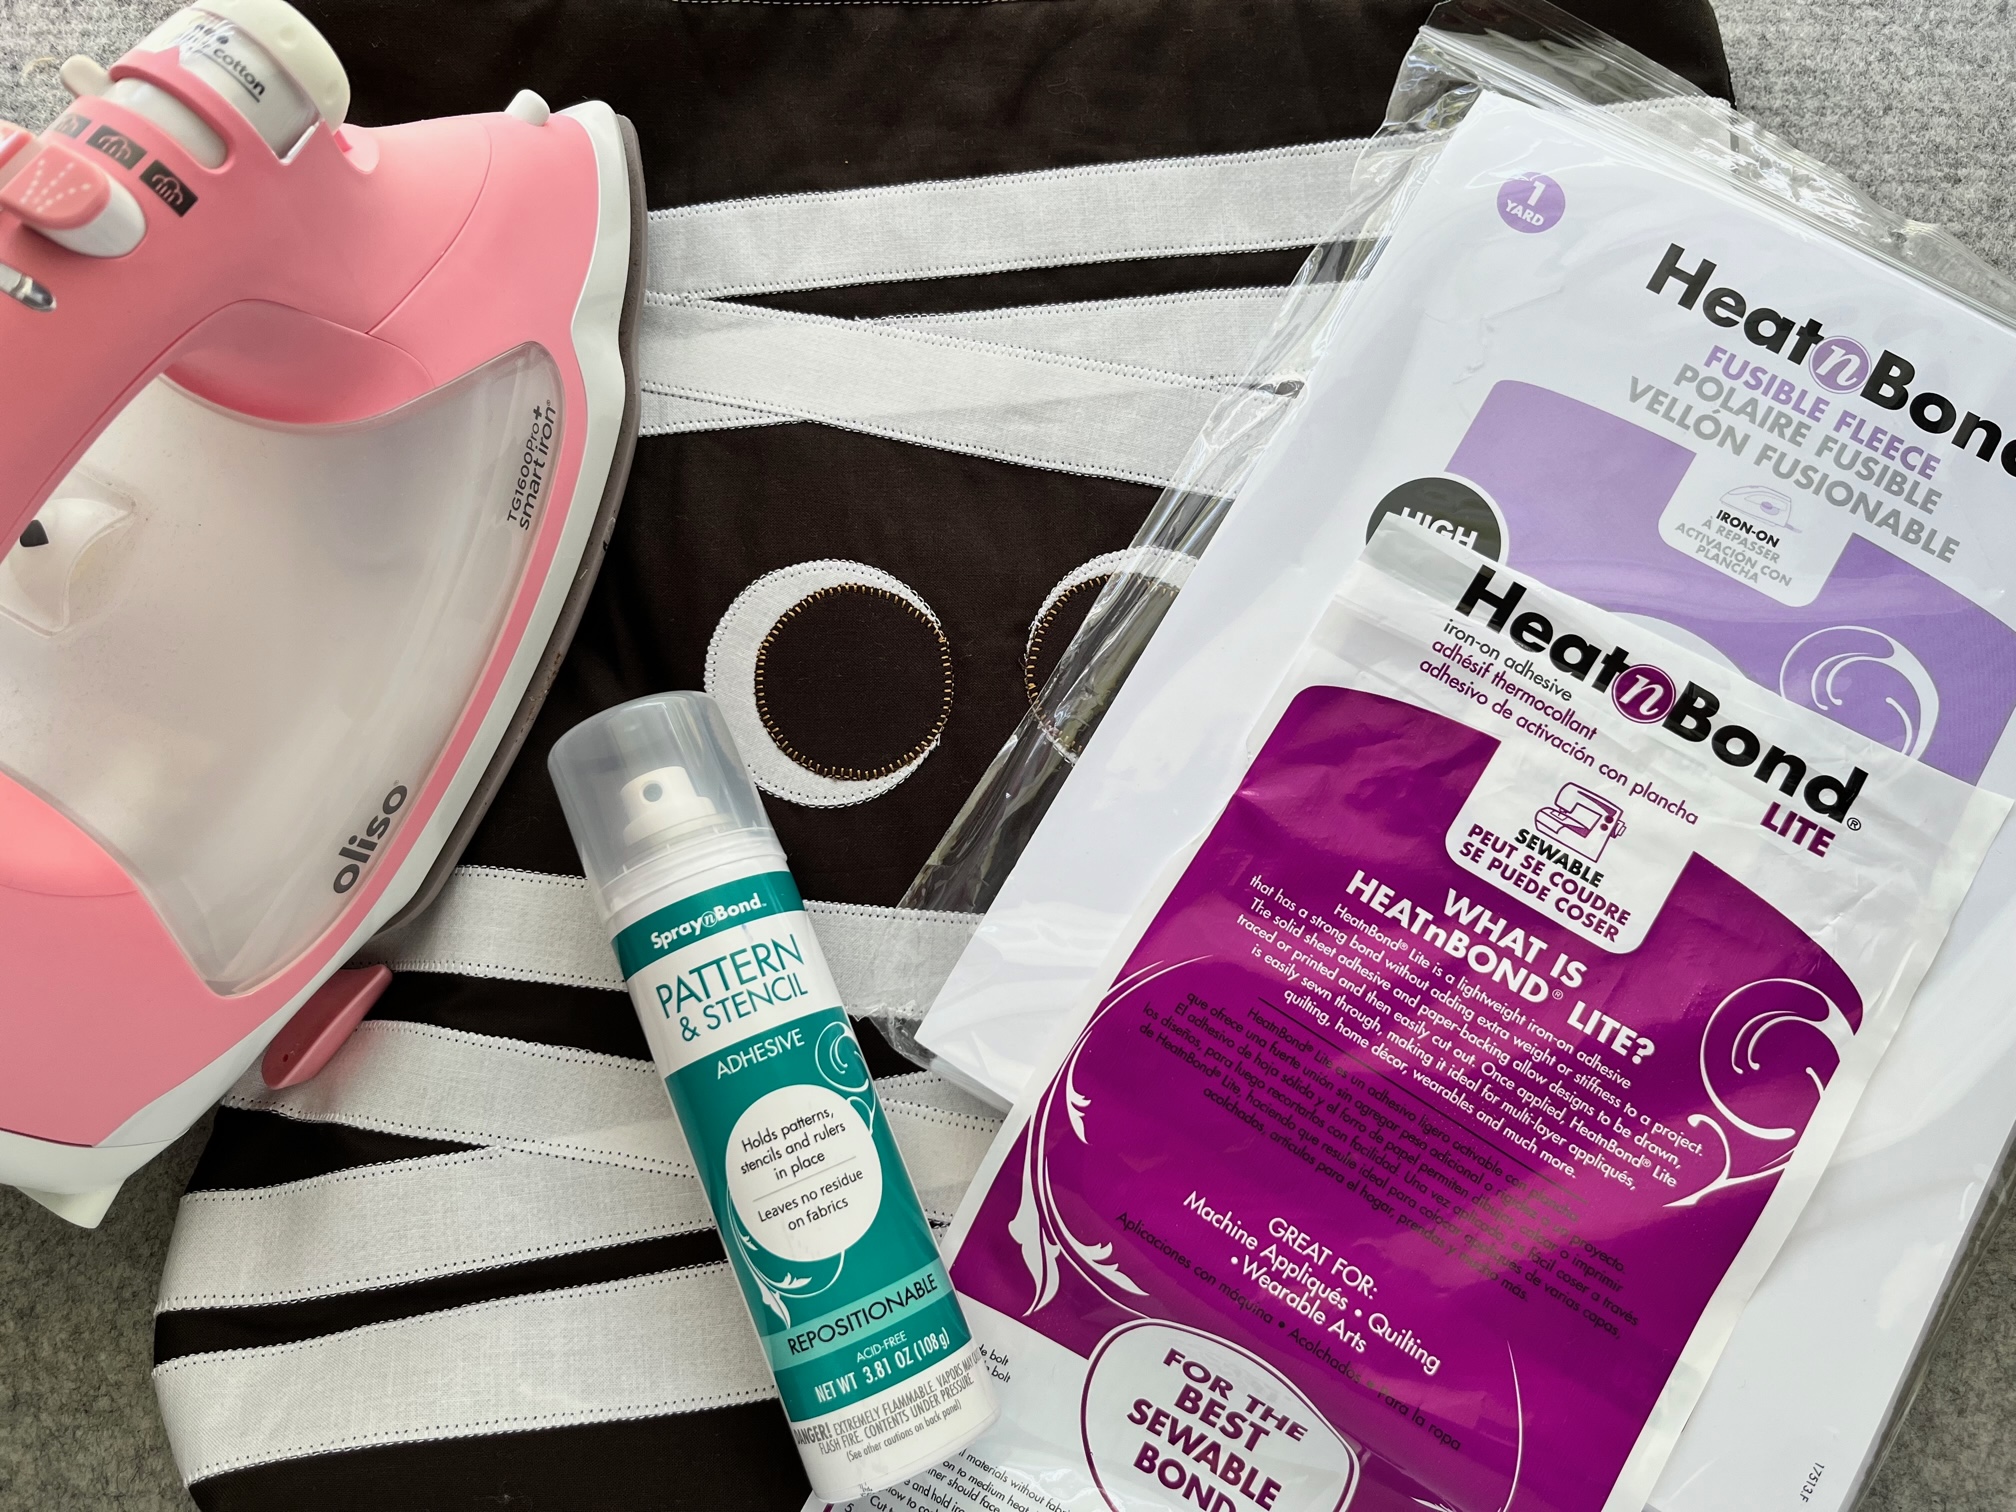
Supplies:
- HeatnBond Lite Iron-On Adhesive: 18″ x 7 1/2″ (7, 1″ strips) and enough for the black and white eyes
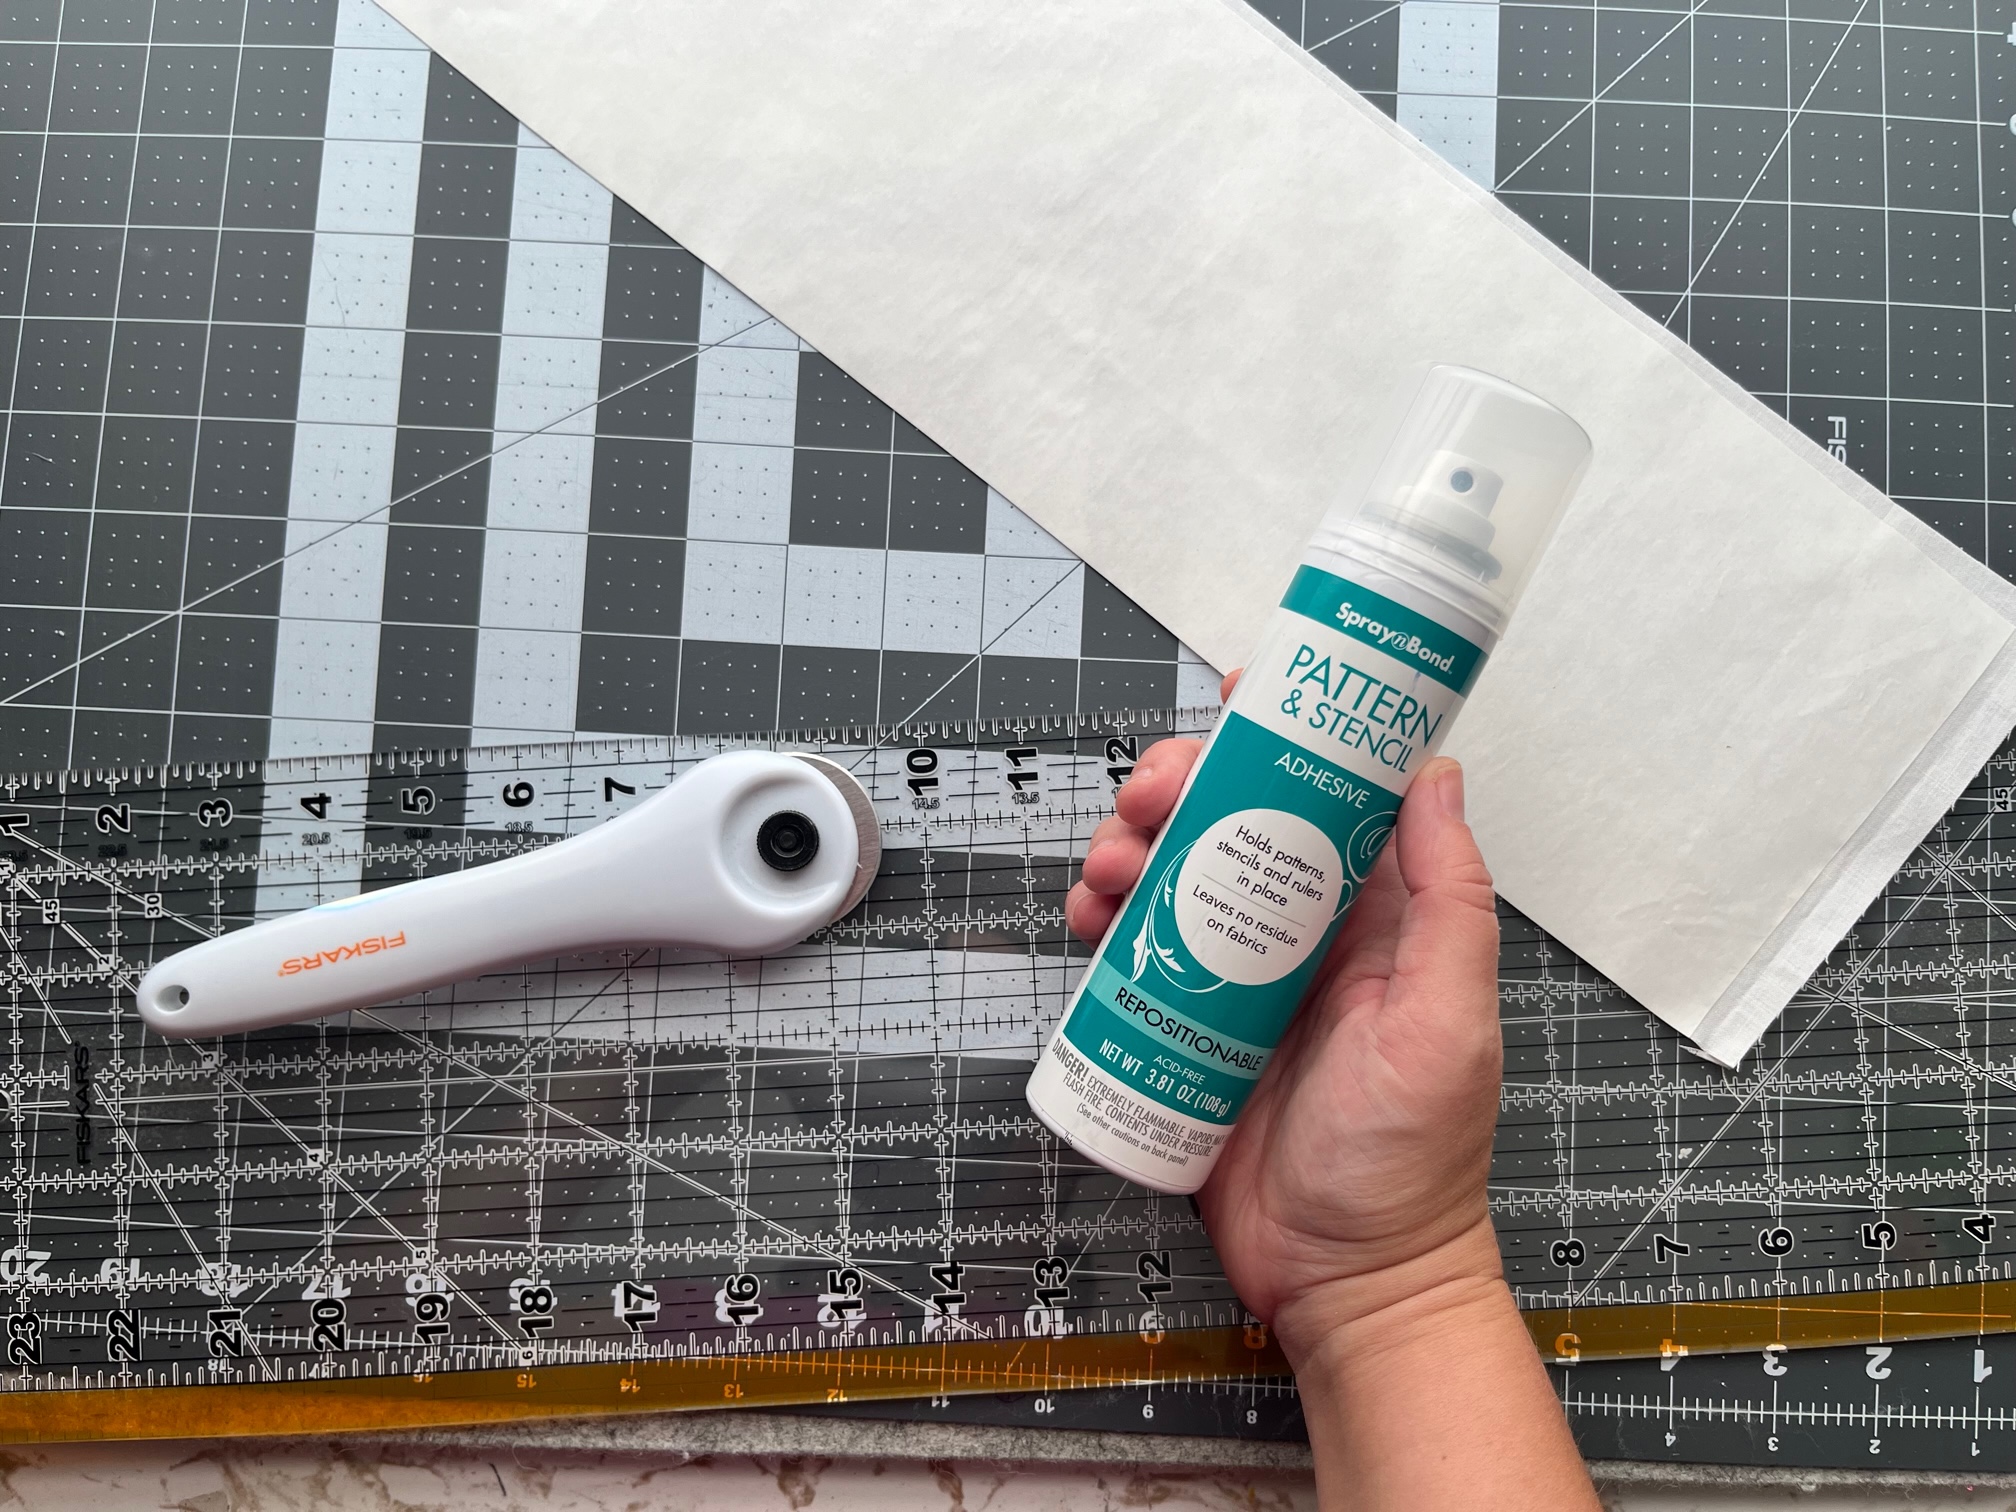
- SpraynBond Pattern and Stencil Adhesive
- HeatnBond Fusible Fleece (2) 17″ x 16″
- Outer main fabric (2) 18″ x 17″
- Lining: I used canvas fabric for more stability for all the candy! If you use regular weight fabric, add additional interfacing such as fusible fleece or medium weight fusible interfacing. (2) 18″ x 17″
- White fabric for mummy strips. 18″ x 1″ (as many as you like)
- Additional fabric for eyes: White and Black–the white of the eye is 2.5″ and the pupil is 2″
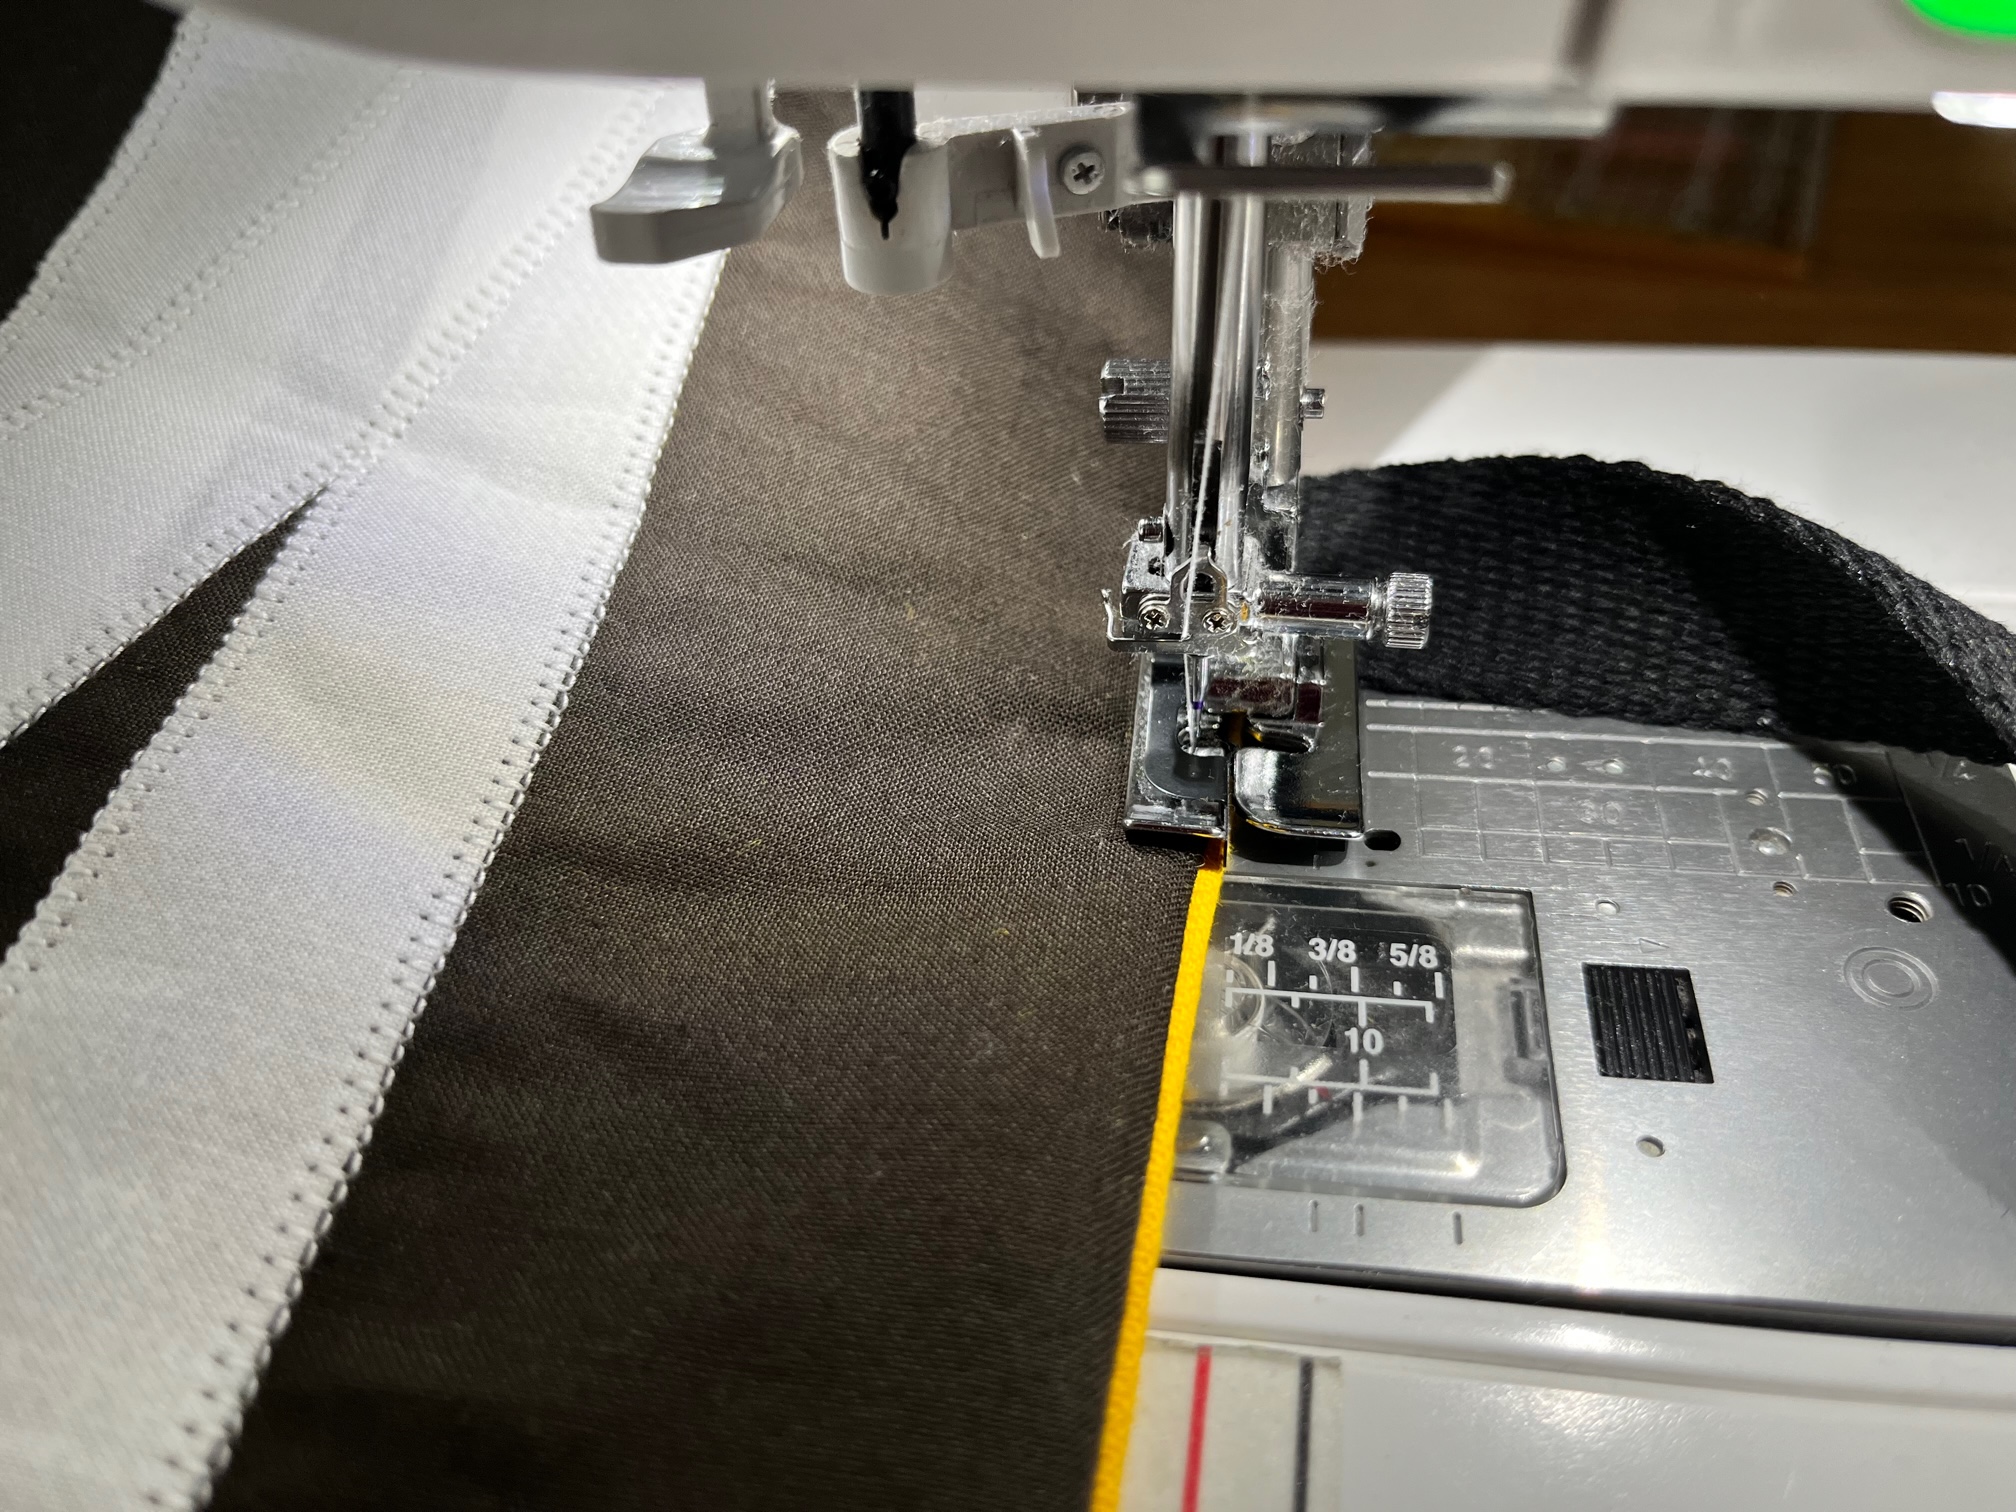
- Cotton Webbing for handles (2) 1″ x 17″
- Basic sewing notions
- Oliso Iron
Mummy Candy Bag Video Tutorial
Mummy Candy Bag Instructions:
Begin by…
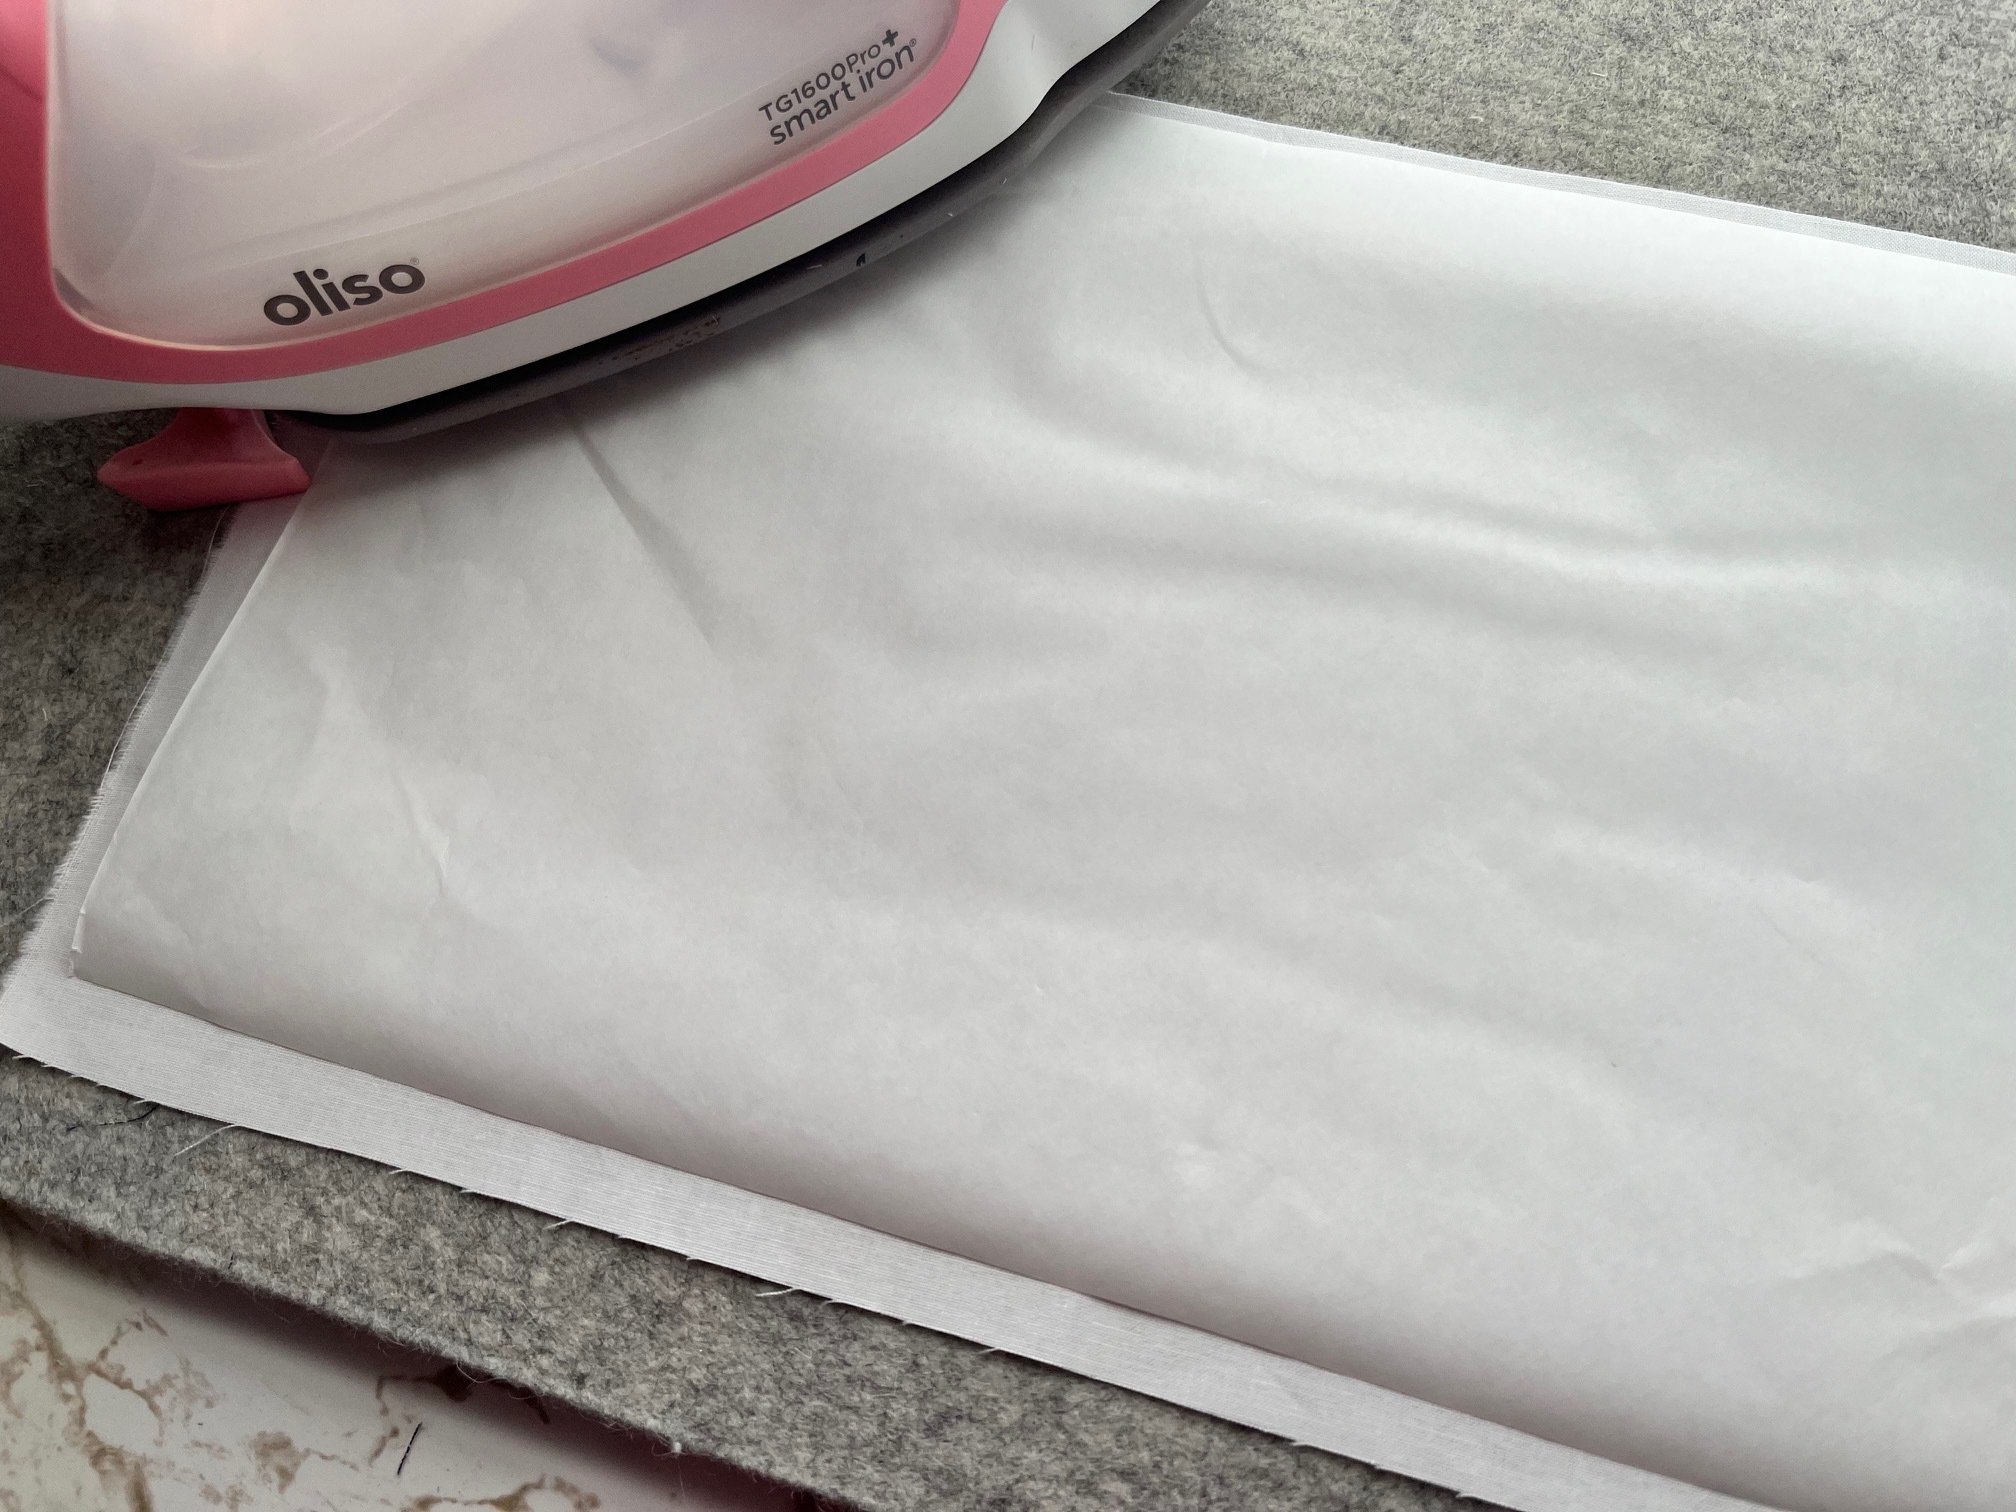
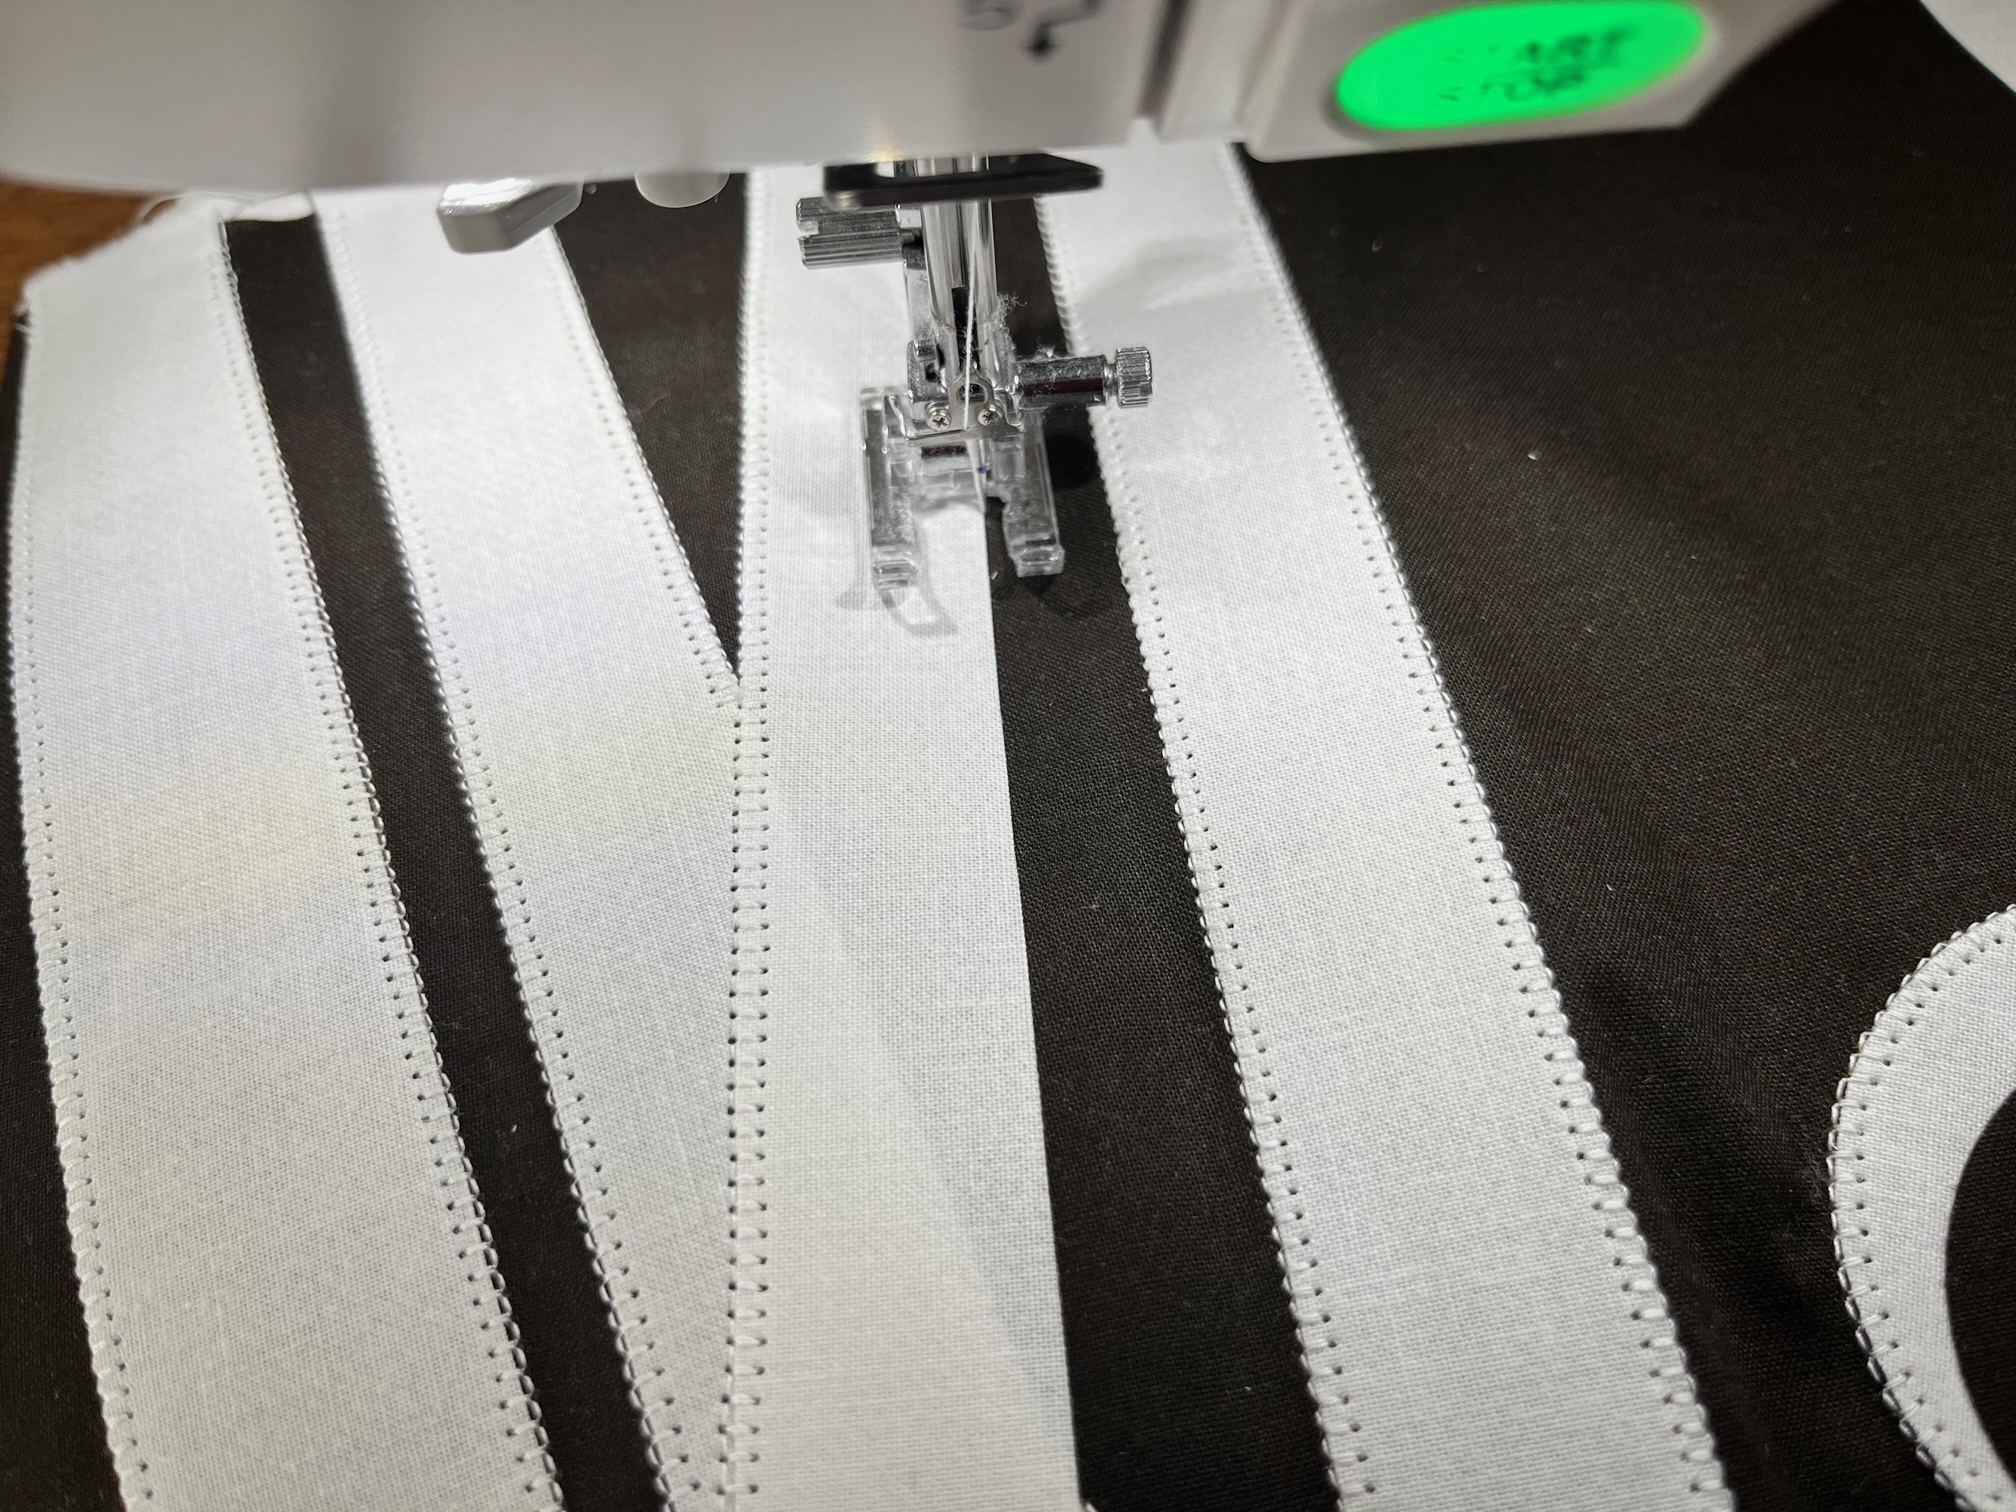
Fuse the HeatnBond Lite to the white fabric for the mummy strips/eyes and the black fabric for the pupils.
Next…
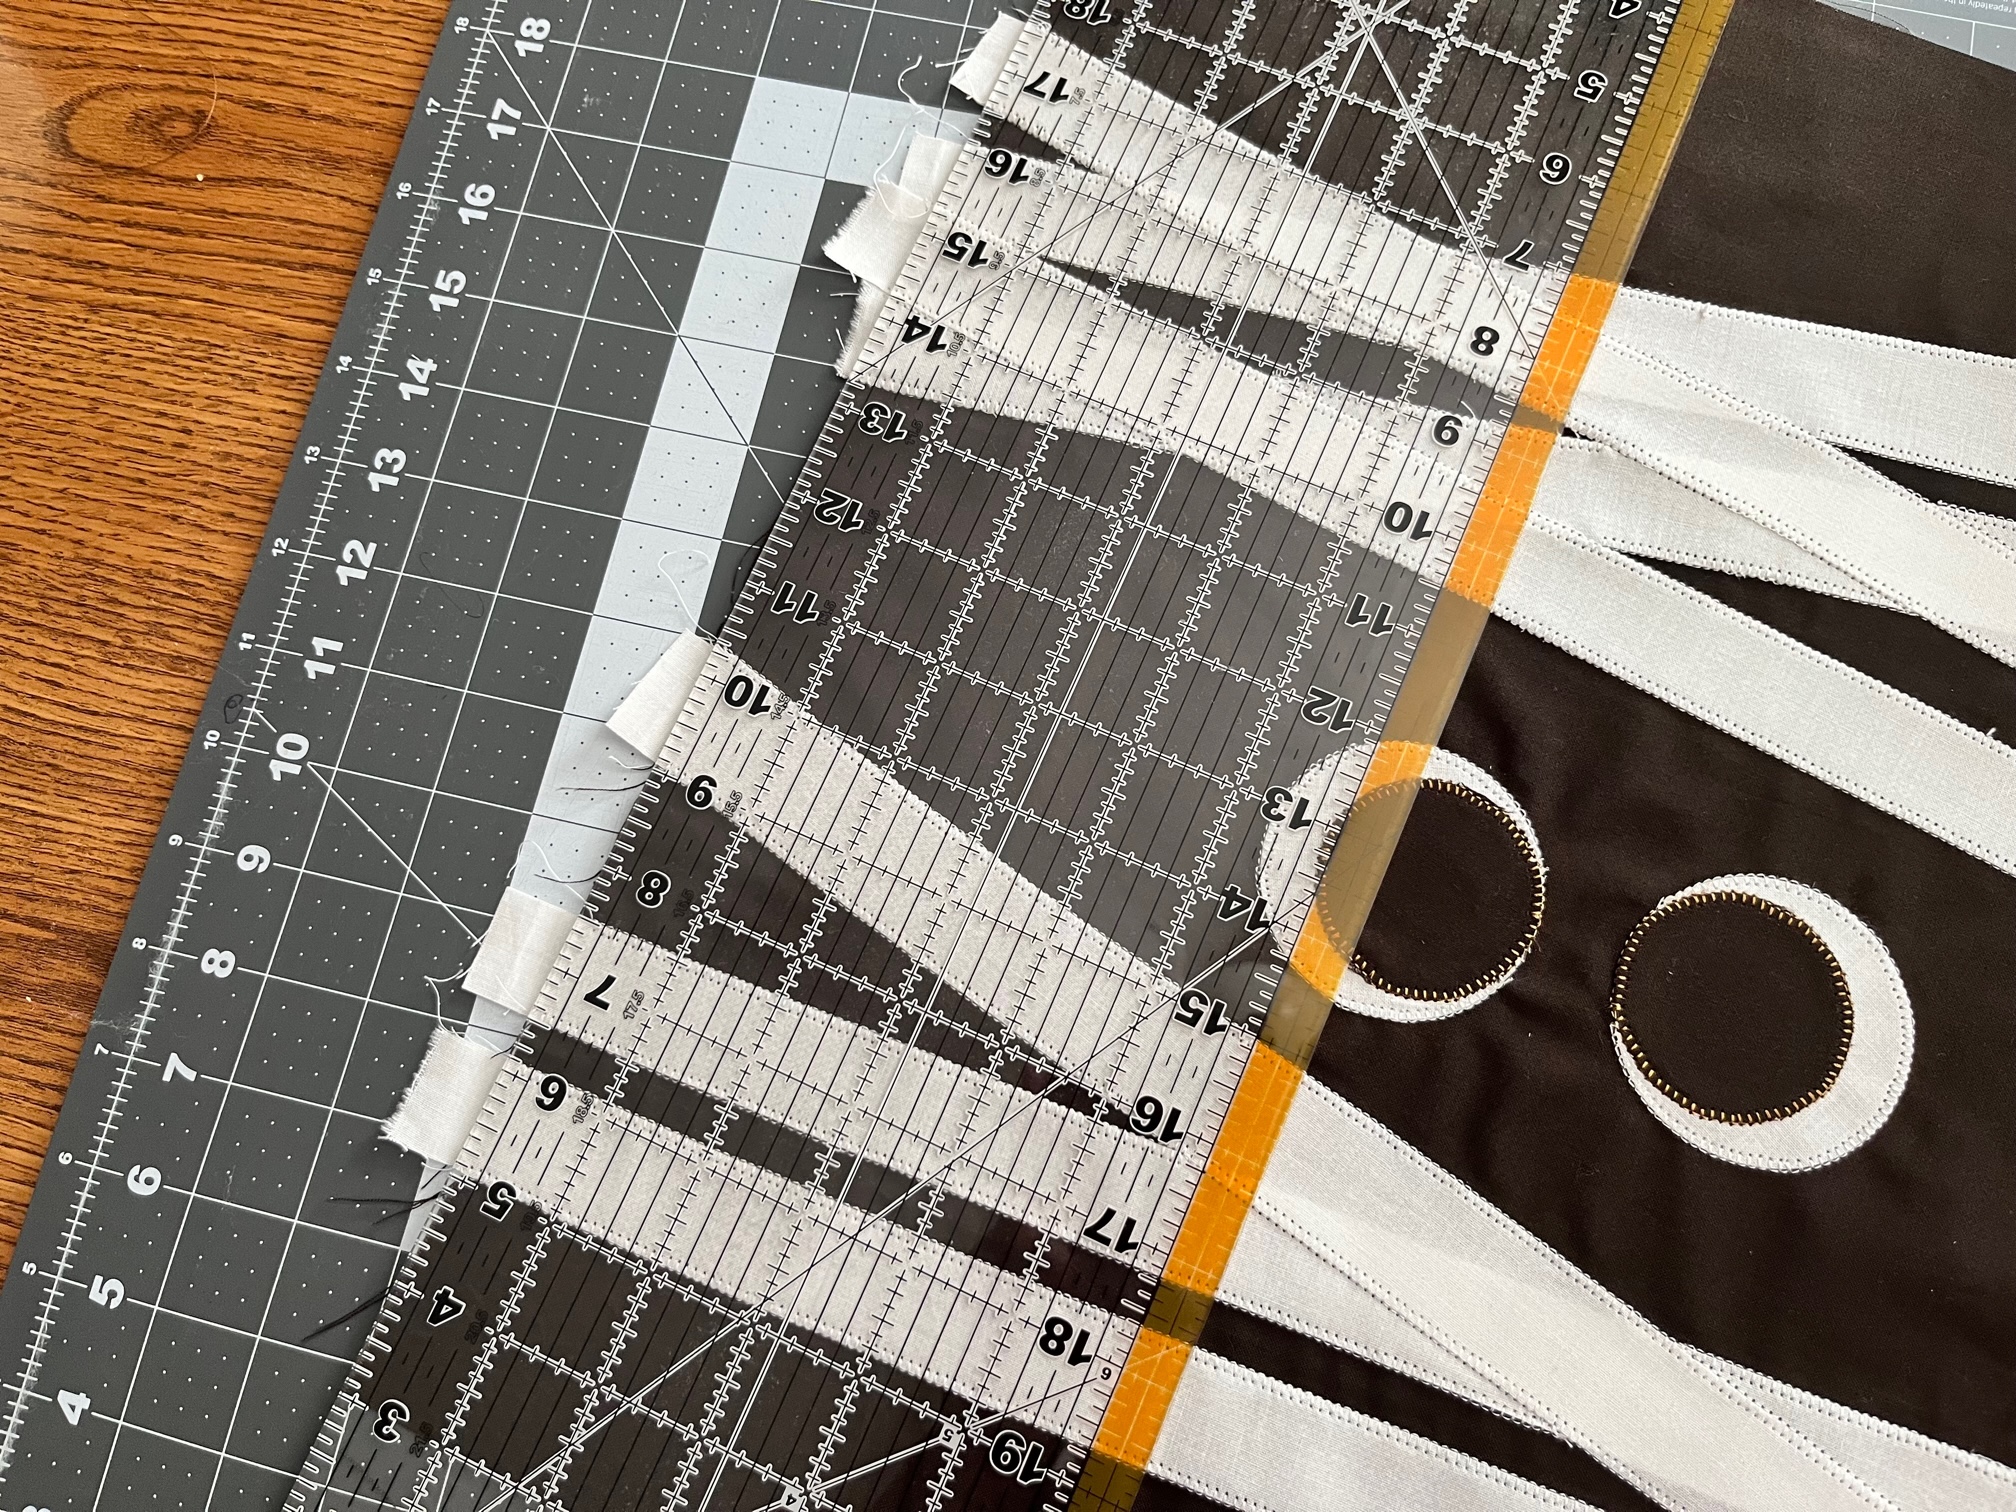
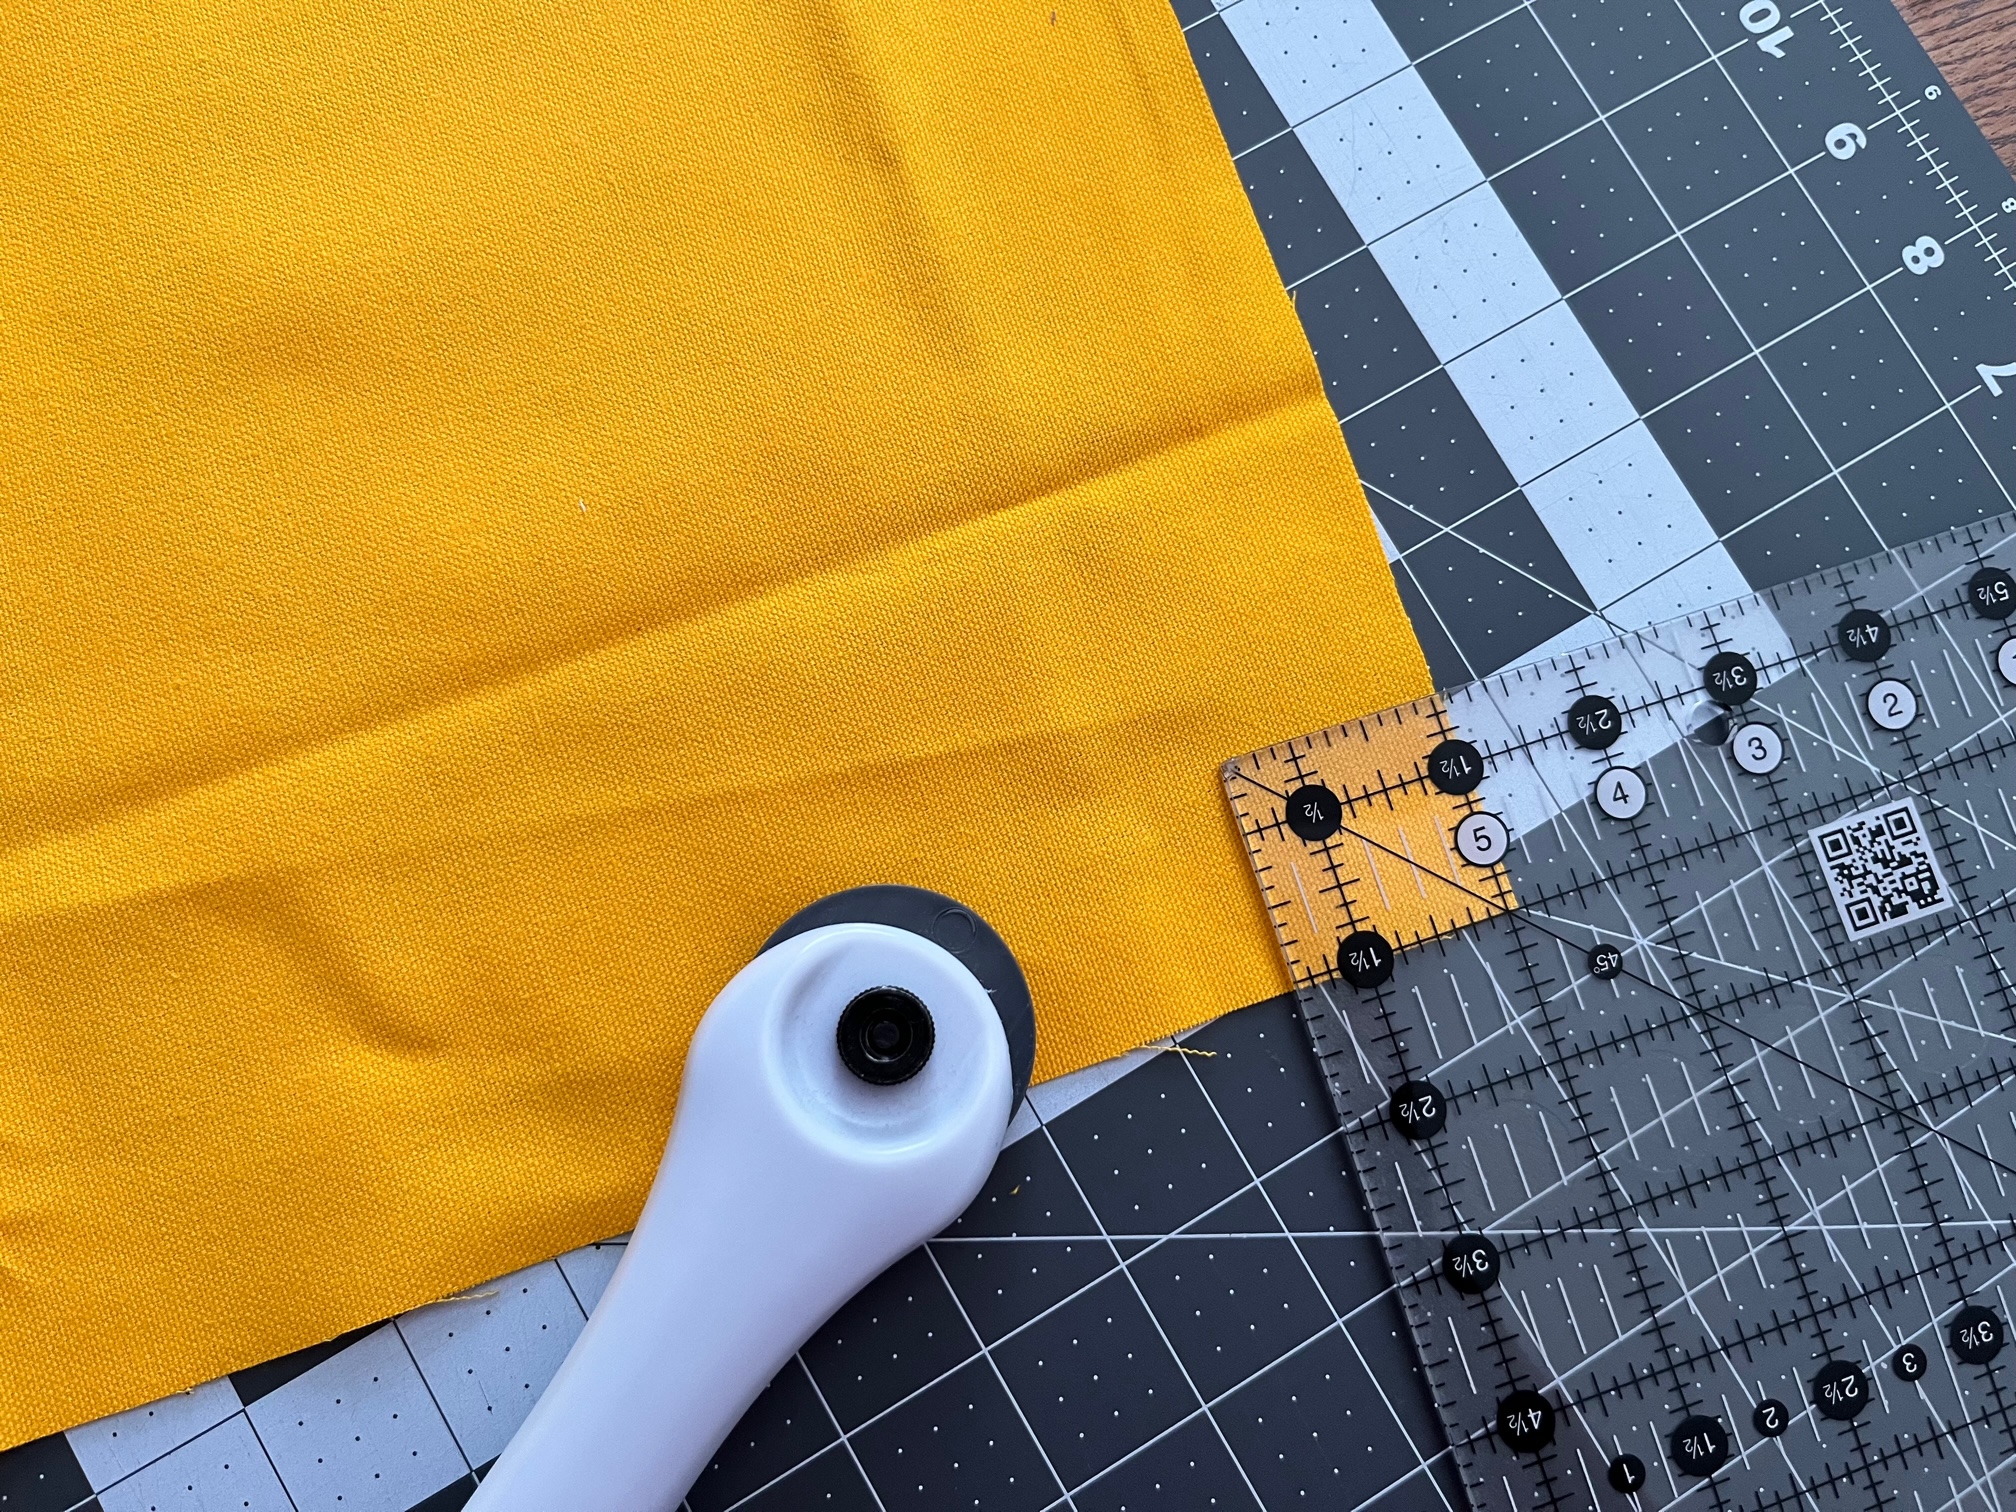
To prevent your ruler from slipping, I suggest spraying SpraynBond Pattern and Stencil Adhesive. The ruler tends to slip easily when cutting the mummy strips due to how thin they are, and not enough pressure can be placed over the fabric. Cut out 1″ x 18″ white strips. Cut as many as you would like to use on your bag. Cut out the circles for the eyes.

Continue by…
Arrange the white strips and eye circles on the front bag panel. The front bag panel should be 17″ across and 18″ down. Fuse when the placement is perfect and applique using your favorite method. HeatnBond Lite must be sewn. If you prefer a no-sew option, try using HeatnBond Ultra in the red packaging.
Important Tip: I suggest leaving the bottom 1 1/2″ free from any applique. This area will eventually be the bottom of the bag.

Next…
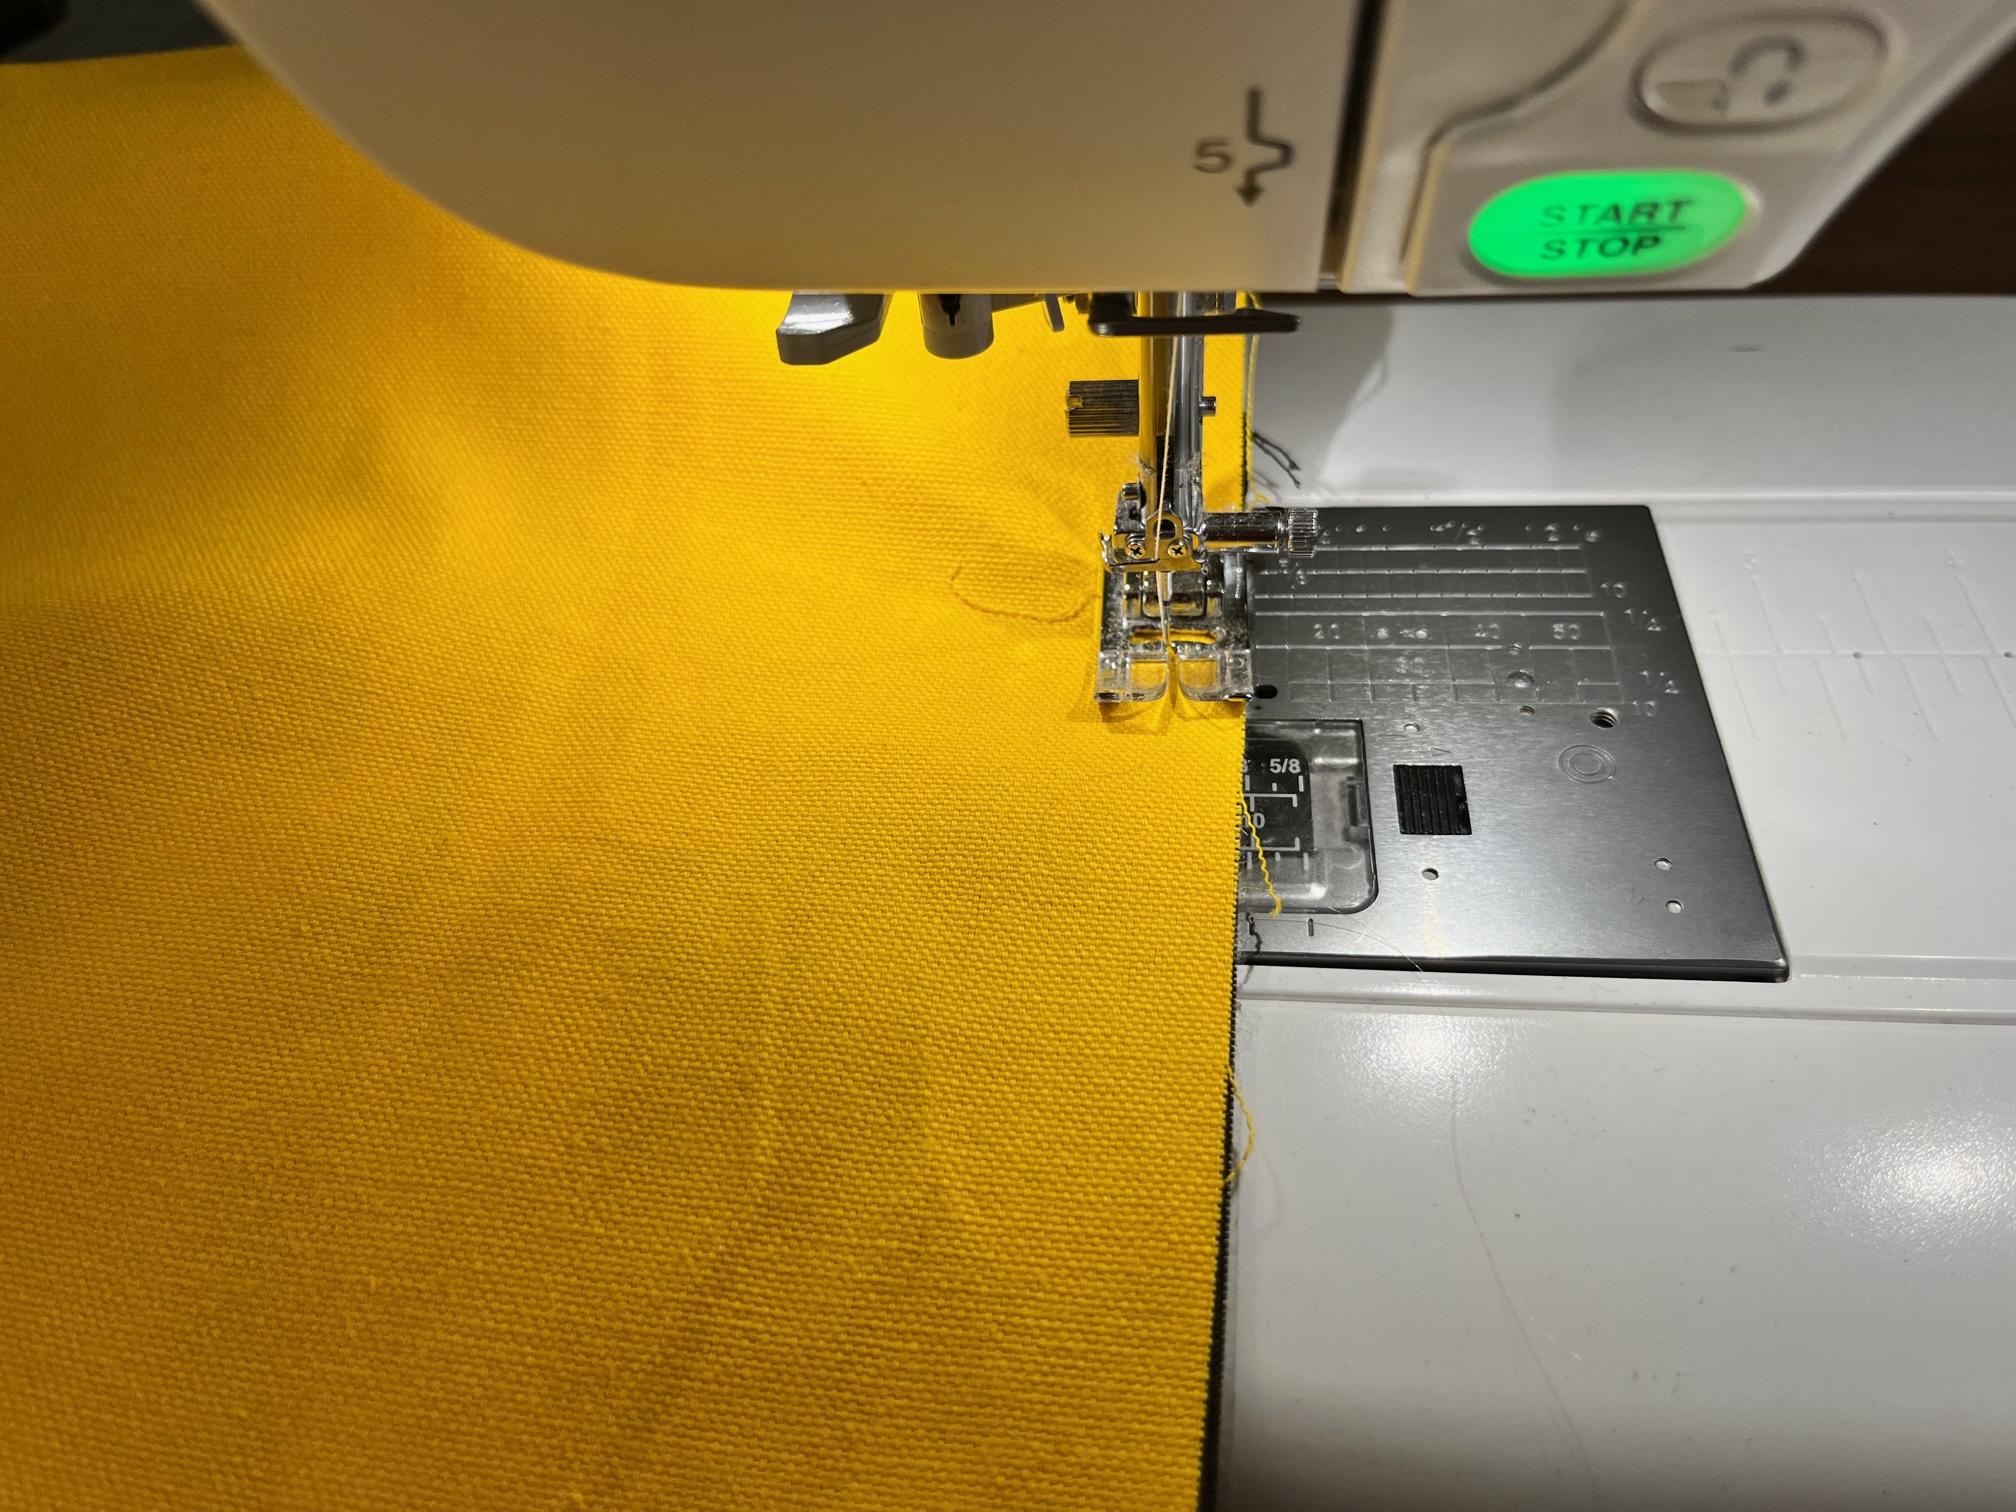
Trim the sides. Continue by adhering the fusible fleece to the wrong side of both front panels.
Then…
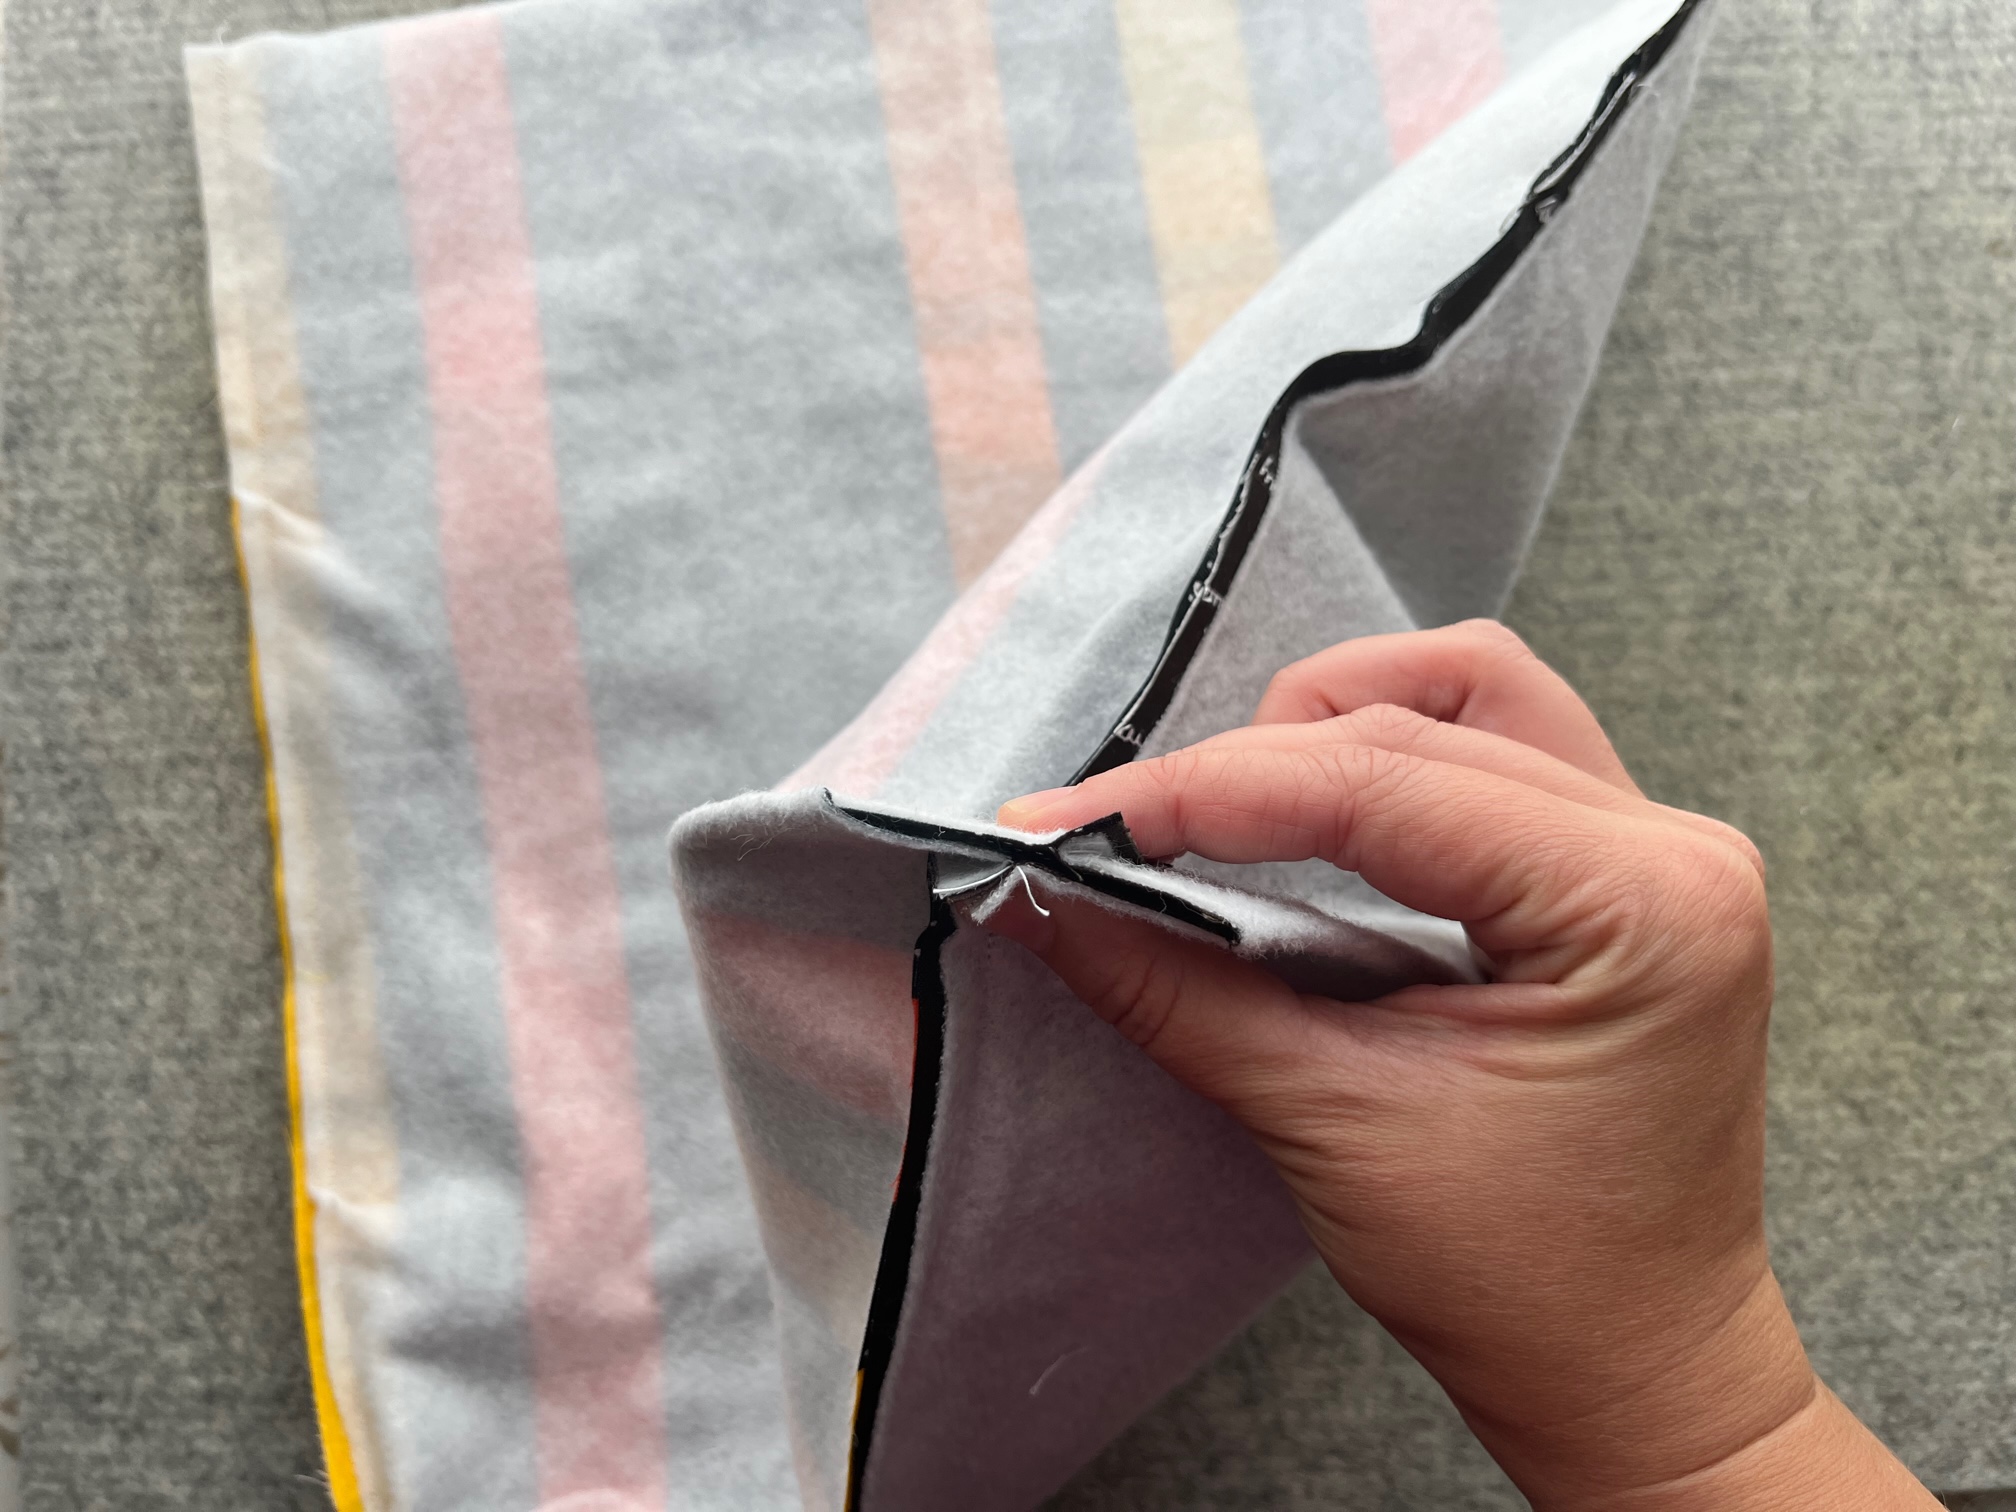
Measure 1 1/2″ squares on both bottom corners of both the front and back panels as well as both lining pieces. Cut the 1 1/2″ squares out. Set the lining aside for the time being.
Next…
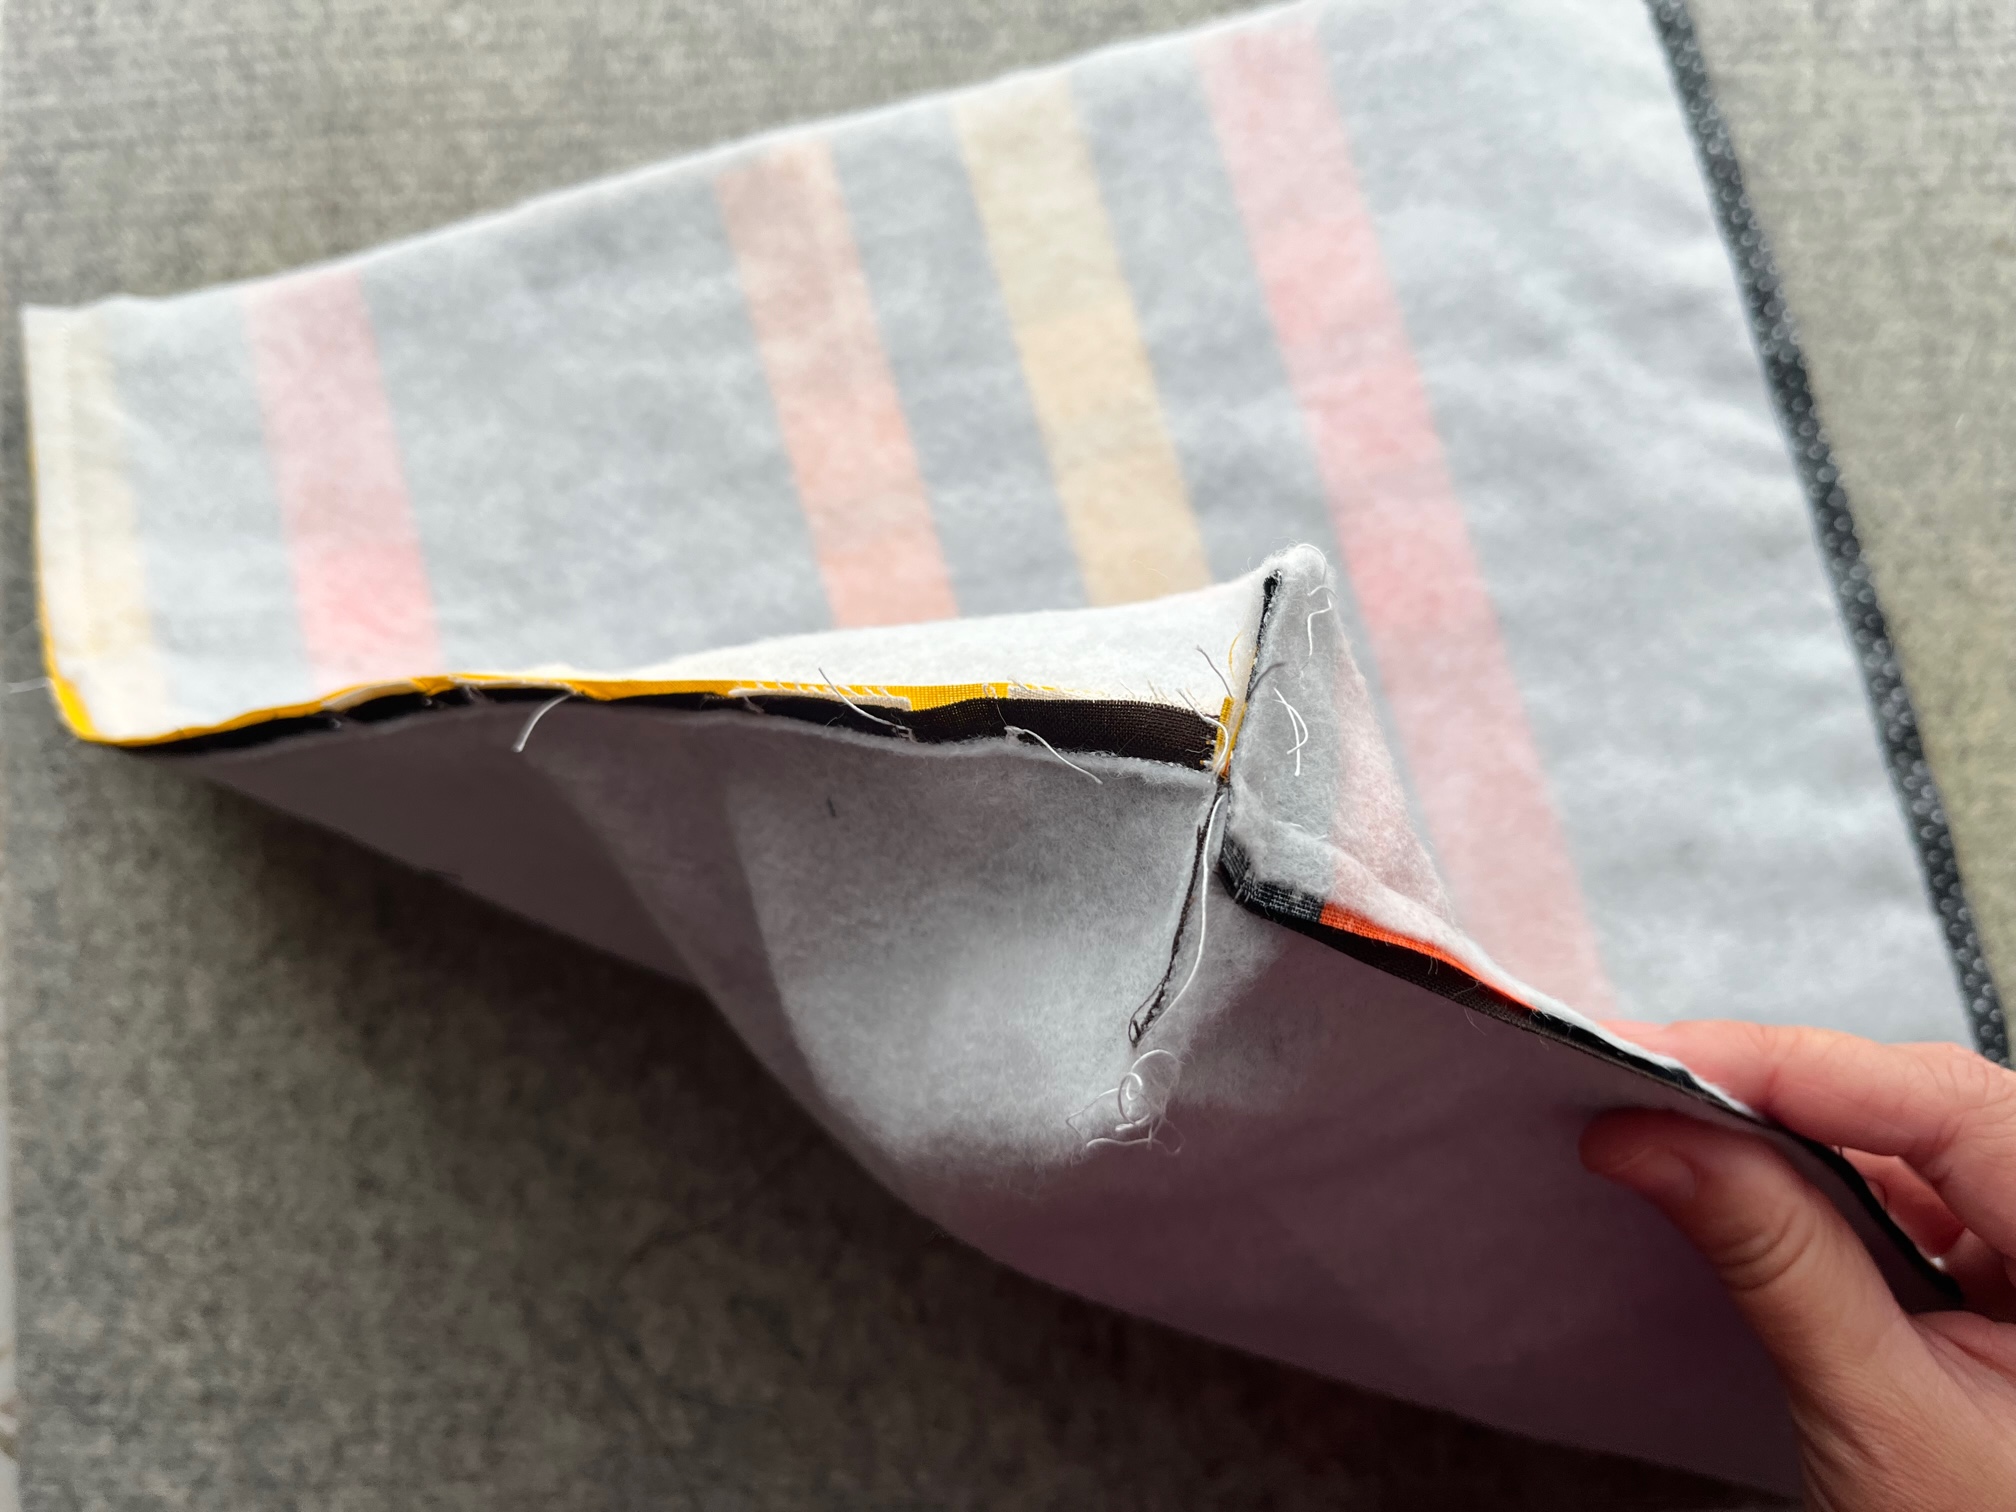
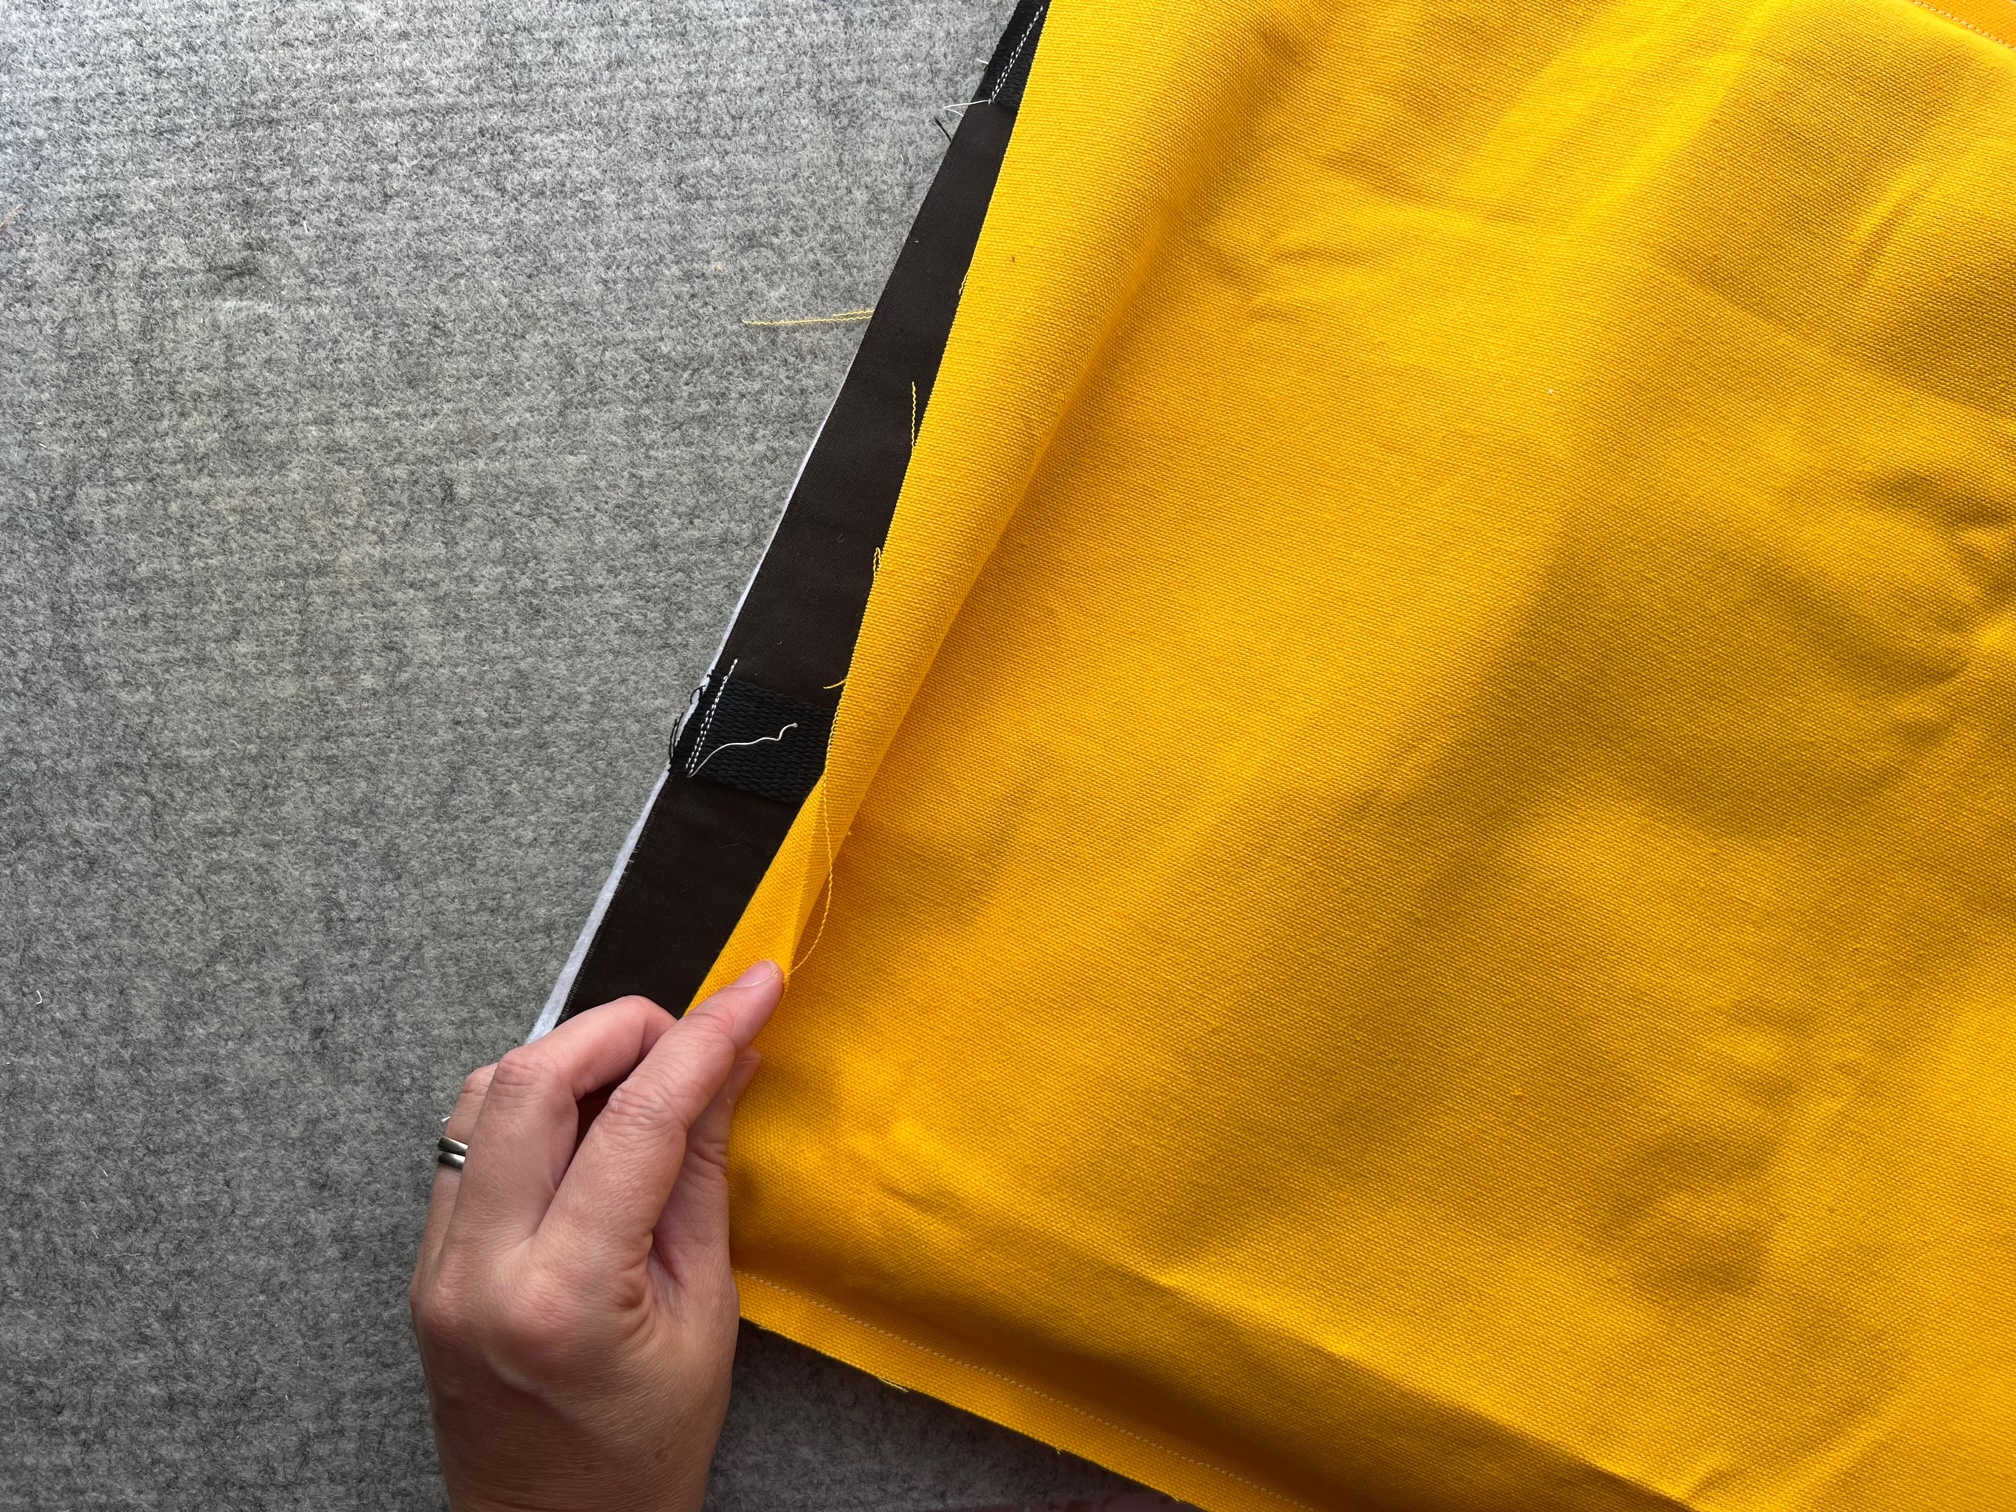
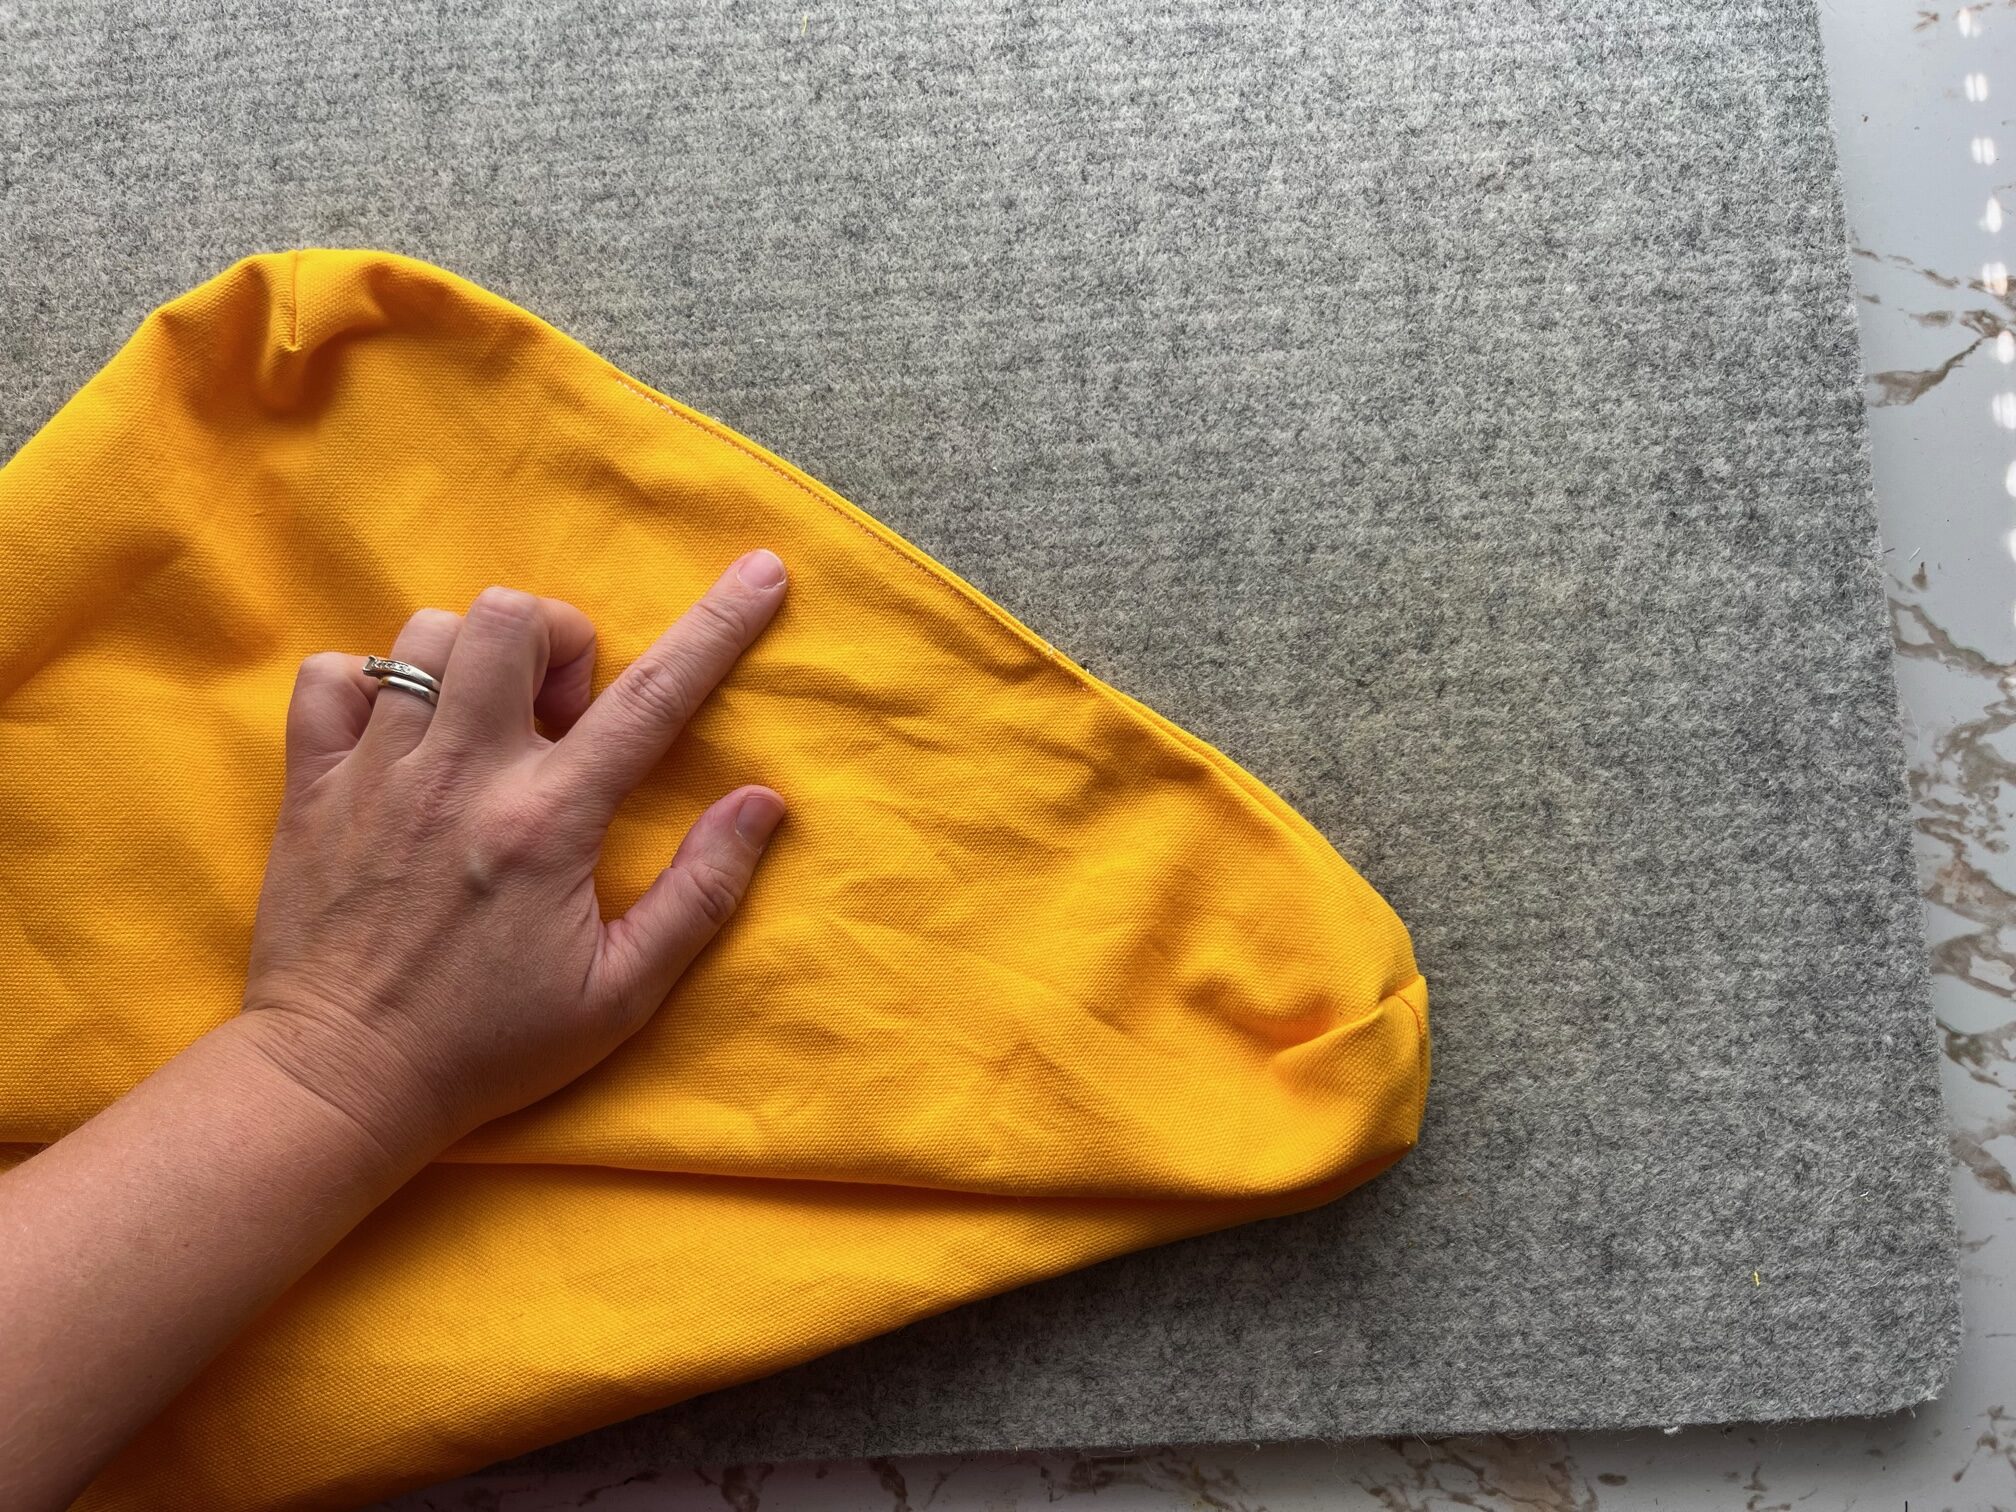
Place right sides together and sew down both long sides and across the bottom using a 3/8″ seam. Pinch the open corners together and stitch. Use a 3/8″ seam. Turn the bag right side out. Baste the handles to the top of the bag. The handles shown here are sewing 4″ in on both sides. Set aside.
Continue by…
Take the lining pieces and sew right sides together using a 3/8″ seam. Sew both long ends. Stitch the bottom but leave a 3″ opening in the center for turning. Next, pinch together the open corners and sew closed using a 3/8″ seam.
Keeping the lining inside out, place the outer bag piece into the lining. The right sides should be facing each other. Match up the side seams and pin together. Sew around the entire bag opening 3/8″.
Pull the bag through the 3″ opening. Sew the opening in the lining closed.
Finally…
Stuff the lining into the bag. Top stitch around the top of the bag.
Finished!
 Thank you for visiting today! Come back soon to see what else will be starting to bloom with Inflorescence Designs! And did you see my Halloween Ghost Boo t-shirt Tutorial? Click HERE for it!
Starting to bloom by choosing JOY ~ Julia