


Pick of the Patch Kitchen Towel featuring HeatnBond
Greetings! It’s Belinda Karls-Nace from Blue Ribbon Designs, here today with a brand new project tutorial featuring HeatnBond FeatherLite EZ-Print Iron-On Sheets. Today, I am excited to share my “Pick of the Patch Kitchen Towel” with you.
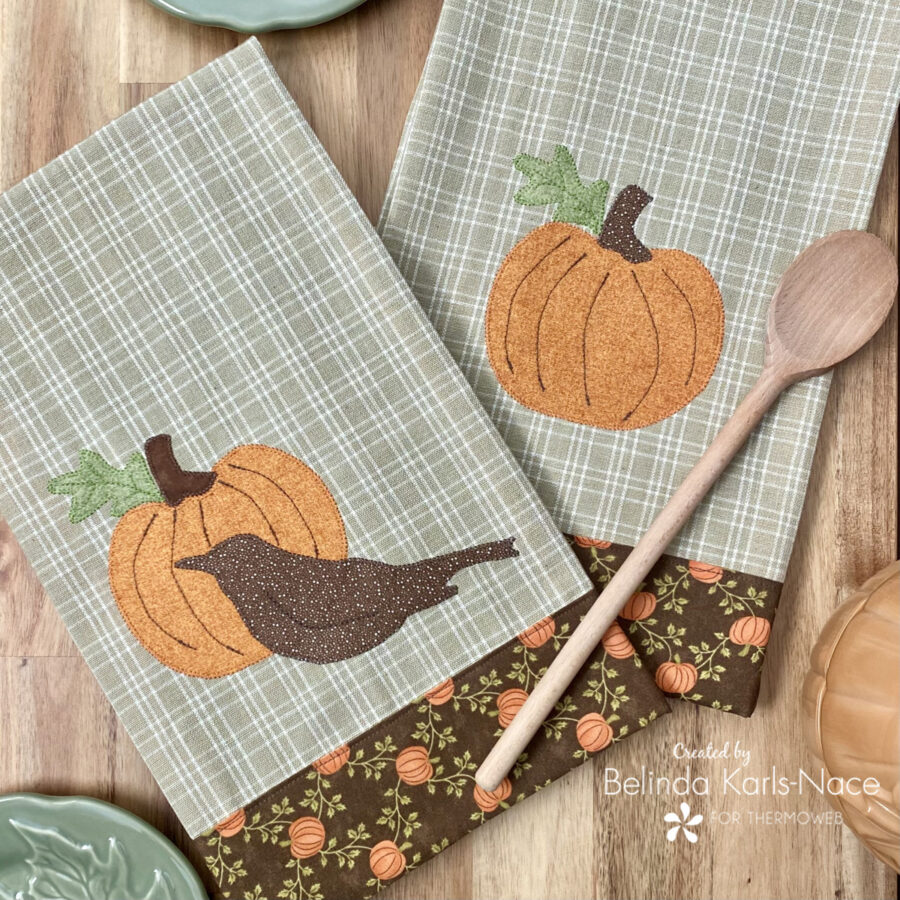
This fast and easy project uses a standard cotton kitchen towel available at any home or discount department store. You will find this seasonal towel is perfect for scraps or fat quarters and makes a wonderful hostess gift. It comes together quickly and is a perfect beginner project.
Let’s get started! Simply gather the materials/supplies listed below, then download the PDF templates.
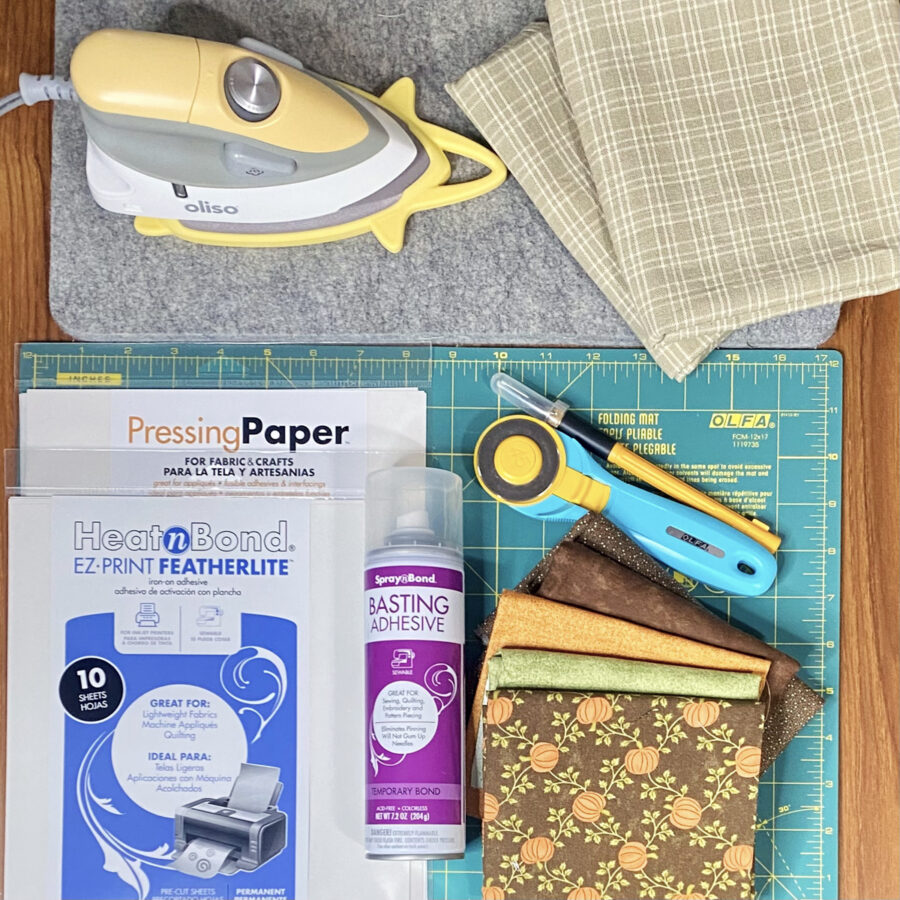
What you need for one kitchen towel:
- HeatnBond FeatherLite EZ-Print Iron-On Adhesive Sheets, 8.5 in x 11 in
- 1 sheet/towel
- SpraynBond Basting Adhesive Fabric Spray
- Pressing Paper Fabric and Craft Sheets (optional)
- 1 Sheet
- Standard Cotton Kitchen Dish Towel (model measures 20” x 28”, but choose your favorite towel/size)
- Cotton Fabrics: I used a focal, fall print fabric for the strip across the bottom of the towel (model uses Fall Back in Time by Sandy Gervais for Moda, an older collection, but this project is perfect for scraps of fall colored fabrics you have on hand) and several coordinating solids/small prints. I encourage you to use your favorite fabrics.
- Pumpkins/Focal Strip Fabric (strip across the bottom of the towel)
- 1 – width of towel + 1” x 6” strip (model towel width is 20”; therefore, my strip measured 21” x 6”)
- Orange (pumpkin)
- 1 – 5” x 4”
- Green (leaf)
- 1 – 2” x 2½”
- Brown (stem
- 1 – 1½” x 1½”
- Dk Brown or Black (bird)
- 1 – 6” x 4”
- Pumpkins/Focal Strip Fabric (strip across the bottom of the towel)
- Clover Hot Ruler (7811) (optional, but helpful)
- Starch or Starch Alternative (optional, but helpful)
- Oliso Iron
- Olfa Cutting Tools (cutting mat, rotary cutter)
- Sewing Machine
- Basic Sewing Supplies/Tools (small sharp scissors, rulers, sewing thread, pencil, etc.)
How to Make a Pick of the Patch Kitchen Towel
1. Download and Print the Pick of the Patch Kitchen Towel Templates.
Pick of the Patch Kitchen Towel – A Project for the ThermOWeb Blog
- Print actual size – do NOT “fit to page” or “shrink to fit.”
- Print page 1 on regular printer paper.
- Print page 2 on HeatnBond FeatherLite EZ-Print Iron-On Adhesive (Inkjet printer friendly – no tracing required).
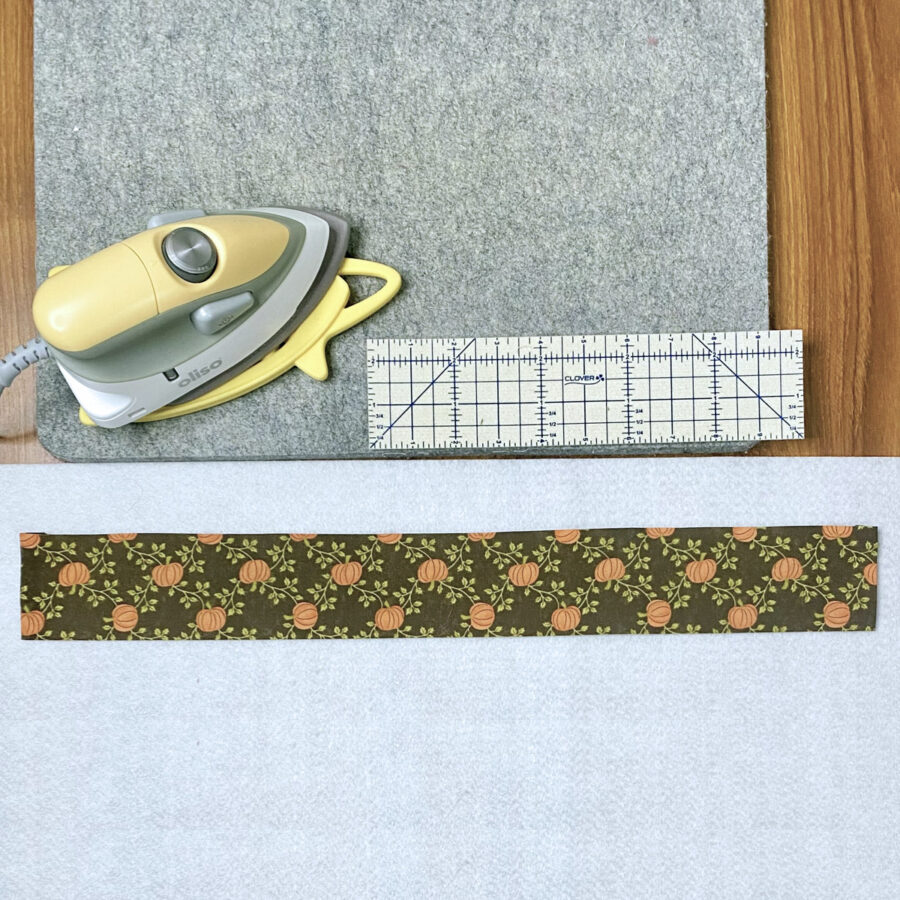
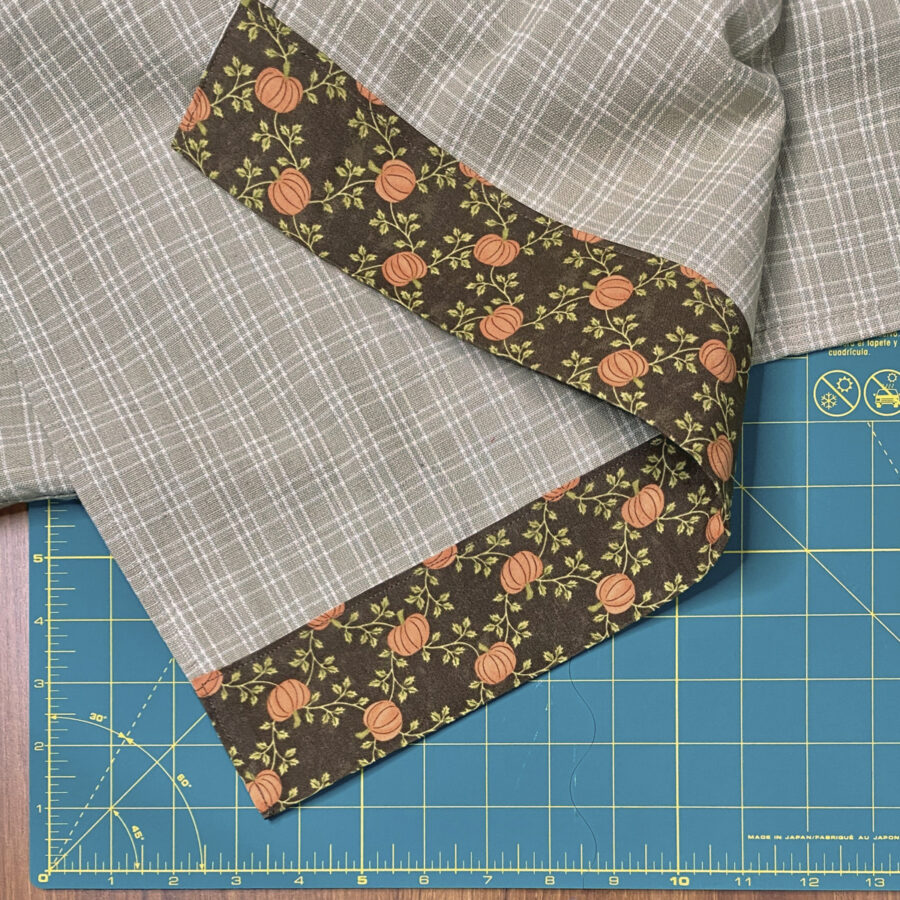
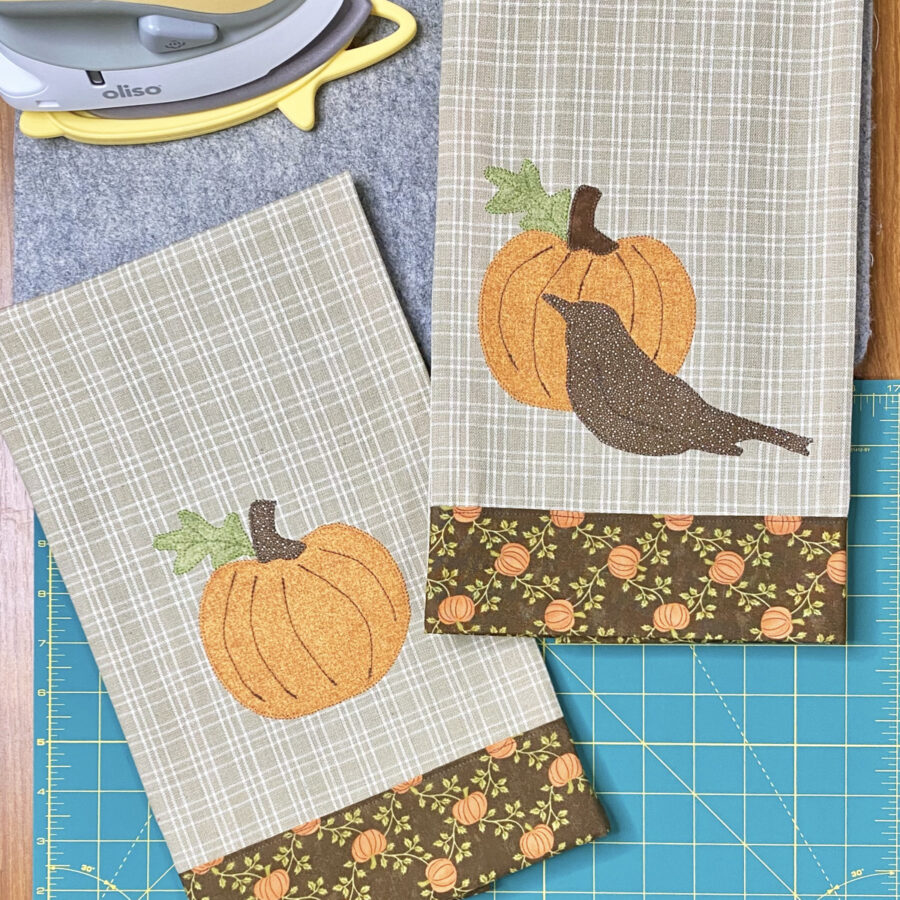
2. Create fabric strip edging.
- On each side of the fabric strip, fold over ½” to the wrong side. Press. A Clover Hot Ruler works great for this, as it can be ironed. Starch or a starch alternative is also helpful to get crisp, flat edges.
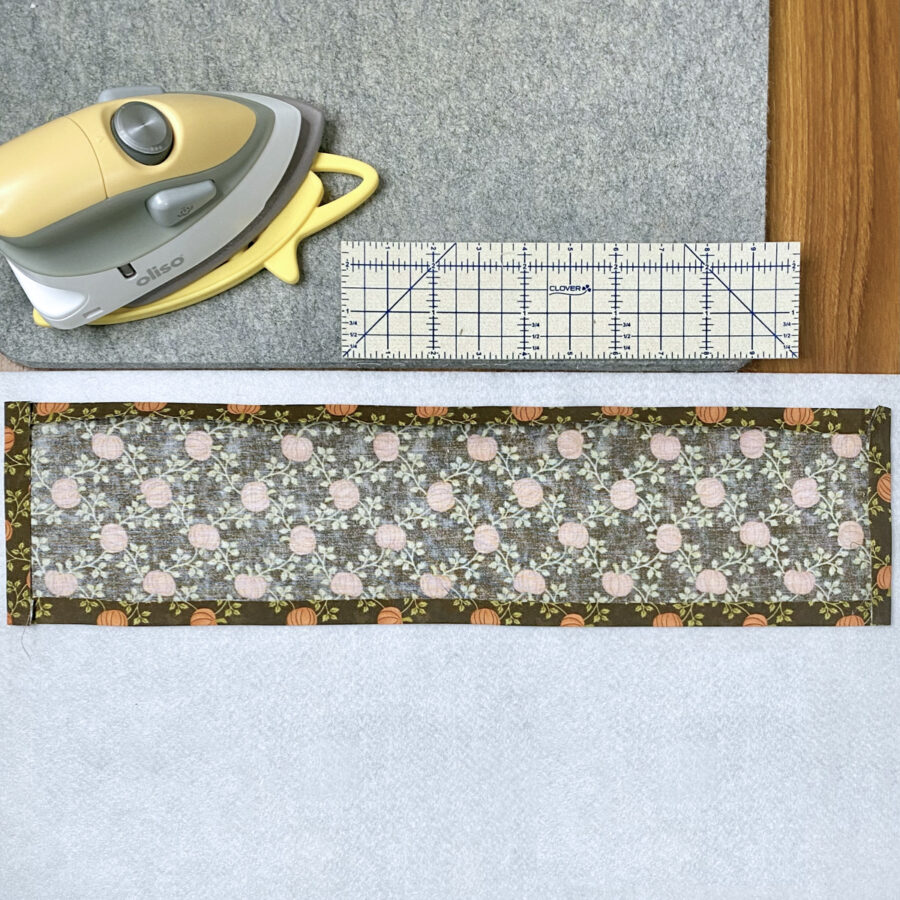
- Fold strip in half, wrong sides together and press.
- Place the bottom edge of kitchen towel inside the fold. Half the fabric strip will now be on the front side, half will be on the back side. Make sure all the sides match up nicely.

- One you have the placement the way you want it, open the fabric strip and spray with SpraynBond Basting Adhesive Fabric Spray. This will hold the towel in place in the fold.
- Ensure your work area is protected – I place my project on a Pressing Paper Fabric and Craft Sheet.
- Shake can well.
- Hold can upright, 12 inches from wrong side of fabric strip. Press the nozzle and apply adhesive in a sweeping (side to side) motion. Lightly and evenly coat the surface, making sure to cover the edges.
- Wait 30 seconds then press towel into the fabric strip fold while still tacky, repositioning as needed.
- Before storing, hold the can upside down and press for a short burst to clear the nozzle.
- Now that the fabric strip is basted in place, take the towel to the sewing machine, and sew an ⅛” – ¼” seam allowance around the sides and top of the strip (I did not sew along the bottom of the towel). Back stitch at the start and stop to reinforce the stitches. With the thickness of the towel and fabric, a longer stitch length will work best; I used a 3.0 (3mm) stitch length.
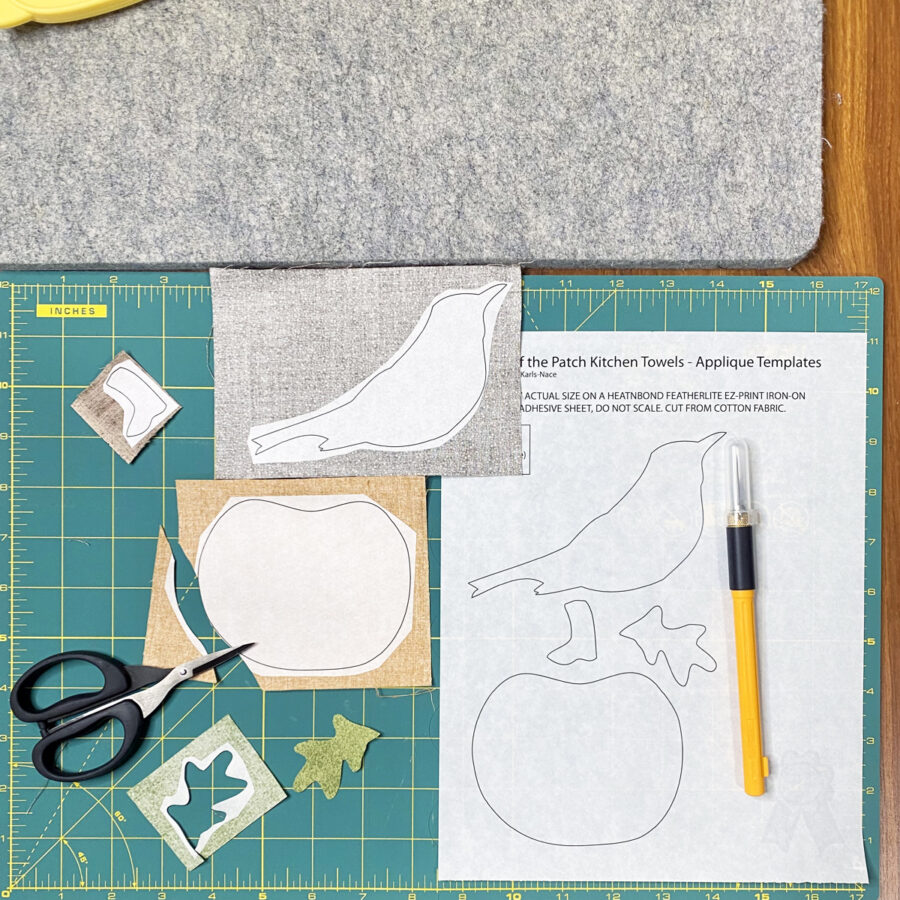
3. Prepare the appliqué pieces.
- Loosely cut apart the applique templates printed on HeatnBond FeatherLite EZ-Print Iron-On Adhesive and apply to the back of selected fabrics following the package instructions. FeatherLite Iron-On Adhesive is perfect for this project, as it keeps the bulk down and keeps the towel soft and flexible.

- Loosely cut out all shapes, leaving the paper in place.
- Pre-heat iron to medium heat, no steam.
- Place loosely cut apart template(s) on the wrong side of selected cotton fabric (printed paper, smooth side, should be face up).
- Place and hold the iron on the paper for 2 seconds. Repeat, overlapping slightly, until entire surface is bonded.
- Allow it to cool.
- Cut or trim the pieces on the solid lines printed on the paper to create the desired shape. Leave the paper in place until ready to fuse in place.
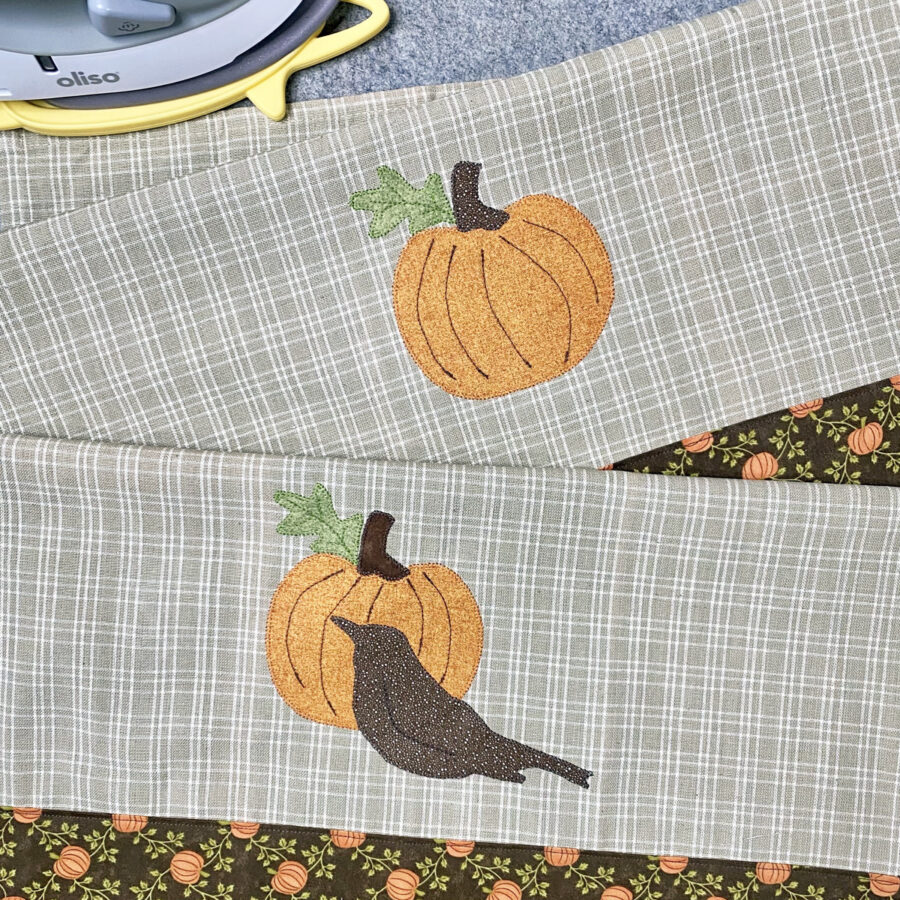
4. Fuse and Applique the Pumpkin/Bird.
- Find the vertical center of the towel by folding it in half lengthwise and finger pressing.
- Remove the paper backs from appliqué pieces. Center and fuse the pieces into place on the towel, following the package instructions. I placed the pumpkin approximately 2” above the fabric strip.
- Pre-heat the iron to medium heat, no steam.
- Peel off paper.
- Place fabric shape, adhesive side down on top of the towel.
- Press and hold the iron for 6 seconds on each section, overlapping slightly, until the entire piece is bonded.
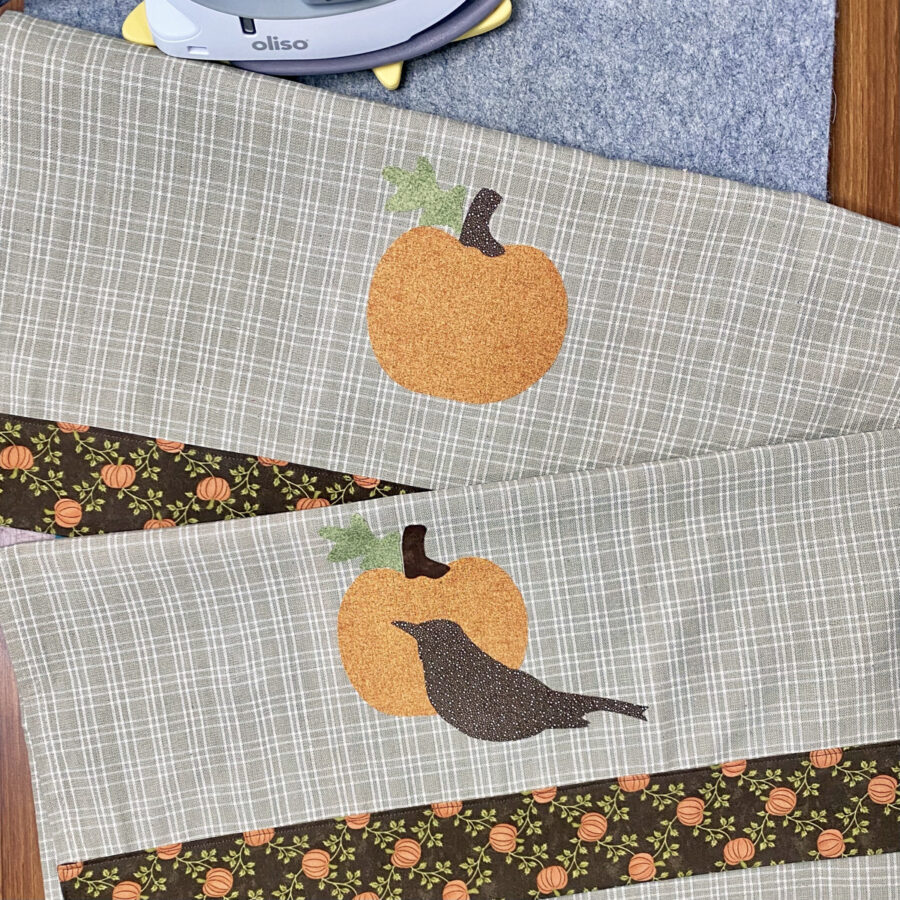
- Using your favorite appliqué stitch (machine or hand) and coordinating sewing thread, sew the pieces in place. I chose to use a machine blanket stitch.
- I used the same thread in my needle and bobbin, making the applique stitches visible on the back of the towel, which I find to be eye-pleasing. Should you want the stitches to blend on the back of the towel, use a thread the same color as the towel in the bobbin.
- Optional: Using a pencil or fabric marker, draw curves on the pumpkin, veins on the leaf and a wing on the bird. Use a straight stitch over these lines to embellish the shapes.
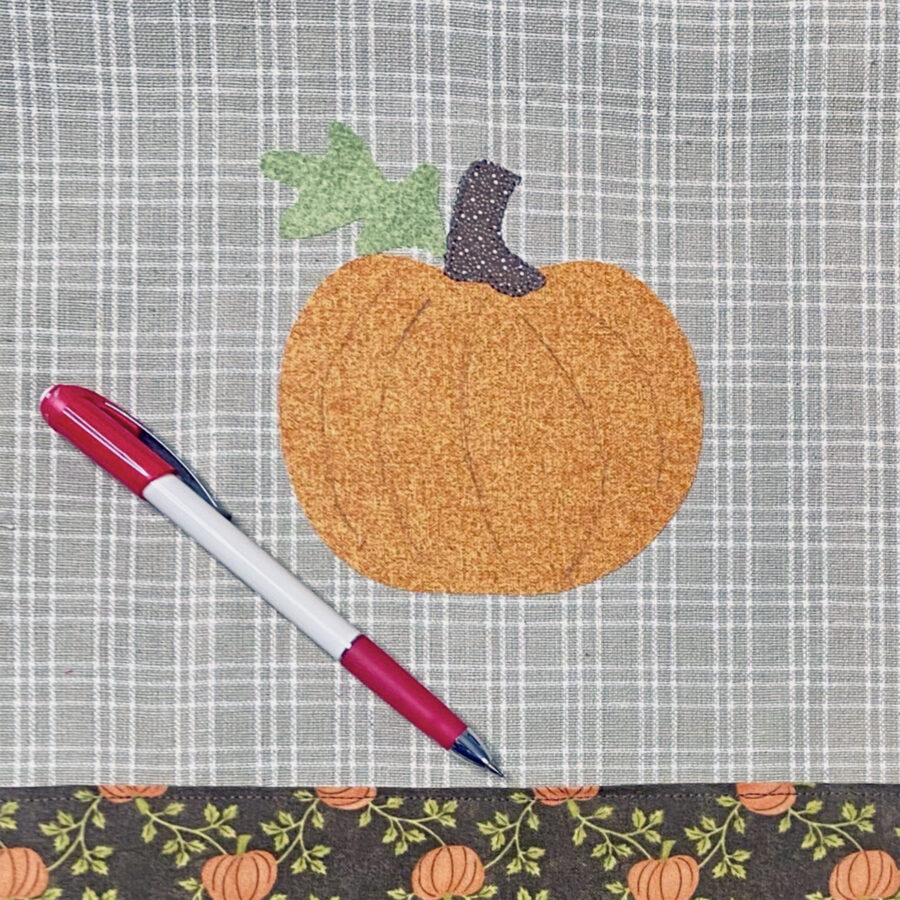
5. Your Pick of the Patch Kitchen Towel is now complete. Enjoy!

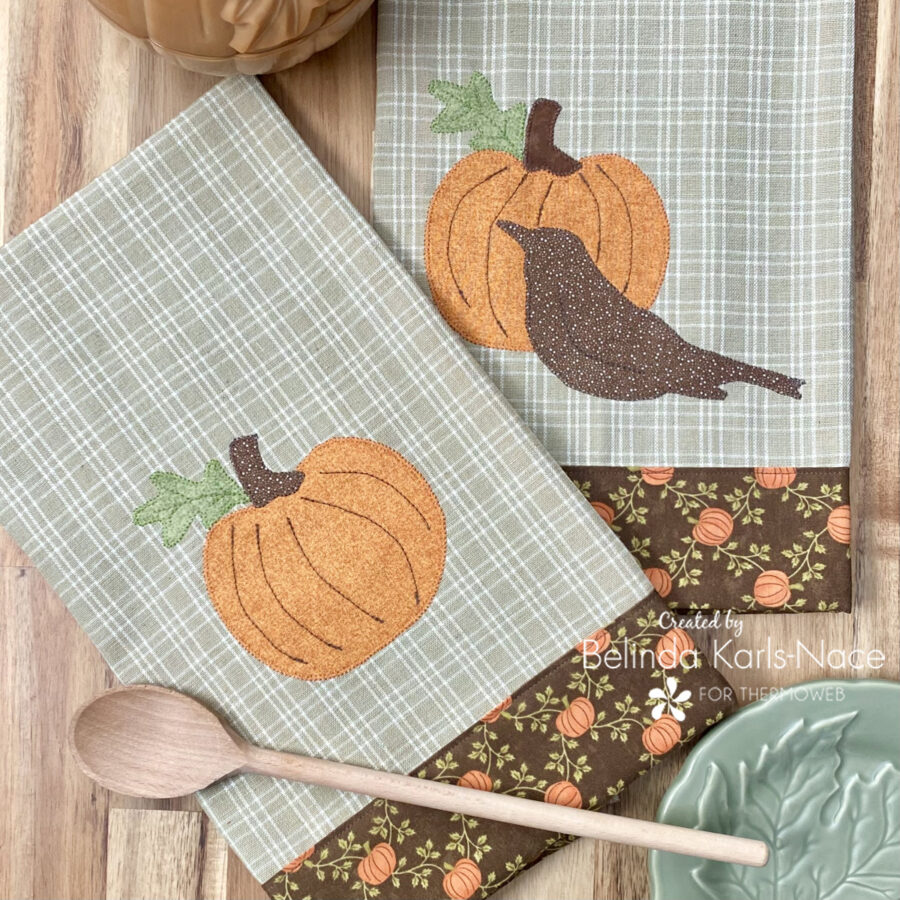
Thank you for joining me today for my Therm O Web blog tutorial. I hope this post inspires you to create a couple seasonal kitchen towels that match your personality and style, using materials you have on hand. Wrap a kitchen towel with a wooden spoon, potholder and/or cookie cutter for a perfect gift from the heart! To see more of my projects, stop by my blog, website, and/or Instagram – I would love to visit with you and see what you create!