


Happy March friends! This is Dori and I’m super happy about the project I made for you today! Have you ever made a boxy cosmetic pouch before? They are such an awesome gift for any age, but today I made one for a sweet girl for her 15th birthday.
I used all my favorite Thermoweb adhesives… the ones I love so much that I can’t sew without them!
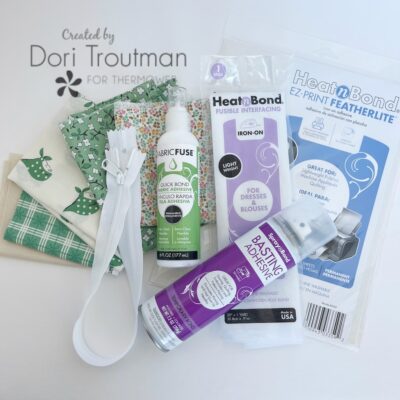
Supplies:
- Thermoweb SpraynBond Basting Adhesive Spray
- Thermoweb Heatnbond Fabric Fabric Fuse Liquid Adhesive
- Thermoweb Heatnbond Fusible Interfacing lightweight
- Thermoweb Heatnbond EZ-Print Featherlite
- Holland Pouch Pattern
- 16 inch Zipper
- One fat quarter fabric for outer bag
- One fat quarter fabric for lining
- One fat quarter accent fabric
- One 13″ x 17″ piece of Fusible Foam
- 8″ x 11″ light colored fabric scrap
- Printable for name (click here)
The Holland Pouch Pattern is one of the best patterns I’ve ever purchased. It has clear illustrations along with excellent instructions. If you are a confident beginner sewist this is a pattern you can not only learn from, but enjoy as well!
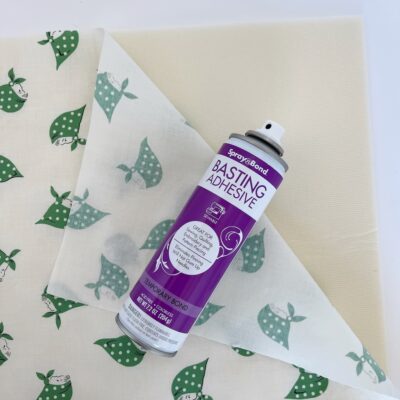
You’ll be doing some machine quilting on this pouch. And the very best Thermoweb product to make the quilting simple and fun is SpraynBond Basting Adhesive. Have you used this product before? Oh my word, just some light spray on the back of your fabric piece and it adheres perfectly to your fusible foam. Quilt as explained in the pattern.
I decided to personalize this pouch and I created a document with the name of the girl I gifted the pouch to. You can use the Boxy Pouch Name Printable that I made, it is in a word document file so all you have to do is change out the name to the one you will be using. I have three sizes as you might want to play around with what size you’d like yours to be. (Sample print to a piece of scrap paper to confirm the size.) Once I had it to the size I wanted, it is such a simple process to print the name on fabric. And here is how:
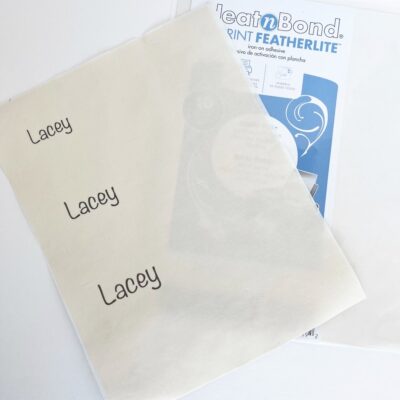
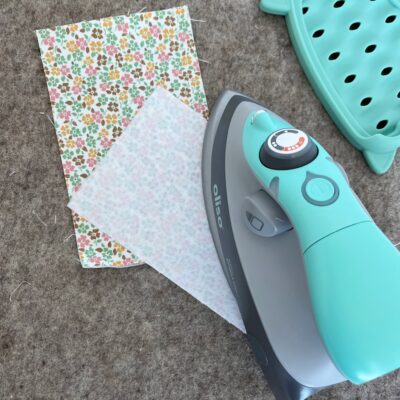
Iron your 8″ x 11″ fabric scrap to the fusible side of the the HeatnBond EZ Print. Simply run it through your printer as you would paper – so that the word is actually printed on the fabric! Now it becomes an iron on word! Have you done this before? It is so fun and such a great way to use words in your sewing projects.
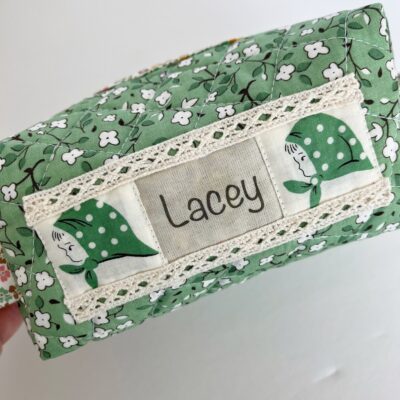
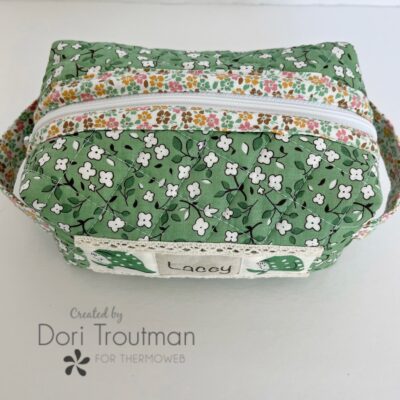
Cut your name to the size you’d like to use on the front of the pouch. Remove the paper backing. Center it to the front of the pouch approximately 2.5 inches from the top and iron it in place! Topstitch 1/8 inch around the word; don’t worry about any raw edges! I decorated mine up by little scraps of fussy cut fabric and fusing to my HeatnBond EZ Print scraps and ironing on to the bag next to the name. I also sewed on little bits of lace trim to dress it up. Have fun and enjoy this process.
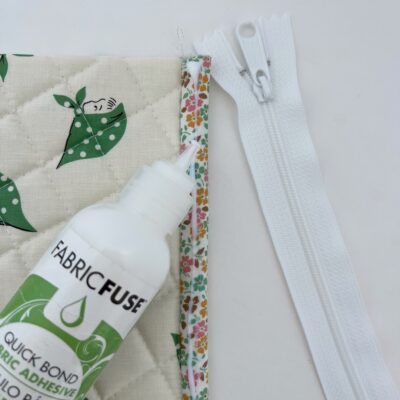
Follow the pattern to install the zipper. If you’ve never installed a zipper before, don’t let this cause you any stress. It’s actually very easy if you carefully follow the pattern. BUT, I have a great tip for you here… use the Fabric Fuse Liquid Adhesive to hold your zipper in place before you sew it. It is the BEST stuff!! It dries quickly and does not gum up your needle. I glue one side of the zipper, let it dry a few minutes and sew that. Then I do the same on the other side of the zipper.
You will use Thermoweb Fusible Lightweight Interfacing for the pouch handles. I used my Oliso Project Iron and wool pad for this and it’s just so simple and quick to keep next to my sewing machine.
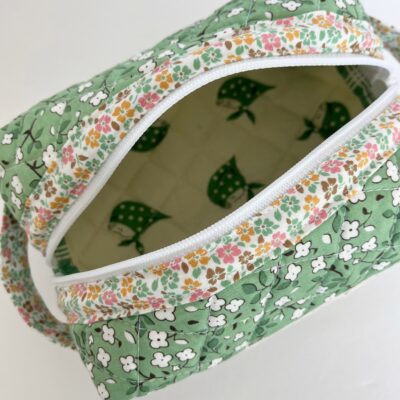
This pouch pattern comes in three sizes; I made the smallest size for this pouch. It’s not small AT ALL actually and is such a perfect size for a young teenage girl.
Thank you for following along!