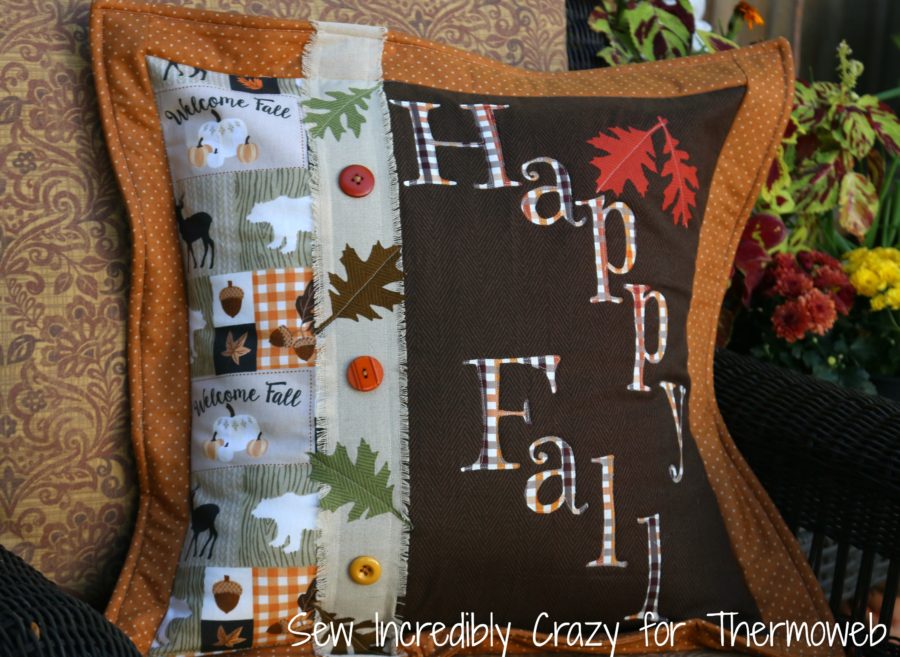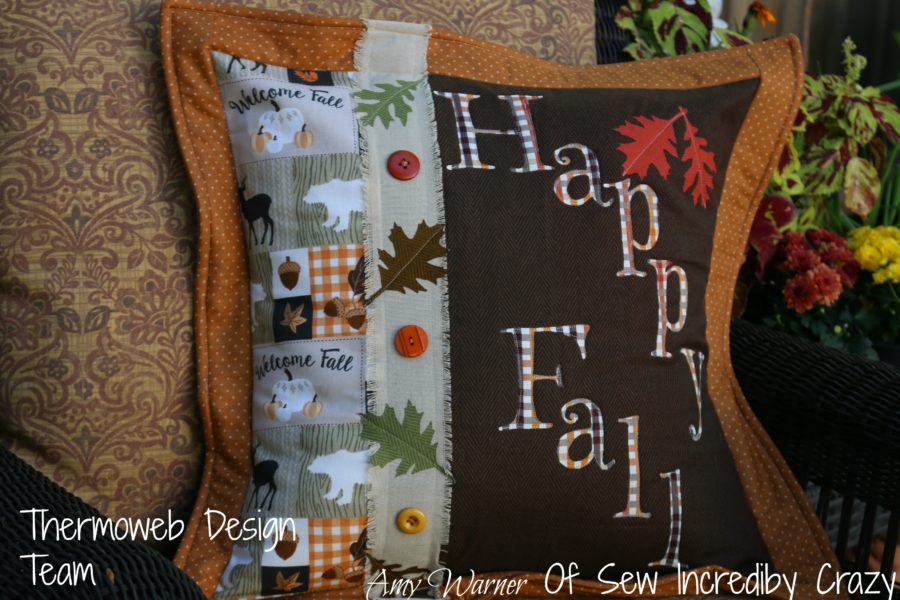
Hello there, and Happy Fall! Well, maybe not quite yet, but you can definitely feel it in the air here in my neck of the woods. The leaves are beginning to change, harvest is in full swing, and the pumpkins are beginning to turn a beautiful hue of orange. We needed a little décor to celebrate the season, so why not add an easy throw pillow.
Here is what you will need.
3 Fat quarters of fabric
1 yard of coordinating fabric for back and border
Coordinating scraps of fabric for leaves
3 buttons
leaf template or Sizzix leaves die (that is what I used)
4″ wide Coordinating Ribbon
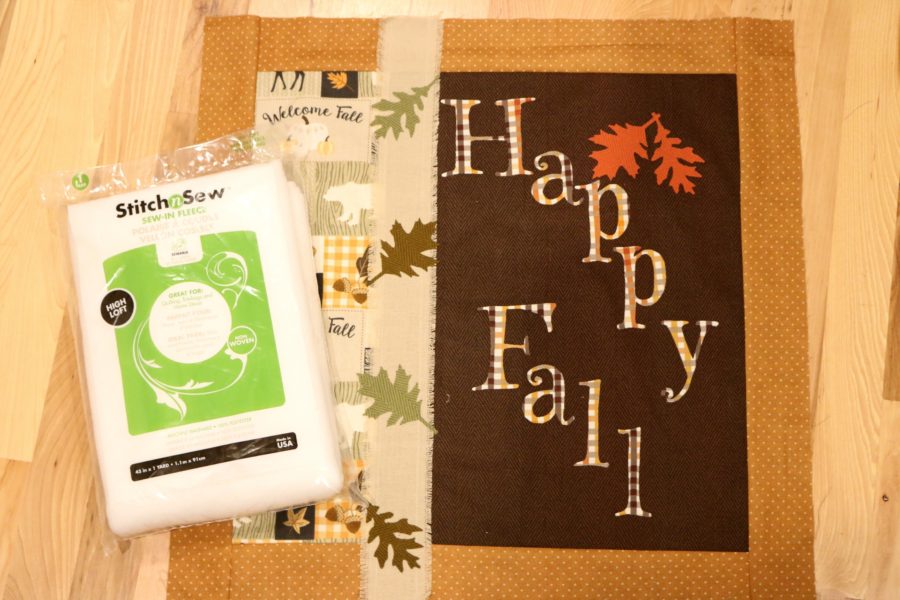
StitchnSew™ Sew-In High Loft Fleece Interfacing
Project Instructions:
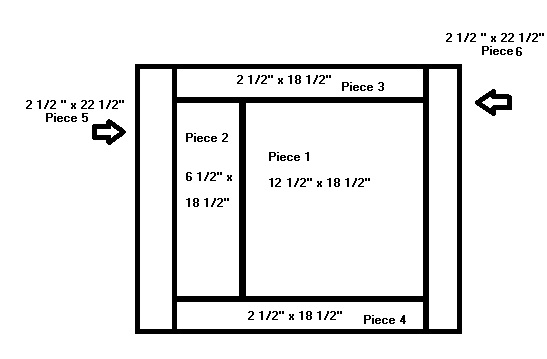
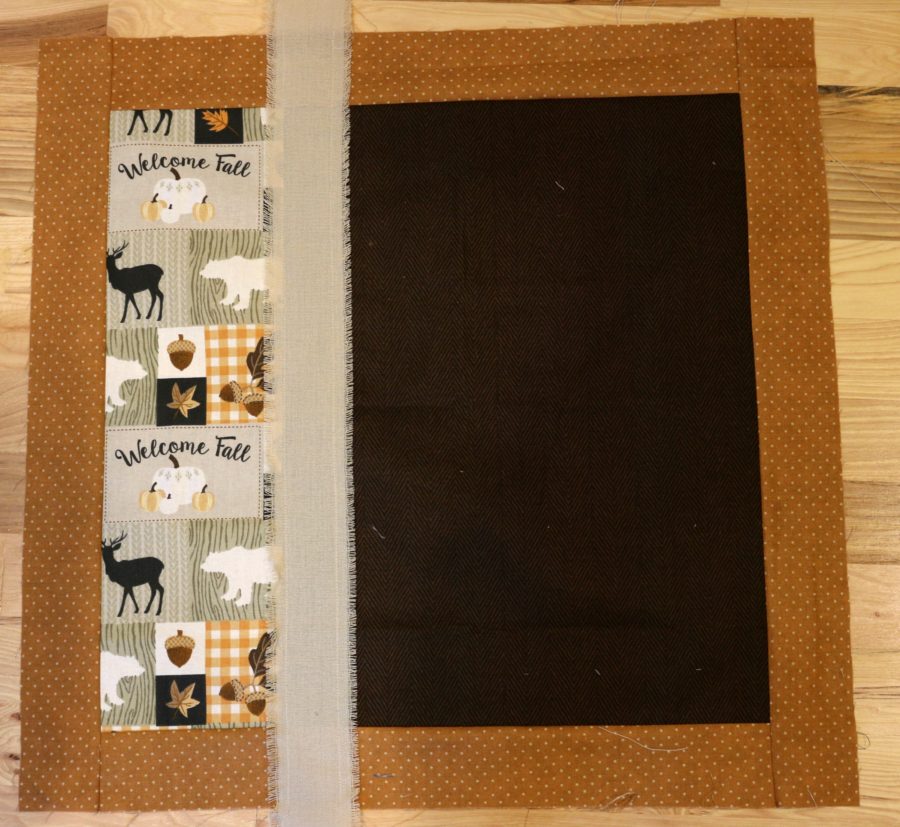
Cut the pieces of fabric by using diagram above. Cut pieces 3 – 6 for the coordinating fabric. Sew piece 1 and 2 together. Next, add piece 3 and 4. Last, sew piece 5 and 6 to the sides. After you have completed sewing the pillow top together, grab your ribbon and sew it over the seam of piece 1 and 2.
You can tack the ribbon in place by using SpraynBond® Basting Adhesive . Sew it down each side of the ribbon. Next, using your HeatnBond® Lite trace around the Happy Fall letters.

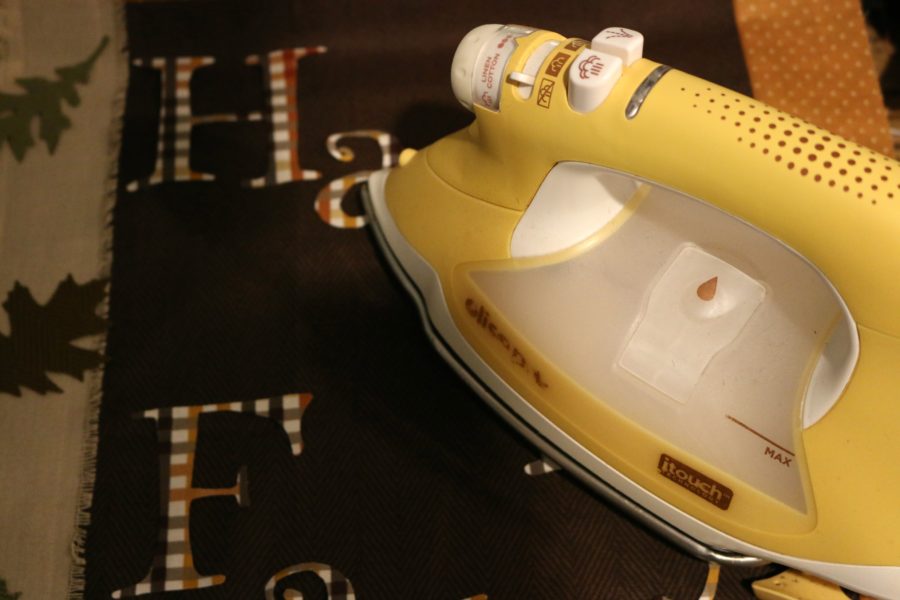
Iron the HeatNBond® letters onto your fabric.
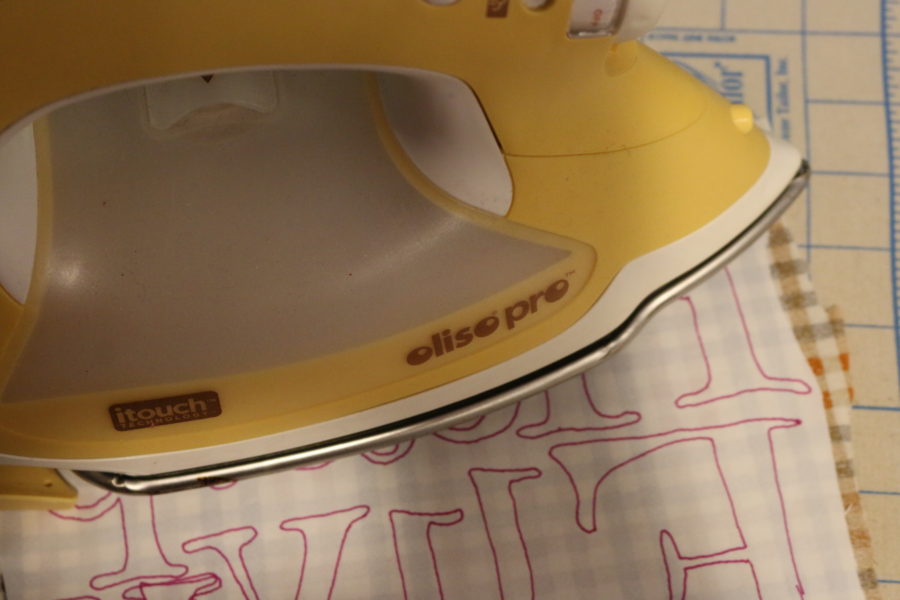
Cut around the letters. Remove the backing and iron on the pillow front.
To make the leaves using your Sizzix, iron a square of HeatnBond® Lite onto a piece of fabric, just larger than your die. Run it through your machine. If you do not have a Sizzix, use a trace a real leaf or find a free leaf template. Remove the backing and iron them in place.
After completing, use Sew-In High Loft Fleece Interfacing and quilt as desired. After quilting, trim. Cut two pieces of fabric at 12 1/2″ x 22 1/2″. Finish off the one edge of both pieces of backing on the 22 1/2″ length. With right sides together, lay one piece of the back onto the pillow front, with finished edge towards the center. Repeat with the other back piece. Pin in place. Sew around the edge. Turn right side out. Sew 1/4″ around the outside edge of the pillow. After sewing around the edge, stitch in the ditch at the outside border fabric. Make sure that the back is lying flat. You may need to pin it. Now your pillow is complete.
Have A HAPPY FALL!!