


Hello everyone and thanks for stopping by. It’s Deb here with you today to share a simple home decor project created with Therm O Web’s Deco Foil Flock Transfer Sheets. It’s Fruit Week here on the blog and as soon as I started to think about fruit and flock the first thing that came to mind was … peach fuzz! So I designed a framed vintage peach botanical print accented with Deco Foil Flock to share with all of you.
Simply Peachy Paper Art With Deco Foil Flock
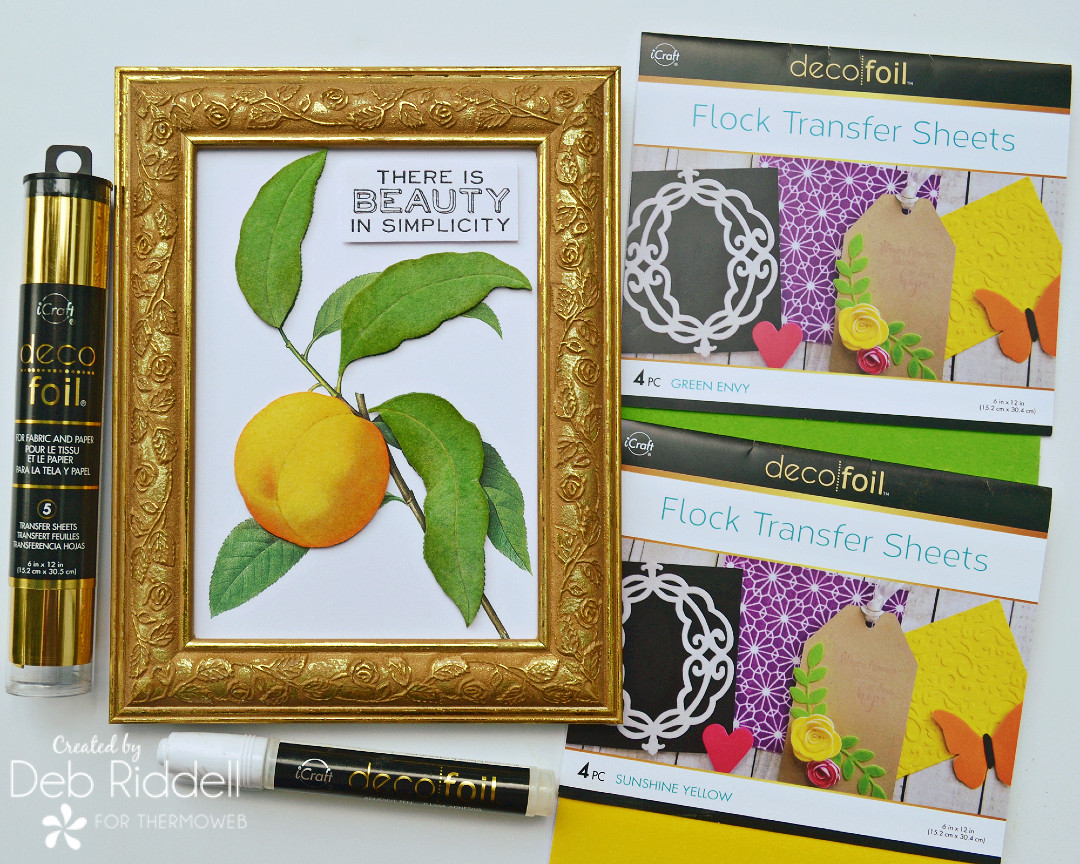
Therm O Web supplies used:
Deco Foil Flock Transfer Sheets, Sunshine Yellow
Deco Foil Flock Transfer Sheets, Green Envy
Deco Foil Transfer Sheets, Gold
iCraft Easy-Cut Adhesive Sheets 5.75 in x 5.75 in, 5 pack
Deco Foil Clear Transfer Adhesive Pen
Gina K. Designs Double-sided Adhesive Foam Squares, White
Other supplies used:
Vintage peach botanical print – click here to download the royalty-free image
5″ x 7″ frame
Orange and green stamping inks and applicators (Ripe Persimmon and Peeled Paint Distress Inks were used here)
Tan/taupe fine-tipped felt pen (Antique Linen Distress Marker was used here)
Sentiment stamp (Stampers Anonymous Perspective stamp was used here)
Black permanent ink
Clear embossing powder
Heat gun
Ball tip stylus
Computer and printer
White cardstock (65 or 67 lb)
Paper trimmer
Scissors
Foil laminator or die cutting machine
Simply Peachy Frame Instructions
Print two of the vintage peach botanical prints onto your white cardstock. Set one aside for now.
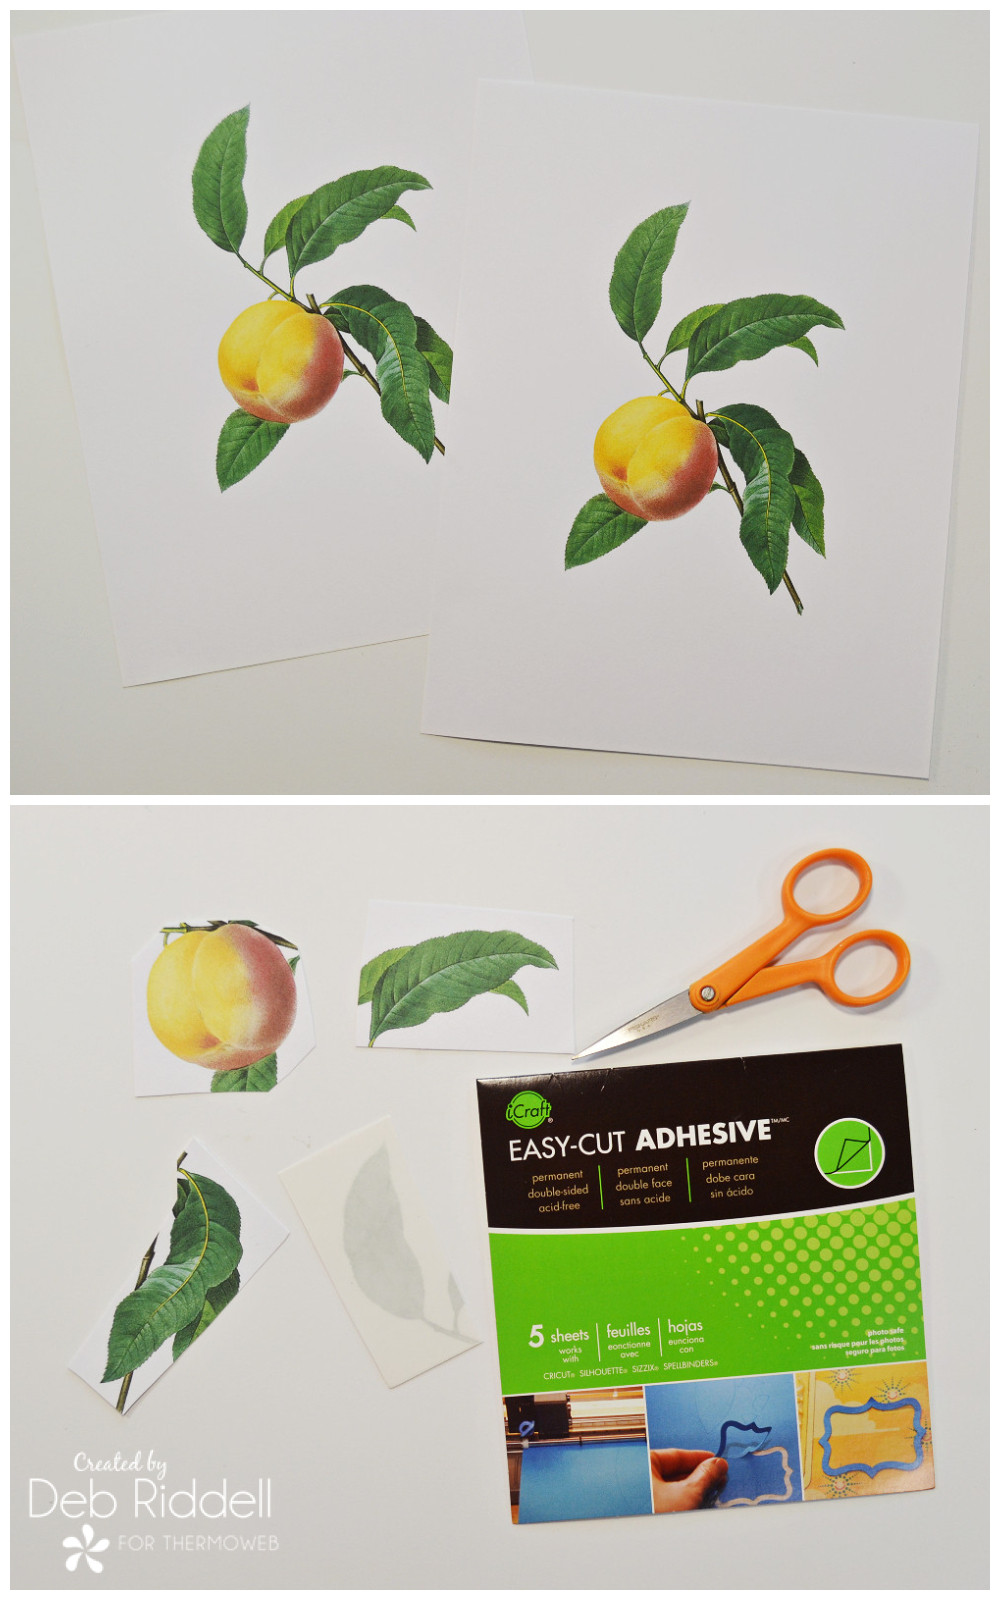
From the second image, cut out the peach and the three leaves that are in the foreground of the print. Adhere iCraft Easy-Cut adhesive to the front of each of the cutout elements and run them through your foil laminator on the cool setting or your die cutting machine to ensure that the adhesive sheet has well adhered to the images.
Peel off the backing paper from the adhesive sheet and apply a piece of Sunshine Yellow Flock to the peach and Green Envy Flock to each of the leaves (remember fuzzy side to the sticky adhesive!). Run them through your foil laminator on the cool setting or your die-cutting machine to ensure that the flock has well adhered to the images.
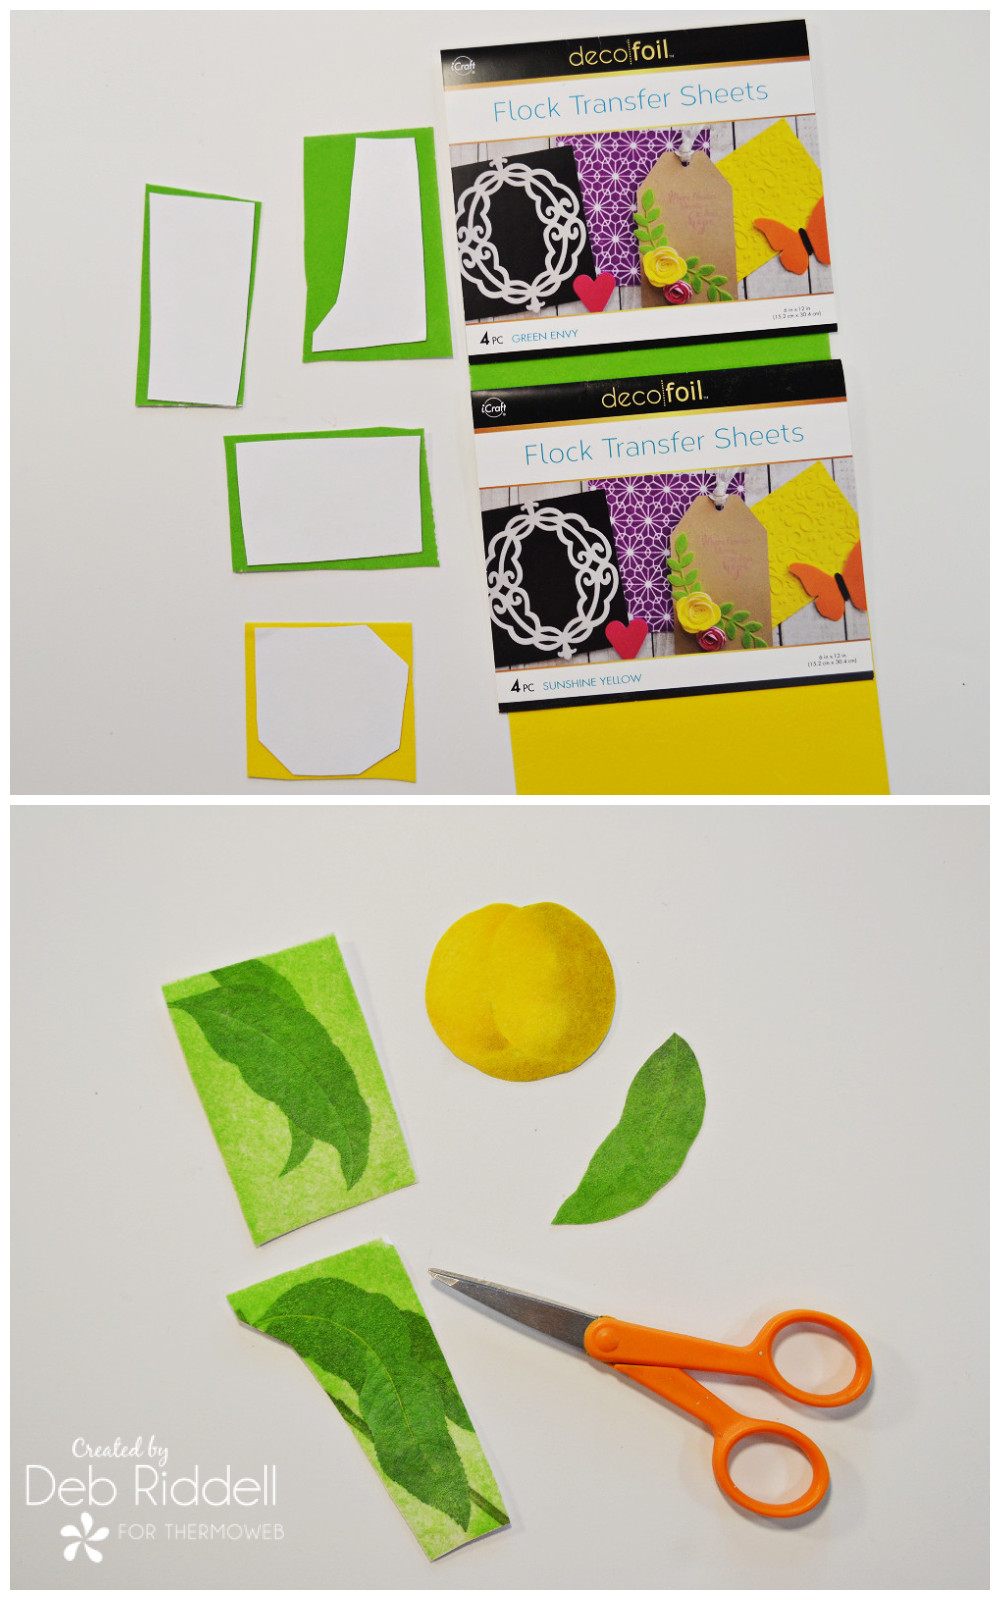 Peel the backing paper off of the flock and fussy cut each of the flocked images.
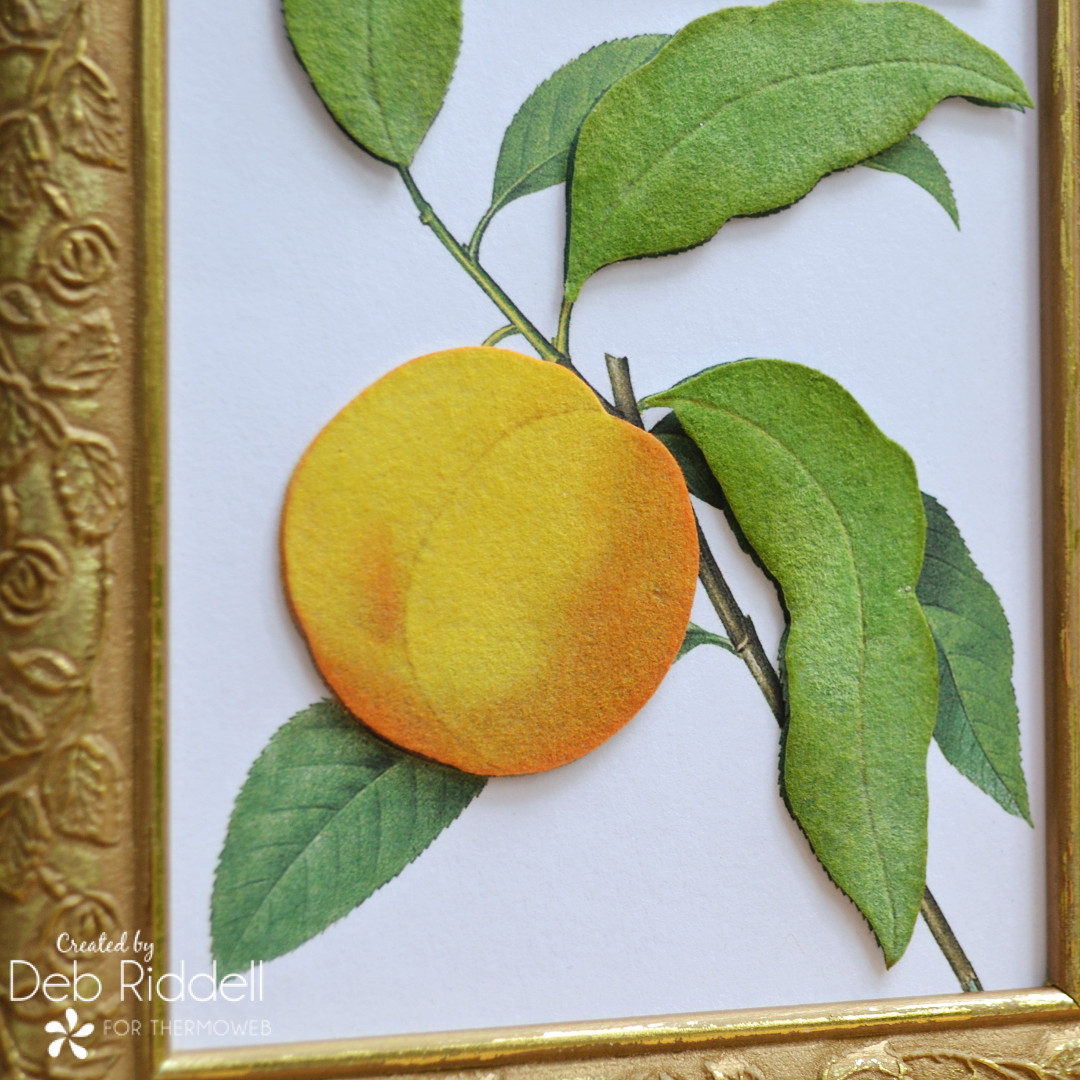
Add some details to the flocked peach. Draw a fine line down the cleft of the peach with the tan/taupe fine-tipped felt pen and lightly apply orange ink to the right side and bottom of the peach.
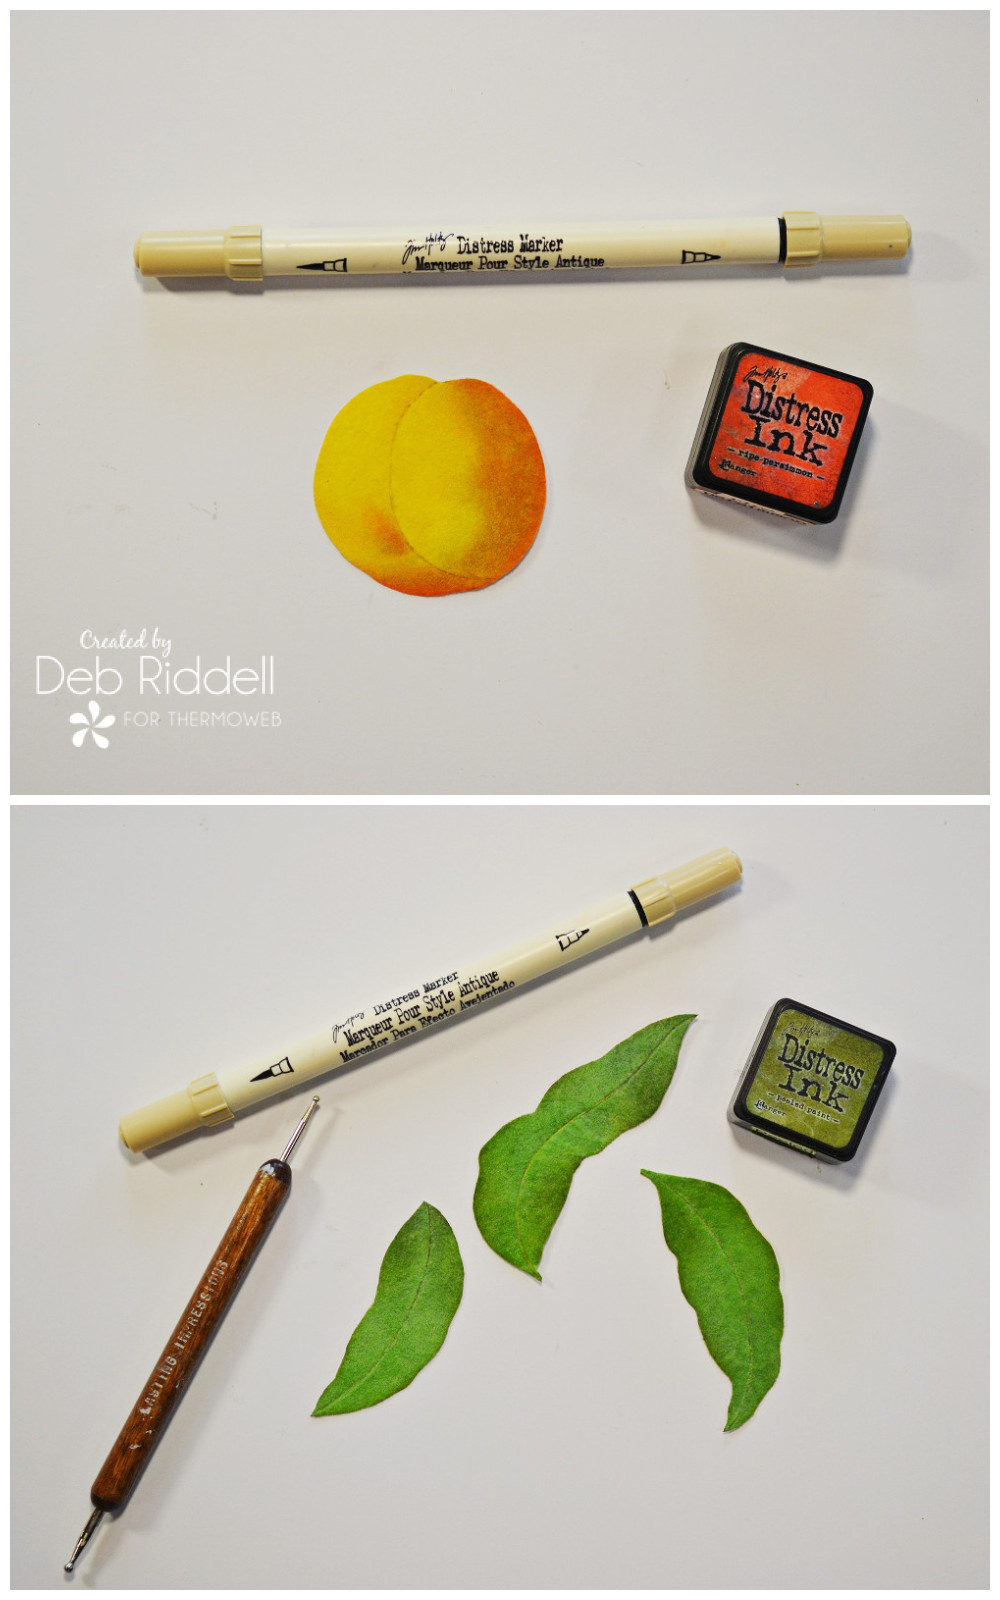 Emphasize the middle vein on the leaves by drawing a line along it with the ball stylus and then follow that up with the tan/taupe felt pen. Add some green ink to the leaves here and there to emphasize the shadowed areas (take a look at the other peach print to see where to add the ink).
Trim the second print to size to fit in your 5″ x 7″ frame.
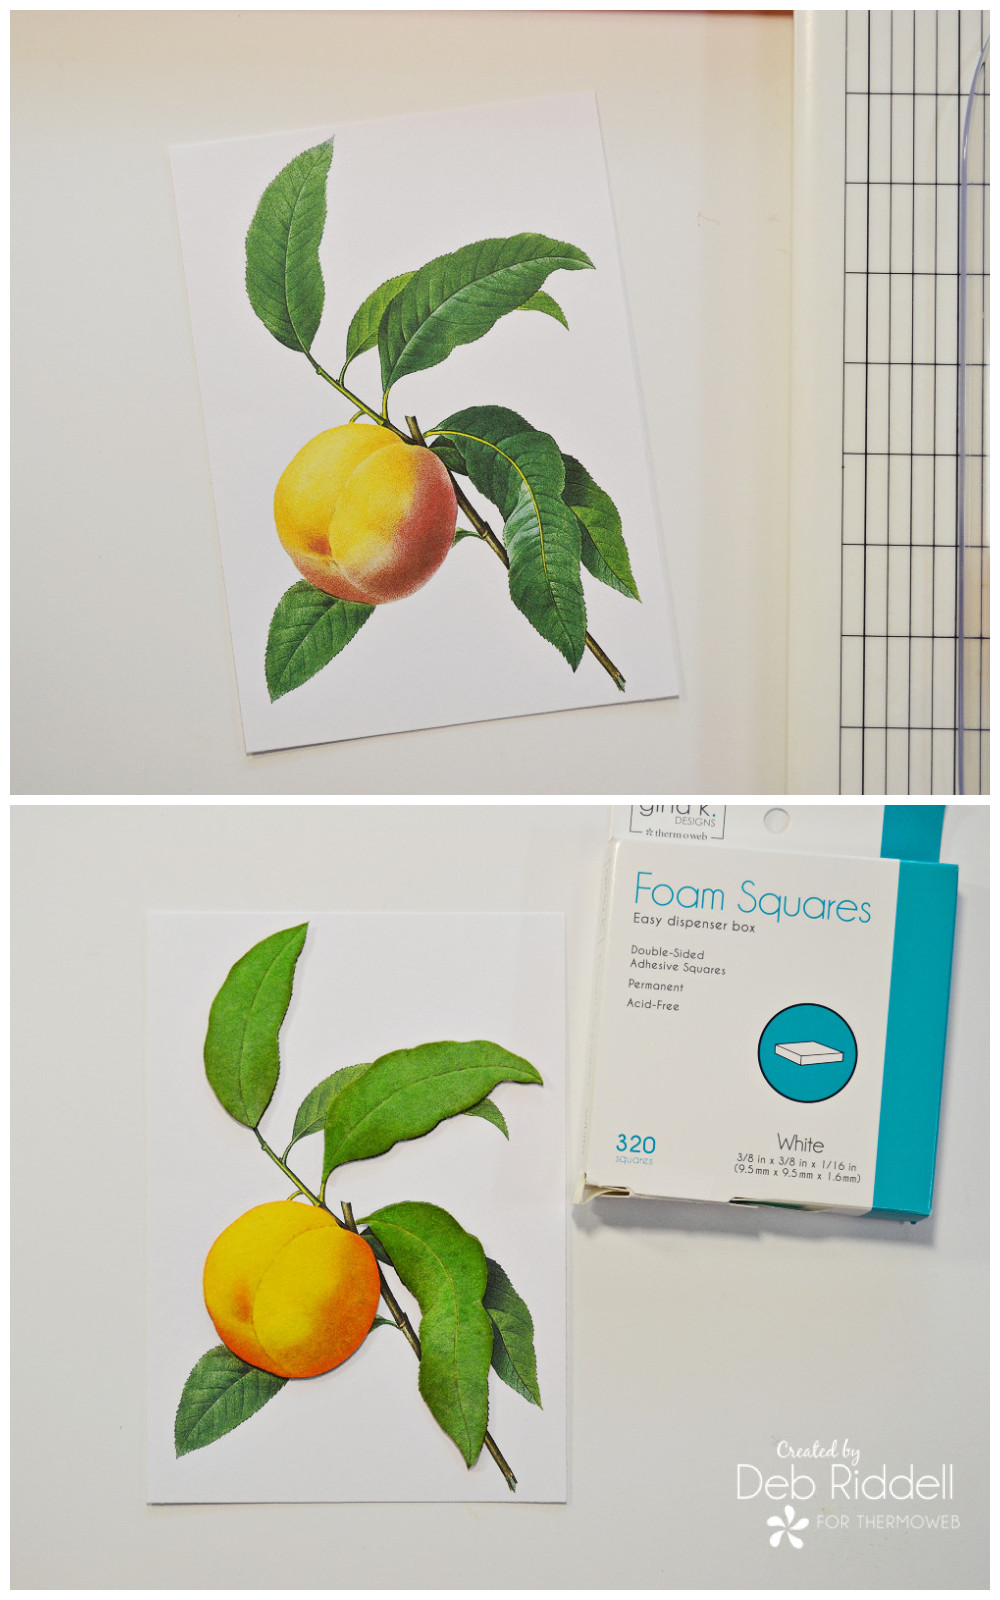 Pop the flocked peach up on top of the print with Gina K. Designs White Foam Squares. Pop all of the flocked leaves up in the print in the same manner.
Add some ‘gold leaf’ accents to your frame with the Deco Foil Clear Adhesive Pen and Gold Transfer Sheets. Apply the Deco Foil adhesive to the edges and any details on your frame with the pen, let it dry for a few seconds, and then burnish on the Gold Foil, rubbing it on with a soft cloth.
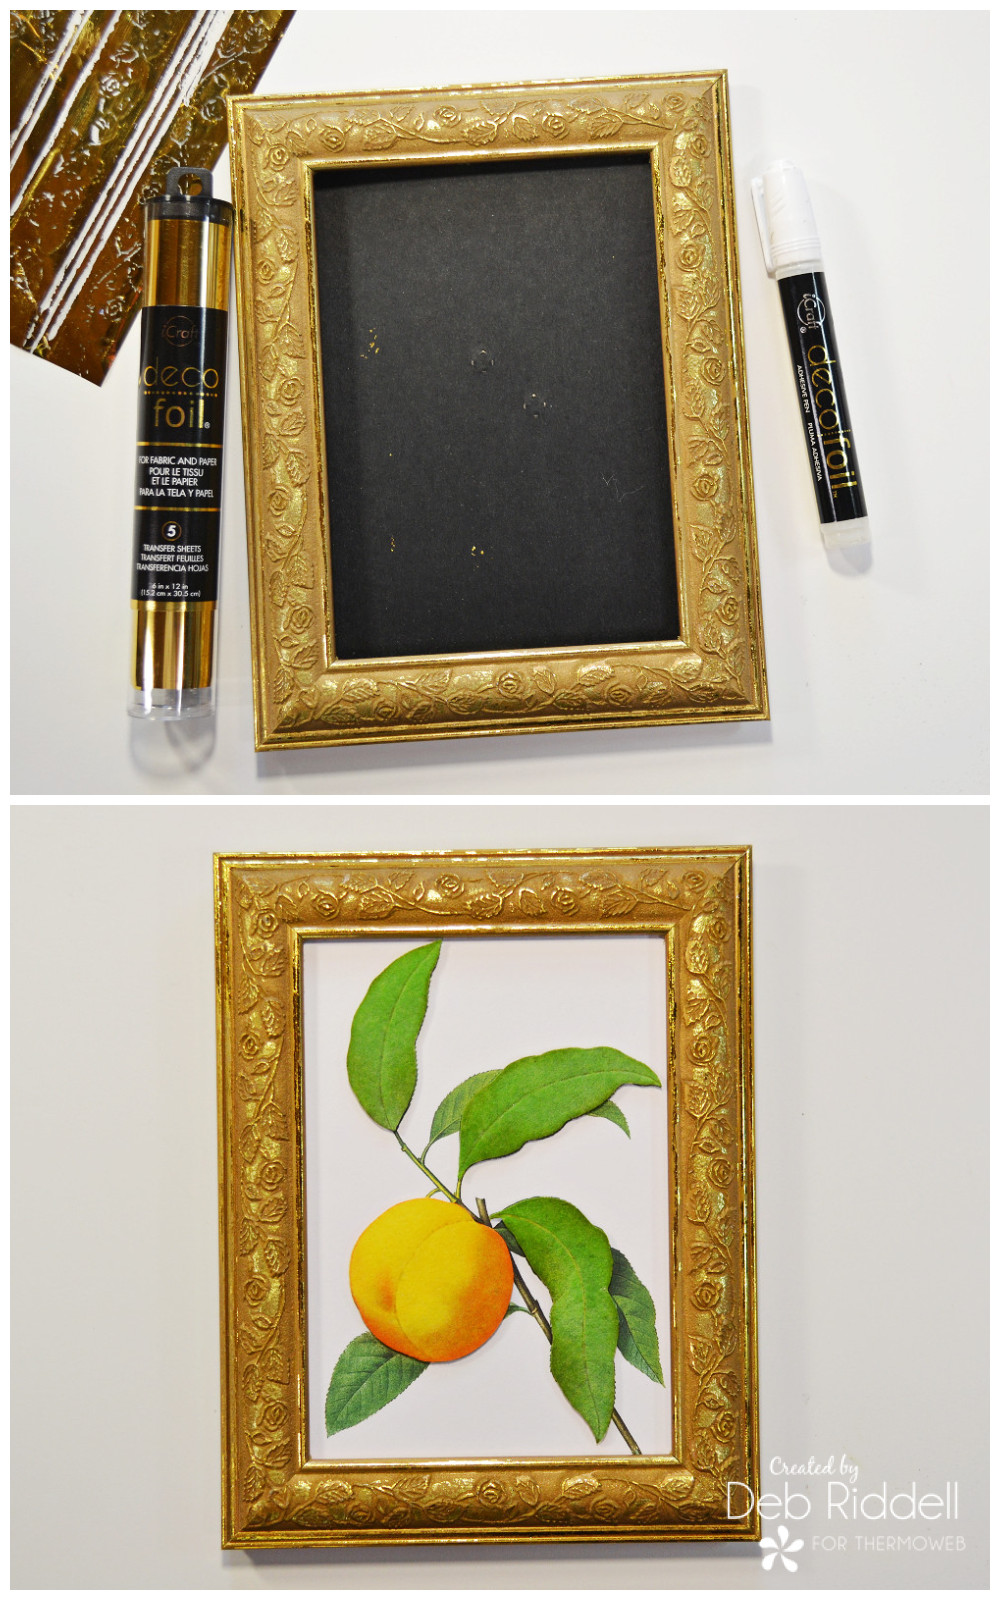 Insert the flocked botanical print into your foiled frame.
Stamp your sentiment onto a piece of white cardstock with black permanent ink and emboss it with clear embossing powder. Trim the sentiment to size and pop it up on more Gina K. Designs White Foam Squares on the top right of your framed print.
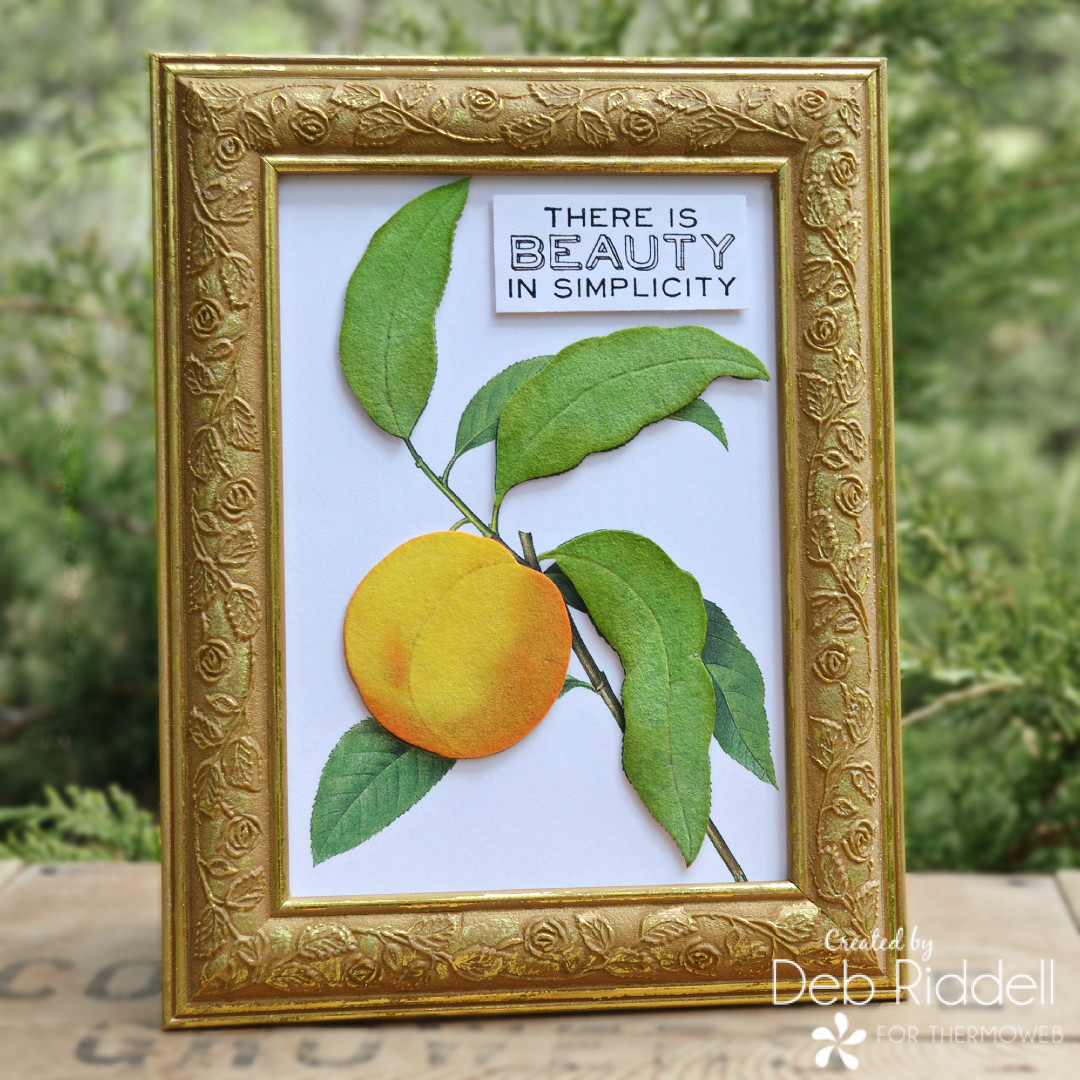
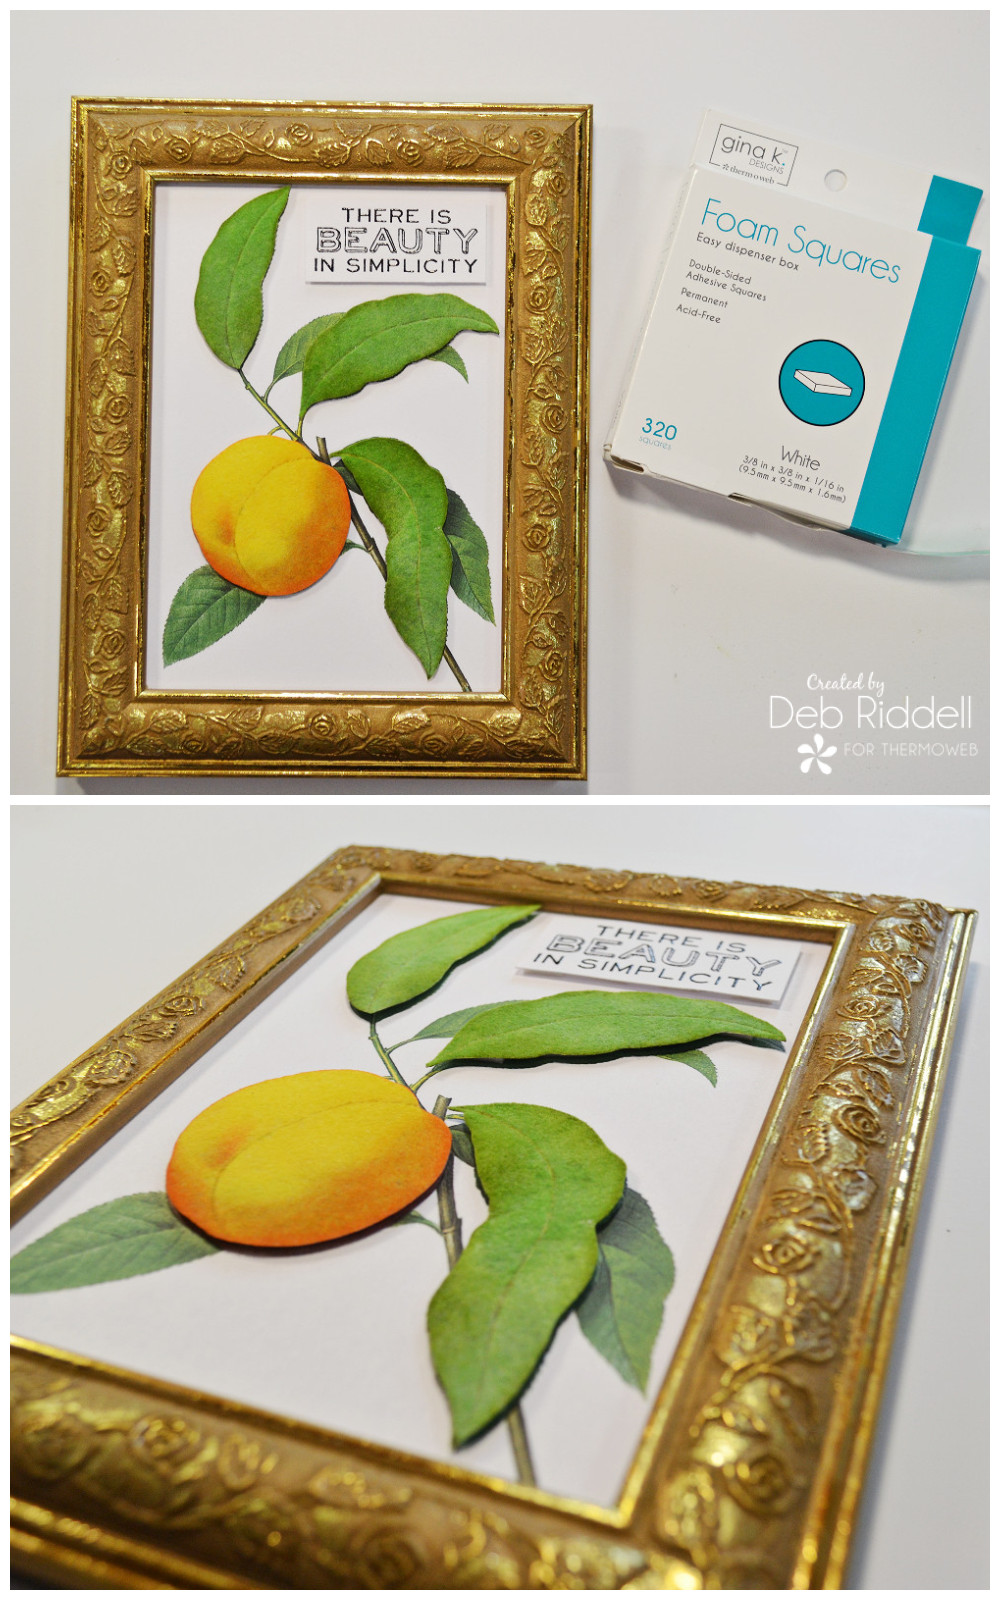 And finally, here’s a side view of the finished framed print to show you the dimension. Your Simply Peachy flocked frame is complete!

 I hope that you’ve enjoyed seeing how it came together and that you’ve been inspired to make one of your own. If you don’t have a frame, you could also resize the print to fit on a card front and add the flocked elements with or without the foam squares. Lots of possibilities for this simple but effective design created with Therm O Web’s Flock Transfer Sheets! Thanks as always for stopping by today and happy creating,
Deb xo
Greta H
June 10, 2021 at 9:58 am (3 years ago)I just adore your project! Thanks for the great instructions! I had no idea you could add foil to a frame like that!
Deb Riddell
June 10, 2021 at 1:17 pm (3 years ago)So glad you like it Greta and that I was able to show you a new Deco Foil trick! Deb xo