


 Hello friends, this is Jennifer Long from, Bee Sew Inspired, fabric designer with Riley Blake Designs and doll and quilt pattern designer. I am so excited today to be sharing with you this huggable and adorable Santa Rag Doll Pattern!
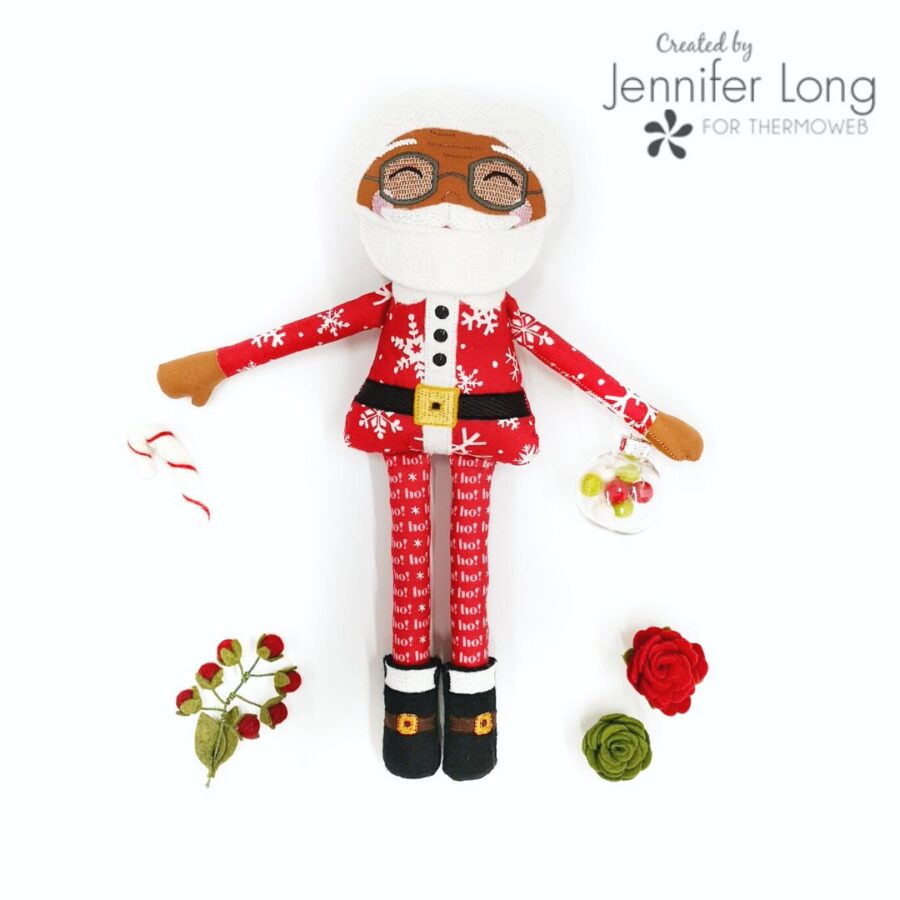
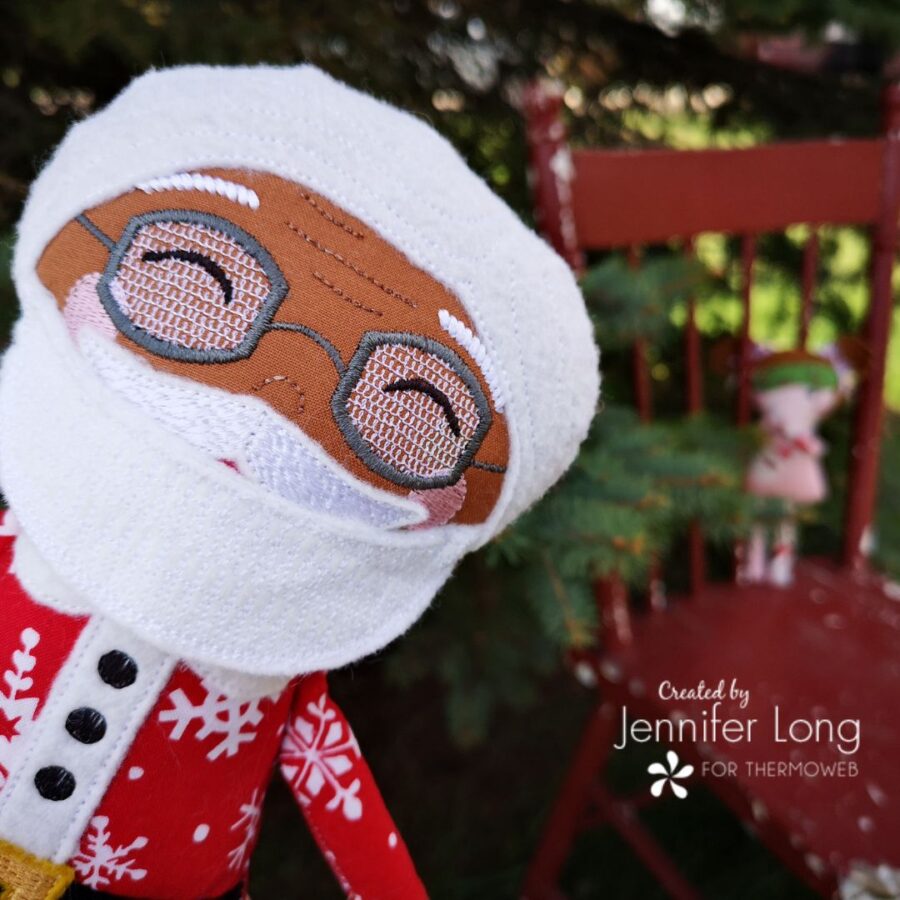
The Santa Doll has been high on the request list at Bee Sew Inspired. Who wouldn’t love a Santa doll? He would be great to decorate the house during the Holiday Season and perfect to snuggle up with while waiting for the “real” Santa to make his way down your chimney!
The Santa Doll Pattern is available in both the Sewing pattern version and the Machine Embroidery pattern versions. Patterns include PDF templates in (3) sizes of dolls (14″, 16″ and 18″) for sewing and machine embroidery files for (3) hoopings for the machine embroidery pattern (The doll pattern comes in 3 hoop sizes including 5×7, 6×10 and 8×12).
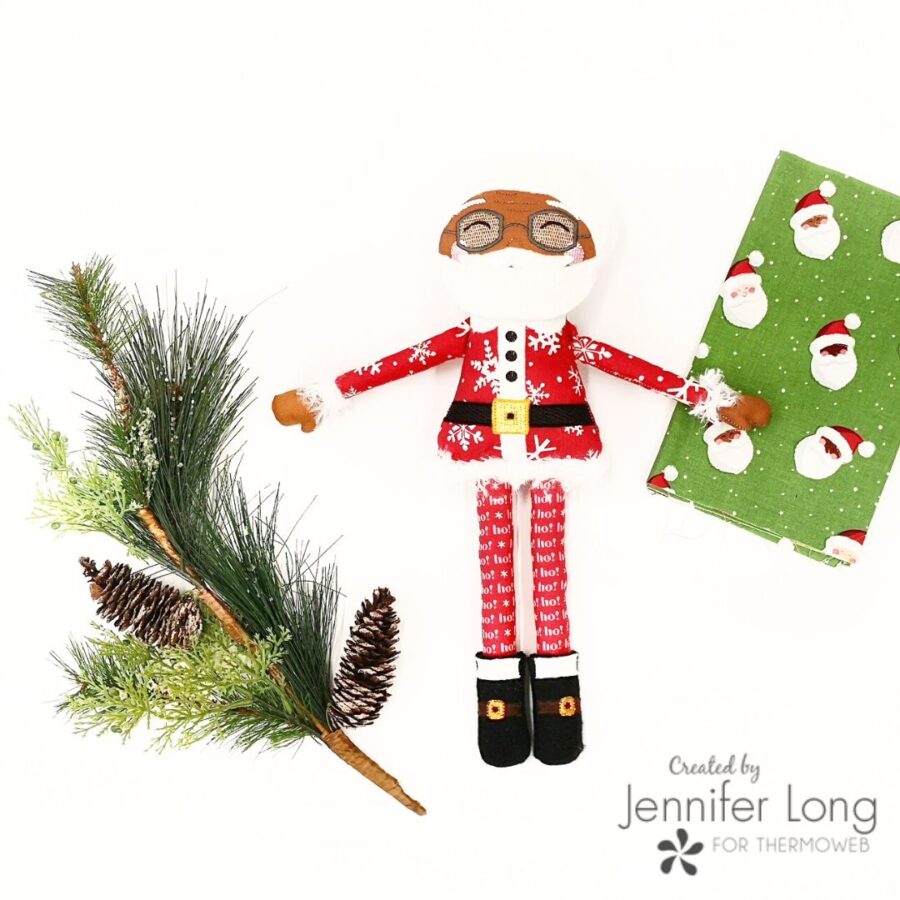
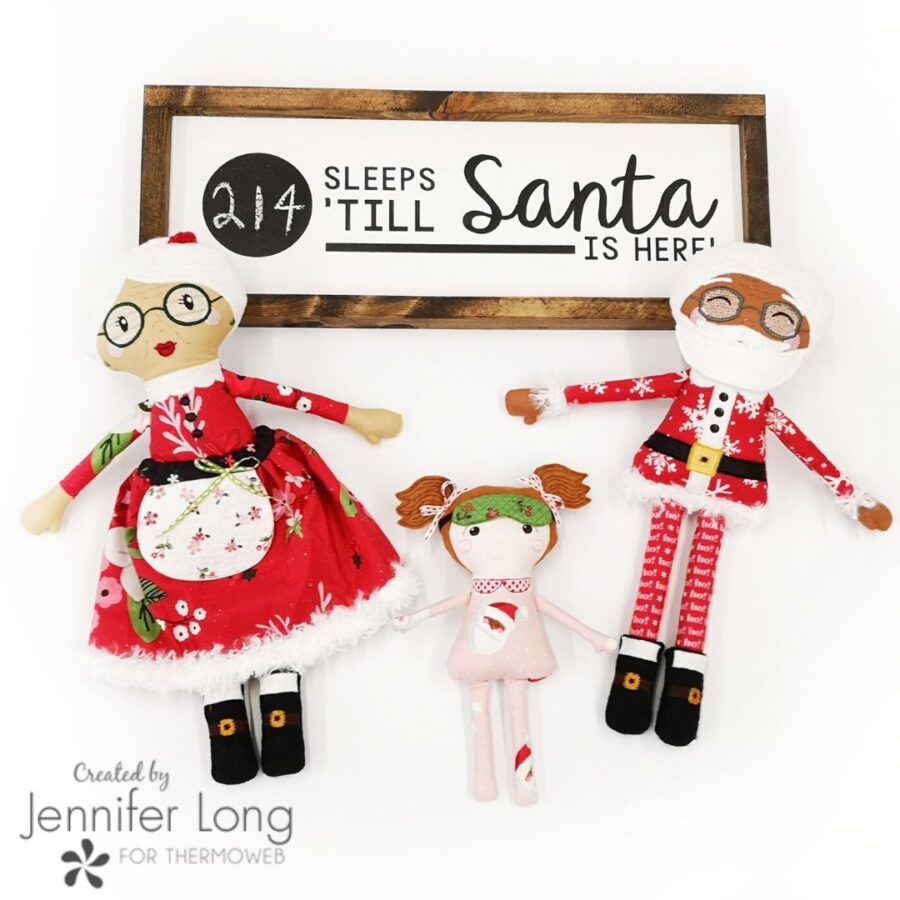
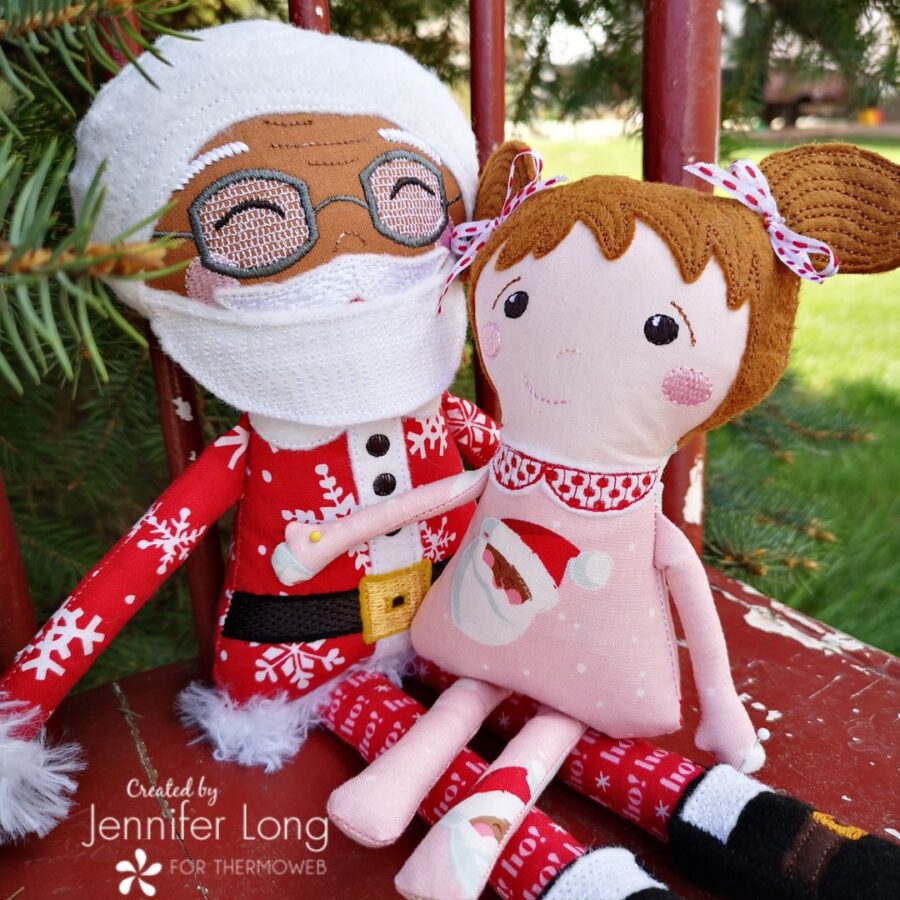
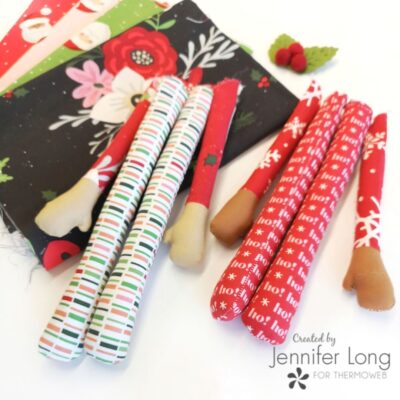
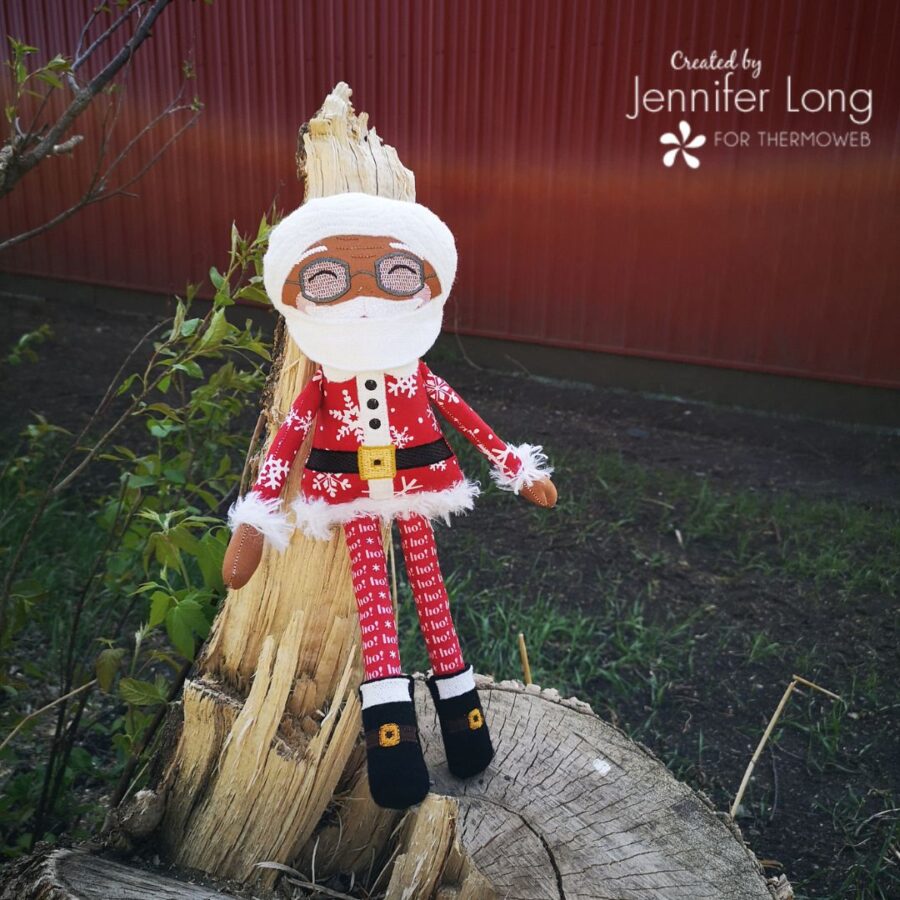
The Santa Doll features removable boots and a partially attached beard! Make the entire set shown above. We used the Vintage Grandma Doll pattern and the Sleepover Child Doll pattern found in the Bee Sew Inspired pattern shop in either sewing or machine embroidery patterns.
The Santa Doll can certainly be embellished with different embroidery stitching if you choose to make the sewing version of this pattern. Today we’d love to share a few extra tips in putting our Santa Doll together!
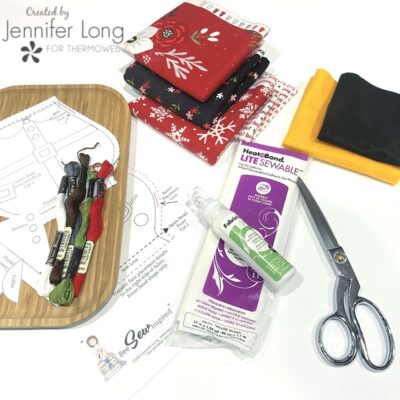
Let’s get creative! Just gather the supplies below, then download the pattern and pdf templates or machine embroidery files. Don’t forget to share your Santa Doll on social media using the hashtag #BSImakersclub and tag @beesewinspired.
What You Need:
Tools
- Download the Santa Doll Sewing Pattern Template at http://www.beesewinspired.com/download-codes and use the code “SANTADOLL”
- Download the Santa Doll Machine Embroidery Pattern at http://www.beesewinspired.com/download-codes and use the code “NUTCRACKERITH”
-
Sewing or Embroidery Machine
-
HeatnBond Stabilizer
-
Sharp scissors and curved applique scissors
-
Hemostats or stuffing tool
-
Hand sewing needle and thread
Materials
-
Variety of colors of embroidery thread
-
Bobbin thread
-
Applique scissors
-
1/4 yard of each of the following fabrics: Skin tone fabric, Main fabric for Santa’s clothing. I used Holly Holiday fabric by Christopher Thompson for Riley Blake Designs.
-
1/4 yard of non-fraying hair fabric such as wool, wool felt, fleece, minky etc
-
Scraps of accent fabric
-
Scraps of felt
-
Polyester fiber fill
-
Optional light-weight fabric interfacing for backing stretchy fabrics
Instructions:
1, Gather your supplies, download the pattern (available at the end of this tutorial) and print
out the Santa Doll size required. This pattern is available in 14″, 16″ and 18″.
2. We’re going to show you the different layers that go into creating the front body of Santa Doll and after it will be easy for you to go and create the face and other elements that go into finishing off Santa Doll. Apply Heat N Bond Lite to the back of the fabric you selected to make the collar and placket.
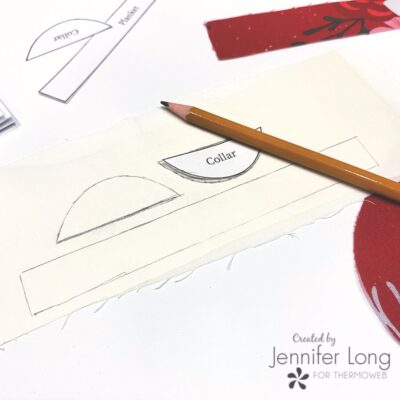
3. Trace the placket and collar pieces to the backing of the Heat N Bond Lite paper. This will help you cut the shapes out with more accuracy and prevent your fabric pieces from fraying.

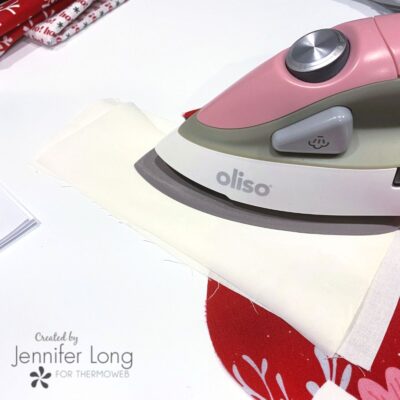
4. The placket is the first element you’ll want to put down on Santa body. The best way to go about it is to think in terms of layers, what you see first is what goes down last. Iron the placket to the Santa’s Body.

5. Stitch the placket to the body. Here we used a simple zigzag stitch but you can use a straight stitch, a triple stitch or any other stitch you may have on your sewing machine. You can also hand embroider the placket with a blanket stitch or create a really fun design with backstitching or stem stitch. Here is a chance to get creative!
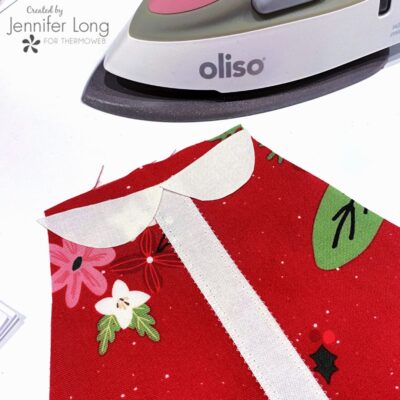
6. Nest, move on to the collar pieces. Line them up and fuse them to the body using a hot iron. Embellish using a fun stitch detail on the collar to create texture.
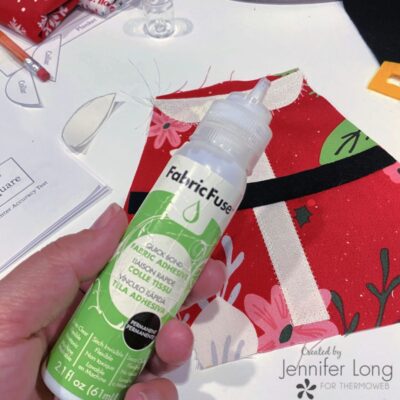
7. For the belt and belt buckle we decided to use felt. We love using Fabric Fuse to glue felt to fabric easily and quickly. A little goes a long way and it’s only to keep the belt in place as we stitch.

8. Once again we used a little Fabric Fuse for the belt buckle. The stitching used is a machine blanket stitch but it could have easily been done by hand.
9. The last thing to go on is the buttons. You can really use your imagination here by putting on real buttons or just putting on felt buttons. When choosing such details it’s important to consider if Santa will be played with by a young child or if he’ll be sitting on the mantel watching over the house. Another option would be to hand embroider the buttons.
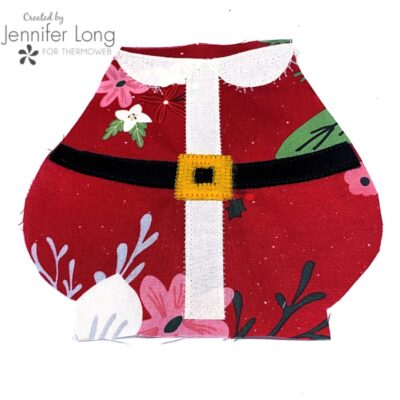
Now that the front is ready, set it aside and work on the rest of your Santa Doll!

Thank you for joining me today on the Thermoweb Blog! Christmas is my FAVORITE season and I am looking forward to seeing all your Santa Dolls popping up this December!
If you are looking for more Doll inspiration, make sure to sign up for my newsletter at http://www.beesewinspried.com.