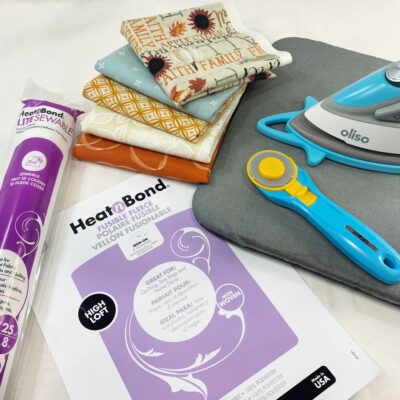
SUPPLIES:
- 6.5″ x 9.5″ rectangle of HeatNbond Fusible Fleece
- Small amounts of HeatNbond Lite Sewable
- Various quilter’s weight cotton prints. The largest piece is 6.5″ x 9.5″
- Premade bias tape or make your own using a strip of 2.5″ x WOF (width of fabric) of quilter’s weight cotton.
- Thread
- PDF file Mug Rug TOW
i used different fabrics from my stash including prints from Ruby Star Society.
TOOLS:
- Iron & ironing board
- Coordinating thread
- Sewing machine
- Scissors
- Rotary cutter and self-healing mat
GETTING STARTED:
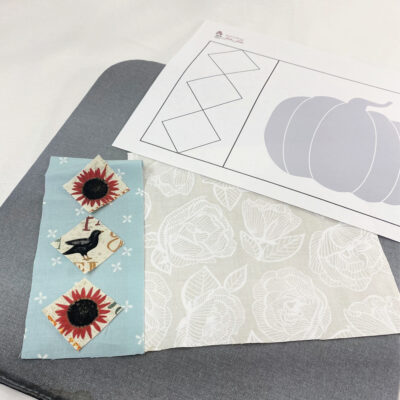
1. Download and Print the templates. Print actual size – do NOT “fit to page” or “shrink to fit.” Get the PDF file here – Mug Rug TOW
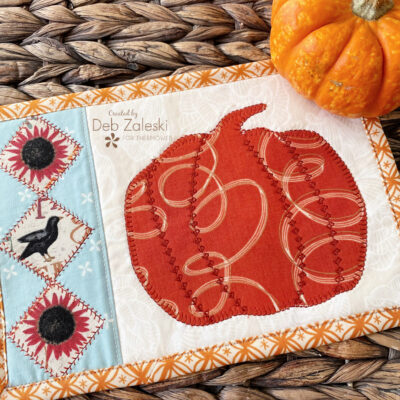
2. Cut out the required elements for your mug rug in quilter’s weight cotton. You’ll need the following:
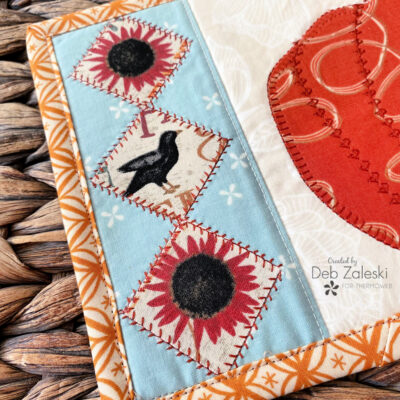
- 3 – 1.5″ squares
- 1 – 6.5″ x 3.25″ rectangle (A)
- 1 – 6.5″ x 6.75″ rectangle (B)
- 1 – 6.5″ x 9.5″ rectangle for backing
- 1 – 2.5″ x WOF for binding
Try some fussy cutting for the 1.5″ squares, this will add interest to your finished project!
ASSEMBLING:
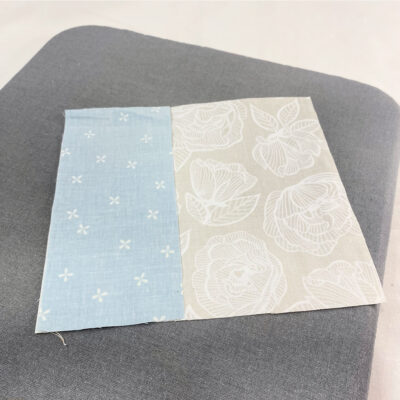
3. Stitch the Rectangle A+B together along the 6.5″ edge with RST (right sides together) using a 1/4″ seam allowance. Press the seam allowance to towards the darkest fabric so it doesn’t show through the lighter fabric.
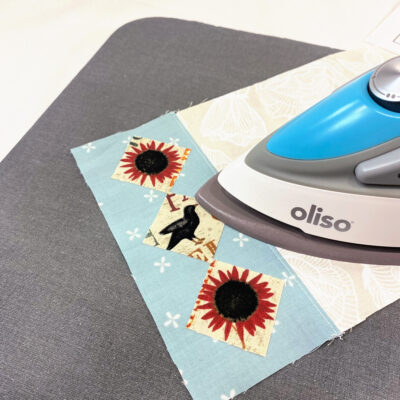
4. Arrange the 1.5″ squares on the smallest rectangle. Fuse the HeatNbond Lite to the the back of the sqaures, peel back the paper and iron the squares to your mug rug.
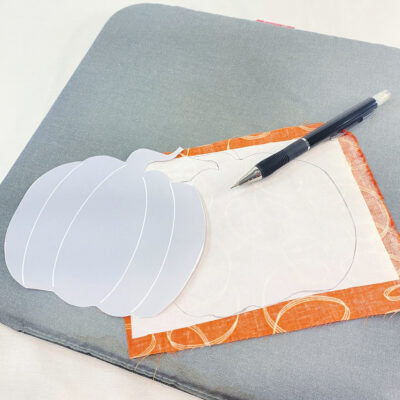
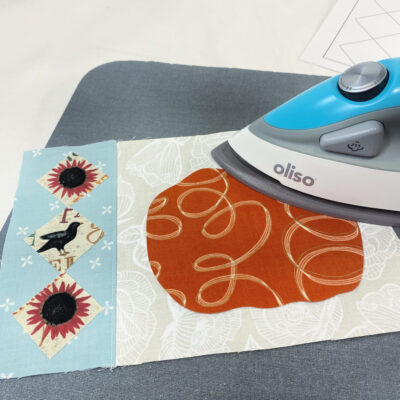
5. Fuse a piece of HeatNbond LIte to the back of the main pumpkin applique. Trace out the shape with the help of the printed out template, cut out the pumpkin shape, and remove the paper backing.
6. Iron the pumkin shape to the bigger rectangle.
APPLIQUÉ WORK:
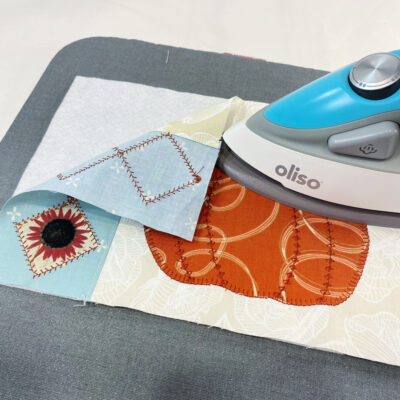
7. Now it’s time to have a ittle fun with the stitching! You can use a variety of stitches for the appliques from a blanket stitch to a plain zigzag. Make sure to start with the pumpkin texture sitch. You can see them on the template, this is only a guide, you can add as many vertical curved lines as desired. Once you’re done going around the perimeter of all the shapes, apply the HeatNbond Fusible Fleece to the back of your work.
8. Line the baking of the mug rug to the main work and use a basting stitch to keep everything in place. Trim your work to 6.5″ x 9.5″ if needed. Place the binding along the backing side of the your work and sitch around the perimeter. Turn your work over and top stitch your binding into place.

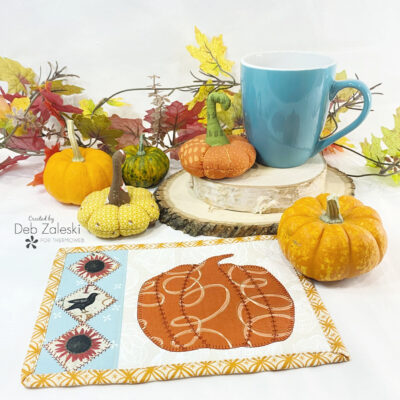
The only thing left to do is bake some cookies to serve with some coffee of tea on your new little mug rug!