


Hello and welcome!
It’s Julia from Inflorescence Designs! I’m so joyful you are visiting today.
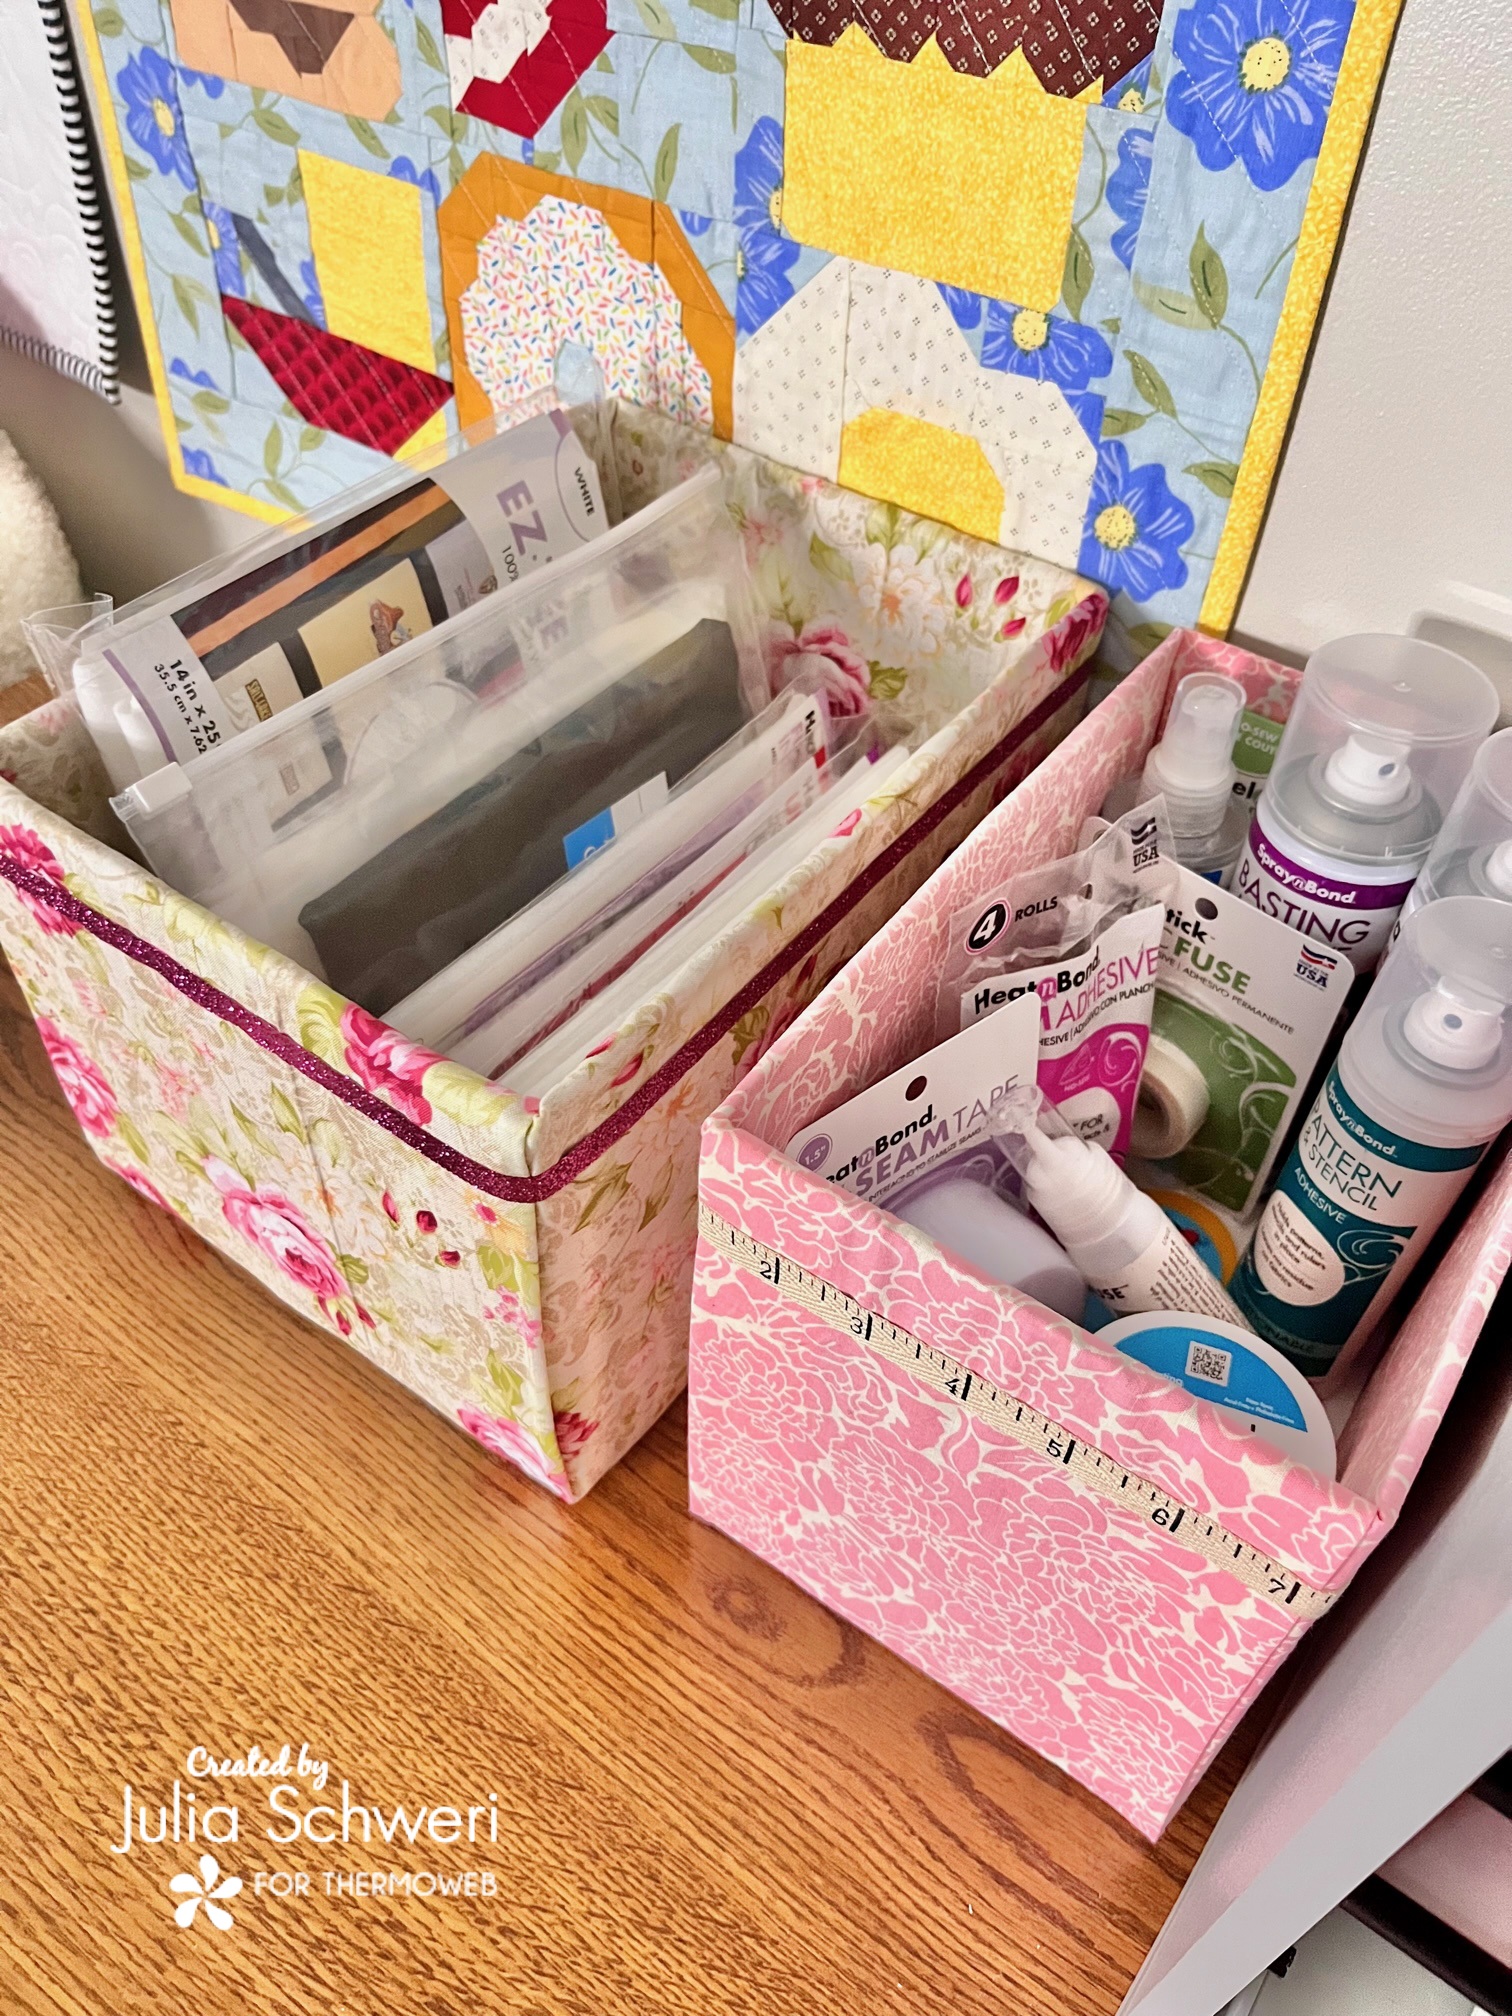
Today’s tutorial is a no sew project. That’s right! We are making no sew fabric storage boxes. Do you have a plethora of shipping boxes that are either waiting to be recycled or are just really nice boxes that you just couldn’t get rid of yet?
I try to recycle all the cardboard that come through my door, but this project will definitely have me rethinking what boxes I save and which ones I recycle.
No Sew Fabric Storage Boxes
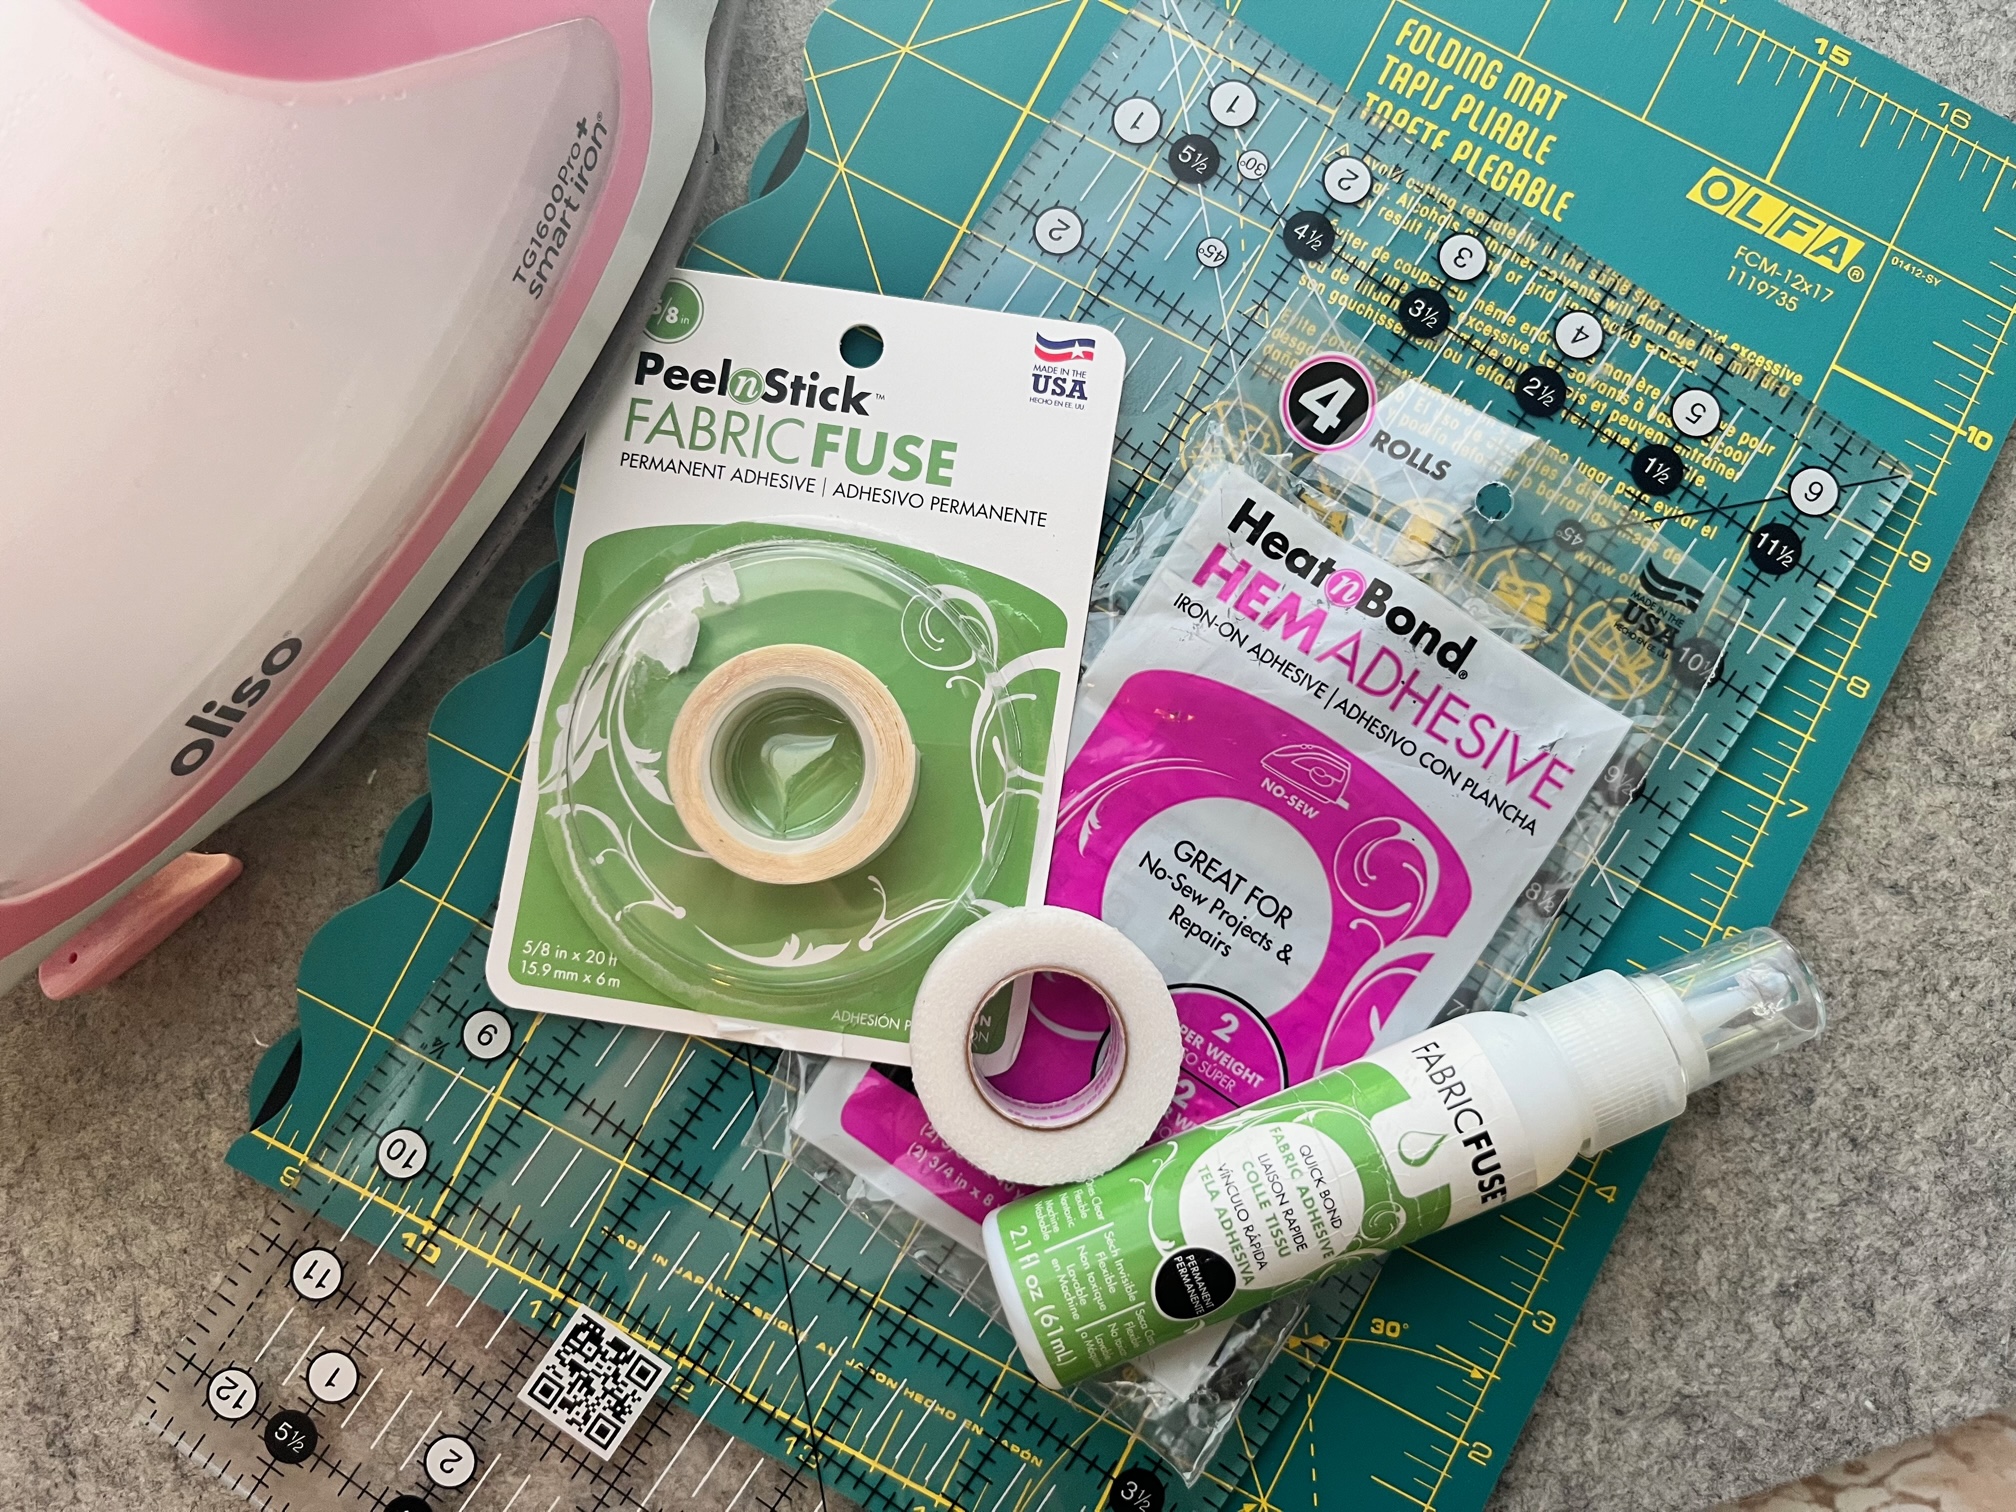
Supplies:
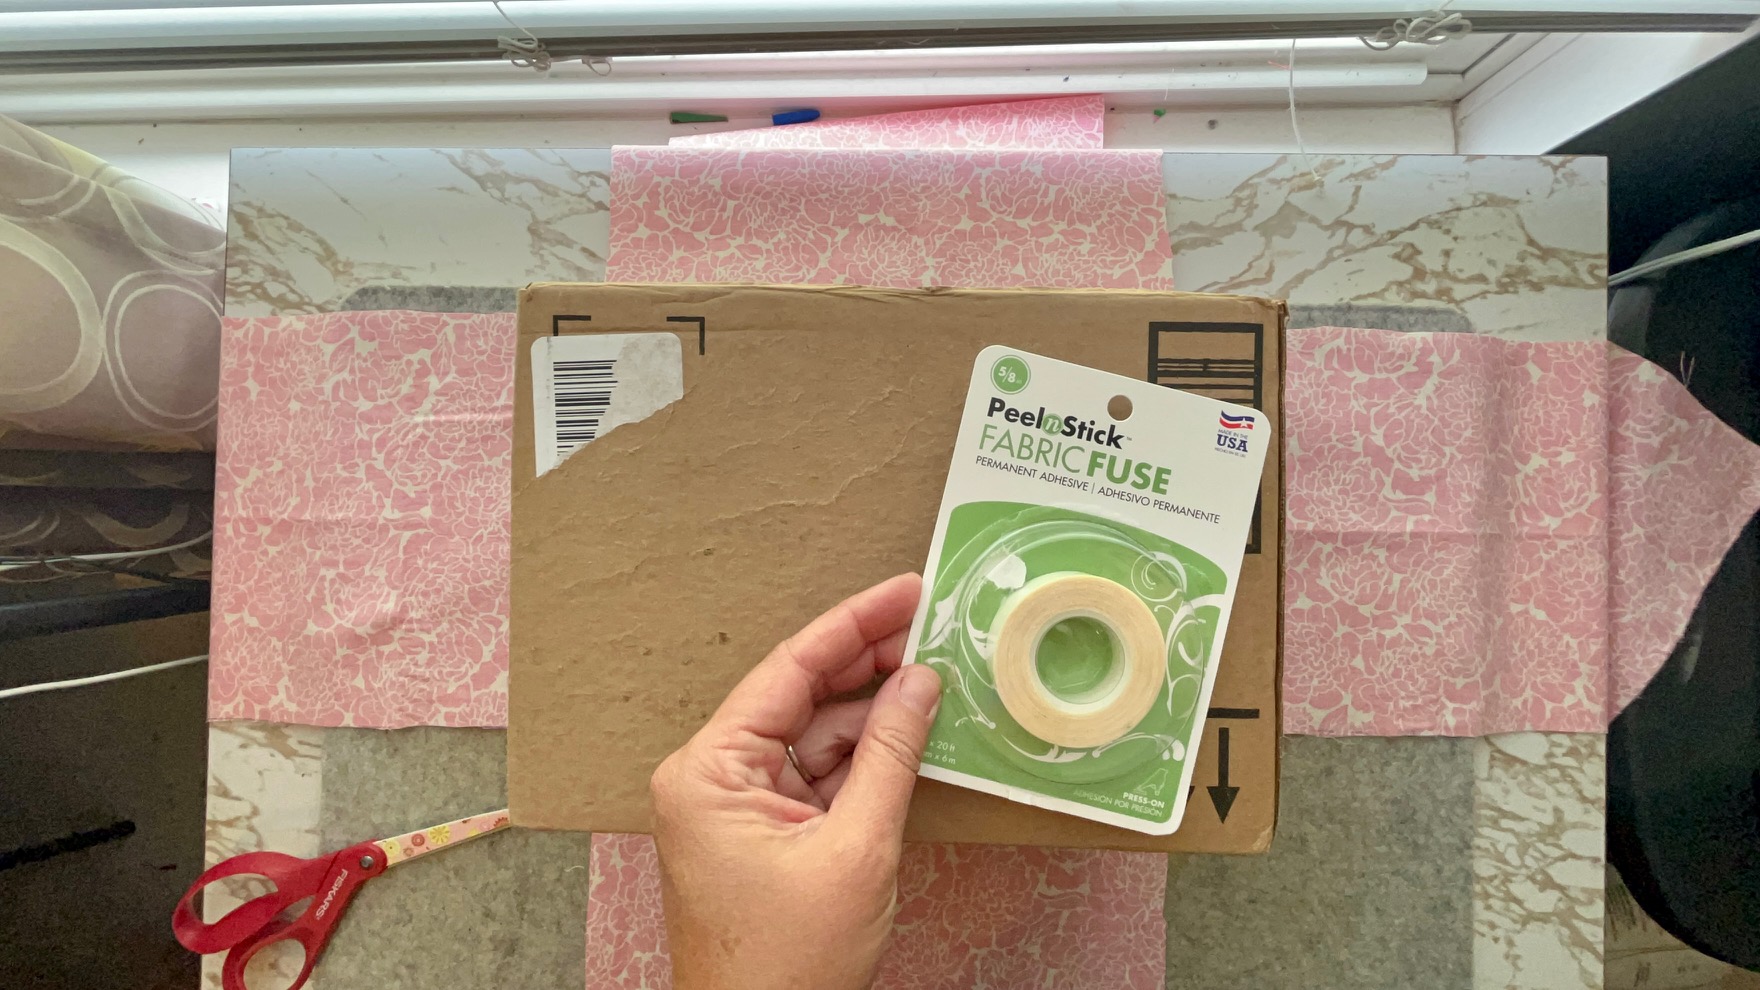
- HeatnBond Fabric Fuse PeelnStick Fabric Adhesive Tape
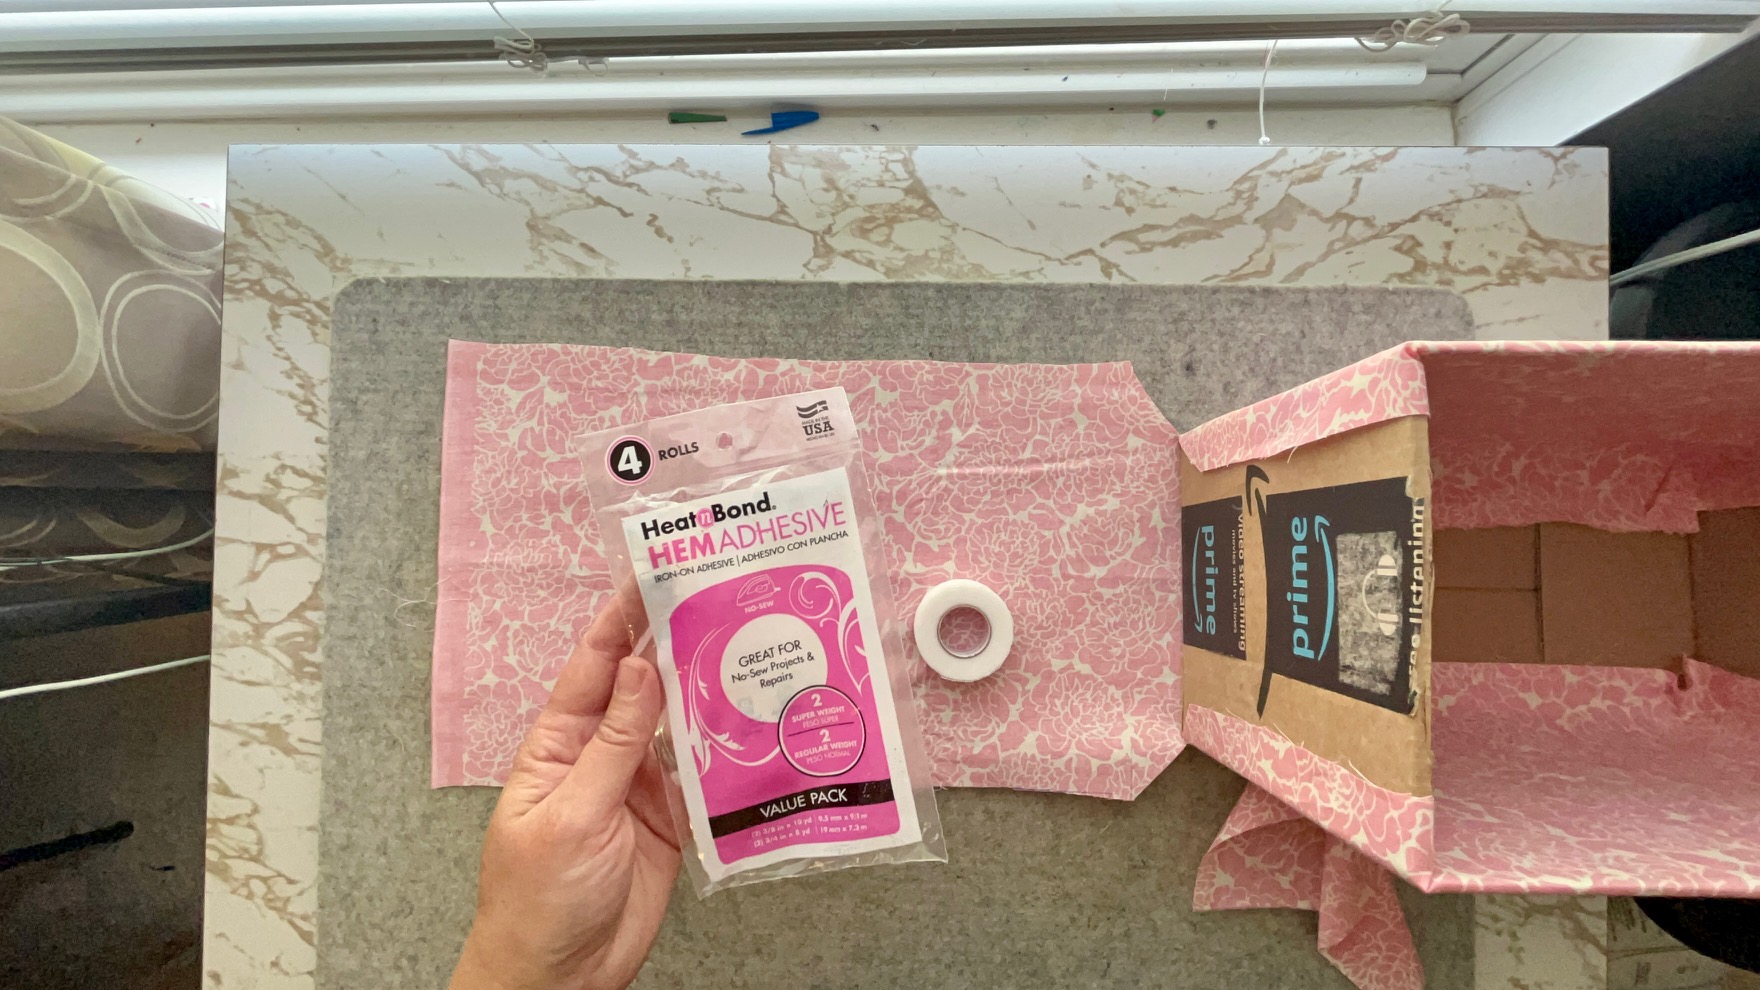
- HeatnBond Hem Super Weight Iron On Adhesive Tape
- HeatnBond Fabric Fuse Liquid Adhesive (optional)
- Cardboard Box (small/medium)
- Fabric: size will depend on the size of the box. I suggest a medium to small box so no seams are required.
- Non-Fabric Scissors
- Fabric Scissors
- Oliso Iron
- Olfa Cutting Mat
- Non-Fabric Rotary Cutter
- Foam Board: size is determined by your box size
- Sewing Measuring Tape aka Tailors Measuring Tape
- Marking Tool
- Rock or some kind of weight (optional)
Instructions:
Begin by…
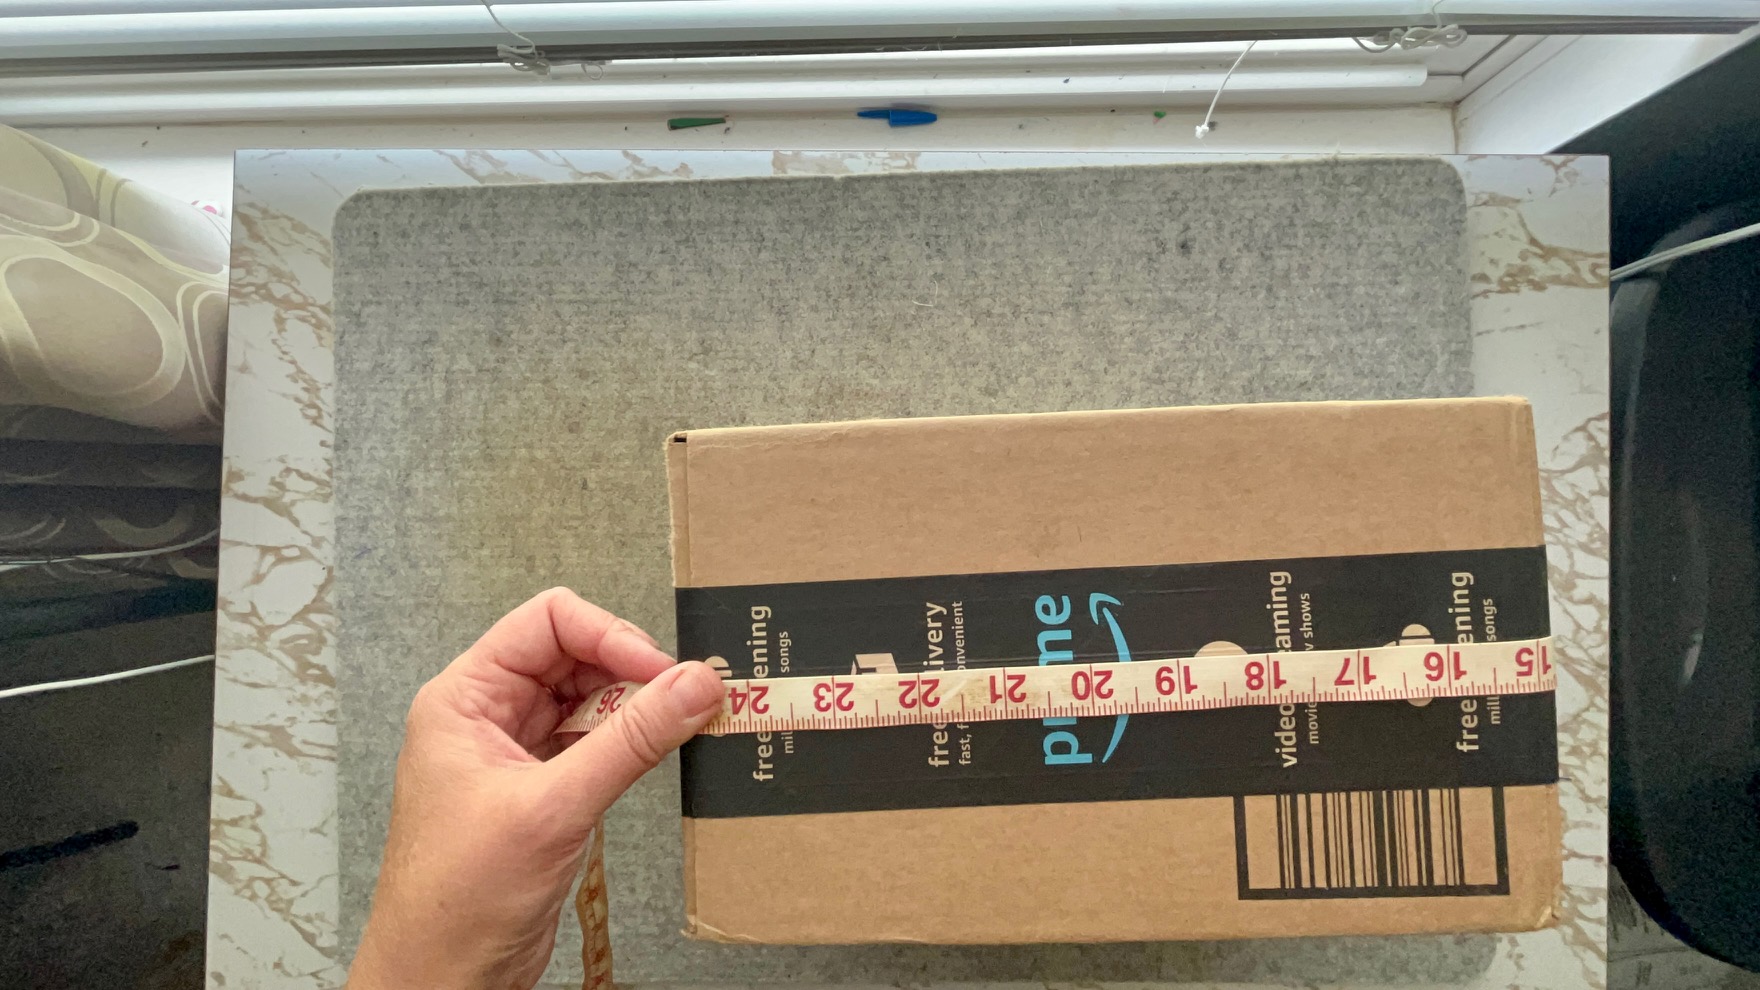
Cut off the top flaps of the box you are using. Next, measure the sides of your box.
- Start inside on one side of the box
- Measure up the inside.
- Over the top edge.
- Down the side.
- Across the bottom
- Back up the opposite side
- Over the opposite sides top edge
- Back down the opposite inside.
- Measure both sides of your box.
Once you have your two measurements, add 2″ to each measurement.

Next…
Cut out your fabric to the measurement you calculated above. If your measurements are larger than traditional fabric yardage, you will have to sew a seam or use Thermoweb’s HeatnBond Hem Super Weight Iron On Adhesive Tape to make a no sew seam.
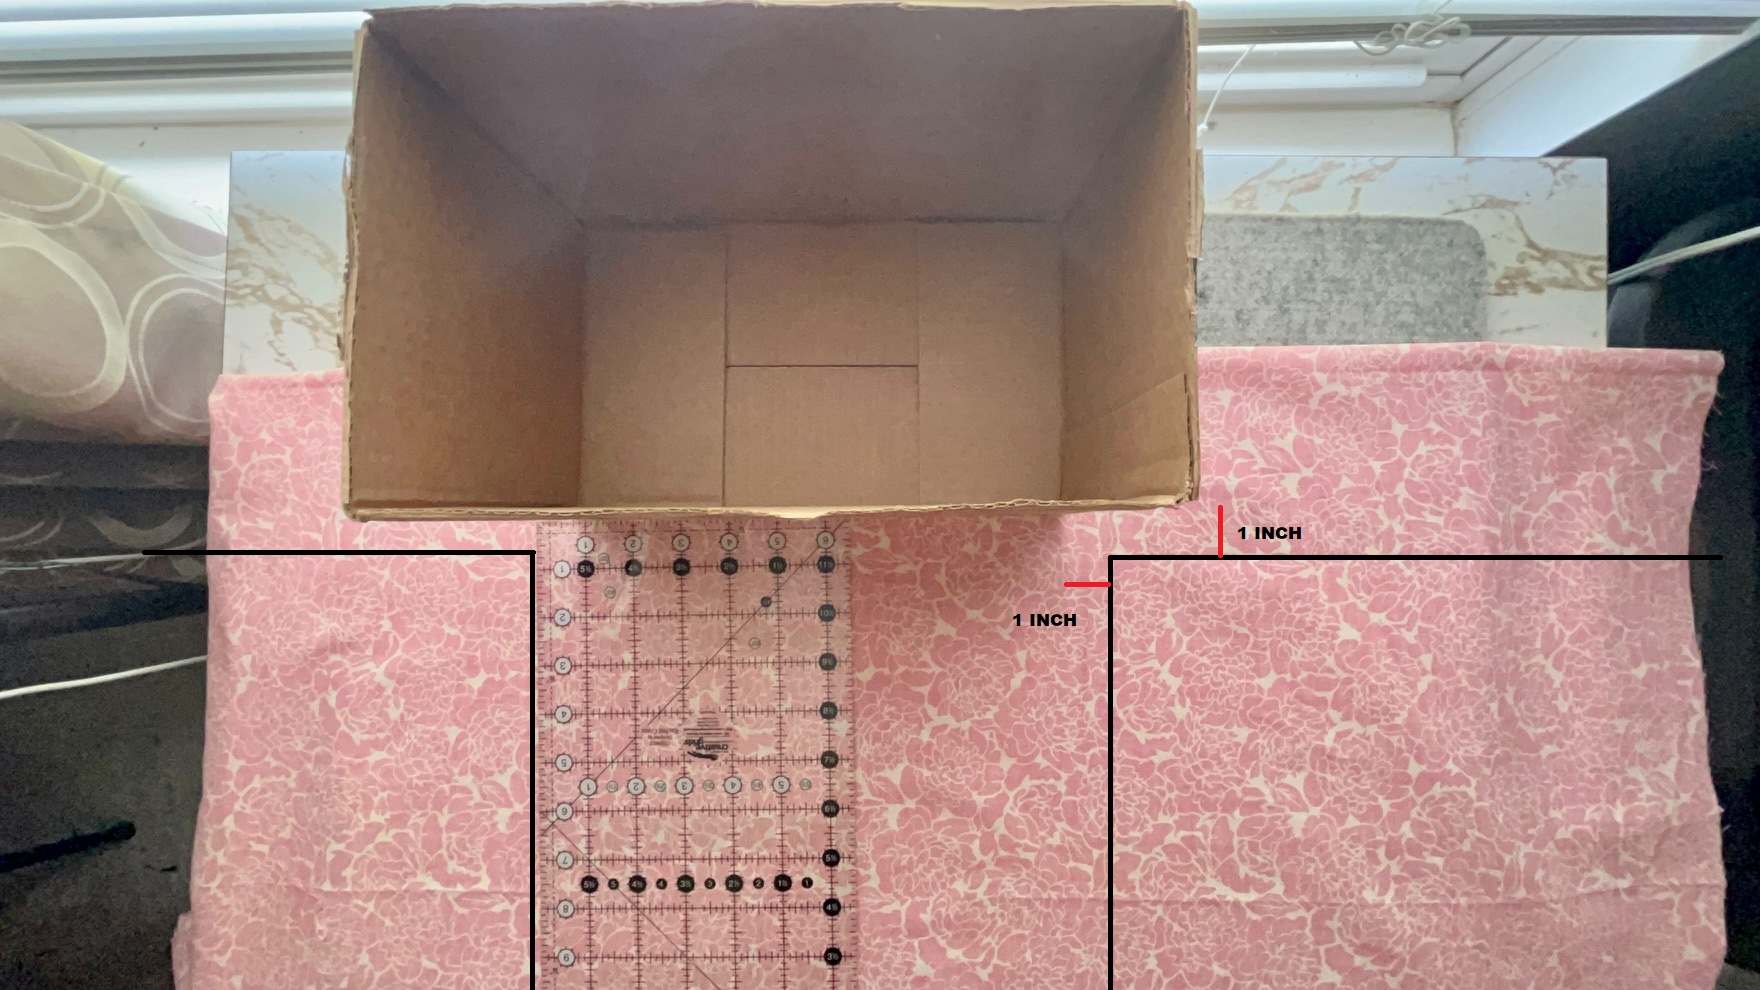
Once your fabric is cut out, fold it in fourths to find the middle of your fabric and mark it. Then fold the fabric in half. Next, find the center on 3 of your box sides and mark them as well.
Paying close attention to your fabric’s measurement and what side of the box they belong on, Align your box in the center of your folded fabric. Half of the box will not be on the fabric fold.
Measure out 1″ on the two corners and cut them out.
Continue by…
**Unfold the fabric. Arrange your box in the center of your fabric with approximately 1″ of fabric around the bottom of the box. Cut on the diagonal from the corner of the fabric to the corner of the box. (See YouTube video for a better visual illustration).
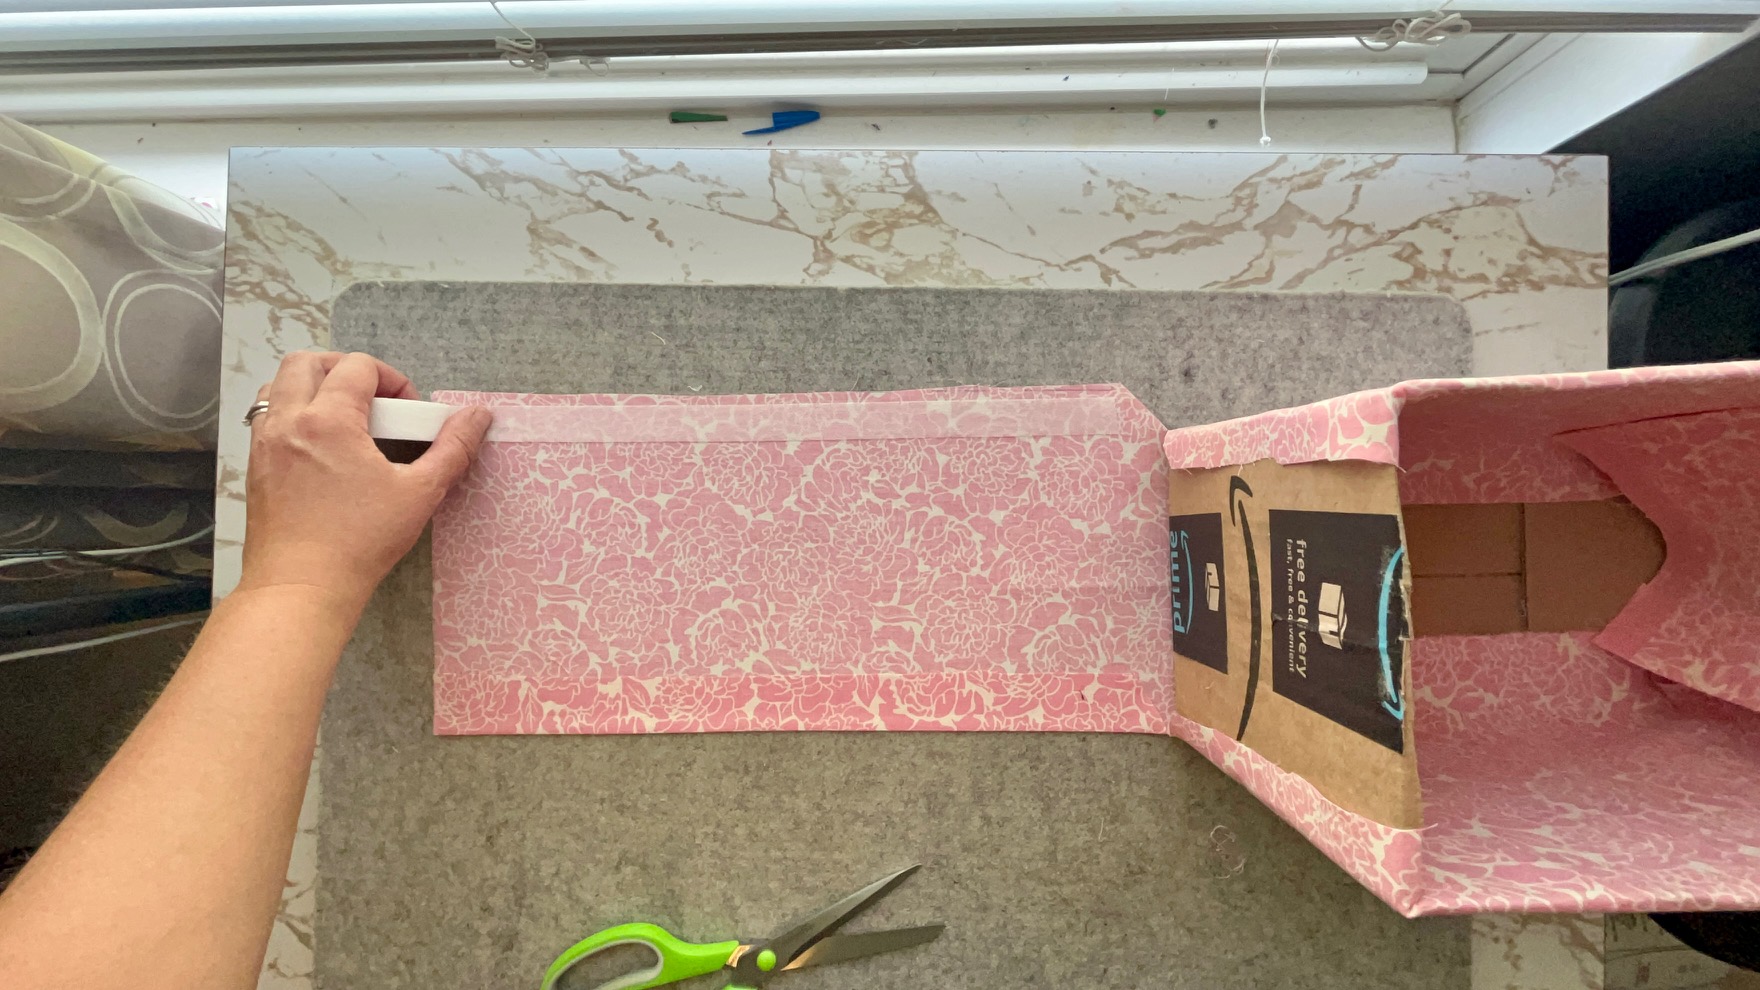
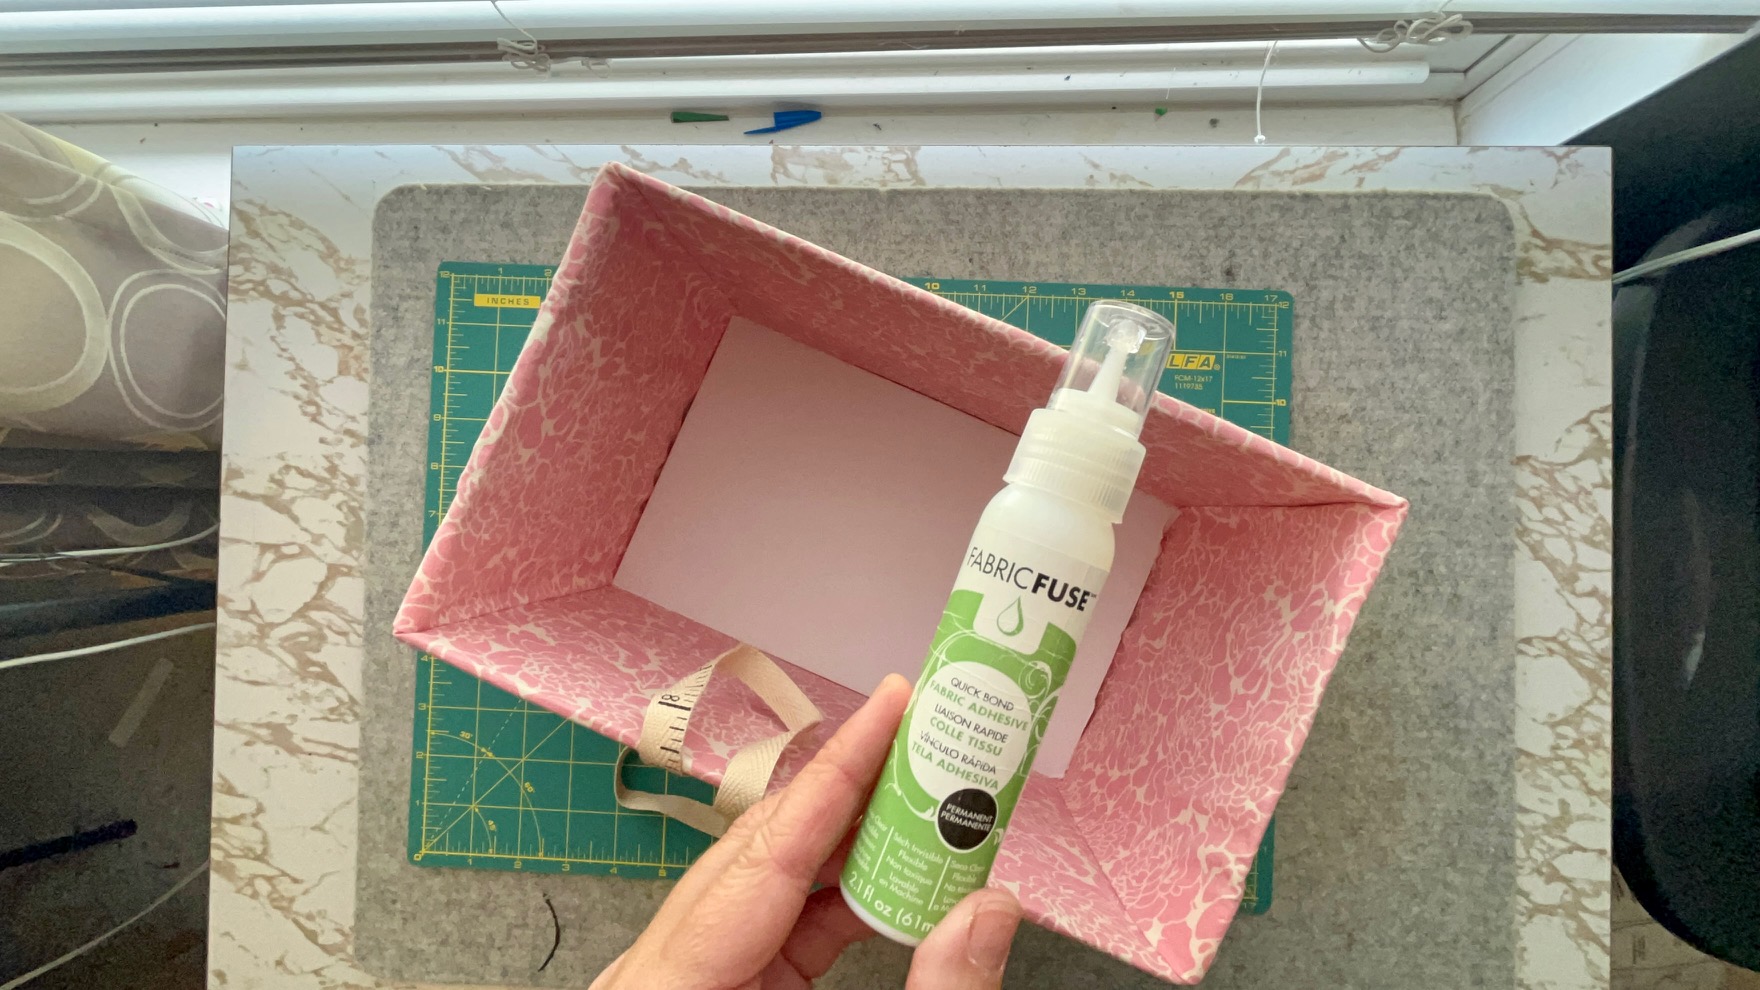
Using HeatnBond Fabric Fuse PeelnStick Fabric Adhesive Tape, layer the tape across the top edge of the box.
Then…
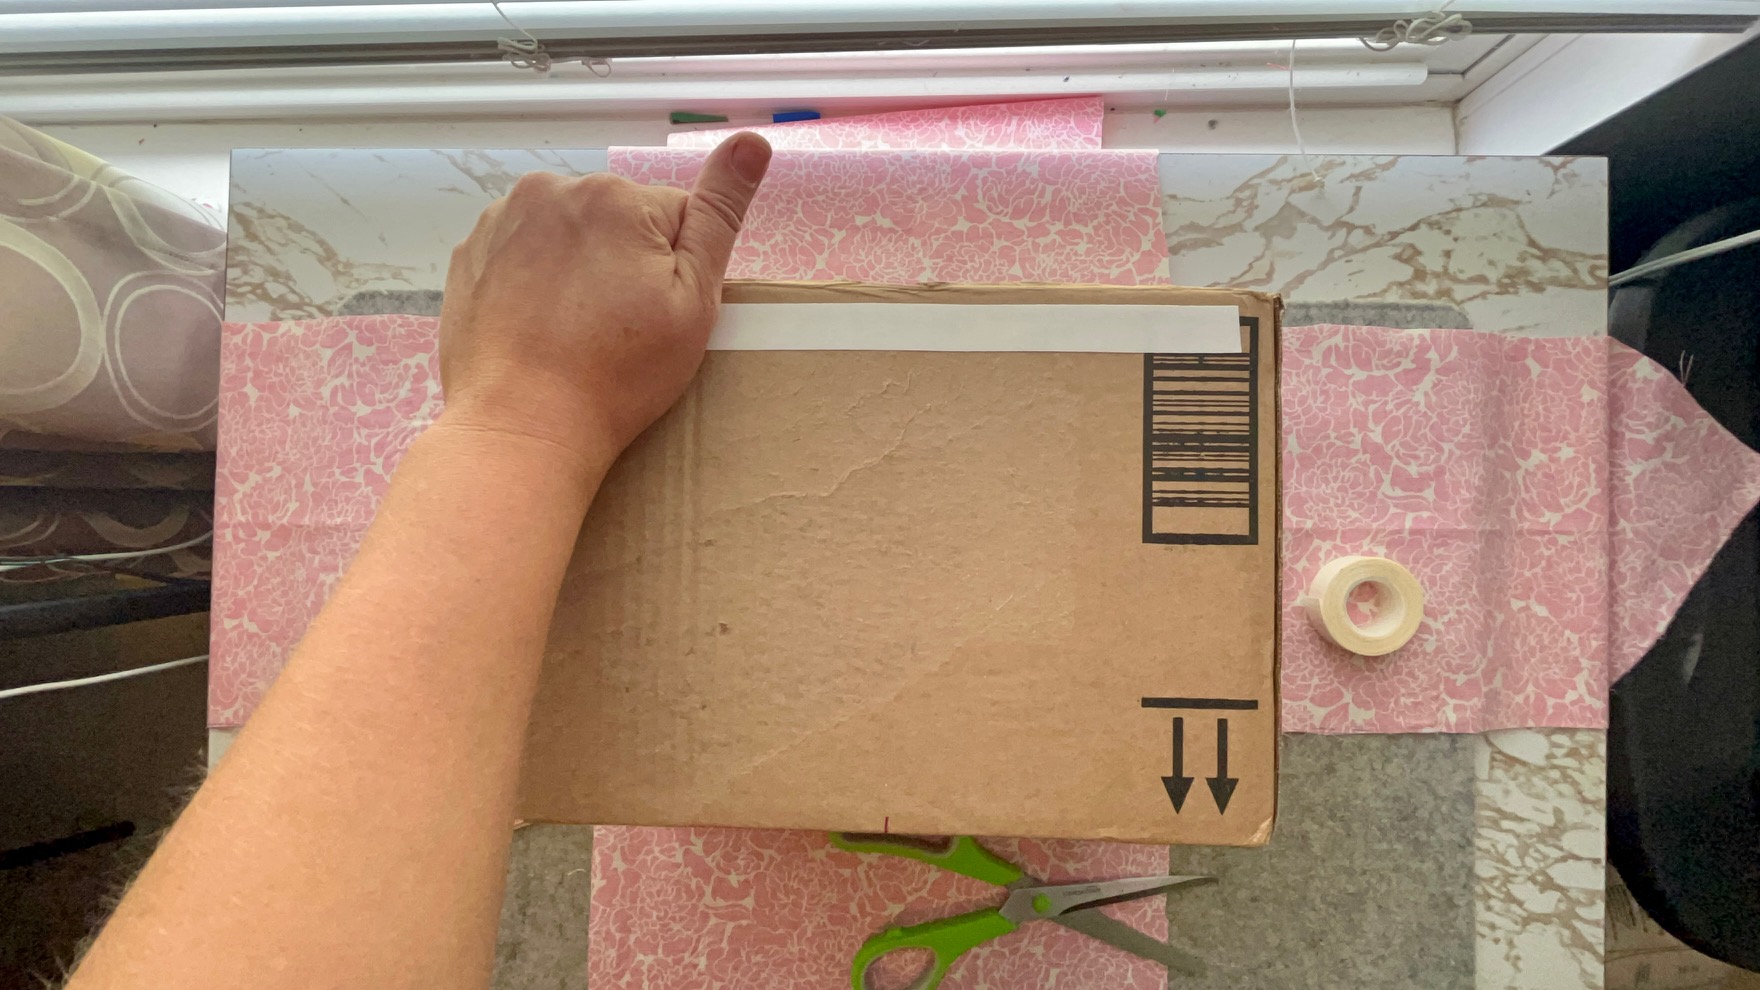
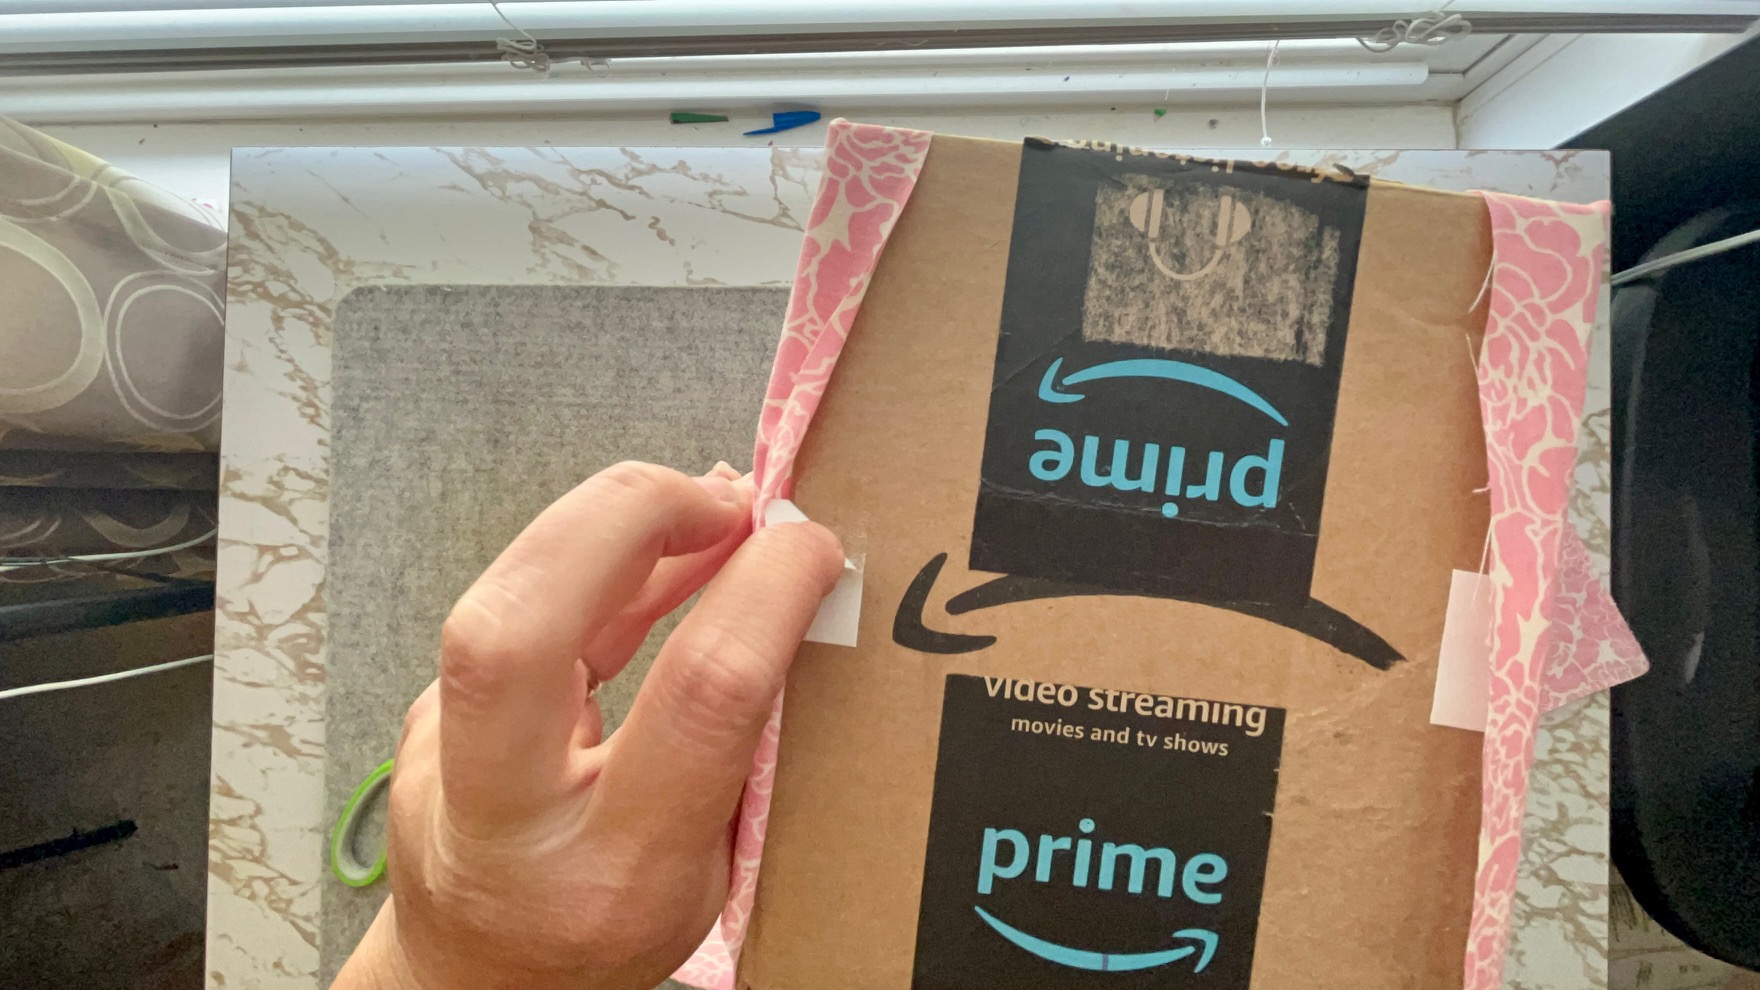
Place your box back in the center of your fabric. A weight or rock comes in handy here. Once your box is in place over the fabric, peel the backing off the PeelnStick Fabric Adhesive Tape. Fold the fabric up and over the edge of the box and press the fabric to the tape.
Place additional small pieces of the PeelnStick Adhesive Tape inside the box on the side you are working on. Peel the paper away and adhere the fabric down the inside of the box. **
Repete from ** to ** for the other side.

Next…
Use some PeelnStick Fabric Adhesive Tape under the edges of the fabric on the uncovered sides to hold it in place.
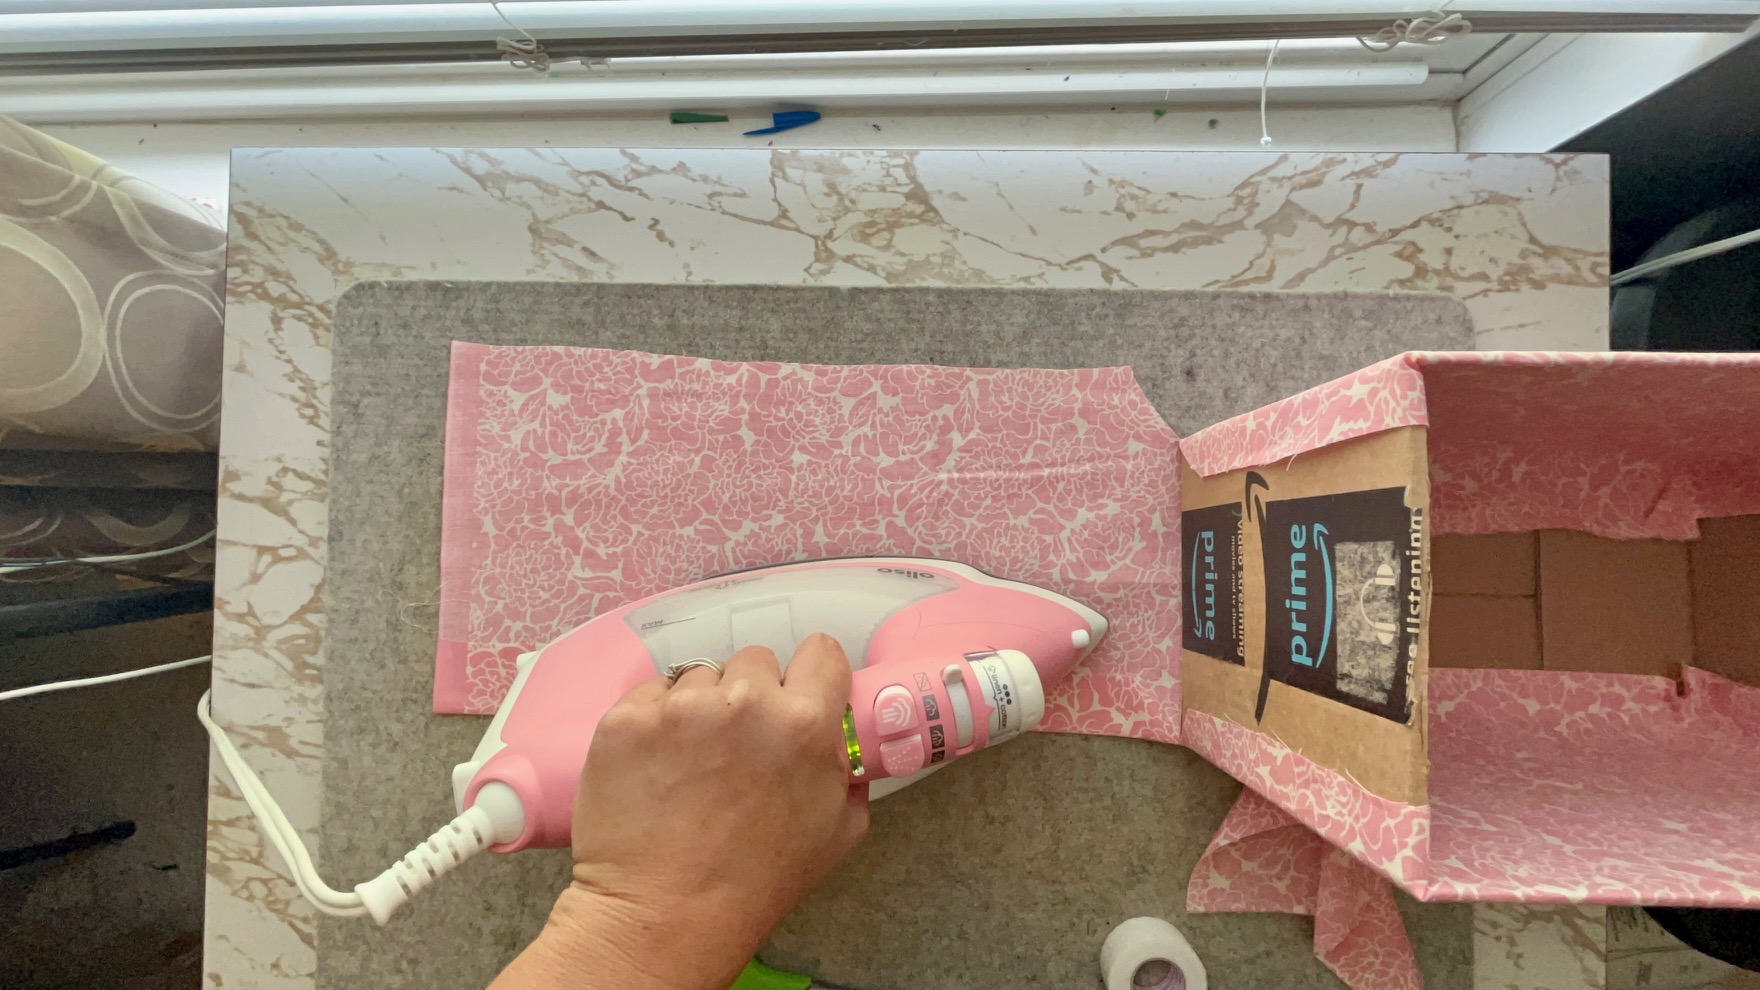
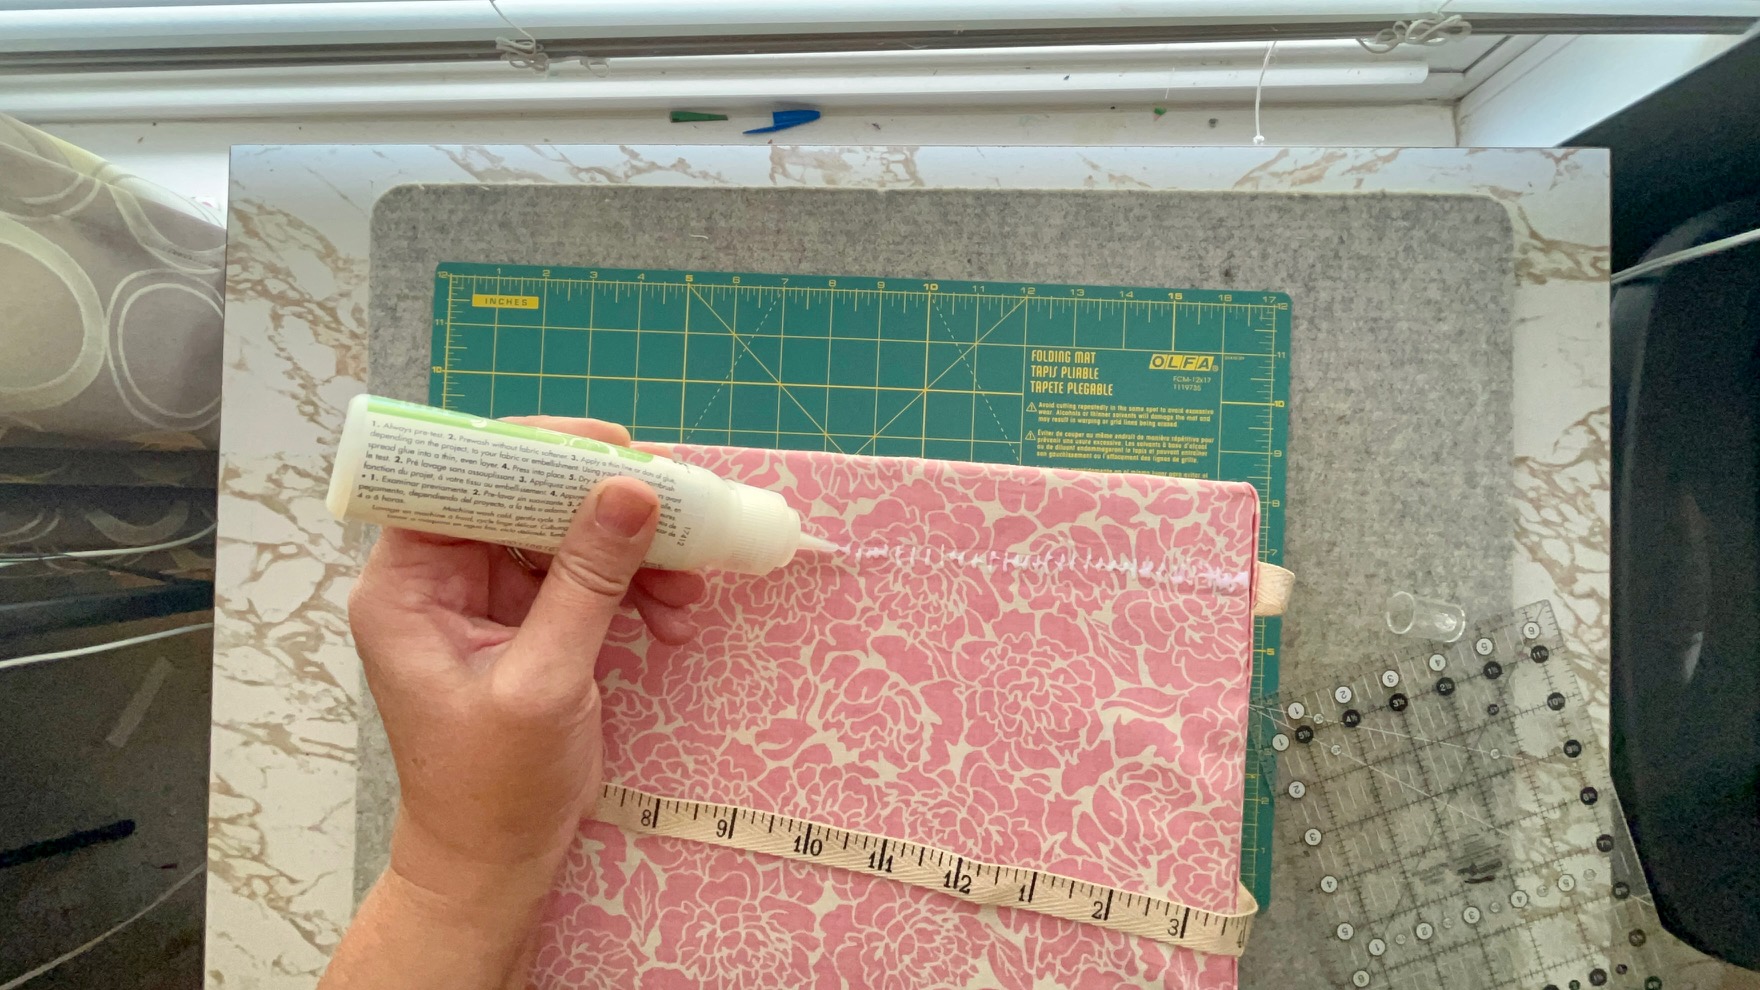
Then…
Grab Thermoweb’s HeatnBond Hem Super Weight Iron On Adhesive Tape. Cut a piece that is the length of the open fabric side. Place the adhesive tape down on your fabric close to the raw edge. Fold your fabric over so that the folded edge is in line with the box. Press to adhere the hem tape. Do this to all 4 raw edges.
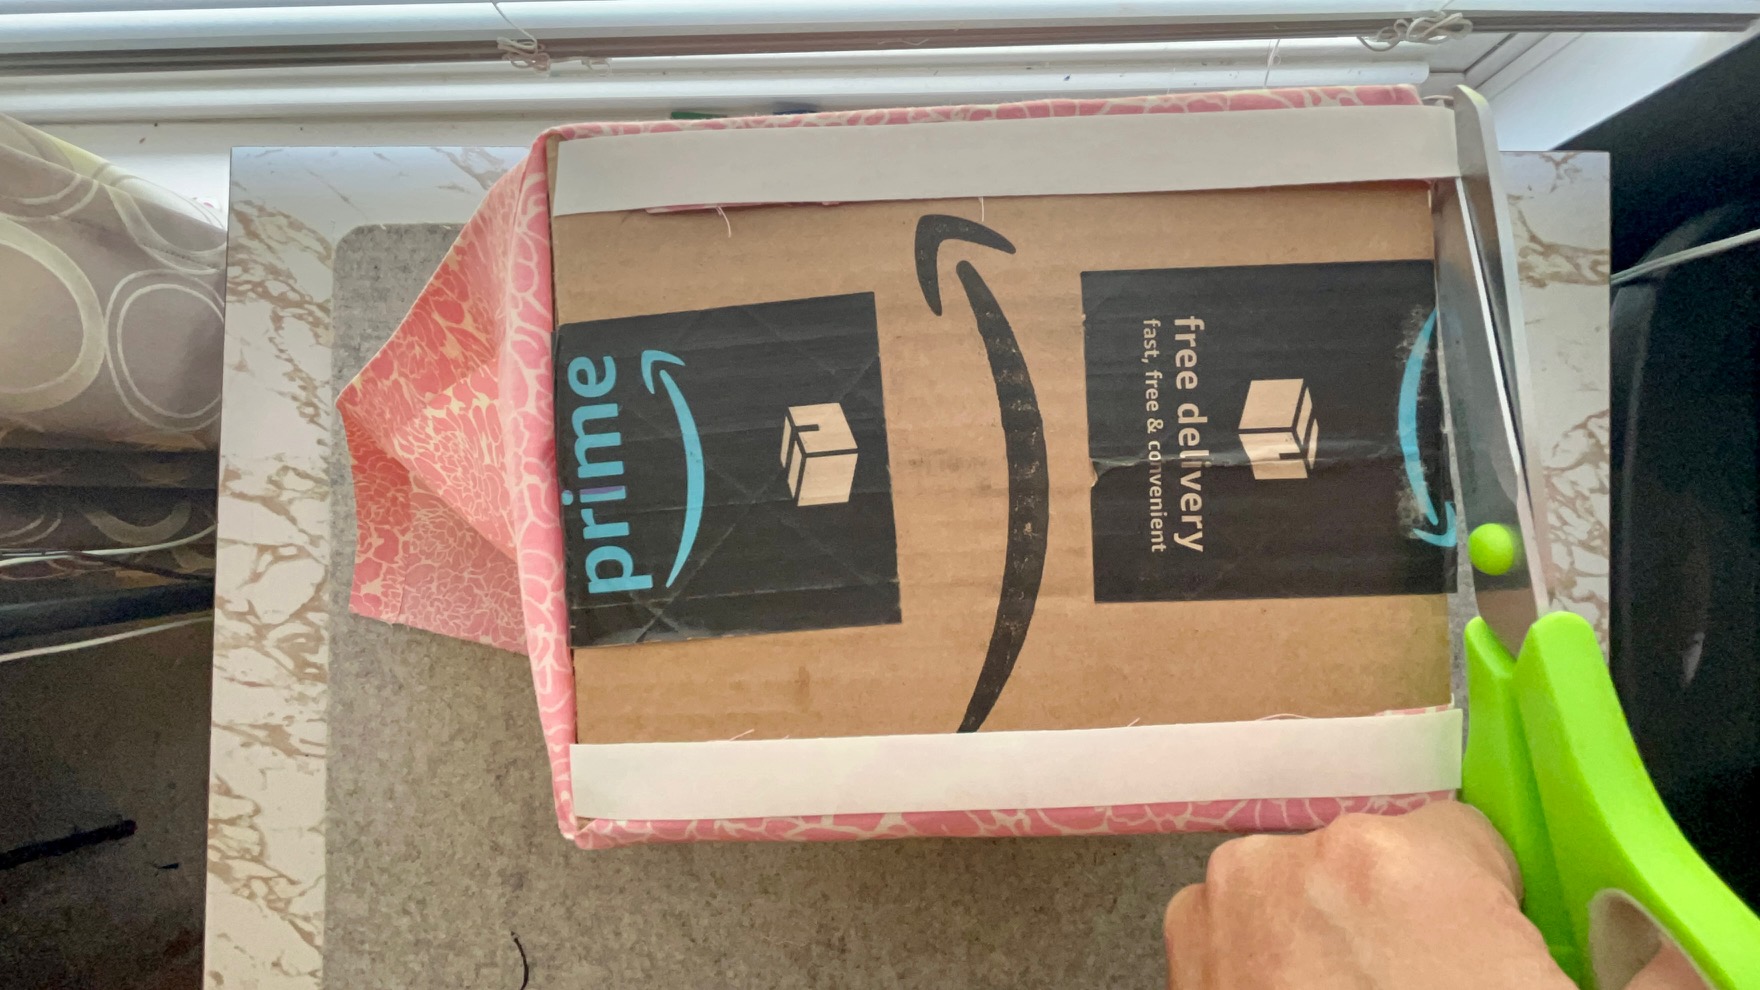
Next…
Using the PeelnStick Adhesive tape, place a piece along the outside of the unfinished sides of the box. Peel back the paper and fold the hemmed sides up the box to adhere. Continue by placing a few small pieces of the tape under the fabric from the adjacent sides inside the box to keep it in place, then, place longer pieces of the adhesive tape on top of the fabric inside the box. Peel back the paper and fold the flaps over to secure.
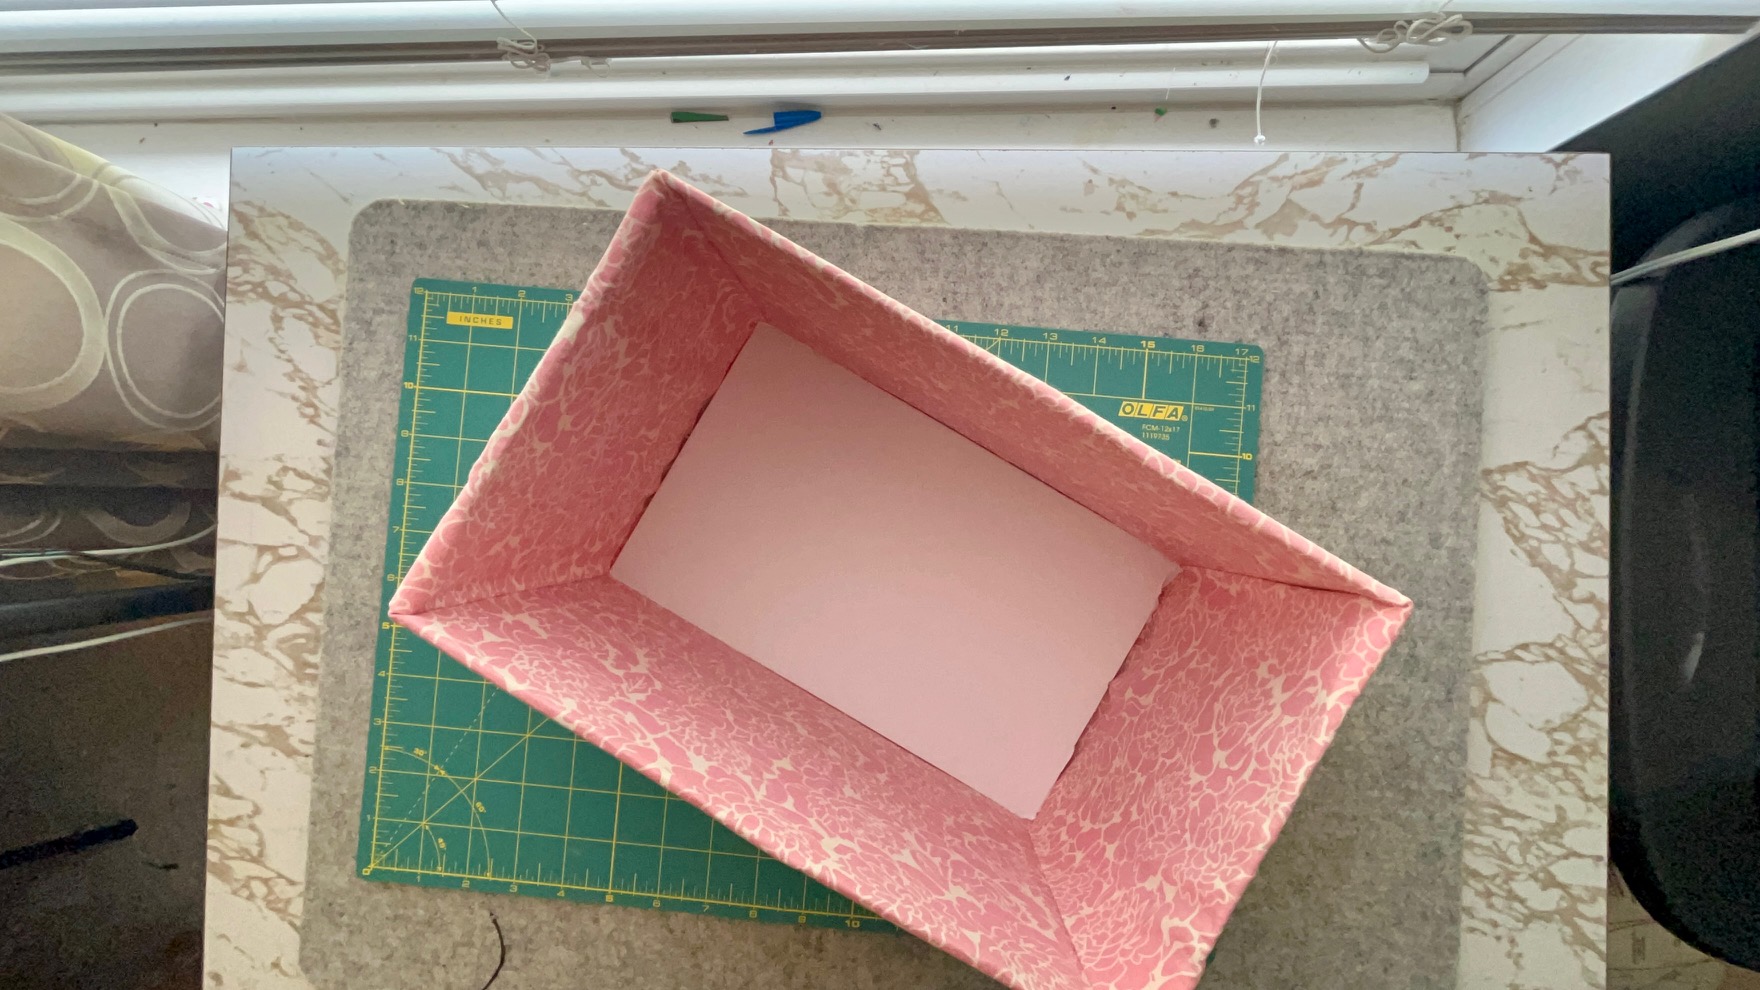
Continue by…
Measure the opening of your box. Cut out a piece of foam board slightly smaller than your measurement. Insert the foam board into the bottom of you storage box. You can also cover this piece with fabric in the same way you covered the box if you so choose.
Optional:
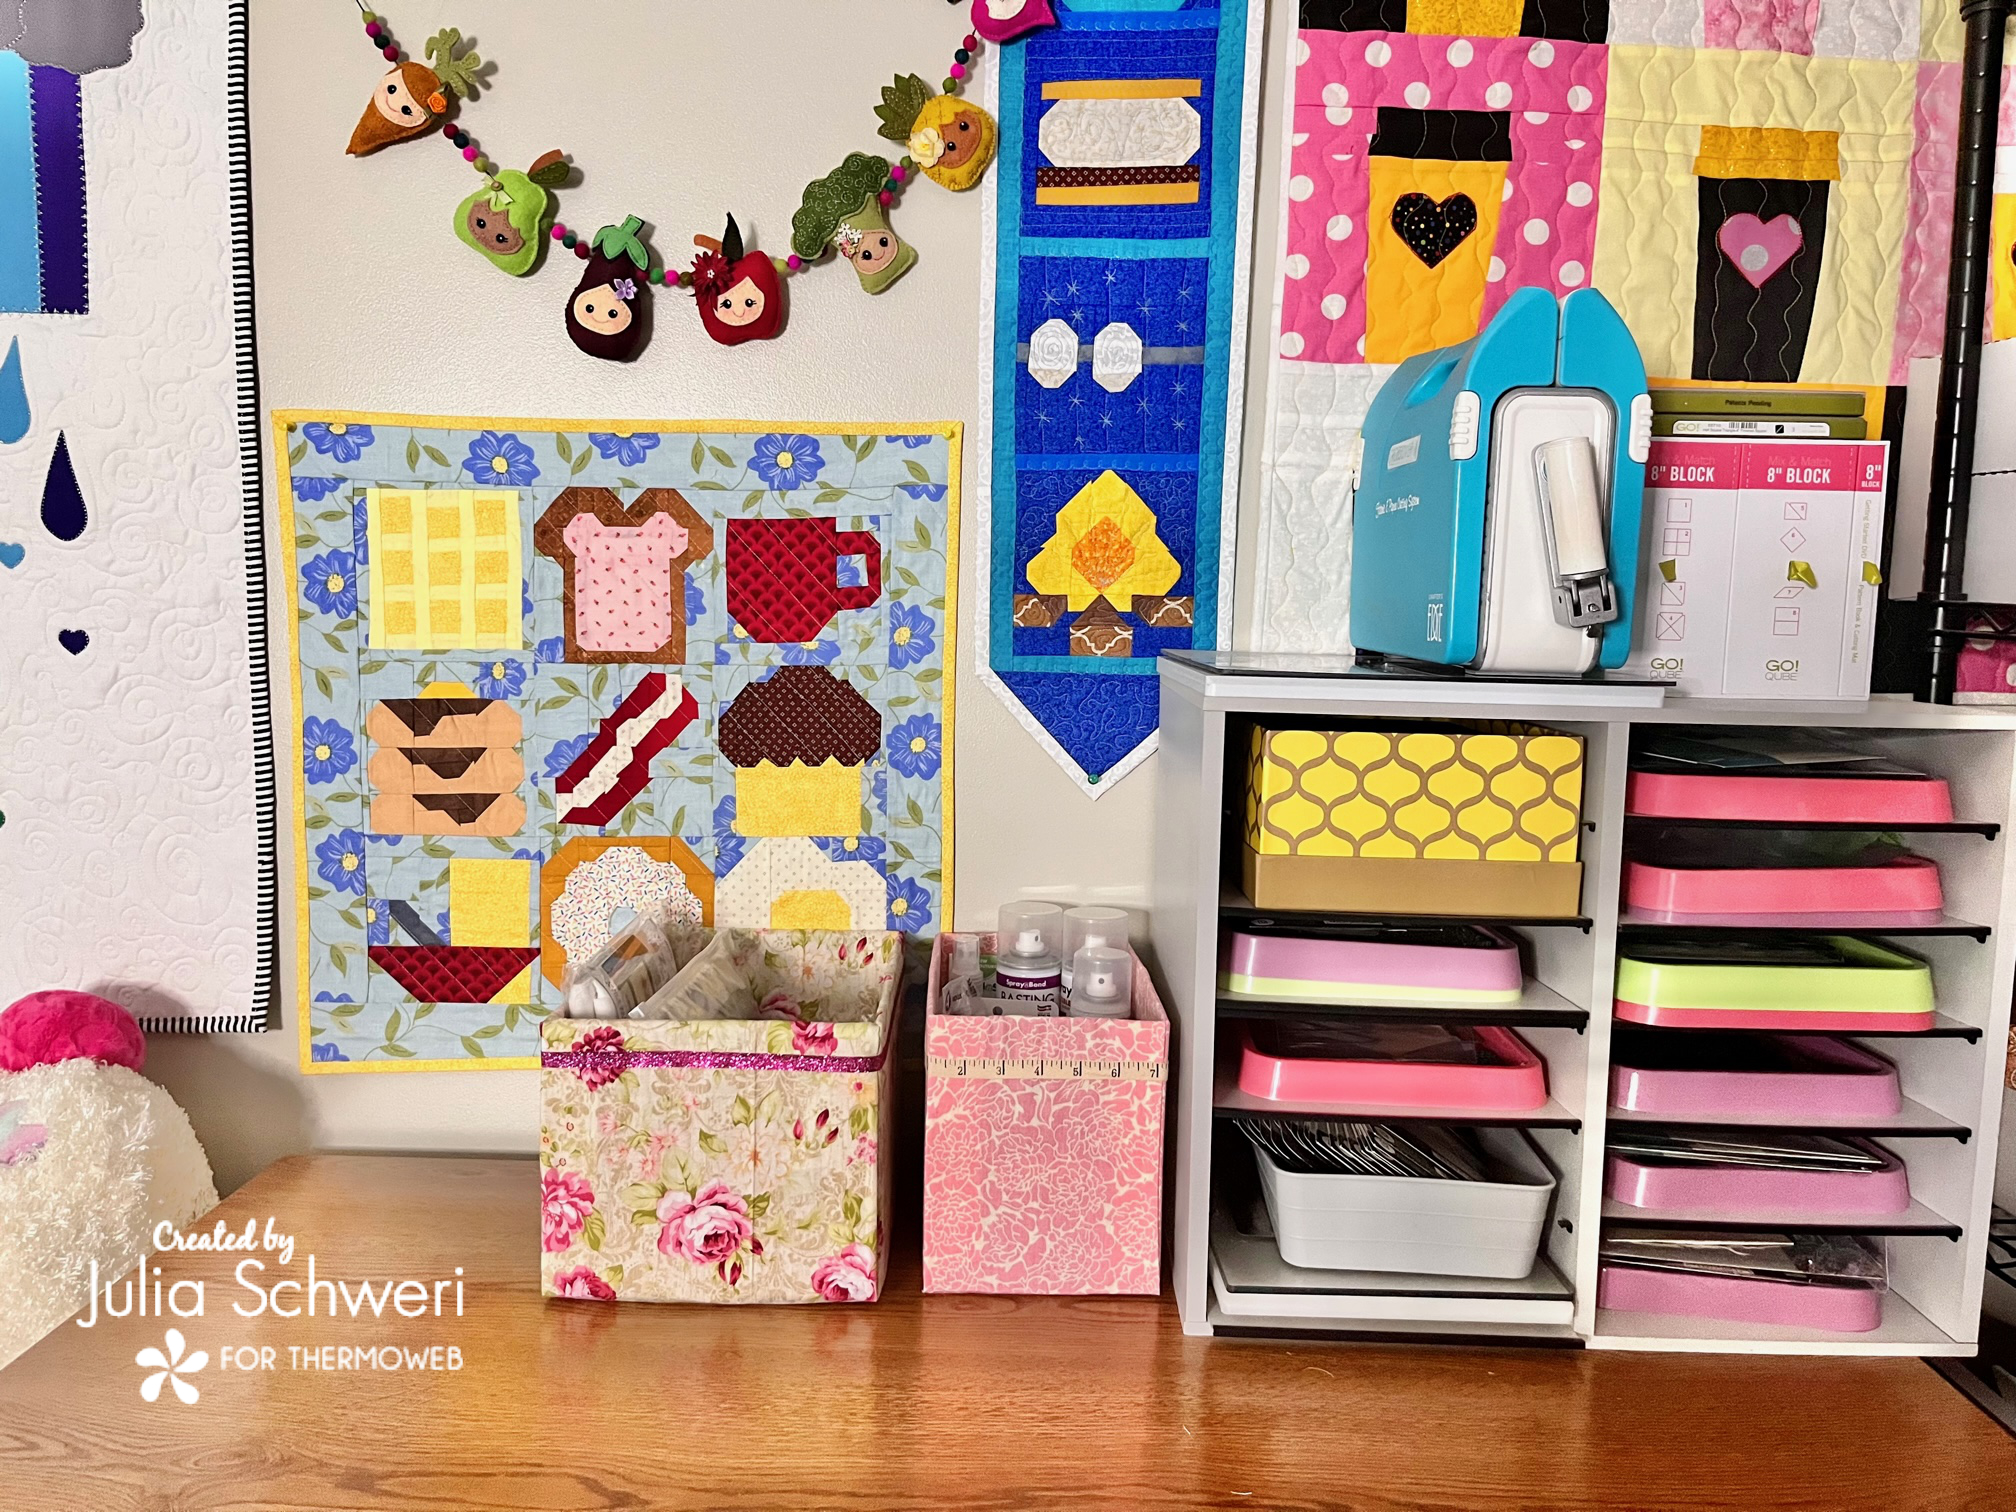
Your box is essentially finished but wouldn’t it look great with some embellishments? You can embellish with all sorts of things. I used Thermoweb’s HeatnBond Fabric Fuse Liquid Adhesive to glue ribbon around the box for a nice, finished look.
For additional help, check out the full YouTube video tutorial!
Finished!
Thank you for visiting today! Come back soon to see what else will be starting to bloom with Inflorescence Designs!