


Happy Bee Garden Flag Featuring HeatnBond
Greetings! It’s Belinda Karls-Nace from Blue Ribbon Designs, here today with a brand new project tutorial featuring HeatnBond Iron-On Vinyl. Today, I am excited to share my “Happy Bee Garden Flag” with you.
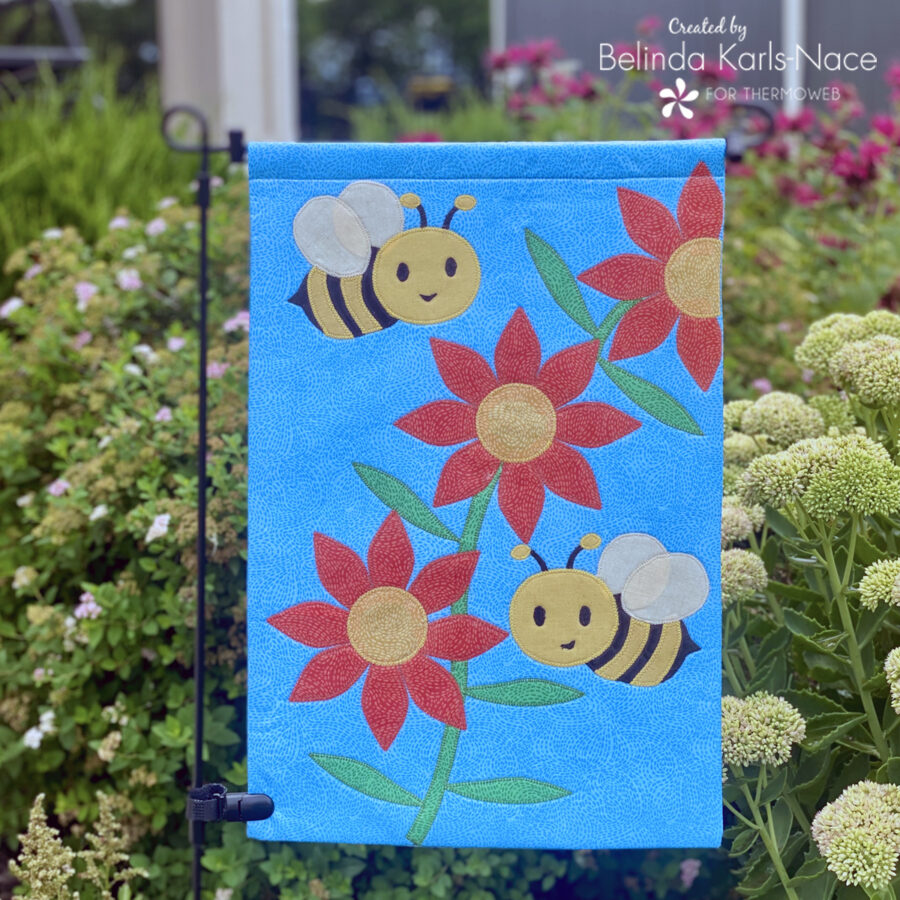
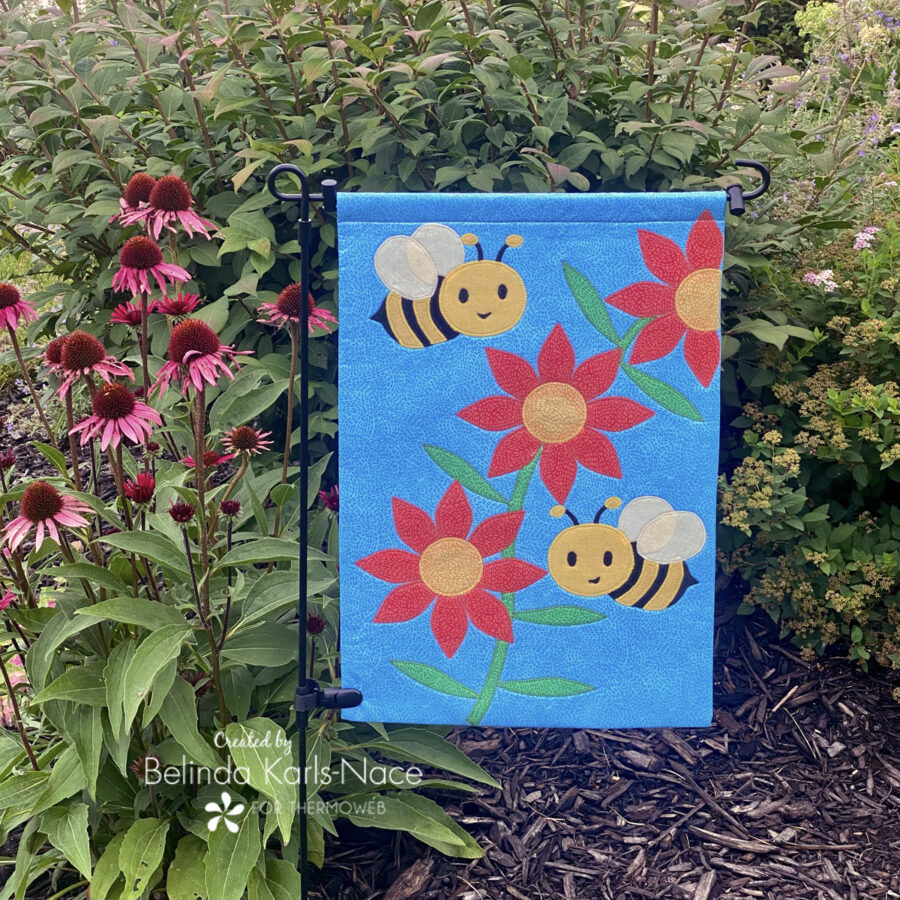
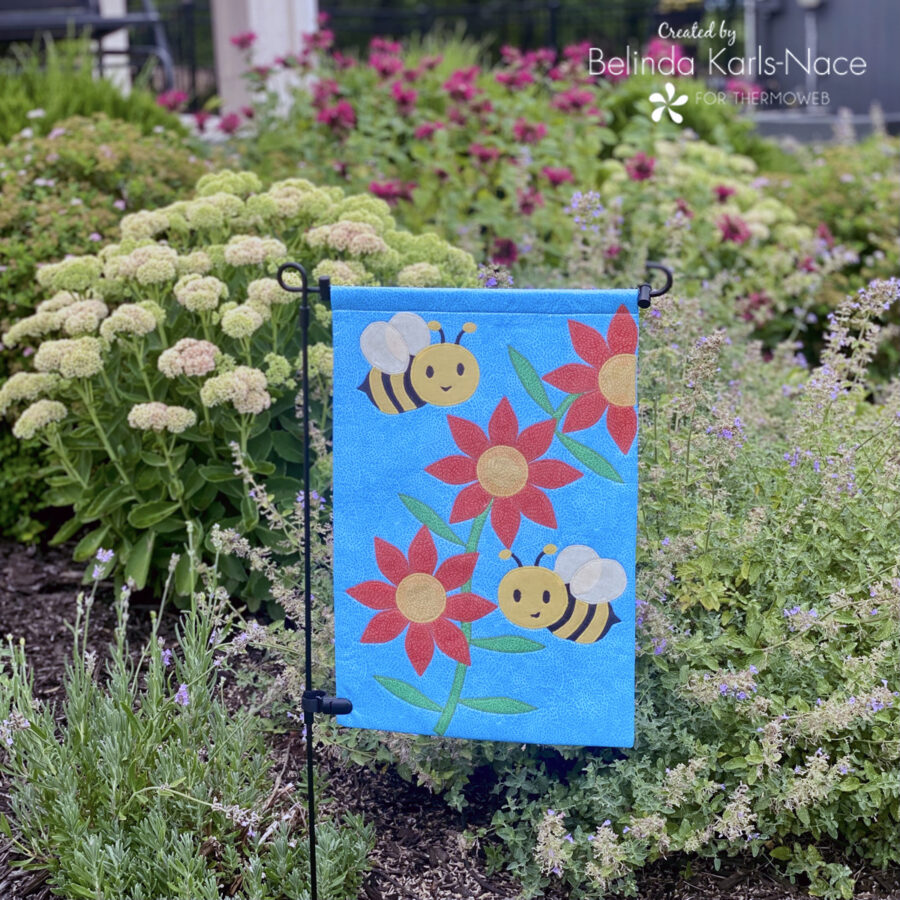
Summer is in full swing and this project will bring a touch of happy to a garden space, yard, or flower bed. This cheerful garden flag will brighten up your outdoor space and is sure to bring a smile. As always, I encourage you to use the supplies you have on hand to make this project fit your personality and décor.
If you are familiar with my projects and designs, then you are aware that I love to sew and machine appliqué; however, for those who would like an easier project, you can omit the machine appliqué by using Heatnbond UltraHold Iron-On Adhesive (no sew) when cutting the template pieces (instead of HeatnBond Lite EZ-Print Iron-On Adhesive Sheets – tracing will be required). This will allow you to fuse the pieces in place, then move on to the vinyl steps without the machine appliqué.
Let’s get started! Simply gather the materials/supplies listed below, then download the PDF templates and layout diagram.
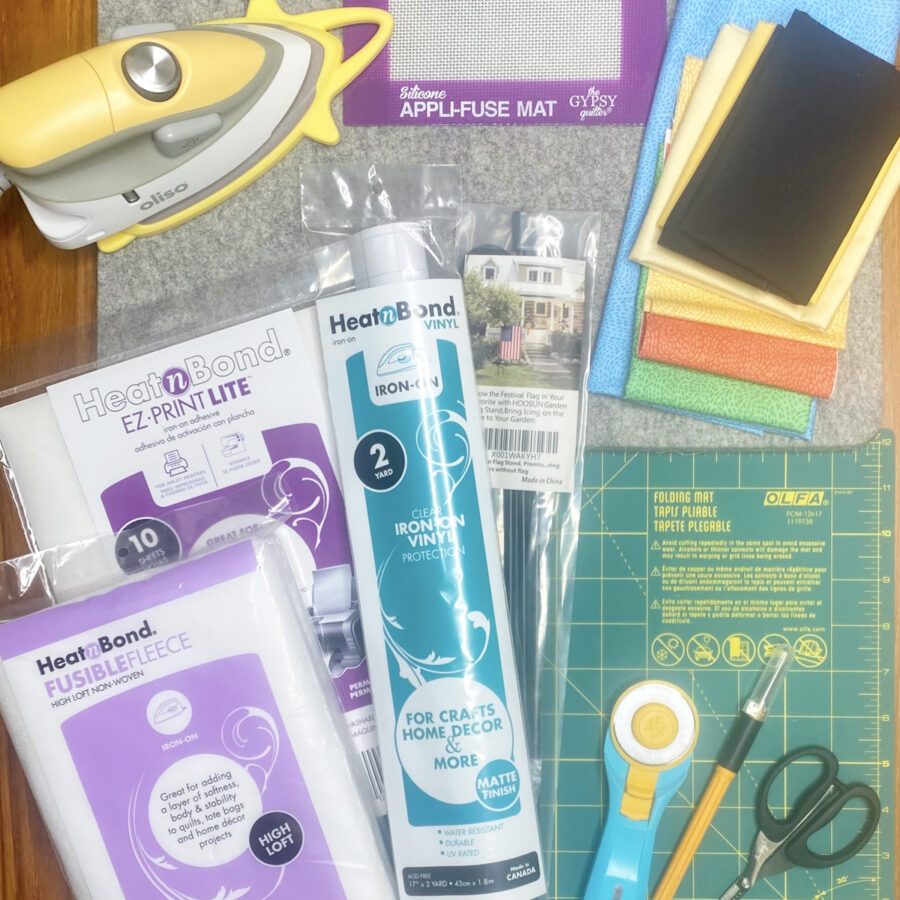
What you need:
- HeatnBond Iron-On Vinyl Roll, 17 in x 2 yds in Matte Finish (Gloss Finish would work as well, however, the model used matte finish to cut down on any outdoor glare)
- 2 – 12½” x 20”
- HeatnBond Lite EZ-Print Iron-On Adhesive Sheet 10 pk, 8.5 in x 11 in
- 4 sheets
- HeatnBond Fusible Fleece
- 1 – 12” x 18”
- Cotton Fabrics: model uses Waved by Erin Borja and Painter’s Palette Solids, both from PBS Fabrics
- Front base fabric – 12½” x 20” (Waved – Pool – 12022171)
- Backing fabric – 12½” x 20” (Waved – Pool – 12022171)
- Flower Petals – 8” x 8” (Waved – Orange – 12022166)
- Stems and Leafs – 8” x 10” (Waved – Leaf – 12022162)
- Flower Centers – 3” x 7” (Waved – Golden – 12022159)
- Bee Wings – 3” x 9” (Solid – Flan – 121-082)
- Bee Head, Stripes, Antennae – 6” x 7” (Solid – Daisy – 121-139)
- Bee Body, Eyes, Mouth, Antennae – 4” x 8” (Solid – Ebony – 121-004)
- Garden Flag Stand (to hold 12” x 18” flag)
- Optional: Silicone Appli-Fuse Mat (Gypsy Quilter)
- Oliso Iron
- Olfa Cutting Tools (cutting mat, rotary cutter)
- Sewing Machine
- Basic Sewing Supplies/Tools (small sharp scissors, rulers, sewing thread, wonder clips, pencil, etc.)
How to Make a Happy Bee Garden Flag (12” W x 18” H)
1. Download and Print the Happy Bee Garden Flag PDF.
Happy Bee Garden Flag – A Project for the Therm O Web Blog
Print actual size – do NOT “fit to page” or “shrink to fit.” Print page 1 (layout) on regular printer paper. Print pages 2 – 5 (appliqué templates) on HeatnBond Lite EZ-Print Iron-On Adhesive (Inkjet printer friendly – no tracing required).
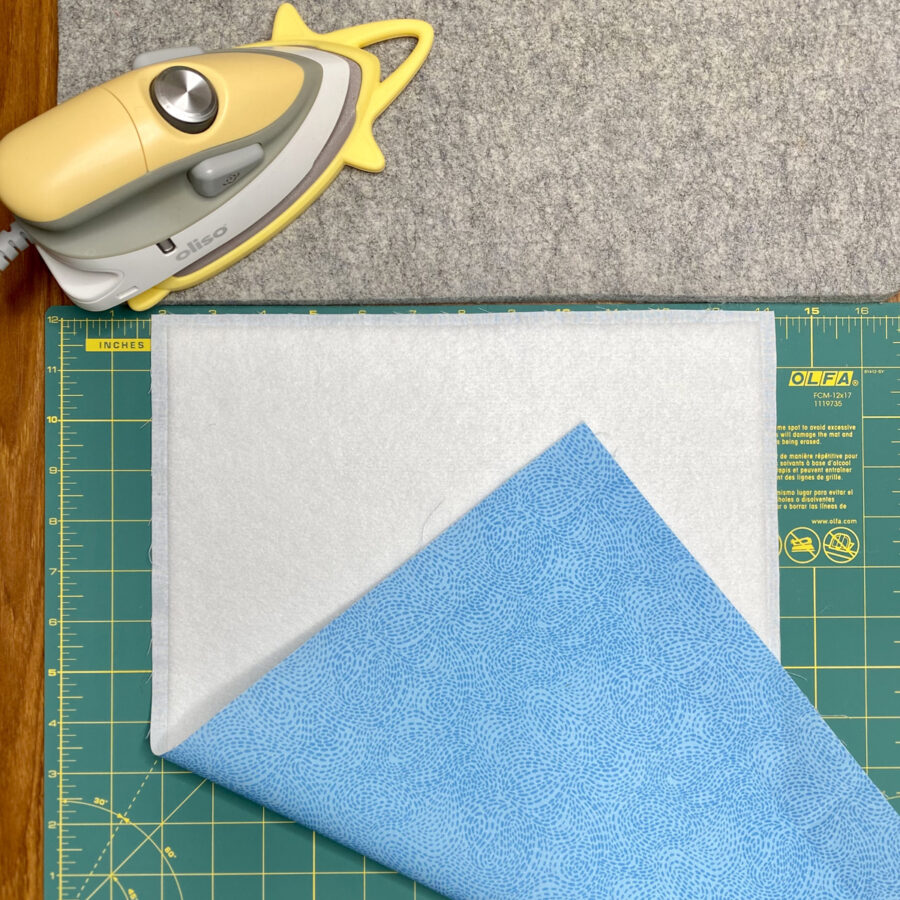
2. Fuse the 12” x 18” piece of HeatnBond Fusible Fleece to the wrong side of the 12 ½” x 20” front base fabric, following the package instructions.
- Pre-heat iron to cotton setting, no steam.
- Place the rough side of the Fusible Fleece on the wrong side of the front base fabric. Place it so there is a ¼” seam allowance on the left, right, and bottom sides. There will be a 1¾” seam allowance on the top. This placement is to reduce bulk in the seams and on the top for the hanging sleeve.
- Cover with a lightweight, dry pressing cloth.
- Press and hold iron with medium pressure for 10-15 seconds. Repeat by lifting iron to new area, slightly overlapping previous area until the entire surface is bonded.
- Allow to cool and set aside.
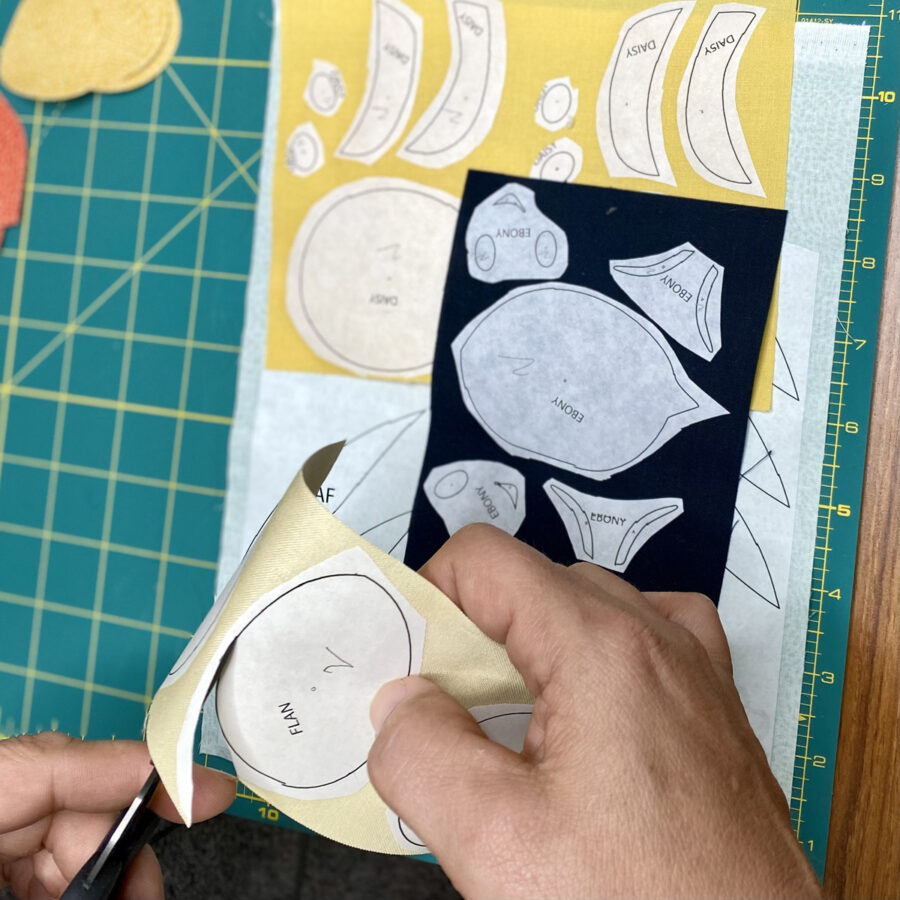
 3. Loosely cut apart the applique templates printed on HeatnBond Lite EZ-Print Iron-On Adhesvie and apply to the back of selected fabrics following the package instructions. Cut out all shapes on the solid lines, leaving the paper in place.
- Pre-heat iron to medium heat, no steam.
- Place loosely cut apart template(s) on the wrong side of selected cotton fabric (printed paper, smooth side, should be face up).
- Place and hold the iron on the paper for 2 seconds. Repeat,overlapping slightly, until entire surface is bonded.
- Allow to cool.
- Cut or trim on the solid lines printed on the paper to the desired shape. Leave paper in place until ready for layout.
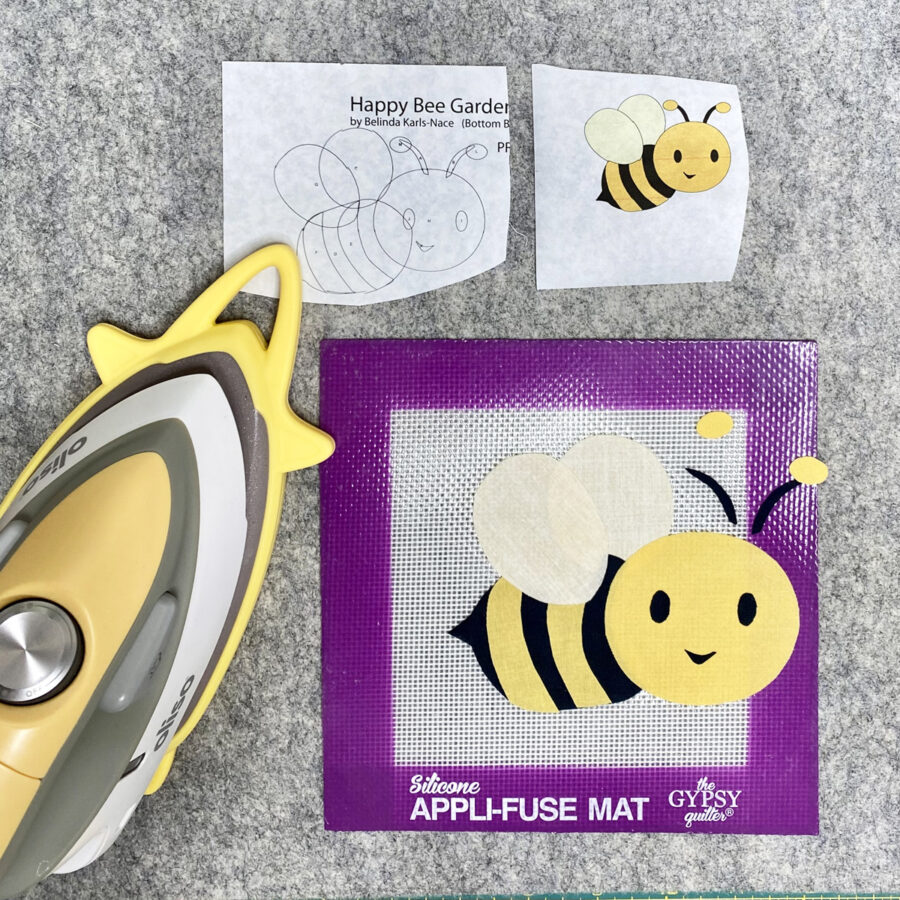
4. PRO TIP – OPTIONAL: To make the layout of the appliqué bees a bit easier, use a silicone appliqué mat. Since the mat is heat resistant, multiple layers can be placed simultaneously and pressed with a hot iron. The layered appliqué can then be picked up as one piece and placed on the background fabric for fusing into place. Using the Layout Guide (page 1 of PDF), remove the paper backs from the pieces for one bee, lay out and fuse together. The entire bee can then be removed from the mat and fused into place on the background fabric. This can be done with both bees and the flowers, if desired.
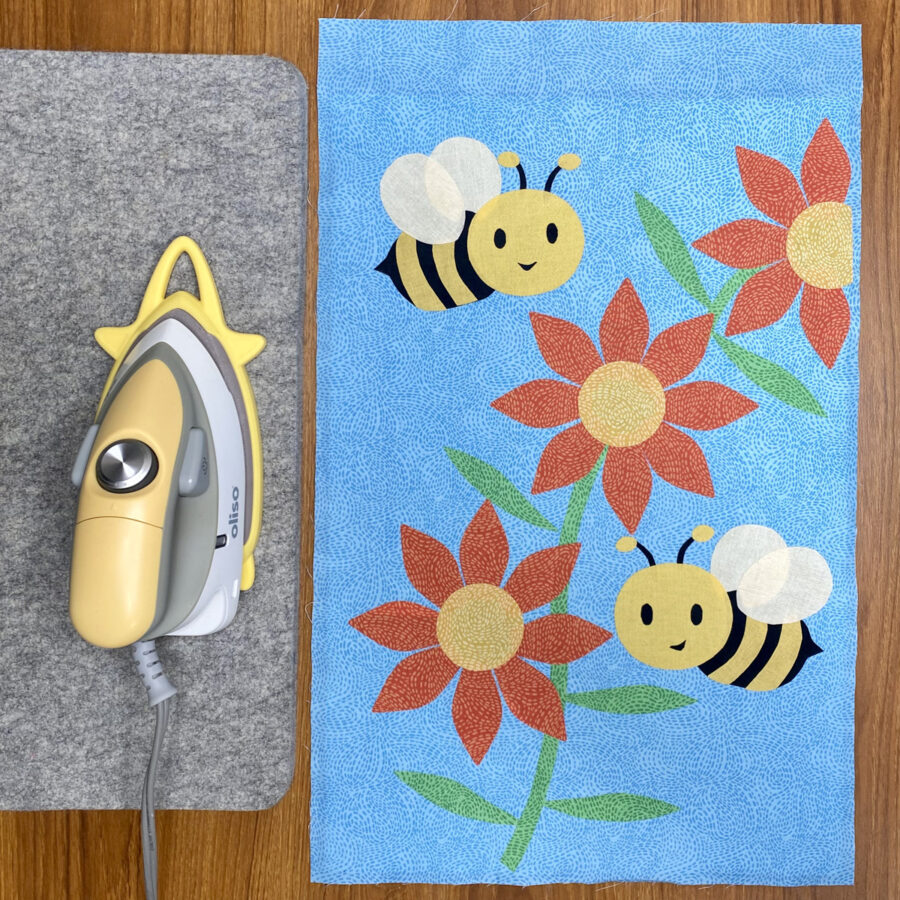
5. Using the Appliqué Layout Guide (page 1 of PDF), remove the paper backs from all appliqué pieces and fuse into place on the front base fabric, following the package instructions. Make sure to leave at least ¼” seam allowance around the entire perimeter (1¾” from the top), so the applique pieces are not sewn into the seams or the hanging sleeve.
- Pre-heat iron to medium heat, no steam.
- Peel off paper.
- Place fabric shape, adhesive side down on top of front base fabric.
- Press and hold iron for 6 seconds on each section, overlapping slightly, until entire piece is bonded.
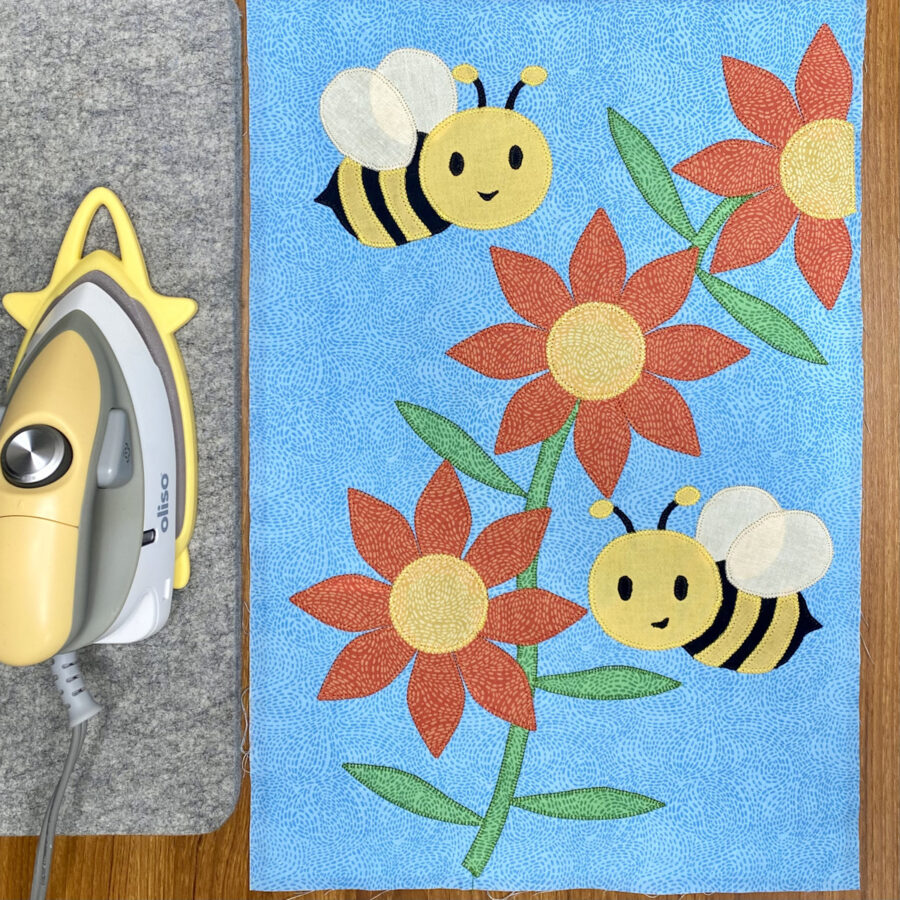
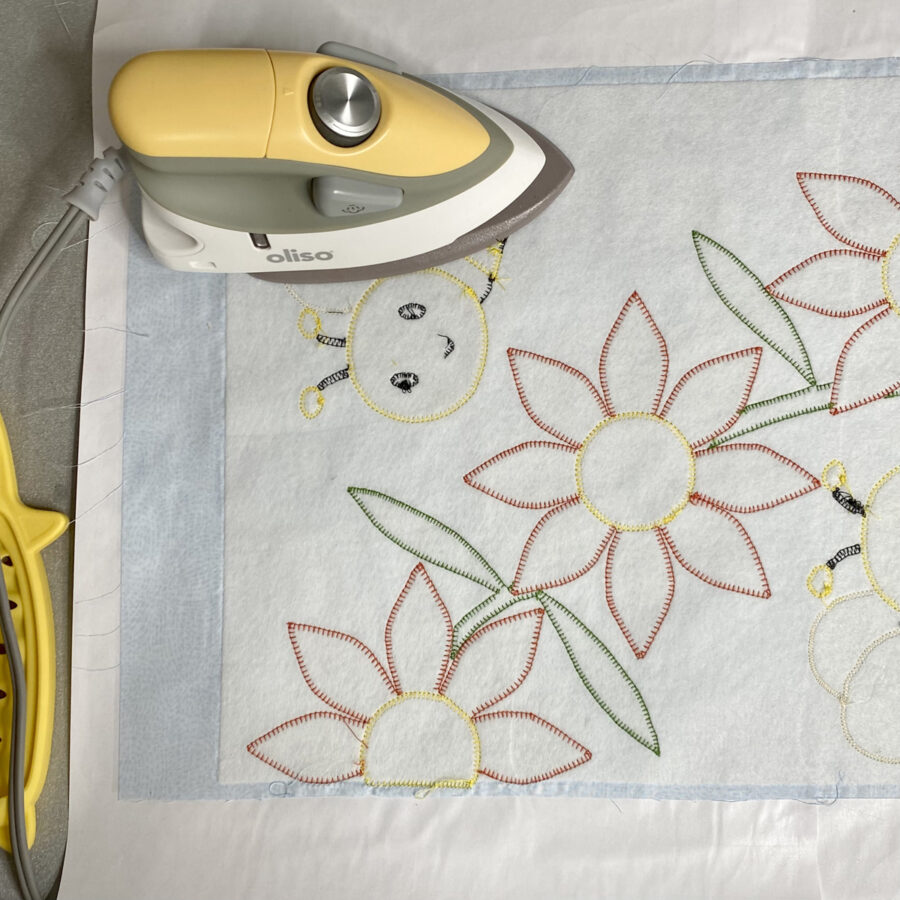
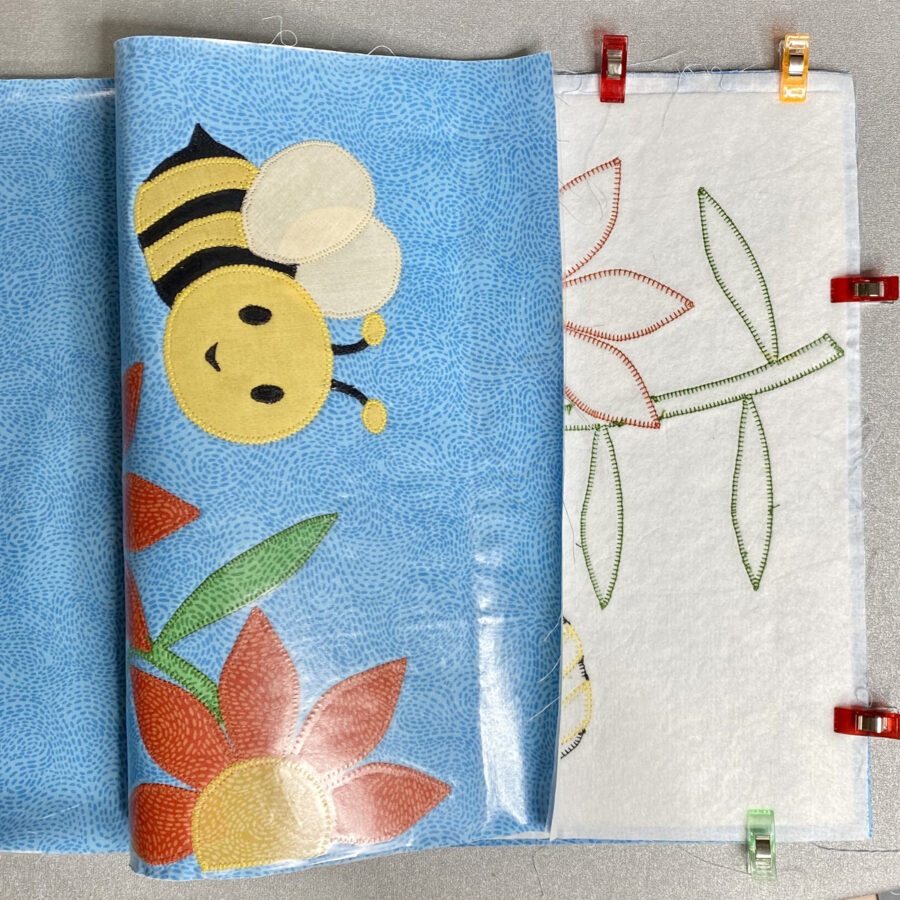
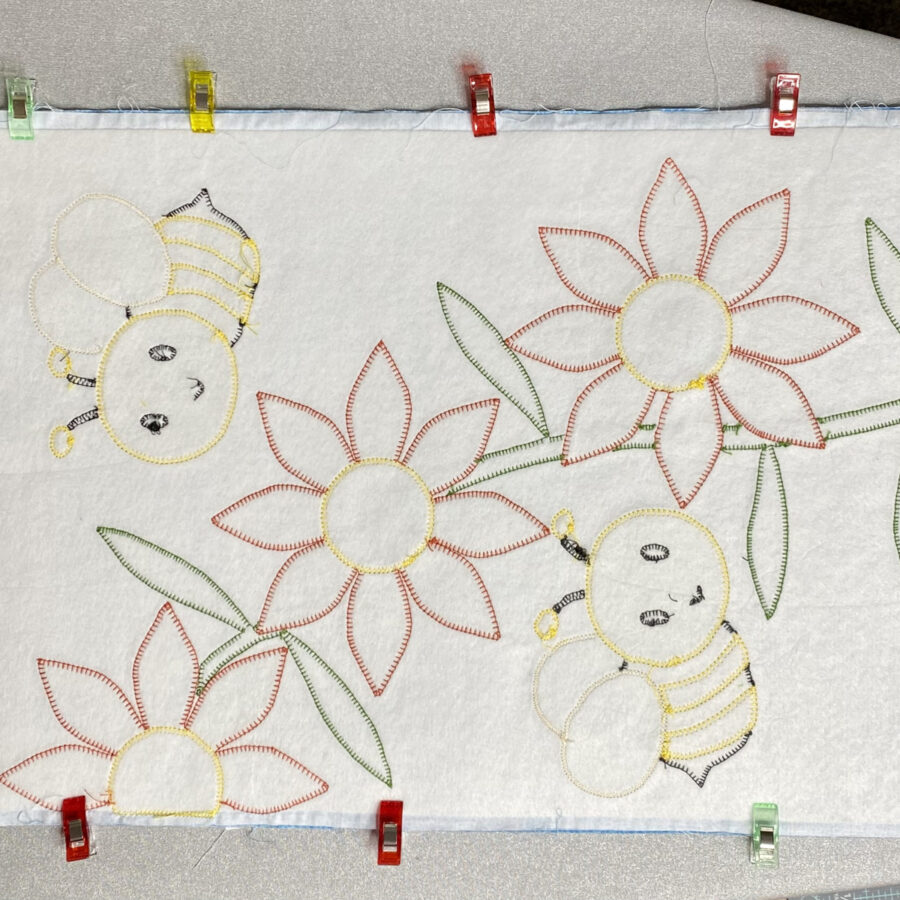
6. Using your favorite appliqué stitch (machine or hand) and coordinating sewing thread, sew the pieces in place (or leave them without sewing for a fast project – the HeatnBond Ultrahold Iron Adhesive to hold them in place, as mentioned at the beginning of this post). I chose to use a machine blanket stitch.
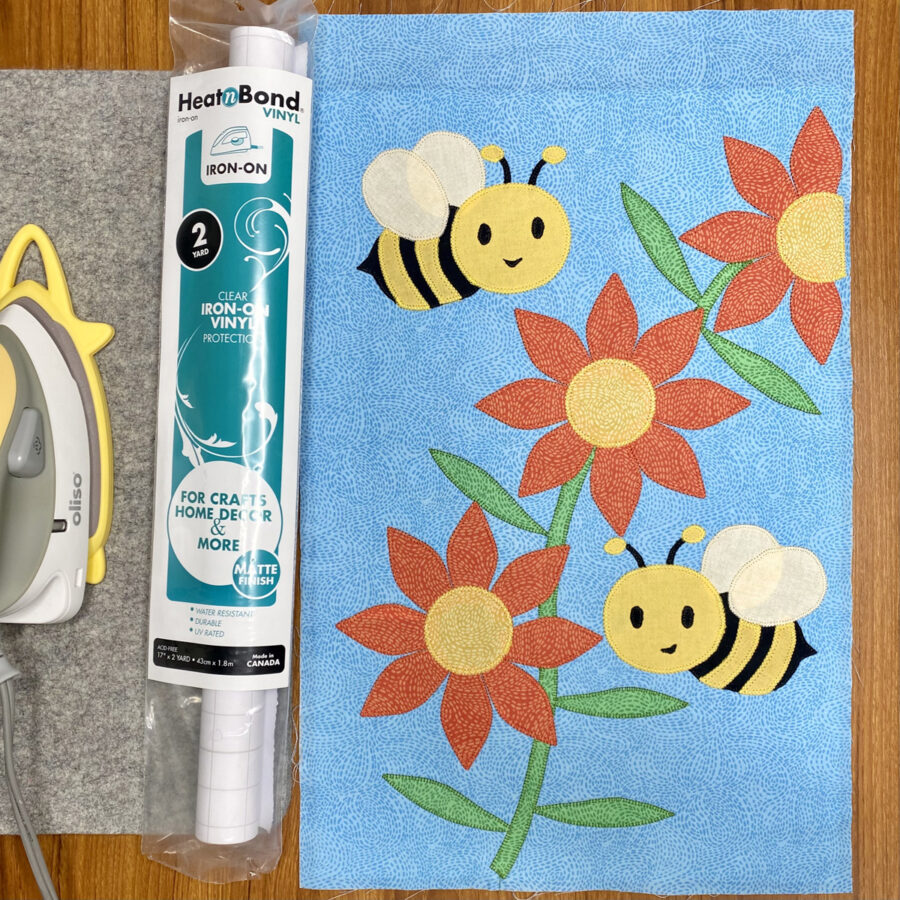
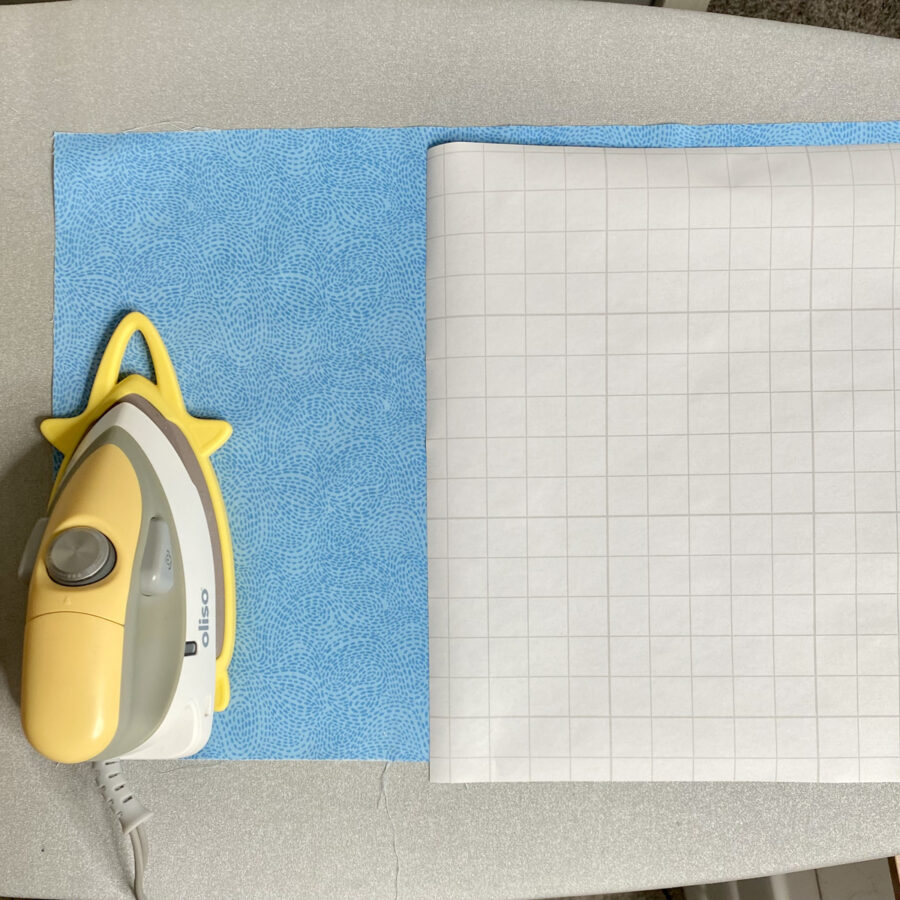
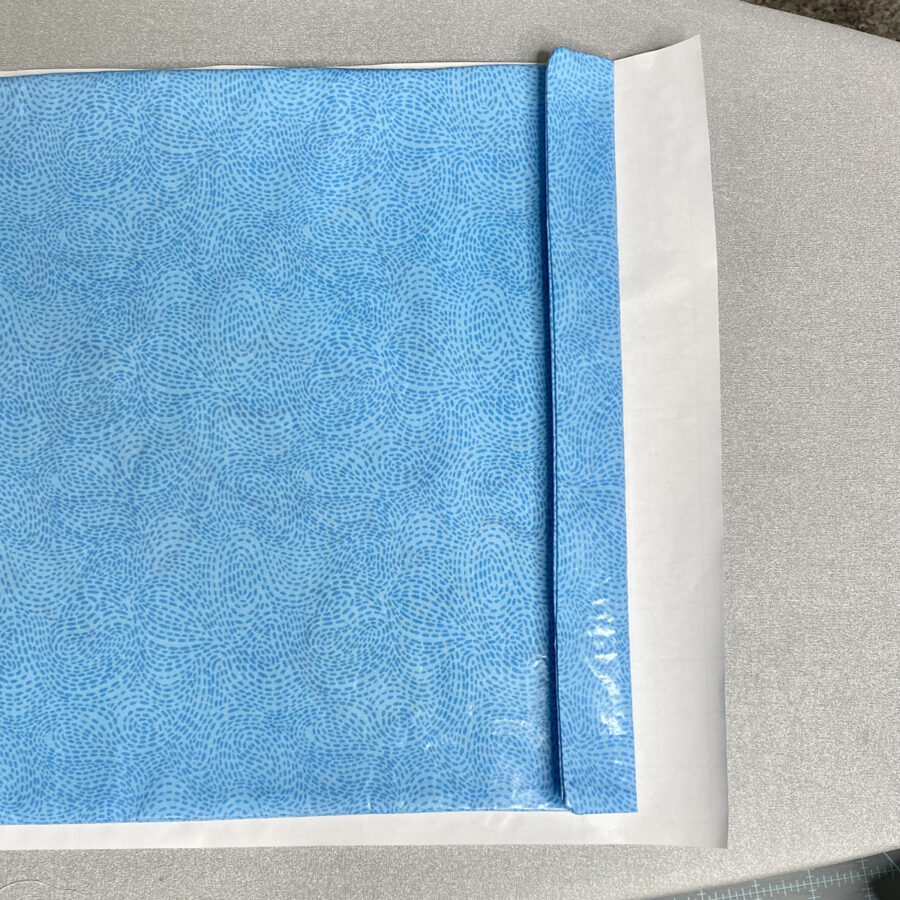
7. Peel one piece of 12½” x 20” HeatnBond Iron-On Vinyl from the paper back. Place the vinyl sticky side down onto top of the 12½” x 20” front fabric unit with appliqué. Make sure all loose threads and any fuzz is removed before placing the vinyl on the fabric unit. Line up all four edges and smooth. Retain the removed protective paper.
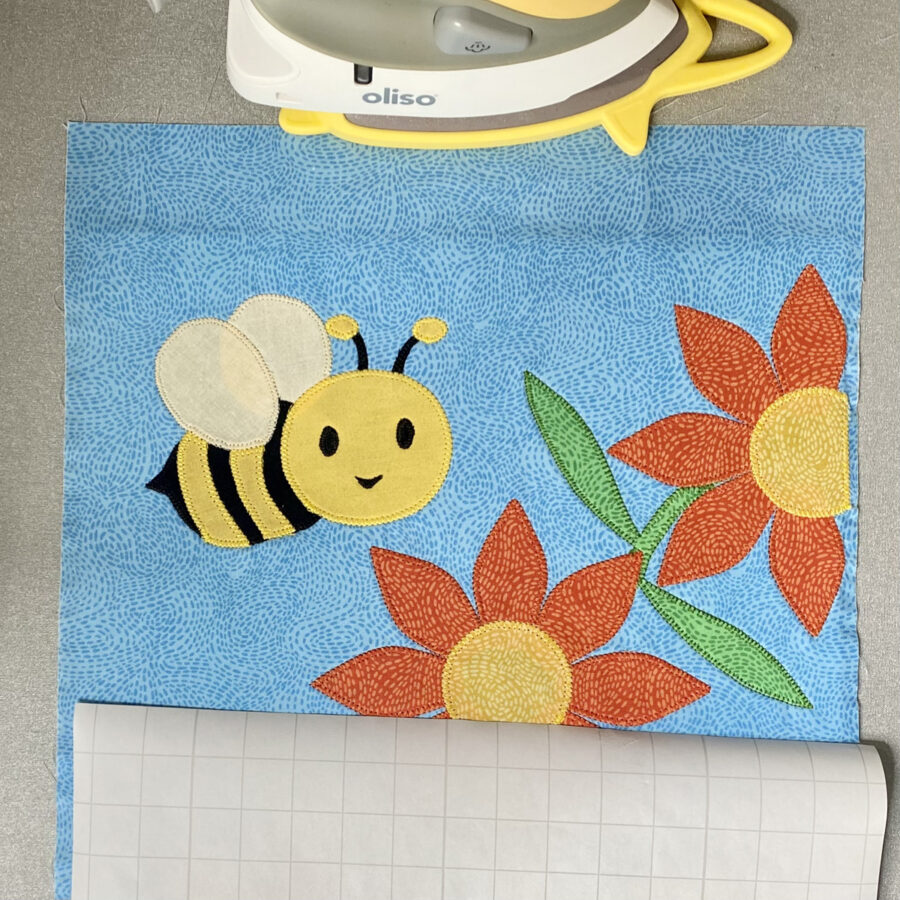
Repeat step 7 for the backing fabric.
PRO TIP: I repeated this same step for the backing fabric, so I had both protective papers for pressing. This gives an ample amount of protective paper for a bit of overhang to protect both the iron and ironing board. I will also keep these protective paper backs for future projects.
8. Place the protective paper that was removed on top of the vinyl covering the front fabric unit. Press and hold the iron on the protective paper for 8 seconds. Repeat until the entire surface is laminated. Making sure not to touch the iron directly on the vinyl.
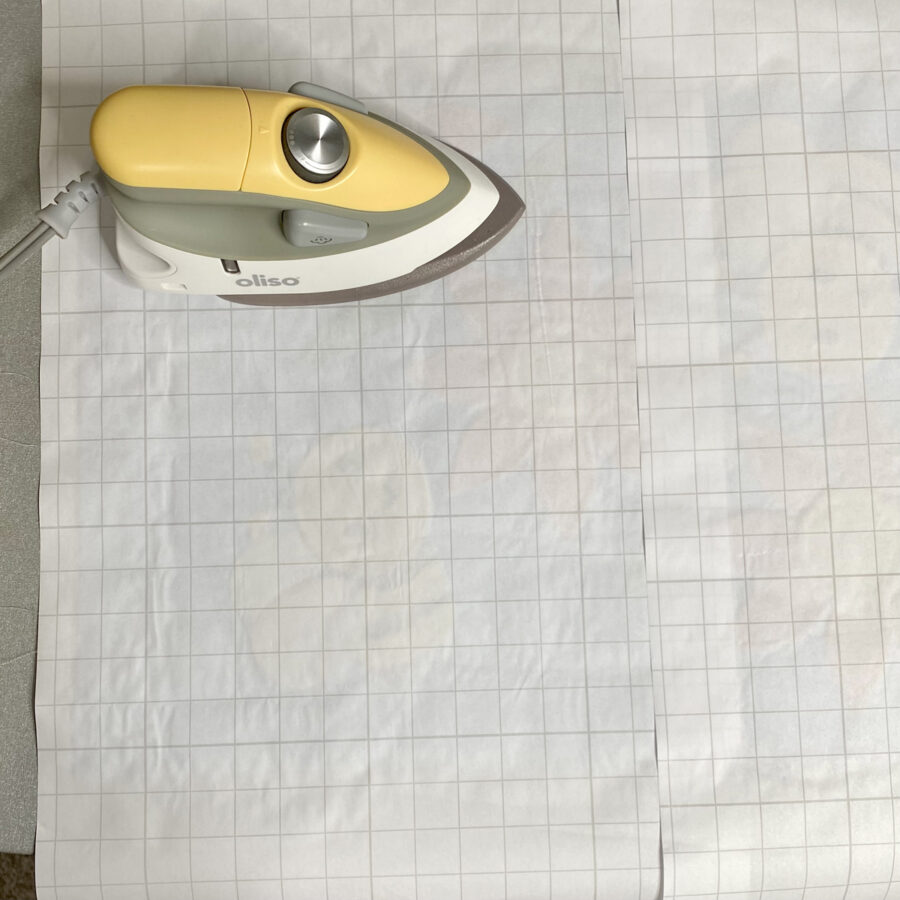
Flip the front unit over and press and hold the iron on the back of the project for an additional 4 seconds. Repeat until the entire surface has been heated. I held it for 5 – 6 seconds where the thick fusible fleece was in place.
Allow to cool.
9. Repeat steps 9 and 10 for the backing fabric.
10. Place front combined unit and backing fabric unit right sides together clip in place. You do not want to poke pins through the vinyl.
11. Sew around the entire perimeter with a ¼” seam allowance leaving a 6” opening at the top for turning. (Leaving the opening at the top will allow it to be on the back when the hanging sleeve is formed.
12. Clip corners and turn right side out. Press, making sure to use the protective paper – remember, never iron directly on the vinyl. Sew the opening shut.
13. Fold the top 1¼” to the back side.
14. Top stitch in place from the front side using a 1” seam allowance. This will form the hanging sleeve.
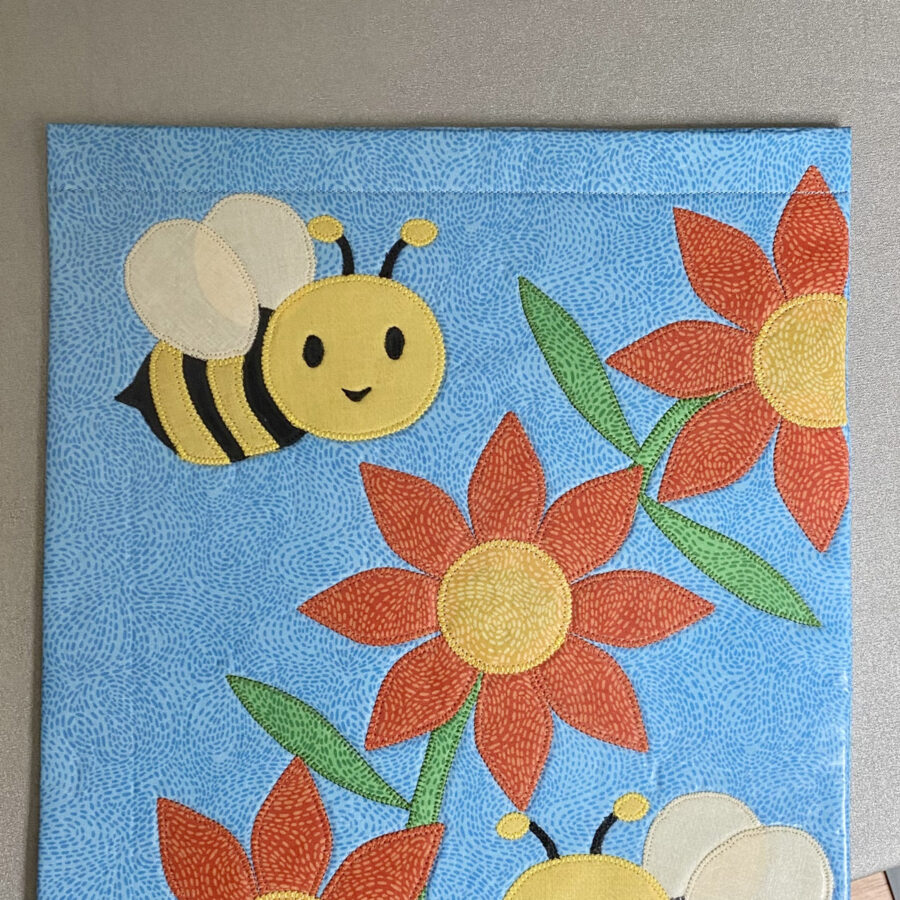
15. Use a standard garden flag stand to display the flag.
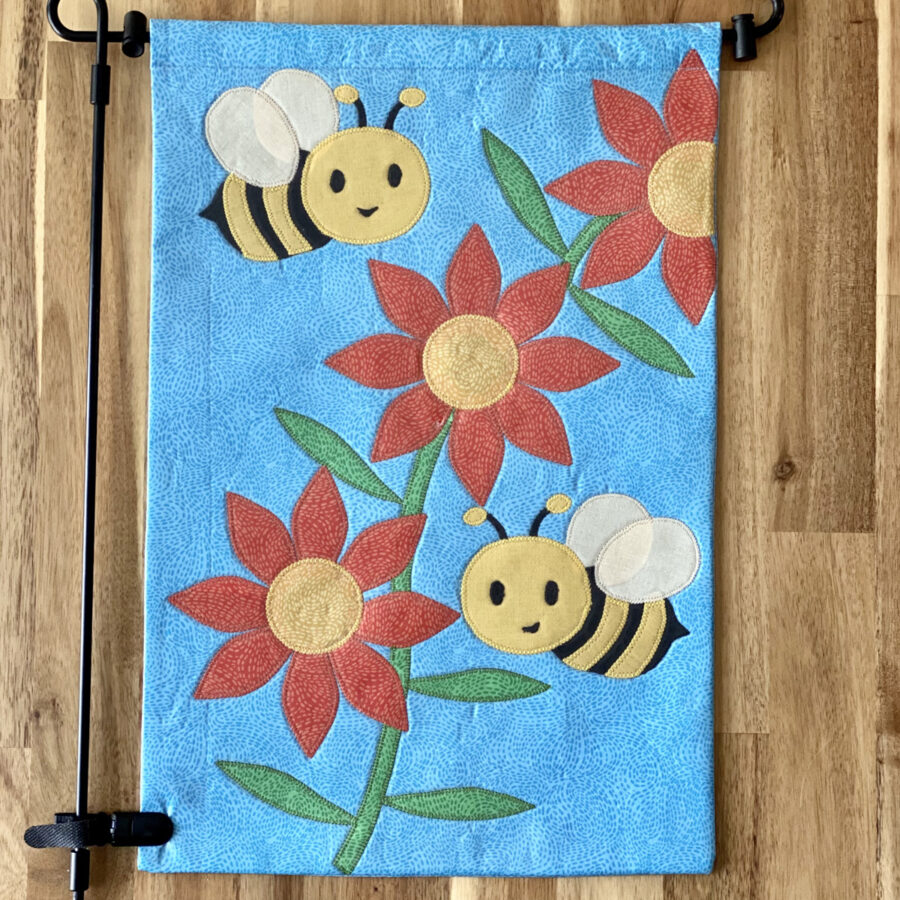
16. Your Happy Bee Garden Flag is now complete. Enjoy!
Thank you for joining me today for my ThermOWeb blog tutorial. I hope this post inspires you to create a happy garden flag that matches your personality and style, using materials you have on hand. To see more of my projects, stop by my blog, website or Instagram – I would love to visit with you and see what you create!