


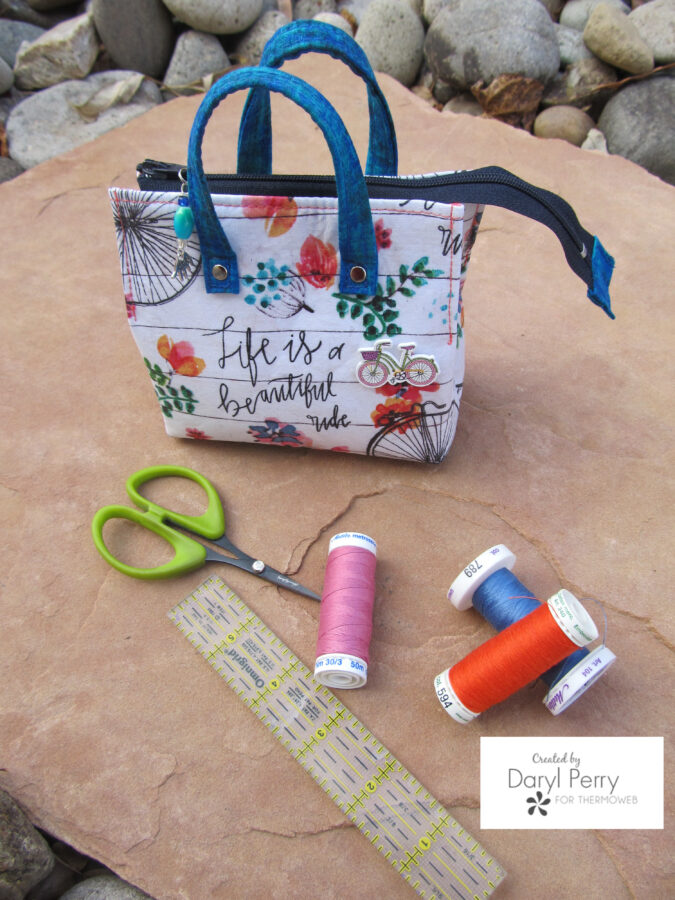
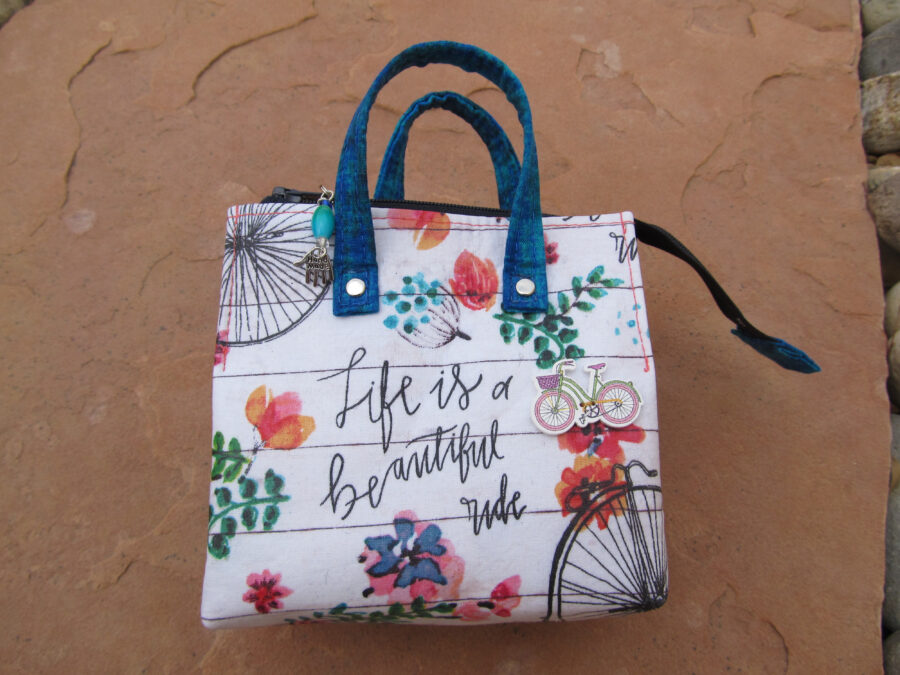
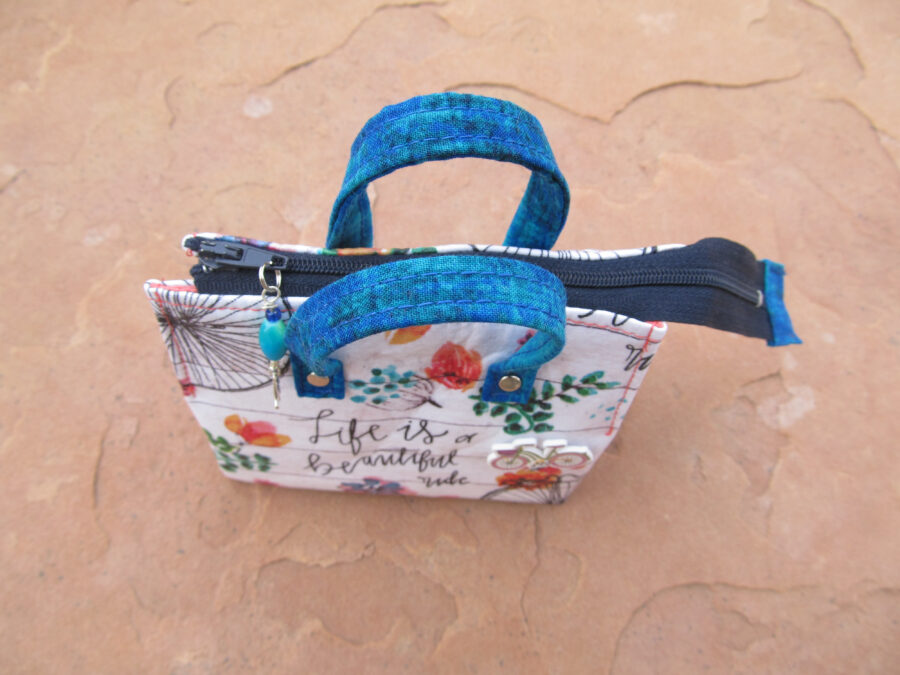
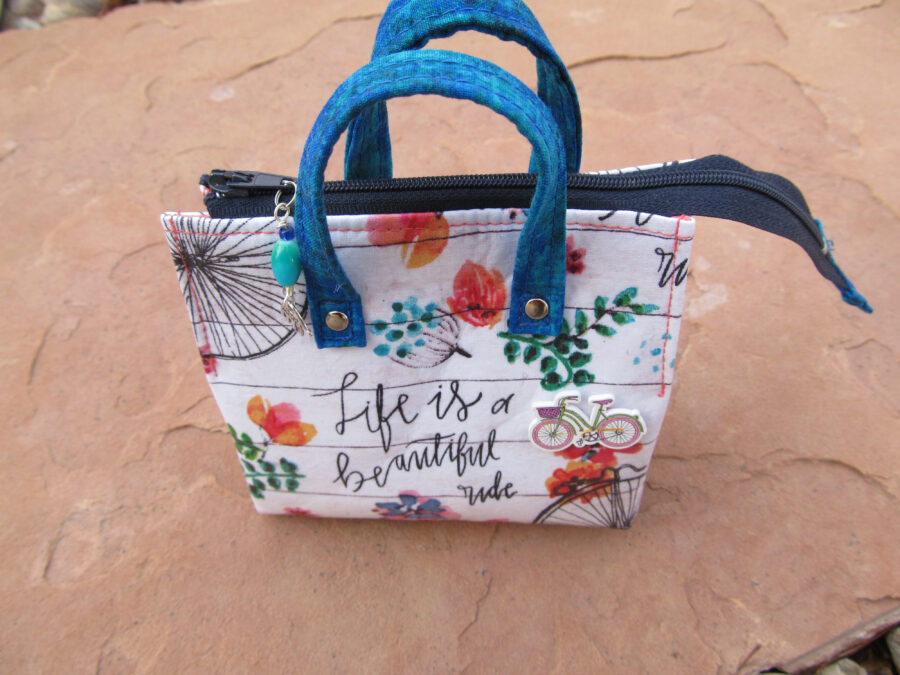
 Hello, Daryl here from Patchouli Moon Studio and I am here to show you how I created this cute little bag with a zipper closure using this bicycle print fabric and since the fabric had a white background, I used Liquid Vinyl to make it stain and waterproof. This little bag finishes at 5 1/2″ wide x 5″ high x 2 1/2″ deep.
Handmade Fabric Zipper Bag with HeatnBond Liquid Vinyl
Here are the Supplies you will need:
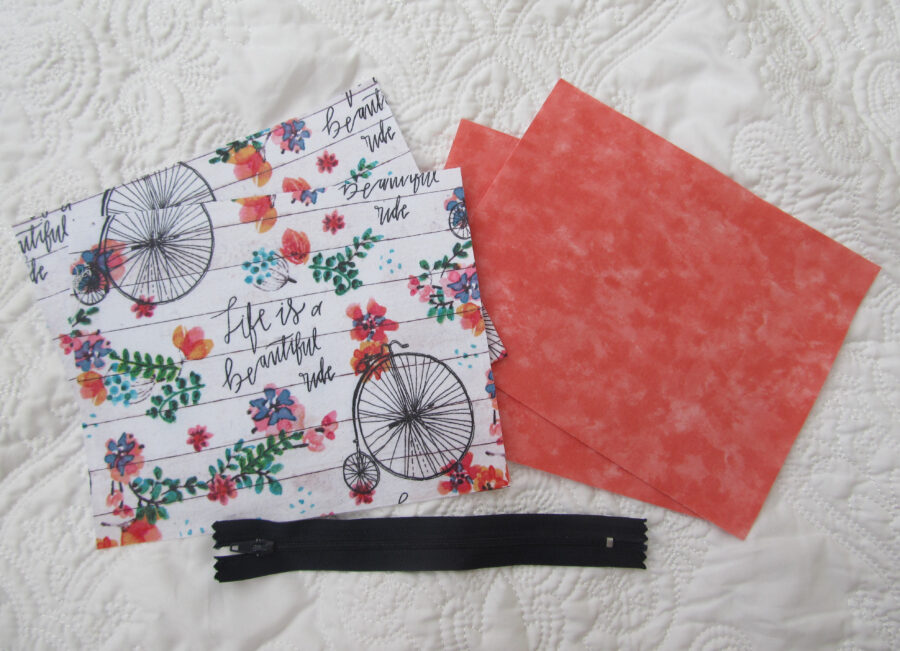
- Exterior fabric: 1/4 yard of quilting cotton weight fabric
- Lining fabric: 1/4 yard of quilting cotton weight fabric
- HeatnBond Soft Woven Fusible interfacing 1/2 yard (22″ wide interfacing)
- HeatnBond Fusible Fleece 1/4 yard
- 6″ or 7″ zipper #3 size
- Contrast fabric for handles and zipper tab OR use the leftovers from the exterior or lining fabric
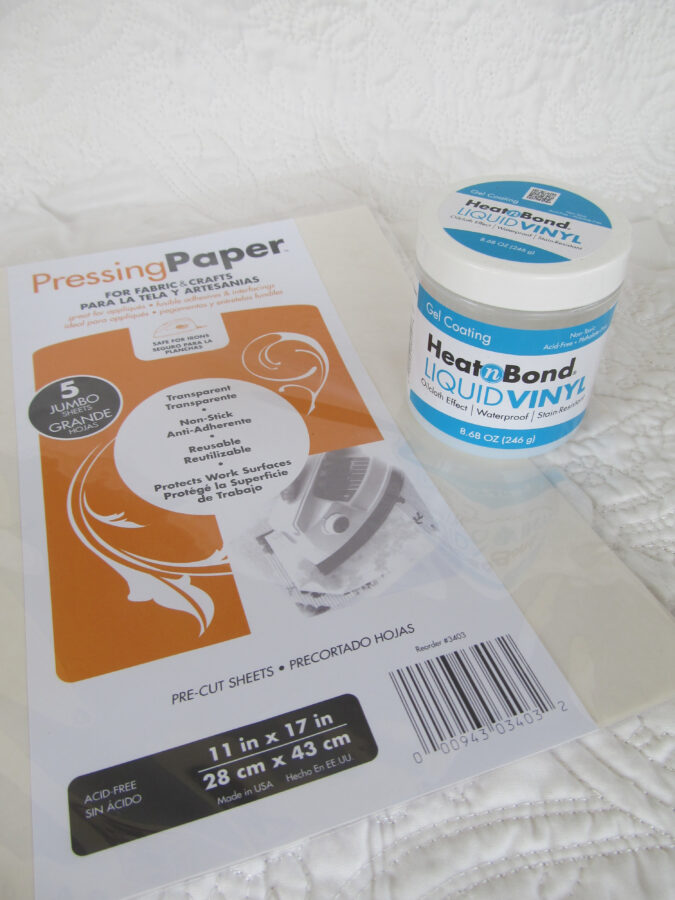
- HeatnBond Liquid Vinyl
- Paintbrush (I used a 2″ wide brush)
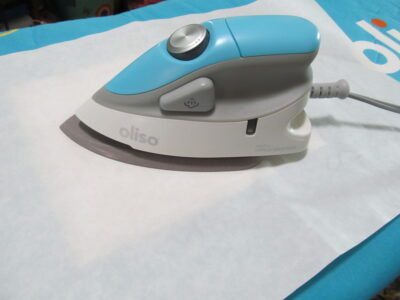
- Pressing Paper
- 4 Rivets (optional)
- Zipper foot
- Your basic sewing supplies (clips, pins, sewing machine, iron, etc.)
The tutorial is a video tutorial from Tendersmile Handmade , but I made several changes, so before you begin please read through all the instructions first.
First, I rounded off the cutting measurements and made them in inches instead of centimeters, to make it easier to cut with my quilting rulers.
Secondly, if you are going to apply the Liquid Vinyl to your fabric, you will need to cut your fabric exterior pieces 1″ larger on each side to account for shrinkage and then trim to the size needed after the pieces have dried and have been pressed. Interfacing will also need to be larger for fabric that is going to have Liquid Vinyl added.*
Cutting:
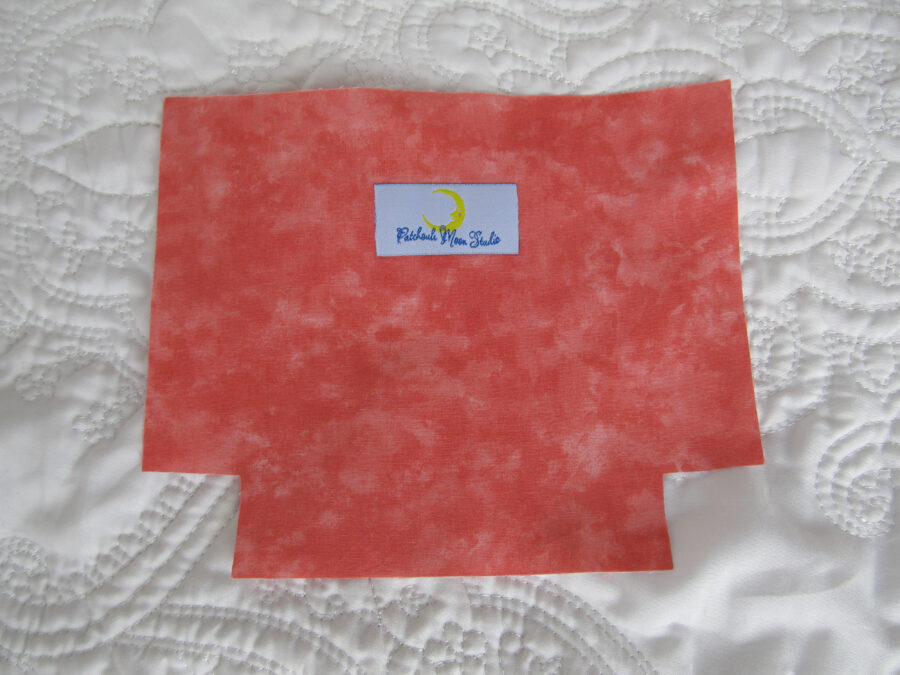
- Exterior Fabric (2) 8″ wide x 6 1/2″ high (*note: cut 9″ W x 7 1/2″ H if you will use Liquid Vinyl, then trim to the size needed later)
- Lining (2) 8″ wide x 6 1/2″ high
- Fusible woven interfacing (4) 8″ wide x 6 1/2″ high (*note cut 1″ larger on each side if you are going to use Liquid Vinyl for the exterior or the lining)
- Handles (2) 8″ wide x 2″ high
- Zipper tab (1) 2″ wide x 2 1/2″ high
- Fusible fleece (2) 7 1/2″ wide x 6″ high
Applying the HeatnBond Liquid Vinyl:
- Take the exterior pieces that you cut oversized by 1″, and fuse the interfacing on the wrong side of the fabric. (If you are also adding Liquid Vinyl to the lining, you will do the same to the lining).
- After the interfacing has been fused on the wrong side of the fabric, flip the fabric over and place your fabric on a surface that will protect your table from the Liquid Vinyl. Following the instructions on the jar, paint on your Liquid Vinyl on the right side of your fabric pieces and let dry. Add more coats as desired and according to the directions.
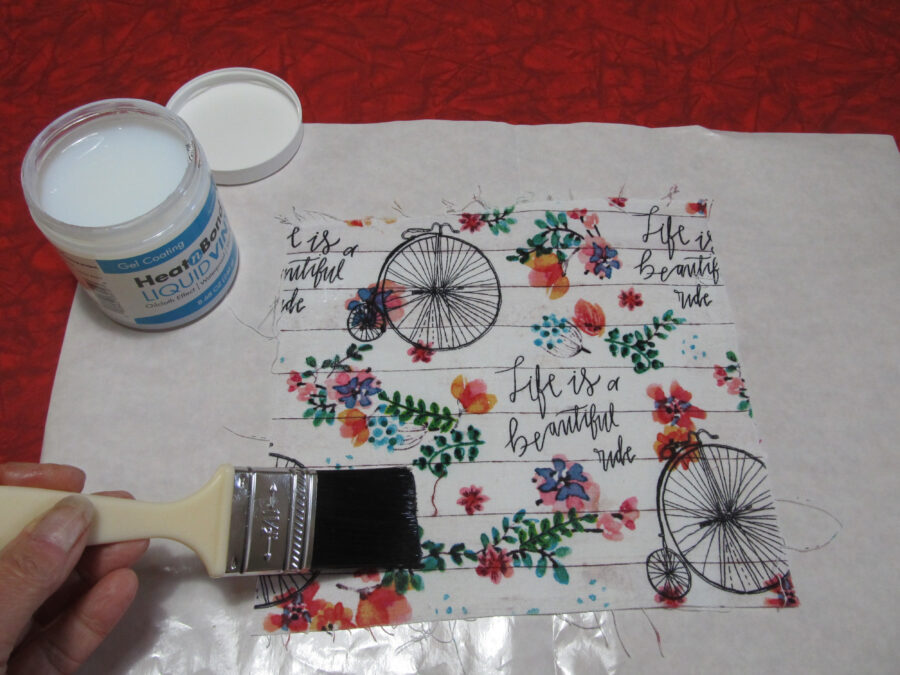
Paint on the Liquid Vinyl.
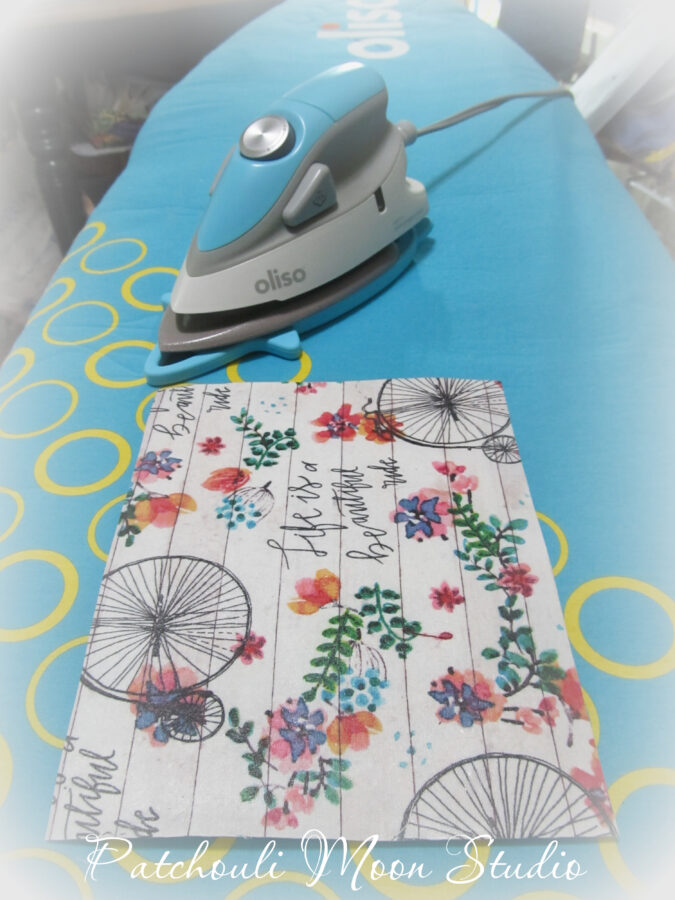
3. After your Liquid Vinyl has dried, using your Pressing Paper, place it over the fabric and press according to the directions.
Changes I made that differ from the video:
First, watch the video once all the way through to see what you will be doing, but then take note of my changes:
- First, if you applied Liquid Vinyl to your pieces as instructed above, you will now cut your pieces to the size needed: 8″ wide x 6 1/2″ high
- Fuse interfacing to the wrong side of the lining fabric
- Center and fuse fusible fleece to the wrong side of each exterior fabric
- Cut out the 2 lower corners of both exterior and lining fabrics, cutting 1 1/4″ squares out of the bottom 2 corners. Be sure you are only cutting the bottom corners.
- I sewed 1/4″ seam allowances when sewing the exterior pieces and the zipper. When I sewed the lining pieces, I started at the top and sewed 1/4″ seam for about 3/8″ down and then widened my seam allowance out to 1/2″ and sewed to the bottom. I did the same on the other side of the lining and the bottom I sewed at 1/2″ seam too. I sewed the lining corners to box them at 1/2″. By sewing the seams of the lining larger, it makes a snugger fit.
- After sewing on the handles as per the video instructions, you can add a rivet at the end of each strap too.
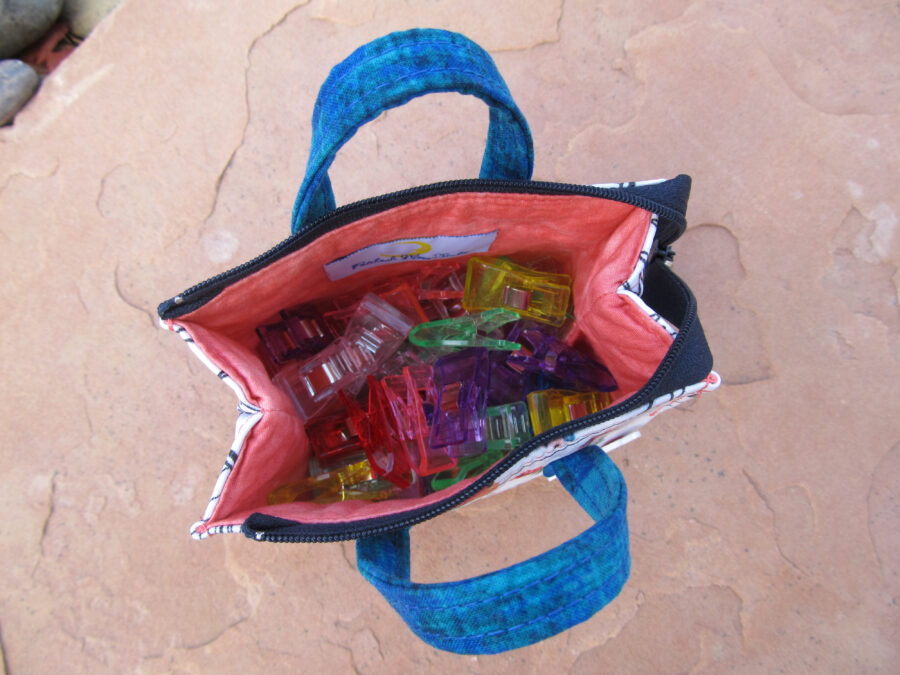
I hope you enjoy making this cute little bag that unzips wide to put all kinds of useful things inside, such as sewing clips, first aid supplies, embroidery floss, etc.
Happy sewing!