


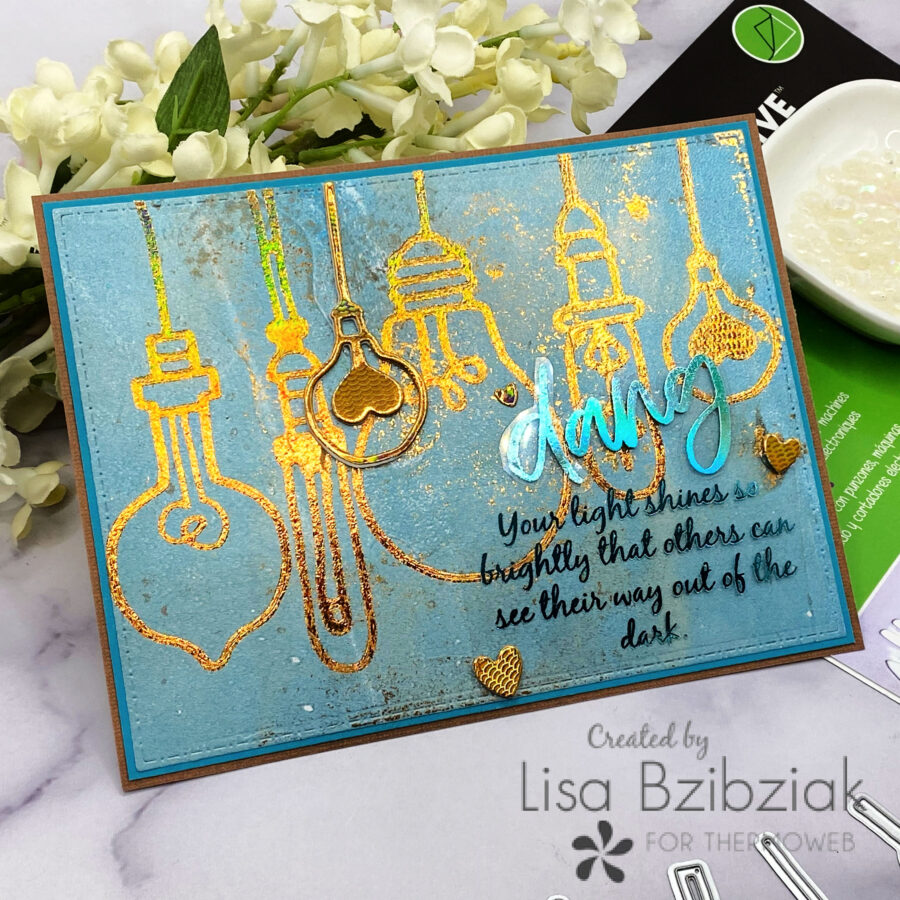
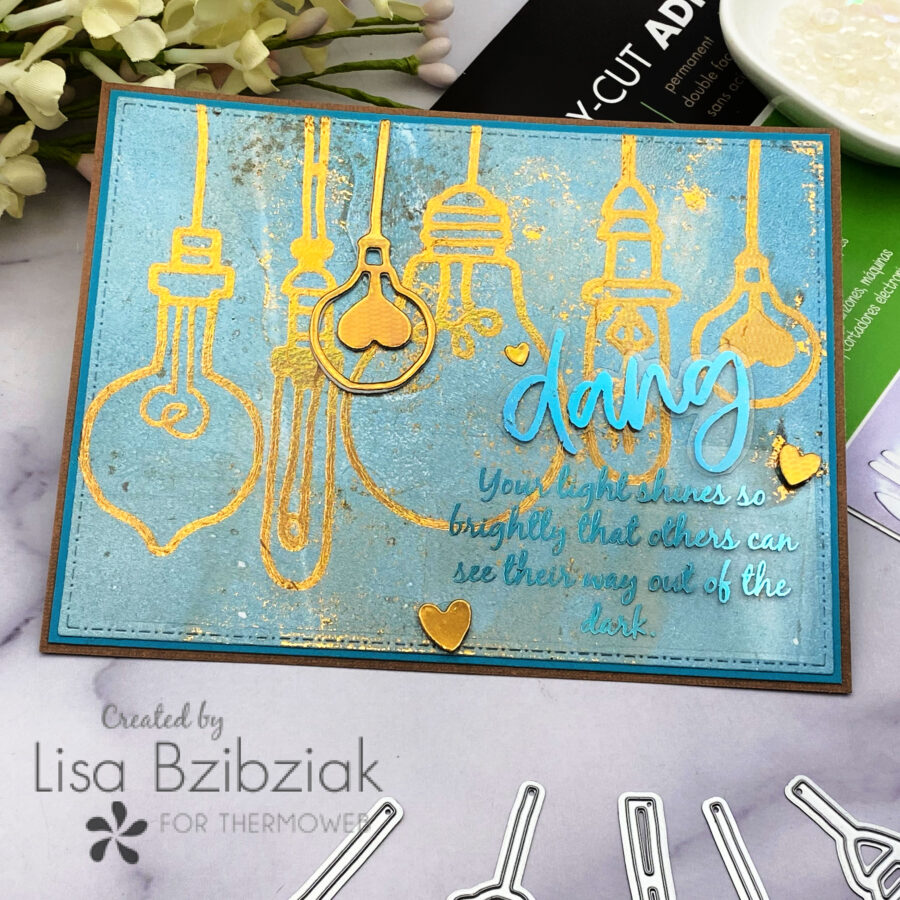
Welcome back! Today I’ve got three cards for you using lots of Deco Foil applied with Easy Cut Adhesive Sheets, Foam Adhesive Sheets and more! Here’s how I made this one!
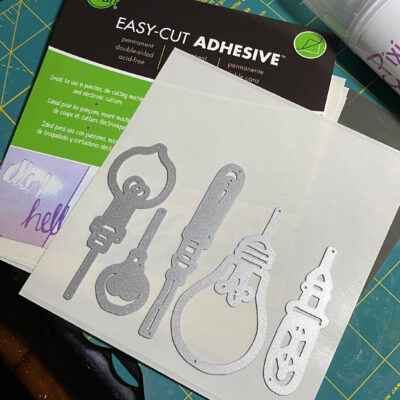
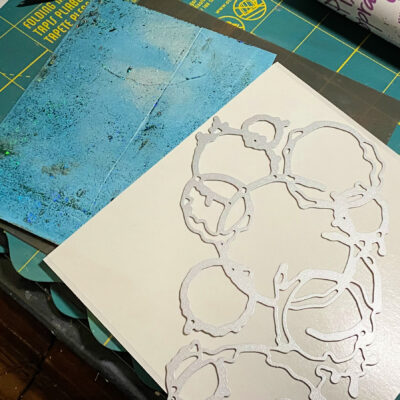
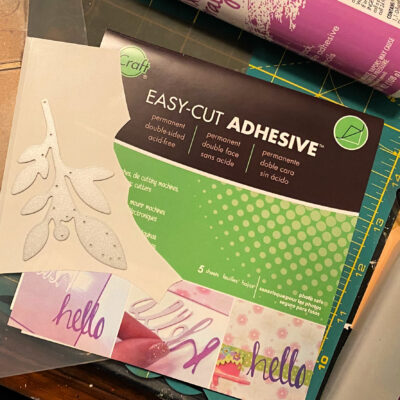
I hadn’t used these Adhesive Sheets before with foil! And I can tell you I had way more ideas than I could share for today so I’ll be using them a lot more! I started by cutting some light bulbs using these dies from Funky Fossil from one of the sheets.
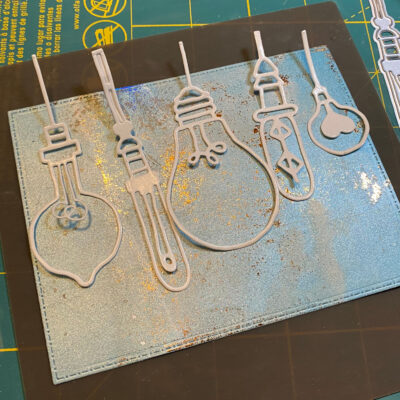
I lined them up on my gel print background before adhering them to be sure of my arrangement and spacing.
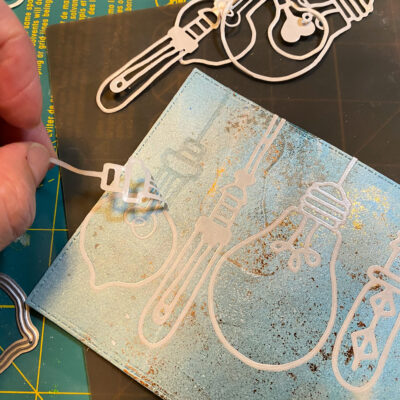
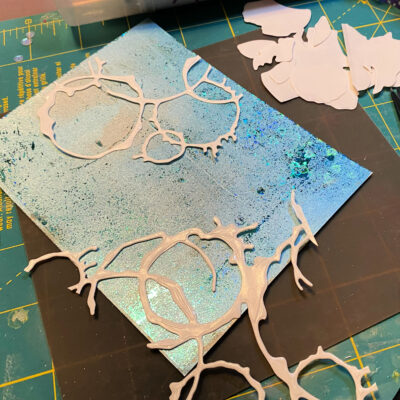
Then I removed the backing from each and adhered them to the gel print panel and ran them through the die cutting machine to apply pressure. This made it super easy to then peel off the top layer leaving an adhesive design.
l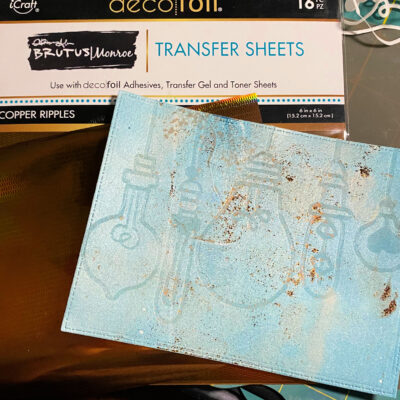
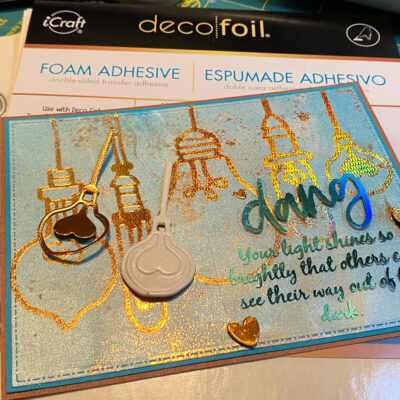
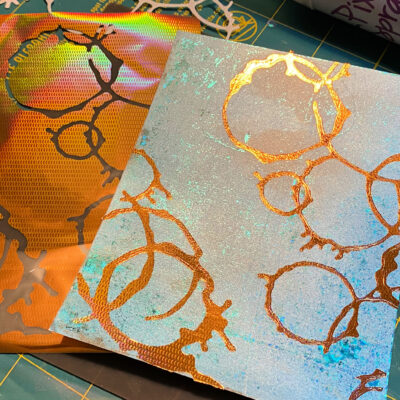
Cool right?? I decided to use the Copper Ripples Deco Foil. I’d already used heat to add just a bit of it with a used sheet to my Gel Print panel before I started.
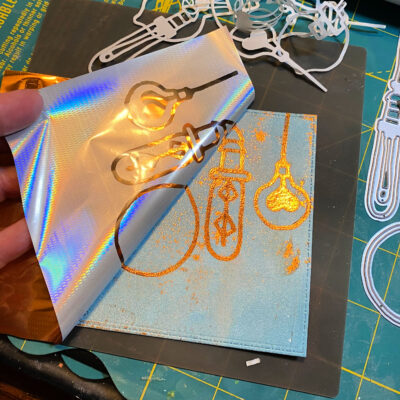
I layed the copper Deco Foil over the adhesive and ran it through the die cutting machine again and Voila! So cool!!!
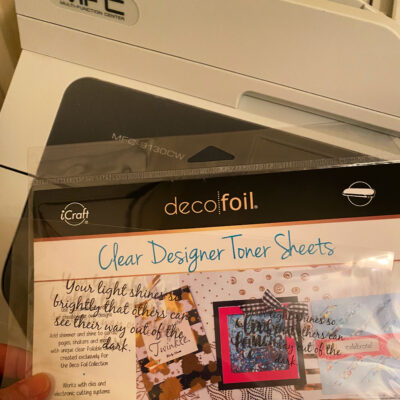
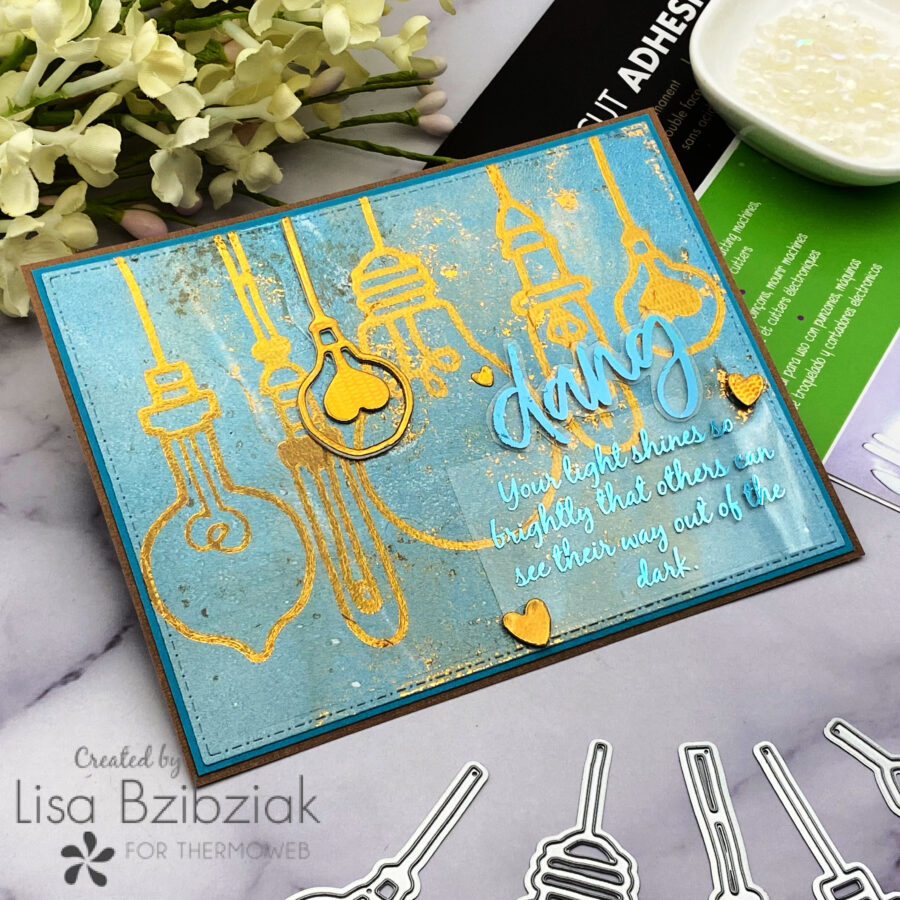
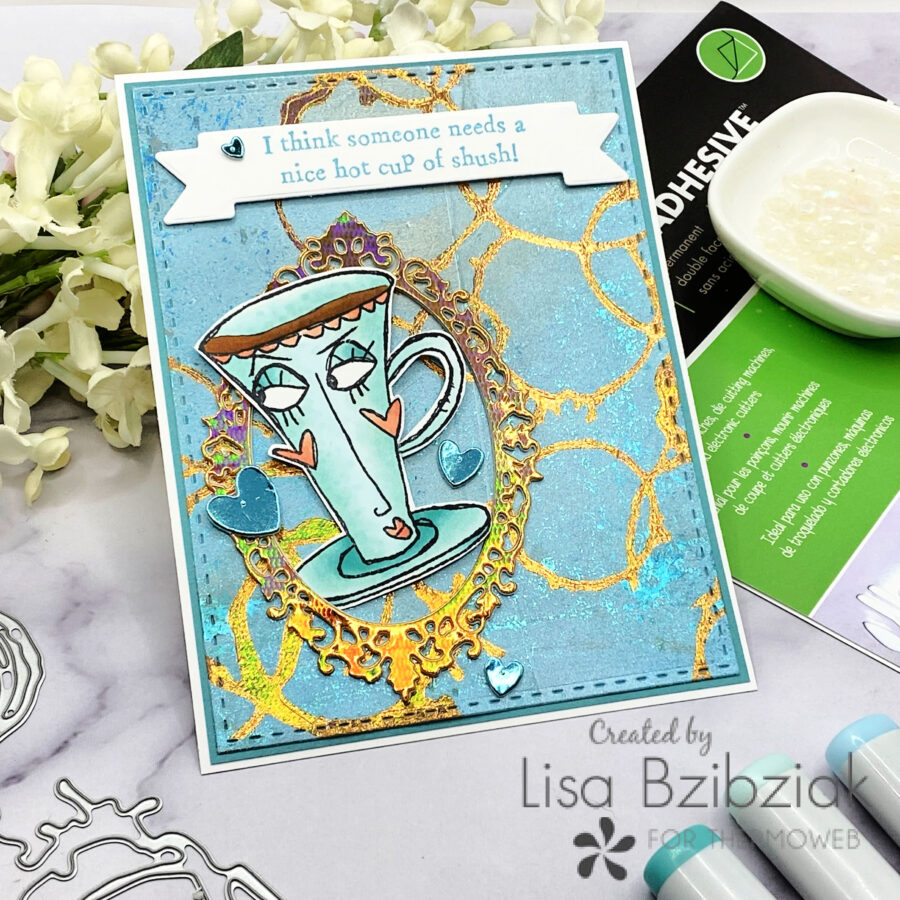
I didn’t have a sentiment in my stash that I wanted to use with this background, so I decided to create my own! I found a quote that was perfect and printed it onto a Clear Designer Toner Sheet. This has to be done using a Laser styled printer because the toner is what takes up the foil rather than printers that use a non toner ink. I use Pic Monkey to create a png file and then pull it into Word to print it. There are lots of ways you can do this, but these are the programs I use. These sheets are thin and I wondered how the heat would affect them, but this is what they’re made for!
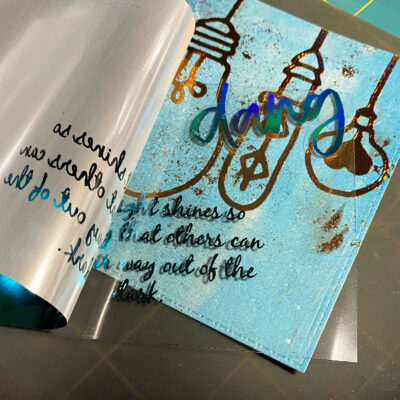
Easy peasy and no problem! I cut the sentiment down so it would fit into my laminator, laid some foil over the top and ran it through with a carrier sheet. Perfect along with the “Dang” sentiment from a set of Unity Adhesive Transfers… also transferred onto some clear acetate and fussy cut out.
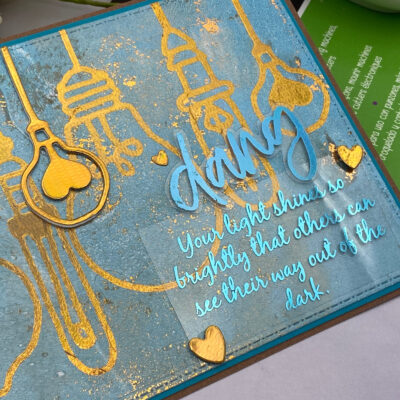
I added both to my card … the Dang using some foam adhesive cut thinly and added behind the foiled word and my printed sentiment with a couple dots of adhesive that dries clear and then covered with some hearts and popped up over the top.
Finally I decided one light bulb popped up off of the background would be the perfect touch. I had die cut the bulb from some foiled toner paper and then when trying to figure out how to cut the foam adhesive thin enough to pop it up I remembered I had these foam adhesive sheets! I cut the same bulb from the foam, peeled off the top layer and applied the foiled bulb to it and then peeled off the back protective layer and attached it to the card! It’s really sticky and I peeled the entire layer off the top before realizing I should have left a little to make handling it easier. But no problem! I just stuck the very tip to the edge of my mat hanging off of the table so I didn’t have to hold onto the sticky part and then it was easy to have both hands free to line it up! There is an easier way if you remember before you die cut your intricate piece! You can attach the paper you’re going to die cut first to the foam and then cut both at once. All of the dies I used for today cut through this foam like butter even with the extra layer of the foiled toner paper already adhered and it was easy to poke out any pieces not part of the design.
So fun right??? So many different ways to apply Deco Foil to your design and many with no heat needed!
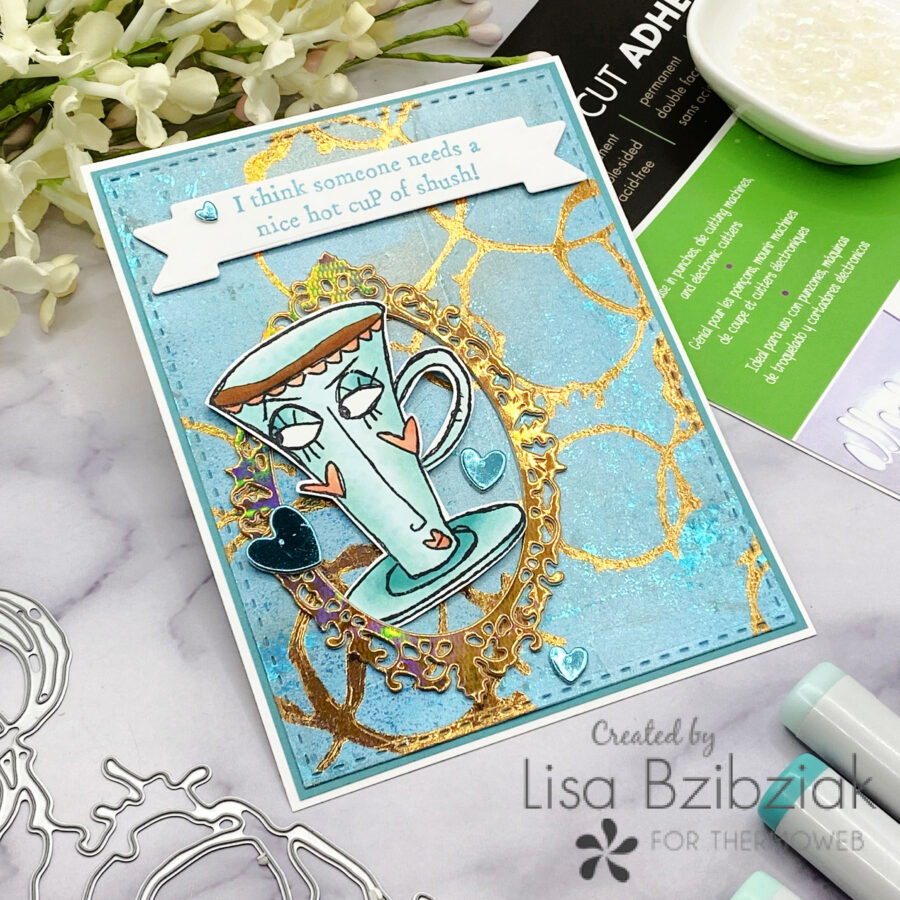
Next I knew I wanted to use this coffee stain die from Studio Light! I picked this one up a while ago and have been dying to use it and it was perfect for the Easy Cut Adhesive sheets!
Same process as before! Die cut my stains from a sheet of the Easy Cut Adhesive.
Decided where I wanted my pieces before adhering them. This was an oversized die set and I decided to cut it and arrange it at the corners of my panel.
Peeled the bottom protective layer and adhered them to the panel; ran that through the die cutting machine to use pressure to adhere them. Peeled the top protective layer off of the stains; layed that gorgeous copper foil over the top and ran it through again to adhere the foil. Love it!
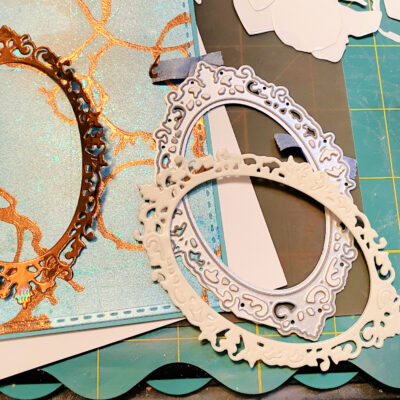
Because I don’t learn my lesson after just once, I cut my frame from some copper foiled toner paper and then decided to pop up these intricate pieces I would need to die cut a second piece from the foil. Using the same process it really was pretty easy to adhere them together!
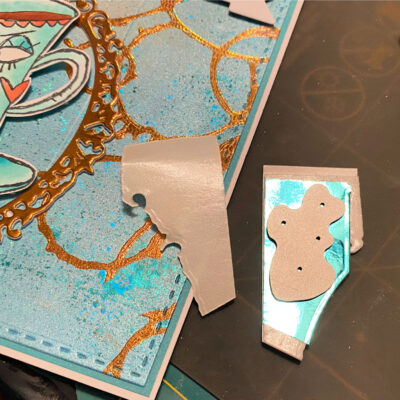
And third time’s a charm! I used one of the pieces left over, adhered some foiled toner paper to it and THEN die cut some little hearts. I saved all of my pieces I thought would be large enough to use for this purpose.
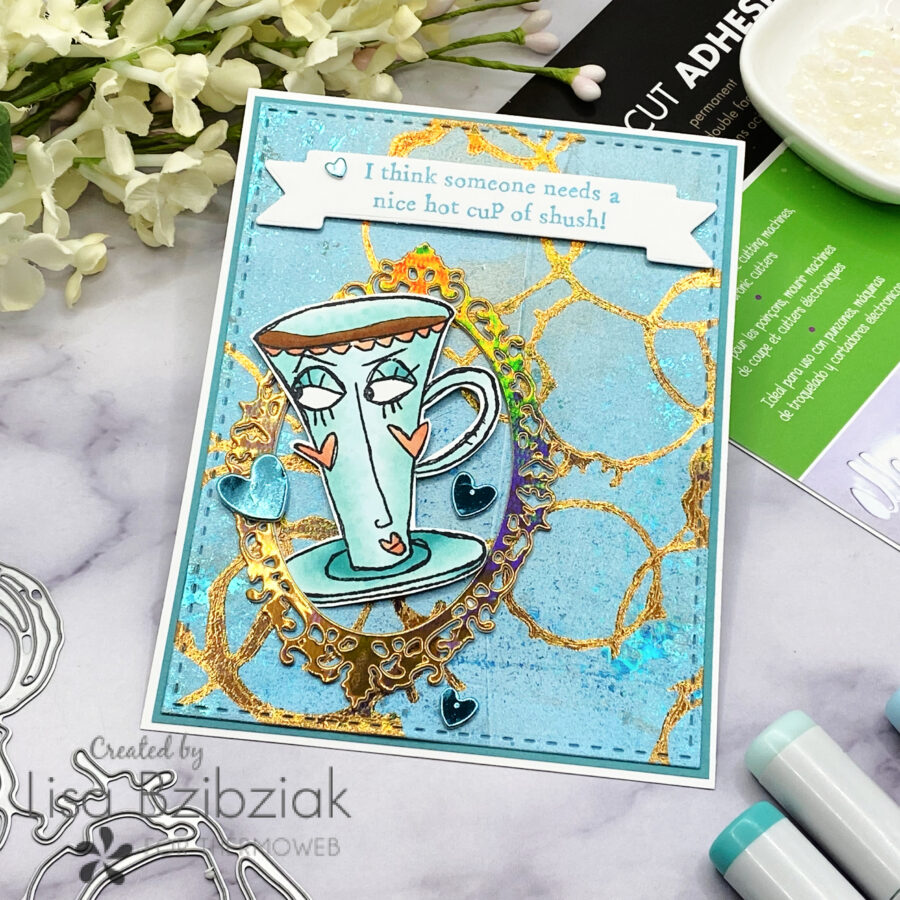
This time I just stamped one of the sassy sentiments from this coffee cup set… so fun!
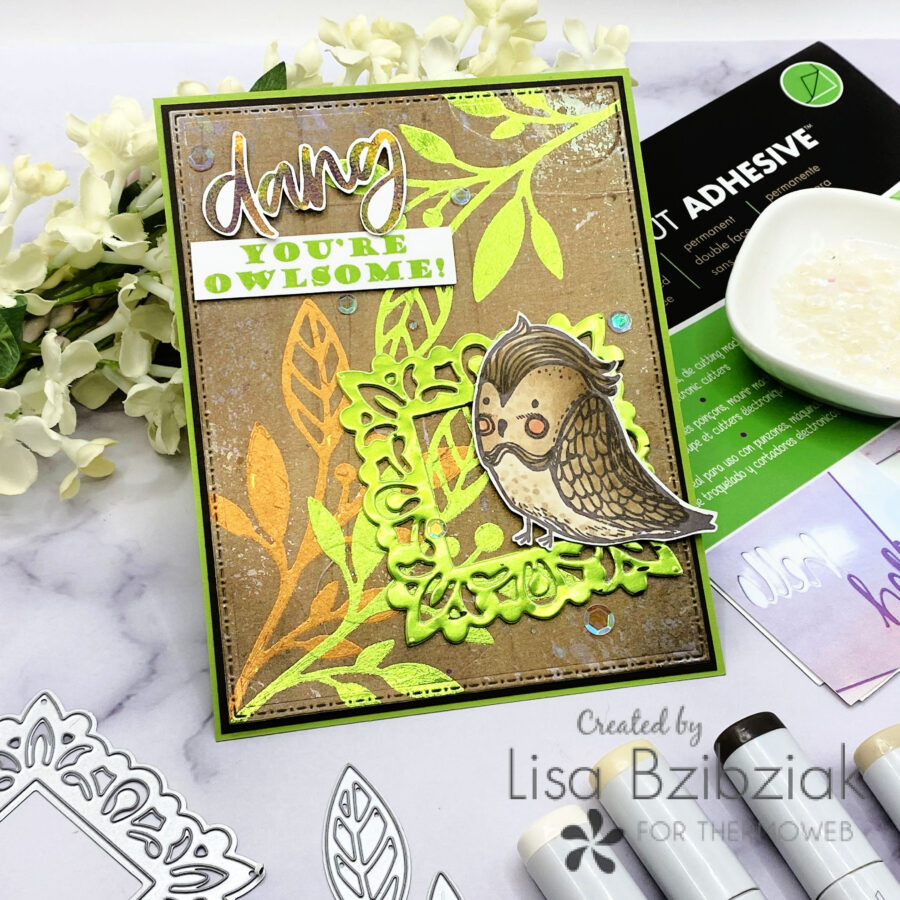
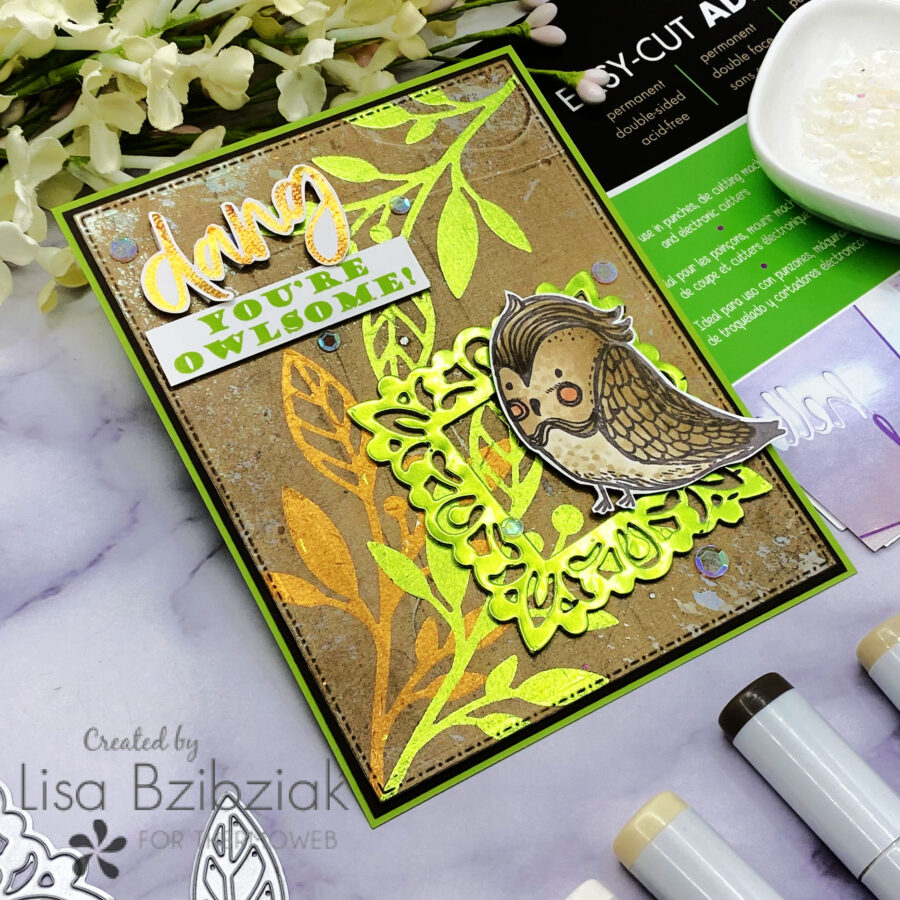
And finally this one! Much of the same process… but this time, I decided I wanted a two tone set of leaves!
I cut three of these leaf dies from Rubbernecker stamps from the Easy-Cut Adhesive sheets.
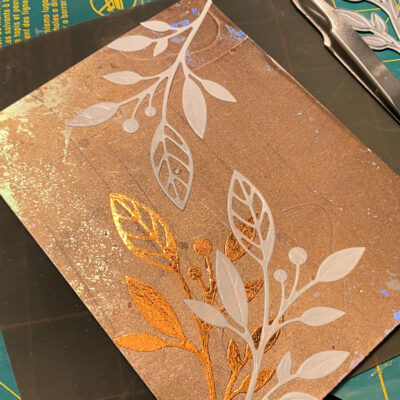
I applied one first as I did with the rest and used some of the copper foil to the panel. Then I applied the other two and ran through again with some green.

I mean… so many options, right??
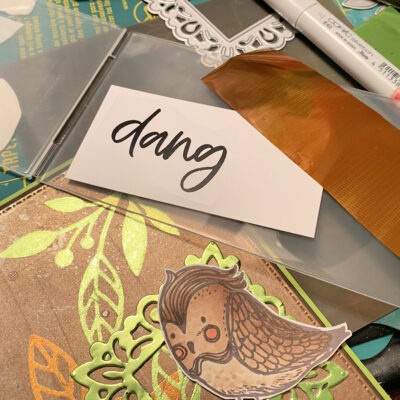
This time, I adhered the foiled toner paper to the foam adhesive before cutting it so I could avoid lining it up. It was pretty easy to line up, but this is even easier. And I used the Unity Adhesive Transfers again for that Dang in copper and then added the rest of the sentiment from the cute owl stamp set in green.
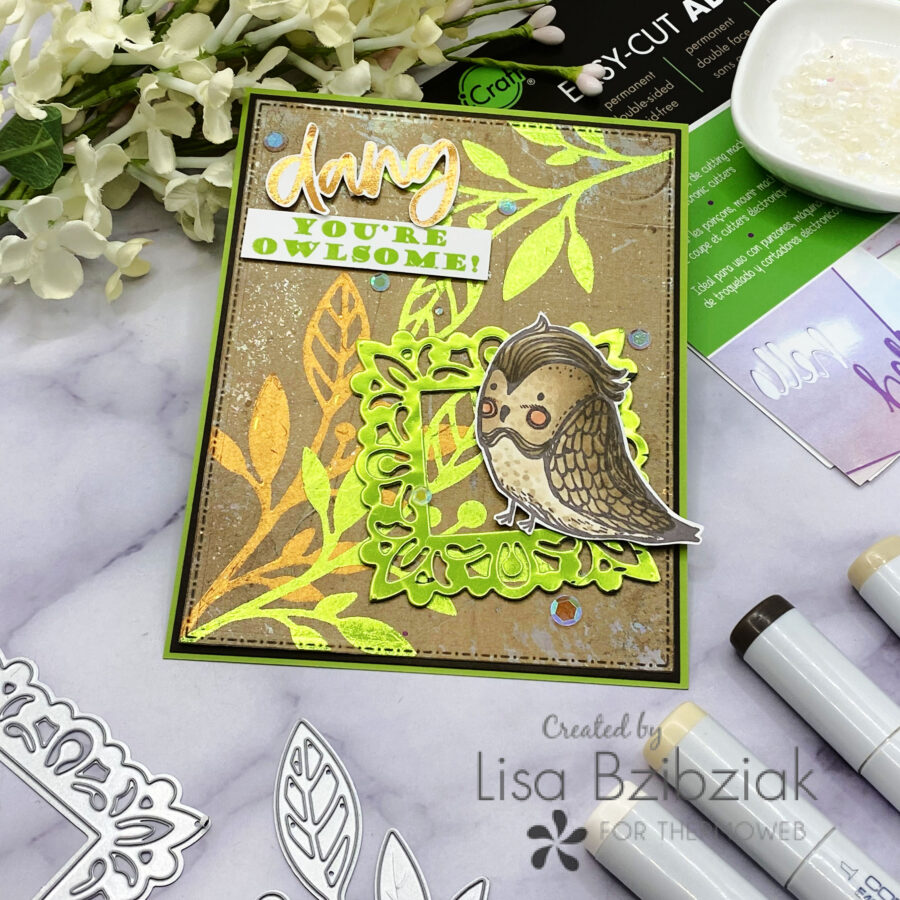
I just added a few sequins to this one to finish it off. Owlsome!
I had so much fun using some of these new to me products and some I’ve used before but not with foil. I’ll be using them a lot more for sure. They’re such an easy way to add just a touch or a bunch of Deco Foil to your projects.
And I’m in love with this Copper Ripples foil from Therm O Web and Brutus Monroe… it’s just gorgeous and perfect for so many projects.
And with the Easy Cut sheets it’s SO easy to use more than one color of foil on your background… you can bet I’ll be playing with this idea a lot!
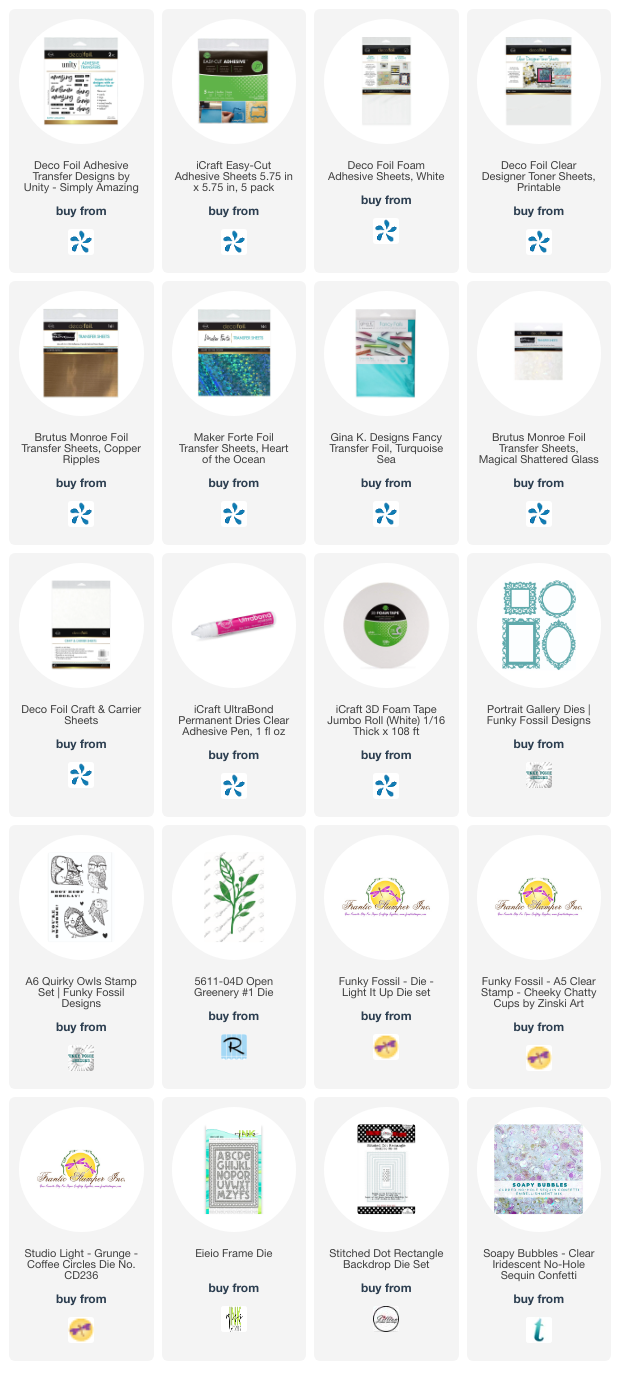
That’s me for today! I’ve got links to all of the products I used today below! Thank you so much for stopping and be sure to come back again soon for more Therm O Web inspiration!
https://linkdeli.com/widget.js?id=f5e8378456858c916708