


 Hello my sweet purse makers, it’s me Daryl here from Patchouli Moon Studio. I am here to share a few tips on making a purse from The Sew Powerful Purse Project for yourself or to donate to this wonderful charity that allows girls in Zambia to stay in school with your help of making purses to donate to the girls there. You can read all about this organization and the work they do here.
Making purses for Sew Powerful is something near and dear to my heart and I LOVE to sew the purses every chance I get. I hope you will enjoy making one (or more) purses too. There is no better gift to give than one that can change a girl’s life for the better.
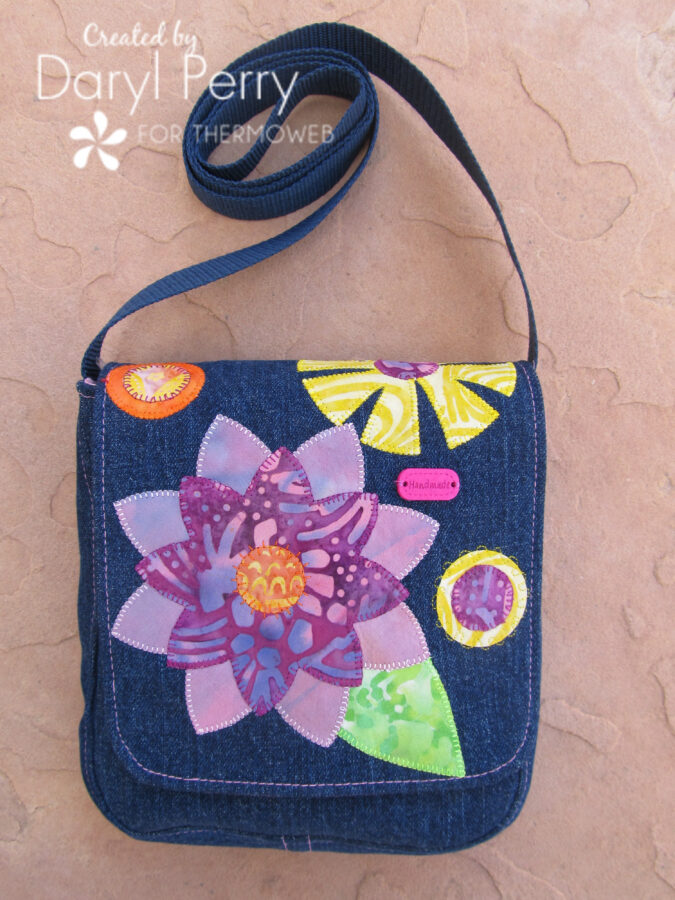
You can use any kind of material you would like to use for the purse such as quilting cottons, which is the most popular choice, but some people use sturdier fabrics, such as home dec weight, denim, corduroy, etc. Just make sure the fabric is washable and wash the fabric in hot water before you cut anything out. I upcycled some denim jeans for this purse I made. The purse can be made with just the plain fabric you choose or as I love to do, make a colorful and fun flap using appliqué or pieced fabrics or both and embellish with buttons or other things like ribbon, etc.
Sew a Purse with HeatnBond Soft Stretch
The Supplies Needed:
- Sew Powerful Beginner pdf or Sew Powerful Intermediate pdf or you can combine the patterns like I do: I made the intermediate purse with the beginner flap.
- Appliqué motifs of your choosing. I used the Large Flower die cut from Crafter’s Edge and the 0.5″ Increment circle die cuts from Crafter’s Edge to create the flap that I made. But you can use anything that you like. Tip: find clipart designs online or use coloring books for fun shapes
- HeatnBond Soft Woven Fusible Interfacing 1 1/2 yard
- HeatnBond Soft Stretch Lite: 6″ x width of the product
- Pressing Paper
- For Exterior fabric: 5/8 yard-1 1/2 yards of 44″ wide fabric, depending on whether you are making the beginner or intermediate style (check the pdf supply list for the style you are making)
- For Lining fabric: 1/3 yard of 44″ wide fabric
- 1″ wide Webbing for strap x 52″ long (or can use fabric cut 4″ wide x 52″ long and interface)
- Thread to sew the purse
- Thread to stitch around the appliqué shapes (I used machine embroidery thread)
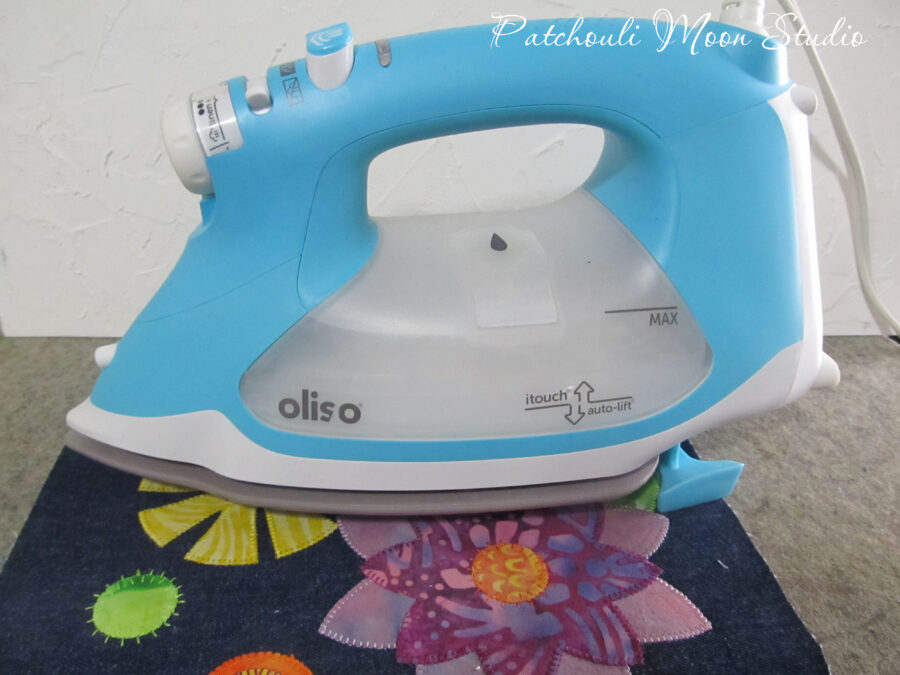
- Iron (Oliso in pretty Turquoise color is my favorite)
- Sewing machine
- Basic sewing supplies: pins, clips, rotary cutter, cutting mat, quilting ruler, scissors, marking pencil, etc.)

First, read over the instructions for the purse you are making. You can mix and match elements such as using the beginner-style flap on the intermediate body or vice versa. Also, it might be helpful to watch the video for each style purse to get an idea of what you will be doing too. (Video link is on the pdf or doing a Google search will bring up the various videos too as there are a few videos out there).
If you plan on making the full beginner style flap for your purse and will decorate it with appliqué flowers or other shapes, then cut your flap exterior piece slightly oversized to allow for shrinkage as you appliqué or if you also want to add some quilting. For the purse I made using the denim jeans, I fused the interfacing on all the pieces for the exterior, since these were stretch jeans and they needed to be more stable and less stretchy. The directions do call for using woven interfacing (unless you use a heavy fabric that might not need to be interfaced).
Hints for making the purse:
- First, fuse the interfacing to the wrong side of the oversized cut flap to stabilize it for stitching around the appliqué shapes.
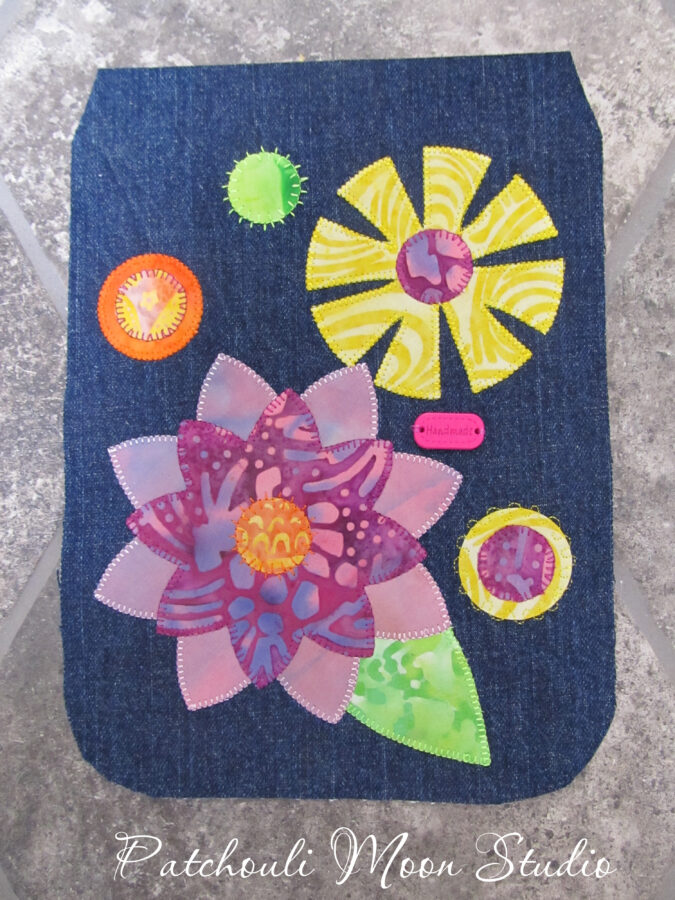
- Choose the appliqué shapes you want to use on your flap (clipart, coloring books are great places to find simple shapes) or use die cuts. Tip: cut circles and then follow my tutorial to create flowers like the large yellow flower on the flap.
- Trace around the shapes for the flap onto the paper side of the HeatnBond Stretch Lite fusible adhesive and cut out around each shape, leaving about 1/8″ of the fusible adhesive past the tracing lines.
- Fuse the traced shapes onto the wrong side of each fabric that you are using and press following the manufacturer’s instructions. Then cut out each shape on the line.
- Take your oversized cut flap that has the interfacing on the wrong side and place the flap right side up on the ironing board. Peel off the paper backing of each appliqué shape and play with the arrangement on the flap. Keep in mind that the flap is slightly larger now (you will cut it to size later after stitching the shapes in place), so don’t place it too close to the edges and also bear in mind that the flap will be sewn to the back of the purse and the top part of the flap will be folded over to the front and some of the design will be on the back and not seen on the front. In the photo below see where the top of the flap is angled? The part above the angle will be on the back of the purse, as well as some of the parts below where the angle starts. So that means that only about half of the yellow flower is actually seen from the front of the finished purse. So keep that in mind.
- TIP: To cut a flower using a circle (like the large yellow flower below), see my tutorial for how I cut this flower here on my blog.
- Once you are happy with the arrangement of the appliqué shapes, carefully place the Pressing Sheet on top and then fuse them in place according to the manufacturer’s instructions. Press with the iron, don’t move the iron across or you could move your appliqué shapes. To keep items in place, a tip is to use SpraynBond Basting Spray. Once pressed, flip the flap over and press again from the wrong side.
- Next stitch around each shape using a machine stitch that you prefer. I used a blanket stitch and a couple other decorative stitches. You can zigzag or straight stitch or satin stitch if you prefer.
- When you are finished stitching, place the Pressing Sheet over the flap and give it a light press. Then using your flap template, trace around the flap template and cut the flap out. Tip: Place a heavyweight or two on top of the template to hold the paper template in place as you trace around the template. Or cut the flap using the widest measurements of the width and height with a rotary cutter, & ruler on a mat and then mark and trim the angled top and curved bottom. Do what is most comfortable for you the way you like to cut.
- Add any embellishments to the flap now. Such as sewing on buttons, labels, sequins, lace, trim, etc.
- Then follow the rest of the purse instructions on the pdf or video for the style of purse that you are making, but keep some of my tips below in mind if you find them to be helpful.
Tips:
- For the Intermediate purse with the full gusset, I like to sew the gusset to the front of the purse and then finger press towards the gusset. Then I topstitch 1/8″ from the seam I sewed onto the gusset. This not only looks good but makes for a sturdier gusset. Then sew the back of the purse to the other side of the gusset and topstitch the other side of the gusset in the same way. This second side is a bit fiddly but doable. Keeping the purse wrong side out, you will start to topstitch at the top as if you were entering a tunnel. Go slowly and adjust often with your hands as you stitch a bit at a time, then adjust, stitch and adjust. Once you get past the first curved corner it gets easier and after the second curved corner, it is even easier as you stitch out of the tunnel. You can match your thread or contrast your thread color for topstitching.
- If using nylon webbing for the strap, make sure you use a lighter or a lit candle and singe the 2 ends to prevent the webbing from unraveling before you stitch it into the purse. If using cotton webbing, zigzag stitch back and forth at each strap end to prevent it from unraveling.
- For the Intermediate purse, I like to curve the bottom corners of the lining for easier sewing. I also prefer to leave the opening for turning the purse on one side of the bag instead of the bottom of the purse.
- For the Beginner Purse, I like to mark the 3/4″ squares in the bottom of the pieces and cut out the squares before sewing to box the corners.
- For both purses, to get a tighter fitting lining, I start at the top of the lining and sew with the 1/4″ seam allowance for about 3/8″ down and then taper out to 1/2″ along the sides, sewing the bottom with 3/8″ seam allowance, and tapering back to 1/4″ at the top like the first side.
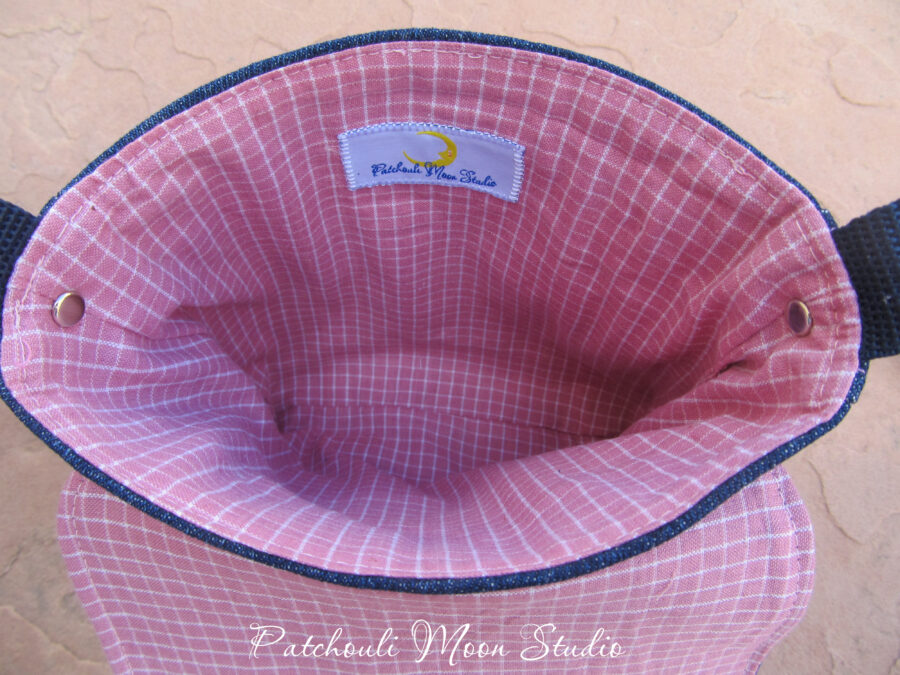
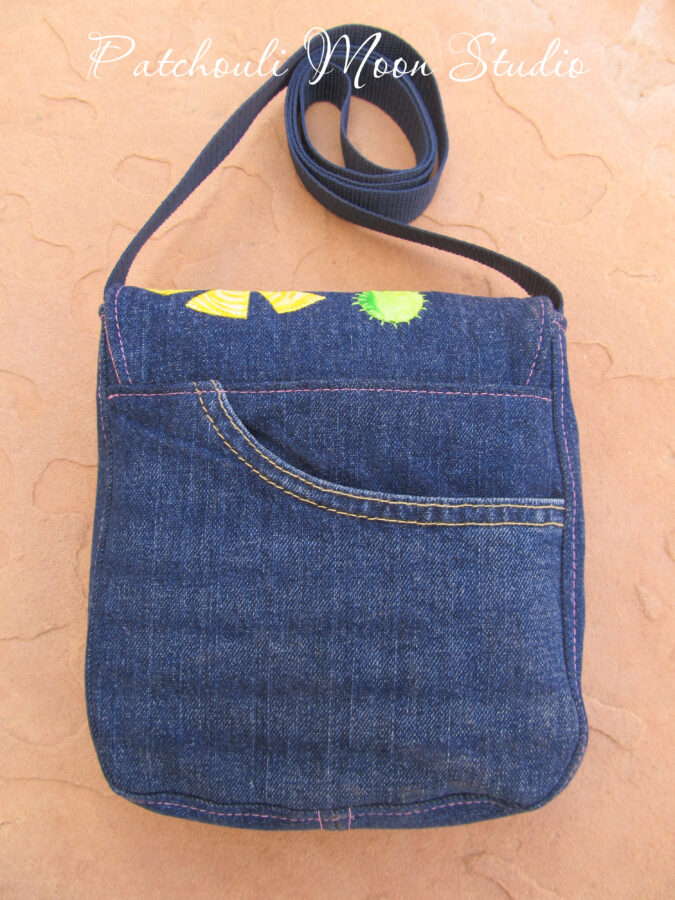
- If upcycling pants to make a purse, you can use the pockets on the pants if they fit for the front or back of the purse. I used the front pocket of denim jeans for the back of the purse. The back denim pockets on the jeans I had were larger than the size I needed to cut, so I couldn’t use them on this purse. It will depend on the size of pants you are using. I used a contrasting color thread for the topstitching, but you can match the thread to the exterior fabric color too if you like.
- I cut 2 full lining pieces for the intermediate version, rather than adding a top accent fabric, as it made it faster to sew. If you are making the intermediate version and want to cut a full lining piece for each side for the lining also, cut them using this measurement: 8 1/4″ high x 9″ wide and round the 2 bottom corners. The Beginner purse version is the full lining without an added top fabric, but the measurements for the beginner version are different because the beginner version has boxed corners rather than a gusset for the bag, so make sure you are cutting correctly according to what version you choose.
- While using hardware (or zippers) for the donated purses is not allowed, you can use a rivet on the bag sides to strengthen the purse strap. (I asked when I first started and was told yes rivets are allowed). If you join the Sew Powerful Purse Project Facebook group, I wrote a tutorial on how to add a rivet to the purse that is located in the Files on the FB group.
Have fun creating your flap and sewing your purse. Keep the purse for yourself or gift it to a friend or donate it to Sew Powerful. Oh, and if you do donate the purse, please make or write a notecard to the girl with some words of encouragement and slip it into the front pocket. All purses received need a notecard enclosed. (Some people only make cards to donate, so that is another great way you can contribute to this charity). What a great way to use other Therm-O-web products for creating paper notecards!
~Daryl
chris
April 28, 2022 at 8:38 am (2 years ago)Great purse, great instructions and a wonderful ministry.
Daryl Perry
April 28, 2022 at 9:29 am (2 years ago)Thank you Chris! And yes it is a wonderful organization.