HI everyone! It’s Kim from Persimon Dreams joining you today with a fun mixed media project. Lately I’ve been obsessed with elephants and I decided to incorporate one into my project. There isn’t a tutorial per se for this project but I am going to share with you the steps I took to create this artistic mixed media pillow with some great products from Therm O Web.

Project Supplies:
Deco Foil™ Hot Melt Adhesive Sheets
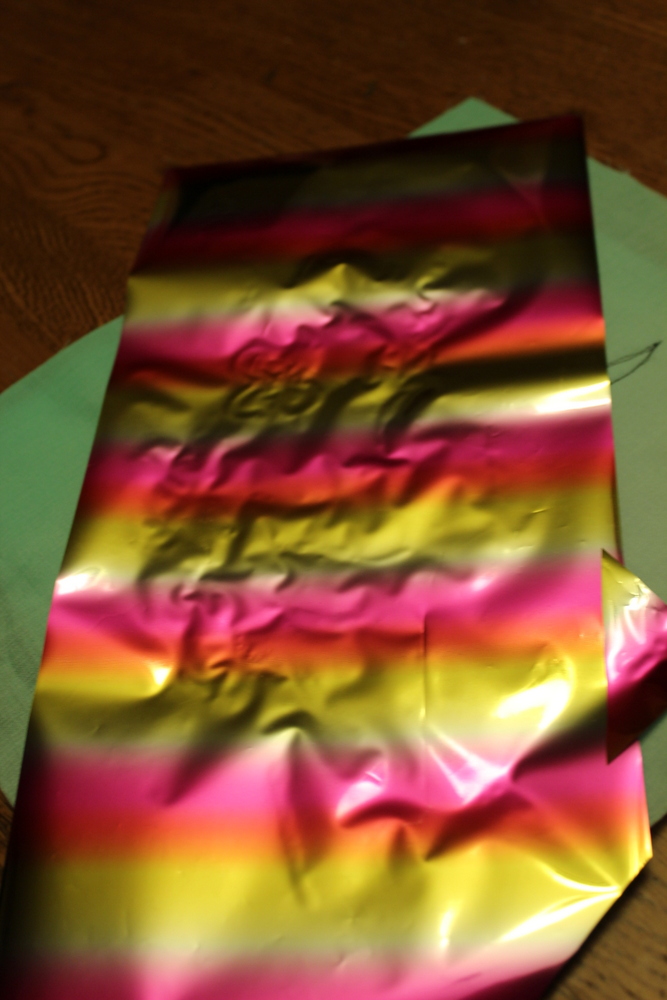
Deco Foil™ Transfer Sheets – NEW Watercolors
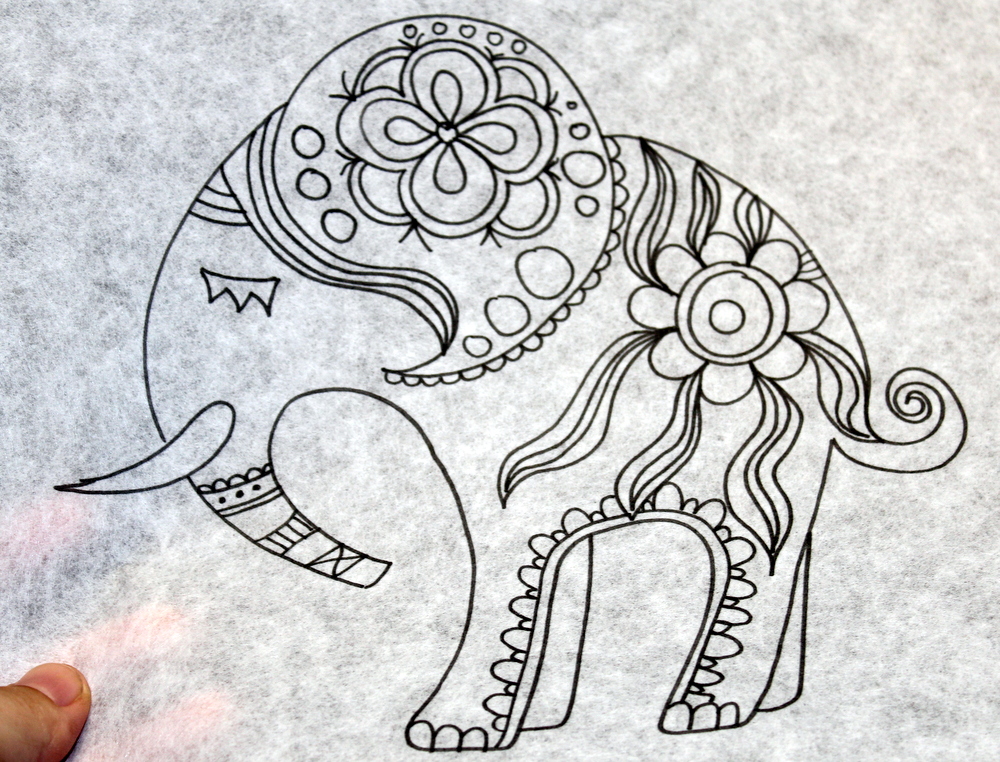
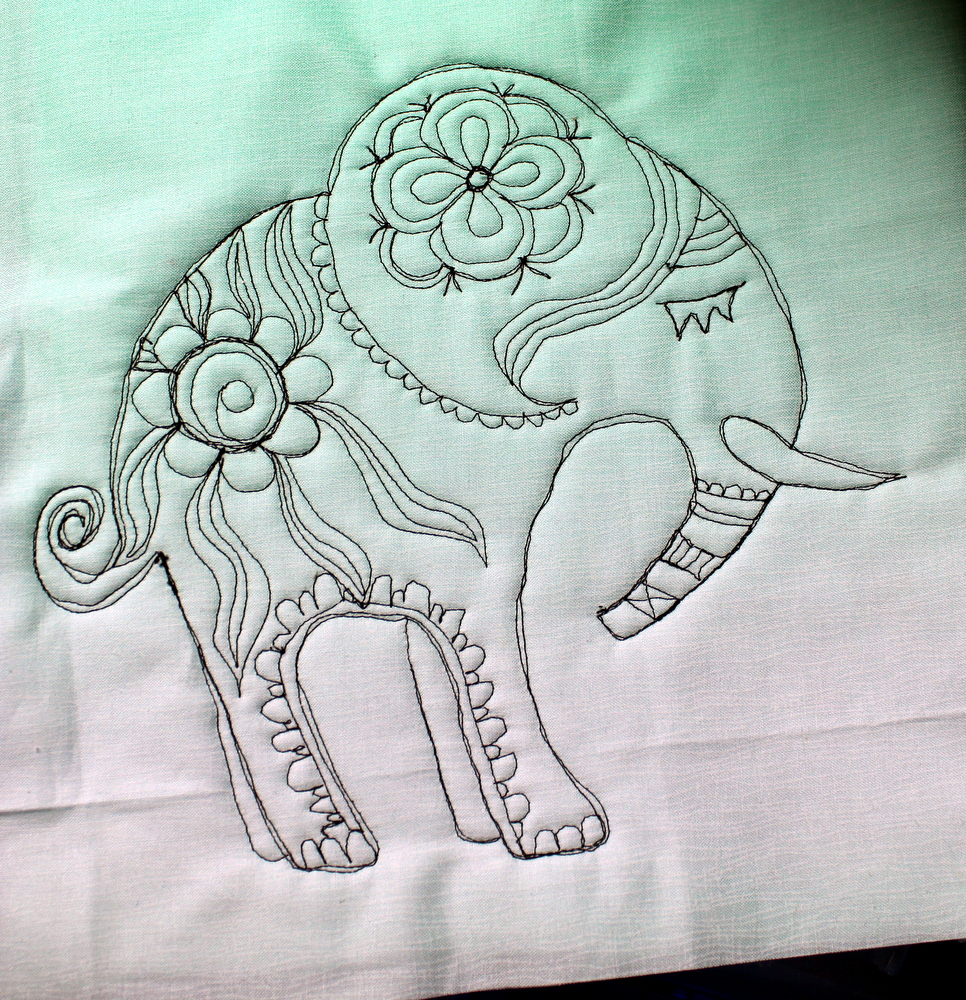
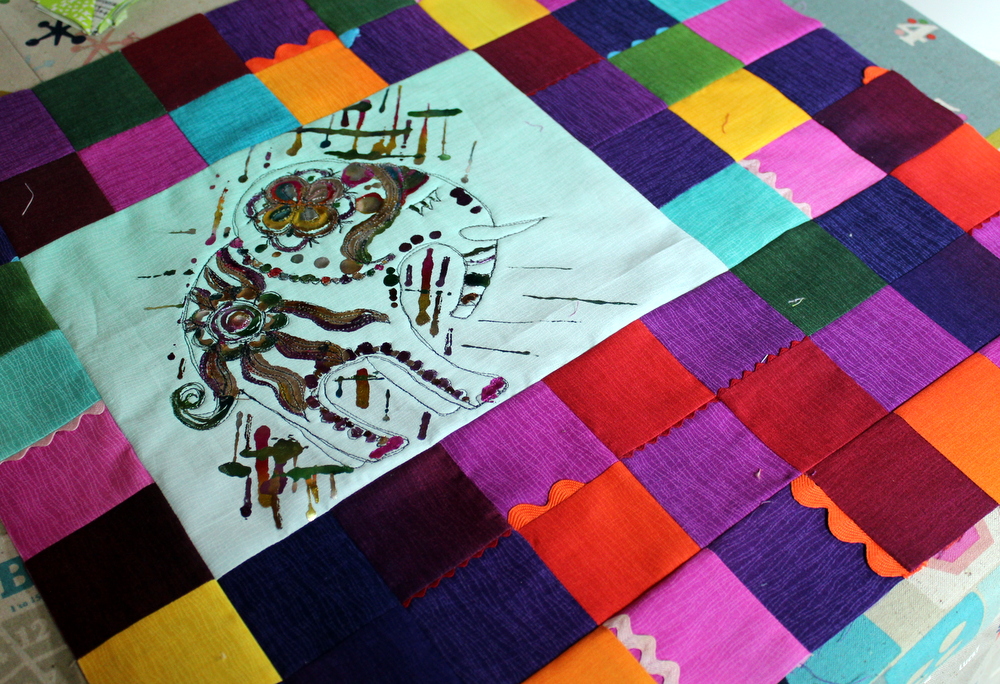
I started by drawing a fun and whimsical elephant with some great details. I took my drawing and copied it to the new Mixed Media papers. It printed fabulously. 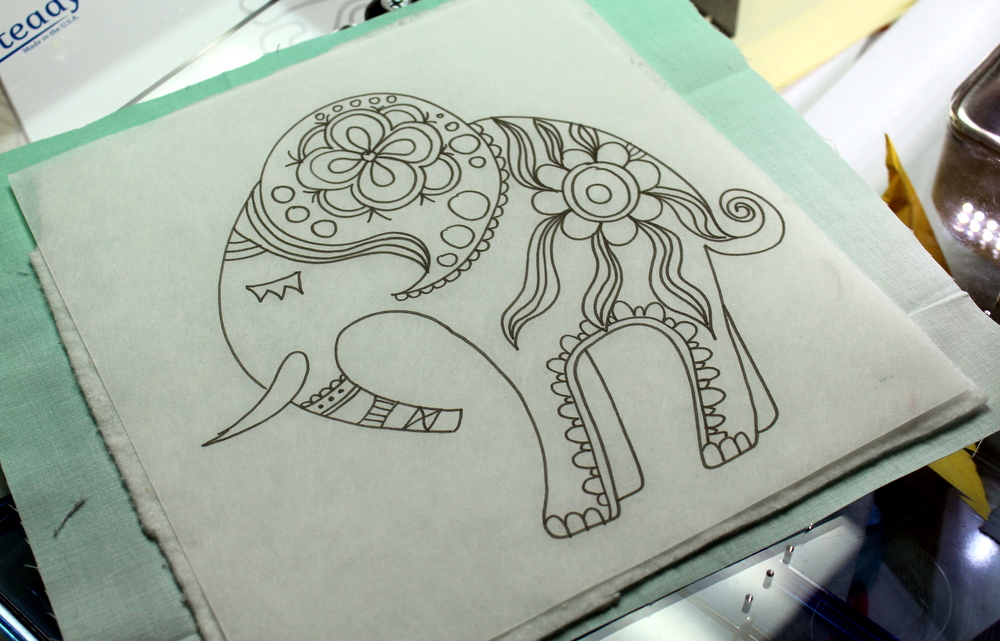
Once I had the elephant printed on the Mixed Media Sheets I sandwiched it with batting and a piece of fabric.
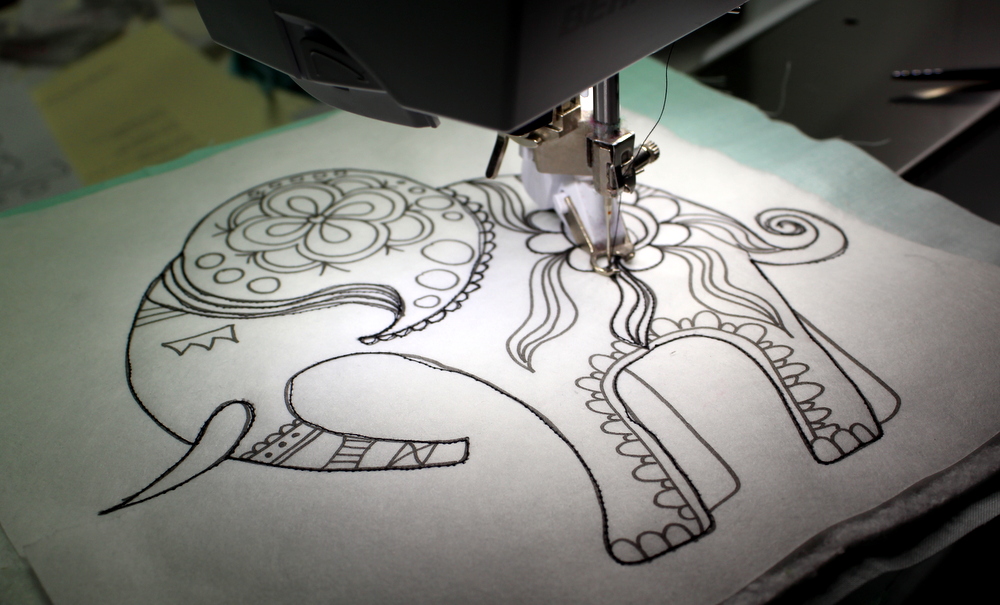 I used the free motion foot on my Bernina with black aurifil thread to stitch the elephant onto the fabric.
Doesn’t that just look so cool? Of course – It was time to add some decofoil to the elephant because what is a project without a bit of shimmer?
 I used the Fabric Fuse™ Liquid Adhesive to strategically place the new watercolor DecoFoils™. (coming soon!) By using this though one needs to make sure the adhesive dries properly before you peel the foil off. I let it dry 24-48 hours for each layer I put on.
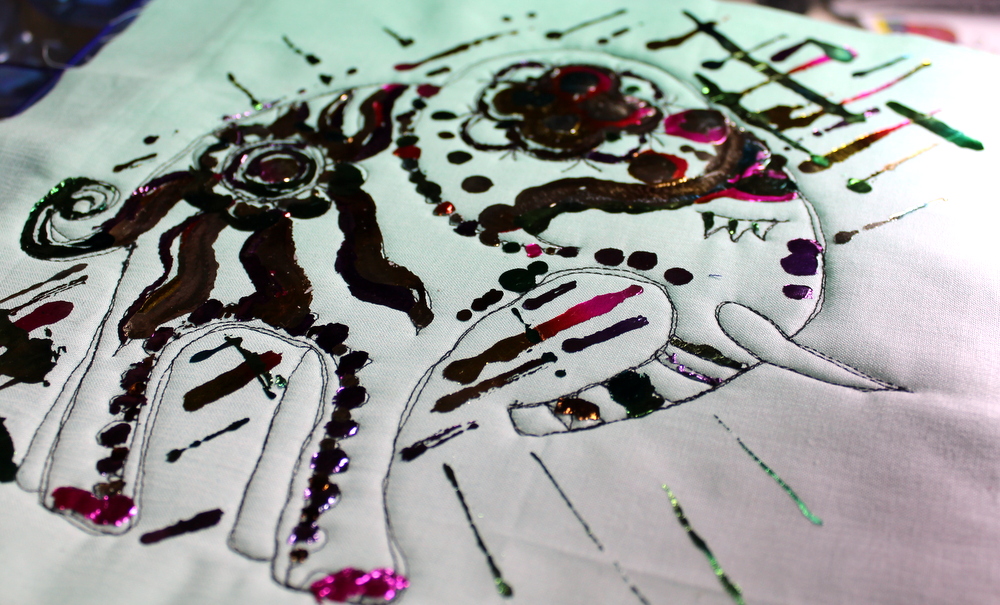
Before I knew it I had a fun and foiled elephant all ready to work with! Some of the foil sort of oozed over my original stitching lines where I put too much of the liquid adhesive but instead of freaking out about the imperfection I went with it – remember it’s a mixed media project! Anything goes! I flipped the elephant over and re-quilted some of the details back onto the elephant. It was nice to add some definition back into the elephant.
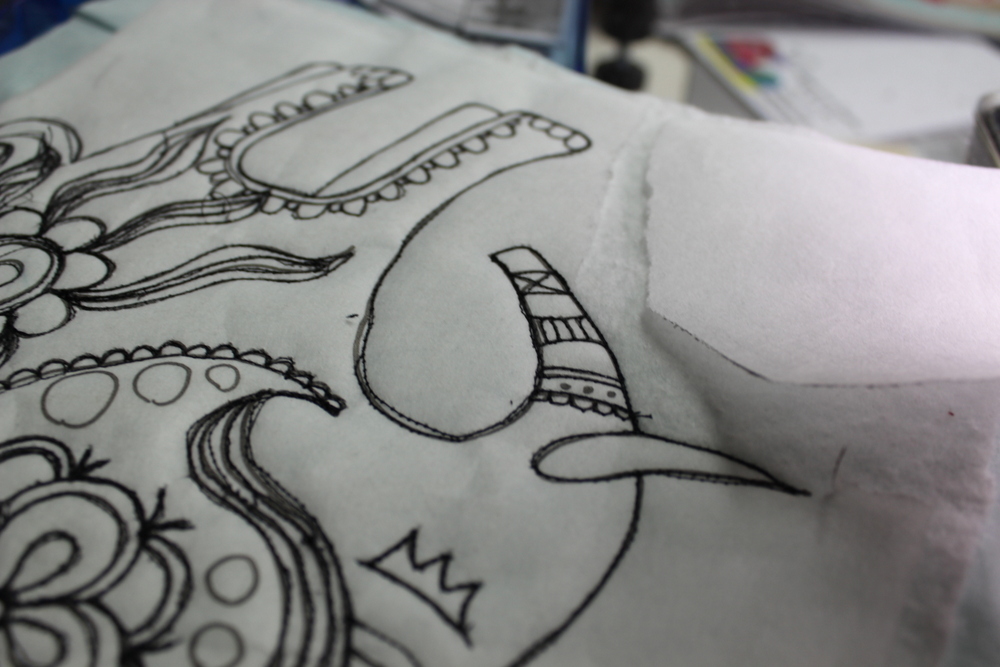
Before adding borders to my elephant I tore off the mixed media paper so the pillow would be quite so stiff. It tore away really easily. I also then trimmed the batting down so the elephant would be a bit “trapunto-ed” after the quilting.
Once I had the elephant fabric the way I wanted it I created patchwork borders for it. I stitched some rik rak into the seams just to add more interest in the piece. I decided on some fun ombre fabrics for the patchwork which I think complements the new water colored DecoFoils.
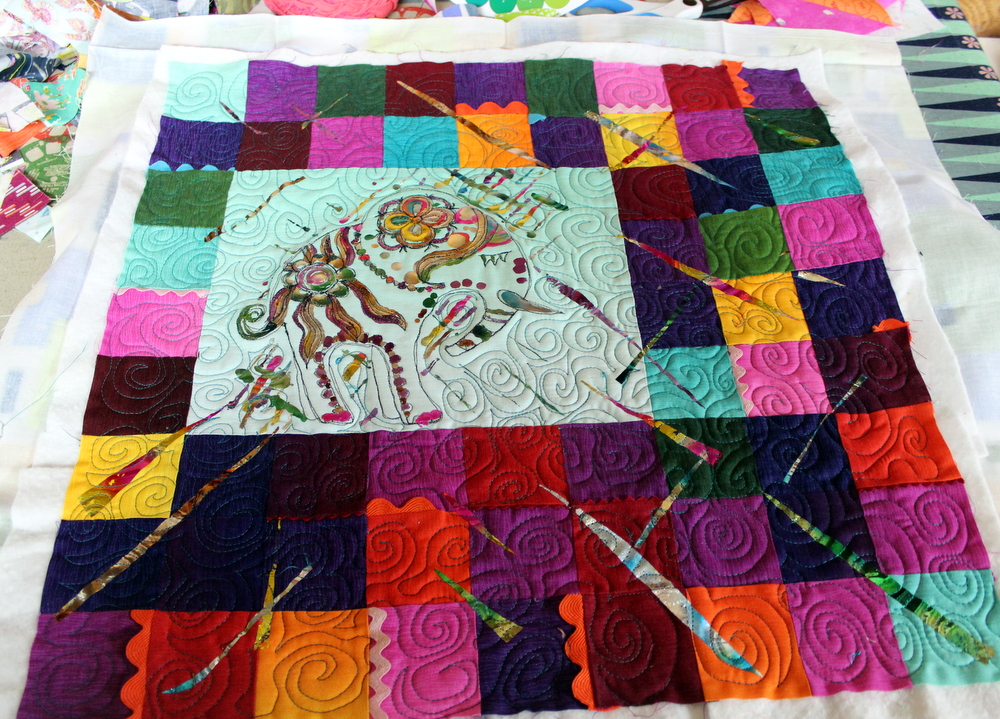
Before quilting the pillow top I did add some random diagonal strips of foil to the top to mimic what I had done in the elephant fabric. Once I had everything pieced together and DecoFoil-ed to my liking it was time for free motion quilting. I stuck to a fun random swirl. Before I knew it the top was ready – now it’s time to embellish!
Once again I played with the mixed media paper to add the embellishments.
First step was fusing the Deco Foil™ Hot Melt Adhesive sheets so it covered the entire mixed media paper.

Next, I covered the Deco Foil™ Hot Melt Adhesive with pieces of the new watercolor Deco Foil Sheets.(coming soon!!)
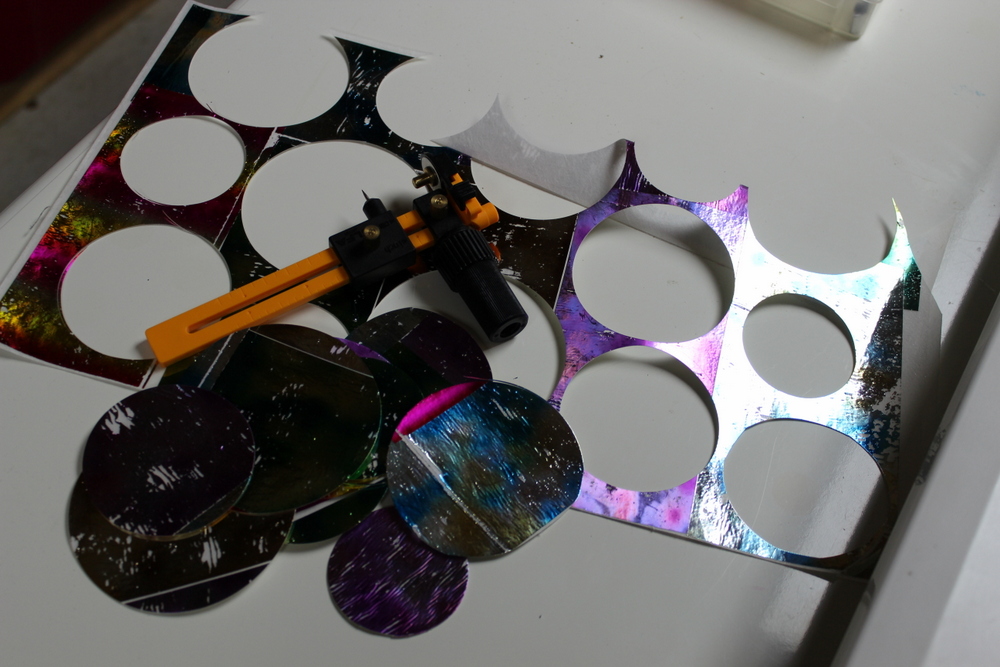
From there I used my circle Olfa cutter and cut out circles various sizes.

I decided then to experiment with carefully singing the edges of the mixed media/foiled circles. If you do this be sure to do this outside and BE CAREFUL! I would let the edge burn just a bit and then blow out the flame. It created a really fun curl to the mix media sheet and crinkle to the Decofoil.TooltipText
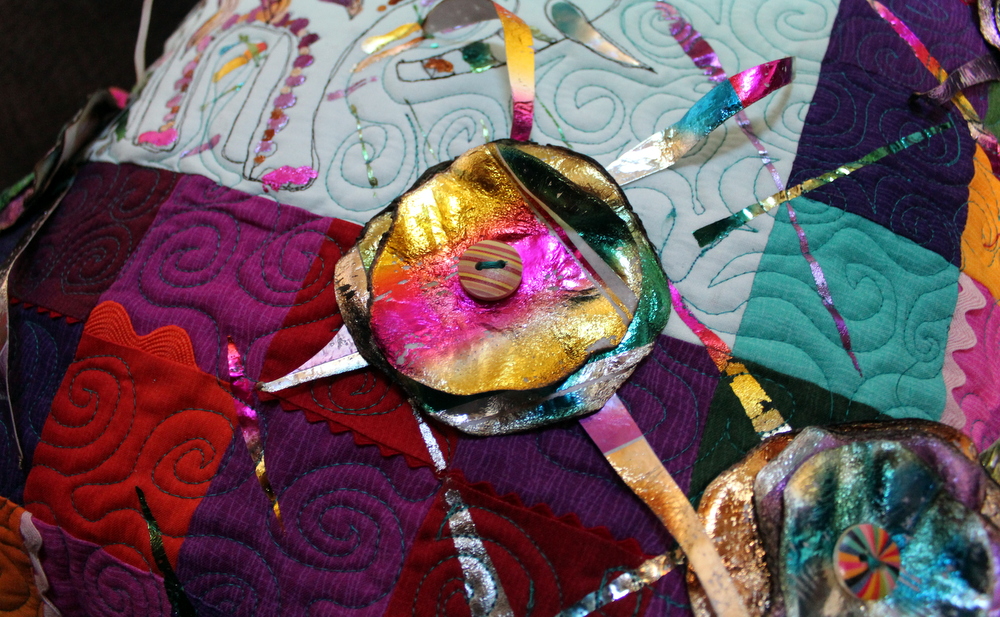 I layered two or three of the singed circles to create Deco Foil™ flowers. I placed a fun button in the middle of the circles and zig zag stitched them in place. After cutting out the circles there were still scraps of Deco Foiled Mixed Media paper so I cut them up into strips to add even more fun to the flower and pillow.
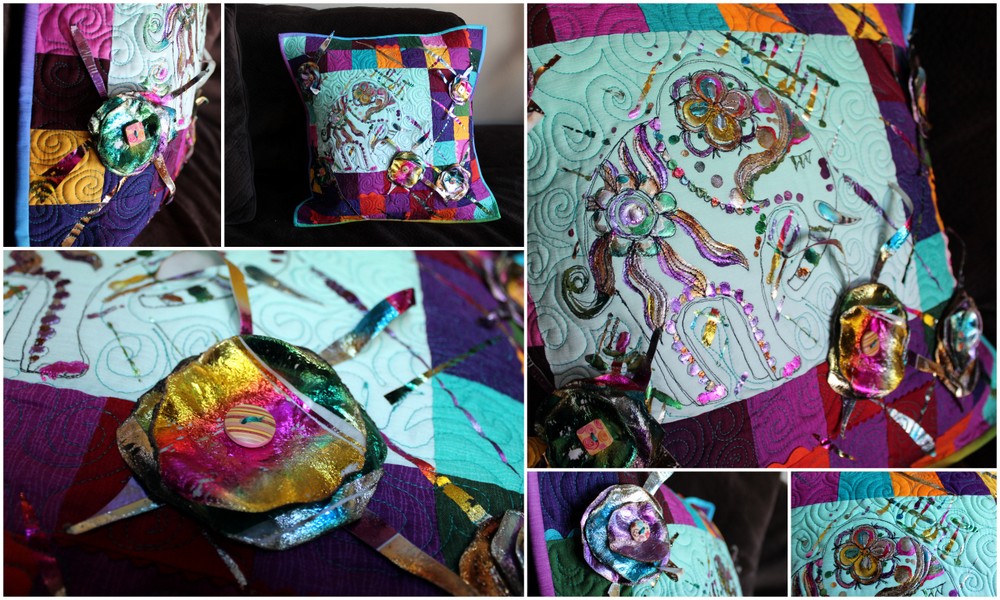
Here us a fun little collage of the different details on this pillow.
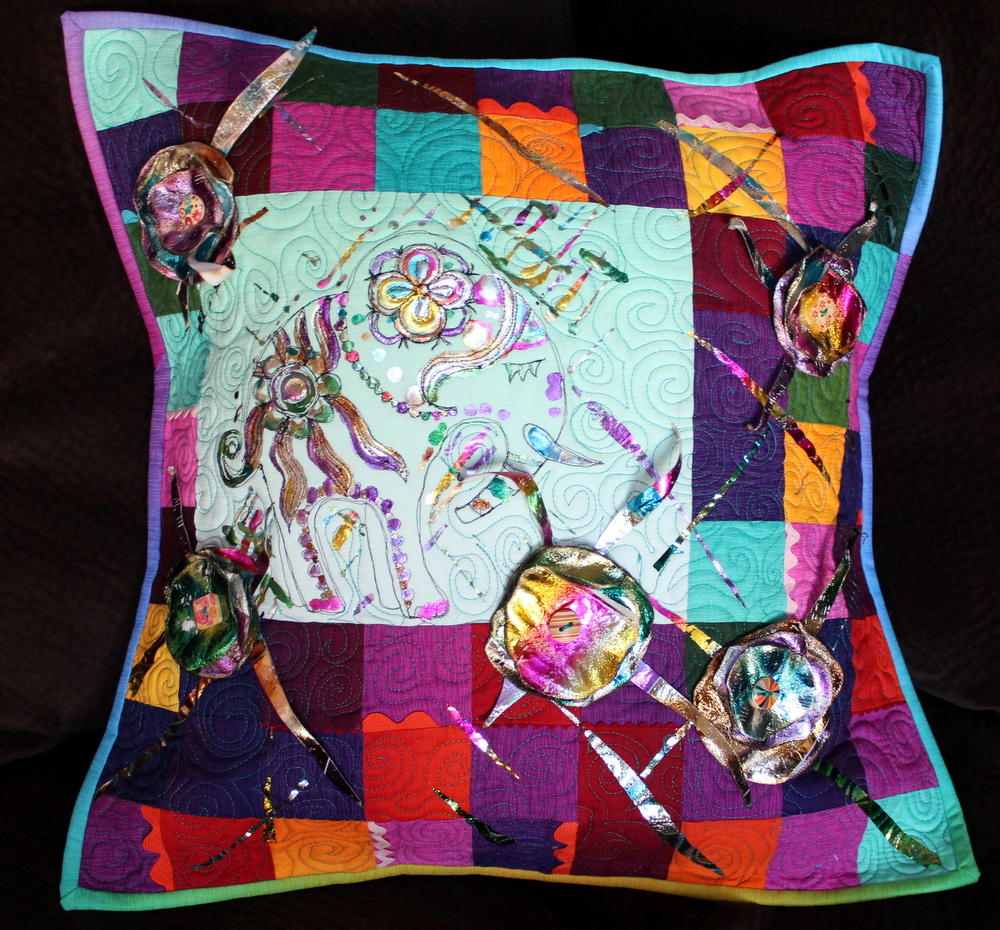
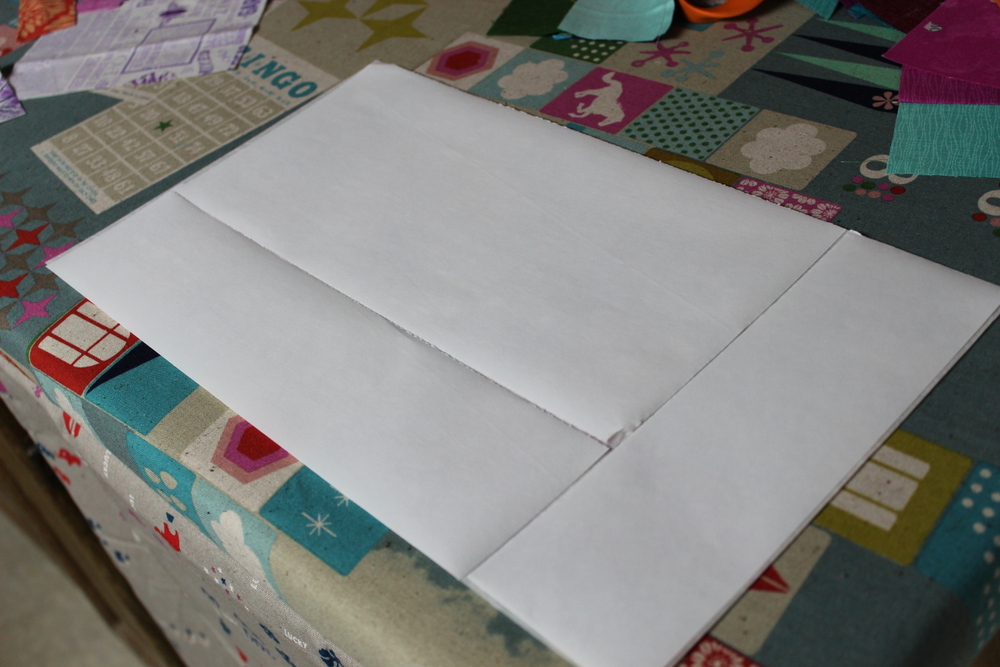
Once all of the embellishments, foils, and fibers were added to the pillow top, I added an enveloped back and a binding for the final touches. I am really happy with my crazy, bright and funky pillow! It’s always fun playing with new product and pushing the boundaries to see just what it can do!
![]()
Our team is at the Sierra Pacific Craft Mixed Media Event in beautiful Salt Lake City Utah! We’ll be showcasing our newest iCraft® Mixed Media products and Watercolor Deco Foils™ that we know you’ll be very excited about.
We wanted to share with you a free printable we’ve created for the show attendees that you too can print off at home using our NEW Light Weight Mixed Media Sheets.(coming soon!!) Or you can print on paper as well!
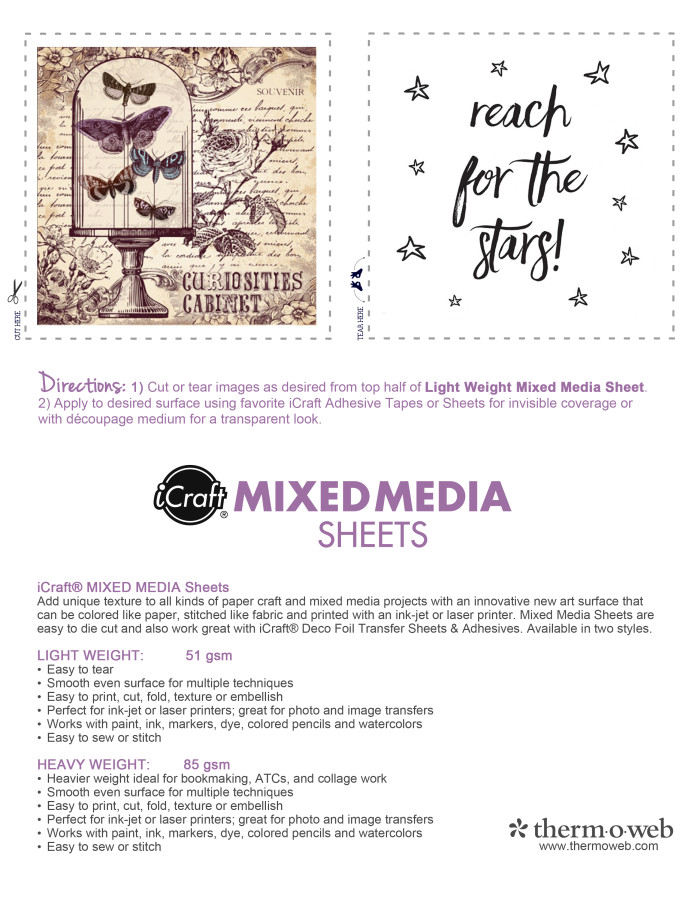
Simply right click on the image above to save or click this widget to download.
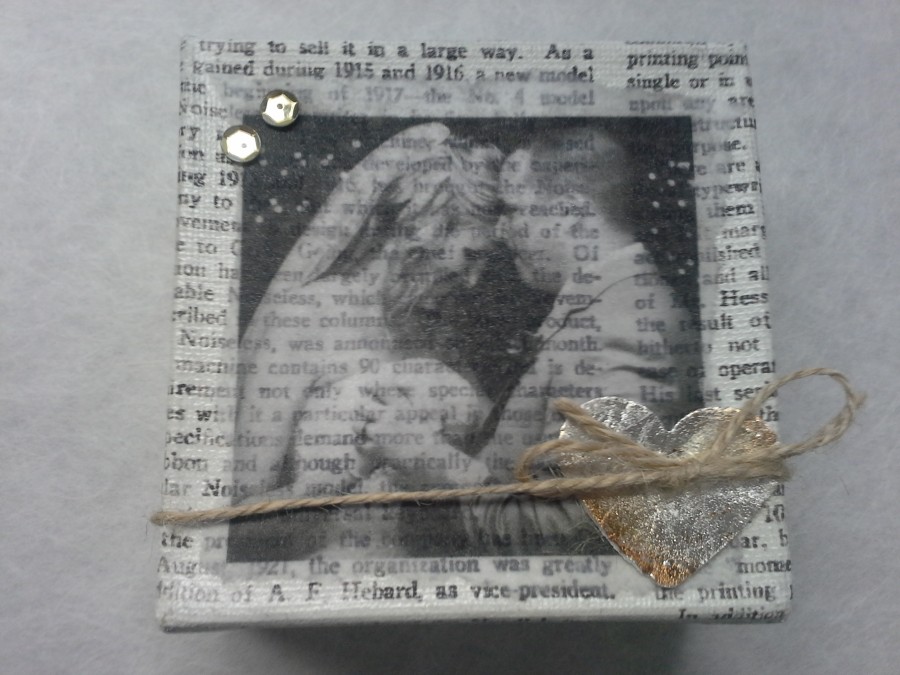
And here’s an idea of what you can do with the printable too! Simply print onto our NEW iCraft Mixed Media Sheets and then add to a canvas, card, pillow…you name it!