


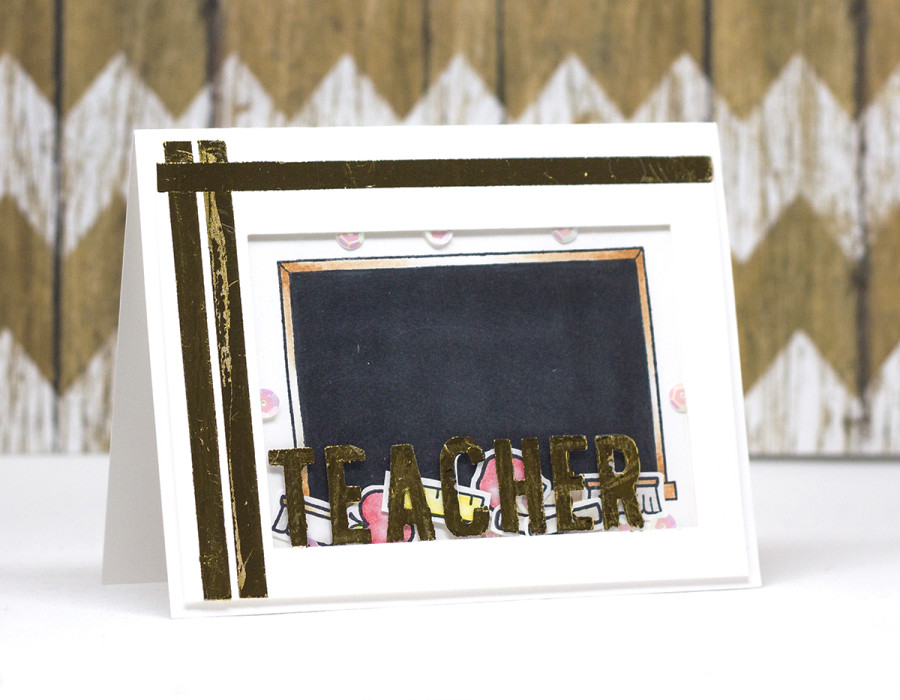
Hi! Chrissie here today! Time really flies – it’s almost time for the kiddos to go back to school…. already!!! To start off the new school year right, I love to give teachers welcome cards. This time around, I decided to combine two of my favorites: DecoFoil™ and shaker cards!
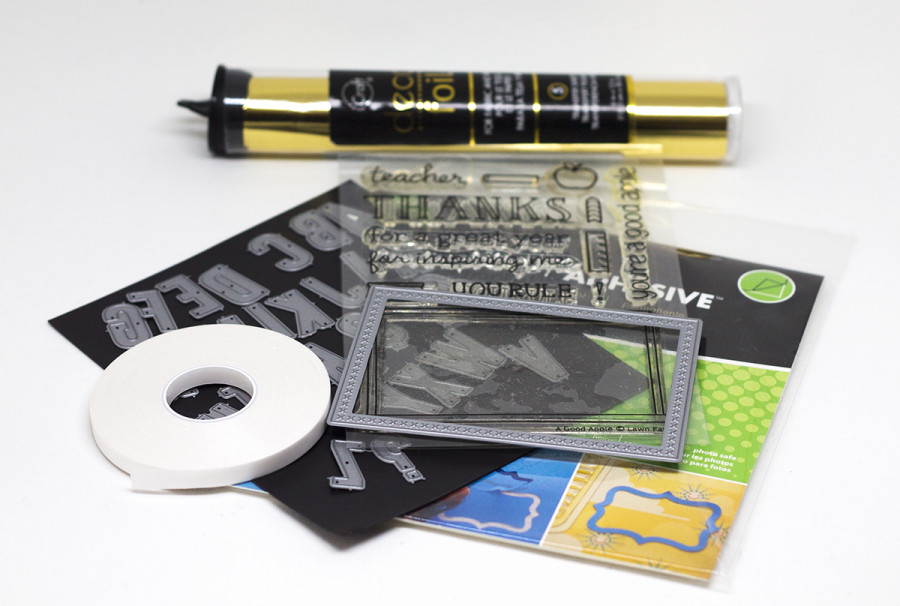
Therm O Web Supplies:
DECO FOIL™ TRANSFER SHEETS • GOLD
DECO FOIL™ WHITE FOAM ADHESIVE
ICRAFT ADHESIVE™ TAPE • 1/4 IN
ICRAFT EASY CUT ADHESIVE™ SHEETS • SM
Other Supplies:
Lawn Fawn Cross Stitched Rectangles
Lawn Fawn A Good Apple Stamp Set
Bright White Cardstock
Scissors
Colored Pencils and Gamsol
Clear Acetate
Die Cutting Machine
Pencil
Tweezers
Bone Folder
White Cardstock
Project Instructions:
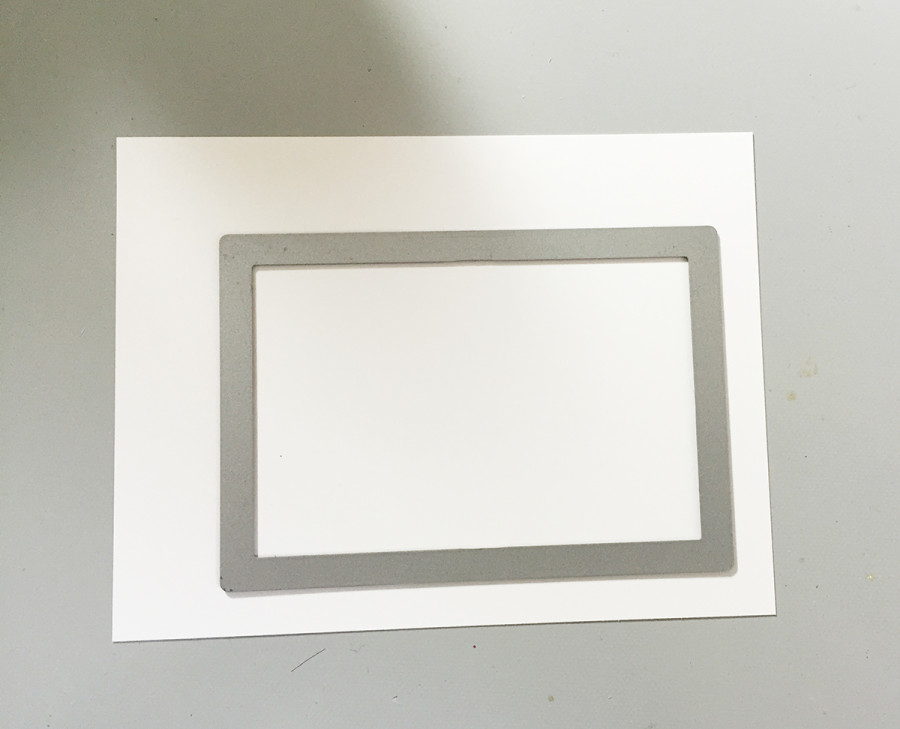
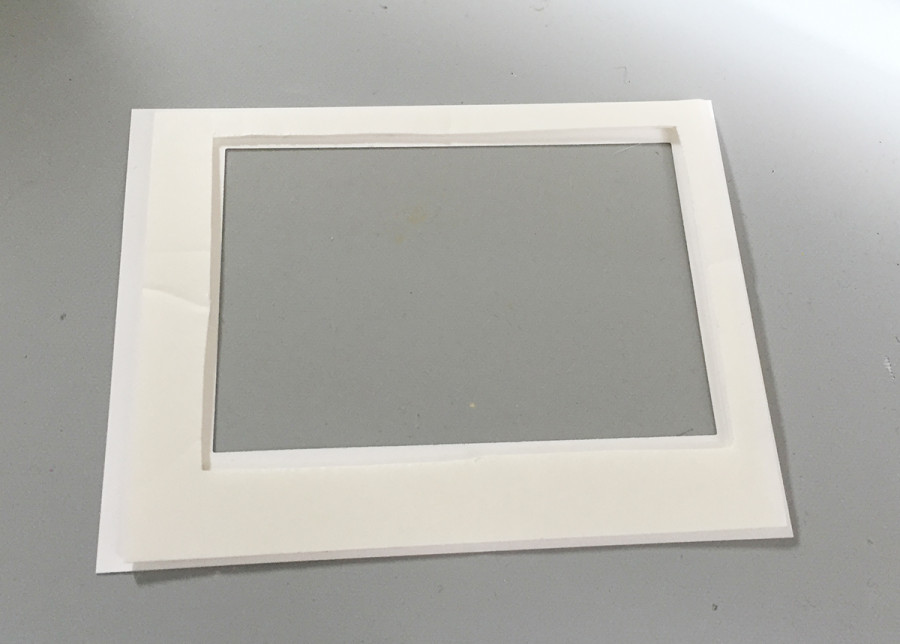
To start out, I trimmed a piece of white cardstock to 5.25 x 4. I die cut a window with the rectangle die. This will become the shaker window!
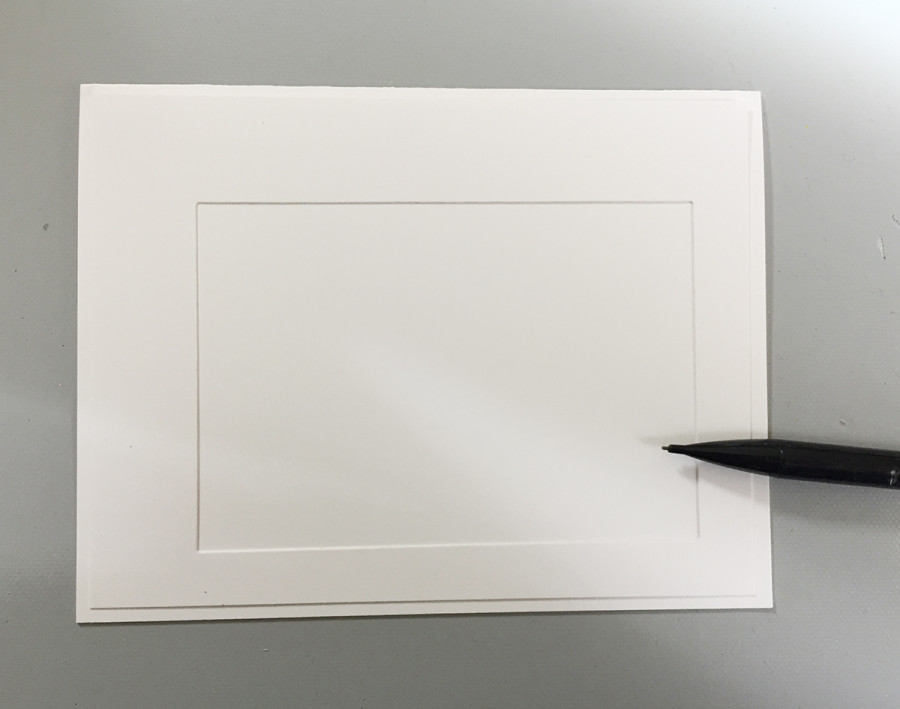
I placed the die cut panel on a card base (8.5 x 5.5, scored at 4.25, to create a top folding card) and gently traced the window onto the base with a pencil. This will be a guide for me later on. I also trimmed out a piece of Deco Foil™ White Foam Adhesive and traced it on there as well.
Using scissors, I trimmed out the window from the Foam piece ONLY. I set that card base aside.
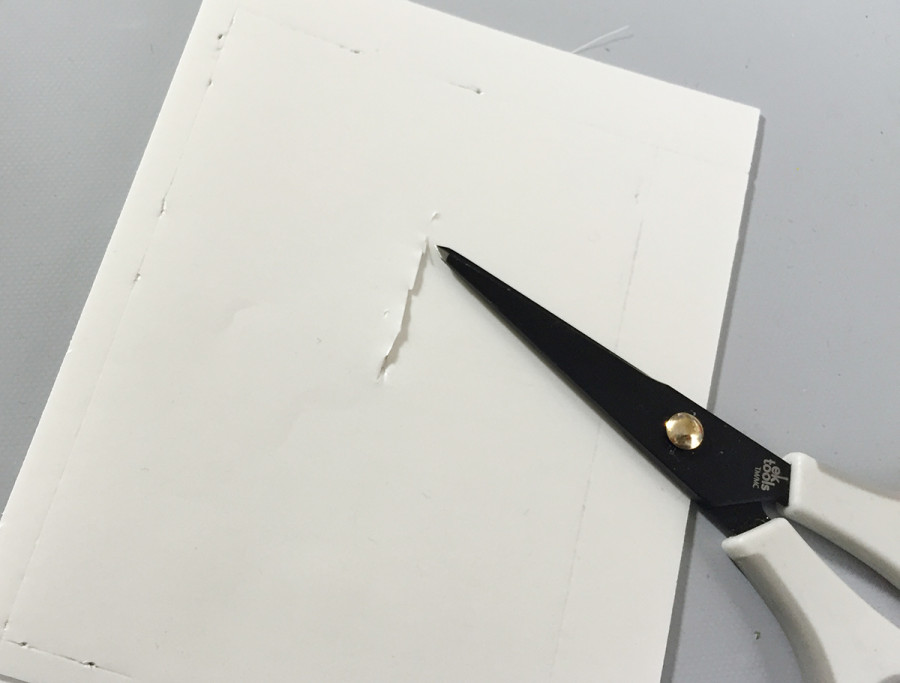
Then I flipped over that front panel (with the window) and placed the Foam Adhesive on the backside of it. The Deco Foil™ White Foam Adhesive is seriously a life saver when it comes to shaker cards. It is just fantastic! Instead of having to add foam squares all around the edges or adding adhesive to fun foam, this foam is all ready to go, with adhesive on both sides!
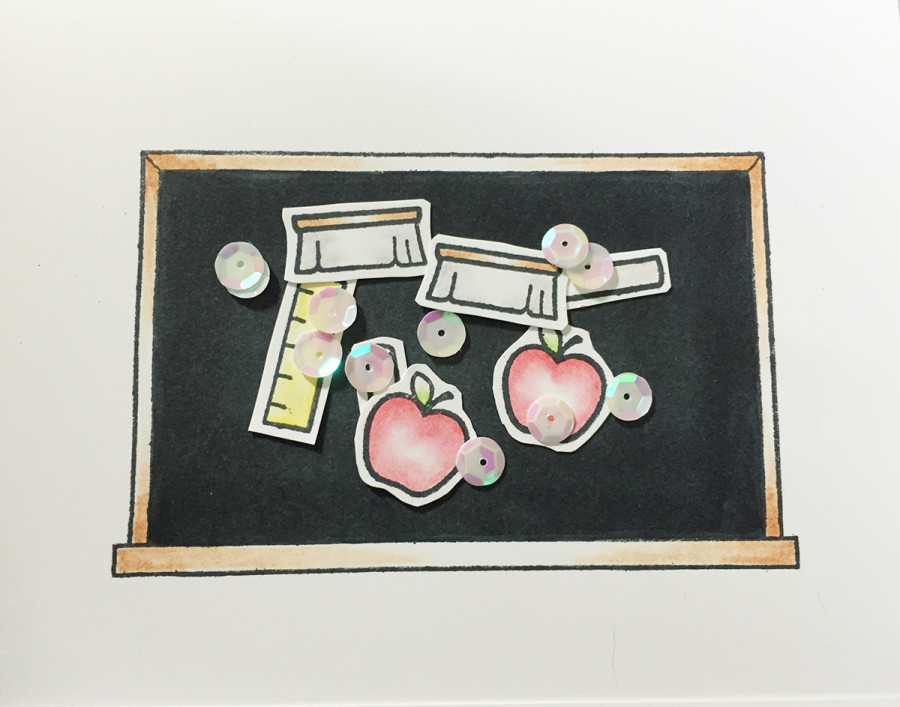
On a separate piece of white cardstock, I stamped some images and colored them in with colored pencils. Then I trimmed them all out. These will be the inside shaker elements! I also added a few sequins to the inside of the shaker, too, just because I can’t resist sequins. 🙂
I also stamped the chalkboard on the base of the card, then I colored that in and erased the pencil lines. Those lines were on there as a guide for me, so I knew where to stamp.

I added clear acetate to the foam on the backside of the shaker and then placed it over the card base. I have found it is easiest to place the shaker elements in the center of the shaker area and then place the sealed window on top. Otherwise, it is difficult to align everything properly!
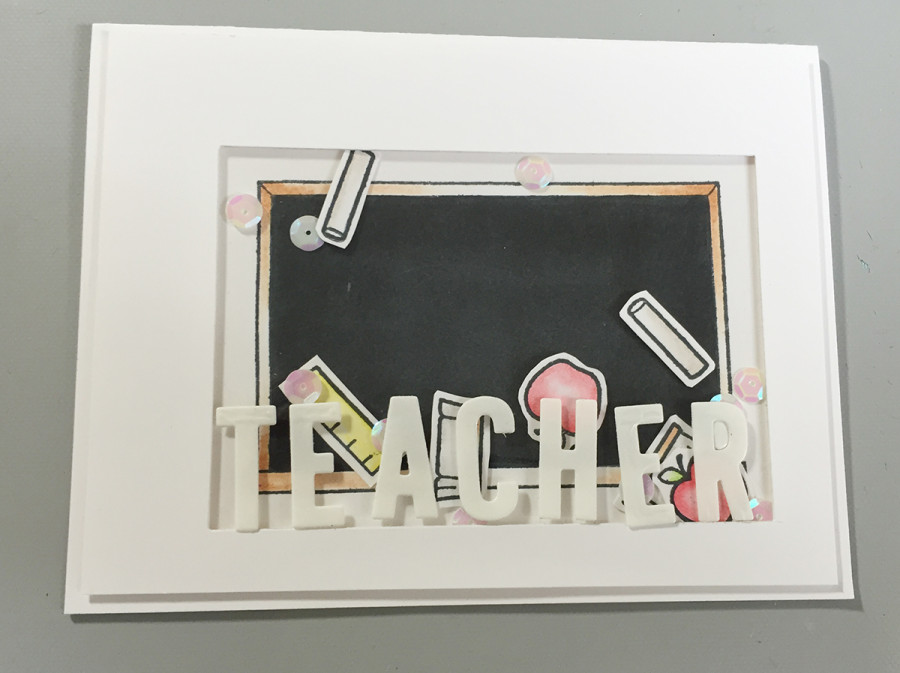
Next, I die cut the word “TEACHER” out of iCraft Easy Cut Adhesive™ Sheets.
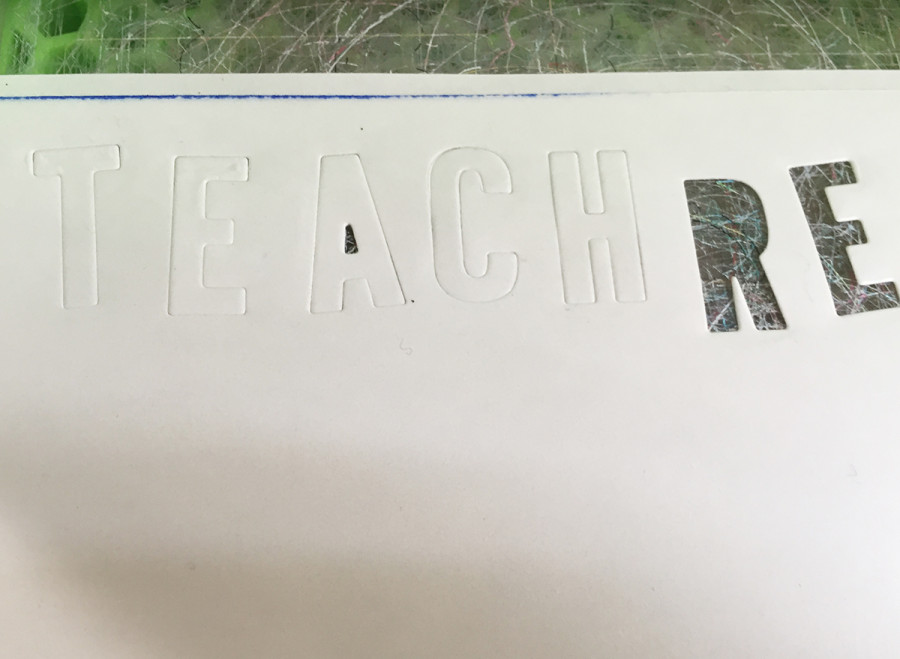
Using tweezers, I added them to the front of the shaker window.
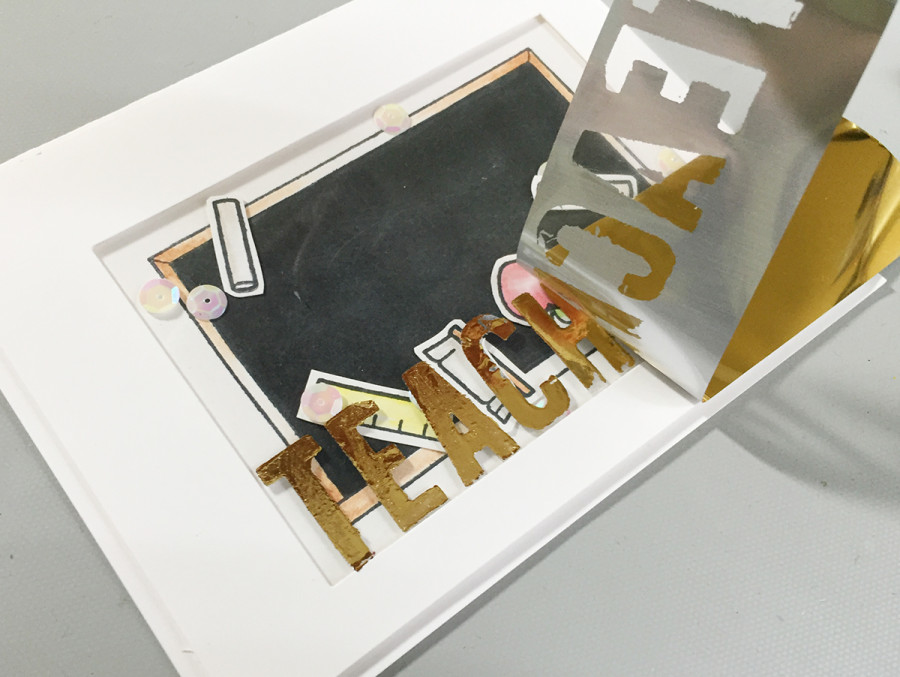
Then I pressed some Deco Foil™ Gold Transfer sheets onto the letters and peeled them off. I used a bone folder to really burnish the foil into the adhesive.
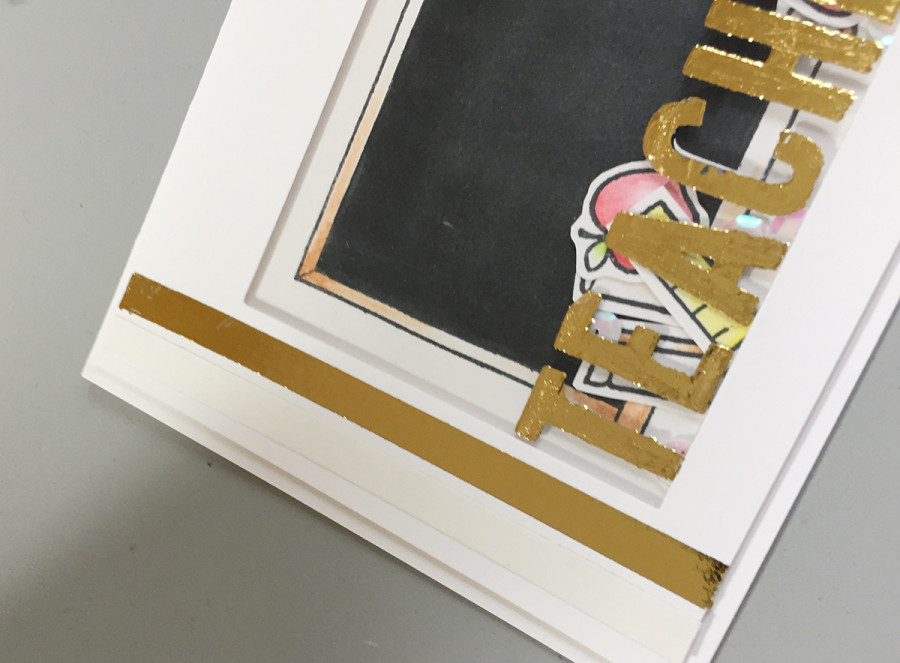
Then I added some 1/4 inch iCraft Adhesive™ Tape to the front panel. I did two strips on the left side and one across the top. Then, just like the letters, I burnished the gold foil with a bone folder.
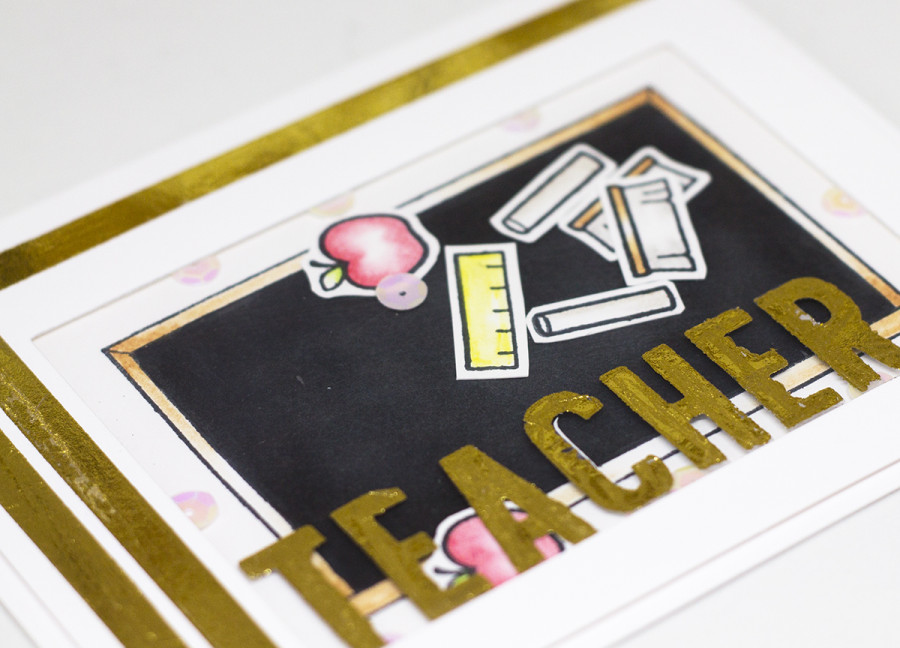
The softness of the color pencils really contrasts with the sharpness of the foil! I think my daughter’s new teacher will really appreciate this card!
Looking for more inspiration? Follow us on Pinterest!