


Welcome back! I’ve got a couple cards for you today using one of the Brutus Monroe Magical Monarch dies with Easy Cut Adhesive along with a few other things!
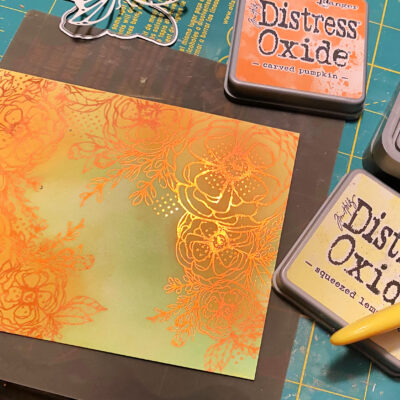
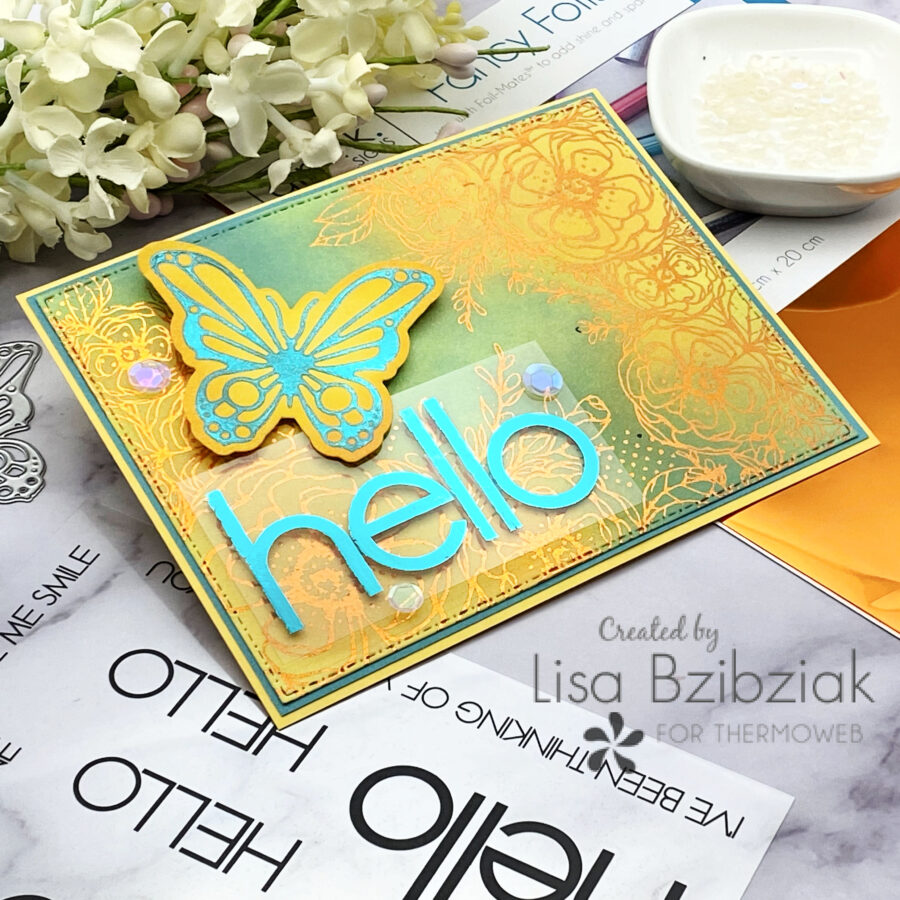
I started this one with a beautiful toner card front from the Unity Stamps Flowers Devine pack. I ran it through my laminator with some Sweet Mango Deco Foil and then blended some Distress Oxides over the top. When I was done blending I wiped over it with a soft cloth to let the shine of the foil back through.
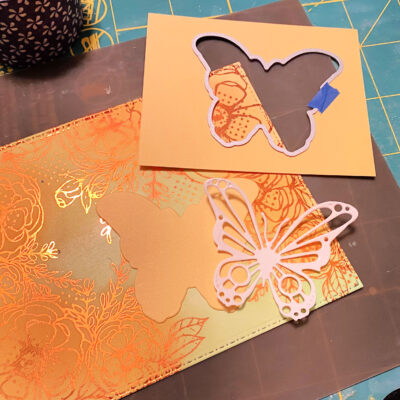
I die cut the butterfly from Magical Monarch die set from a sheet of Easy Cut Adhesive. I die cut the base layer from yellow cardstock. The Easy Cut Adhesive has two protective layers. Just remove the back layer and adhere it to whatever you want to foil it onto. Then run it through your die cutting machine for pressure to adhere it and then you can peel the front layer off.
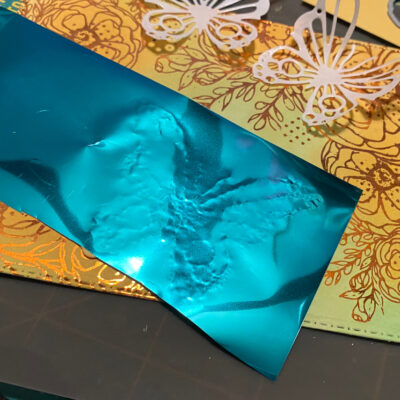
Then lay the foil over the top of the exposed adhesive and run it through the die cutting machine again! This is a great way to use scraps of foil.
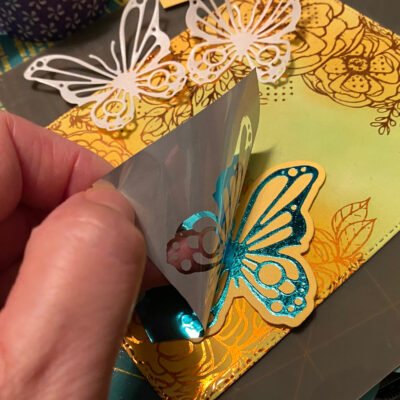
Then just peel off the foil and oooh… aaaahhh… a pretty foiled butterfly!
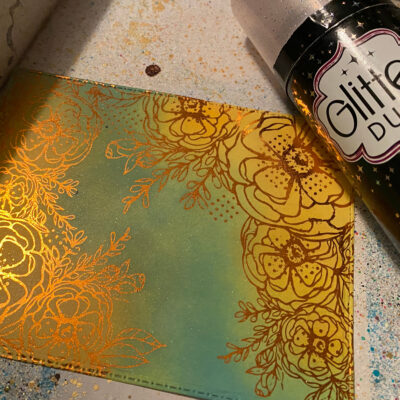
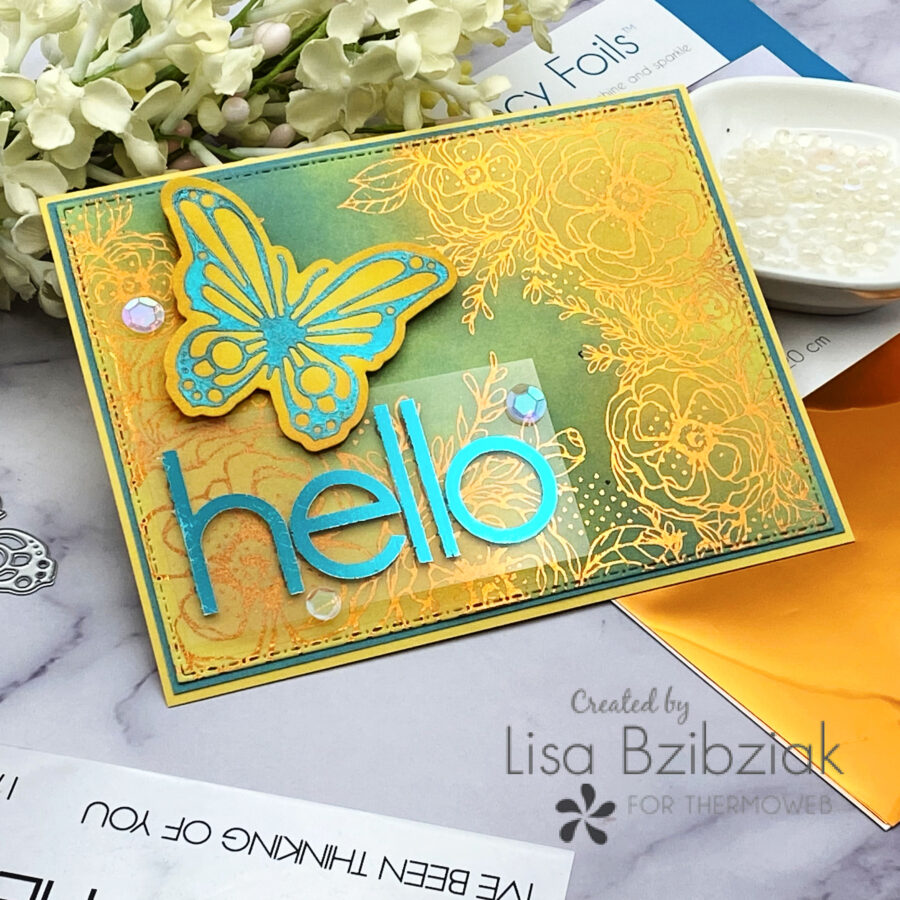
At this point, I die cut the panel and decided to add some blue over the green to coordinate better with the turquoise foil I chose for my butterfly and sentiment. Finally, for the background I sprayed some Iridescent Glitter Dust over the top. It adds such a pretty sparkle over the surface of your project! I keep this box handy for all of my splattering and spraying.. as you can see it gets used a lot.

I decided to use one of the Adhesive Transfers from the Oh Hello pack. I love adding them to acetate especially when my background is such a big part of my piece. Similar to the Easy Cut Adhesive application, I peeled off the protective layer of the transfer and laid it onto the acetate and ran it through the die cutting machine for pressure. Then I peeled the second layer off of that, laid the Deco Foil over the top and ran it through again. So fun and no heat required!
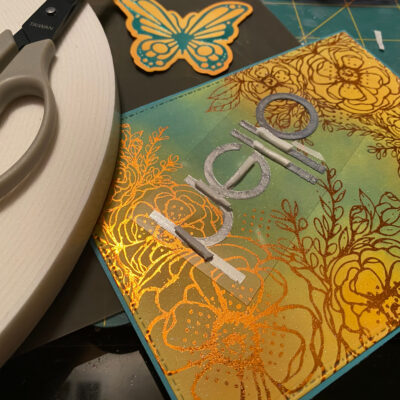
You can just apply some a little bit of clear drying glue behind the foiled letters and attach it right to your card base, but Iike to pop them up for a little dimension and this way you can add things under or over the sentiment piece. It’s easy to cut really thin pieces of foam adhesive to hide behind the letters and you don’t need a lot!
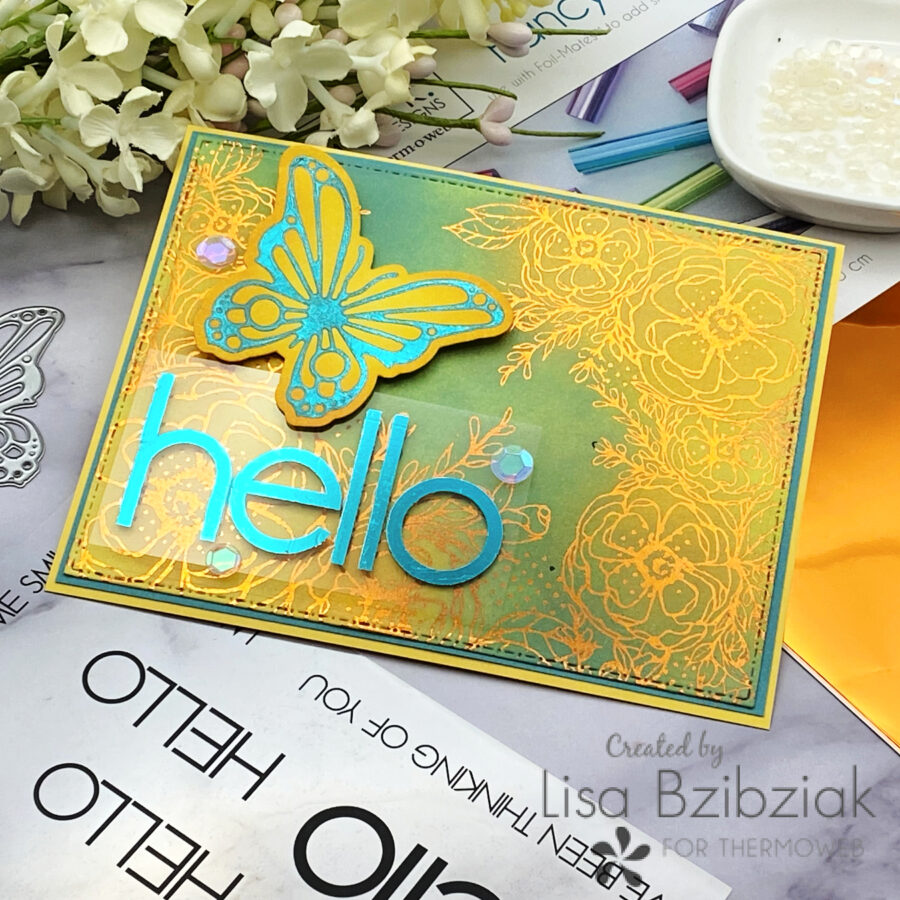
I also popped the butterfly up and added a few sequins! This one feels so warm to me! A Happy Hello.
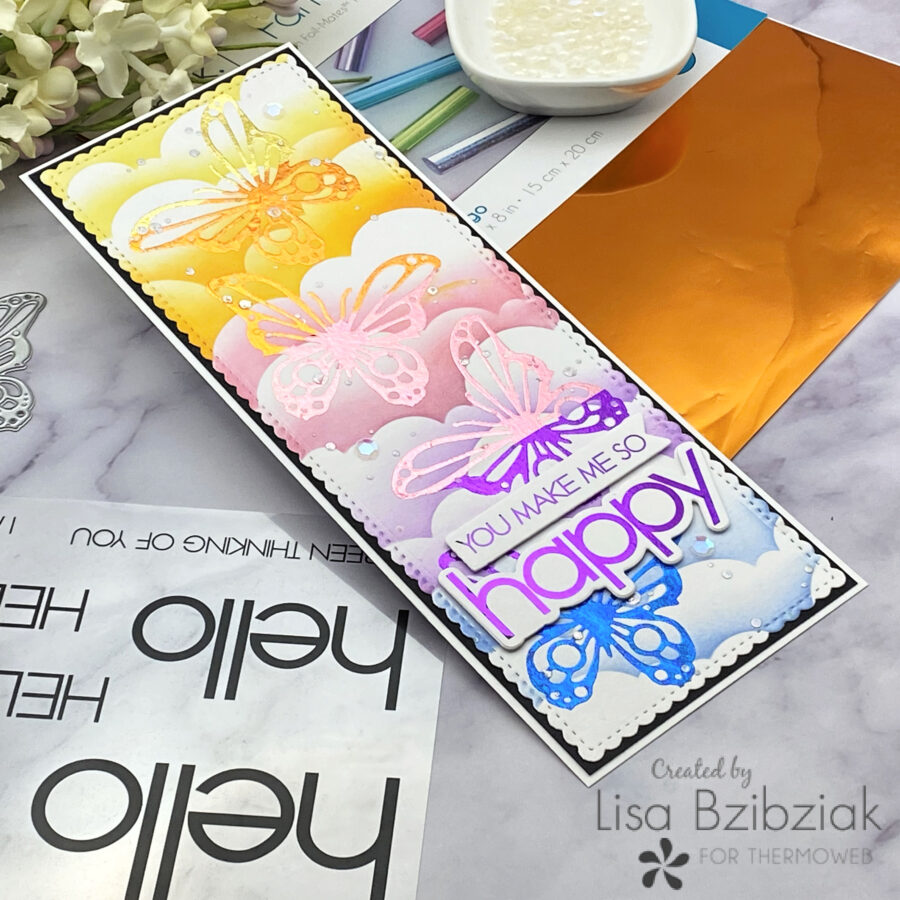
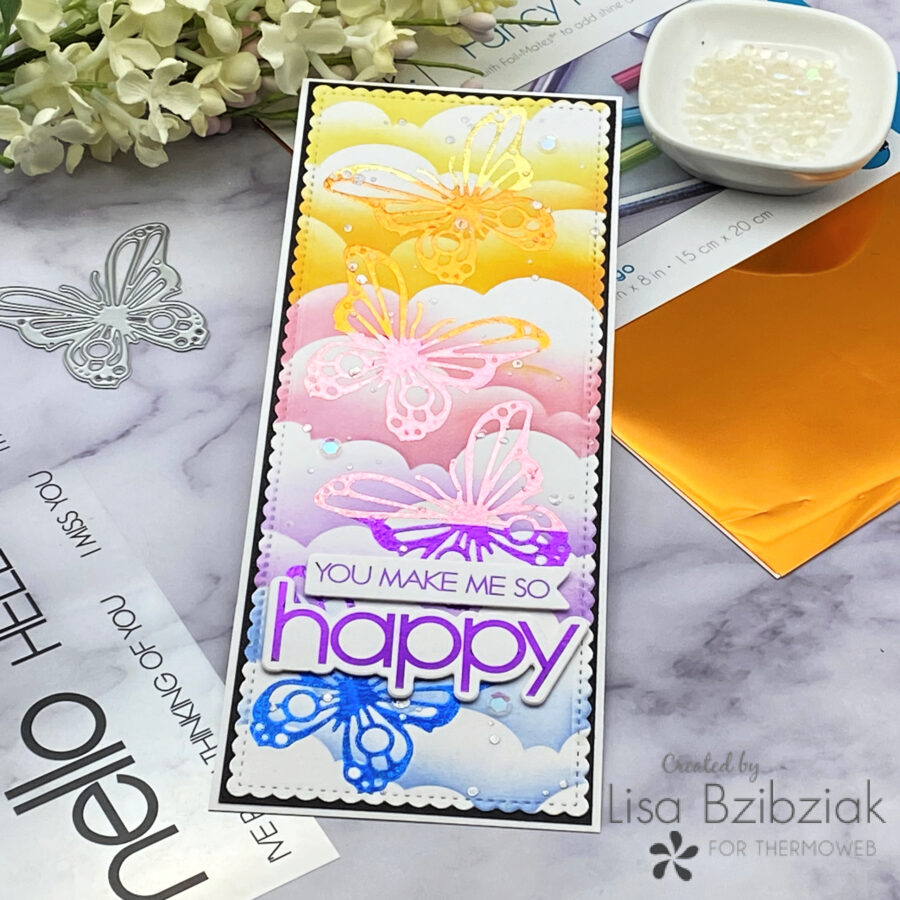
Then I cut some more butterflies! I started with this scalloped slimline panel and ink blended some clouds over the top.
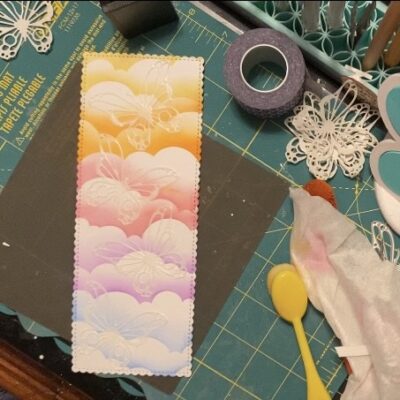
I added the butterflies that I cut from the Easy Cut Adhesive over the ink blended clouds in the same way as for my first card except this time right onto my background.
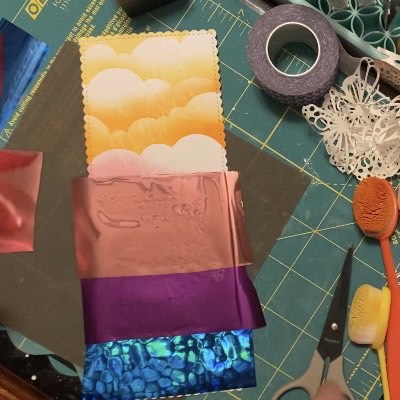
Then I used scraps of Deco Foil to add different colors of foil similar to the cloudy background. After foiling the butterflies, I also added some splatters with a stencil and some transfer gel duo… applying foil when they dried to tacky. For these I used iridescent foil… one of my faves!
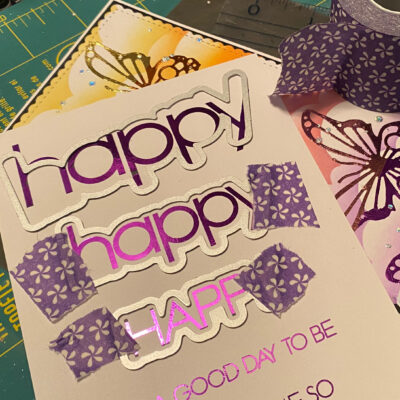
For this one, I used the Happy Everything Toner Card Fronts for the sentiment foiled in purple! I love that the dies from the stamp and die set also fit the Toner Card Fronts as well as the Adhesive Transfers!
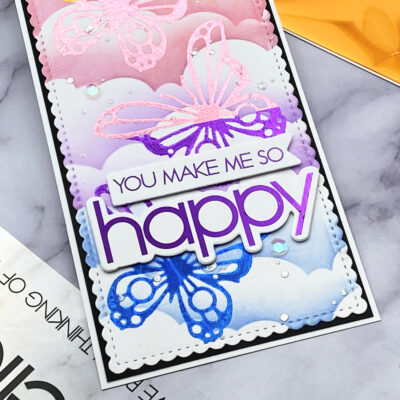
I just popped it up onto the background and added a few sequins.
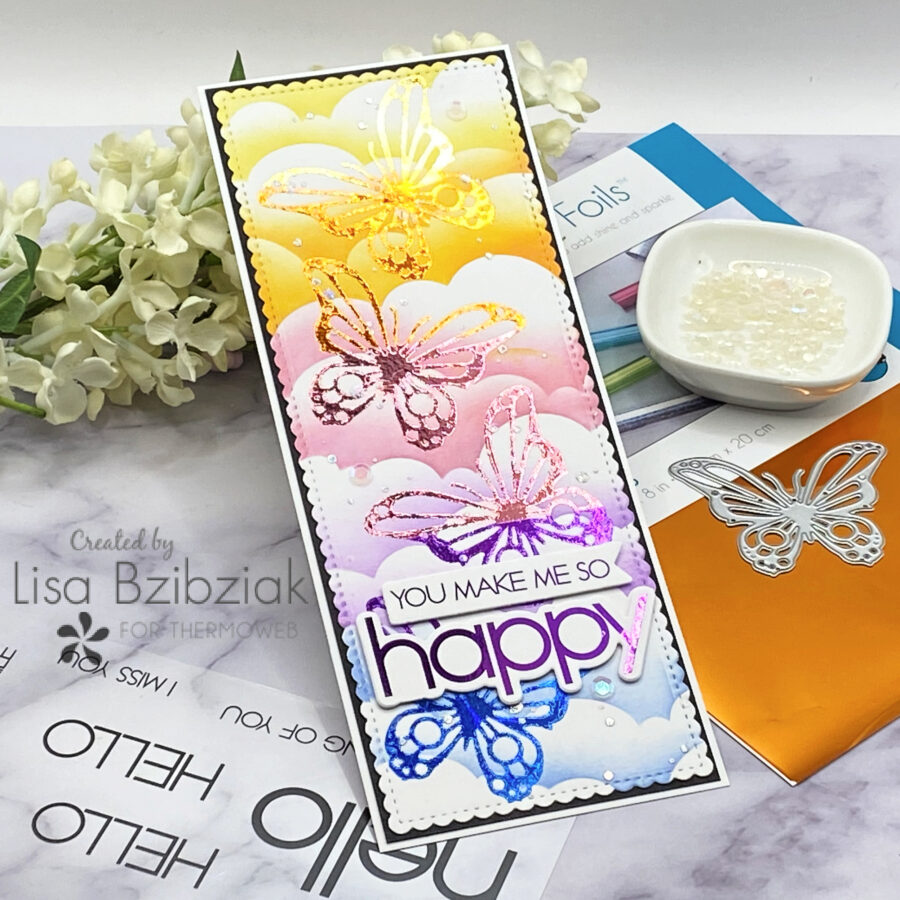
So excited how this one came out with the foil colors on the butterflies changing color as the clouds do.
I just love how easy it is to foil up any of your die cuts using Easy Cut Adhesive! And that you can use up some of your scraps when you are using some of your smaller shapes.
And extra fun to use multiple colors on one die cut! Hope you’ll give it a try!
Thanks so much for stopping and I hope you enjoyed it. I’ve included links to the products I used for today’s cards below. Come again soon!
https://linkdeli.com/widget.js?id=f5e8378456858c916708