


 Hello everyone! It’s Kim Lapacek from Persimon Dreams.
DIY Fabric Tree Christmas Ornament
We have a cottage style house which means we have very tall ceilings in half our house. And what do tall ceilings mean?

A tall Christmas tree of course – in fact, a 16-foot tall, Charlie Brown-style Christmas tree that we cut from our backyard. We literally have to tie it to the wall and railing!
If you have a tall Christmas tree you’re going to need A LOT of ornaments! And we have a lot but of course – I like making new ones each year. Today I’m going to share with you how to make a cute Fabric Tree with just a few supplies.
Fabric Christmas Tree Ornament Supplies:
Hand Picked Windham Fabric
HeatNBond® Heavy Weight Interfacing
12 Wt. Aurifil #MK12-4657
Decorative Beads
Pressing Paper
Instructions to Make a Folded Christmas Tree Ornament
Cut a piece of Hand Picked Windham Fabric just over 6.5″ square.
Cut a piece of HeatNBond® Heavy Weight at 6.5″ square.
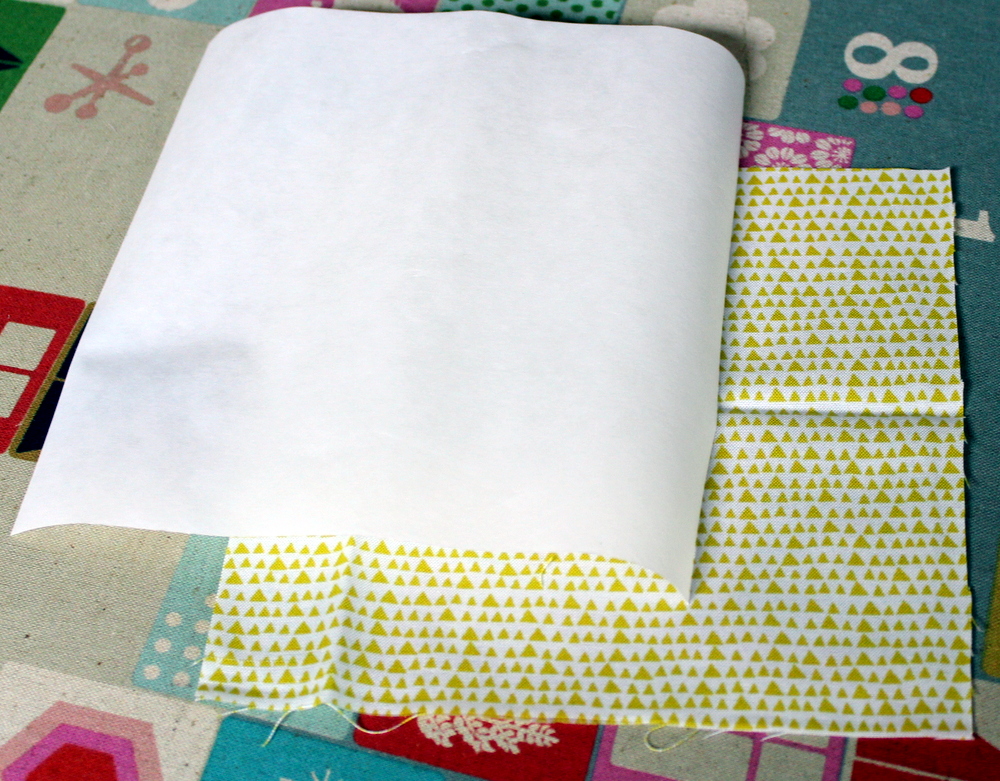
Fuse the HeatNBond® Heavy Weight to the wrong side of the Windham fabric.
The HeatNBond® Heavy Weight should be slightly smaller than the fabric.
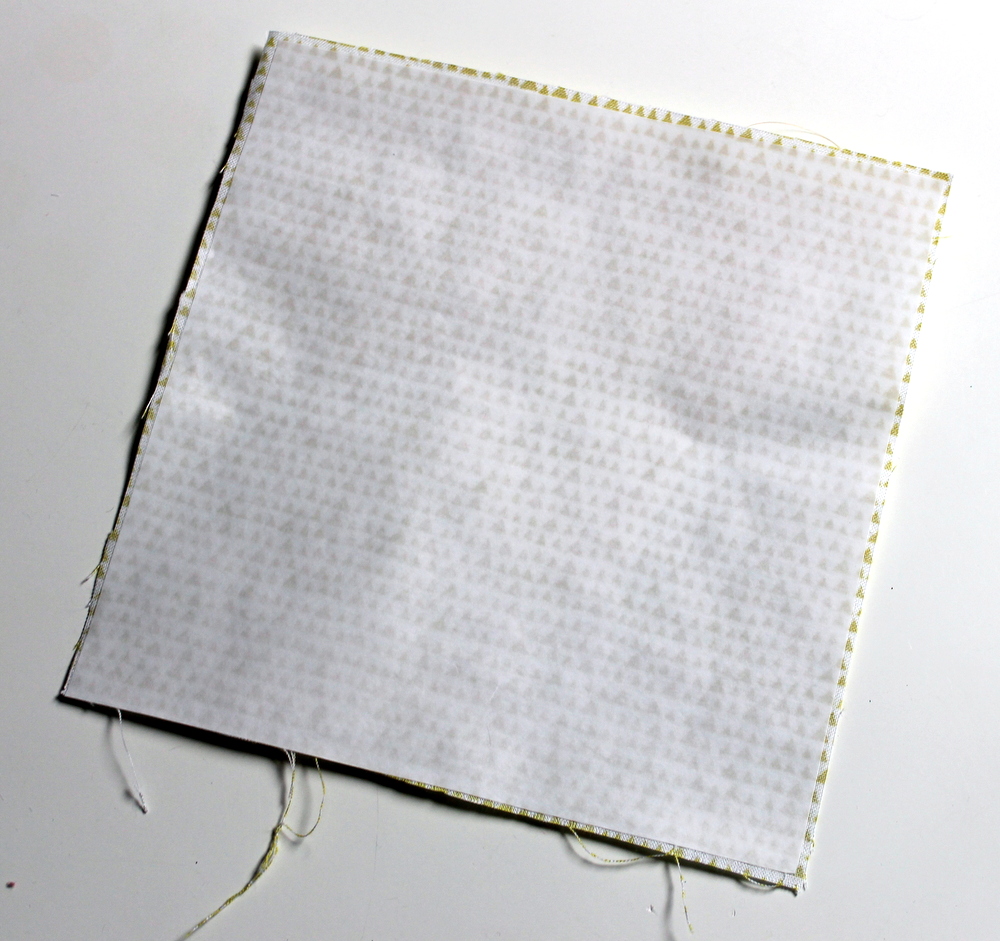
Square the fused fabric up so there is no excess un-fused fabric remaining.
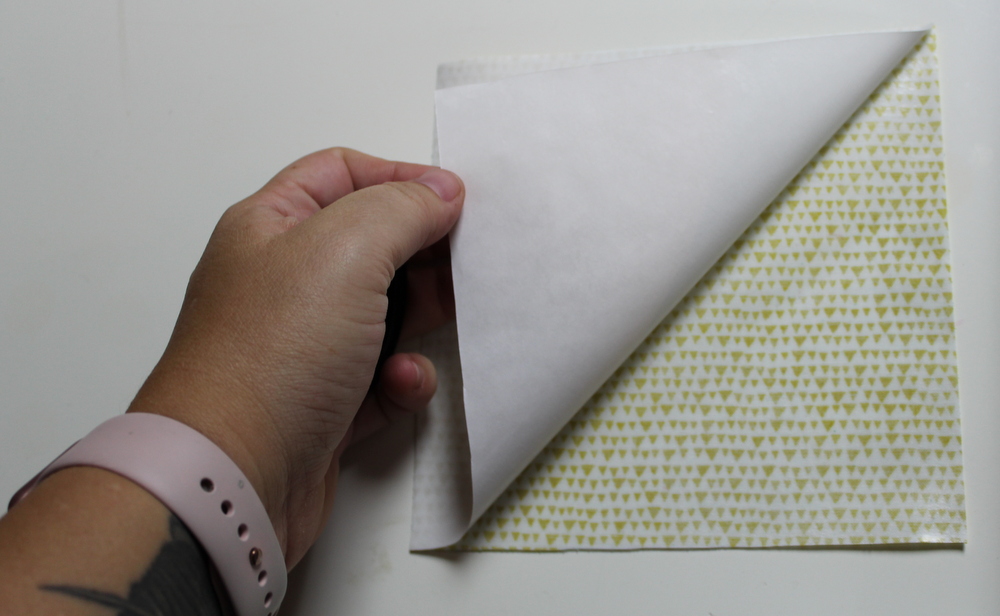
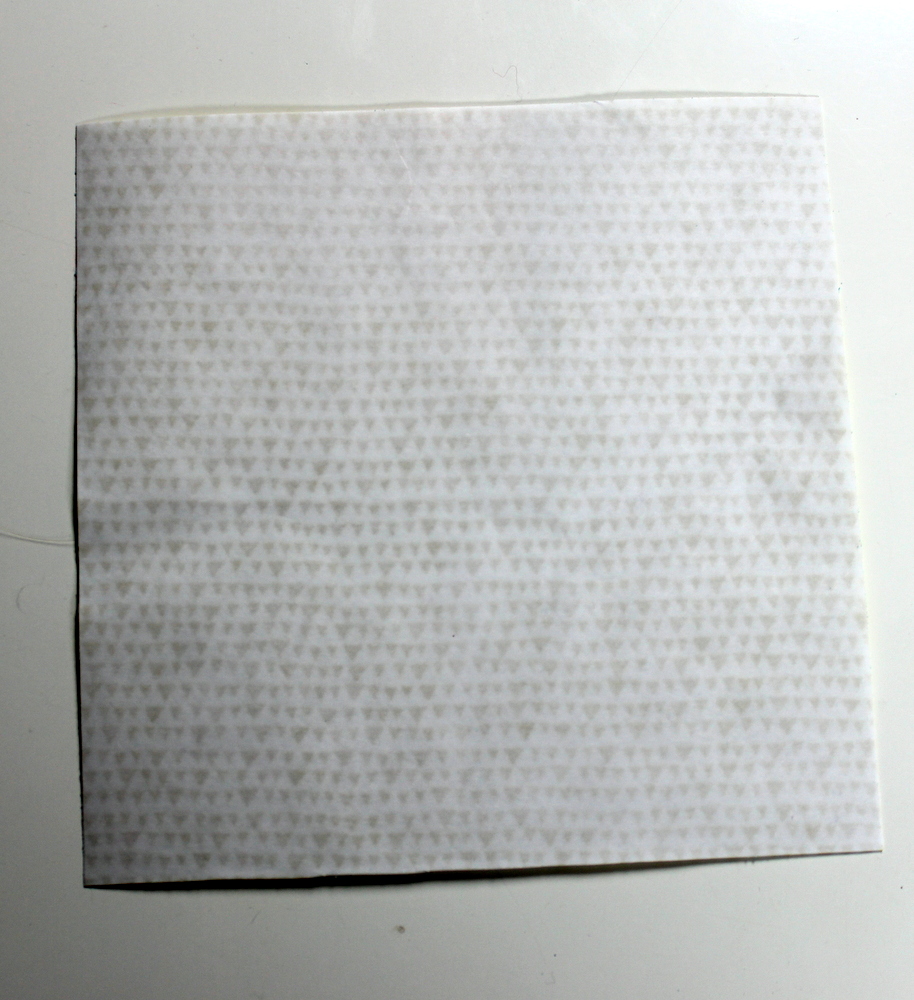
Once the fabric cools down completely from being fused remove the paper.
You now have a square of fabric that you can fold into a Christmas tree shape. I took step by step pictures but I think watching this video on how to fold a paper Christmas tree is better. Only follow the steps through minute 4.
I’m going to show you my pictures too in case they help a little.
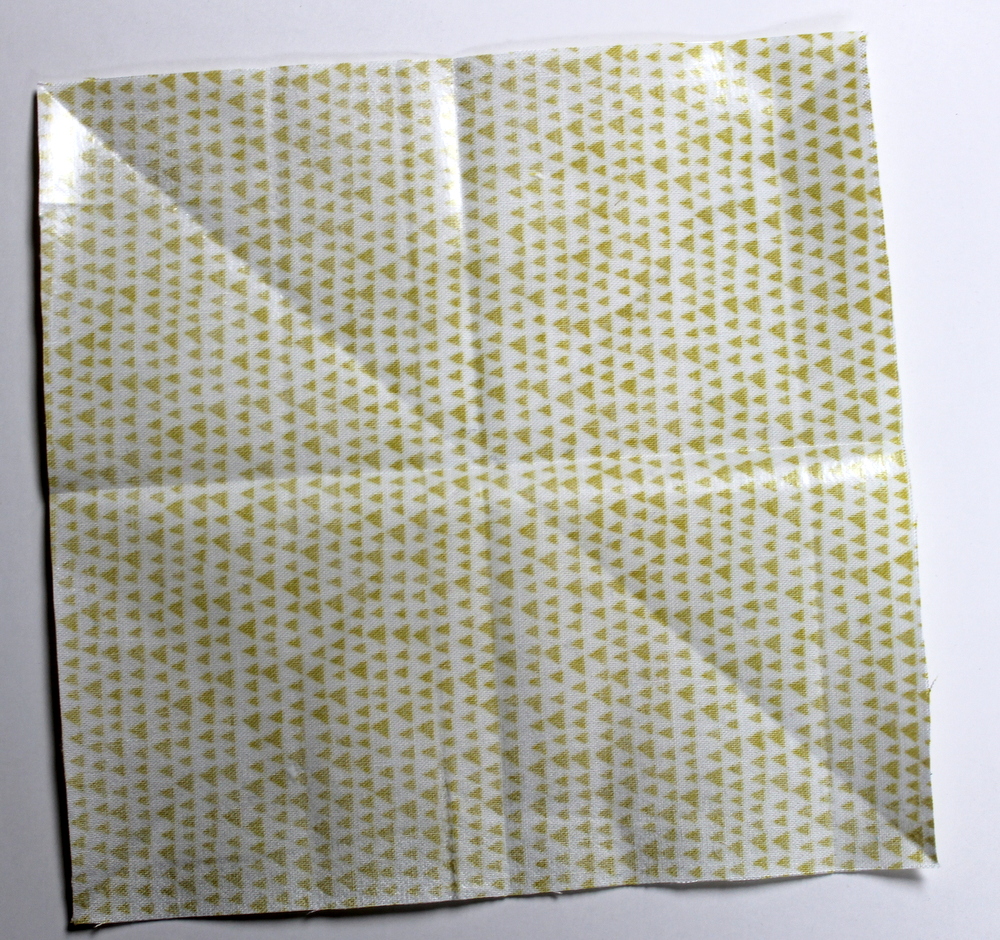
Fold the square in four directions – horizontal, vertical, and both diagonal directions.
Fold to the points and with the center all meeting (I know this doesn’t make sense – watch the video!)

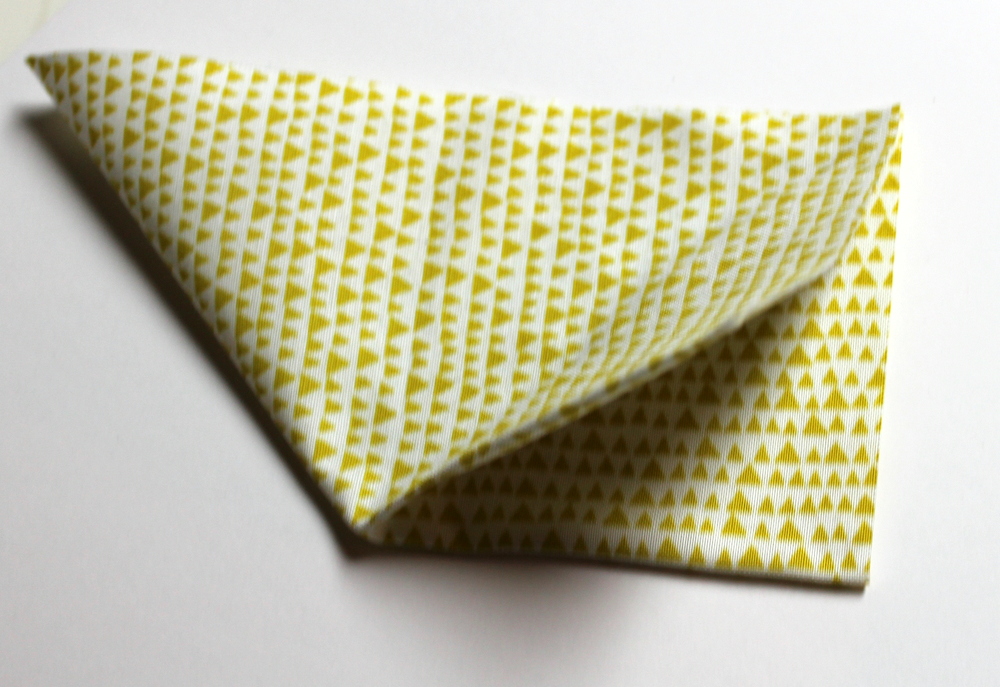
Once you do this you’ll have four flaps.

Separate the folds and flatted then to make two new folds.
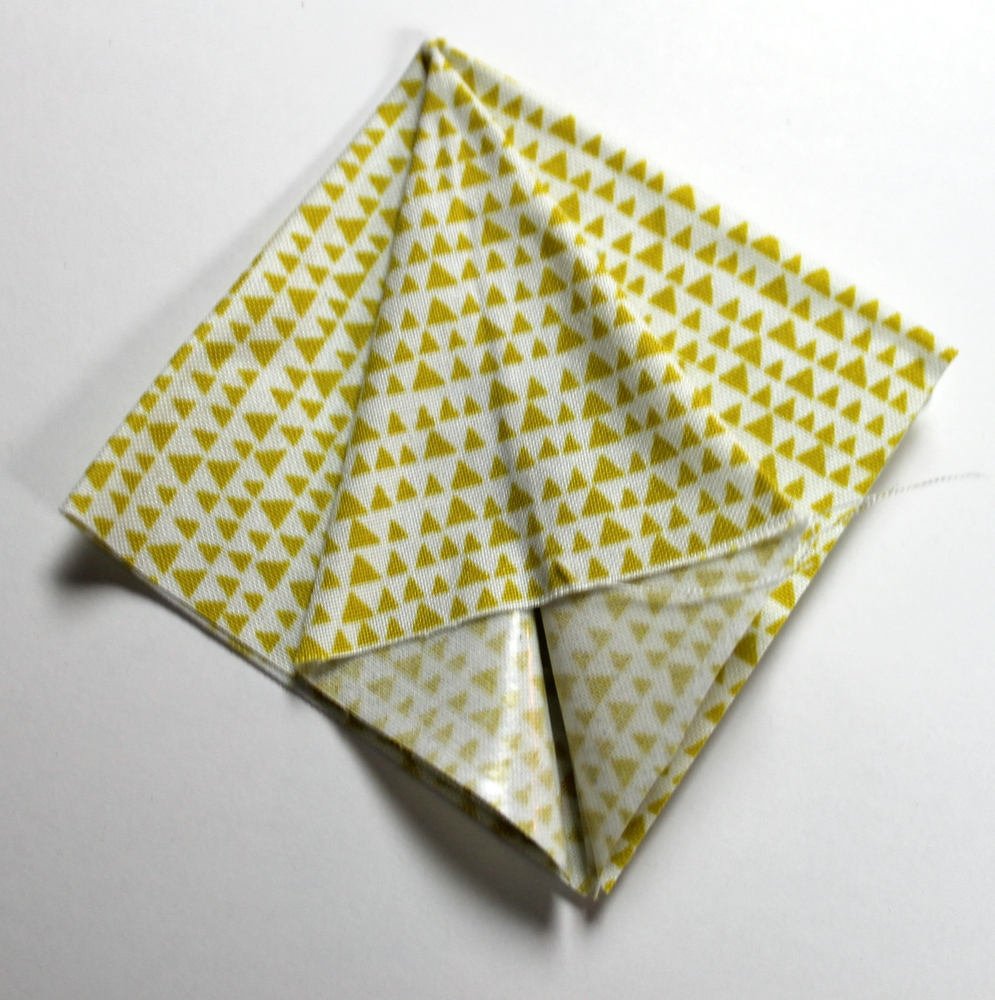
There will be a total of 8 flaps.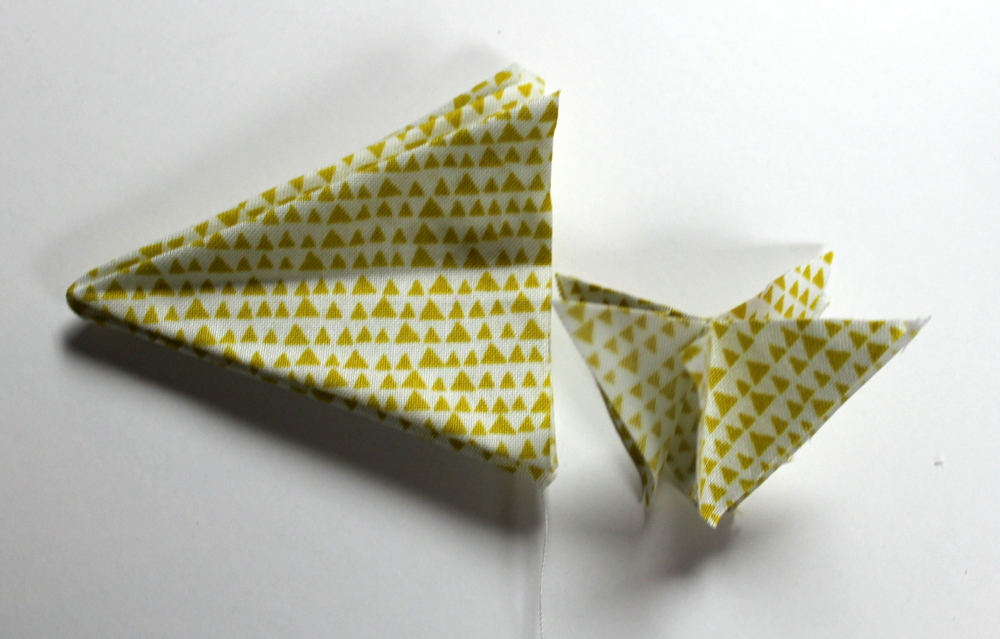
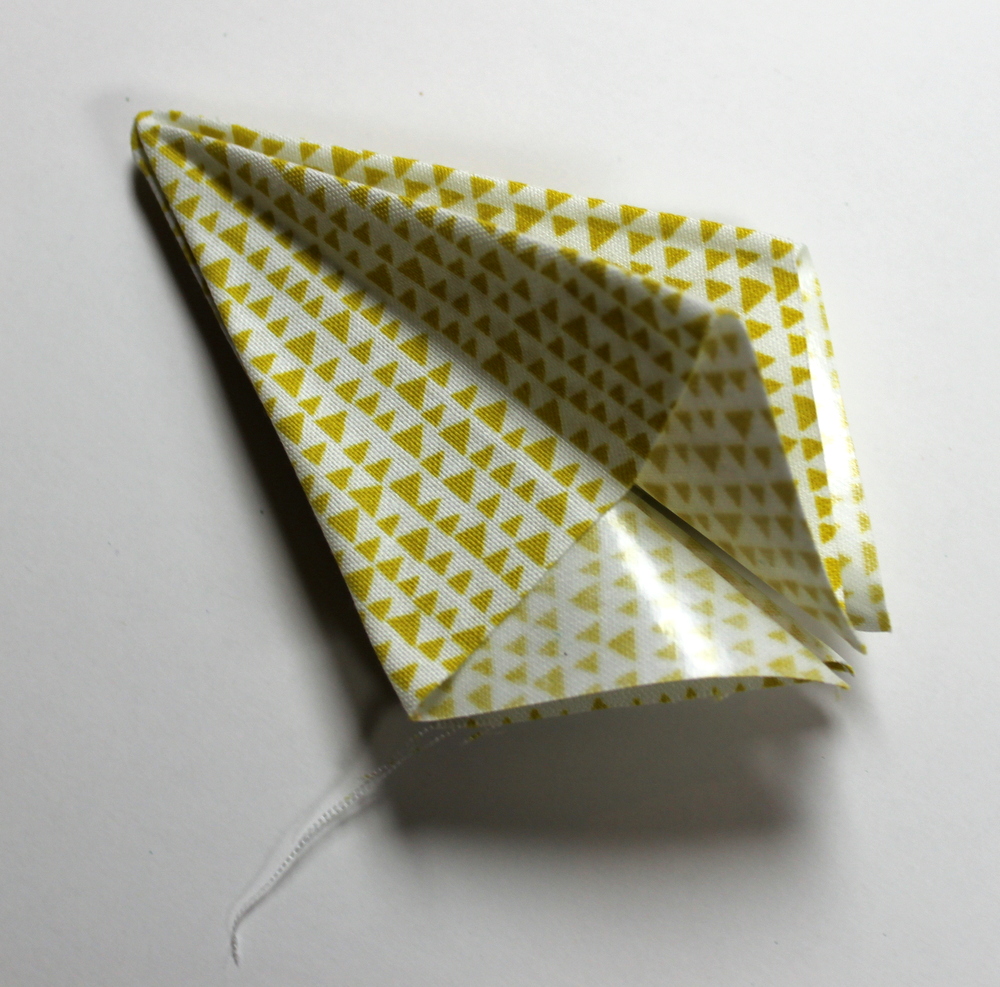
Trim the bottom points off.

At this point, this is the view from the top.
Now take a sheet of pressing paper and lay it over the folds and press with a hot iron. Press each section completely. This will finalize the fusible and hold the tree together.

Once the eight sections are pressed and secure it’s time to put the hanger on. 12 wt. Aurifil thread was perfect for the job.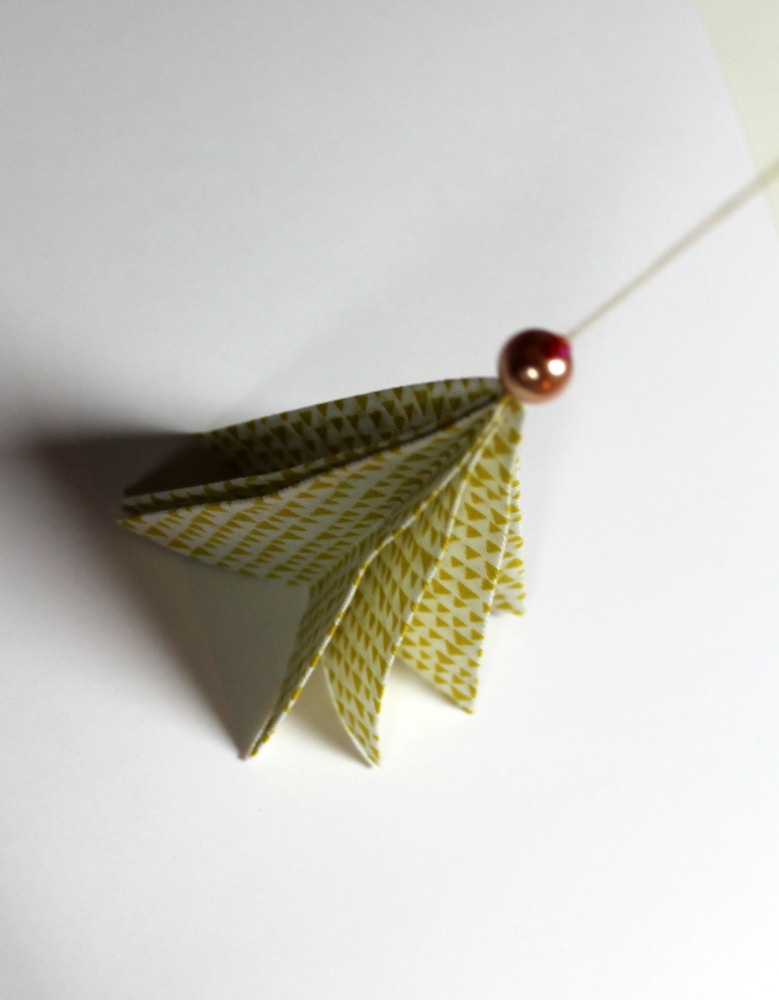 I put a cold bead on the very top of the tree to act as a star and a small “stopper bead over that. The stopper bead allowed me to wrap through the gold bead once and secure it before I made the hanging loop with the remaining thread.
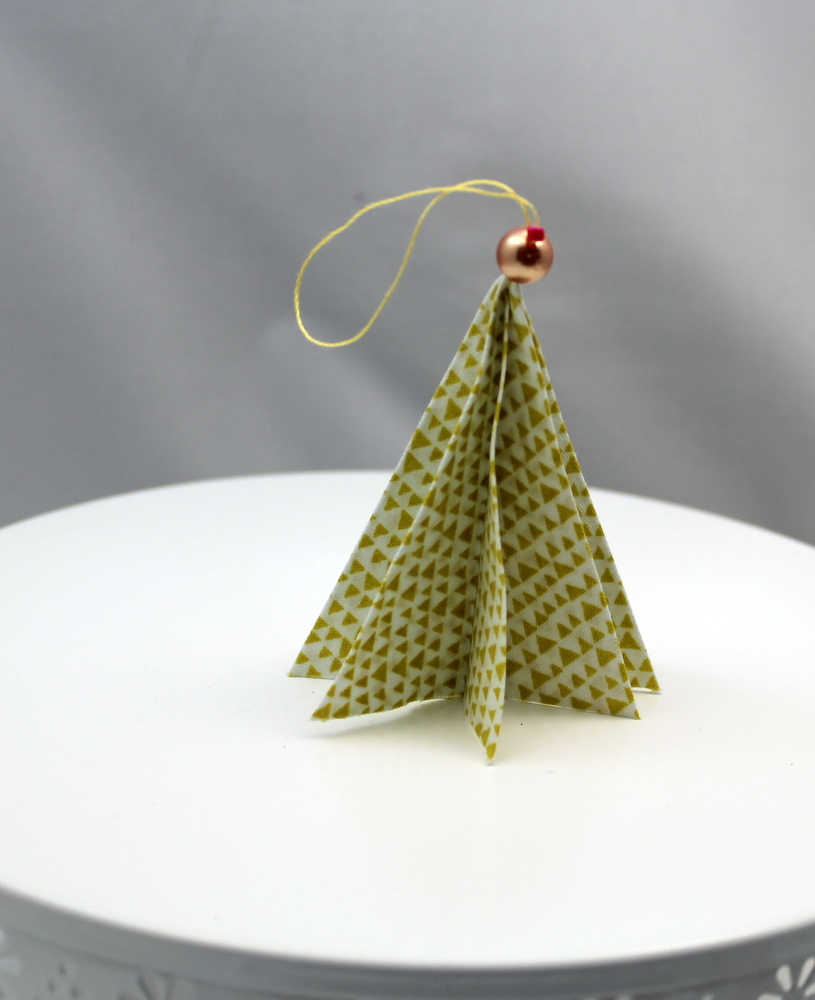 It wasn’t long before I had an adorable folded fabric tree ornament.
Of course, the ornament is already up on my tree!
Remember – if my folding instructions didn’t make sense just watch this video and follow along until minute 4:00.
We hope you’ve enjoyed all the projects we’ve shared this week!
We’d like to give you a chance to win some amazing products from Therm O Web along with our generous sponsors and friends in the industry!
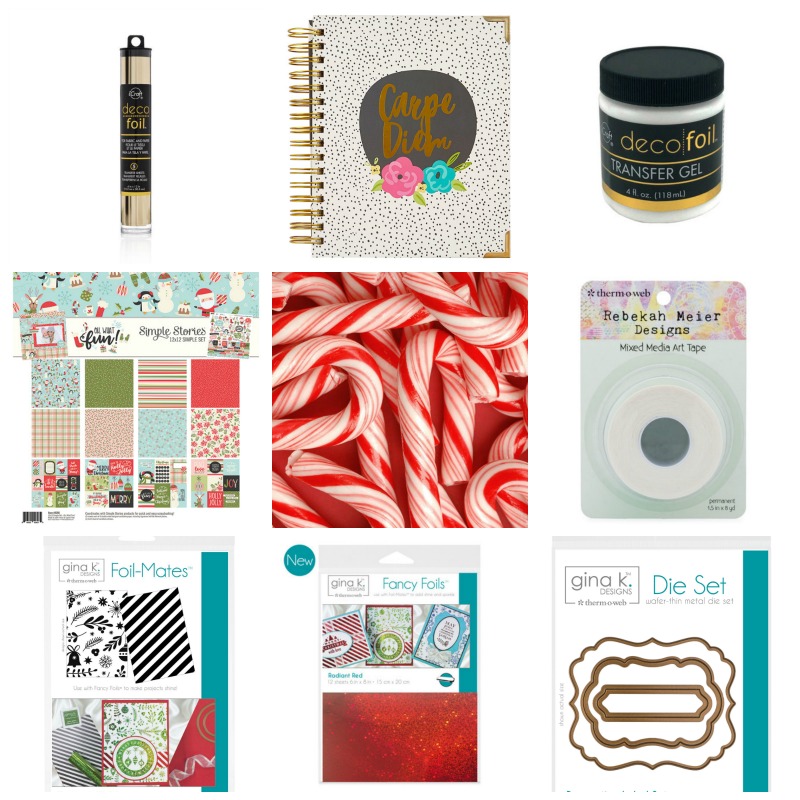 This week we’re giving away a fun mix of items that include:
-Deco Foil Adhesive Pen
-Deco Foil Champagne Transfer Sheets
-Deco Foil Transfer Gel
-Simple Stories Carpe Diem Planner
-Rebekah Meier Designs Mixed Media Art Tape
-Gina K. Designs Foil-Mates, Fancy Foil in Radiant Red and Label Die Set
And that’s not all…we’ll include our iCraft Tape Runner XL and Zots Medium Size Adhesive Dots! Whew! All you need to do is follow this link to enter to win!