


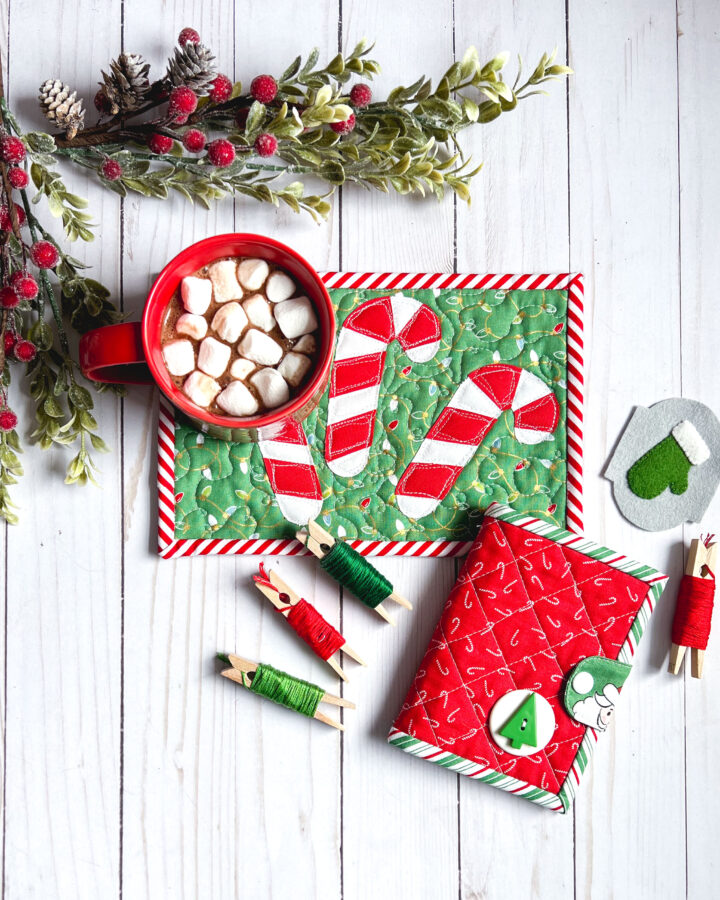
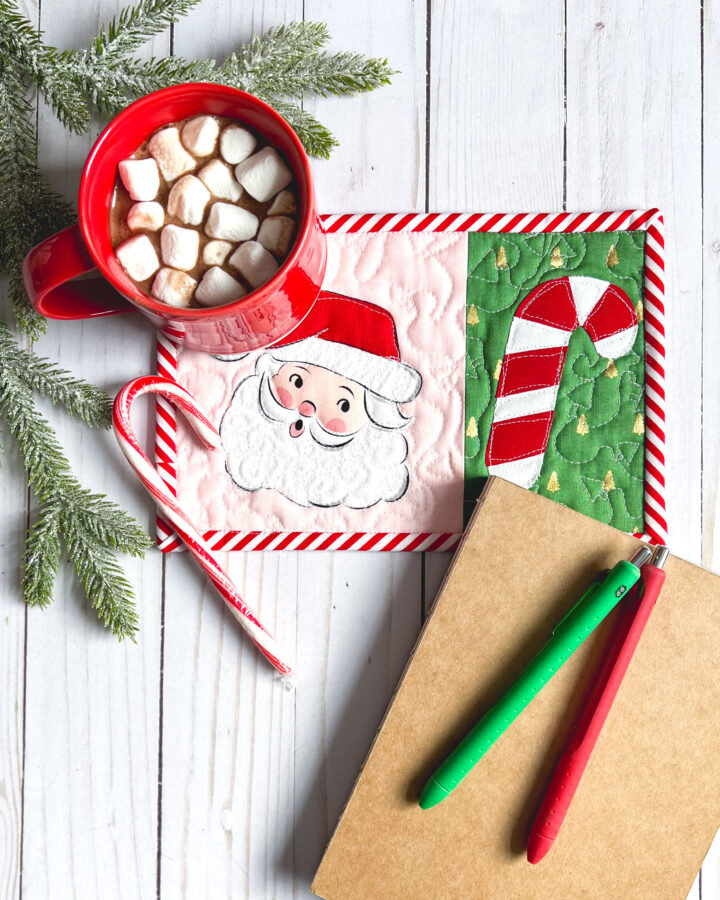
Candy Cane Mug Rug Tutorial

Mug Rugs are one of my favorite things to sew! Small, perfect for scraps and great for gifting or just adding a bit of fun to your desk they are quick and satisfying. I’m Amy from Ameroonie Designs and I am so happy to be back on the Therm O Web design team! Today I am going to share this Candy Cane mug rug with a free applique pattern for those who sign up to my email newsletter. Are you ready? Let’s SEW!
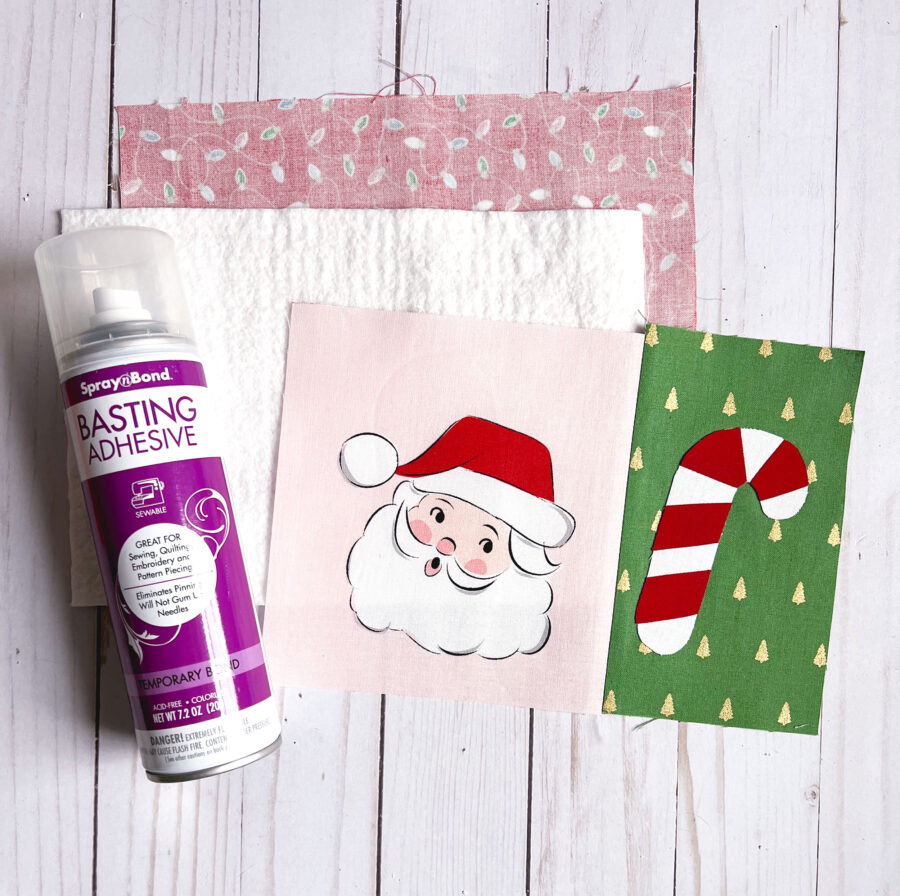
Mug Rug Supplies
 EZ
EZ
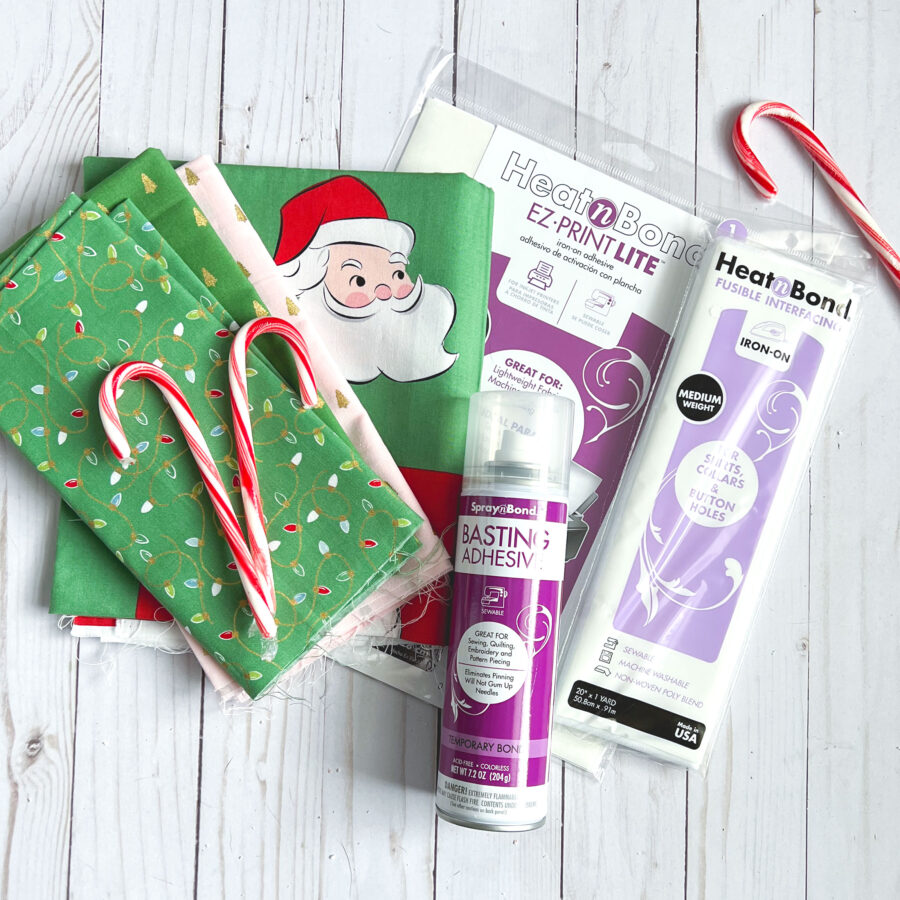
- fabric- I am using fabric from Santa Claus Lane by Melissa Mortenson for Riley Blake Designs as well as red and white scraps for the candy canes.
- Heat n Bond EZ-Print Lite
- SpraynBond Basting Adhesive
- StitchnSew Sew in Fleece (instead of batting)
- HeatnBond Fusible interfacing (optional)
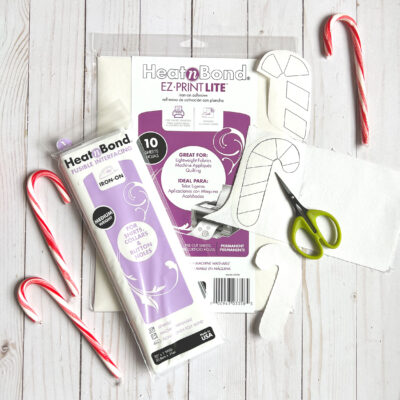
- Candy Cane Applique pattern- sign up here to get it emailed to you. The pattern includes 4 candy cane shapes and stripes, 2 facing left and 2 facing right. *Signing up for the pattern will add your email address to my weekly newsletter. If you are already signed up for my newsletter, filling out this form will add you to the workflow that automatically sends out the pattern WITHOUT adding you a second time to the email list.
Prepare the Applique
- If you are using white fabric for the candy cane body, AND if you are going to be putting it on a dark background I strongly recommend adding some medium-weight fusible interfacing to the back of the white fabric to help prevent shadowing on the candy cane.
- To find a video tutorial on preparing Raw Edge Applique, click here.
- Print the applique pattern onto the paper side of the HeatnBond EZ-print lite. (or trace the pattern onto the paper side of HeatnBond lite) Note that the printed pattern is the MIRROR image of the applique you are creating, so be aware as you select the pattern to use.
- Cut out the applique leaving a slight margin around the pattern.
- Fuse the applique pattern to the wrong side of the fabric for the applique.
- Cut out the applique on the drawn or traced line.
Prepare Mug Rug Front
- If you are making a simple background mug rug, cut your fabric to 9 1/2″ (w) X 6 1/2″ (h).
- To make the pieced mug rug, cut one fabric piece 6″ (w) X 6 1/2″ (h) and one fabric piece 4″ (w) X 6 1/2″ (h).
- Place the 6″ piece on the left and the 4″ piece on the right.
- Place the 4″ piece on top of the 6″ piece right sides together, lining up the left side of the 4″ piece with the right side of the 6″ piece.
- Sew along the matched up side using a 1/4″ seam allowance.
- Press the seam allowance open.
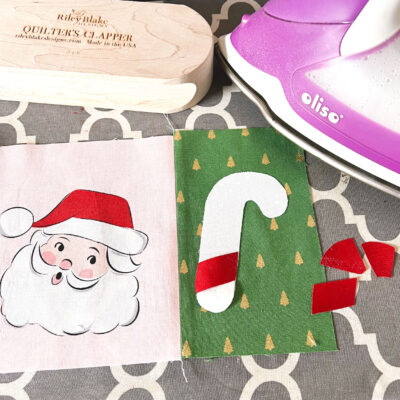
- Take your mug rug front fabric and place it on your ironing surface.
- Remove the paper backing from the candy cane shape(s) and position it into place.
- Follow package instructions and fuse the candy cane(s) into place.
- Remove the paper backing from the candy cane stripes and position it into place. (*You may wish to use the stripes on the backing from the candy cane to help space them)
- Fuse the stripes into place.
- Sew around the applique. (alternatively, you can wait until after the mug rug is basted to do this step.)
Finish the Mug Rug
- Cut a piece of fabric to 10″ (w) X 7″ (h)
- Cut a piece of StitchnSew Fleece to 10″ (w) X 7″ (h) (or batting)
- Use the SpraynBond Basting Adhesive to baste the layers together. (backing fabric, fleece, mug rug front)
- Quilt your mug rug. *if you did not already stitch around your applique, do so now.
- Trim the mug rug to 9″ (w) X 6″ (h)
- Bind. I have a playlist on my YouTube channel with videos showing how I do the binding on small projects like this that you can find here.

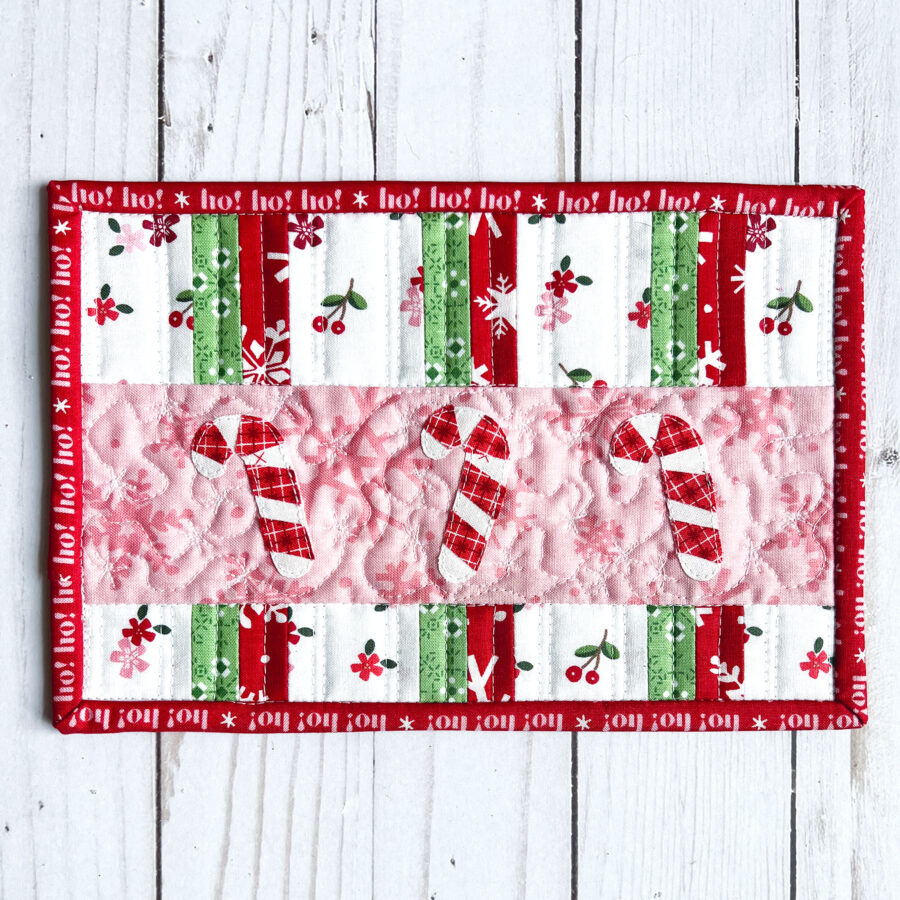
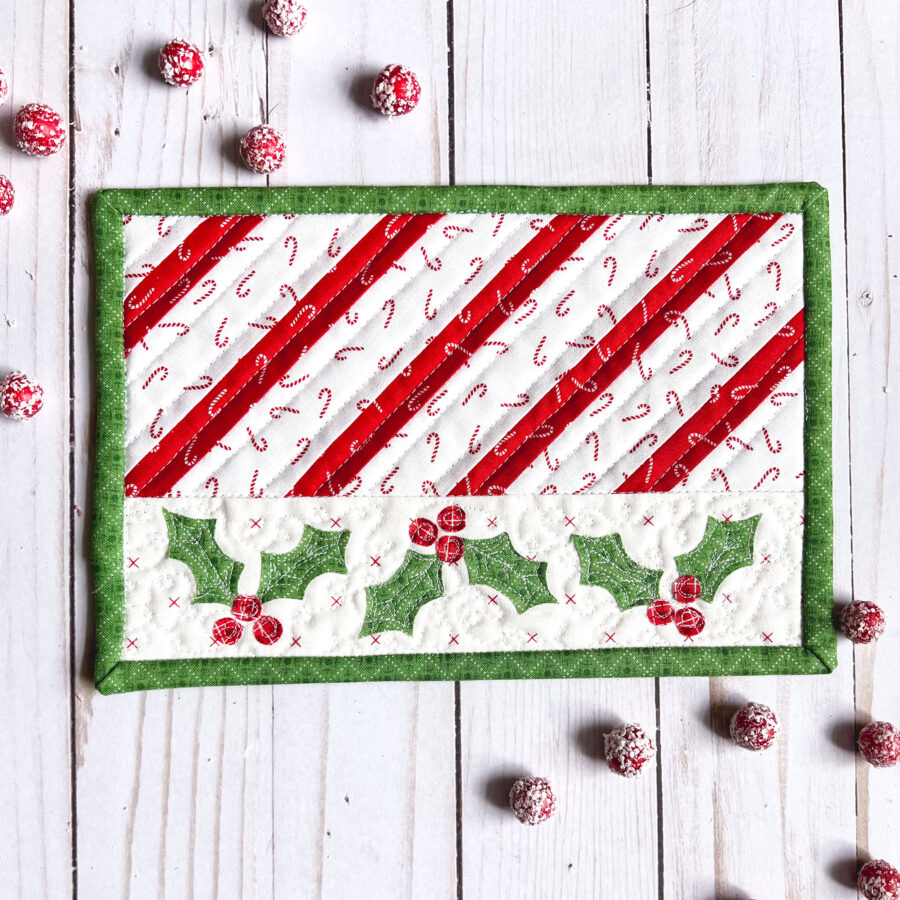
Love making mug rugs and want even more inspiration? You will LOVE my new Christmas Mug Rug Pattern! With three mug rug styles and five applique patterns, it’s a mix-and-match adventure of the best quilty kind! Find the pattern in my Etsy shop here.
Until next time- Happy Sewing! Amy
[…] might be one of the cutest mug rugs I’ve seen for Christmas so […]