


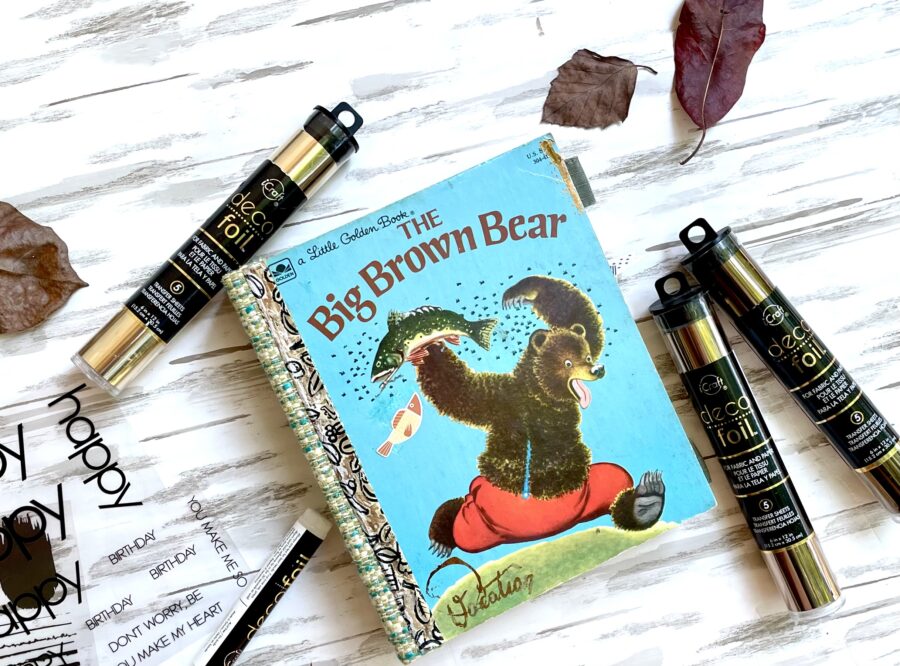
 Hello crafty friends! If you are anything like me, you have fond memories of Little Golden Books and may even pick them up in yard sales and thrift shops when you find them. If you really are like me . . . you have a huge tub full of them, just waiting to be reimagined into junk journals of every theme! I rummaged through my stash and found the perfect book for camping week. Follow along and see how I turn this Golden Book into a junk journal, keeping the iconic gold binding and without cutting down the pages as so many do when turning these books into journals.
Camping Junk Journal with Deco Foil
Stay to the very end for a video flip-through!
Camping Junk Journal
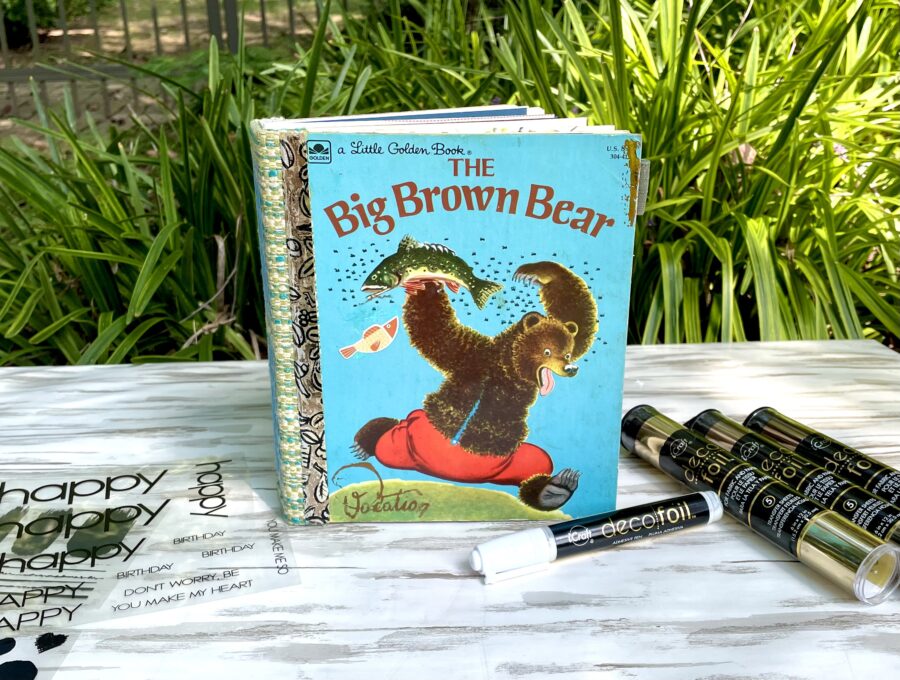
Junk Journal Supplies:
iCraft Deco Foil Transfer Sheets – Gold, Rose Gold, and Bronze
iCraft Ultra Bond Liquid Adhesive
iCraft Double-Sided Adhesive Foam
Eileen Hull Easy Cut Adhesive Sheets

Other Supplies: Little Golden Book, cardstock, patterned paper, dies and die-cutting machine, scissors, mini stapler, heat gun, fabric, ribbon, embossing folder, paint, stamps and ink, Oliso iron, and lightweight chipboard.
Camping Junk Journal Step One:
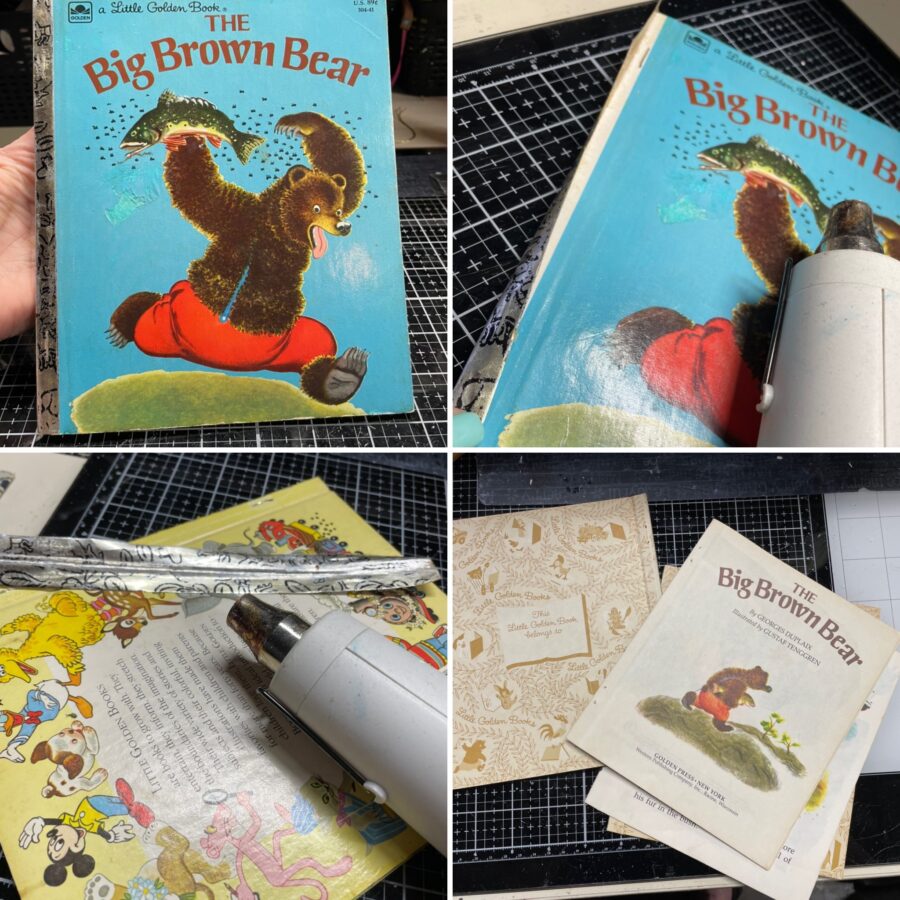
Begin by removing the gold foil binding from the book. There are a ton of tutorials on how to do this, but I find this is not only the easiest but the cleanest and most non-destructive to the book. Use a heat tool to heat up the gold foil, melting the glue underneath. This will allow you to easily pull the foil from the book without tearing it or the book. Once the foil has been removed, you can easily pull the staples from the book using a heavy-duty staple remover or flat head screwdriver, being careful not to damage the book.
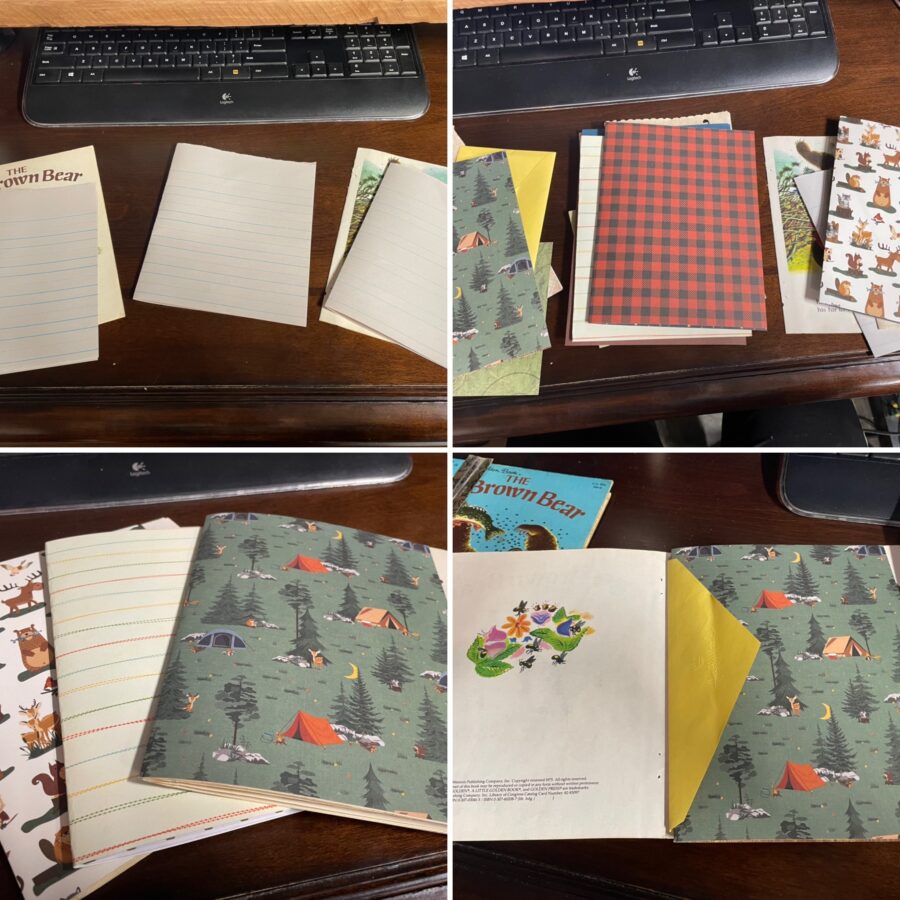
Next, pull the pages from the book keeping the two signatures (page sections) together. Add folded pieces of cardstock, patterned paper, and envelopes/bags to bulk up your signatures and to create a third signature.
Tip: Make sure to add extra pages to your third signature so that it has a similar number to the other two signatures that include story pages.TooltipText
Camping Junk Journal Step Two:
This step is the key to keeping the integrity of your book and its pages. Because the spine has a fold in it, most journal makers cut off the book’s spine and create a new one. This creates a problem in that now the pages are too large and must be cut down.
We will instead shore up the binding and keep it as-is. Cut a piece of lightweight to medium weight chipboard just wide enough to fit into the channel in the binding (approximately 1/16th inch). Glue the chipboard into the channel on both the inside and outside of each cover to strengthen it.
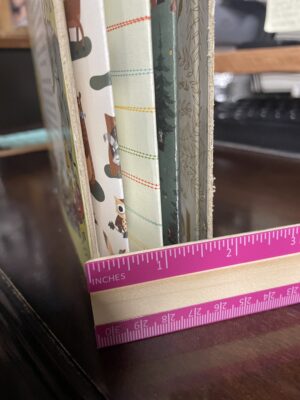
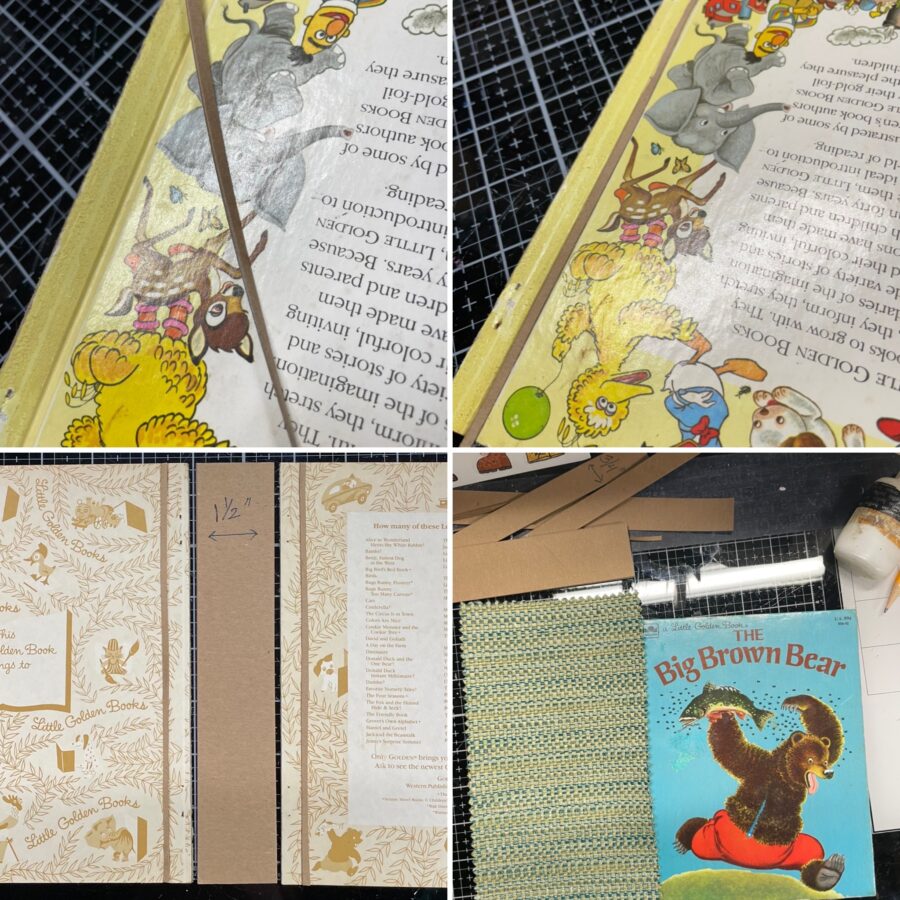
Next, hold your three signatures and cover together to determine how wide you need to make your binding. I decided to make mine 1.5″ and cut a piece of heavyweight chipboard 1.5″ x the height of my book. This will be binding.
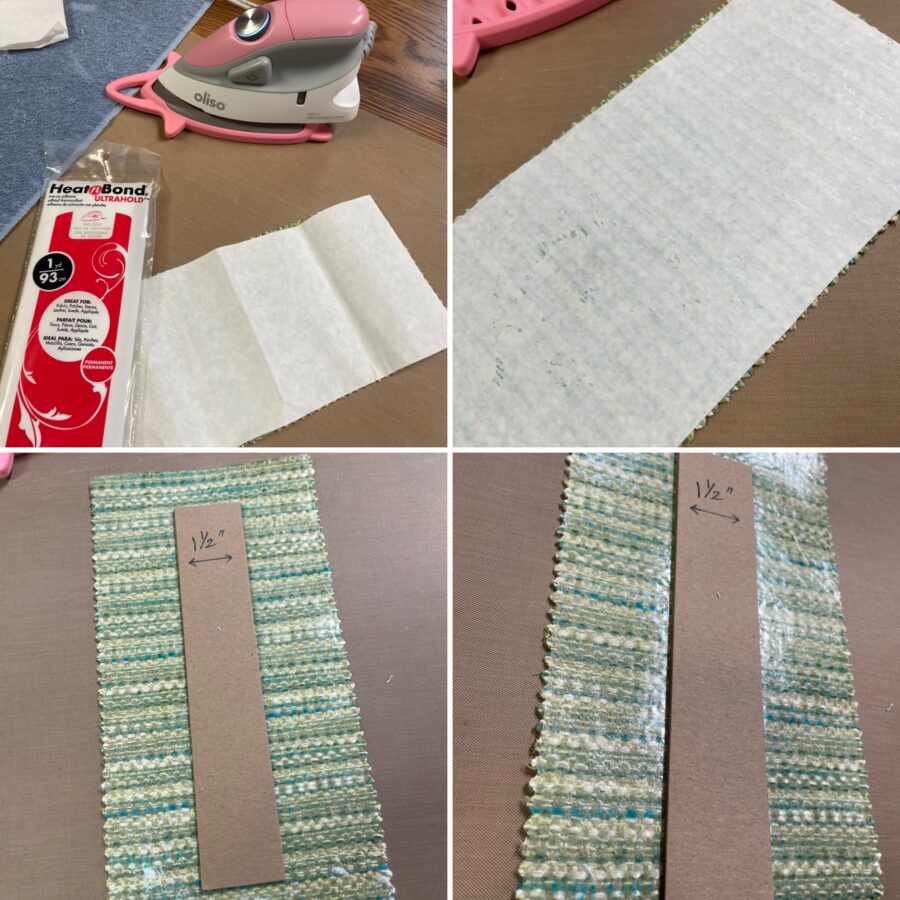
Continue by cutting a piece of fabric large enough to fit over the binding and fold it over the edge of each cover. Iron HeatnBond onto the back side of the fabric per the package instructions, and then iron the fabric to your chipboard binding as shown below.
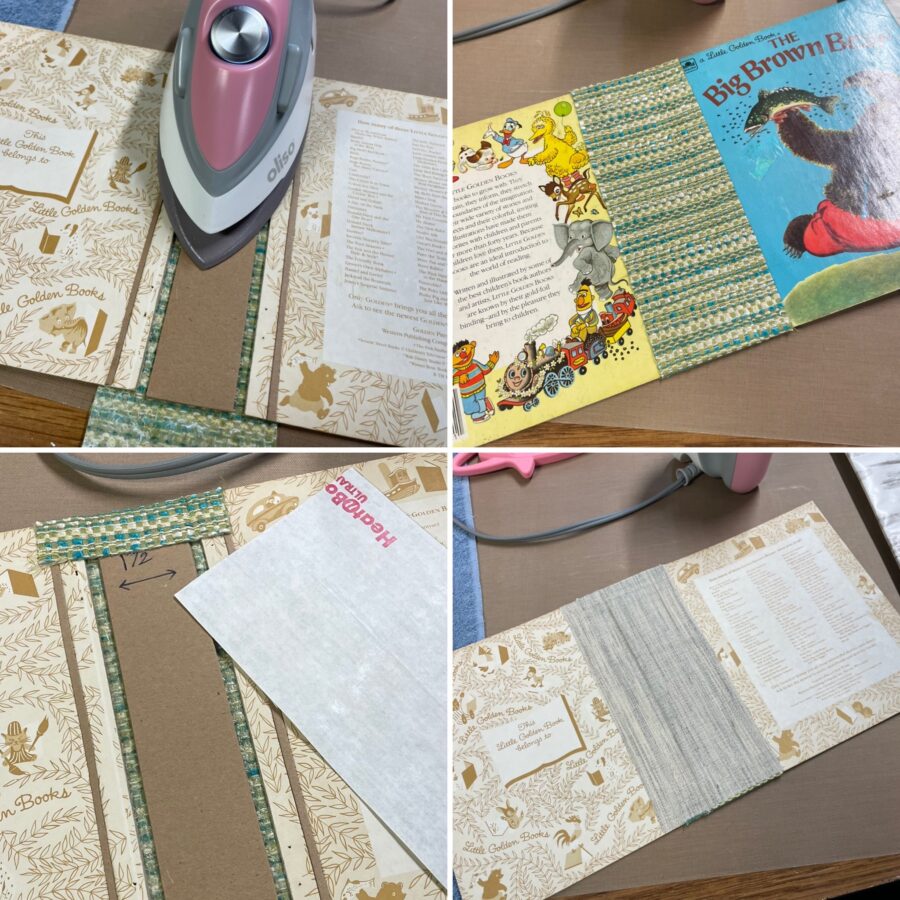
Next, add the covers to the fabric (HeatnBond side) and iron to adhere. Fold over and iron any fabric overhang at top and bottom.
To add a sturdy but non-bulky lining to the inside of the binding, try using StitchnSew Woven Hair Canvas. This worked perfectly for me! Repeat the steps to adhere using HeatnBond.
Tip: If you don’t have fabric to line your binding, HeatnBond paired with cardstock or patterned paper will be stronger than paper alone.TooltipText
Camping Junk Journal Step Three:
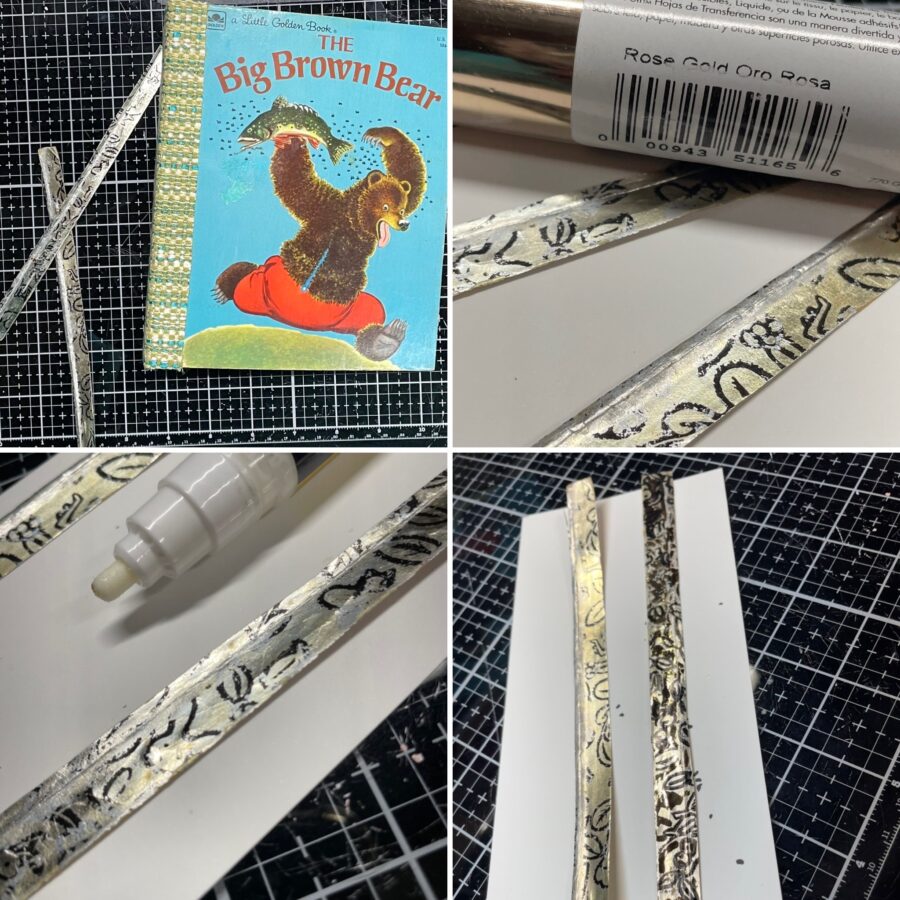
Begin by removing the gold
If your book is newer, you can skip this step altogether. My book, however, is a vintage Golden Book and the foil was quite faded.
I used a Deco Foil Adhesive Pen to fill in some areas where I wanted to add gold and then added patches of Rose Gold foil by pressing the dull side of the Foil Transfer Sheet to the sticky areas.
Finish this step by filling in the design with a black, permanent marker. I think the foil repair job makes a huge difference in the overall look of the foil. Check out the side-by-side in the photo.
Tip: I always use foil scraps for steps like this one. TooltipText
Camping Junk Journal Step Four:
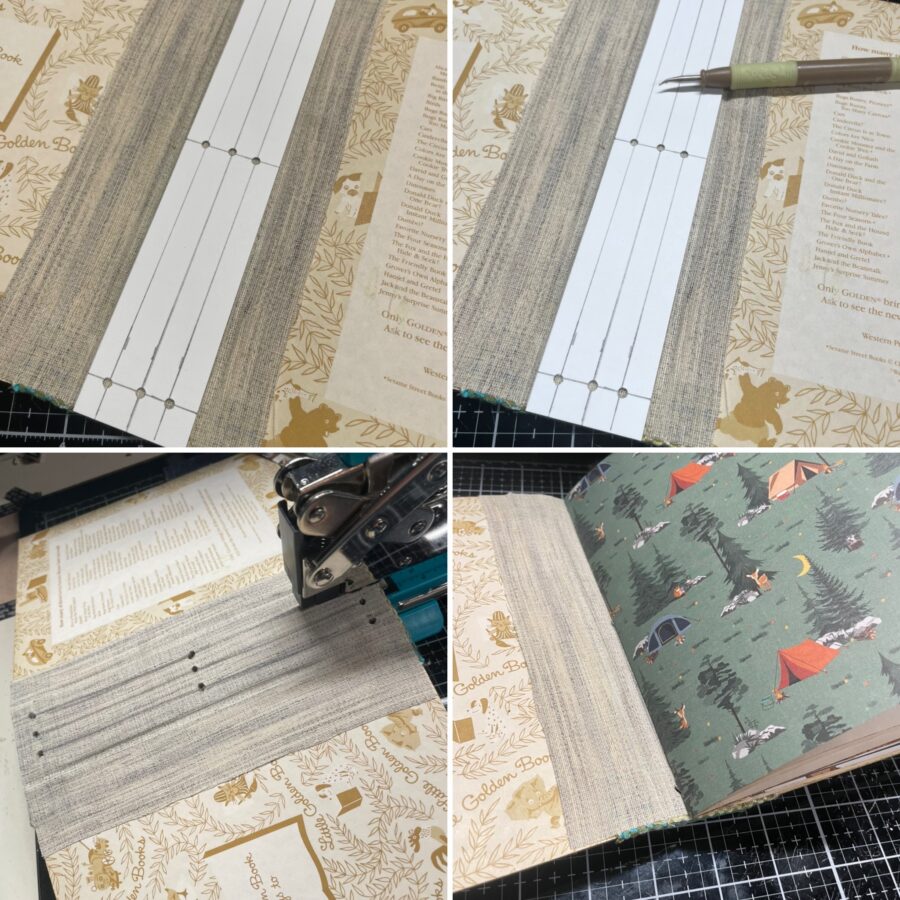
After you finish updating your gold foil (if necessary), sew your signatures into the binding of the book, adding the third one you created as the center signature.
I’m not going to give specific instructions on this step because there are a ton of tutorials on how to do this.
Tip: Poking large enough holes before you start sewing will save you from breaking needles trying to force them through the cover.TooltipText
Camping Junk Journal Step Five:
Now comes the fun part – embellishing! I will break this step into a few smaller steps.
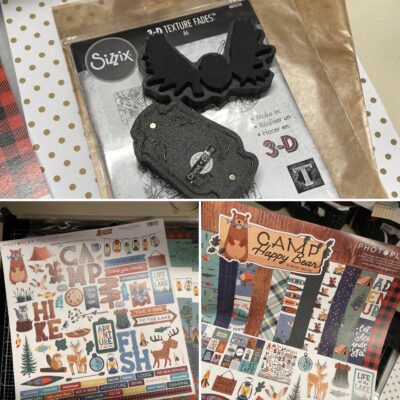
A. Grab some fun die-cuts and stickers to add throughout your journal.
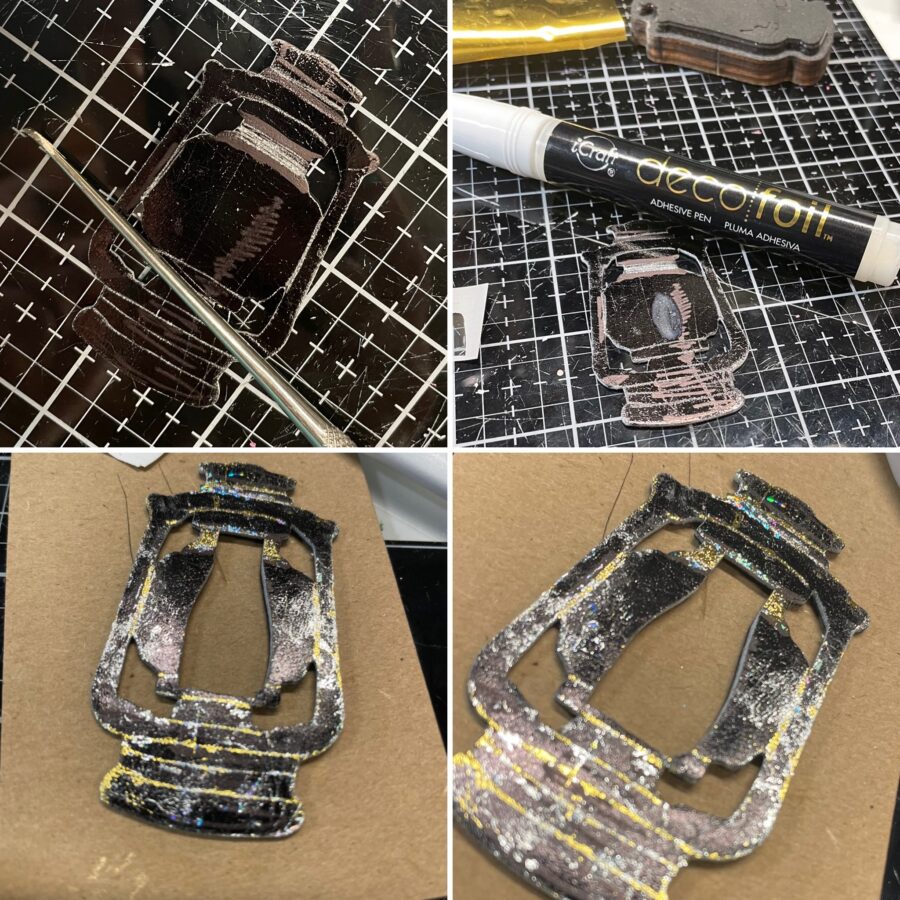
B. Die-cut using Adhesive Foam Sheets to add dimension but to also give you a sticky surface for foil. On this lantern, I used black foil for my base.
To give the lantern some detail, I used a paper piercer (okay, it’s really a dental tool) to create some lines. The lined areas became sticky again after scraping off the black foil, allowing me to then press gold foil scraps over the surface and add even more detail.
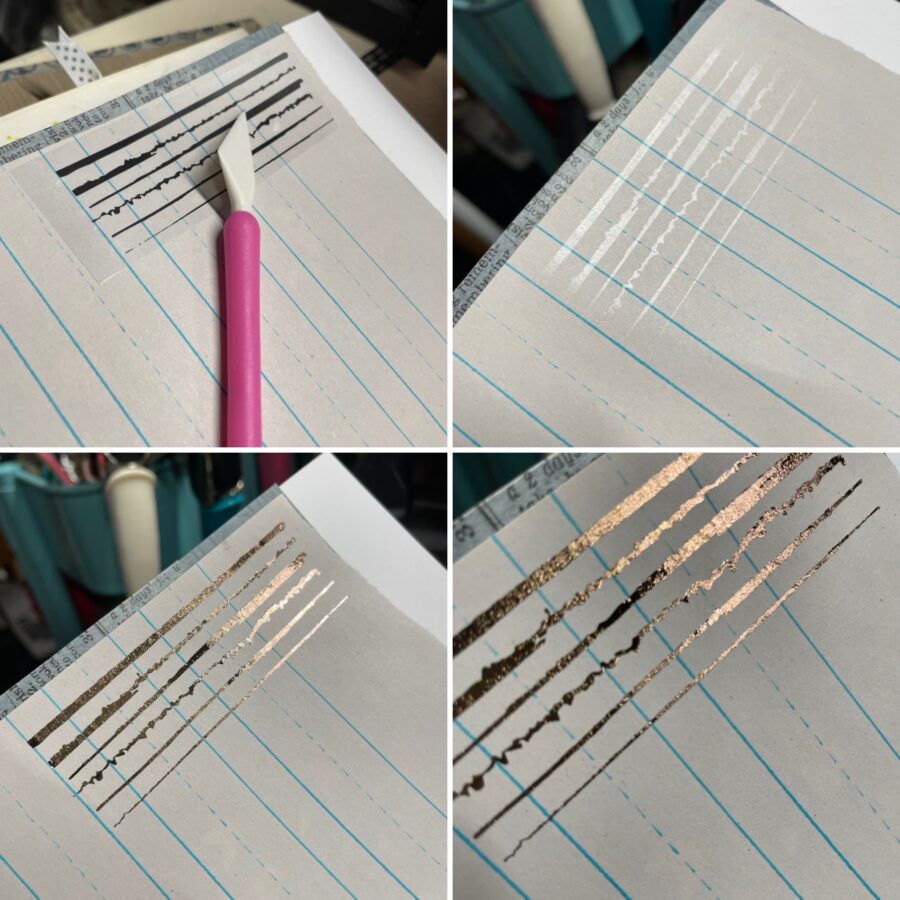
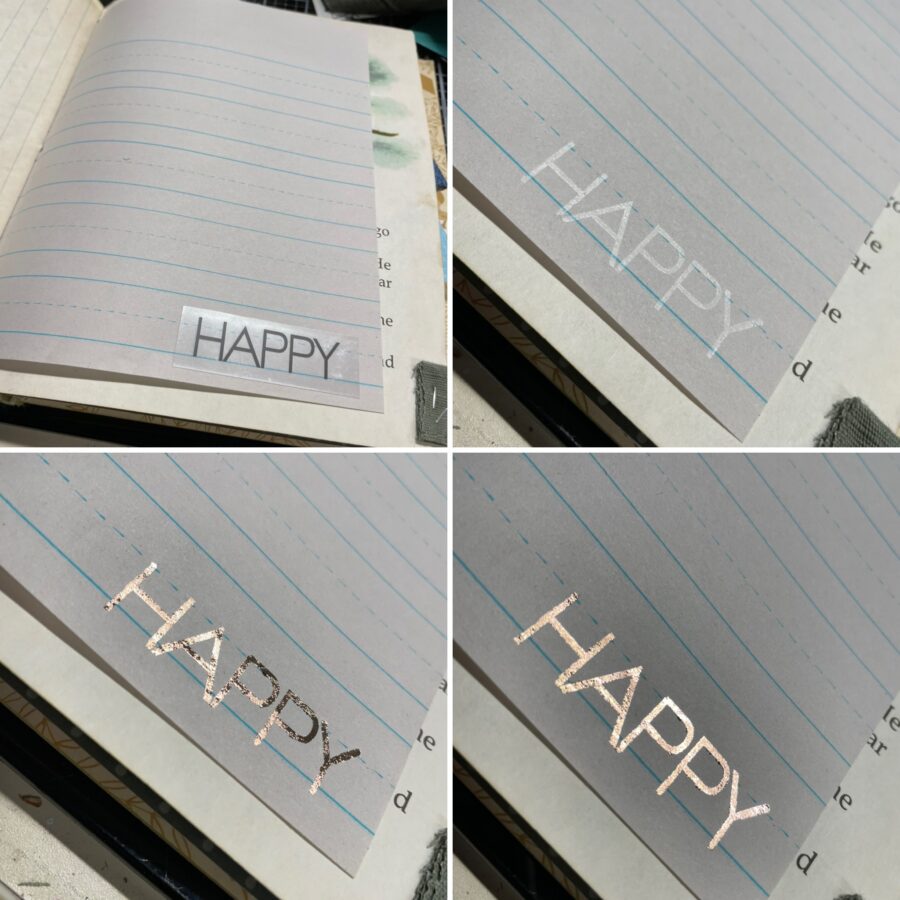
C. Use Adhesive Transfers and Foil Transfer Sheets to create interest throughout your journal. I love the Adhesive Transfers because they are a fast, easy way to add foil to any project.
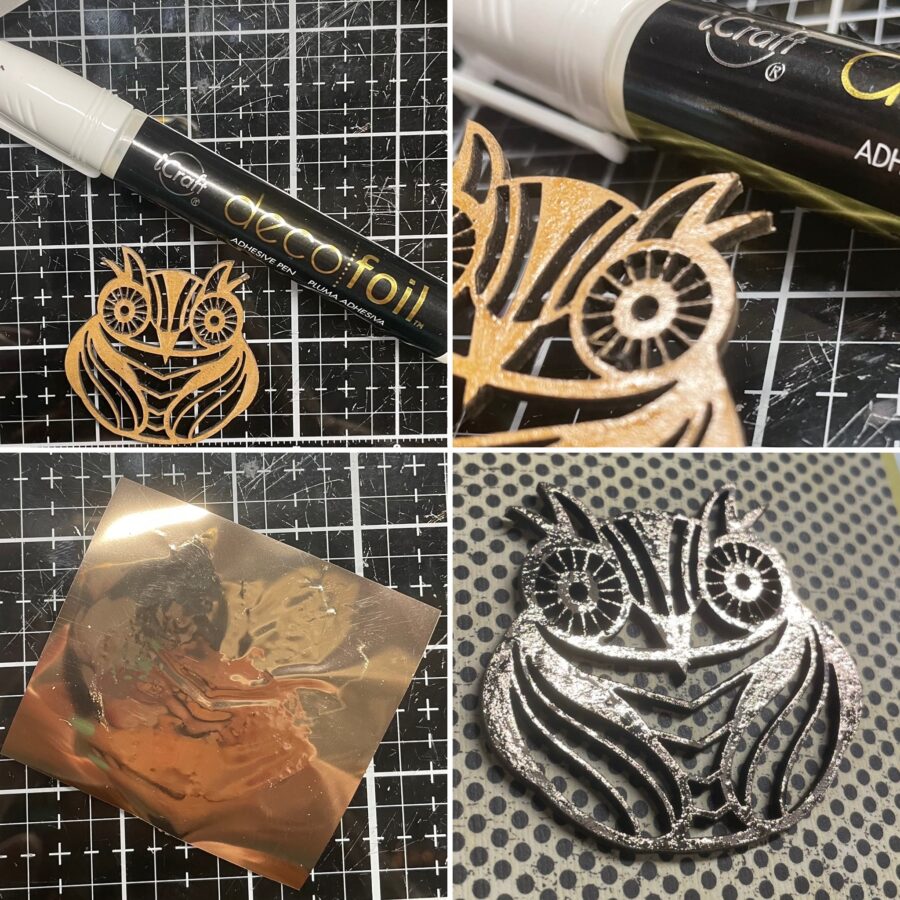
D. Use the Deco Foil Glue Pen to adhere foil to 3D embellishments.
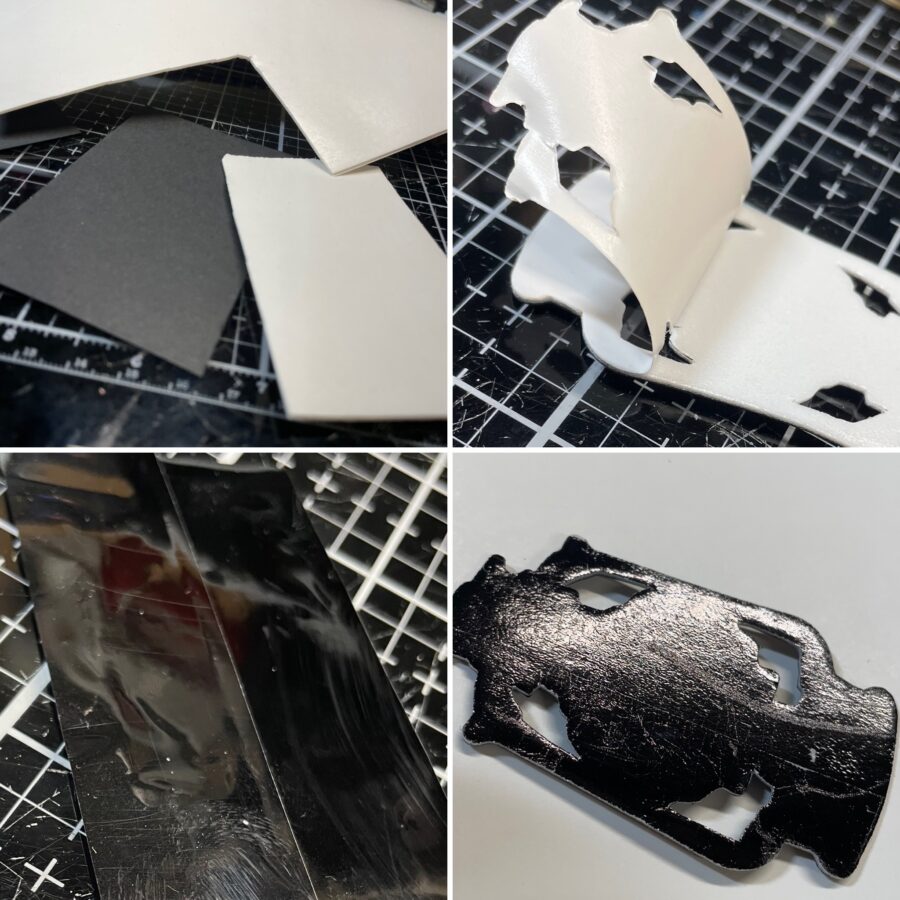
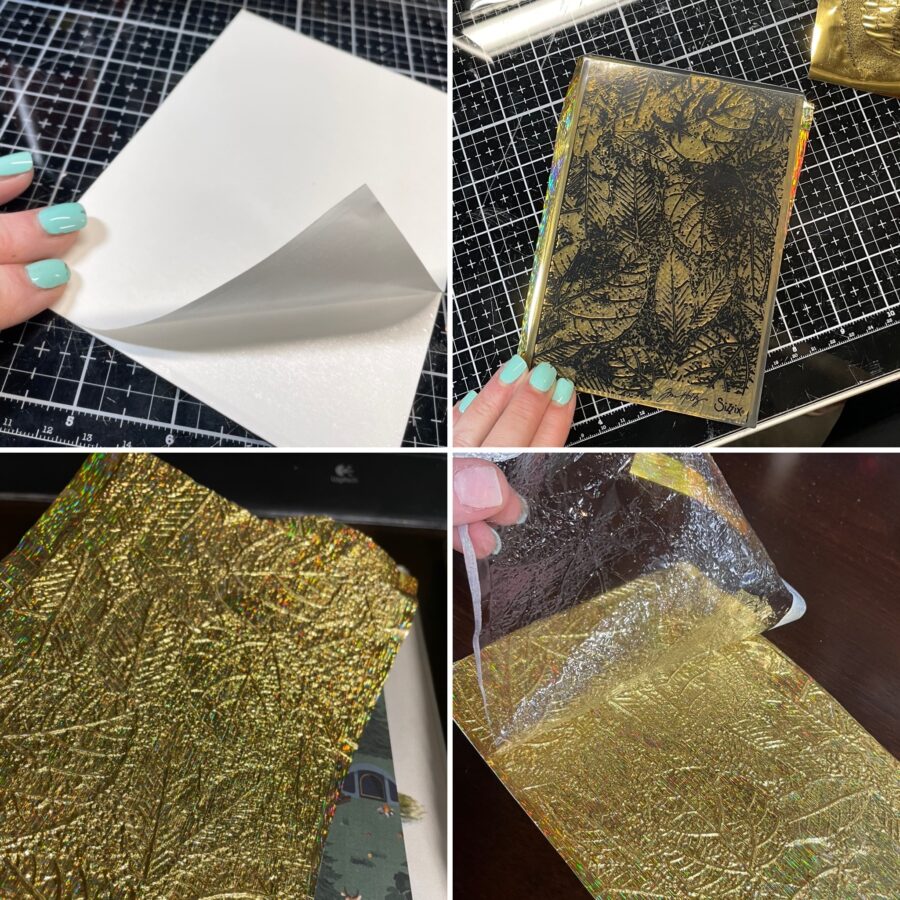
E. This one gave me a super cool result! Cover a piece of cardstock with Eileen Hull Easy Cut Adhesive Sheet, and press a Foil Transfer Sheet (dull side down) to the adhesive. Place your foiled cardstock into an embossing folder and emboss per your machine instructions. Now peel away the release paper and be dazzled by the embossed foil!
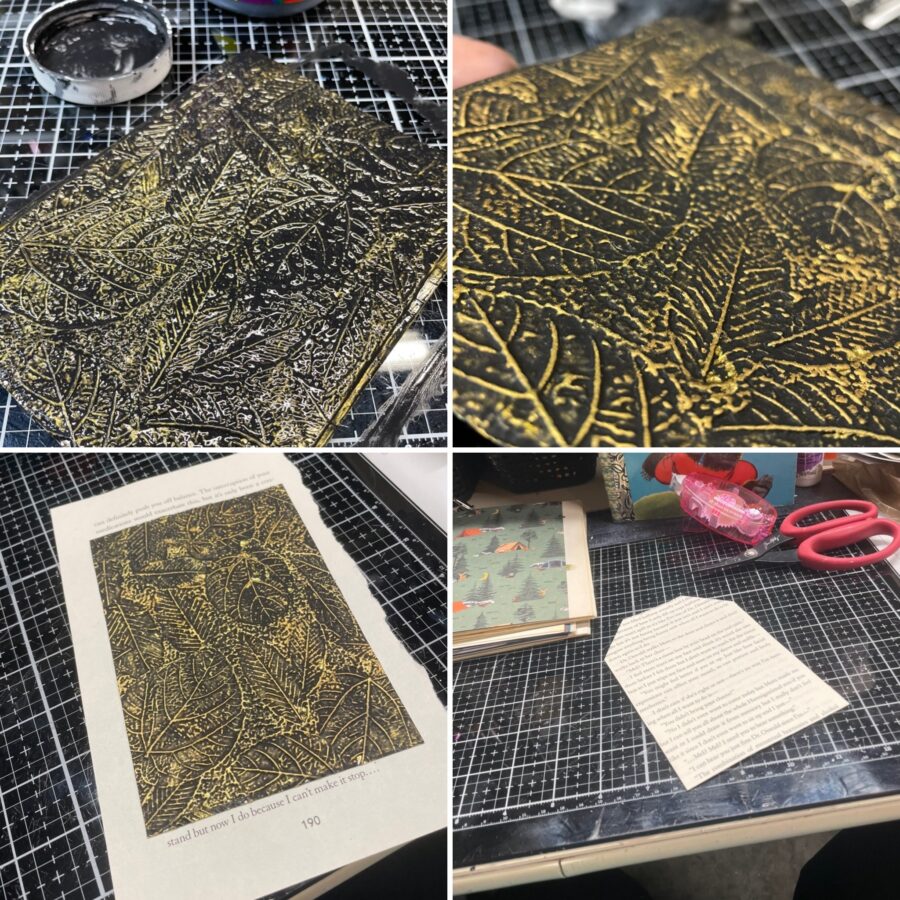
Take it one step further and brush black paint over the surface and quickly remove excess paint with a wet paper towel or baby wipe. The result is gorgeous!
Turn your foiled cardstock into a tag but adhere it to a book page and trimming into a tag shape.
F. Add your various embellishments to your journal.
Camping Junk Journal Step Six:
Finish your journal by adding the iconic foil binding back onto the book.
Tip: Since the foil comes off the book in one piece, cut straight up the center to create two pieces. Adhere one to the front (as pictured) and one to the back. Ultra Bond Liquid Adhesive is perfect for this as it is super strong.TooltipText

Check out my flip-through below. Thanks for sticking with me to the end. Happy crafting!!