


 Hello everyone. This is Amanda from Twiddler’s Nook again. Today I get to join you for camping week with a fun foiled birthday card! We just went camping last weekend and it was so much fun!
I have always had an attraction to camping-themed things like decor and stamps so it was really fun to create today’s project. I hope you enjoy it too!
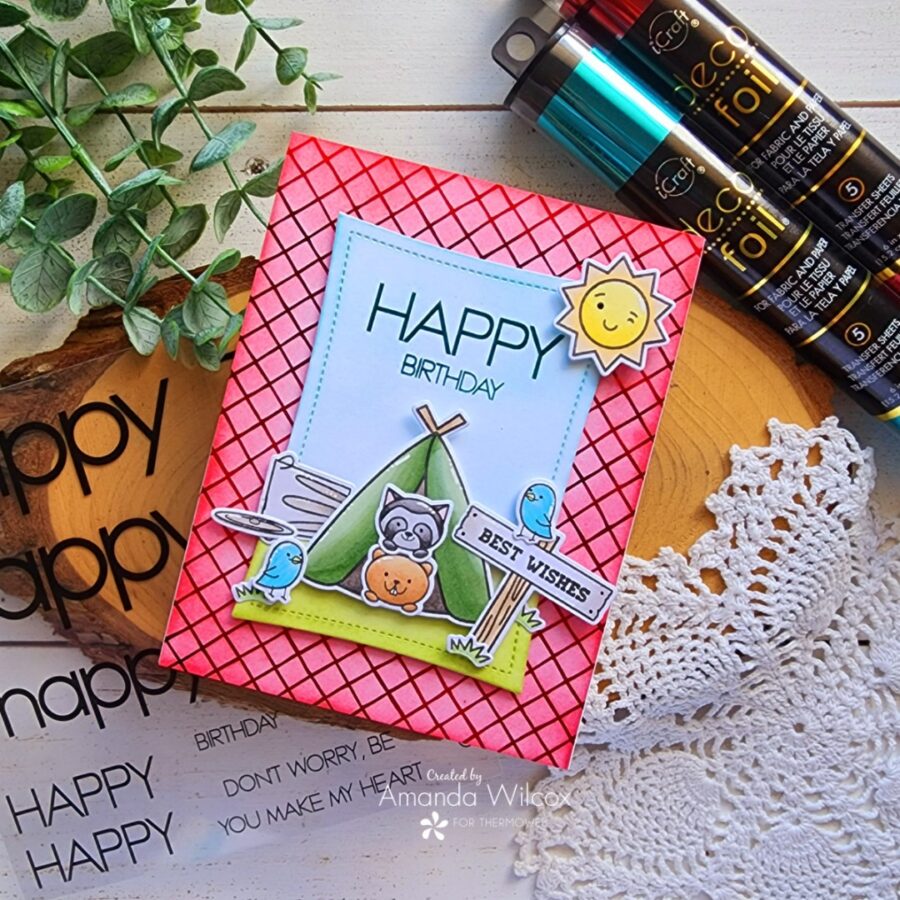
Camping Theme Birthday Card
Products used today:
Deco Foil Transfers – teal and red
Deco Foil Adhesive Transfers – Happy Everything
Laura Kelly Toner Sheets – Dauntless
UltraBond liquid glue
Craft and Carrier Sheets
Foam tape and squares
Pretty Pink Posh Camping Friends stamps and dies
Pretty Pink Posh Wonky Stitched Rectangles dies
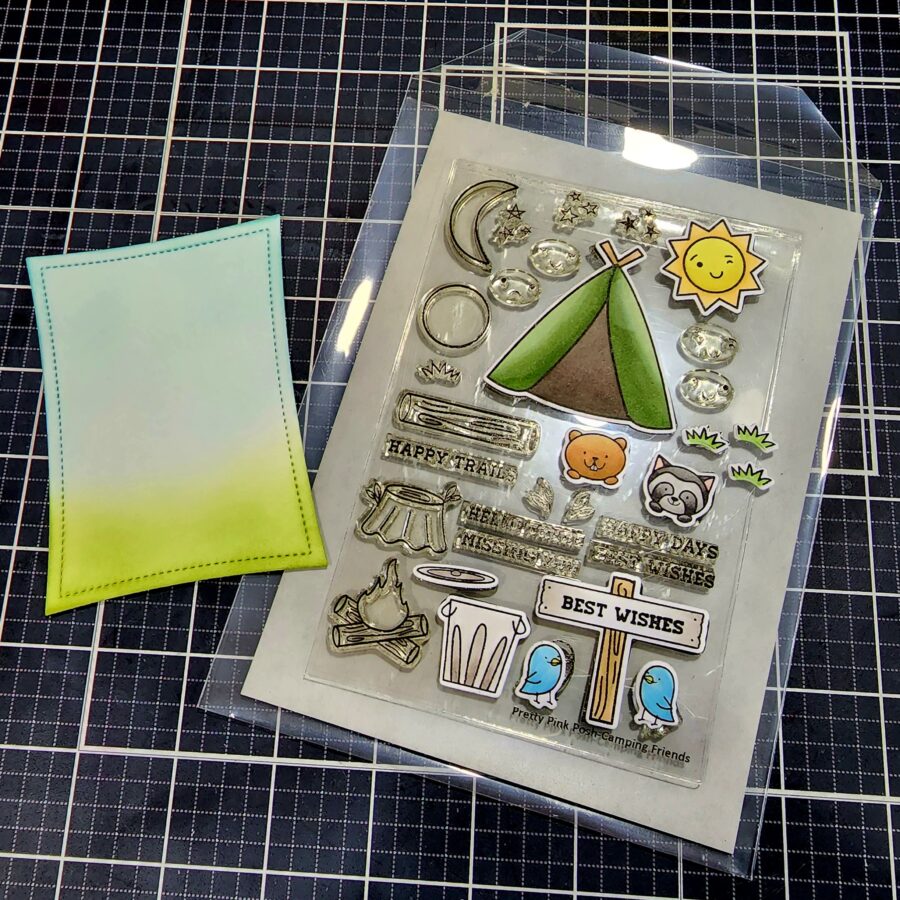
This card was super fun and came together in a flash. I turned my laminator on to heat up and stamped my images. I colored them with Copic markers and cut out the next-to-largest wonky stitched rectangle from white cardstock. I used blending brushes with dye inks to create a ground and sky. Super simple, nothing detailed because most get covered up.
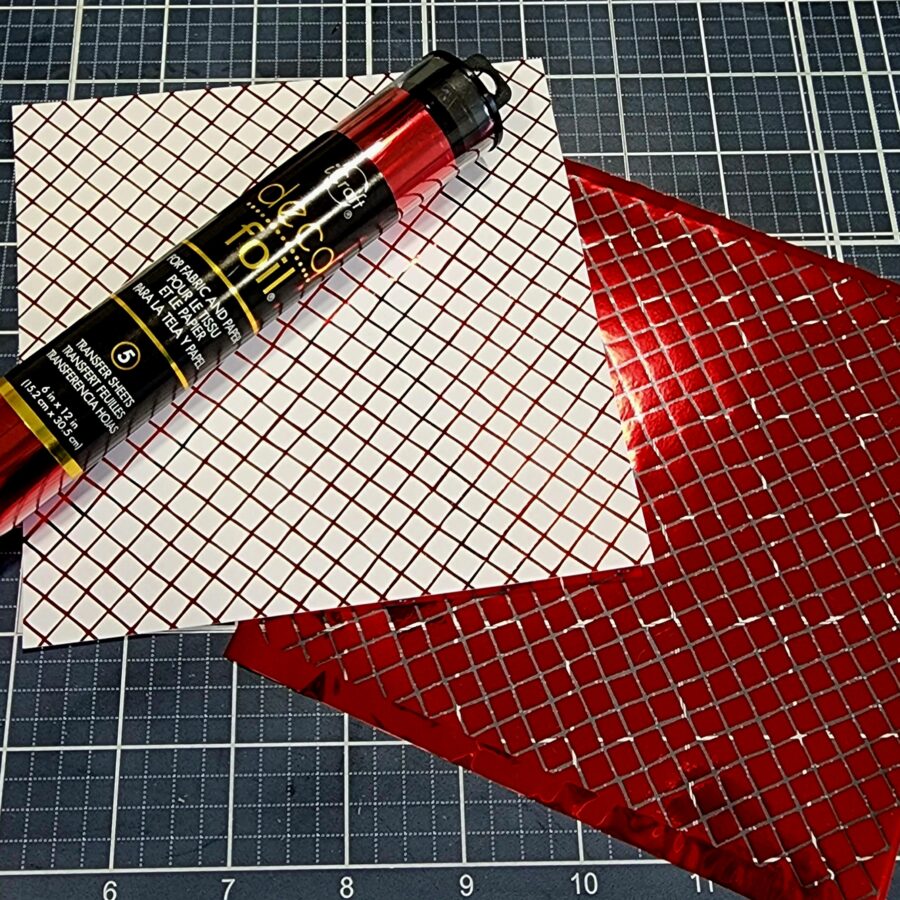
Then, I added red Deco Foil transfer to a full sheet of dauntless toner sheet from Laura Kelly. I saved the negative because it will look really cool later with a full toner sheet too! I trimmed this panel down to 4.25×5.5 inches and also kept the scraps because I use them for other projects like tags.
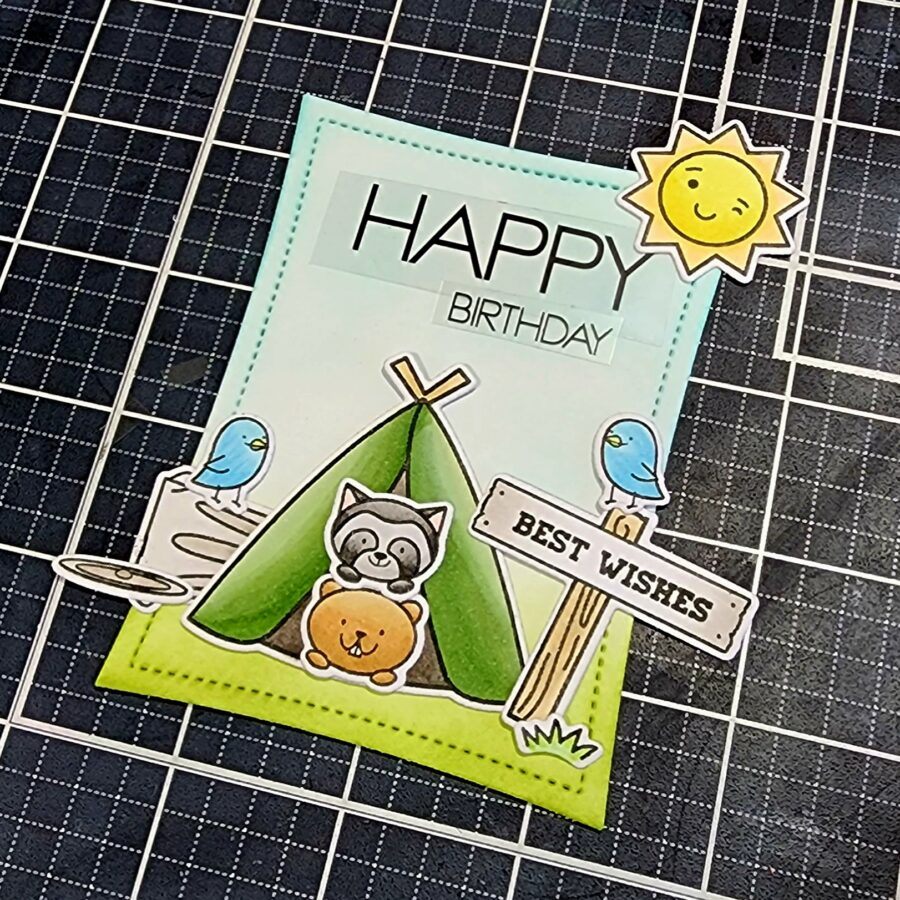
Next, I trimmed out “happy birthday” from the Happy Everything adhesive transfer sheet and arranged my images loosely where I wanted them. Just to figure out sentiment placement in the sky. I removed the images and added the adhesive transfers one at a time – happy is centered so I added it first by removing the backing sheet and sticking it to the panel. I placed it in a Craft & Carrier sheet and ran it through my laminator because it was still on.
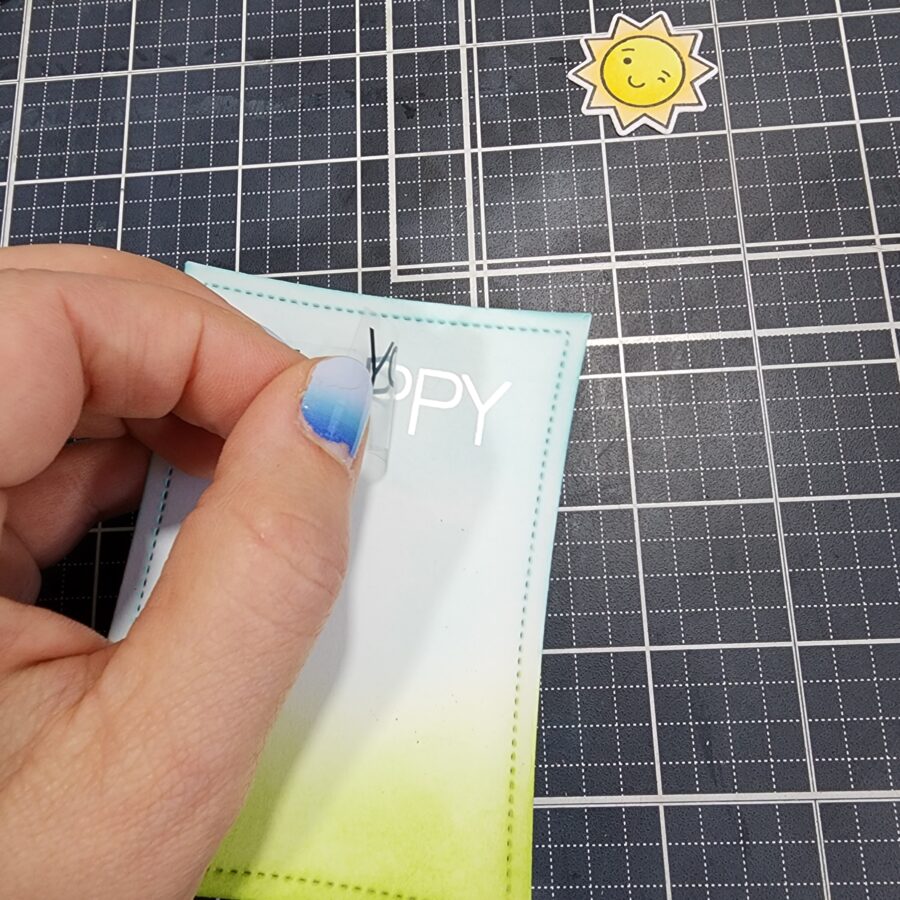
I peeled off the top acetate leaving behind the sticky adhesive. I placed foil over the top and ran it through the laminator again. Once that was done, I placed the birthday down and did the same steps all over again. Super simple and a really fun way to add your sentiment.
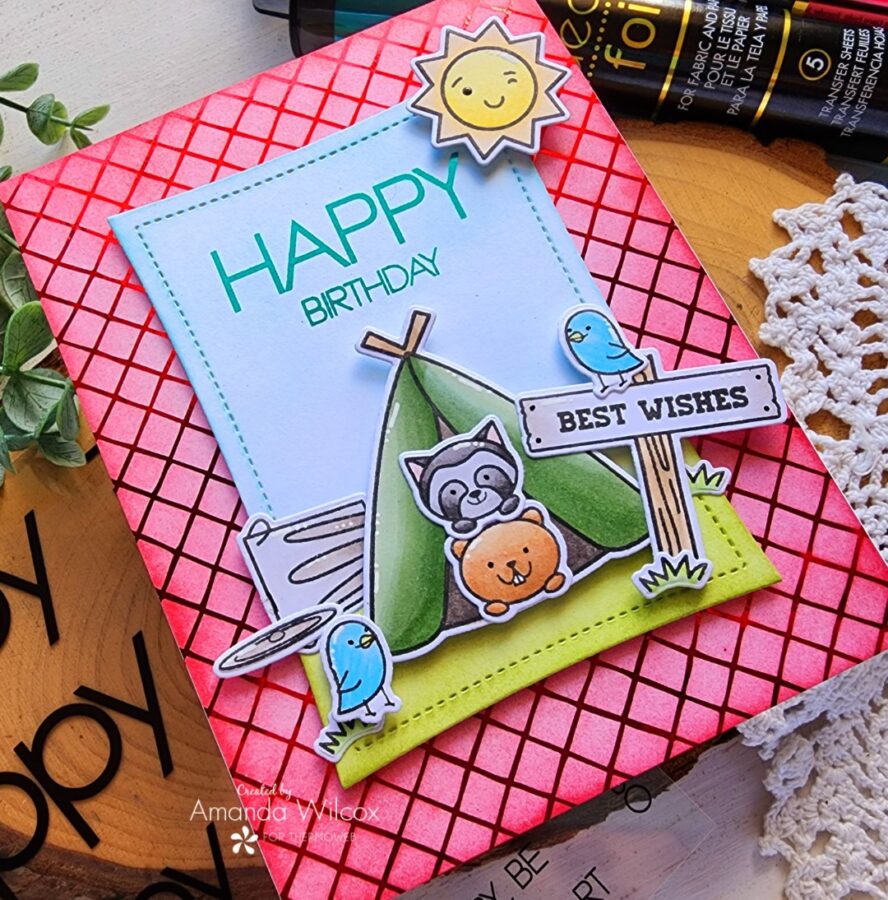
With everything foiled and ready to go, I started compiling my scene. The garbage can, lid, and some grass were added with liquid glue, then everything else was added with foam squares. At that point, I added foam tape to the back of the wonky rectangle and started to add it to my foiled panel. It was so plain that I decided to ink blend red ink over the whole thing for a bolder look. I love it this way!
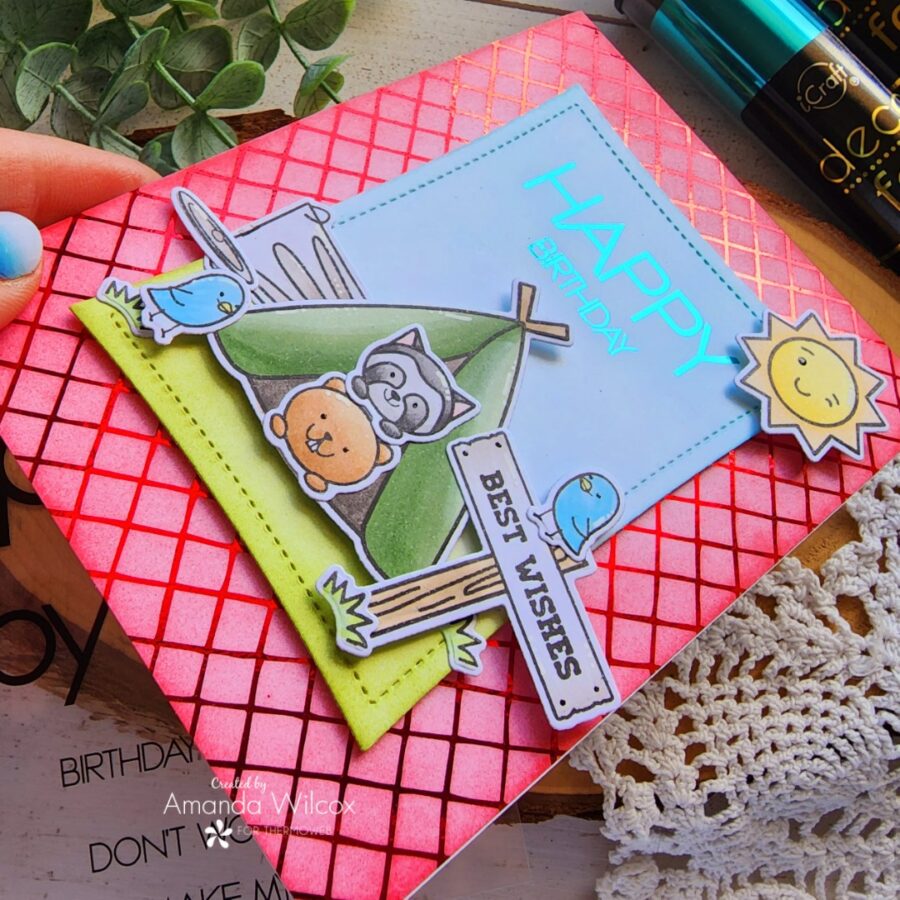
Here’s a look tilted in the light. You can see the fun foiling on the sentiment and the toner panel. It adds a lot of visual texture and fun to your designs.
I hope you enjoyed today’s project and found some inspiration to create something wonderful to share with someone.
I appreciate you sharing your time with me. Have a fabulous day!