Treat Baskets for Gift Giving


I love creating tiny bags and and fun baskets perfect for gift giving especially when they can be reused by the recipient. I also have so much fun using up all the smallest pieces of fabric until there’s nothing left of them and this is the perfect project for just that!

It’s time to get creative, so gather your supplies and tools!

SUPPLIES:
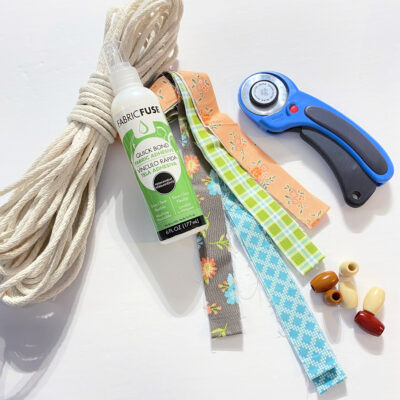
  • HeatNbond Fabric Fuse Liquid Adhesive
  • Smooth braided cotton rope (clothesline 7/32″ diameter) 1 package is usually 100′ and will make about 2 baskets depending on size
  • 1/2″ strips of quilter’s weight cotton (I used left over from a previous project using Spring’s in Town by Sandy Gervai)
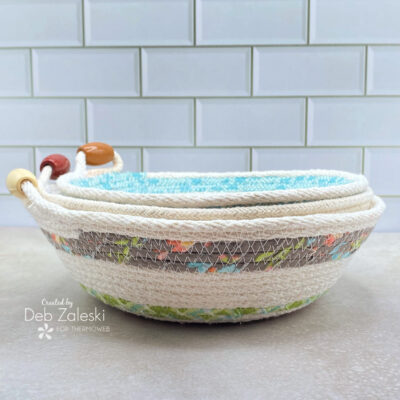
  • Wood bead big enough for the width of the cotton rope
  • Coordinating thread

TOOLS:

  • Sewing machine
  • Scissors
  • Rotary cutter and self-healing mat
  • Ruler

GETTING STARTED:

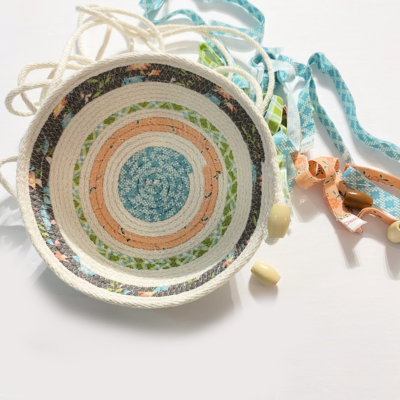
1. Using the rotary cutter and long quilter’s ruler, cut the fabrics into 1/2″ strips. You can use shorter strips or use the whole width of the fabric. You can even cut the fabric strips on the bias! I used about 6 strips in various lengths to make my baskets but you can use as many as you like. I let some of the natural cotton rope through but you can also fully cover the rope so it doesn’t show at all.

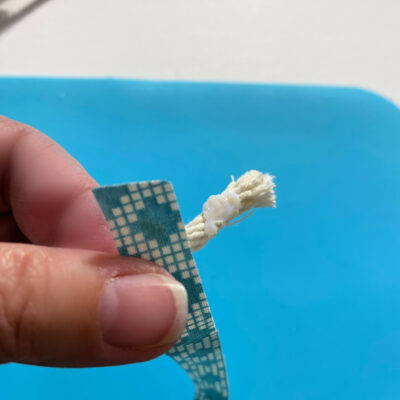
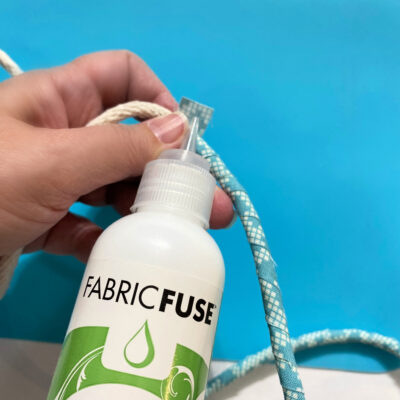
2. Put a small pea sized amount of Fabric Fuse at the end of the cotton rope and start wrapping the rope with the fabric strip. The Fabric Fuse will help keep the fabric in place.

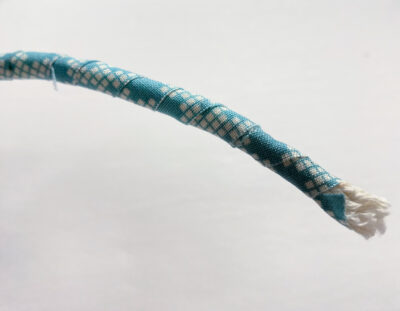
3.  When you get to the end of the strip use another small pea size amount of Fabric Fuse to secure the end of the strip in place. Add another strip of contrasting color or stay in the same shade, this is the time to be creative!

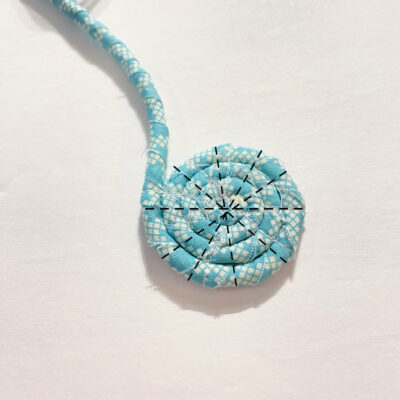
FORMING THE BASE OF THE BASKET:
4. Start rolling the wrapped braided rope until you have about 2″ diameter circle. Using a straight stitch on your sewing machine, baste as shown in the image above. 
 
5.  Set your sewing machine to a wide zigzag stitch (6 to 6.5) and length at about 2. Stitch as you continue to roll the rope, making sure your stitches catch the right and then the left side. 
6.  At about 4″ or 5″ in diameter (depending on how large you want your basket) place the base at a 45 degree angle to start creating the shape. Pull slightly and evenly on the rope as you sew for the next few rows and you’ll notice the basket taking shape. 
7.  BEFORE getting to the end of the rope, insert the wood bead. Pull the end of the rope under the last row to hide the raw end of the rope under the edge of the last row. Stitch all the way to the end of the loop you’ve created with the bead. And now you’re ready to make another one! 
Thanks for joining me in creating a fun stash busting basket! If you liked this project, please let me know by posting a comment. And don’t forget to stop by my Instagram and say HI!

Comments are closed.