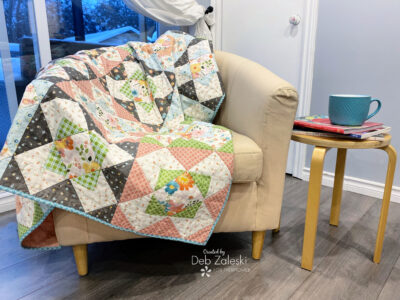
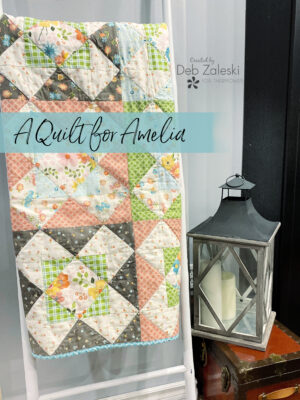
She’s been asking me, and she has been kind of patient so I finally dove in got it done. I even let her have her say in the fabric I was going to use to make her a quilt. But I think what Amelia likes the most about this project is that this quilt was made especially for her.
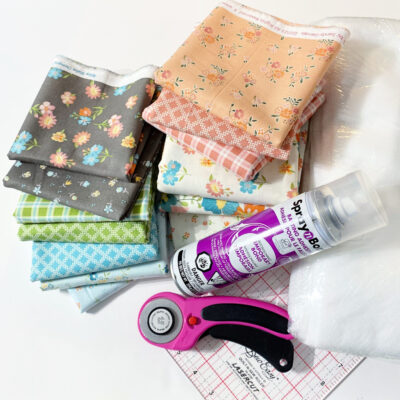
SUPPLIES:
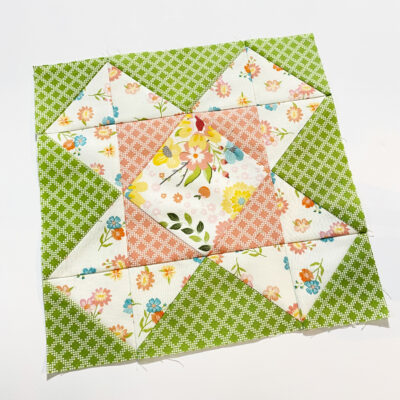
For One Quilt Block 12.5″ x 12.5″ unfinished
- At least 3 cotton fabrics with contrasting colors
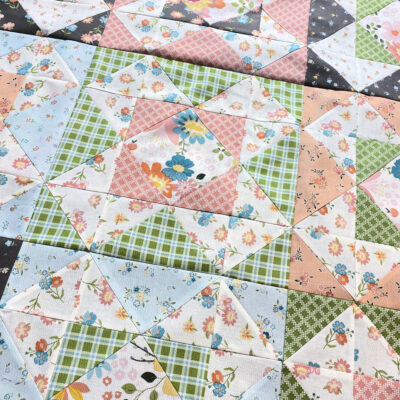
For 20 Quilt Blocks:
- 3 yards of low volume print to use as Fabric A
- 0.5 yard of up to 8 different prints to use as Fabric B and Fabric C
- 0.5 yard for binding
- 3 yards for backing
- 1.5 yards of StitchNsew High Loft Sew in Fleece
- SprayNbond Basting Adhesive
- Coordinating thread
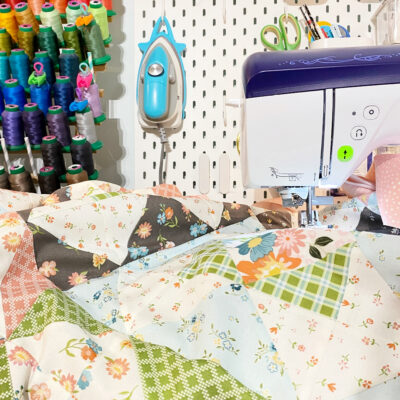
Thanks to the people at Riley Blake I was able to play with Spring’s In Town by Sandy Gervais for Riley Blake Designs.
TOOLS:
- Oliso Project Iron & ironing board
- Sewing machine
- Scissors
- Rotary cutter and self-healing mat
- Ruler
GETTING STARTED:
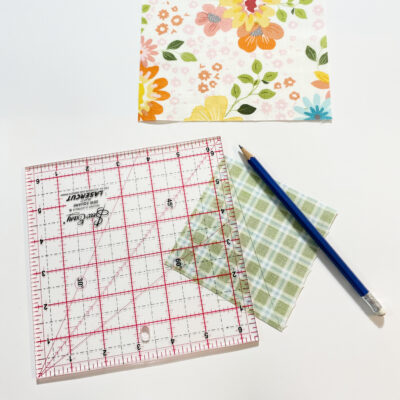
Cut the following for each quilt block:
- 1 – 6.5″ square of fabric A for the center (this is great for fussy cutting! )
- 4 – 3.5″ sqaures of fabric B (to be used for the stitch and flip method to frame out the center square)
- 2 – 4″ squares of each fabric A and fabric C (double half square triangle method)
- 4 – 3.5″ x 6.5″ rectangles of fabric C
- 8 – 3.5″ sqaures of fabric A
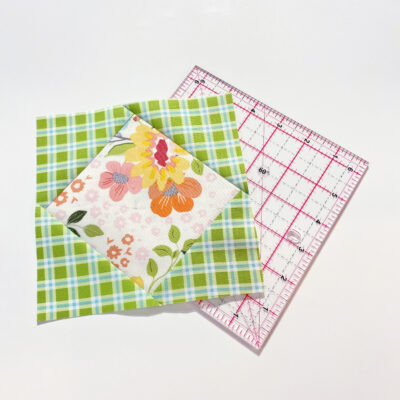
1. Take the (4) 3.5″ squares in Fabric B and drawn a diagonal lines.
2. Use the Stitch and Flip method to assemble the 3.5″ squares to the 6.5″ square. This link may be helpful (click!) Your center sqaure should now meausre 6.5″. Sew along the diagonal line and use a rotary cutter to cut off the excess leaving a 1/4″ seam allowance. Press towards the darker fabric. Use a rotary cutter and ruler to square off your center block, this will help if all your squares are perfect when it comes time to assemble your quilt!
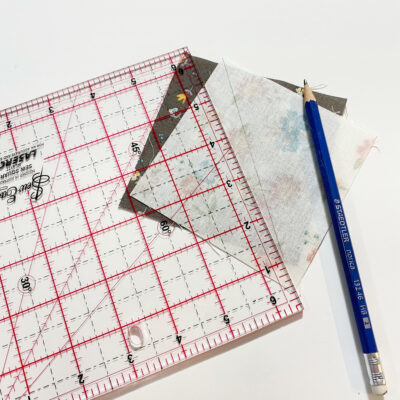
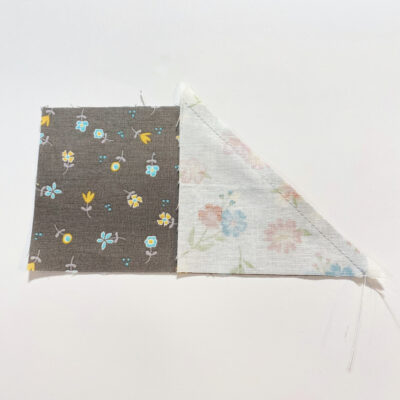
3. Now you want to take the 4″ squares in Fabric A and Fabric C and create double half square triangles. This link will be helpful (click!). Draw a diagonal line on the wrong side of Fabric A and place Fabric A and Fabric C with right sides together. Sew a 1/4″ way from the line on both sides of the line. Use a rotary cutter and ruler to cut along the line. Press seam allowance towards the lighter fabric. The quare units shoudl measure 3.5″, use a rotary cutter and ruller to trim them to the right size!
 5. Arrange all the block units on a flat surface. Assemble row by row, matching up the seams.
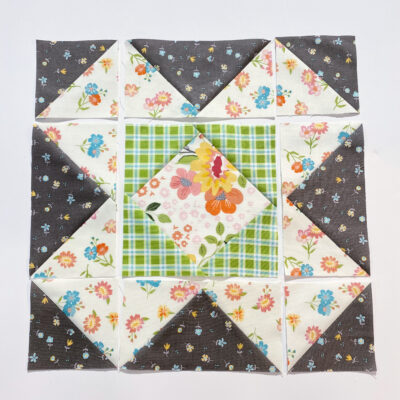
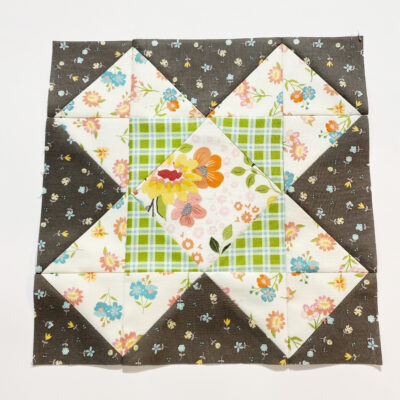
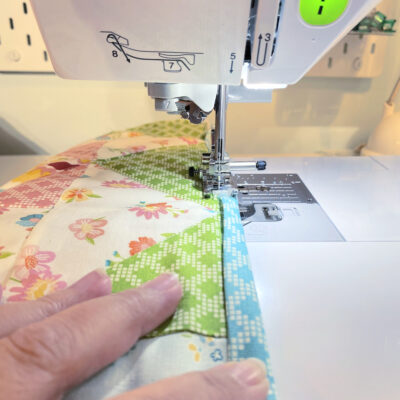
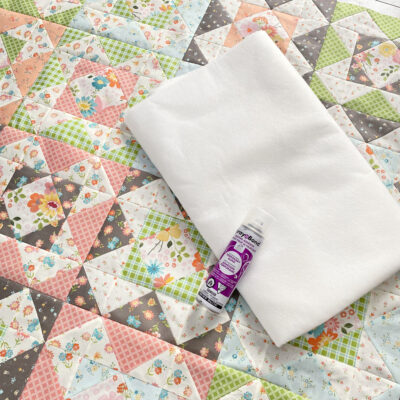 8. Quit it out as desired. For this one I just followed the diagonal seam lines. Once you’re done quilting it’s important to clean your machine and change the needle, the needle might have some residue from the SprayNbond.