


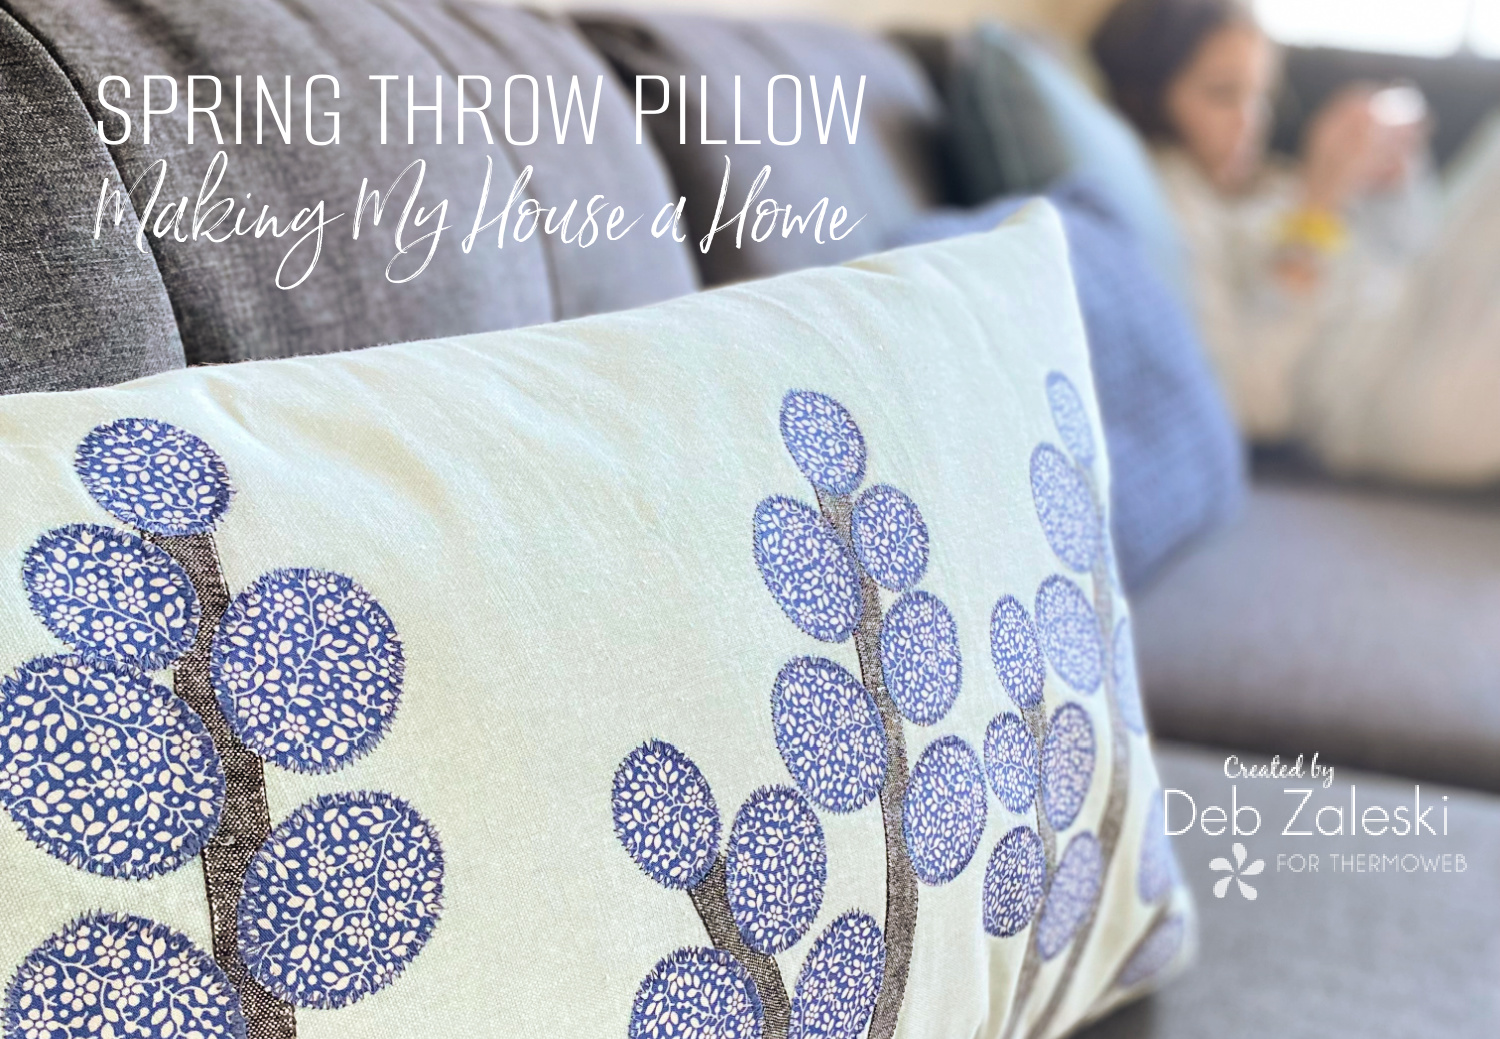
One thing I love to do with the change of season is revamp my living area with new throw pillows. Creating a cozy space where I can take my morning coffee, read a book or plan my next sewing project is all about making my house a home.
It’s time to get creative so gather your supplies and tools, and don’t forget to download the themplate I’ve created to help you along with this project! Spring Pillow for TOW
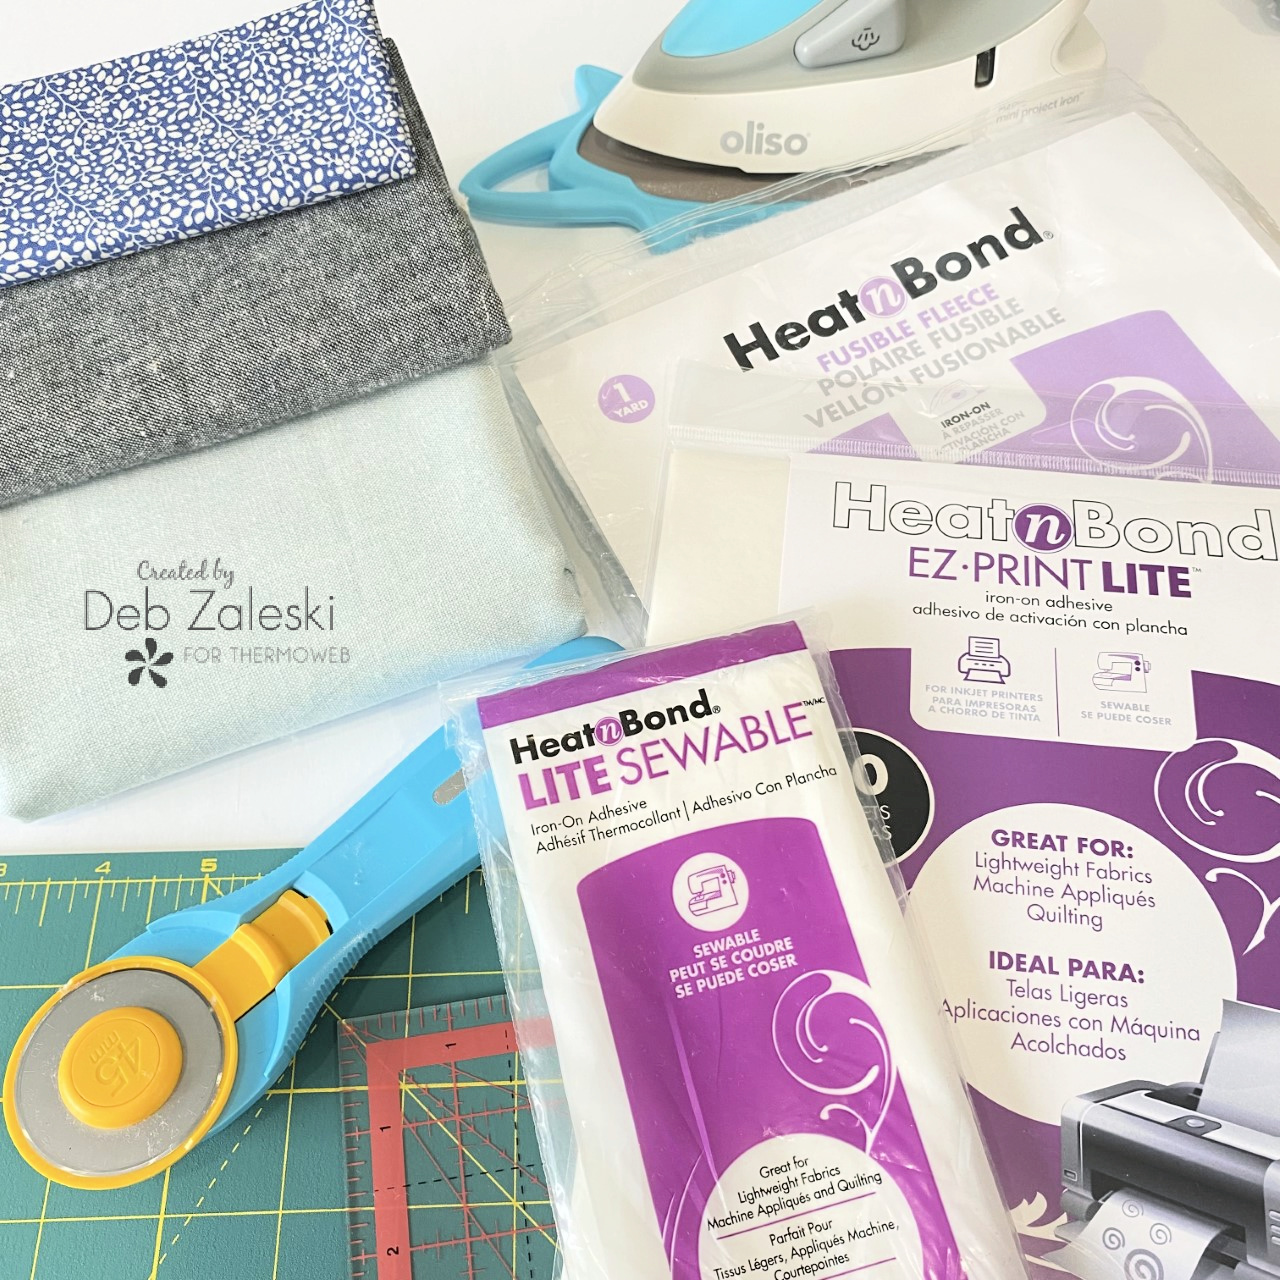
SUPPLIES:
- HeatNbond Fusible Fleece
- HeatNbond Lite Sewable
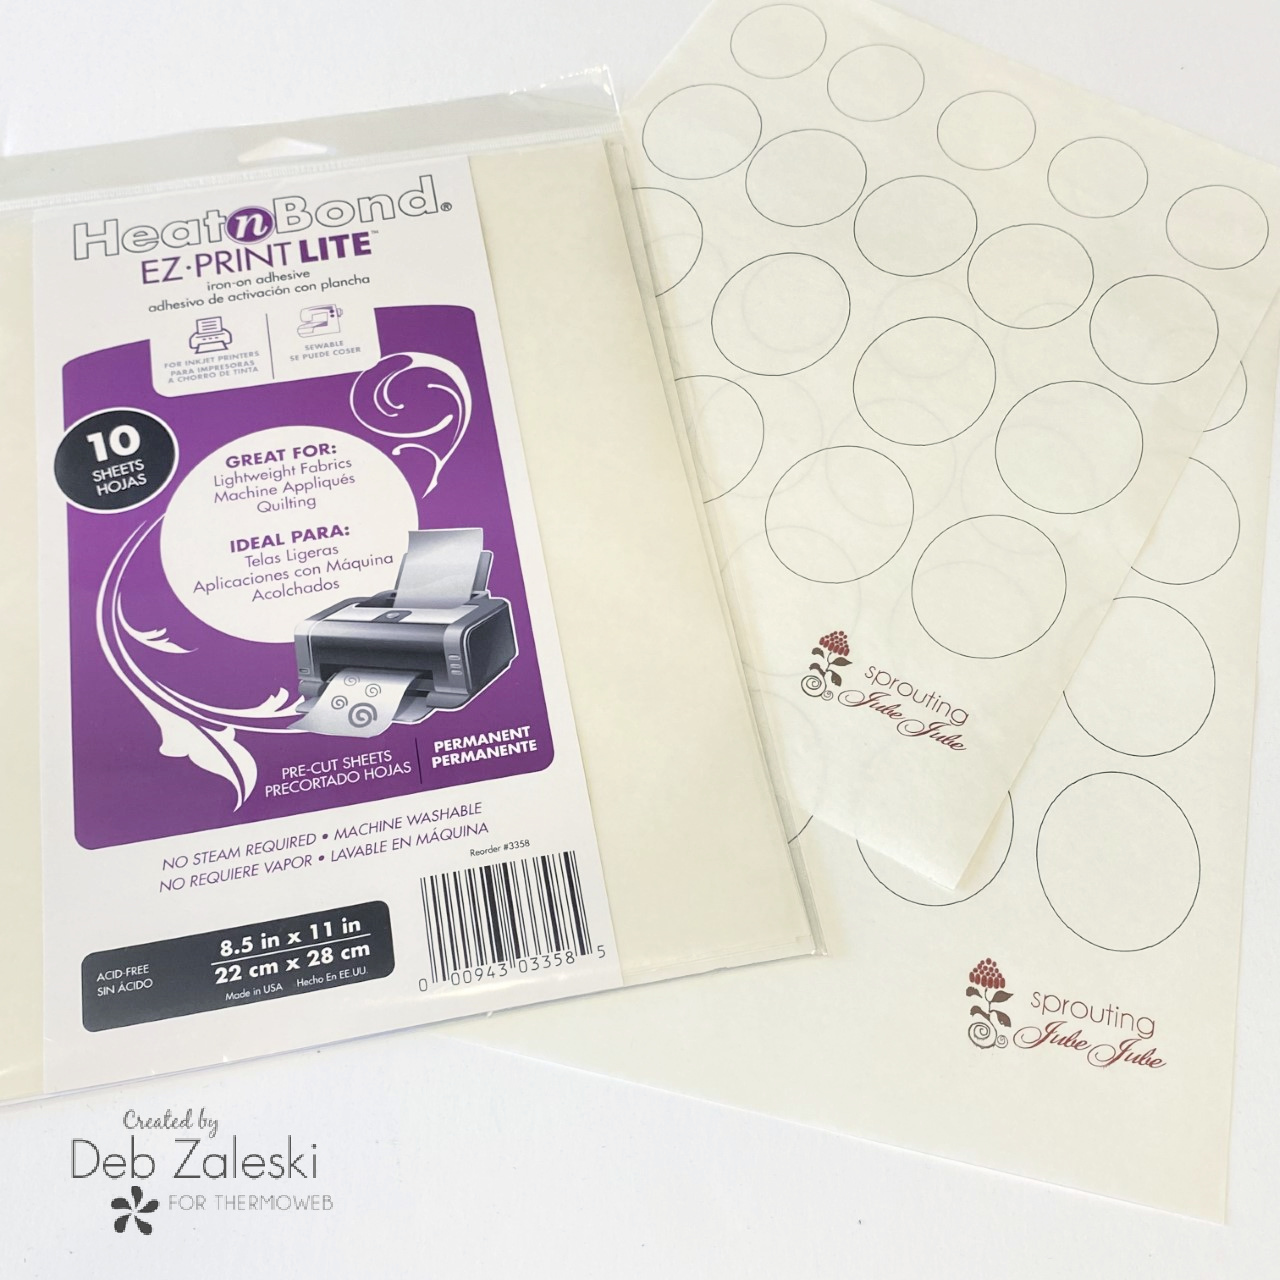
- HeatNbond EZ-Print Lite
- 1 fat quarter of low volume print quilting fabric
- 1/4 yard black linen blend fabric
- 1 yard background light blue linen blend main fabric
- Thread
- Cushion form (26″ X 16″)
- Zipper (optional)
- PDF file Spring Pillow for TOW
TOOLS:
- Iron & ironing board
- Rotaty cutter
- Self-healing mat
- Quilting ruler
- Sewing machine
- Scissors
GETTING STARTED:
1. Cut out two 27″ x 17″ rectangles from the light blue linen blend and overcaste all 4 edges with a zig-zag stitch or serger. This will prevent your fabrics from fraying.

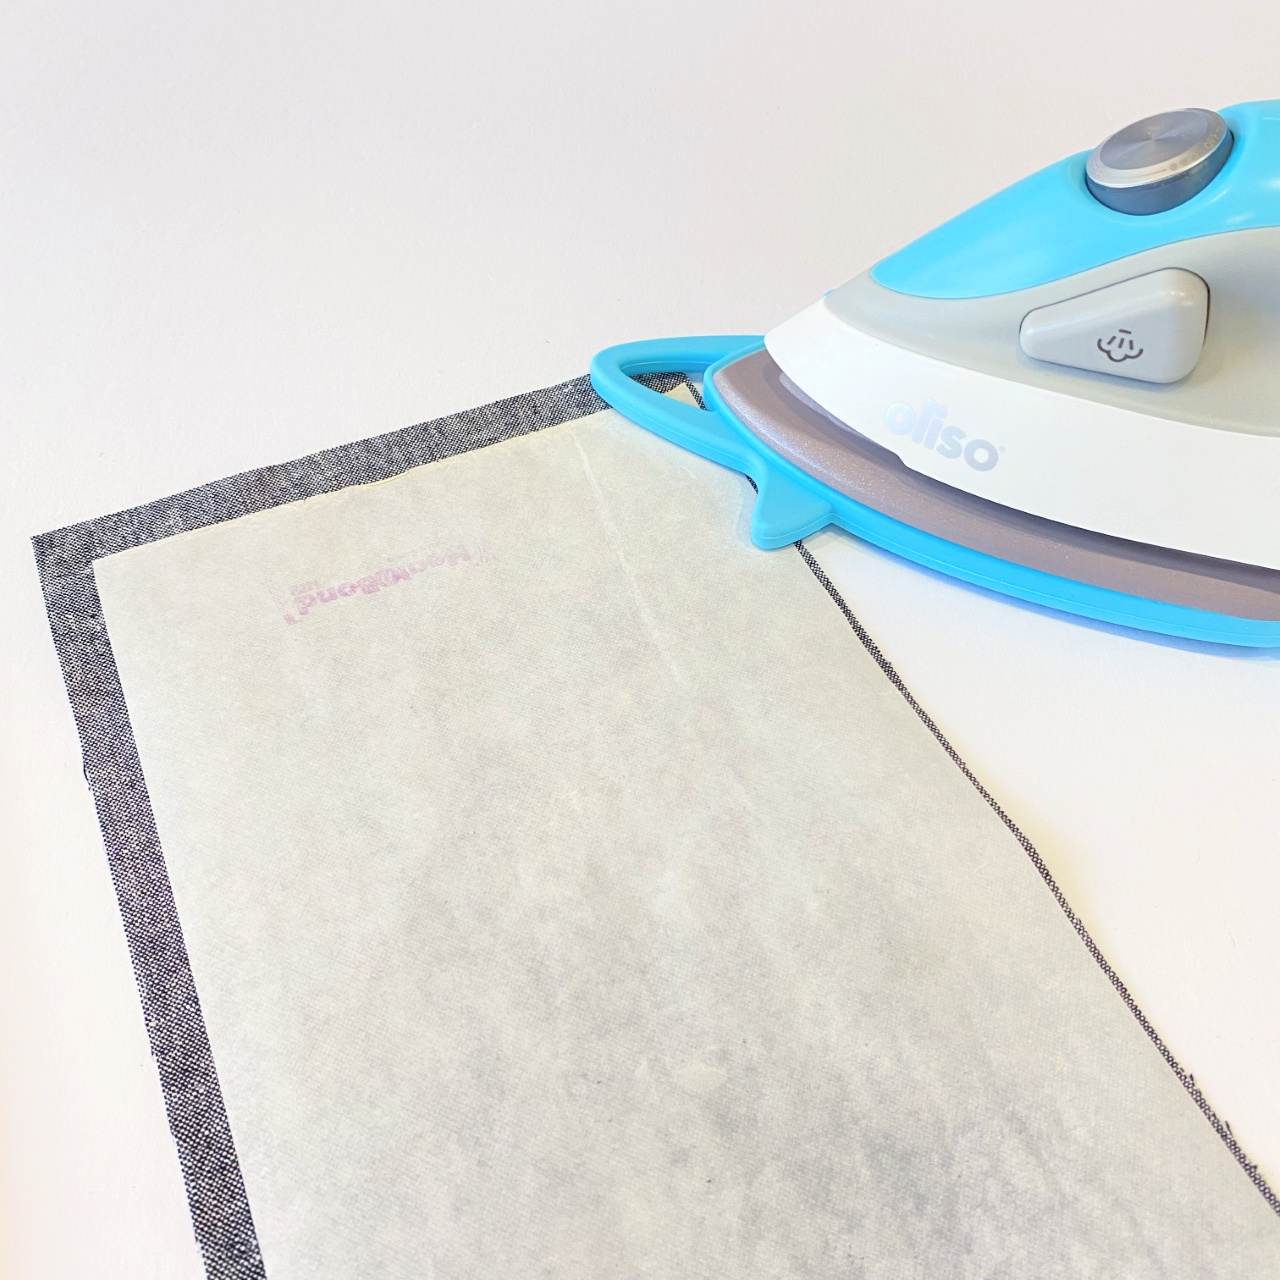
2. Fuse a 10″ X 6 ” rectangle of HeatNbond Lite Sewable on to the black linen blend to create the stems.
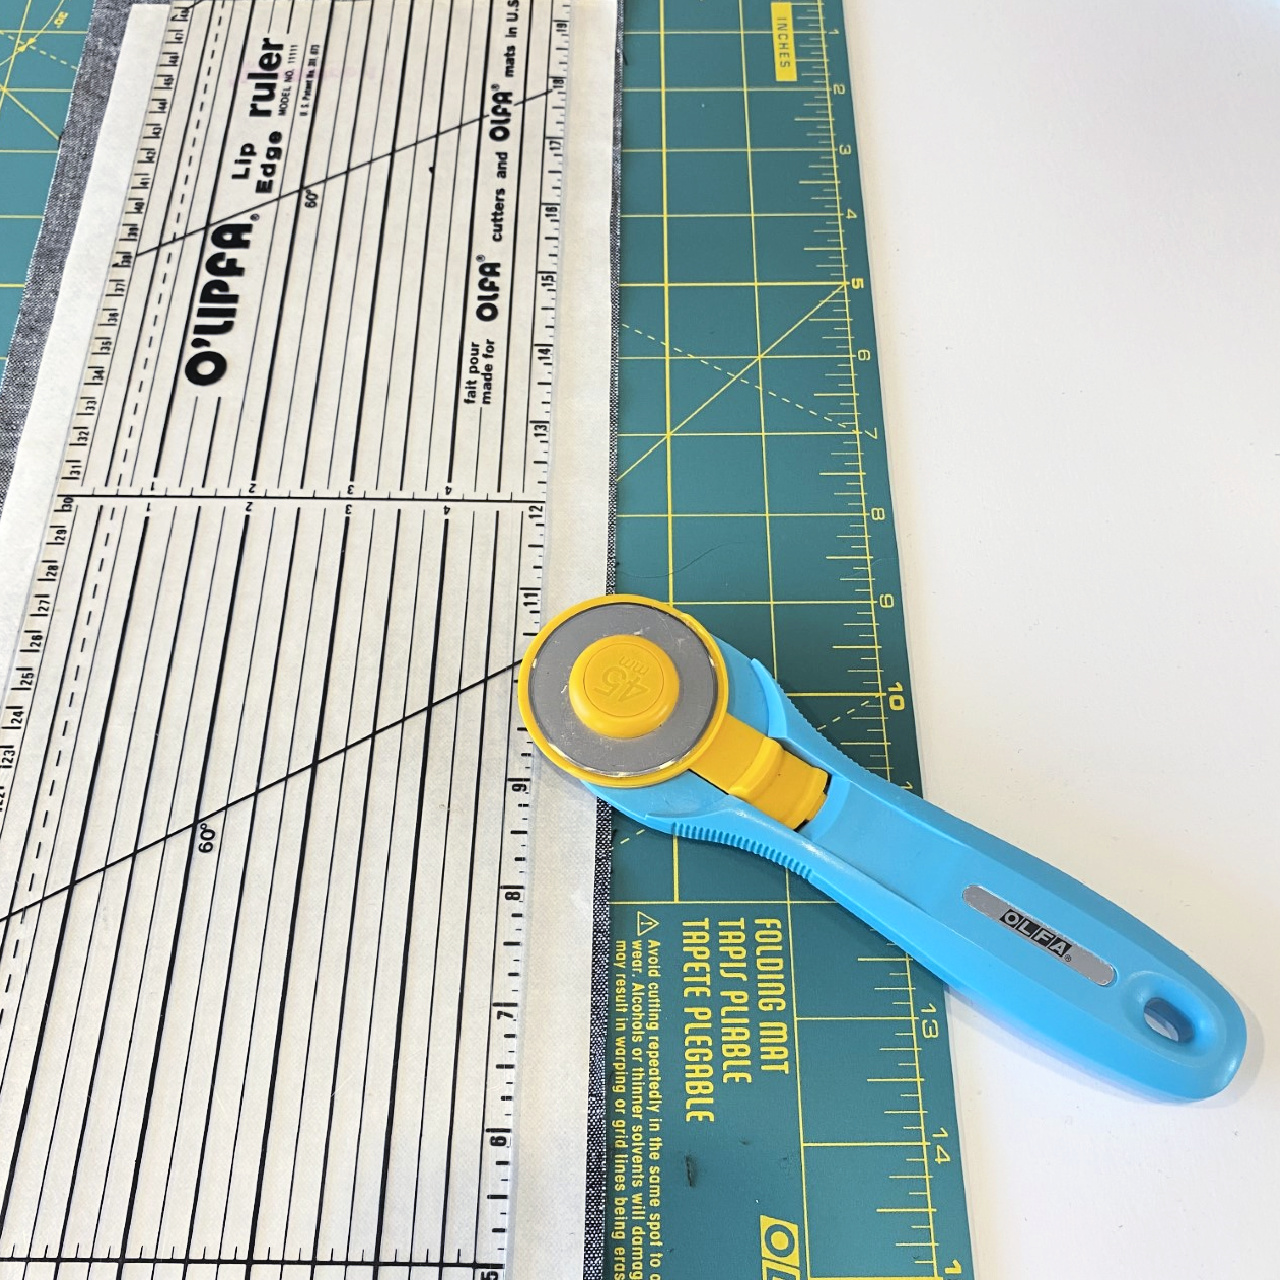
3. Using a rotary cutter, cut strips no wider than 1/2″ . I used 7 strips for my project but you can use more if you want or use less if your pillow is smaller.
4. Download and Print the oval template. Print actual size – do NOT “fit to page” or “shrink to fit.” Print (appliqué templates) on two sheets of HeatnBond Lite EZ-Print Iron-On Adhesive (Inkjet printer friendly – no tracing required). Be sure to follow manufacturers instructions!
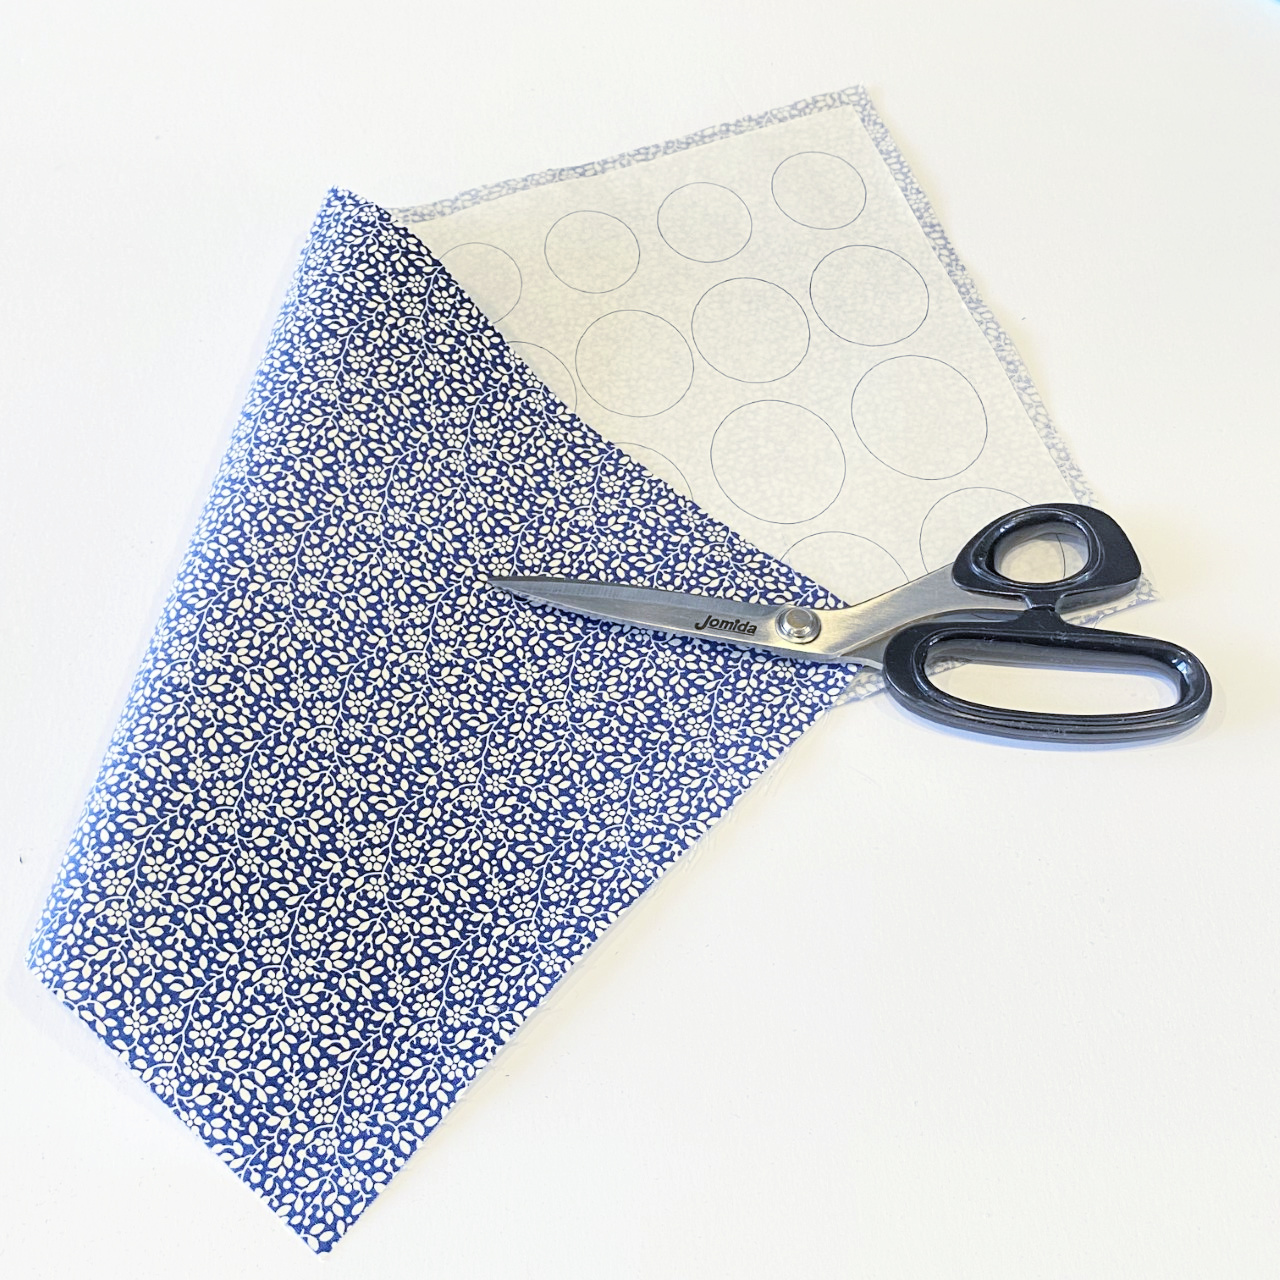
5. Fuse the two sheets of templates to the cotton fabric. Cut out the shapes. You can print out another sheet if you feel you want more flower buds on your pillow.
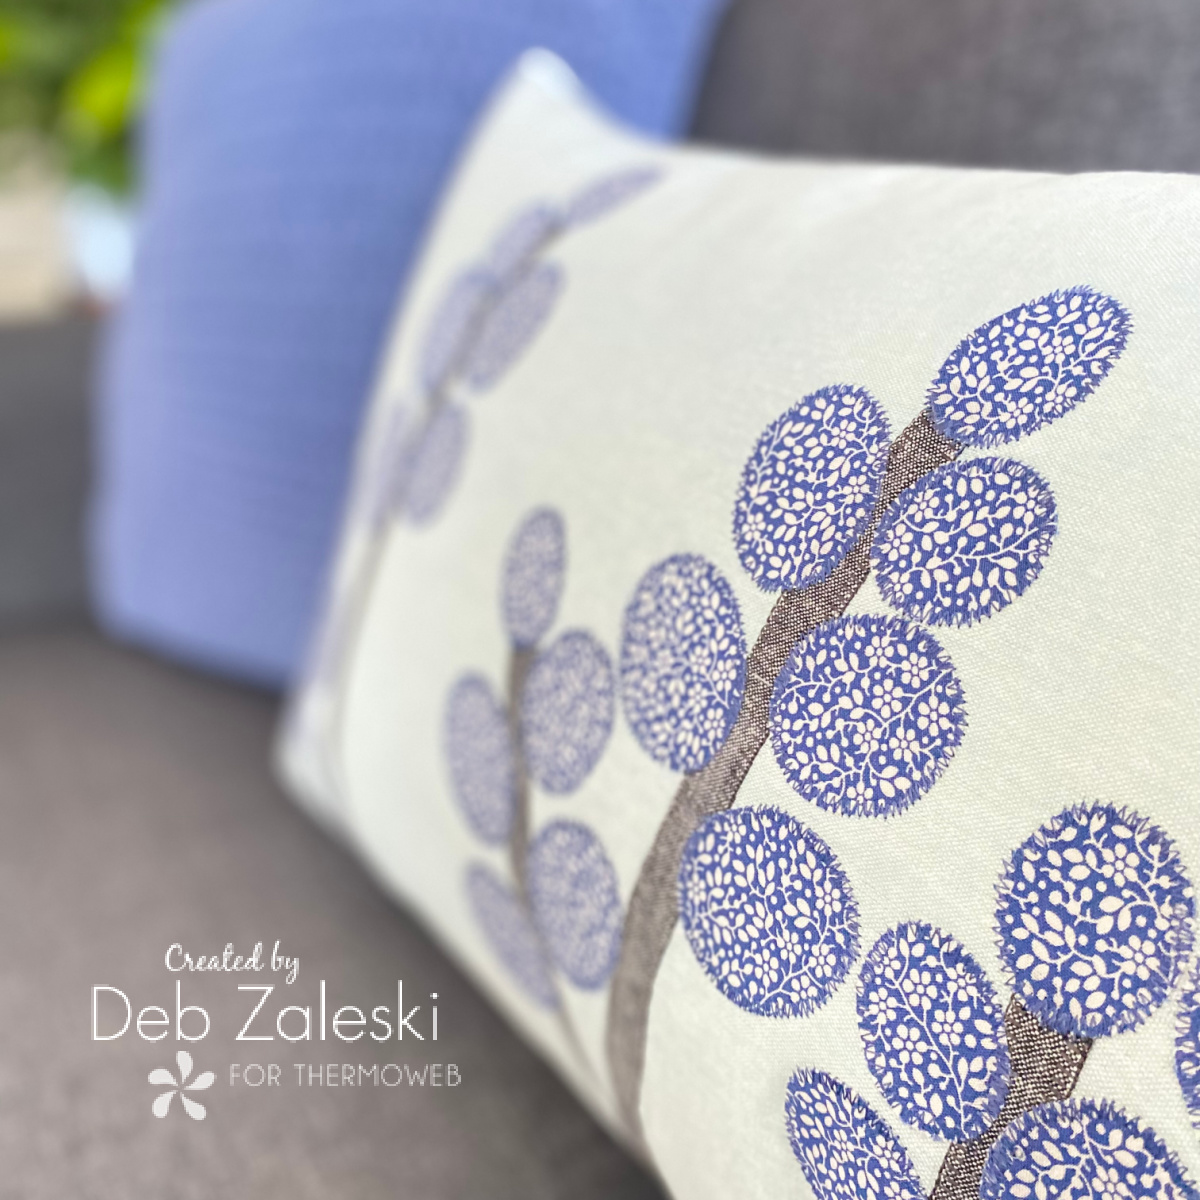
6. Once all your shapes are cut out and ready to go you can lay them out on the background fabric so that you have an idea of what you’ll get once you’re done. I love projects like this because even if you have the same fabrics no two projects will be identical!
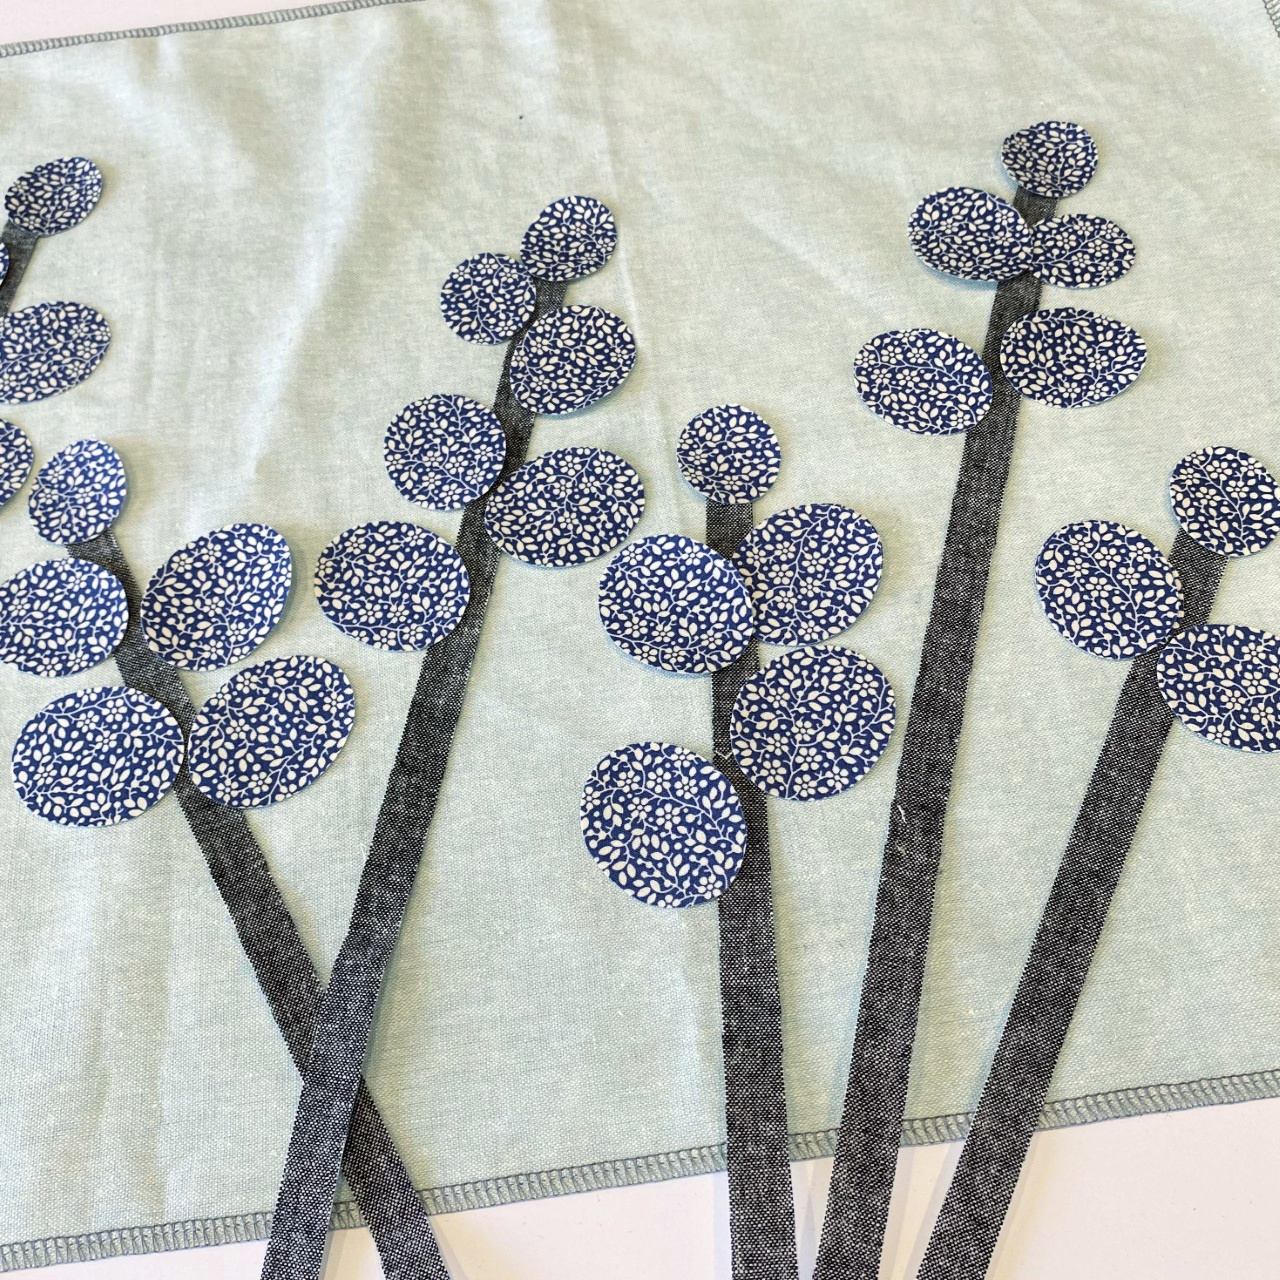
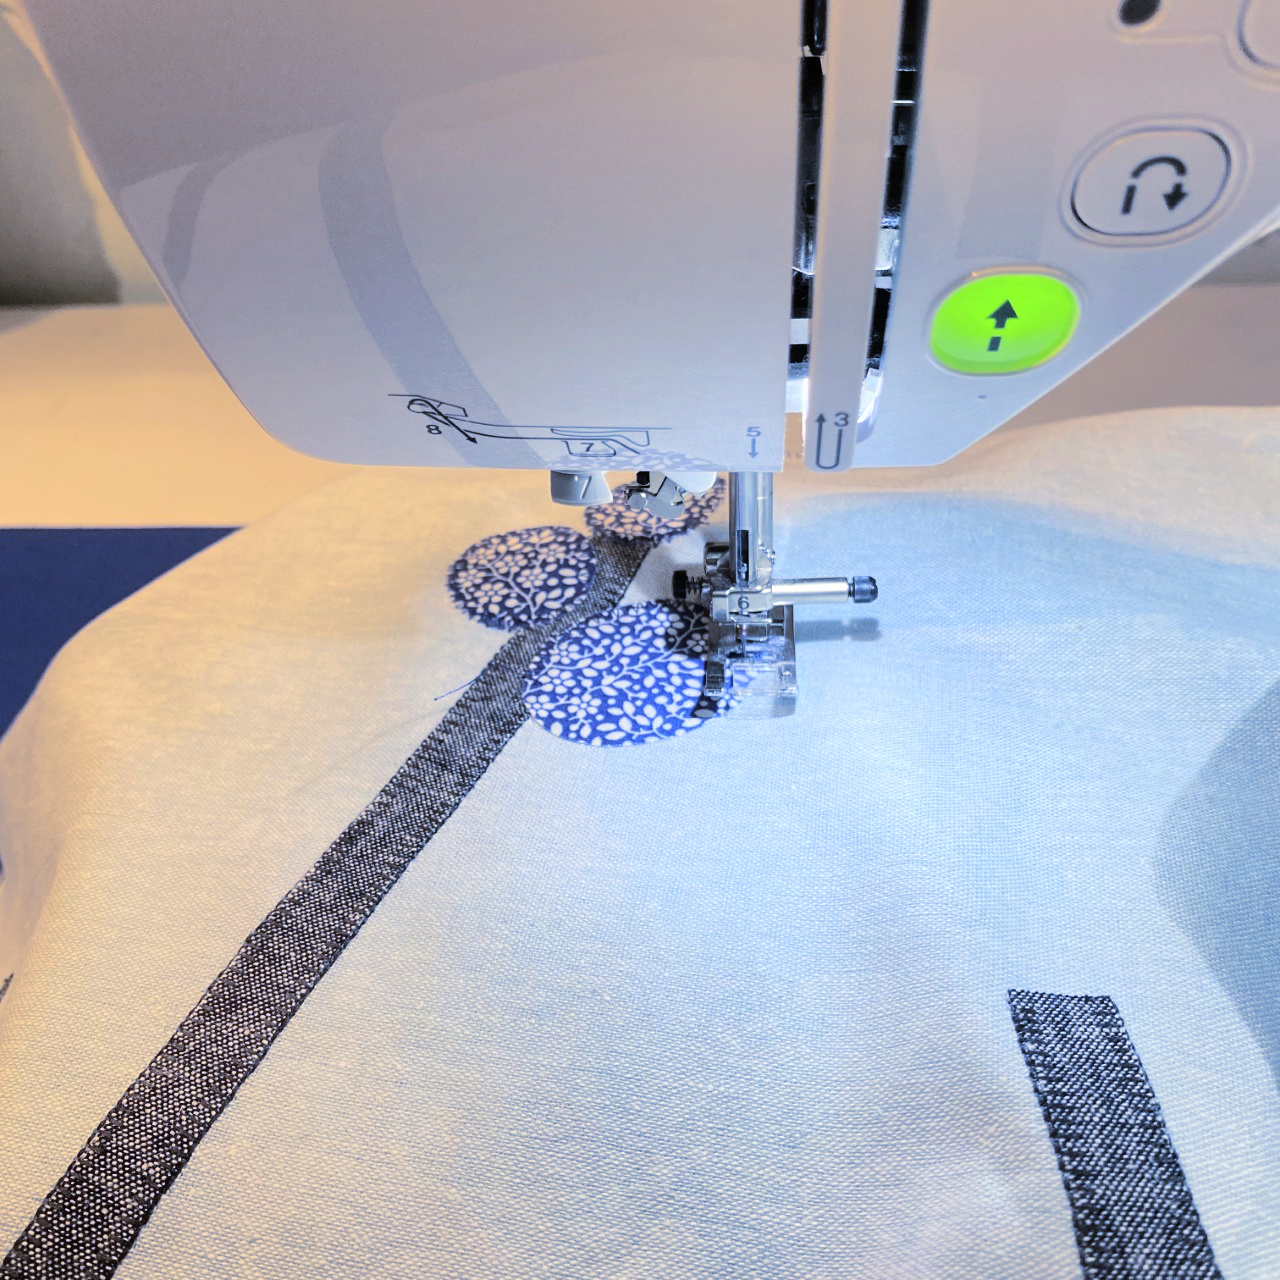
7. Start fusing the shapes by layer, start with the black linen stems. Sew them into place using a zig-zag stitch or any other decorative stitch you have availble on your sewing machine. I used a blanket stitch for stems.

8. Now move on to the oval flower buds. Keep working in layers if you have the buds overlap. I used a zig-zag stitch for the flower buds.
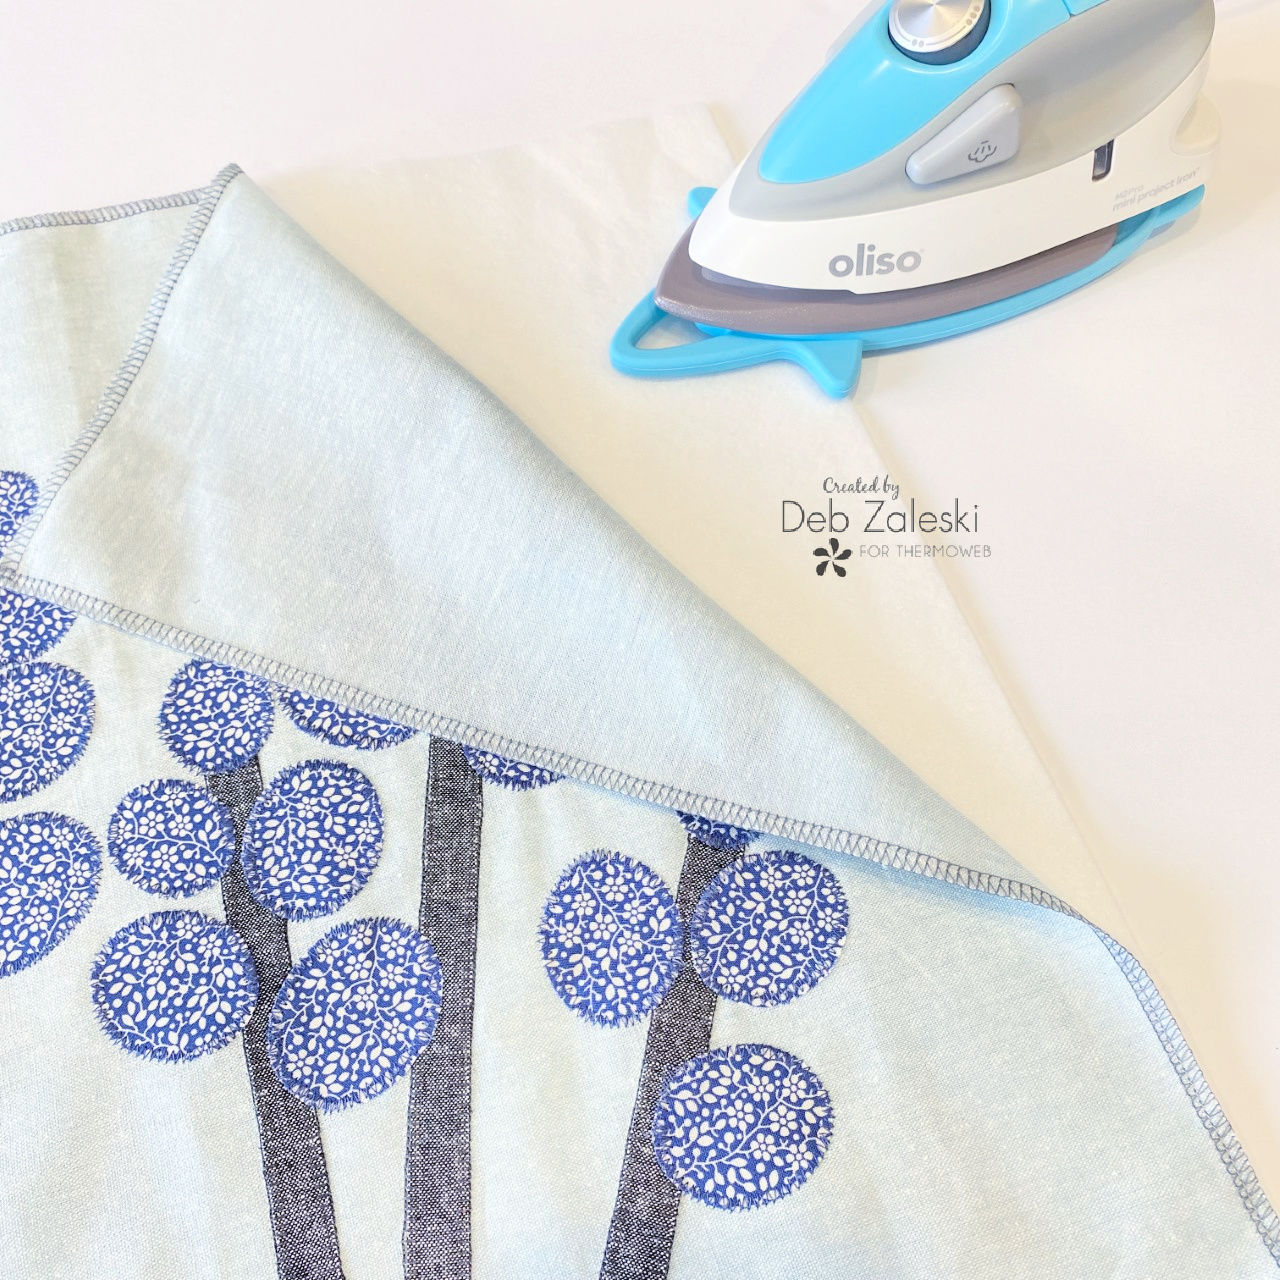
9. Once you’ve appliqué all the shapes, fuse the the pillow top with HeatNbond Fusible Fleece this will give more body to the fabric, especially when using linen. If you’re using a canvas type fabric you can omit this step,
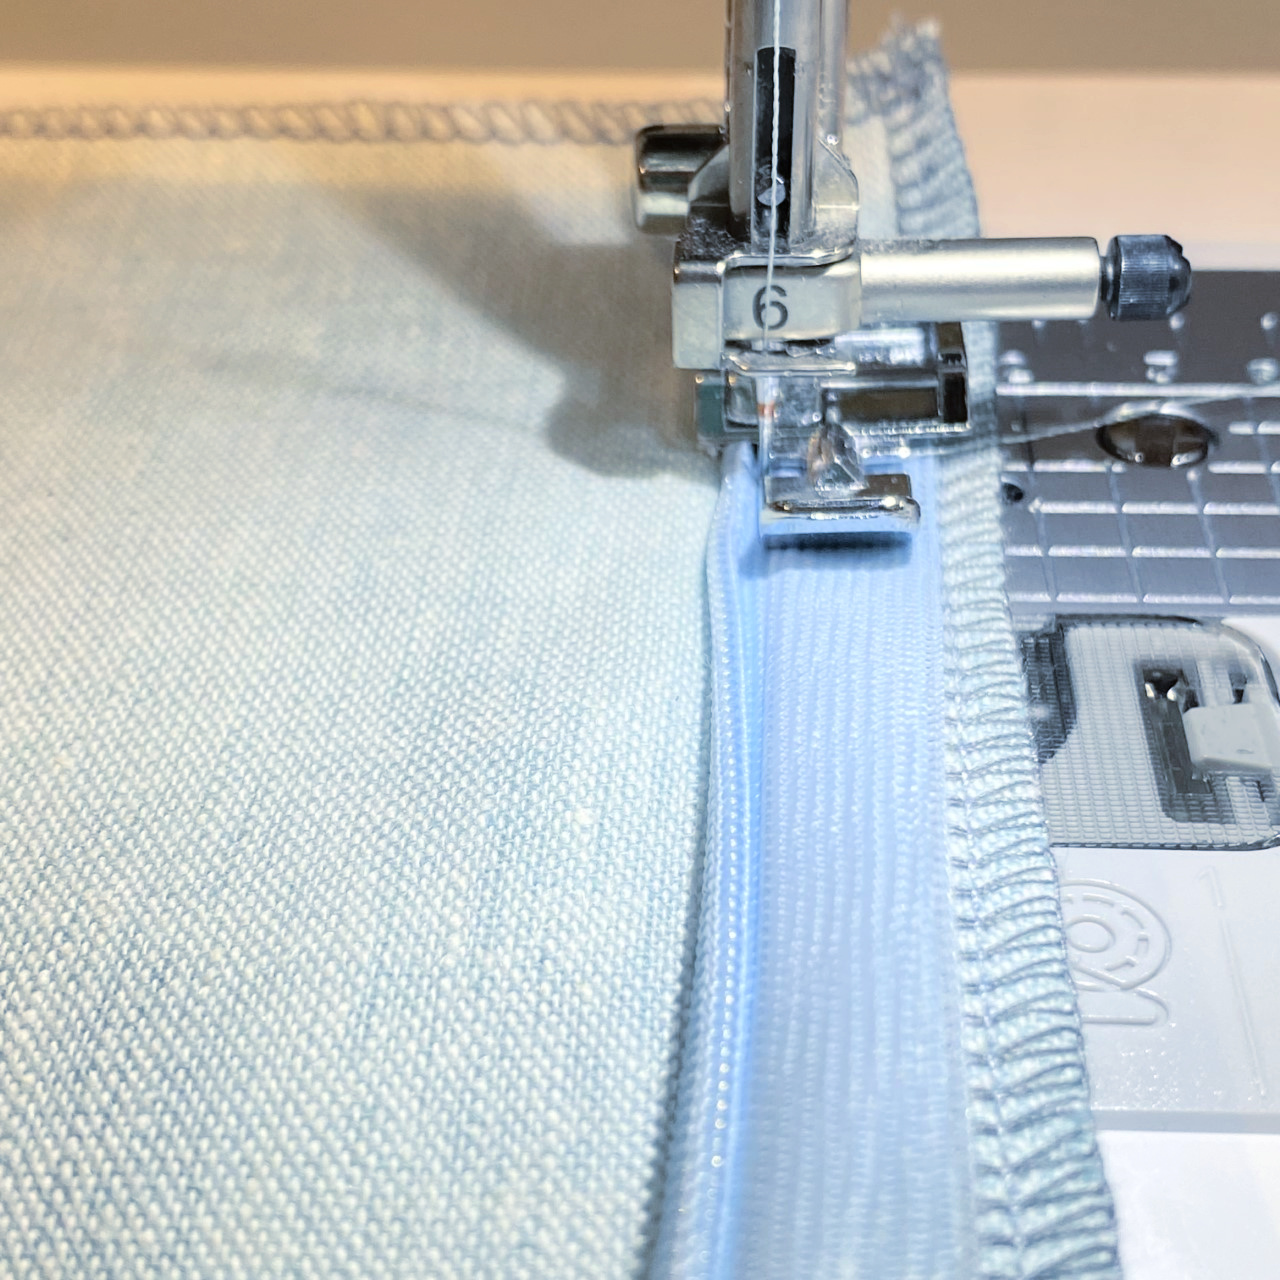
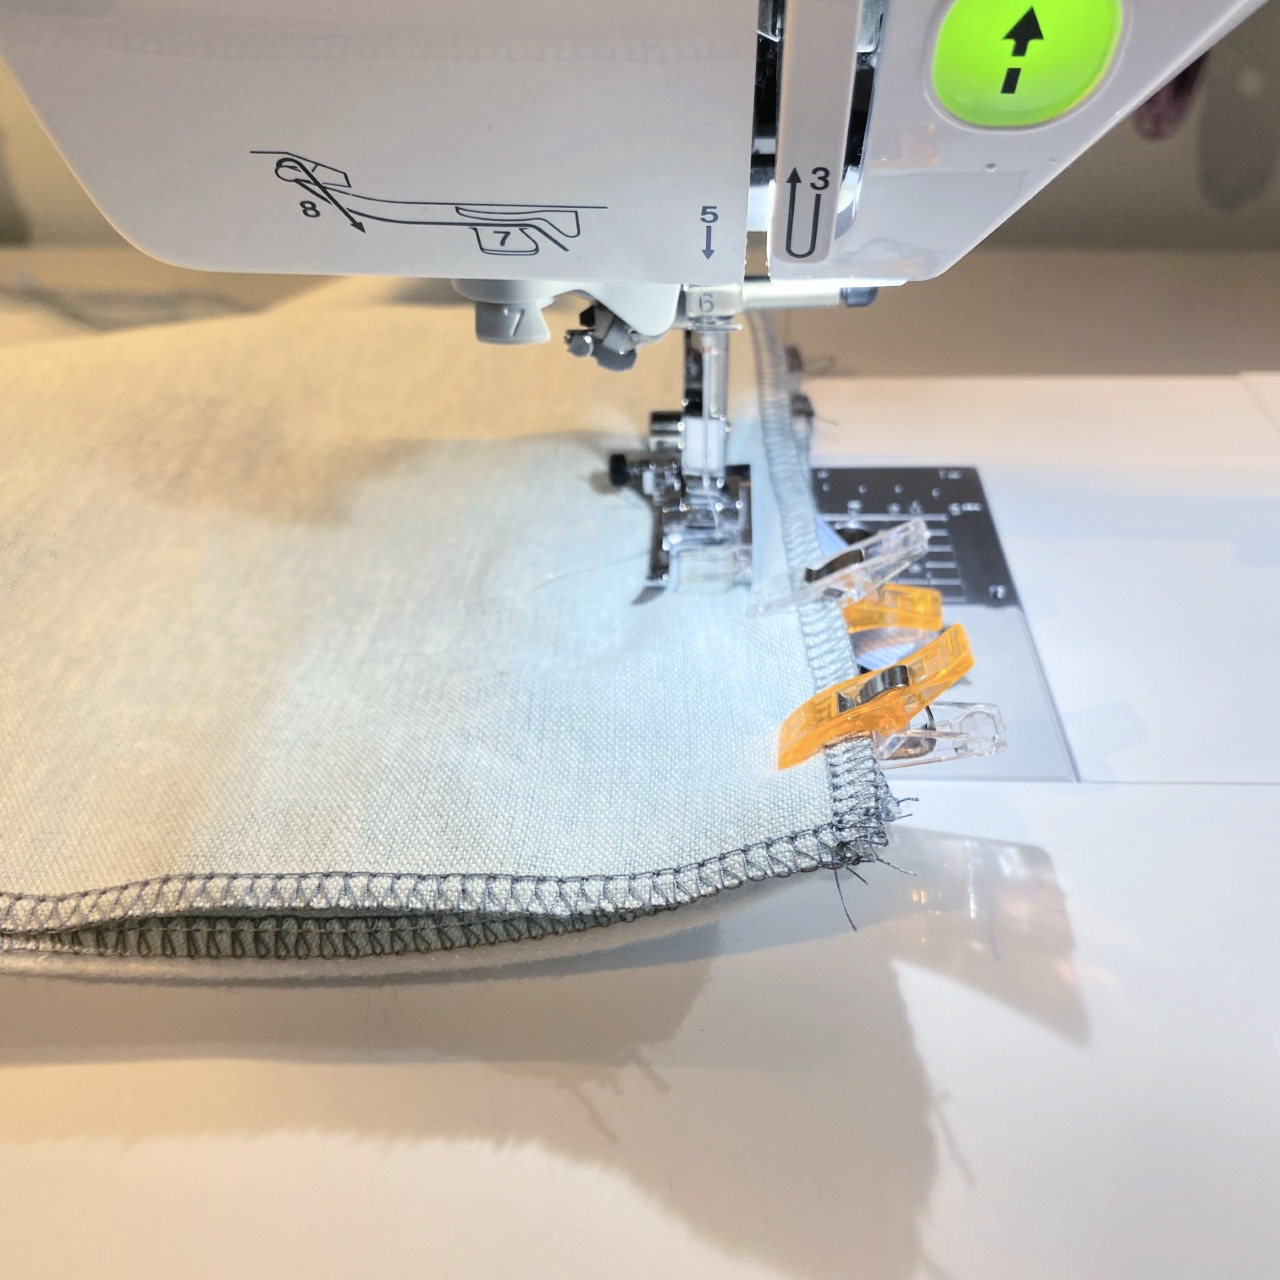
10. I like using invisible zippers on my throw pillows because I can keep my cushion form for another project and also during the off season I can store the pillow slip cover more easily. If you want to omit the zipper lay the two 27″ x 17″ rectangles with right sides together. Use pins or clips to keep everything in place and sew around the perimeter of the shap leaving a big enough opening to push your pillow form through. Sew up the opening using a tight ladder stitch. If you want an invisible zipper, this is how I did it… Zipper installation is better at the bottom edge of the pillow. Place the zipper tape with right sides together over the fabric. Sew into place. Repeat for the other side of the zipper.
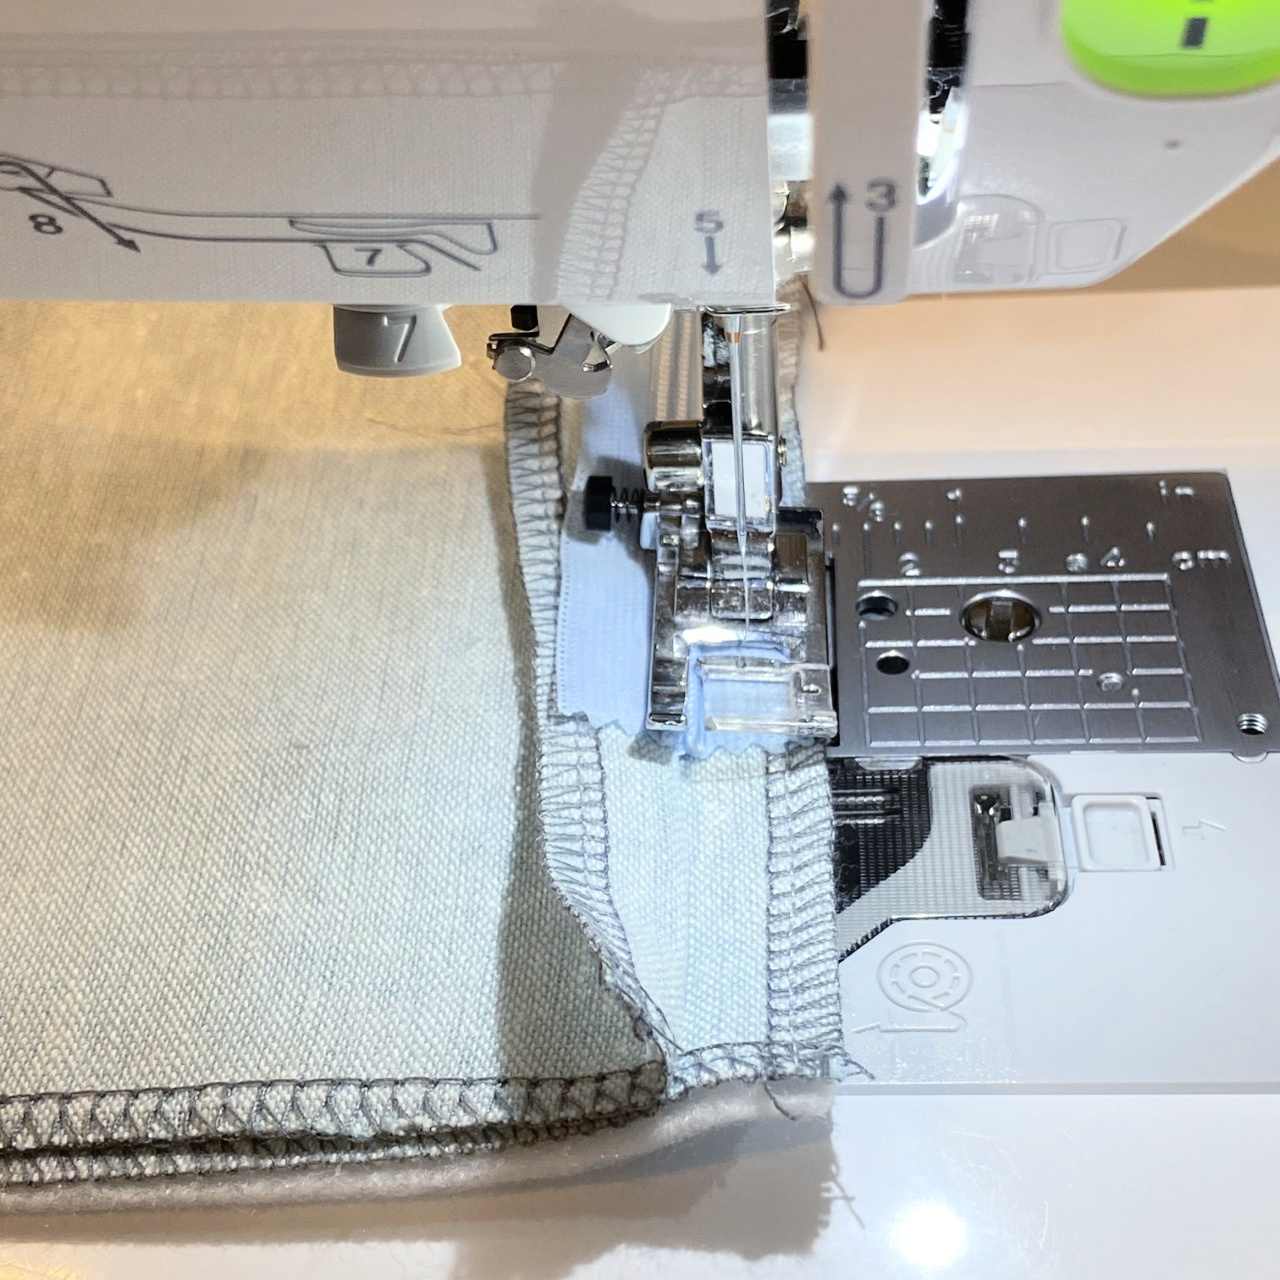
11. Close the zipper, line up the end of the seam and stitch to the end. Repeat for the other side.
12. Open up you seam and sew a few tack down stitches so that the zipper will open and close more smoothly. Open up the zipper once more, pin or use clips around the perimeter of the rectangle and sew using a 1/2″ seam allowance. Turn right side out and place your cushion form inside the slip cover.


Thanks for joining me on my first ThermOWeb post and I hope I’ve inspired you to create your own cozy and calm place, perfect for morning coffee and filled with throw pillows. If you liked this project please let me know by posting a comment. And don’t forget to stop by my Instagram and say HI!