


We’re kicking off a new week with more NEW products because that’s just how we do things!
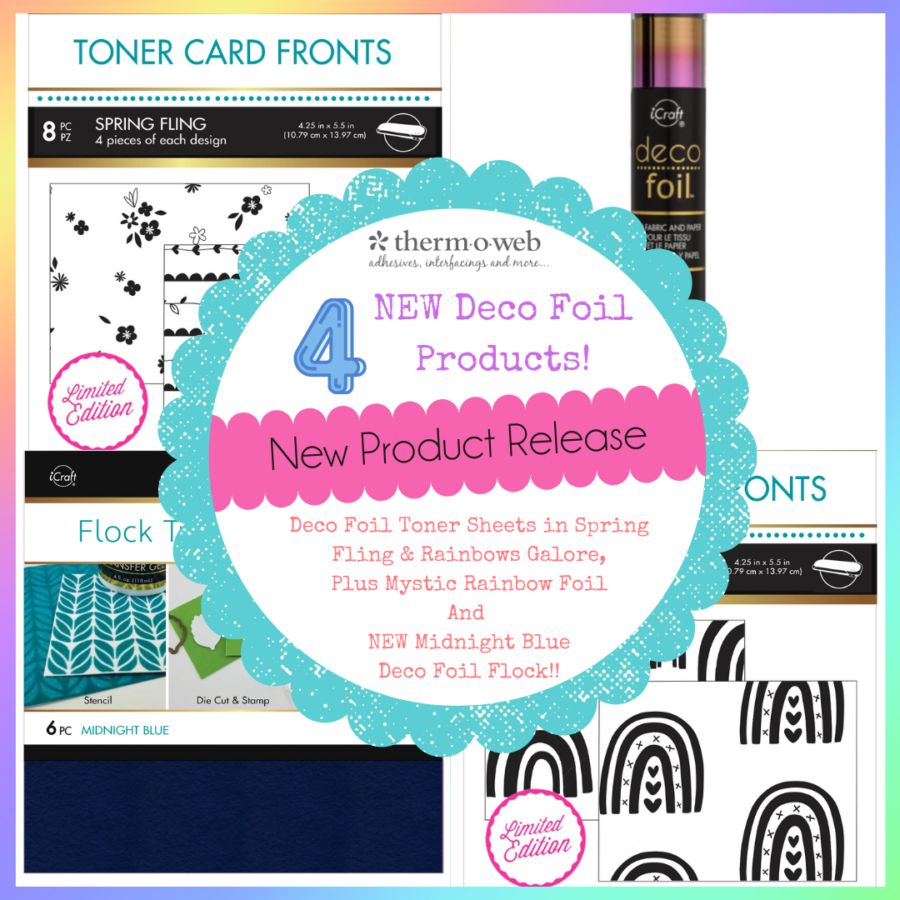
We could not be more excited about our NEW Mystic Rainbow Deco Foil, our two NEW sets of Deco Foil Toner Sheets – Spring Fling and Rainbows Galore and if that wasn’t enough…our NEW Midnight Blue Deco Foil Flock Transfer Sheets.
All this week we have projects to share with you featuring these new products that we’re certain you’re going to love as much as we do! Be sure to read through this post and then get entered to win a $40 Gift Card to shop with us!

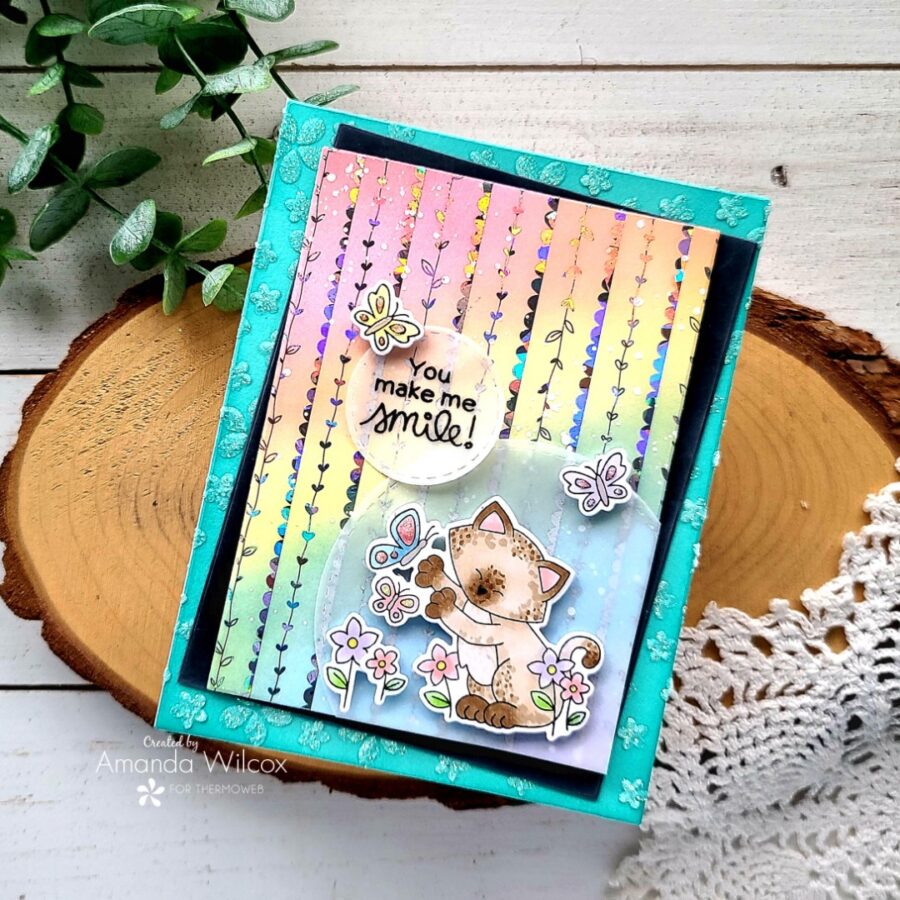
Hello everyone! This is Amanda from Twiddler’s Nook with a very spring feeling card featuring one of the new Spring Fling toner card fronts that are available in the shop. This set is just adorable and will be so fun to use year-round for so many occasions. Today I have a thinking of you type card that I’m excited to share.
Spring Fling Deco Foil Toner Card
Products used:
Spring Fling Toner Card Fronts
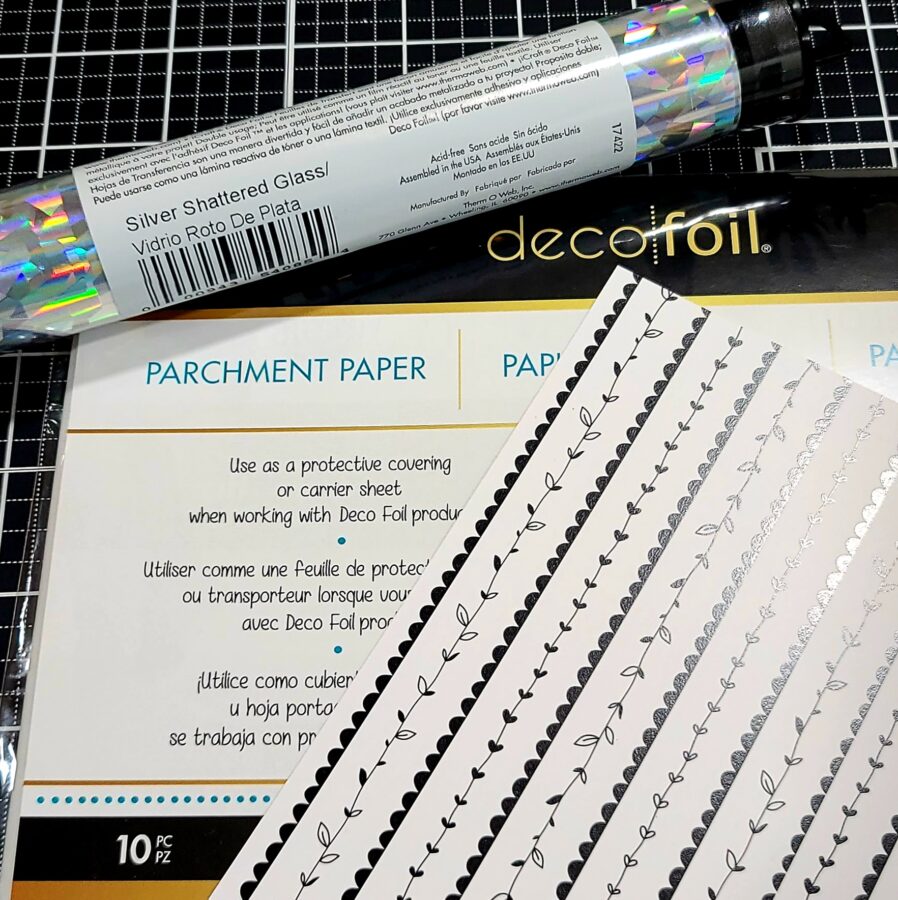
Deco Foil Transfer Sheets – silver shattered glass
Glitz Glitter Gel – iridescent
Stencil Pal
3D Foam Tape
Foam Squares
Deco Foil Parchment Paper
iCraft tape runner
Ultra Bond liquid glue pen
Pixie Spray
Newton’s Nook Newton’s Flower Garden stamps and dies
Newton’s Nook Circle Frames dies
Newton’s Nook Petite Flowers stencil
Pink & Main Layered Rectangles A2 dies
Trinity Stamps blending brushes
Lawn Fawn dye inks
Glossy accents
Stickles – unicorn
You Make Me Smile Spring Fling Deco Foil Card
We’re going to start by heating up the laminator and then running the toner card front and a sheet of silver shattered glass deco foil through in a parchment paper carrier sheet. When you peel the deco foil away be sure to keep the negative to transfer onto a toner sheet later on, I did this with mine since I didn’t have time to create more than one card today.
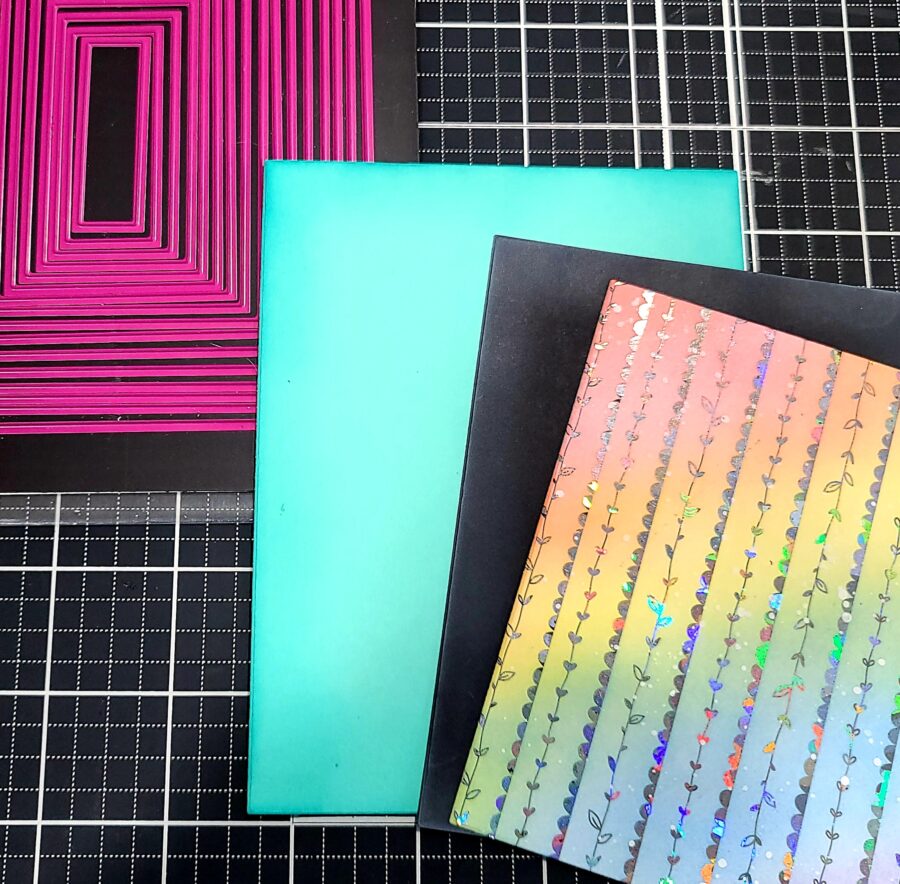
Now, I cut 3 panels with the Pink & Main layered rectangle A2 dies. The largest is from teal cardstock, I skipped the next size and used the one smaller than that to cut the black cardstock and the size smaller than that for the foiled toner card. I pulled out my blending brushes and some dye inks to ink up the toner card front and the teal panel. Then I used white pigment ink and a blending brush to lighten the black cardstock up just a bit.
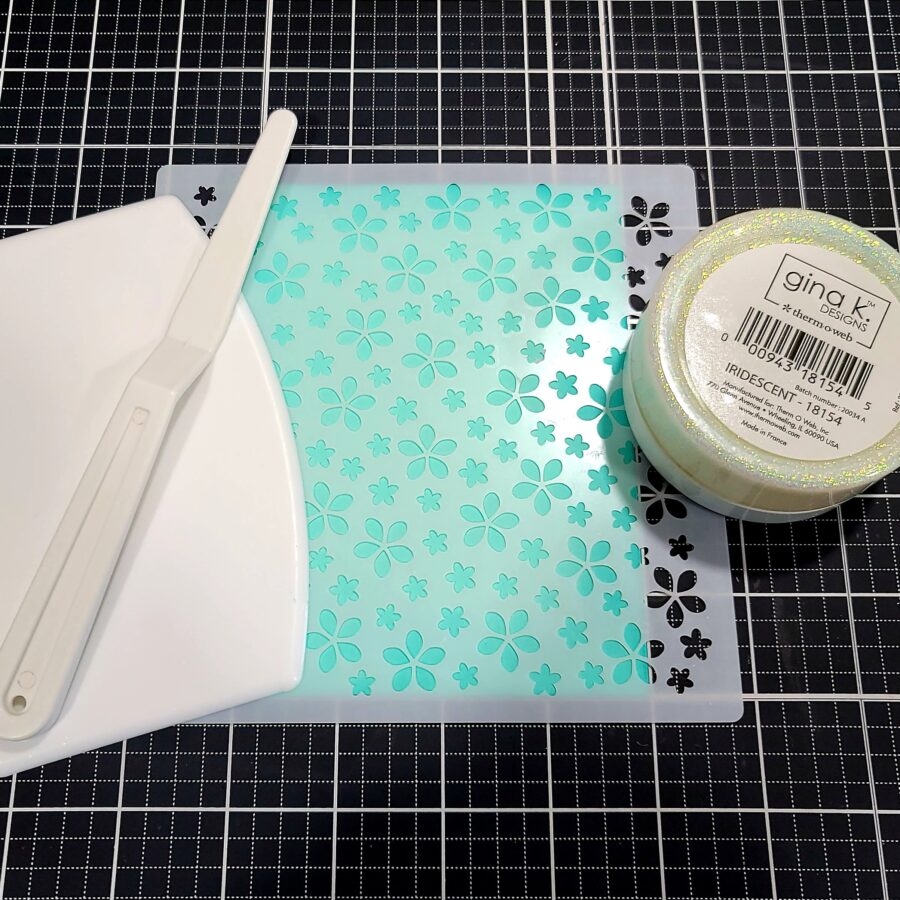
Next, I took the teal panel and adhered the Newton’s Nook petite flowers stencil to it and spread iridescent glitz glitter gel through it. I peel the stencil away and cleaned up my mess while it dried.

I chose images from Newton’s Nook’s Newton’s Flower Garden set, stamped them and colored everything with my Copic markers. I used the coordinating dies to cut them out. Then I cut 2 circles from the vellum with the Newton’s Nook Circle Frames dies. I heat embossed a sentiment on one and trimmed the edges off another to create a small focal space on my card front.
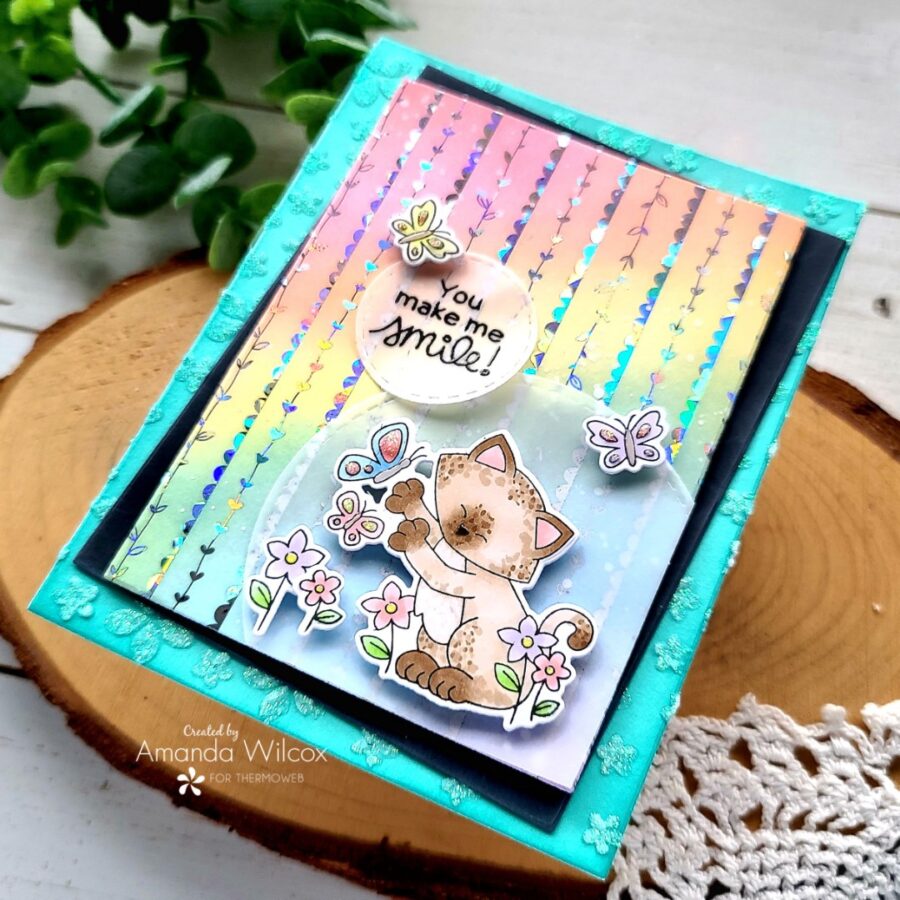
Now, to assemble everything. I adhered the glitz panel to a white card base with a tape runner. Then I adhered to the black rectangle at an angle with liquid glue. I placed an acrylic block on top for a few minutes while it dried. While I left that, I added foam tape to the back of the foiled panel and foam squares to my images. I lined the vellum circles up where I wanted them and added the images on top. Then I was able to hide tape runner behind the images to adhere them to the foiled panel. I hid tape runner behind the sentiment on that circle and popped it in place too.
Once the glue was dry on the black cardstock panel I removed the release paper from the foiled panel and added it to the card last.
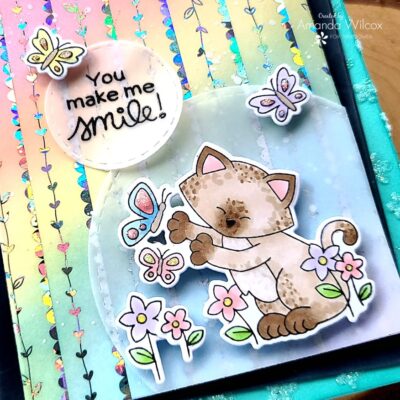
For finishing touches on this card, added glossy accents to the flower centers and Newton’s nose. Then I added unicorn Stickles to the spots on all of the butterflies for extra shimmer.
There is so much fun texture and interest on this card. I just love how it turned out and no matter where you turn it in the light something is shimmering. It’s fantastic! I hope you enjoyed it too.
I appreciate you sharing your time with me. Have a fabulous day!
This post contains affiliate links. For more information, see our disclosure HERE.
Denise Bryant
February 14, 2022 at 3:34 pm (2 years ago)Love the designs! Adorable card!