


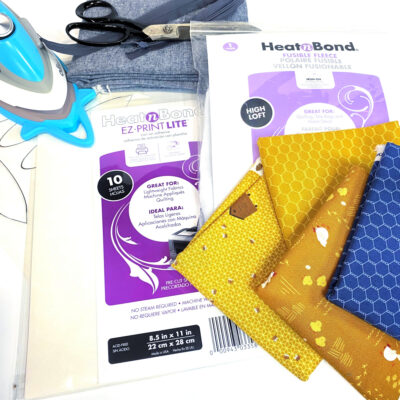
SUPPLIES:
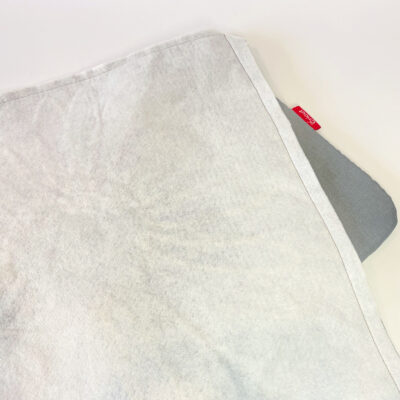
- HeatNbond Fusible Fleece
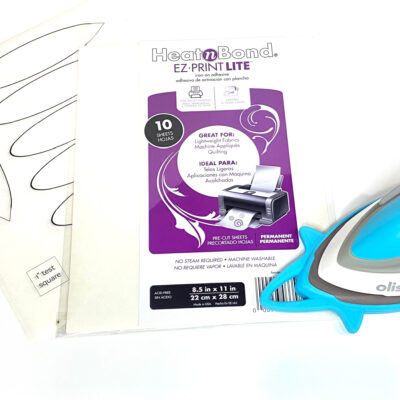
- HeatNbond EZ-Print Lite
- 3 fat quarter of low volume print quilting fabric in yellows
- 7″ square of low volume print quilting fabric for the center flower
- 3/4 yard dark blue linen blend fabric
- Thread
- Cushion form (18″ X 18″)
- 16″ invisible zipper (optional)
- PDF file Sunflower tamplate for ThermOweb
i used different fabrics from the Country Life fabric collection by Jennifer Long.
TOOLS:
- Iron & ironing board
- Coordinating thread
- Sewing machine
- Scissors
GETTING STARTED:
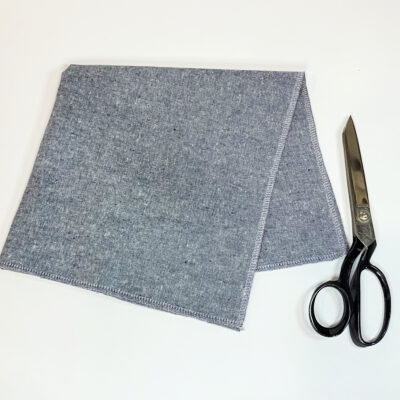
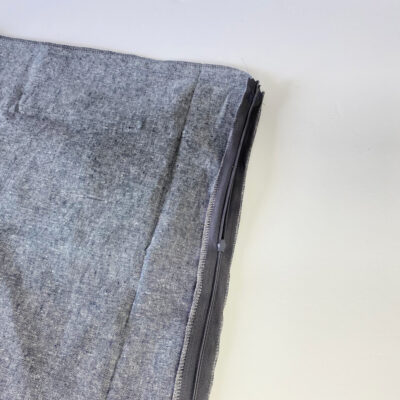
1. Cut out two 19″ x 19″ squares from the dark blue linen blend and overcaste all 4 edges with a zig-zag stitch or serger. This will prevent your fabrics from fraying.
2. Download and Print the templates. Print actual size – do NOT “fit to page” or “shrink to fit.” Print (appliqué templates) 1 of page 1 and between 3-4 of page 2 (to have between 24 to 32 flower petals) on HeatnBond Lite EZ-Print Iron-On Adhesive (Inkjet printer friendly – no tracing required). Be sure to follow manufacturers instructions! Sunflower tamplate for ThermOweb
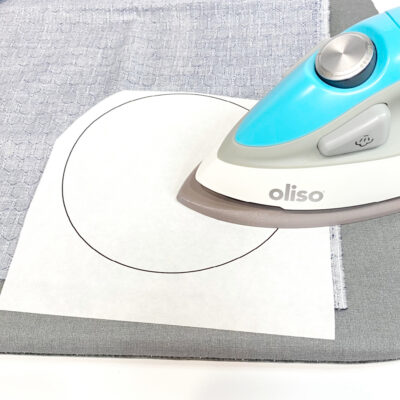
3. Cut out the center flower template and use the 7″ square to the circle according to manufacturer’s directions.
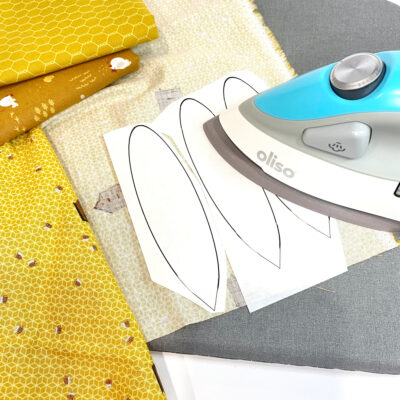
4. Fuse the petal shapes to the different shades of yellow cottons. Cut out the shapes.
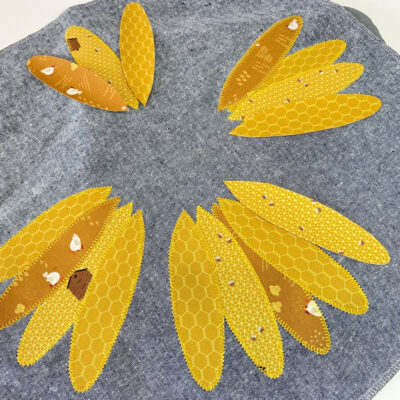
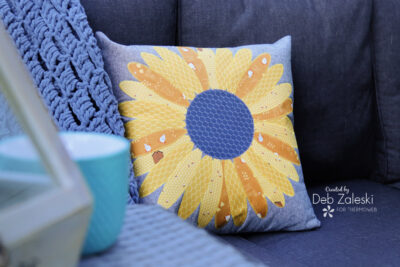
5. Once all your shapes are cut out and ready to go you can lay them out on the background fabric so that you have an idea of what you’ll get once you’re done. I love projects like this because even if you have the same fabrics no two projects will be identical!
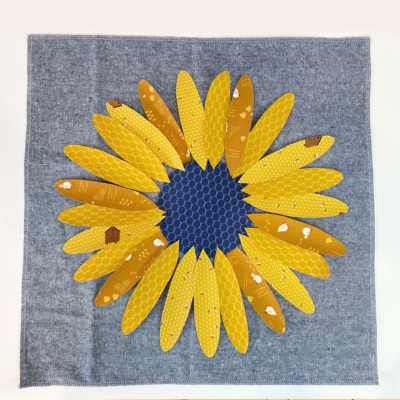
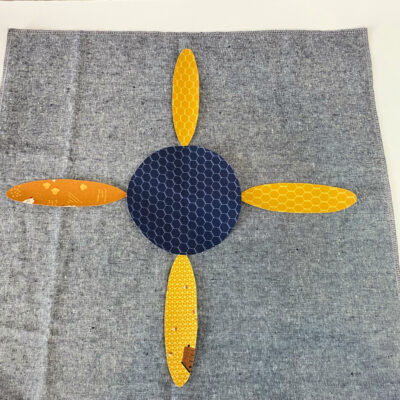
6. Start fusing the shapes by layer, I started by 4 petals and worked in layers using the circle as a guide for spacing. Gradually fill out the space. Sew them into place using a zig-zag stitch or any other decorative stitch you have availble on your sewing machine. I used a blanket stitch for the petals.
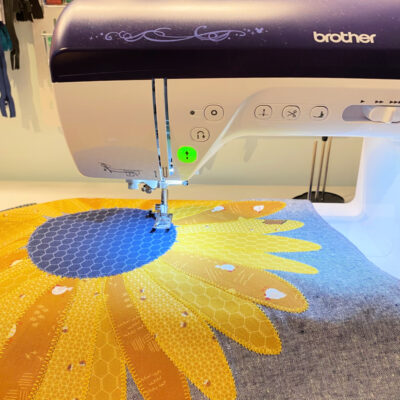
7. Once all the petals have been appliqued to the front of the pillow place the center flower, fuse using a hot iron and use a decorative stitch to appliqué the circle into place.
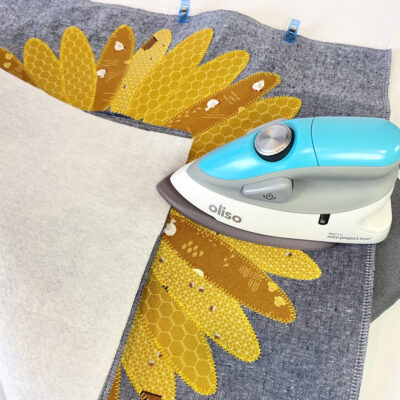
8. Now that you’ve appliqué all the shapes, fuse the the pillow top with HeatNbond Fusible Fleece this will give more body to the fabric, especially when using linen. If you’re using a canvas type fabric you can omit this step,
FINISHING OFF THE PILLOW:
9. I like using invisible zippers on my throw pillows because I can keep my cushion form for another project and also during the off season I can store the pillow slip cover more easily. If you want to omit the zipper lay the two 19″ x 19″ square with right sides together. Use pins or clips to keep everything in place and sew around the perimeter of the shape leaving a big enough opening to push your pillow form through. Sew up the opening using a tight ladder stitch. If you want an invisible zipper, this is how I did it… Zipper installation is better at the bottom edge of the pillow. Place the zipper tape with right sides together over the fabric. Sew into place. Repeat for the other side of the zipper.
10. Close the zipper, line up the end of the seam and stitch to the end. Repeat for the other side.
11. Open up you seam and sew a few tack down stitches so that the zipper will open and close more smoothly. Open up the zipper once more, pin or use clips around the perimeter of the square and sew using a 1/2″ seam allowance. Turn right side out and place your cushion form inside the slip cover.
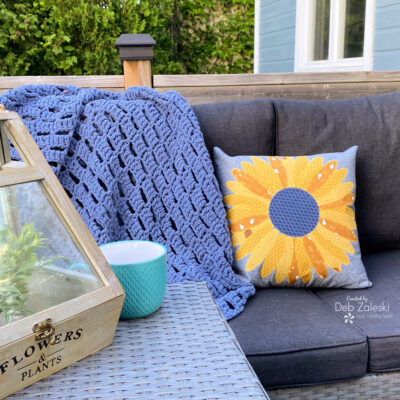
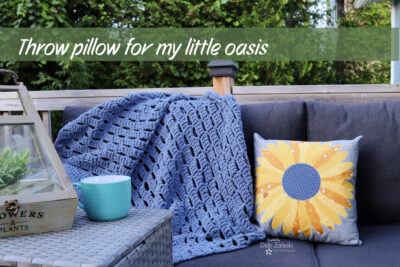
Enjoy your new cushion cover! I’ve put mine in my favorite place for the summer and hopefully for most of the fall season.

Thanks for joining me and I hope I’ve inspired you to create your own cozy and calm place, perfect for morning coffee, laughing with friends and planing projects. If you liked this project please let me know by posting a comment. And don’t forget to stop by my Instagram and say HI!