


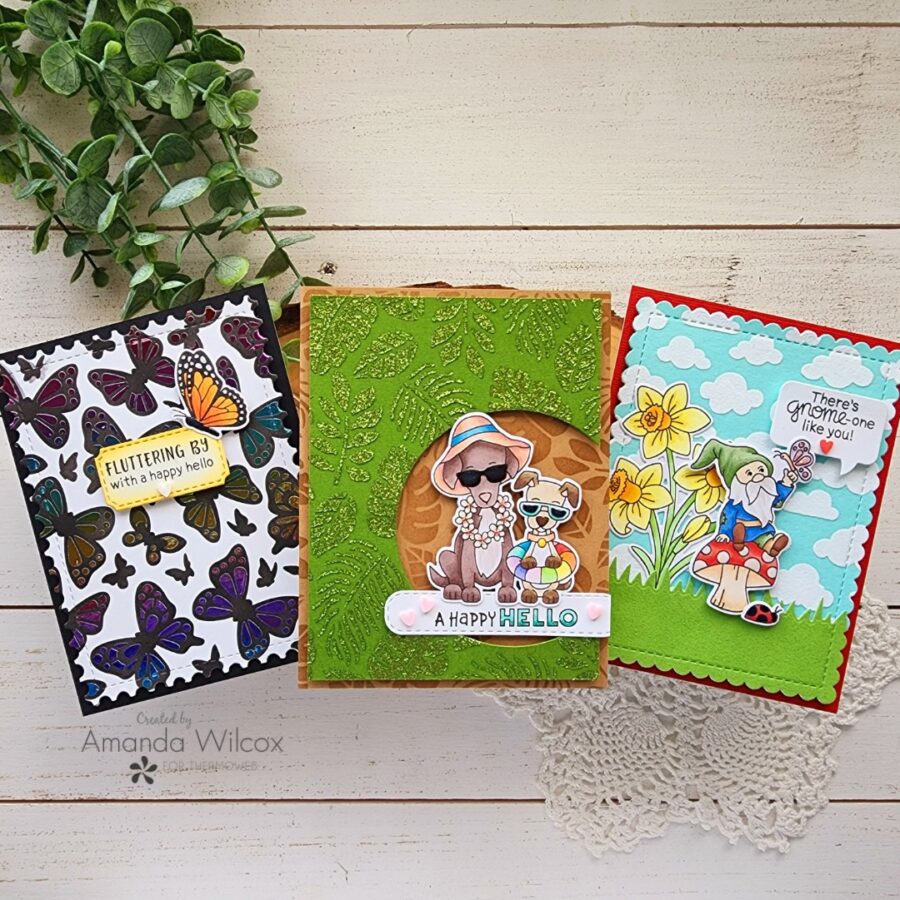
 Hey crafty friends! This is Amanda from Twiddler’s Nook and I am over the moon excited to be here sharing inspiration for the Newton’s Nook/Thermoweb collaboration! Today I have three cards to share with you featuring foiling, flock, and Glitz Glitter Gel with stencils! So much fun to be had. Let’s get started!
Newton’s Nook Collab – Foil, Flock and Glitz Cards, Oh My!
Products used today:
Thermoweb Transfer Gel Blanco
Thermoweb Glitz Glitter Gel – grass green
Thermoweb Deco Foil – mystic rainbow
Thermoweb Deco Foil Flock – white latte and green envy
Thermoweb 3D foam tape and squares
Thermoweb UltraBond liquid glue pen
Thermoweb Craft & Carrier Sheets
Thermoweb Stencil Pal
Newton’s Nook Butterflies stencils
Newton’s Nook Tropical Leaves stencil
Newton’s Nook Cloudy Sky stencil
Newton’s Nook Monarchs stamps and dies
Newton’s Nook Beach Barks stamps and dies
Newton’s Nook Gnome Garden stamps and dies
Newton’s Nook Daffodils stamps and dies
Newton’s Nook Heartfelt Butterflies stamps
Newton’s Nook Land Border dies
Newton’s Nook Banner Trio dies
Newton’s Nook Frames & Flags dies
Newton’s Nook Circle Frames dies
Newton’s Nook Speech Bubbles dies
Twiddler’s Nook Sweethearts clay embellishments
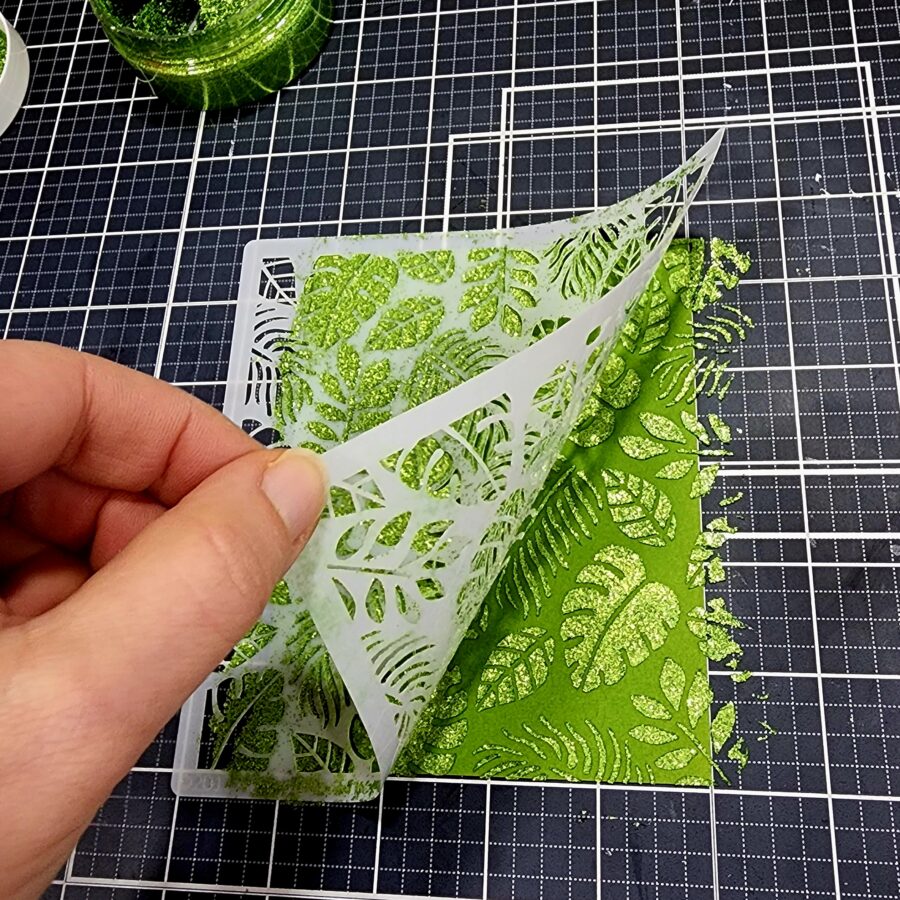
I started my cards by getting messy with each of the backgrounds first because they all needed drying time. So, here is that awesome tropical leaves stencil with glitz gel on green cardstock. I love peeling the stencils away! It’s magical every single time.
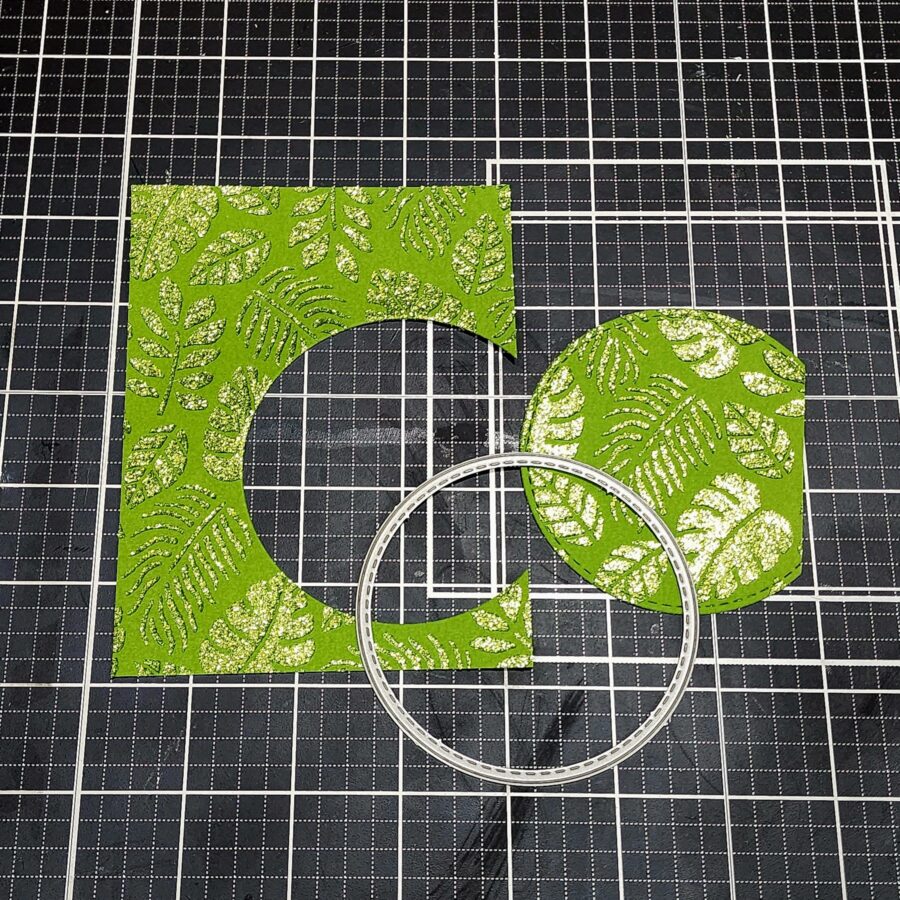
Once the panel was dry, I trimmed it down to 4×5.25 inches and used a stitched circle to cut a window through it. I saved this circle because I will 100% use it on a card in the very near future.
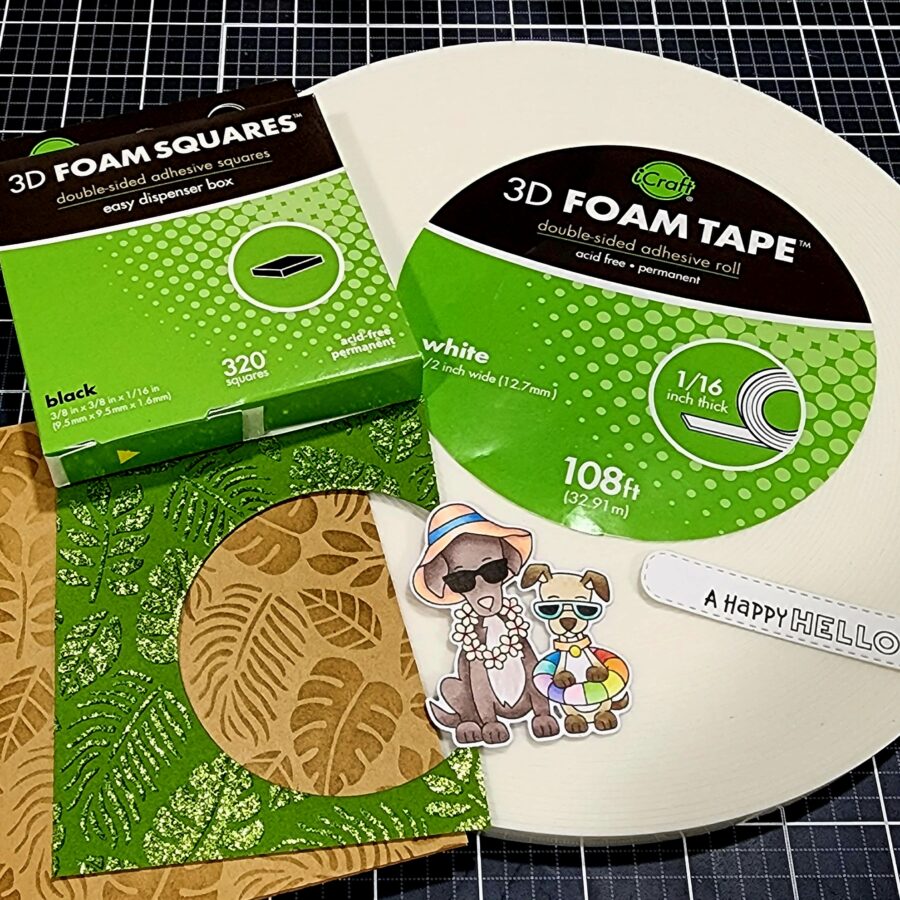
While all of the panels were drying, I stamped and colored the images for each card and used their coordinating dies to cut them all out. For this card, I used Beach Barks and a sentiment from Heartfelt Butterflies on a banner for this card. You’ll also notice I lined my stencil back up on a kraft card base so that when I pop my Glitz Glitter Gel panel up with foam tape the leaves actually match up perfectly. I love this little detail.
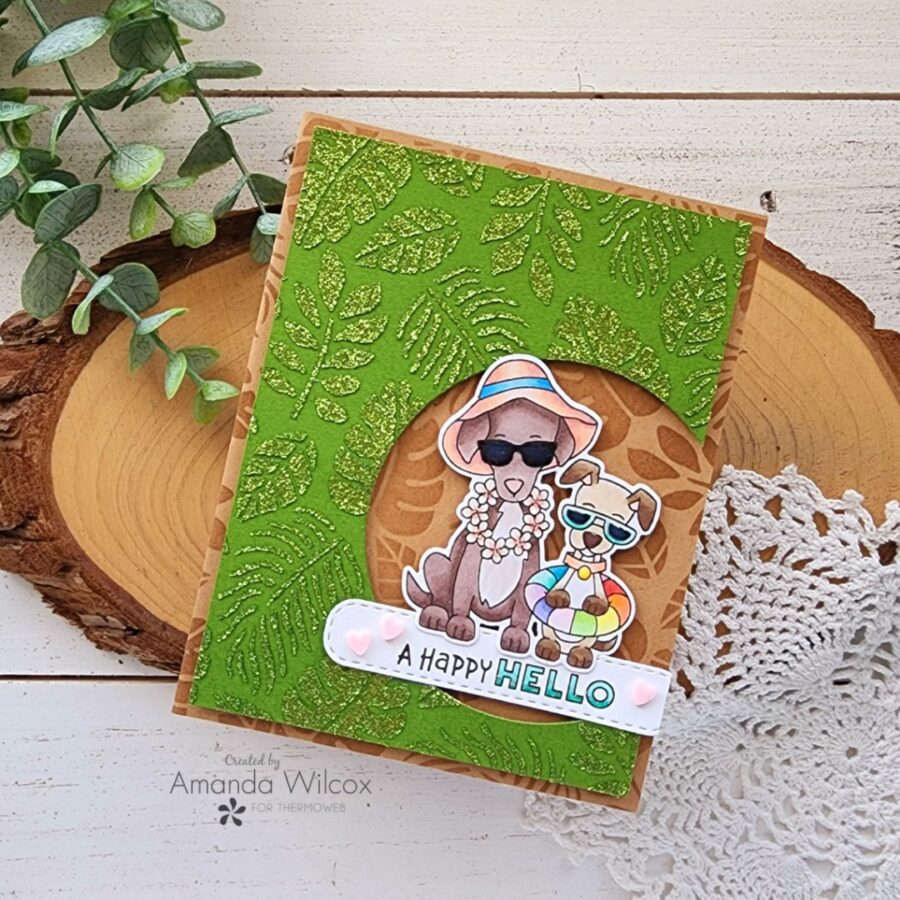
Here is the first card all assembled. I finished things off with glossy accents and unicorn Stickles and a few clay heart embellishments. These pups are so adorable and are such a fun addition to that amazing glitz gel setting!
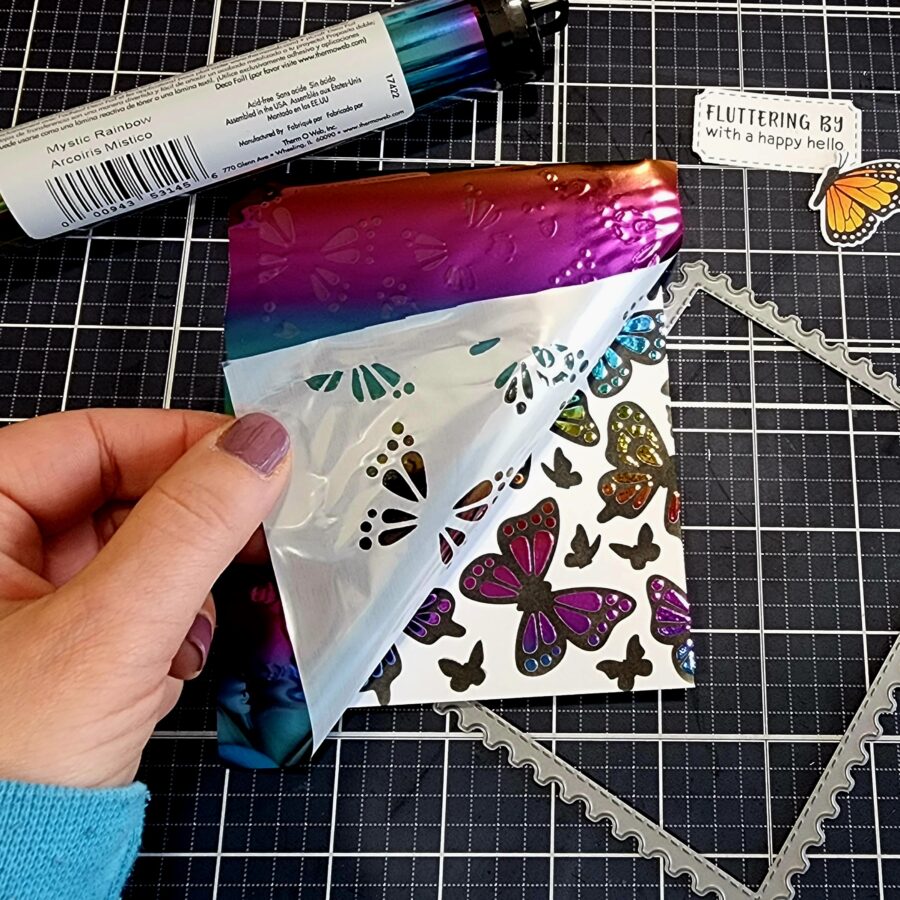
Next, for the butterfly background. This is a two-step stencil, which is also the perfect time to add extra detail like foiling, flock, or glitz! Step that stencil up a notch like I did here. I inked the first layer with black and then spread Deco Foil Transfer Gel Blanco through the detail layer of the stencil. I let it dry and then ran it through my laminator with the mystic rainbow deco foil. Totally stunning! And, also makes me not want to cover much of it up because it’s so pretty!
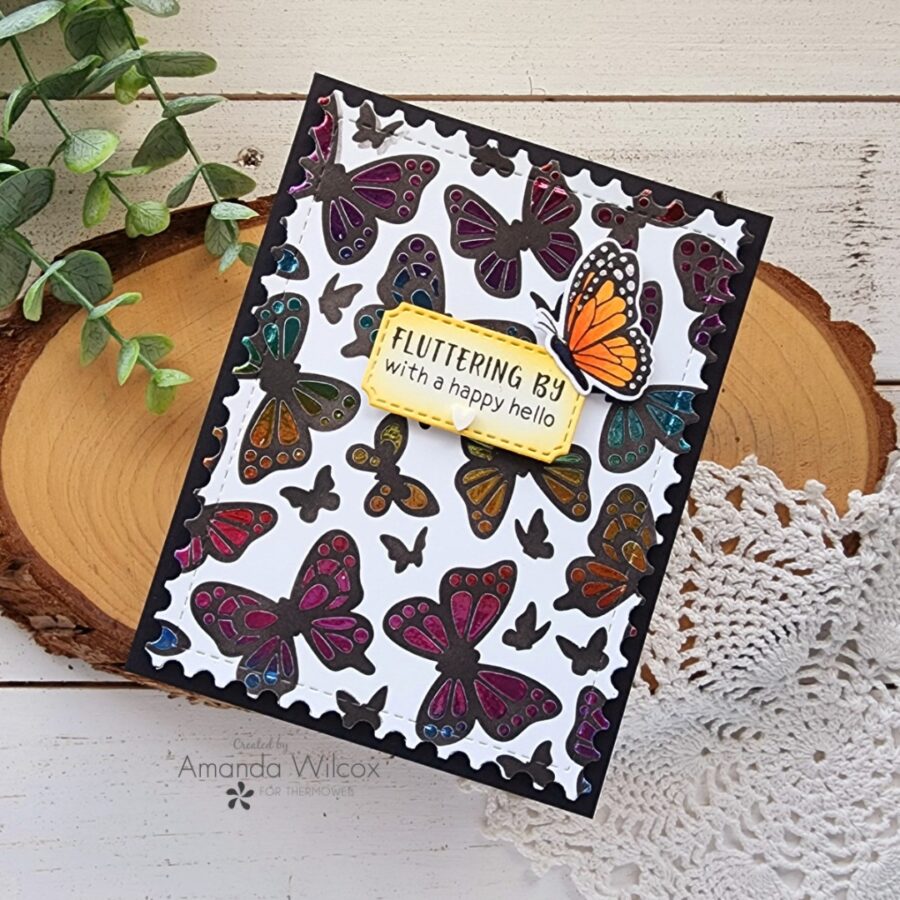
So I cut it out with the largest framework die and popped it up with foam tape on a black A2 size panel. I stamped a sentiment on the smallest die in this same set and inked the edges with orange ink that was left on my blending brush. I stamped and colored a butterfly from Monarchs. These both popped up with the same foam squares and I added another clay heart for extra detail.
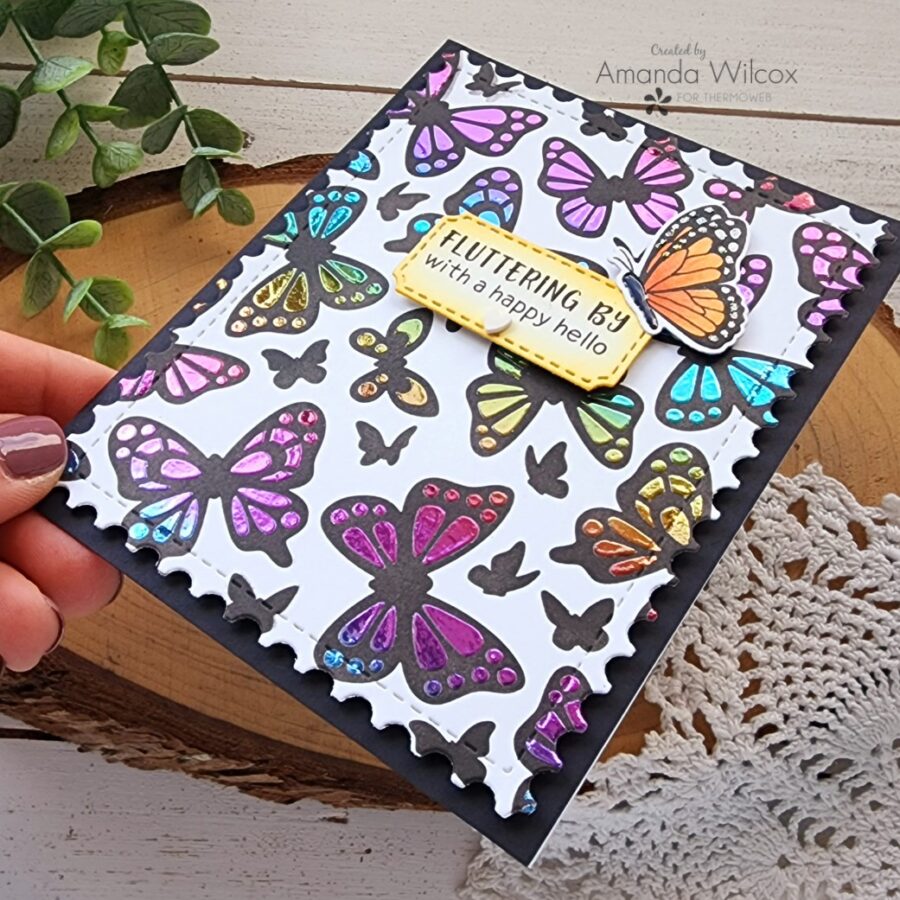
For finishing touches, I added glossy accents to the butterfly body and unicorn stickles to the white spots on the wings. I really wanted that rainbow foiling to be the star of the show. Isn’t it just gorgeous?!? I love it!
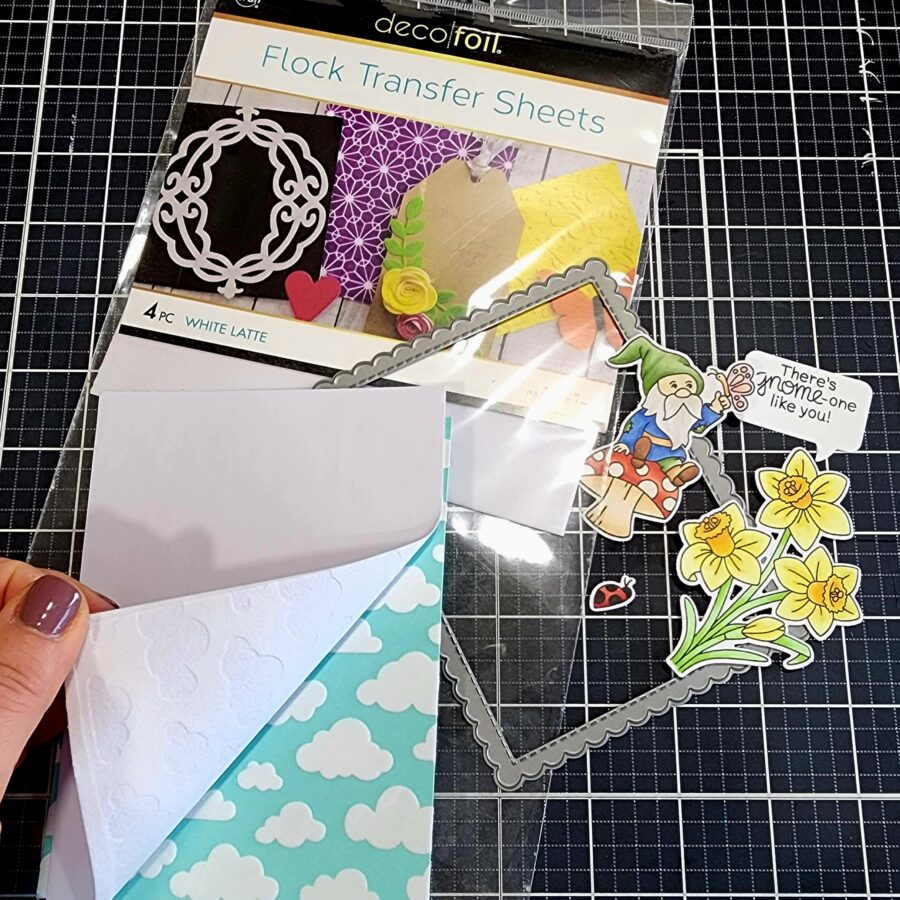
For my final card today, I’m sharing how awesome deco foil flock transfers are to use in a couple of ways on your cards. First I used the cloudy sky stencil with transfer gel blanco and then ran it through my laminator with white latte flock transfer. I used the largest Frames & Flags die to cut the panel down and started creating my scene.
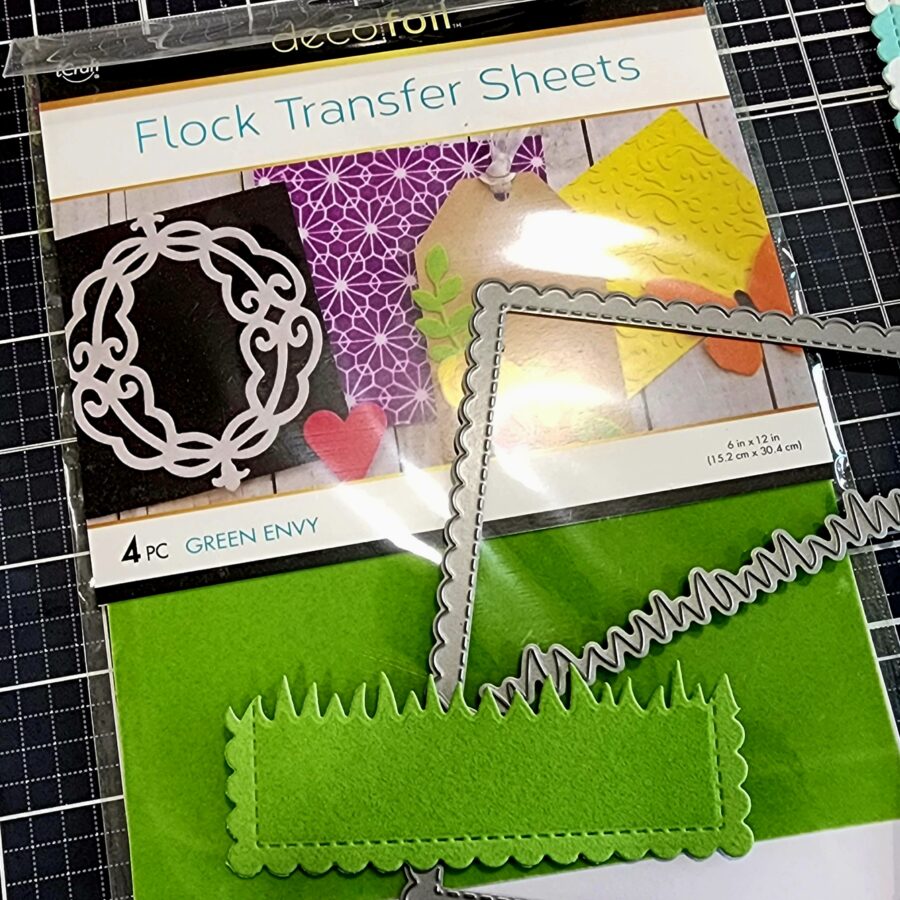
With flock transfer sheets, not only can you use them with your transfer gels and stencils but you can just die cut them on their own too! So I cut a scrap of green envy with the same scalloped rectangle and trimmed the top off with my grass die from the land borders die set. I used my UltraBond liquid adhesive to adhere these together. I do find liquid glue to be stronger with the texture of the flock than dry adhesive.

For the assembly of this card, I adhered a red panel to a white card base and popped the flocked panel up with foam tape again. You all know that I love my dimension by now. It’s so impactful to me. I tucked the daffodils behind the top of the grass line and adhered them with liquid glue, then popped the speech bubble, gnome and ladybug up with foam squares.
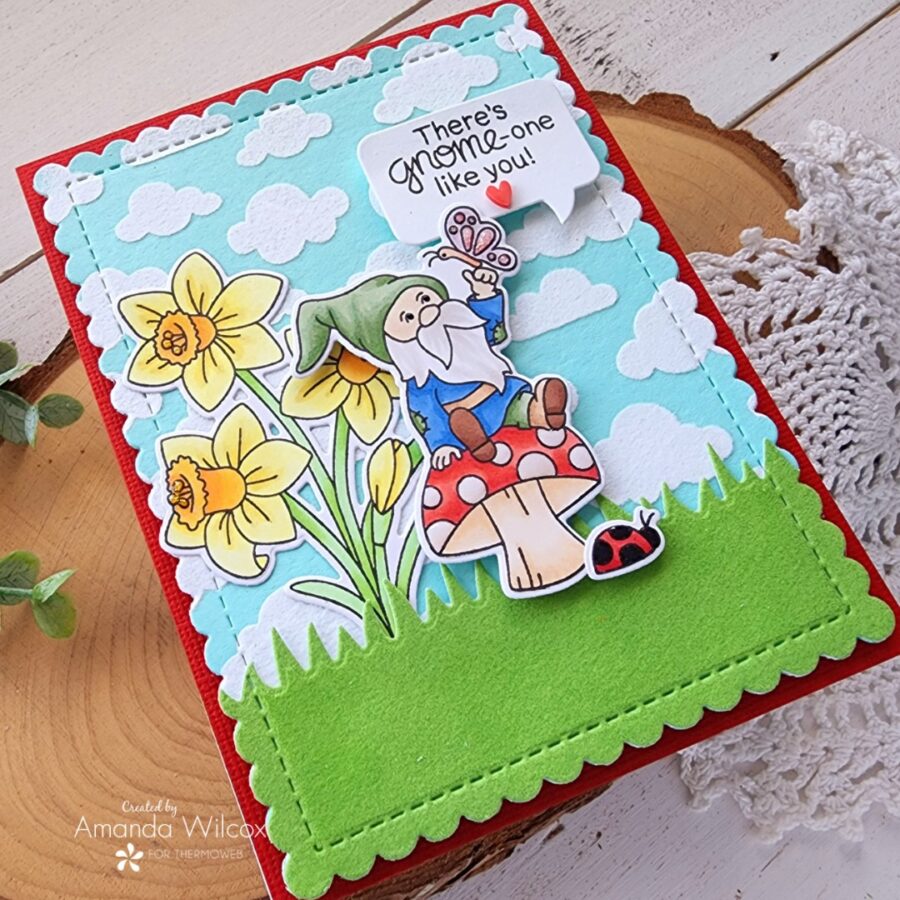
For finishing touches on this card, I added glossy accents to the mushroom and ladybug spots and unicorn Stickles to the daffodil stamen and butterfly spots. Last, I added one red clay heart under the sentiment.
So, what do you all think? Glitz, foil or flock? Do you have a favorite? I love them all and really enjoy mixing and matching them in my cards.
I appreciate you sharing your time with me. Have a fabulous day!

Be sure to get yourself entered to win by stepping through the giveaway software! And do be sure to stop by the Newton’s Nook blog all this week for more project ideas and chances to win!