


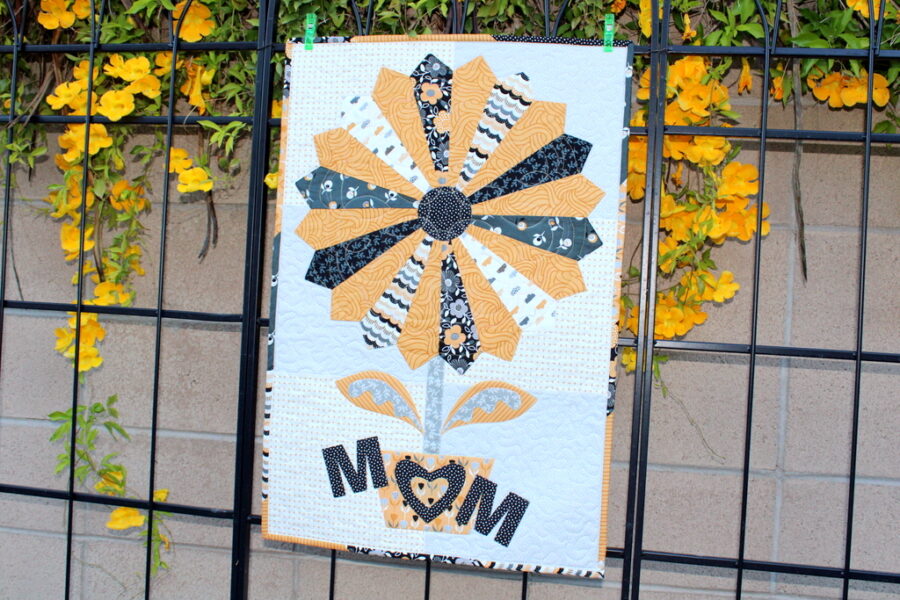
Did you know that “nothing is really lost until your mom can’t find it?” I know this is true in my house! We love to celebrate mothers here at Therm O Web, so today I’m sharing an easy wall hanging to make for mom using only 10″ x 10″ squares from a layer cake.
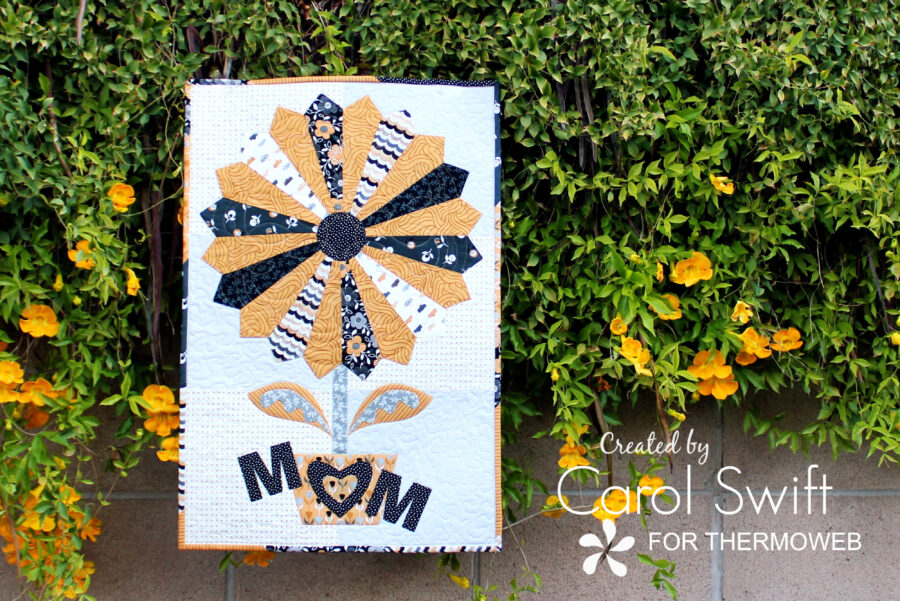
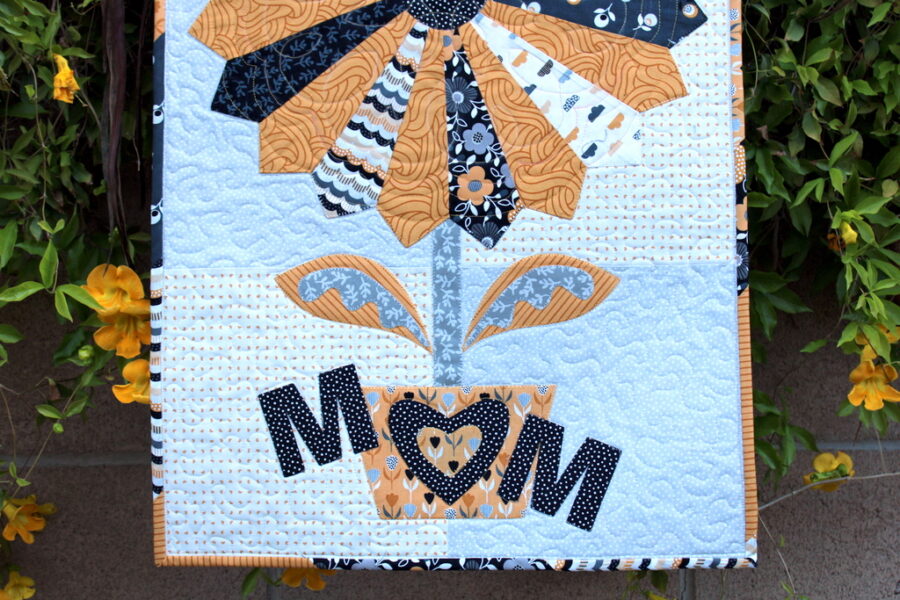
“It Is Mom’s Day”
I’m Carol from Just Let Me Quilt and I love designing and making applique projects. Using ThermOWeb products makes my designs so easy to add to my projects! One of my favorite products for applique are the Heat n Bond Lite EZ Print Sheets. There’s no tracing involved…I just run them through an inkjet printer! Heat n Bond Lite Iron-on Adhesive is also available for tracing by hand or for larger applique pieces.
Let’s get started on making the “It Is Mom’s Day” wall hanging!
Mother’s Day Quilted Flower Wall Hanging with HeatnBond EZ Print Sheets
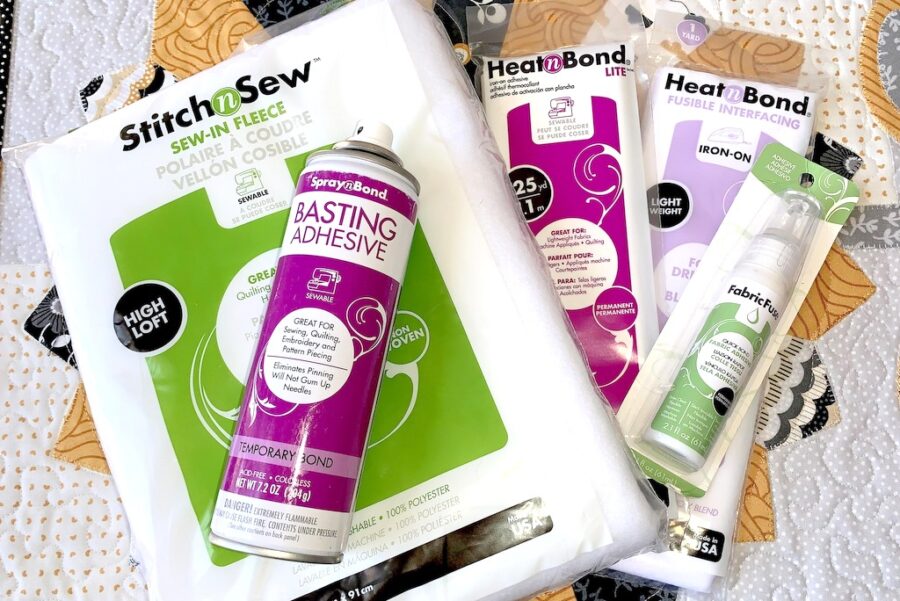
SUPPLIES:
Heat n Bond Lite Iron-on Adhesive or
Heat n Bond Lite EZ Print Sheets
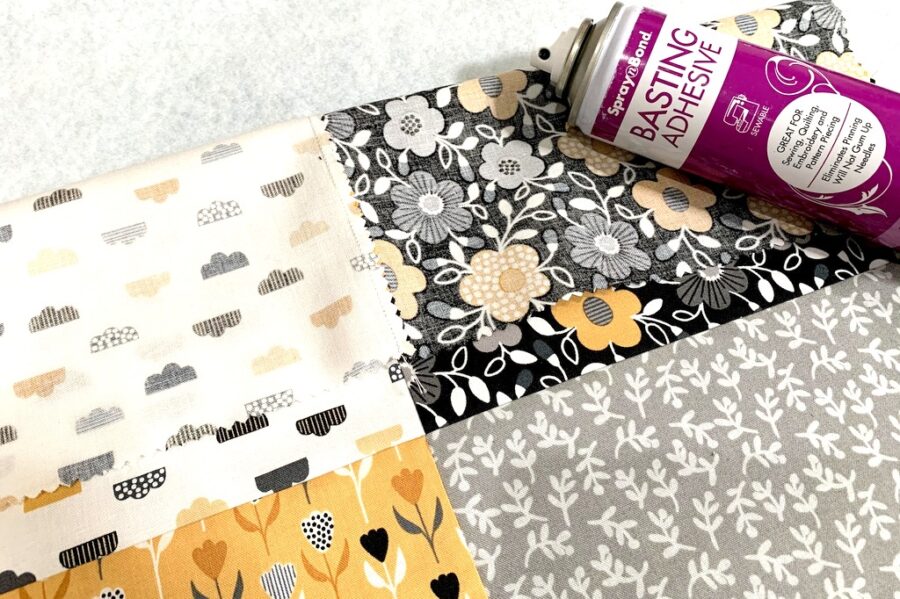
Spray n Bond Basting Adhesive
Stitch n Sew High Loft Fleece
Heat n Bond Light Weight Non-Woven Interfacing
iCraft Fabric Fuse Liquid
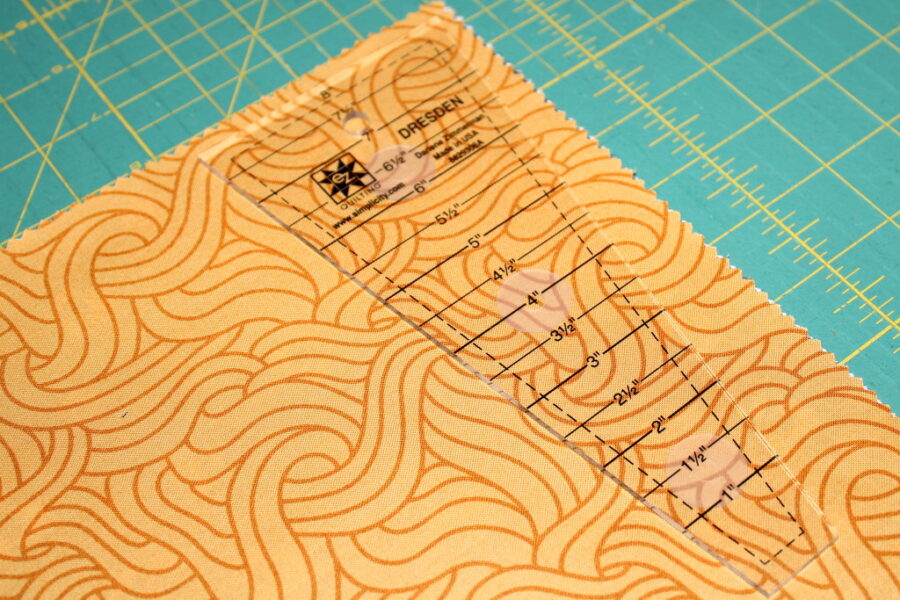
EZ Quilting Dresden Ruler
Aurifil Thread
Oliso Iron
Wooden dowel cut to 18 ½”
Rotary cutter and mat
FABRIC NEEDED:
42-piece layer cake/10″ x 10″ fabrics from Felicity Fabrics by The Tiny Garden, Dotty Flora Licorice.
CUTTING INSTRUCTIONS:
Use 6 – 10” x 10” fabric squares, wall hanging front
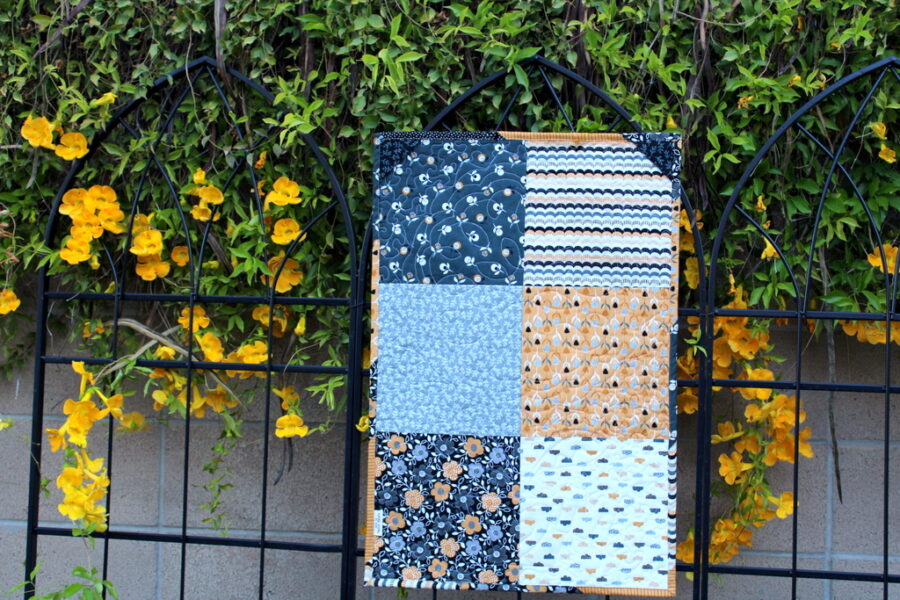
Use 6 – 10” x 10” fabric squares, wall hanging back
Cut 6 – 10” x 10” Heat n Bond Light Weight Non-Woven Interfacing squares
Cut 1 – 21” x 30 ½” Stitch n Sew High Loft Fleece
Cut 20 – 8” Dresden plates
Cut 1 – 3” fabric circle
Cut 1 – 3” interfacing circle
Cut 2 – 3 ½” x 3 ½” squares, wall hanging dowel holder
Cut 15 – 2 ½” x 10” strips, binding
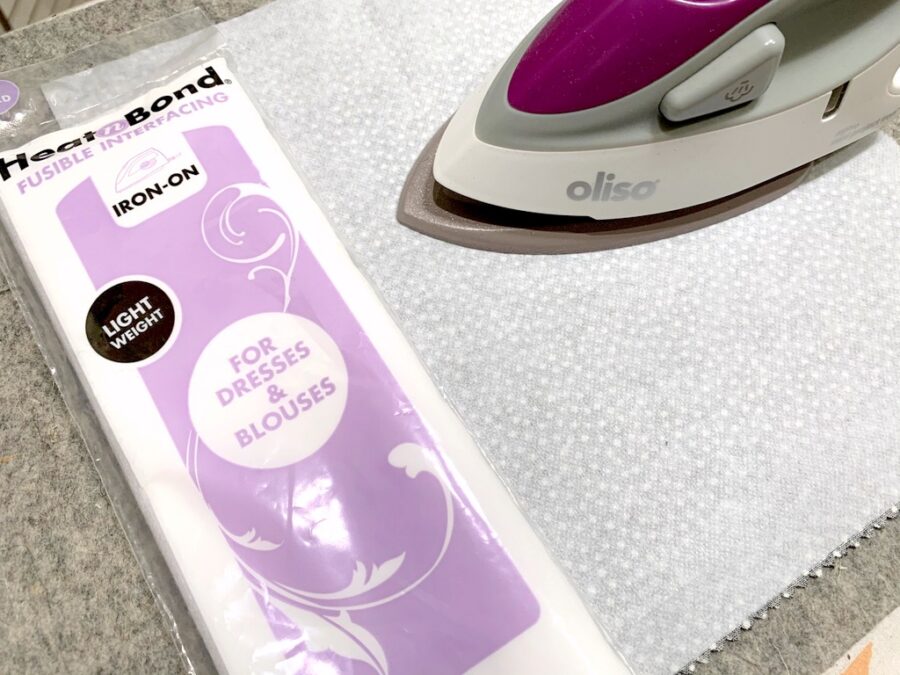
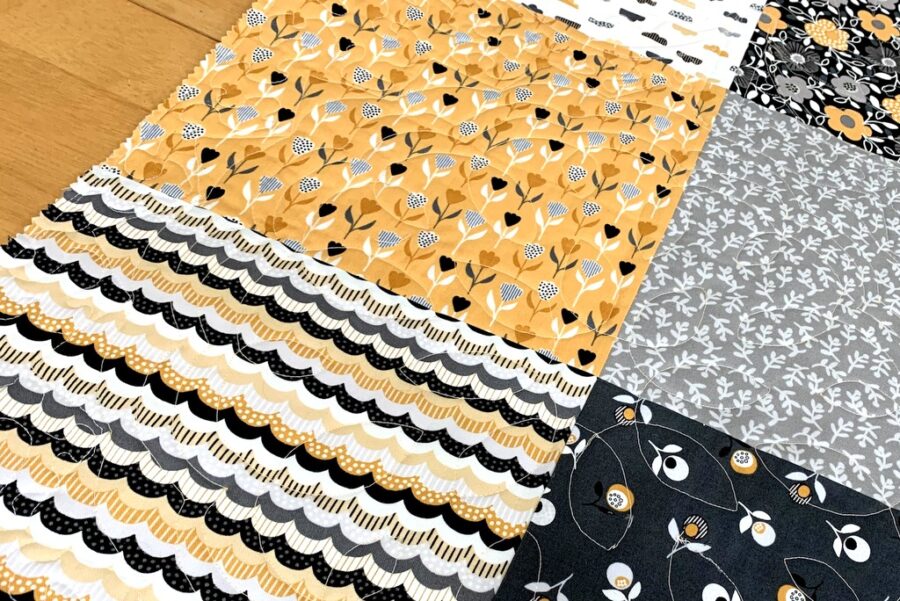
Step 1: Center Block – Following package directions, iron 10” x 10” Heat n Bond Light Weight Non-Woven Interfacing to back of six 10” x 10” fabric squares.
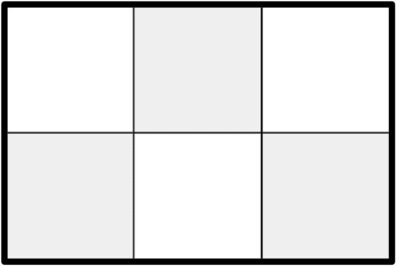
Step 2: With right sides together, sew 10” x 10” interfacing backed squares together in three sections. Press seams towards dark side of fabric.
Step 3: With right sides together, sew sections together matching/nesting seams. Press seams down.
Step 4: Dresdens – Cut out 20 Dresden plates using ruler.
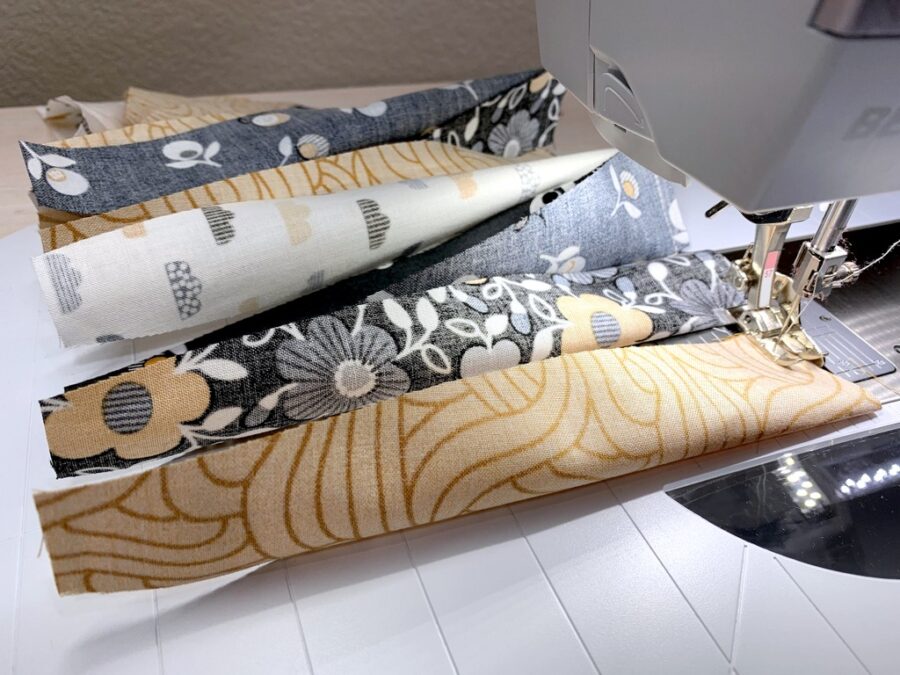
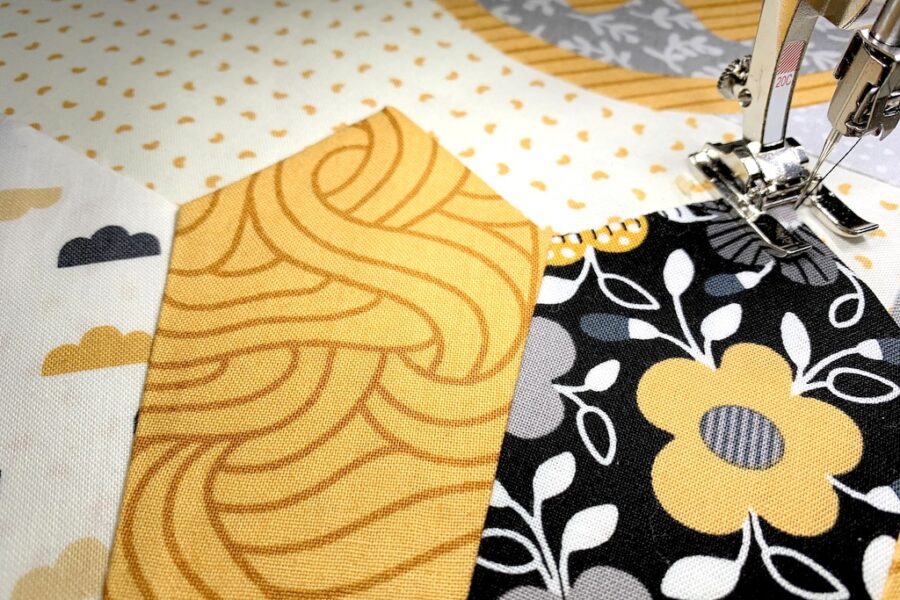
Create 20 Dresden plates by folding one in half lengthwise, right sides together, and sew ¼” seam across top as shown below. Chain stitching works well for this.
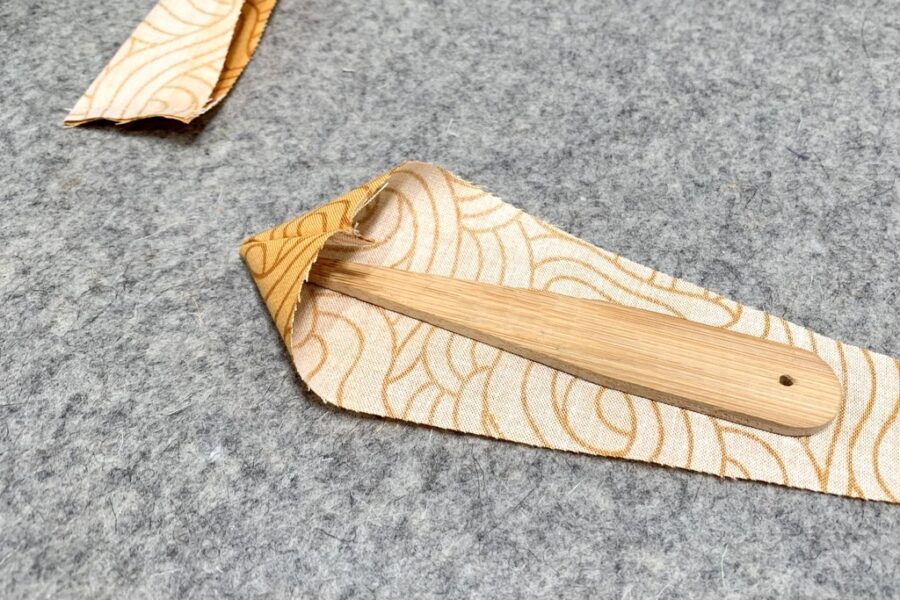
Turn Dresden plate inside out and use a chopstick or other dull pointed object to create point in Dresden plate.
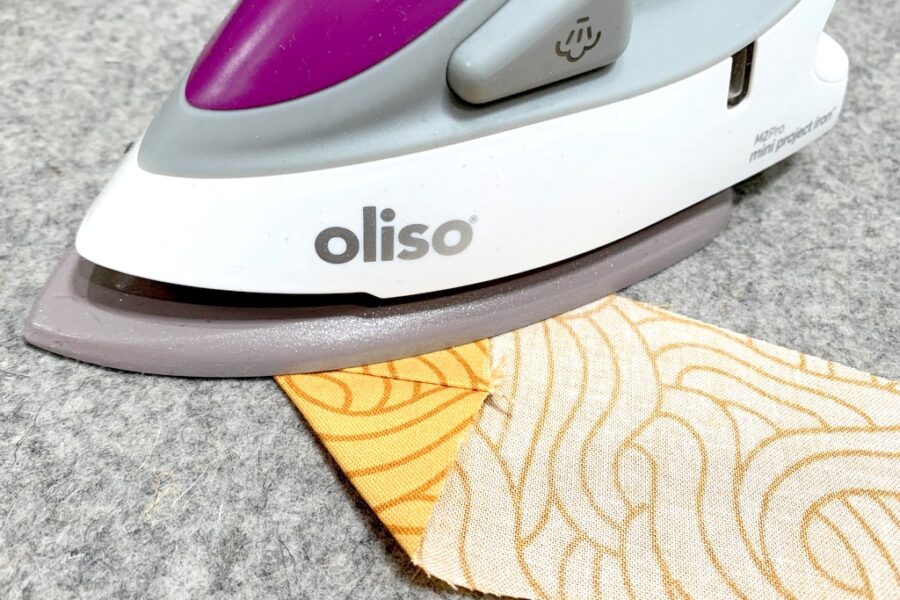
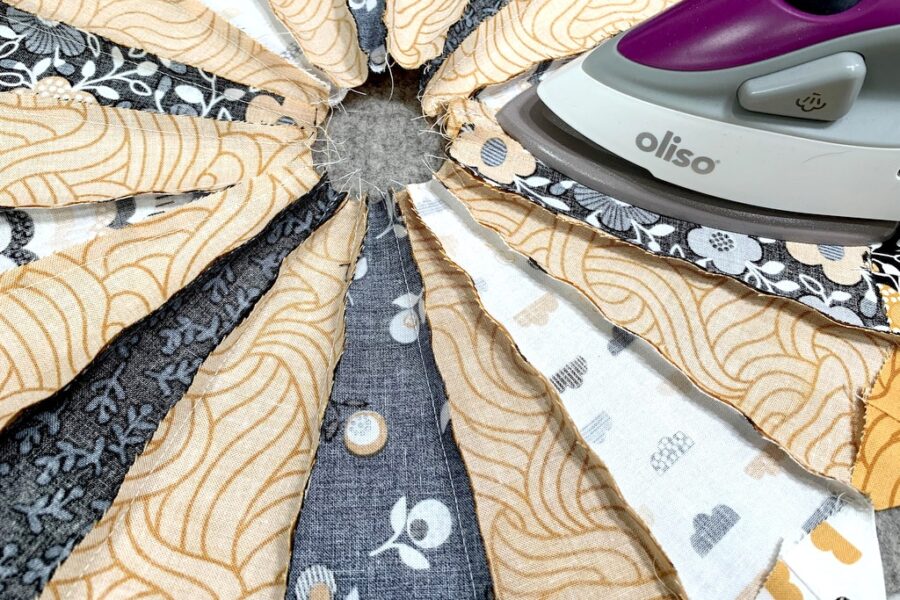
Center the seam and press. Repeat with all Dresden plates. Using an Oliso Mini Project Iron is perfect for this!
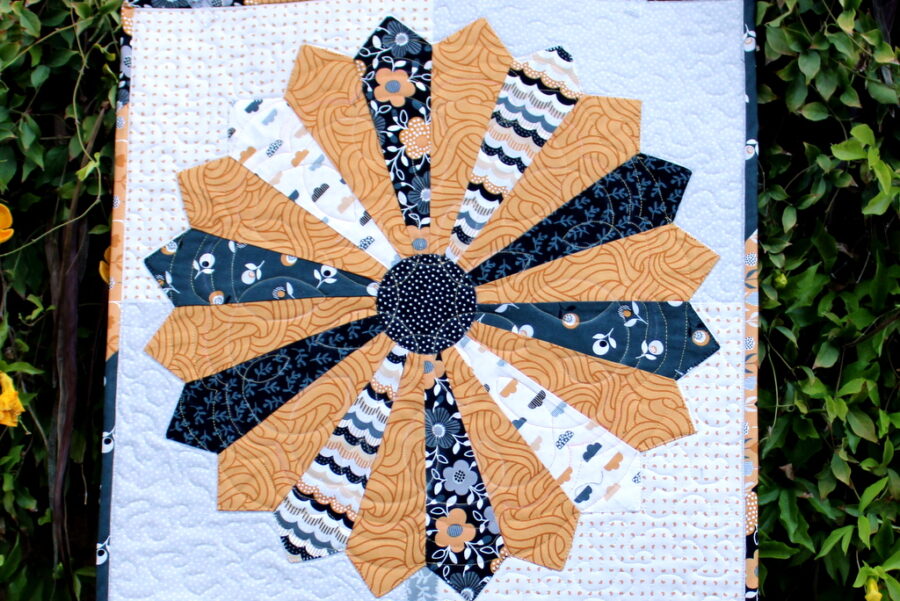
Step 5: With right sides together, sew two plates together matching top corners, sewing from top to bottom. Continue to add plates until the circle is complete. If the bottoms don’t totally match, it’s okay, they will be covered by the Dresden center circle. Press the seams to the sides going the same direction.
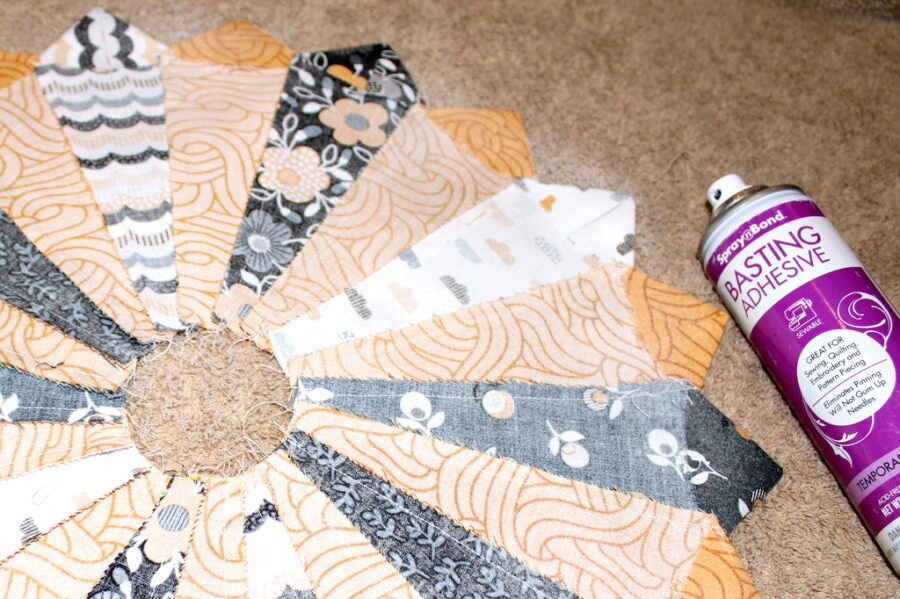
Step 6: Temporarily attach the Dresden by spraying the wrong side of the Dresden with Spray n Bond Basting Adhesive on a protected surface. Center Dresden on top four squares of wall hanging front and finger press in place. Press with iron if desired.
Step 7: Place 3” non-fusible interfacing circle on right side of 3” fabric circle. Sew 1/4” around entire circle. On the interfacing (not the fabric) cut a “X” shape in center being careful not to cut fabric. Turn circle inside out through the “X” slit. Using your finger or a chopstick, run it around the inside to make the edges smooth. Press flat.
Step 8: Temporarily center and attach the Dresden circle over Dresden plate circle using the spray method mentioned in Step 6.
Step 9: Prepare the applique designs using Heat n Bond Lite Iron-on Adhesive following package directions. Iron adhesive pieces to wrong side of fabrics.
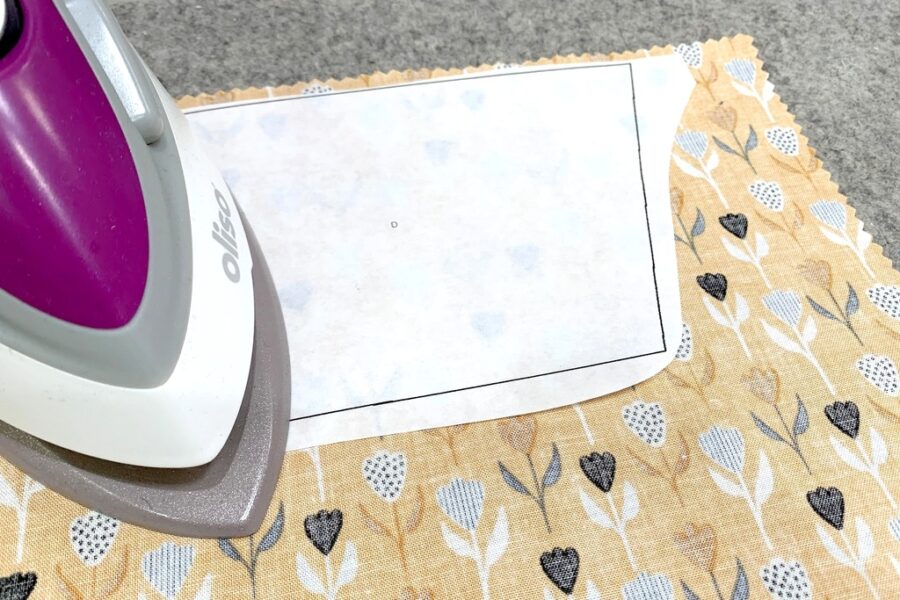
Cut out applique pieces. Peel off paper liner from the backs of applique pieces. Place applique, adhesive side down, on right side of fabric. Press according to package directions until entire piece is bonded. Let cool.

Sew around edges of Dresden flower and applique pieces using a straight, zig-zag, or blanket stitch.
Step 10: Wall hanging back – With right sides together, sew 10” x 10” fabric squares together with the same as were sewn for the front wall hanging.
Step 11: Wall hanging assembly – Protect the area where you will be working by placing an old sheet of paper under and around the area you’ll be spraying. Place the Stitch n Sew High Loft Fleece on the work area, smoothing to remove wrinkles. Place the fabric back, the wrong side down, on top of the fleece. Smooth to remove wrinkles. Rollback a few inches of the fabric back to expose some of the fleece. Using Spray n Bond Basting Adhesive, spray fleece from one edge to the other.
Carefully roll back the wrong side of fabric backing over the sprayed surface of fleece. Smooth fabric to ensure it adheres to the sprayed fleece and removes any wrinkles. Rollback the rest of the fabric back to continue spraying and smoothing a few inches at a time until you reach the bottom. Check for creases or folds you might have missed.
Step 12: Trim wall hanging to square it up and remove excess fleece, if needed.
Step 13: Quilt wall hanging using your favorite method of quilting.
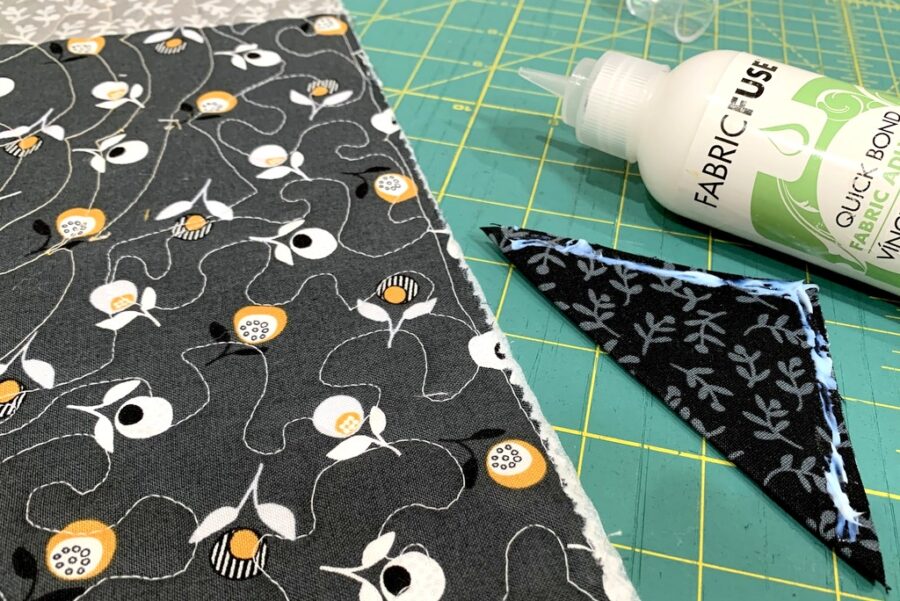
Step 14: Create corner pockets on the wall hanging back using two 3½” x 3½” squares of fabric and iCraft Fabric Fuse Liquid. Fold the squares in half diagonally and press on the fold. Dab the iCraft Fabric Fuse Liquid along the corner edges of the quilt back. Place raw edges of folded corners in place over the adhesive and let dry. Baste if needed.
Step 15: Binding – Sew 2 ½” x 10” strips together to create the binding. Add binding using your favorite method.
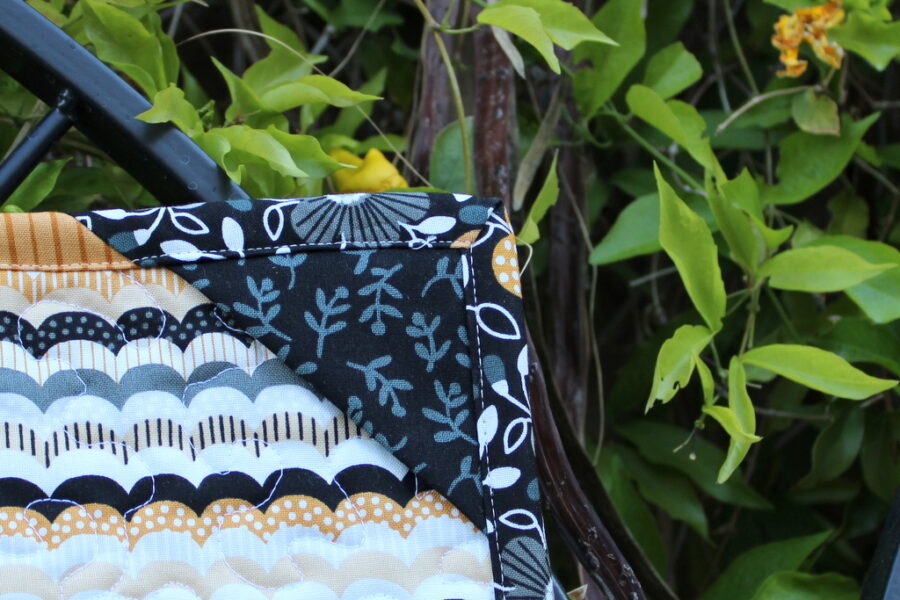
Step 16: Place dowel between triangles on the back. The wall hanging will hang easily on a nail.
You can find the PDF pattern for “It Is Mom’s Day” HERE.
Be sure to look around ThermOWeb’s blog for more inspiration and creativity!
This post contains affiliate links. For more information, see our disclosure HERE.