


Happy December friends! I’m so happy to be back here on the Thermoweb blog to share a project that I am so very excited about. Through the last couple of years many of my precious sewing friends have gifted me large scraps of Liberty of London fabric. Up until then I really hadn’t sewn much with Liberty fabric. It is very expensive and the sort of fabric that you want your project to be perfect! I’ve treasured the scraps sent to me and have lovingly saved them for the day that I could make a quilt. I just knew that this soft, absolute quality fabric would make the most amazing quilt.
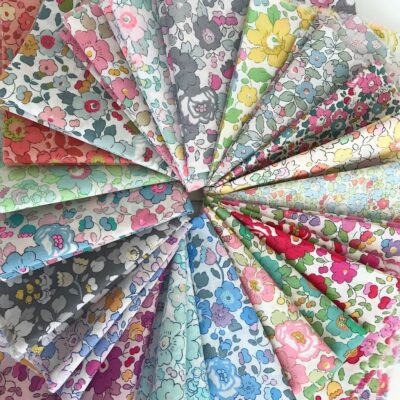
Last year on Instagram there was a really awesome sew-along called the Liberty Betsy Nine Patch Quilt. I followed along and did a lot of drooling. I started collecting small bits of Liberty Betsy to add what had been gifted to me. And I spent hours thinking about what I would use for the low volume fabric in the nine patch quilt pattern.
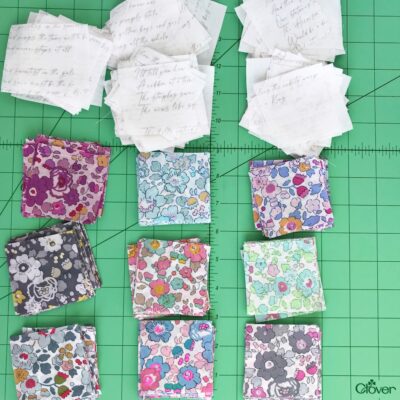
NOTE: Low volume fabric is a lighter color fabric that creates a nice contrast to the colored prints. It can be a solid light color or it can be like mine below which has a little print to it.
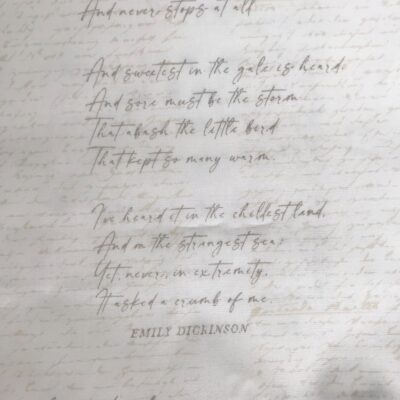
I finally settled on this Art Gallery Fabric called Poet Manuscripts. It is a great low volume fabric that goes so well with Liberty. AND what can be better than Emily Dickinson poetry along with Liberty of London Fabric!!
I’d love to step you through this very, very simple quilt top. If you’ve never made a nine patch quilt block before, you will love how simple this is.
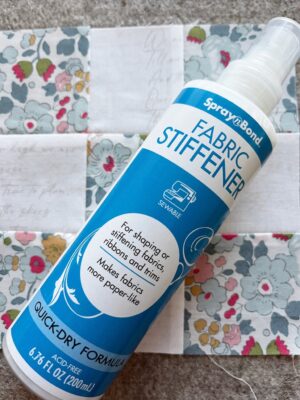
Because Liberty of London and Art Gallery fabrics are very lightweight and a little “silky” in texture some people find it helpful to use SpraynBond Fabric Stiffener. I experimented with it and was happy with the result. It made the fabric just a tiny bit stiffer and also kept the raw edges from fraying. I didn’t end up using it on all the fabric squares that I cut, but when I did use it I felt that those squares were easier to cut. It’s very much a personal preference but if you are a beginner working with Liberty of London fabric (or another lightweight voile type of fabric, you might want to use it). It will wash out the first time you wash your quilt.
Before we get started cutting, you can determine the size of your quilt. OR you can do what I did and just cut as much fabric as you have and just sew your blocks… just keep cutting and sewing blocks until you end up with the size you want! This is not typically how I ever make a quilt… but because I was dealing with all scraps, I really had no idea how big my quilt would end up! It actually was such a fun way to do it!
So let’s get started cutting! You will cut your Liberty (or any other print fabric that you choose) into 2.5 inch squares. As I mentioned, I was using scraps of many different Liberty prints, so I simply cut as many 2.5 inch squares from each print that I could. Cut basically the same amount with your low volume. Not everything has to be cut at one time. You can cut for awhile and then sew for awhile! That’s how I did it and honestly, it was super fun!
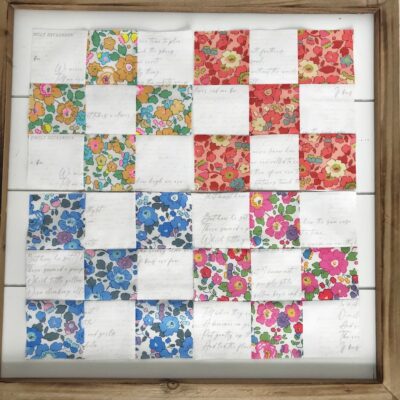
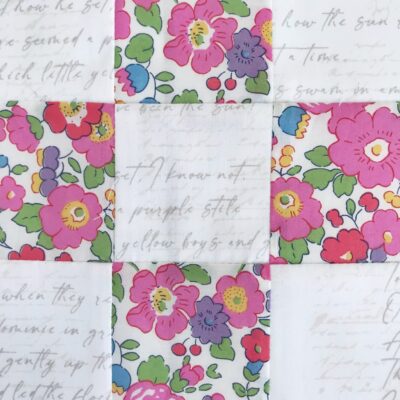
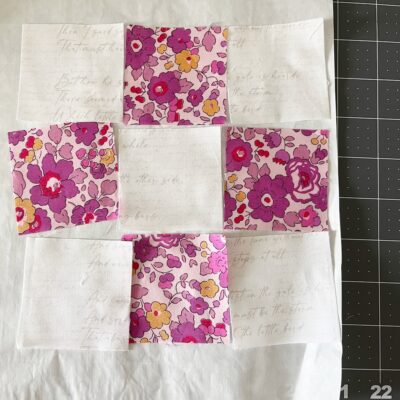
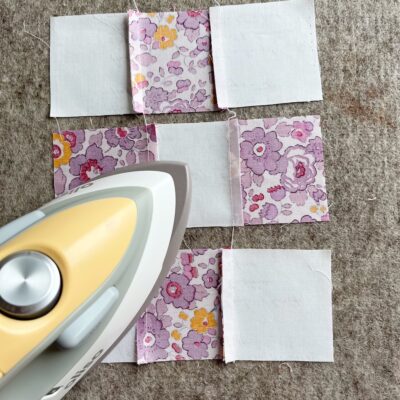
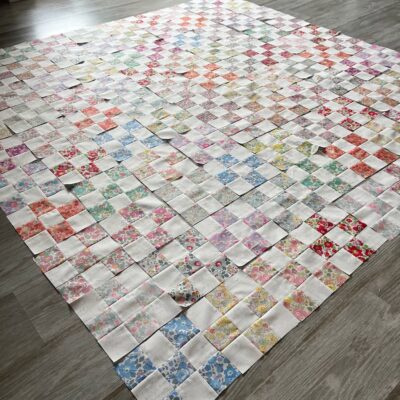
You’ll notice in the picture above that all of the blocks have nine little squares, but some have 4 prints and 5 low volumes and some have 5 prints and 4 low volumes in each block. The reason for that is that they have to be opposites next to each other as they are sewn into the quilt top. Look close at the picture above and you will see what I am talking about.
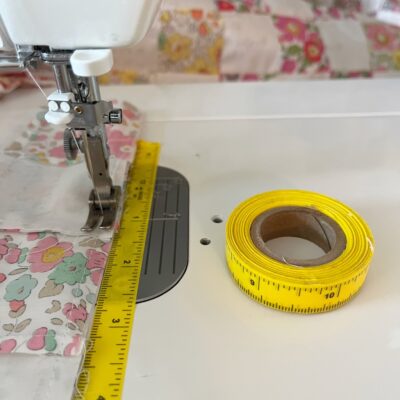
NOTE: before we begin sewing I have a very important tip for you. Your seams need to be an accurate 1/4 inch. Sew a sample fabric and measure that seam to see if it is indeed 1/4 inch. I have an accurate sewing machine foot but not all machines are that accurate. I recommend using Peel n Stick Removable Ruler Tape. Use a ruler to determine the exact 1/4 inch from your needle and then carefully place a long piece of the ruler tape right onto the sewing machine base. This makes getting that perfect seam so easy.
Now that you have cut some print squares and some low volume squares, let’s make a block together! I have discovered a super fast way to do this; it may seem strange at first but just follow along as I break it down into each step. Each block that you make will go faster and be more accurate sewing it like I will show you. Let’s get started!
Instructions:
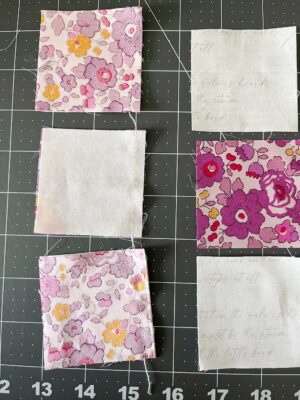
Step One: Lay your print and low volume squares out into the desired nine patch block. Place this right next to your sewing machine.
Step Two: Starting with the top row, flip the middle square over to the left so that it is on top of the first square in that row. Right sides will now be together. Sew along the right edge at a 1/4 inch seam. IMPORTANT NOTE: do not cut the thread; you will be doing what is called chain piecing. So let those two little squares sit there on your machine, still connected by the thread; I actually sew a few stitches of just thread to create a “chain”. Repeat exactly as you did before, but this time in row two. Sew the right sides together in a 1/4 inch seam. Do not cut your thread. Repeat with the first two squares in row three. NOW you can cut your last thread (leaving the others) and remove that set of six squares from the sewing machine. The beginning of the three rows are still connected by threads. Do not cut yet!
Step Three: Open up the the squares you just sewed so they are laying right sides up. Flip over the third square in row one so that it is one top of the middle square in that row. Sew the right edges together with a 1/4 inch seam. Do not cut your thread.
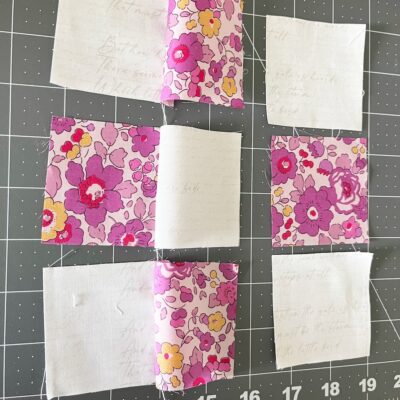
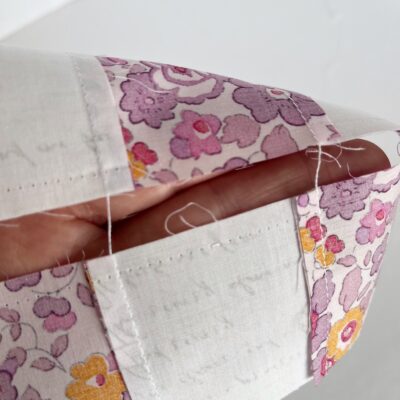
Step Four: Repeat with the final square in each row. Making sure to only cut the final thread. You can see in the picture below that all three rows are sewn, and they are literally hanging together by a little thread!
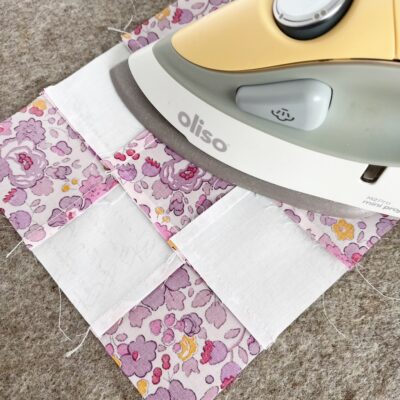
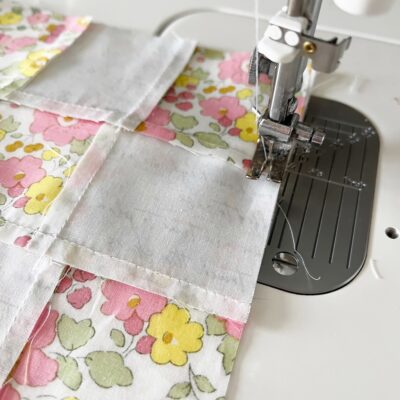
Step Five: Flip your rows over so that the wrong side is facing up. Iron each row separately so that the seams are facing opposite directions when ironed. See picture below.
Step Six: Now it’s finally time to sew the rows together! With the threads still attached, place row one and row two right sides together. With the seams ironed so that they are going different directions, it is easy to “nest” the seams together and really doesn’t even require pinning or clipping.
Step Seven: Sew the two rows together with a 1/4 inch seam allowance. Repeat with the next two rows.

Step Eight: Your first nine patch block is complete and your squares should match up exactly with this method. Press your block so that all the seams are laying flat.
NOTE: the uncut threads will not need to be cut unless they were very long. I kept mine around a 1/4 inch so when the final seam was sewn, there was no hanging threads on the wrong side.
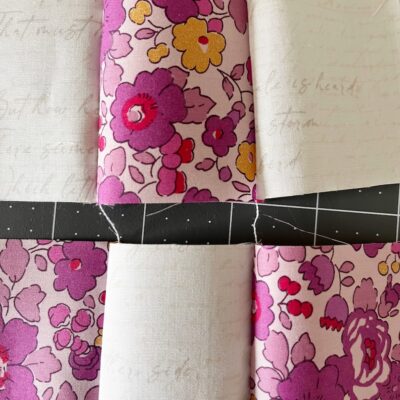
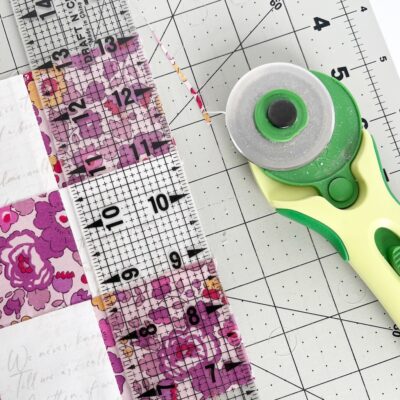
Step Nine: The final step of your block is to trim the edges to square up your block so that it is a perfect 6.5 inches square. This may not seem like a big deal but it really makes the final quilt top sew together smoother and more accurate.
NOTE: you should not have much to trim… in most cases it is just little tiny slivers like you see pictured below.
NOTE: As you are sewing blocks together, keep in mind the important thing mentioned at the beginning of this post… you will need blocks that stagger in prints and low volume so that they go together properly in the rows.
Step Ten: Once you have all your blocks made you can begin laying them out on the floor where you can get a good look at how you want them to go in the quilt. Once you have them all on the floor, take your time and really look over your quilt. You may need to swap some of the blocks around. I literally left mine on my sewing room floor for three days and I just kept looking and swapping!
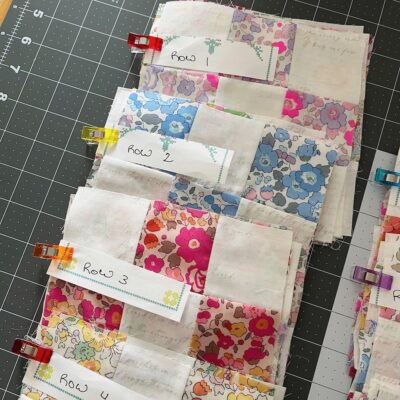
Step Eleven: Once you are certain on the layout of your quilt, you can begin picking up the rows! Do this carefully. I started with row one and picked up the first block on the left and put each following block under it to make a nice pile. I labeled it “Row 1”. Repeat with all the other rows, labeling as you go.
Step Twelve: Now you can start sewing your rows together! This doesn’t require too much instruction. It is a matter of placing block two on top of block one, wrong sides together and sewing the right side raw edges together with a 1/4 inch seam. Be sure that all seams are lined up as you sew. I did not pin or clip the seams in place, but if this is your first time sewing blocks together you might want to do that.
Step Thirteen: Repeat in this way with all the remaining blocks in Row One. Once complete, iron the seams carefully. Place your label back on that row and set aside for now. Continue until you have sewn all the rows, making sure to label each one!

Step Fourteen: Now you will sew the rows together! At this point, it is VERY important to pin (or clip) the rows together, matching all seams. Sew row one to row two, using a 1/4 inch seam allowance. Continue in this manner until all rows are sewn together. Take your time, do not rush the process. It is easy to get frustrated at this point as you are dealing with long rows and a lot of them! So as soon as you feel frustrated… take a break!
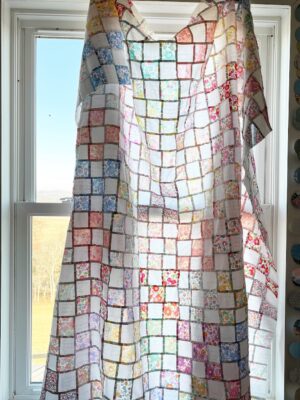
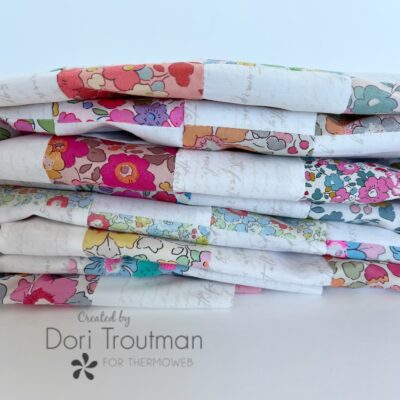
And… WOW!!! Your quilt top is complete! (And it’s almost as pretty on the back side as it is on the front!) You can be so incredibly proud! I carefully ironed my quilt top until all the seams were smooth and flat on the back. Then I ironed the front as well. Gently fold your quilt top, take a really deep breath, and set it aside for now! Watch for Part Two of this beautiful Liberty Nine Patch Quilt in just two weeks! You will love the finish and I’m so excited!
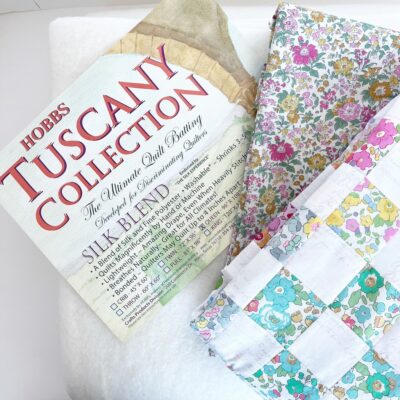
And here is a little sneak peak on what you have to look forward to in Part Two of this beautiful Liberty Nine Patch Quilt in just two weeks! I’m excited about so much of the finish (think hand quilting!) but especially excited to share with you that we here at Thermoweb are doing a cross promotion with Hobbs Batting; which I have used for years in my quilts. However, I have never used their Tuscany Silk Blend before. I left it up to Hobbs to send me the best batting for a soft Liberty of London quilt and my contact there recommend the silk blend. It is soft and has such a beautiful drape to it; what a perfect choice. I cannot wait to share how the hand quilting is going!

And the backing fabric above… sigh. It is the most gorgeous print of Liberty of London fabric. I had such a hard time choosing and this was the winner!
If you have ANY questions on this blog post, especially the chain piecing process, you can direct message me on IG @redfeedsack or you can send me an email at [email protected].
Happy quilting my friends!
CLICK HERE to go to Part II of the Liberty of London Nine-Patch Quilt Tutorial.