Decorating for fall? What about Halloween?
Or…how about both?!?!
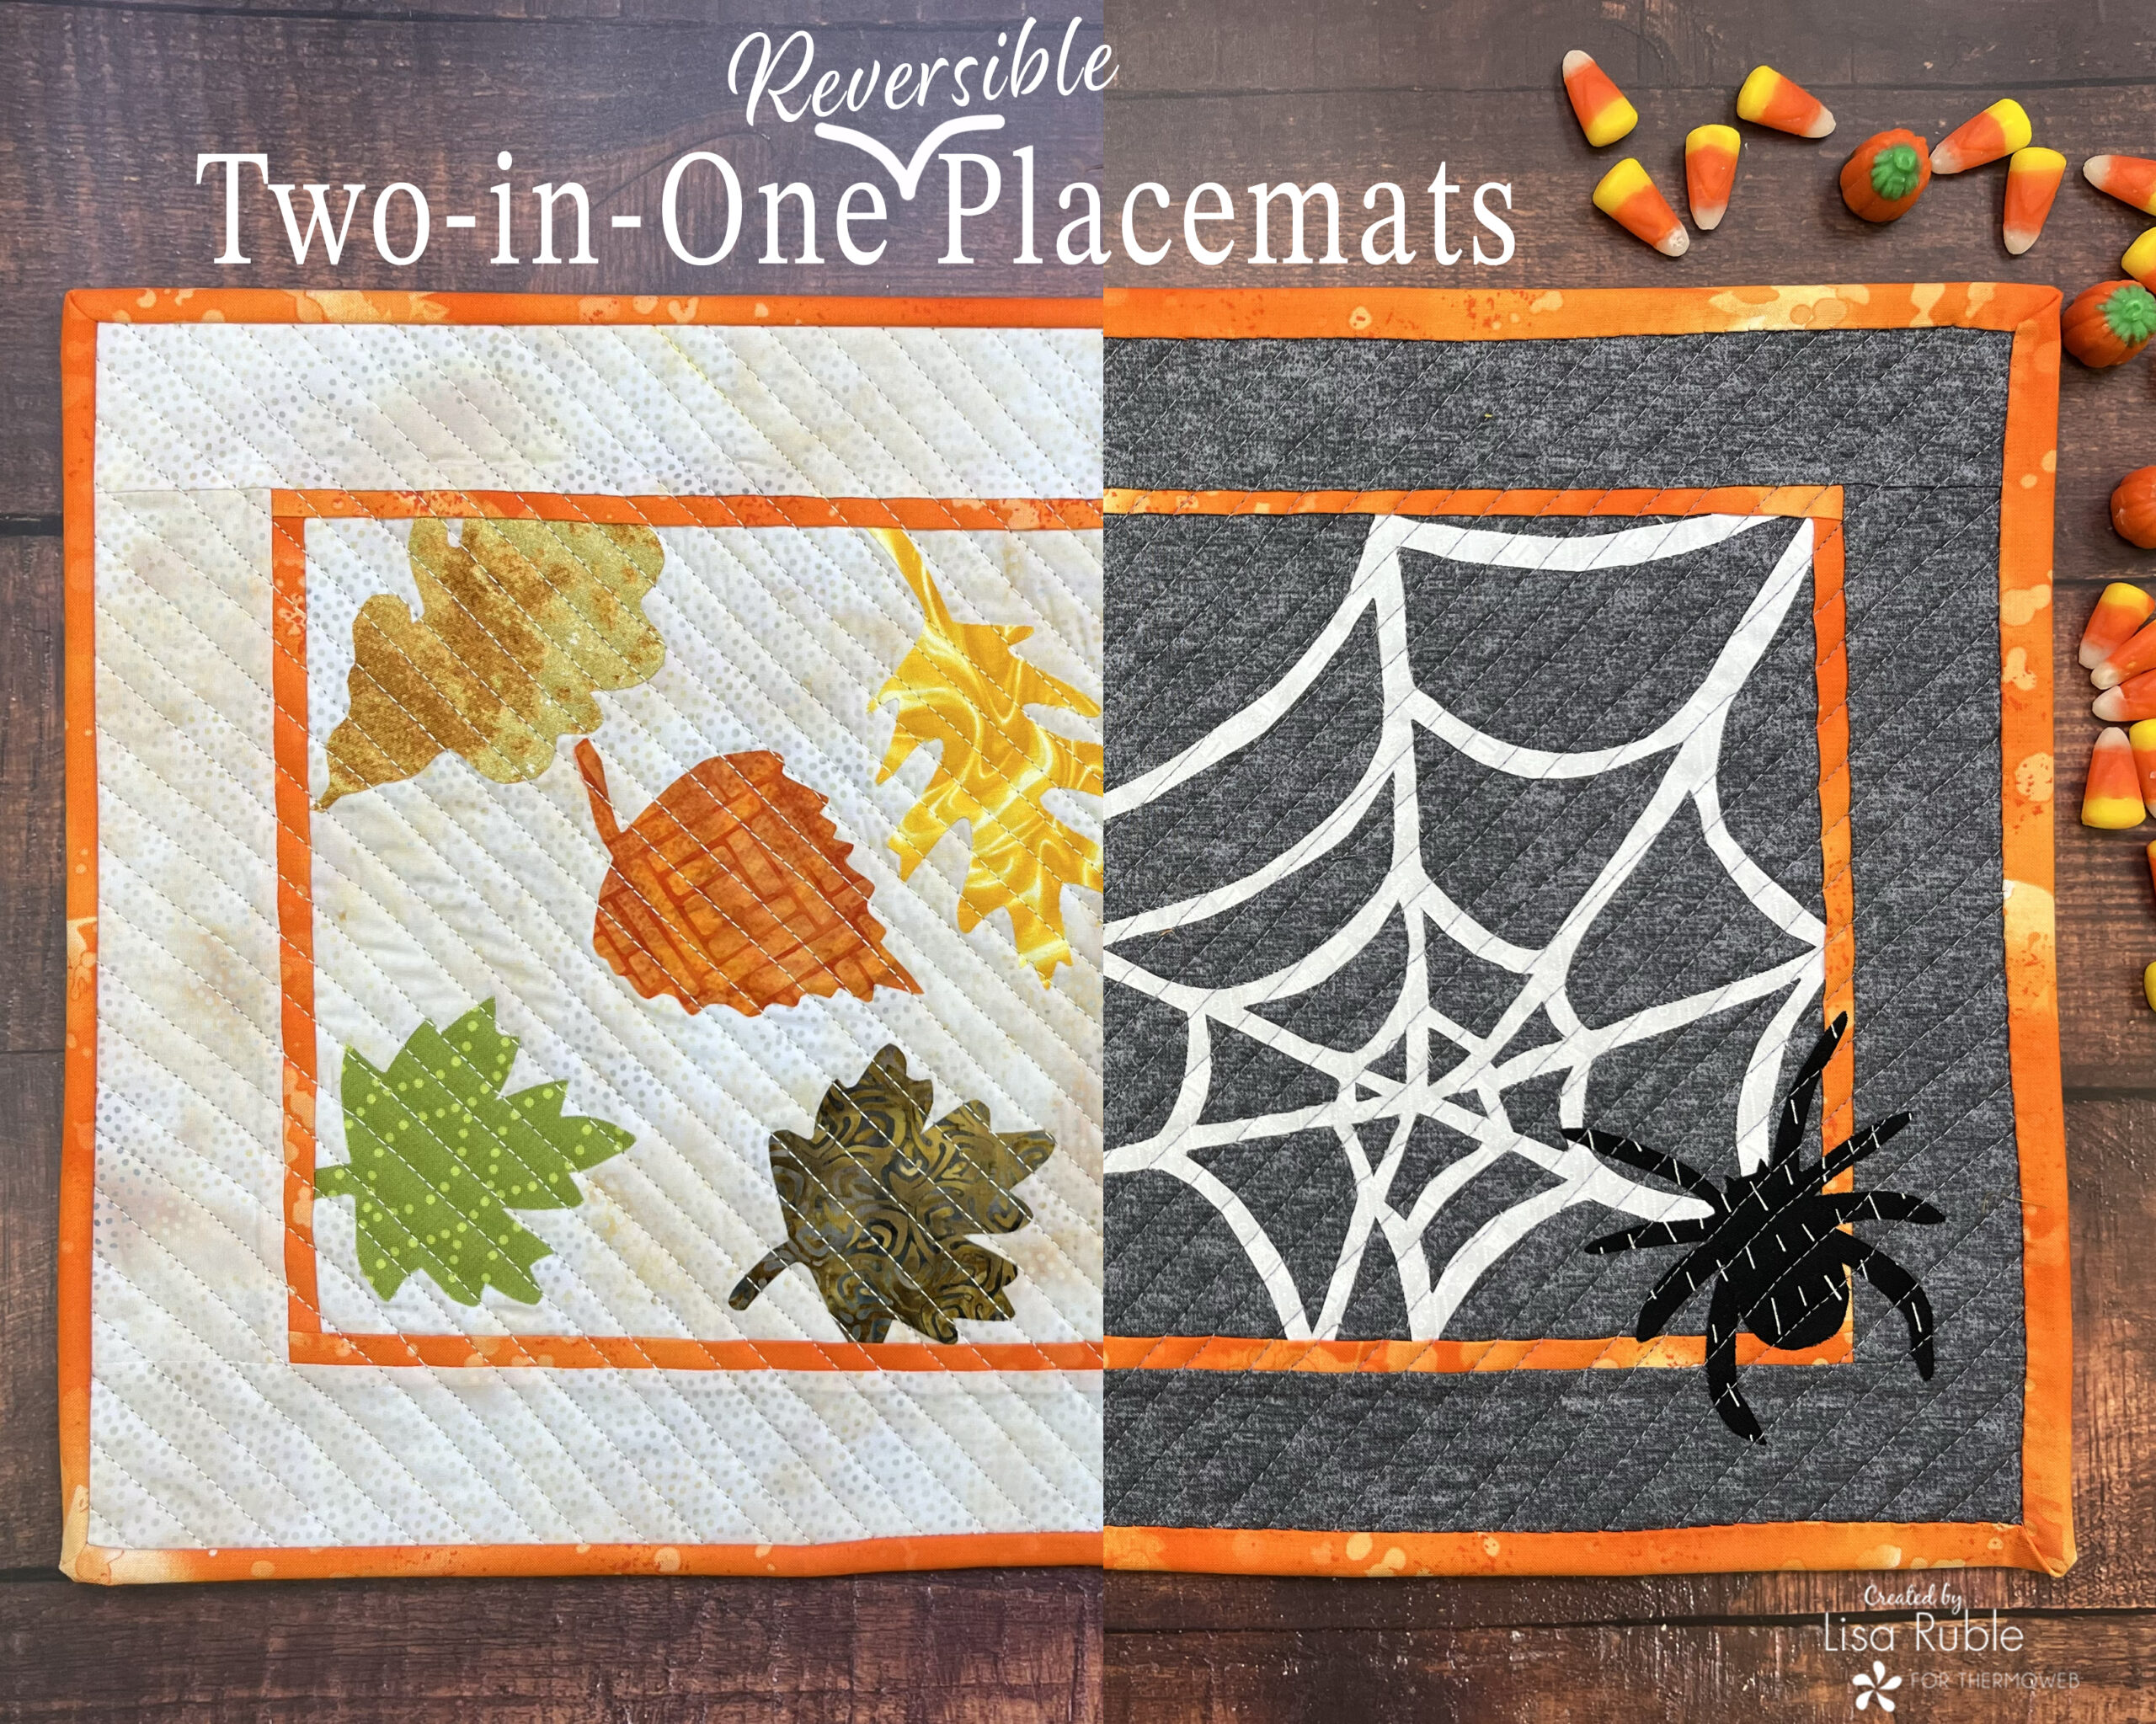
Hi, it’s Lisa Ruble from Quilty Zest and today I’m here to share a 2-in-1 project. It covers both fall and Halloween and is going to help you take up less room in your linen closet! 🙂
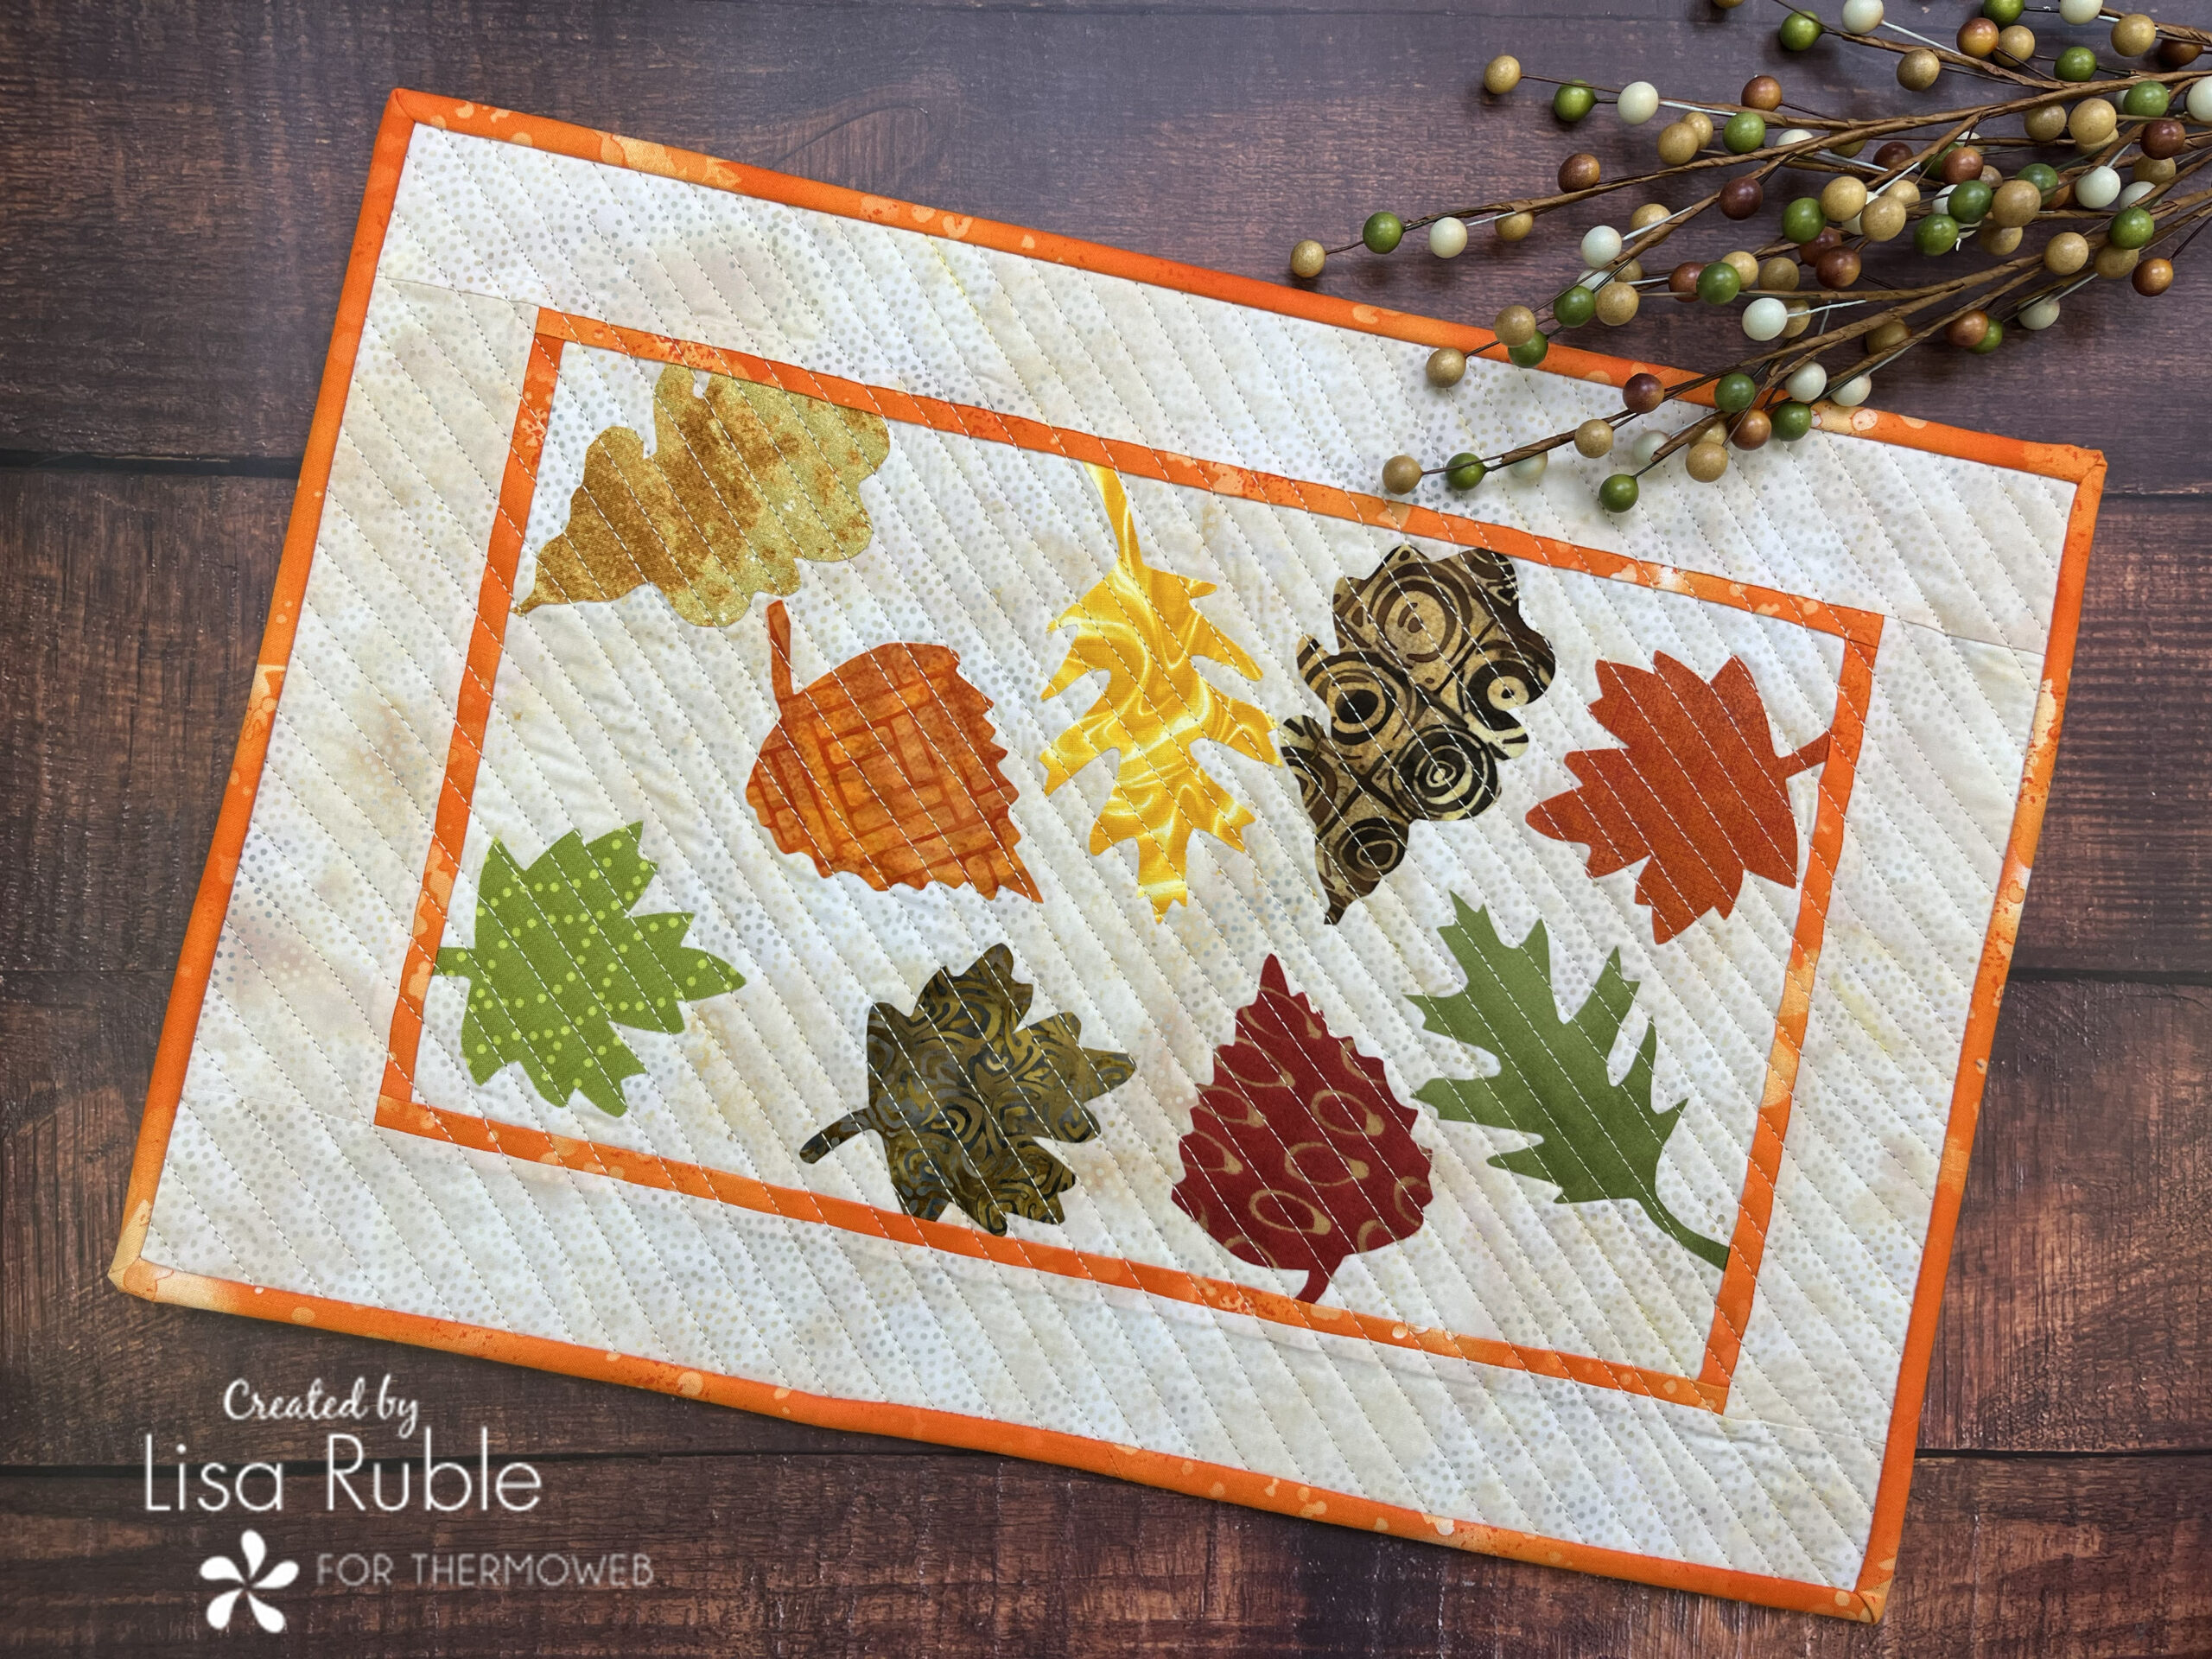
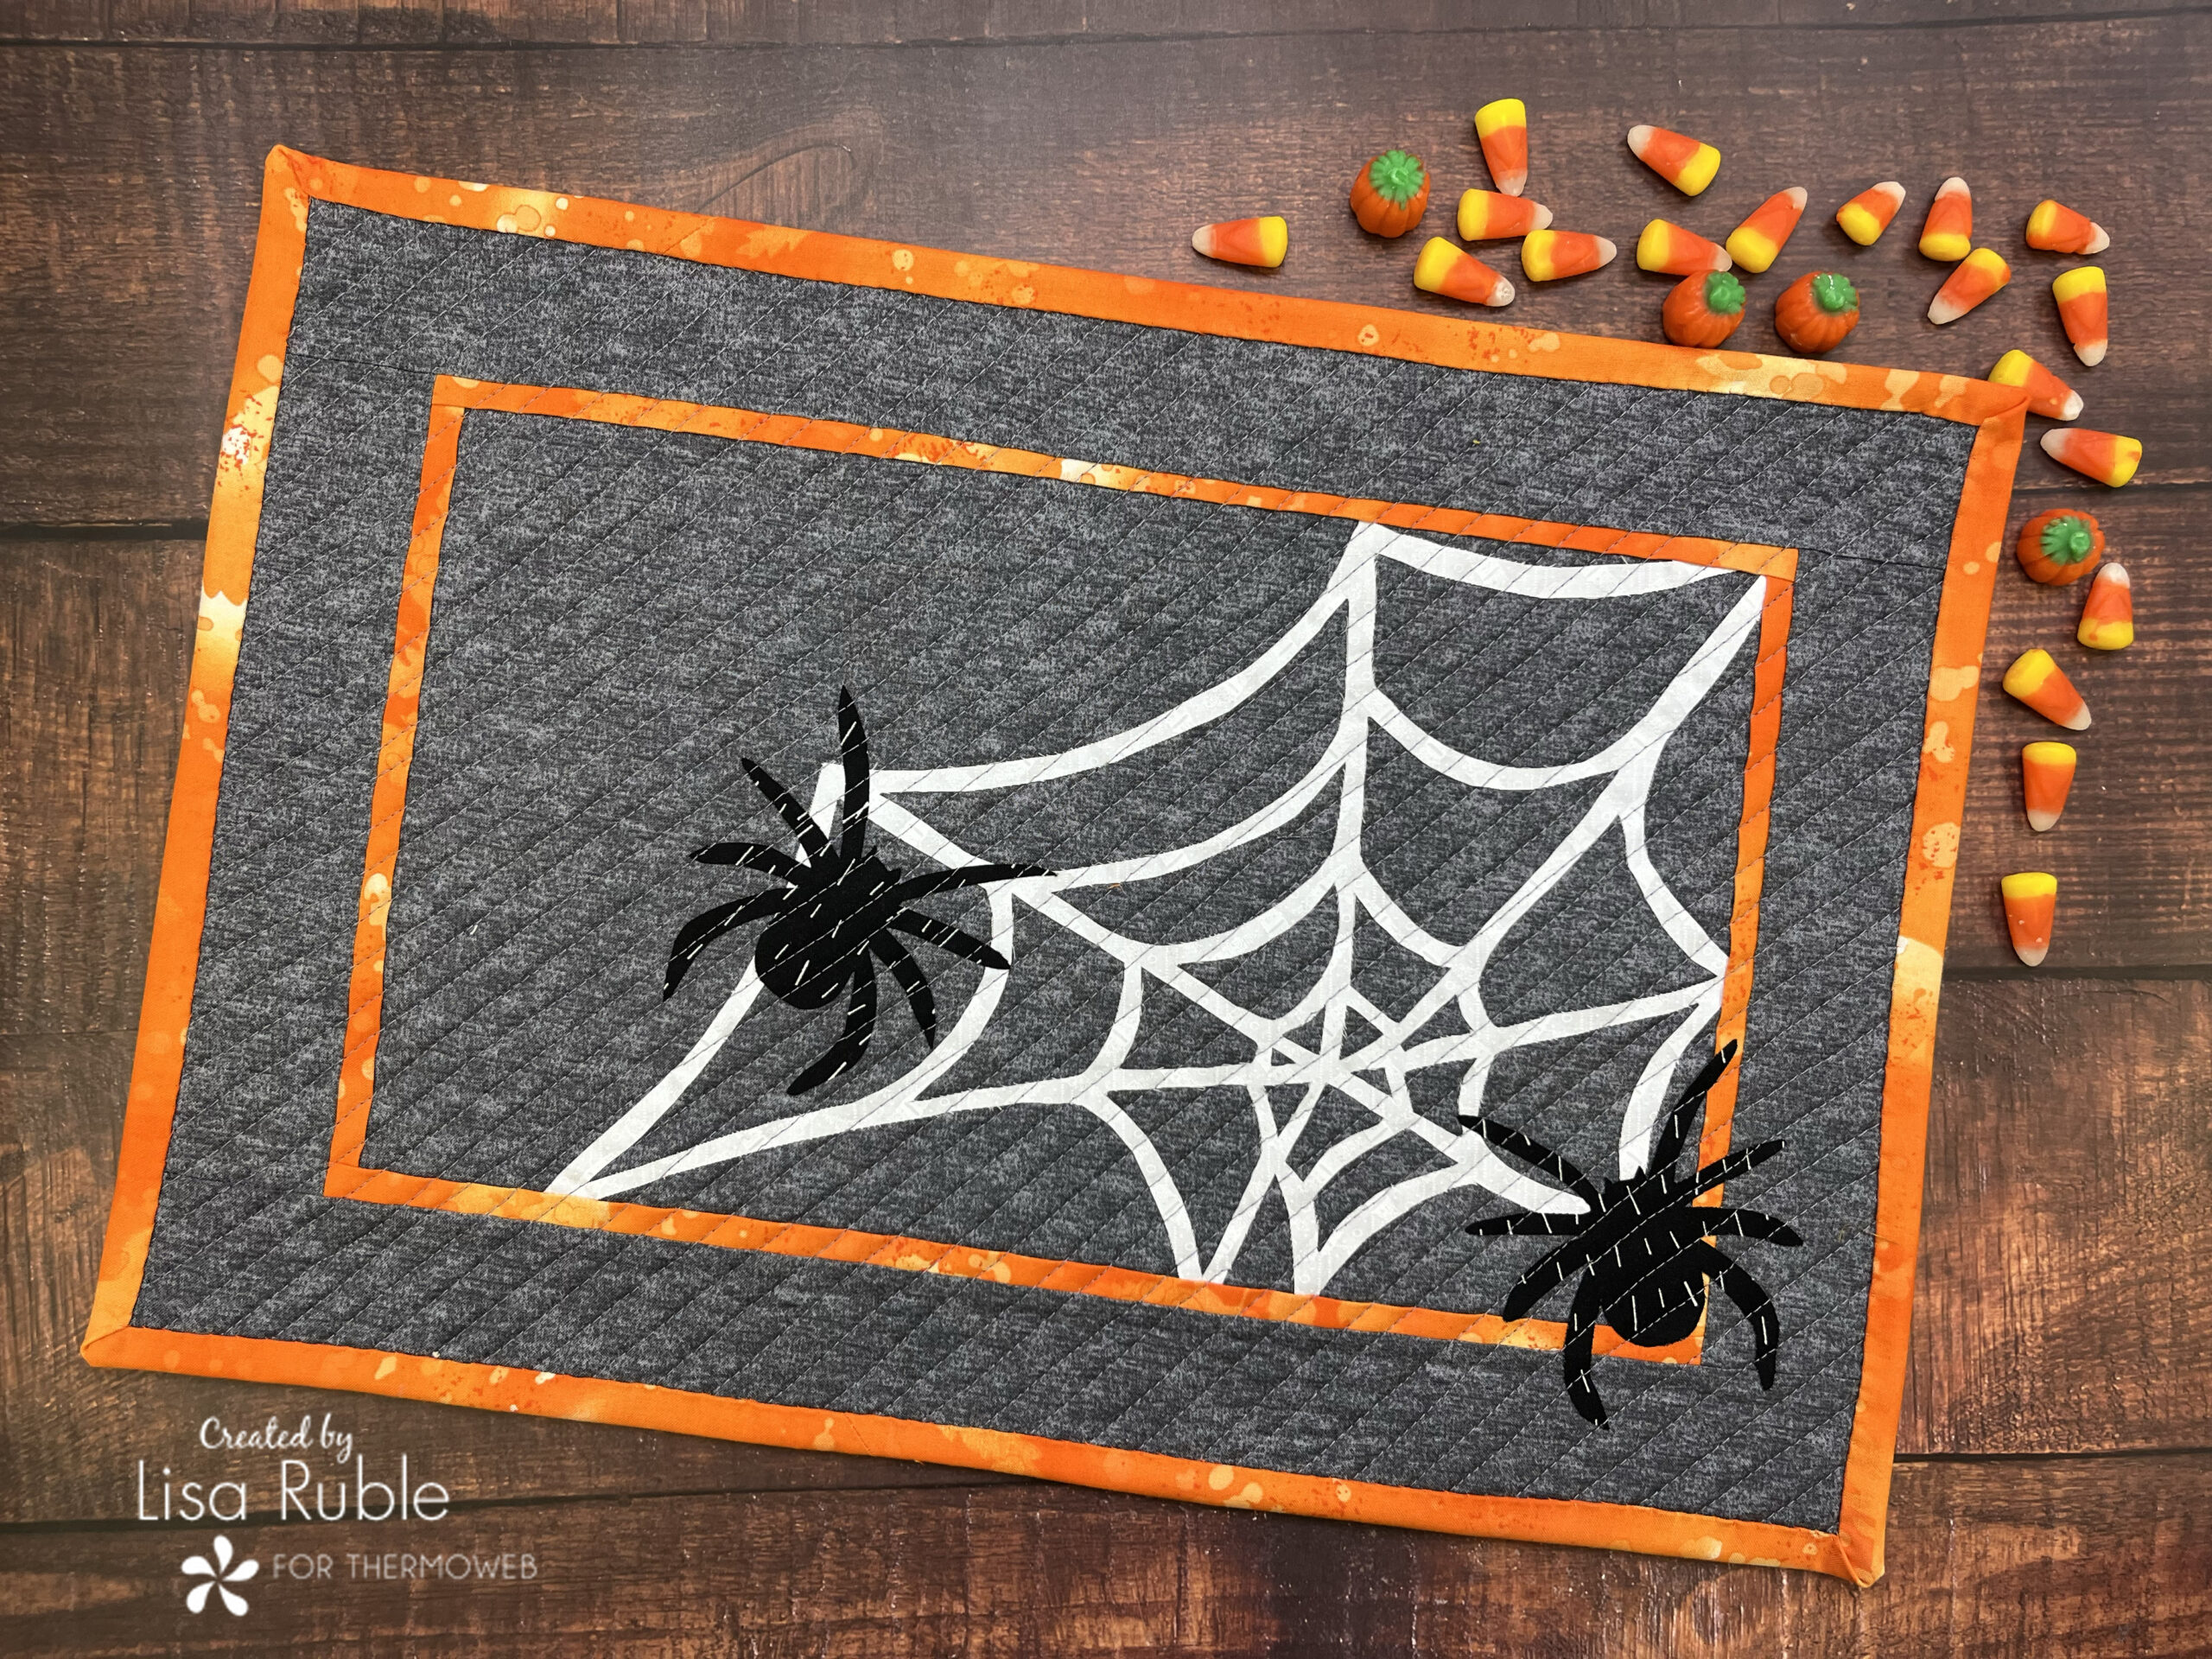
I love creating placemats because they are quick and easy – these placemats feature autumn-colored leaves on one side, and a spider web with spiders on the other side: Fall + Halloween! I chose an orange tonal that would work, color-wise, for both sides to create the flange border and the binding. Have fun sifting through your scraps to find the best leaf prints!
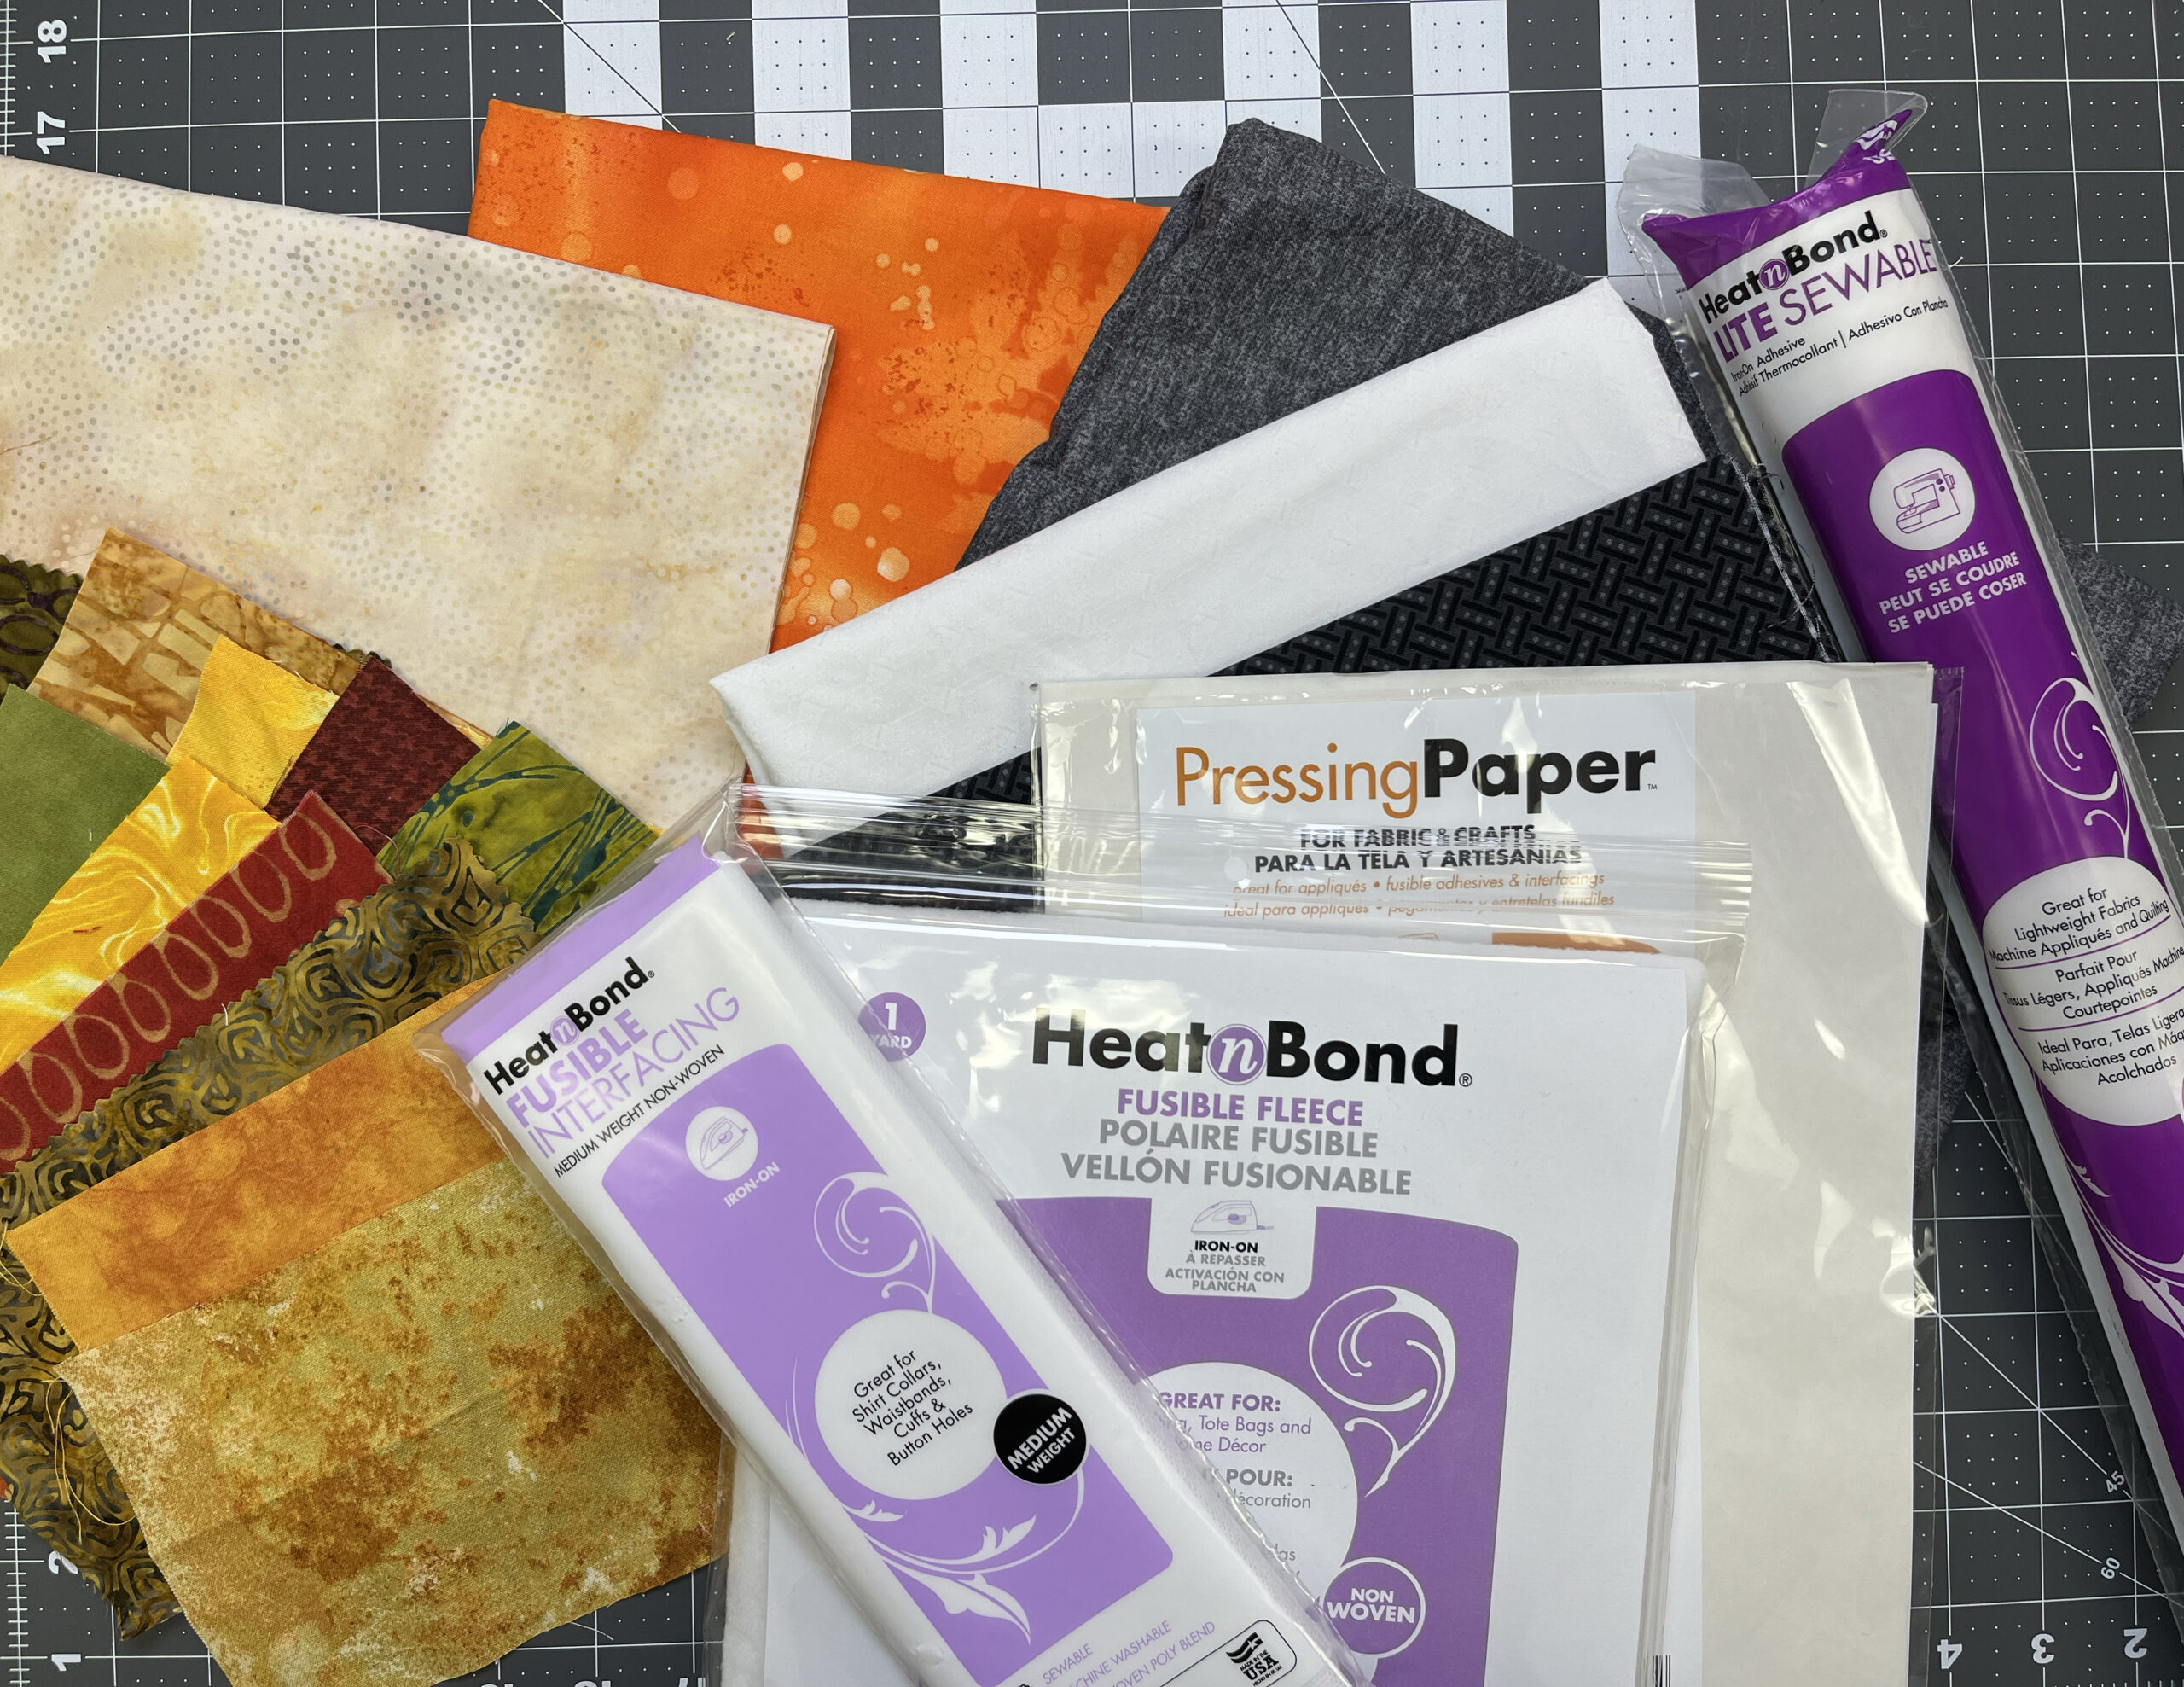
You’ll Need:
(to make 2 double-sided placemats)
1/2 yard orange tonal (includes binding)
1/2 yard each neutral and gray tonals for backgrounds
(18-20) 6″ square scraps of fall-colored prints (for leaves)
1/3 yard white tonal (for spider web)
(2) 5″ squares black tonal (for spiders)
1 package 20″ x 1 yard HeatnBond Fusible Fleece
1 package 20″ x 1 yard HeatnBond Medium Weight Fusible Interfacing
1 package 17″ x 5-1/4 yards HeatnBond Lite Iron-On Adhesive
SpraynBond Basting Adhesive Fabric Spray
Pressing Paper
Cutting
From the orange tonal:
(4) 2-1/4″ x WOF strips for binding
(8) 1″ x 15-1/2″ strips
(8) 1″ x 9-1/2″ strips
From the neutral background:
(2) 9-1/2″ x 15-1/2″ rectangles
(4) 2-1/2″ x 9-1/2″ rectangles
(4) 2-1/2″ x 19-1/2″ rectangles
From the gray background:
(2) 9-1/2″ x 15-1/2″ rectangles
(4) 2-1/2″ x 9-1/2″ rectangles
(4) 2-1/2″ x 19-1/2″ rectangles
From the white tonal:
(2) 10″ x 13″ rectangles
From the Fusible Interfacing:
(2) 10″ x 13″ rectangles
From the Fusible Fleece:
(2) 13-1/2″ x 19-1/2″ rectangles
Click here to find the templates for this project.
Make the Placemats
Leaf side
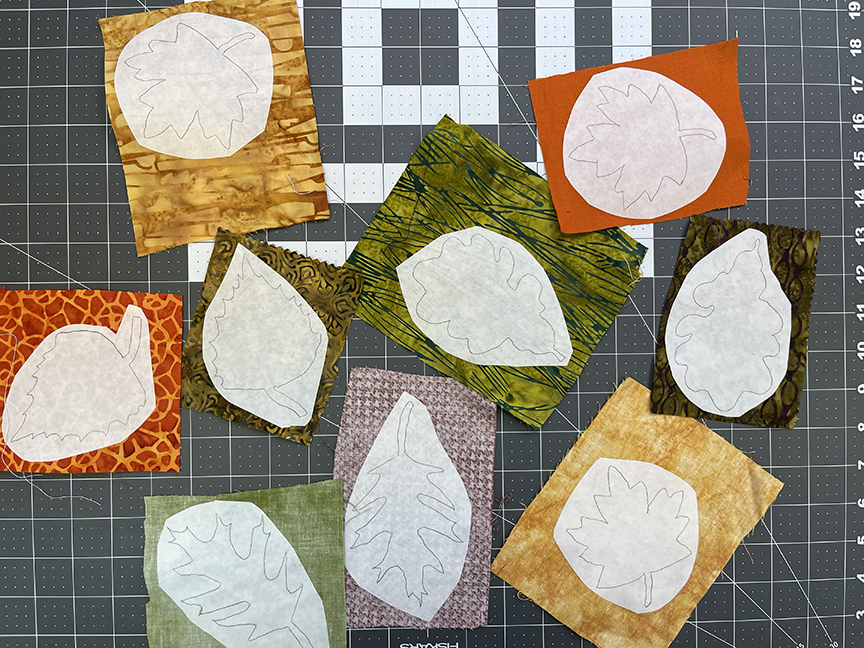
Step 1 Trace an assortment of leaf shapes onto the wrong side of iron-on adhesive (Note: I used 9 leaves per placemat; you’ll likely want 8-10). Cut out leaf shapes 1/2″ beyond the drawn lines and fuse onto the wrong side of the scrap pieces of fall colored fabric.
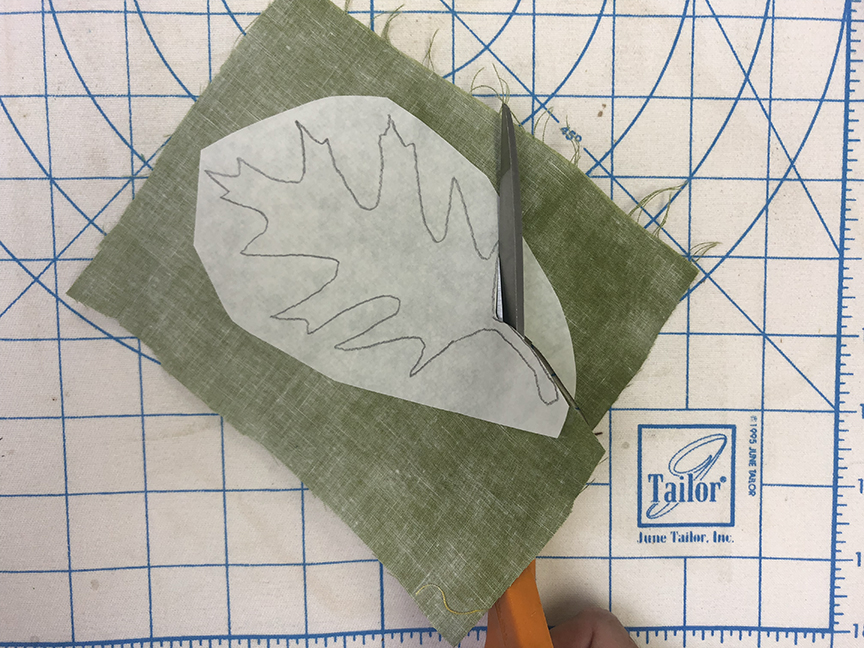
Step 2 Cut out each leaf on the drawn line.
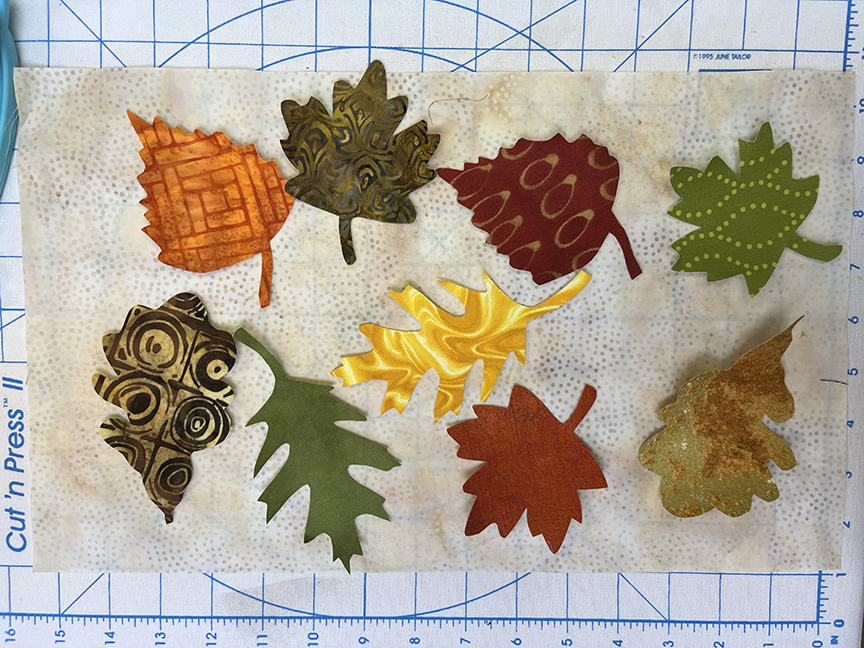
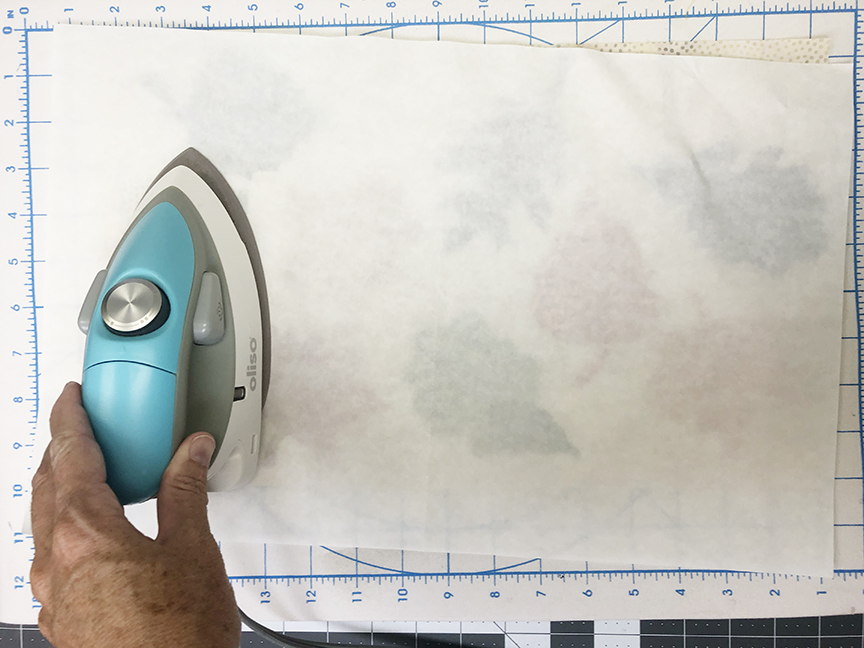
Step 3 Remove paper backing from leaves and position on the 9-1/2″ x 15-1/2″ beige rectangle. Remember that the outer 1/4″ edge of the beige rectangle will be covered. When you’re satisfied with the positions of your leaves, fuse in place, using Pressing Paper to protect your iron. Tip: When I’m securing a bunch of small shapes into specific spots like on this placemat, I do a quick press on each leaf to hold it in place while I work, and then return and give each leaf a full press to firmly secure it. Trim excess from any leaves that extend beyond the beige rectangle. If desired, use a decorative stitch to secure leaves in place.
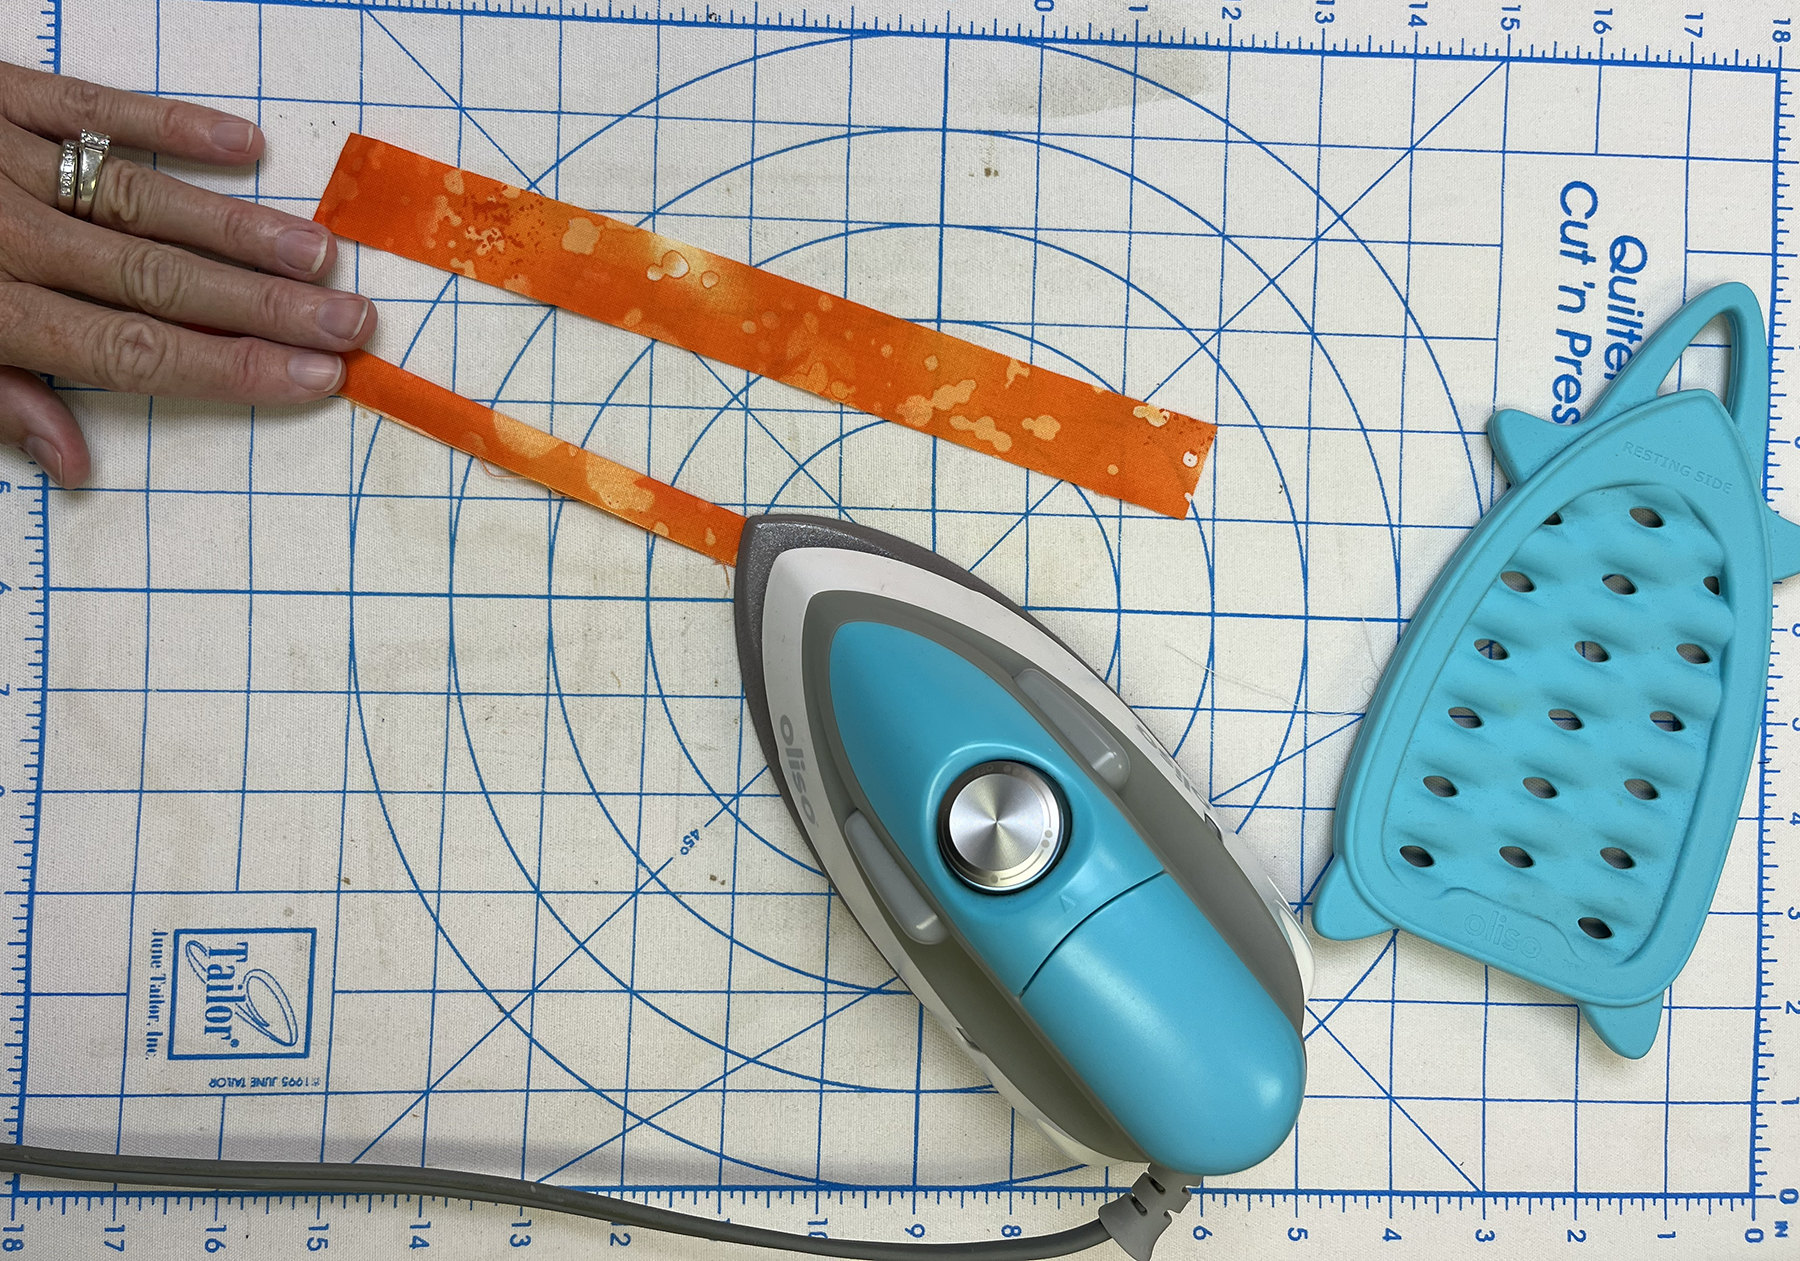
Step 4 Fold (2) each 1″ x 15-1/2″ and 1″ x 9-1/2″ orange strips in half lengthwise, wrong sides together. Press to secure. These are your flange borders.
Step 5 Lay the shorter flanges along the shorter edges of the beige rectangle, matching raw edges. Using a long stitch, baste in place 1/8″ from the raw edges. In the same way, lay the longer flanges along the top/bottom edges of the beige rectangle, matching raw edges, and baste in place.
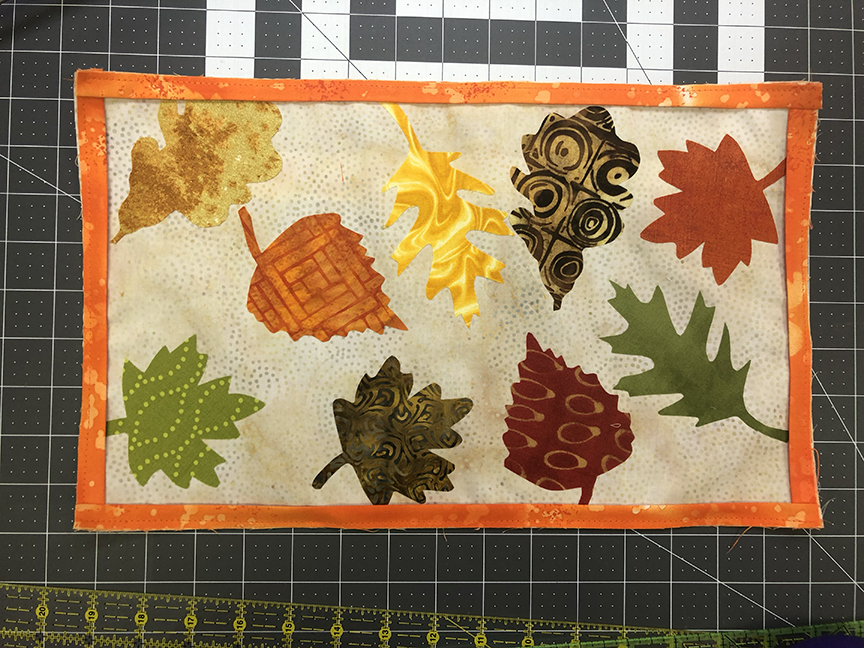
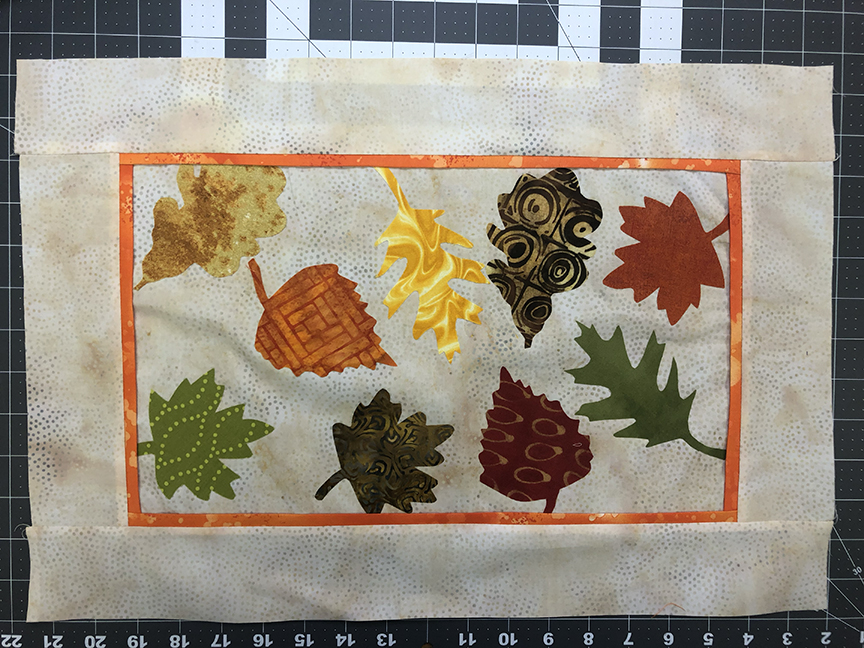
Step 6 Sew the 2-1/2″ x 9-1/2″ beige rectangles to opposite short sides of the 9-1/2″ x 15-1/2″ beige rectangle. Press seam allowances out so orange flange lays flat on the background. Sew the 2-1/2″ x 19-1/2″ beige rectangles to the top and bottom to complete the placemat top. Press seam allowances out.
Step 7 Repeat steps 1-6 to make a second leaf placemat top.
Spider web side
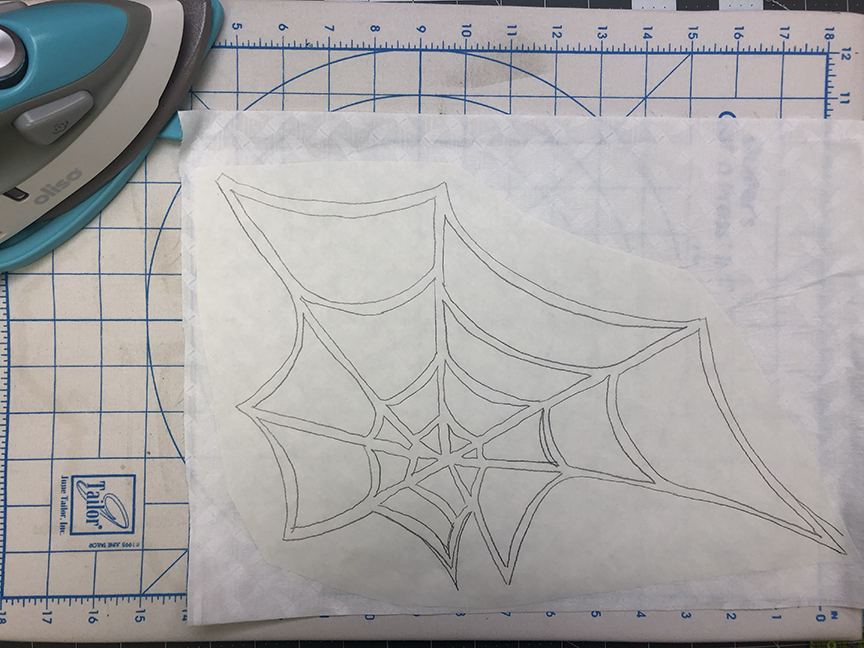
Step 1 Trace a spider web onto the wrong side of iron-on adhesive. Cut out 1/2″ beyond the web shape. Fuse a 10″ x 13″ rectangle of fusible interfacing onto the wrong side of the 10″ x 13″ rectangle of white tonal. Note: Using a layer of fusible interfacing ensures that the darker background fabric won’t show through the white tonal web fabric. Add the fusible web, fusing to the interfacing.
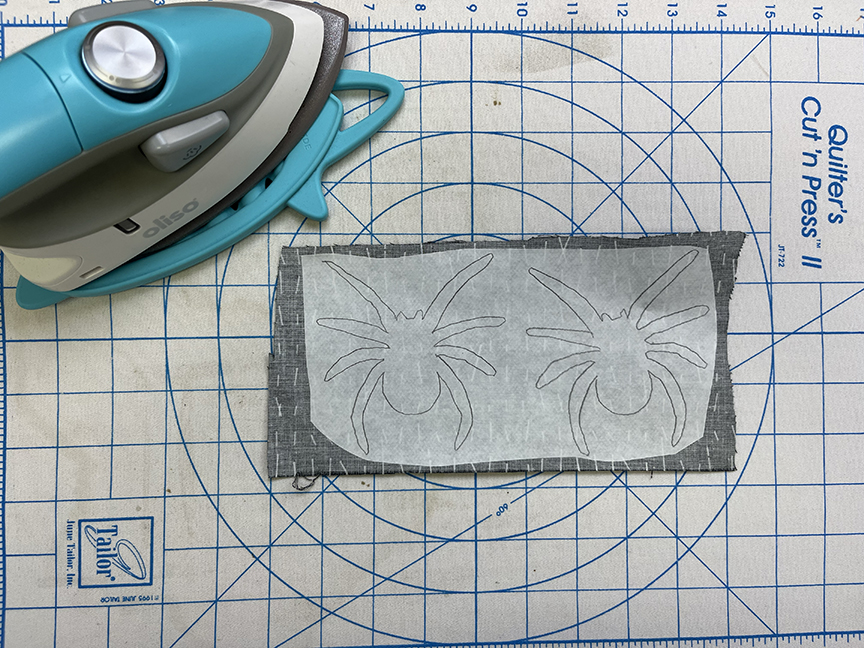
 Step 2 Trace (2) spiders onto the paper side of fusible web. Cut out 1/2″ beyond the drawn line and fuse to the black tonal fabric.
Step 3 Cut out the spider web and each spider on the drawn line.
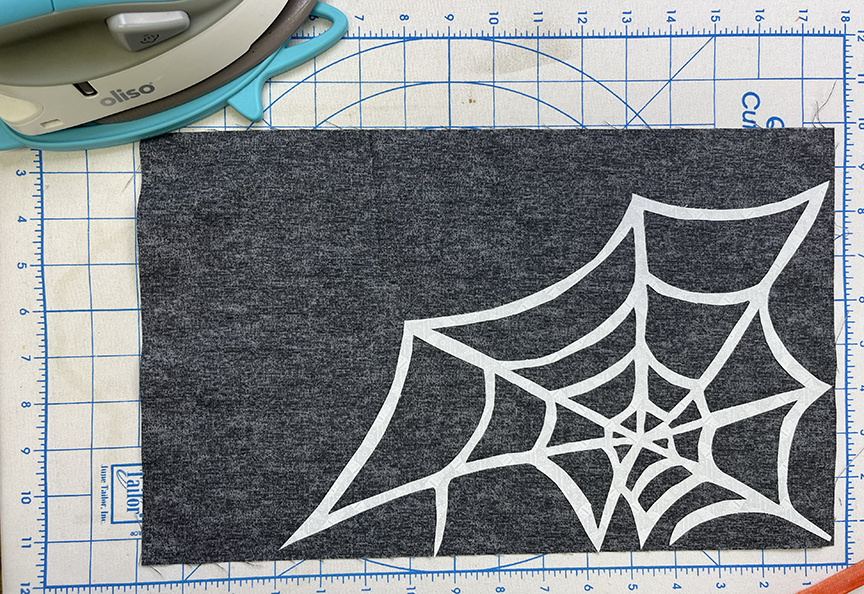
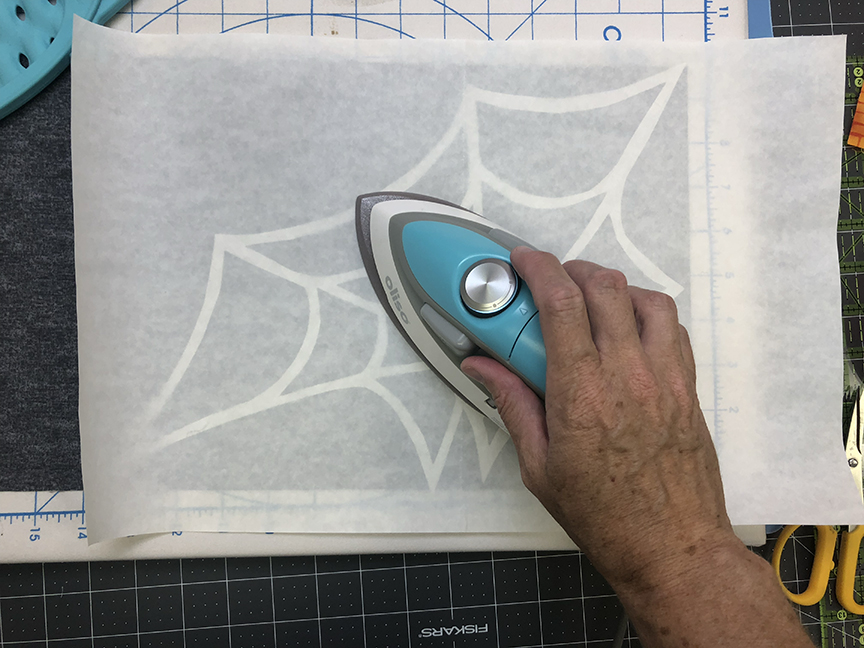
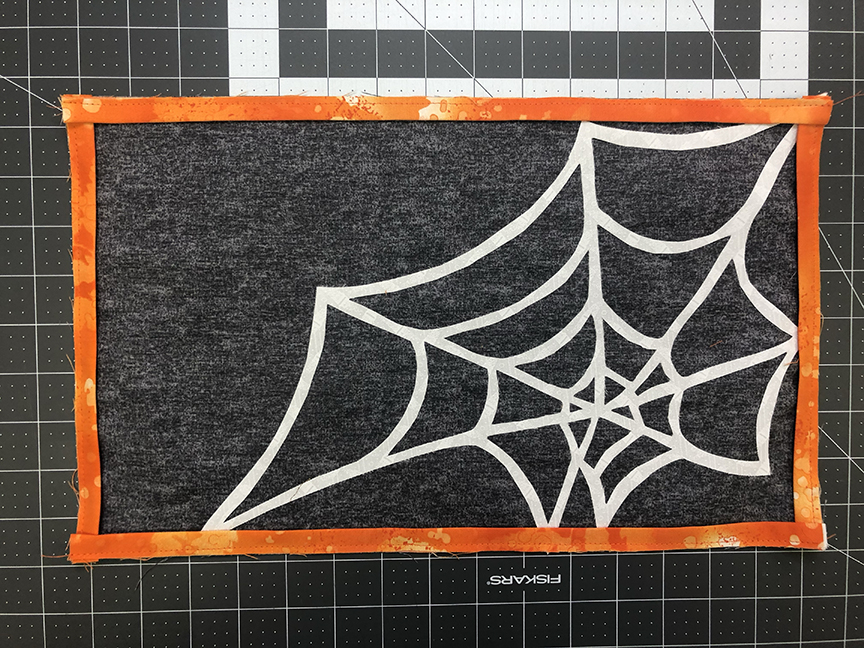
Step 4 Remove paper backing from spider web and position on the 9-1/2″ x 15-1/2″ gray rectangle so the “tips” of the web are near the edges of the gray rectangle on (2) adjoining sides. Remember that the outer 1/4″ edge of the gray rectangle will be covered. When you’re satisfied with the positions of your web, fuse in place. Use the Pressing Paper and work slowly from the center out. If desired, use a decorative stitch to secure spider web in place.
Step 5 Fold (2) each 1″ x 15-1/2″ and 1″ x 9-1/2″ orange strips in half lengthwise, wrong sides together. Press to secure. These are your flanges.
Step 6 Lay the shorter flanges along the shorter edges of the gray rectangle, matching raw edges. Using a long stitch, baste in place 1/8″ from the raw edges. In the same way, lay the longer flanges along the top/bottom edges of the gray rectangle, matching raw edges, and baste in place.
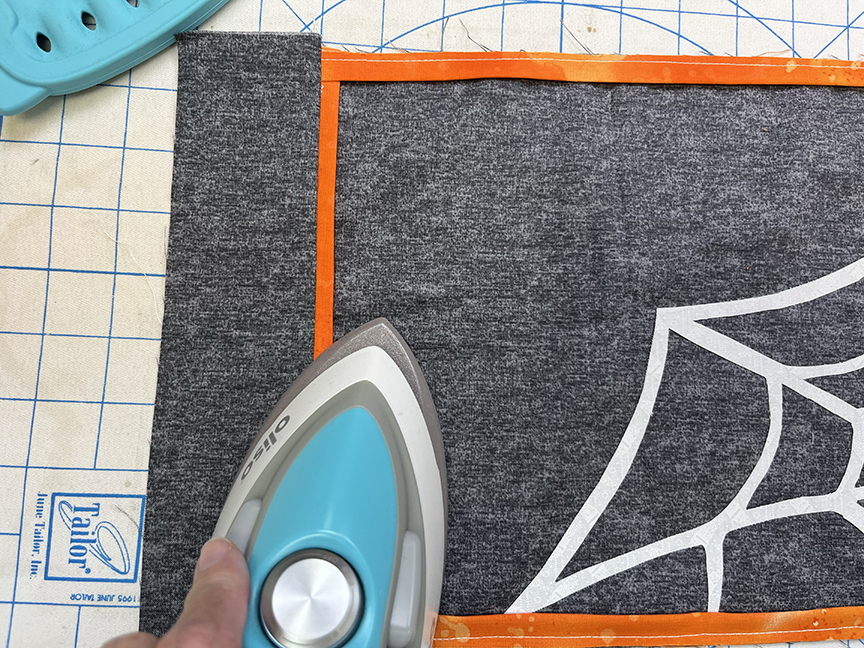
Step 7 Sew the 2-1/2″ x 9-1/2″ gray rectangles to opposite short sides of the 9-1/2″ x 15-1/2″ gray rectangle. Press seam allowances out so orange flange lays flat on the background. Sew the 2-1/2″ x 19-1/2″ gray rectangles to the top and bottom to complete the placemat top. Press seam allowances out.
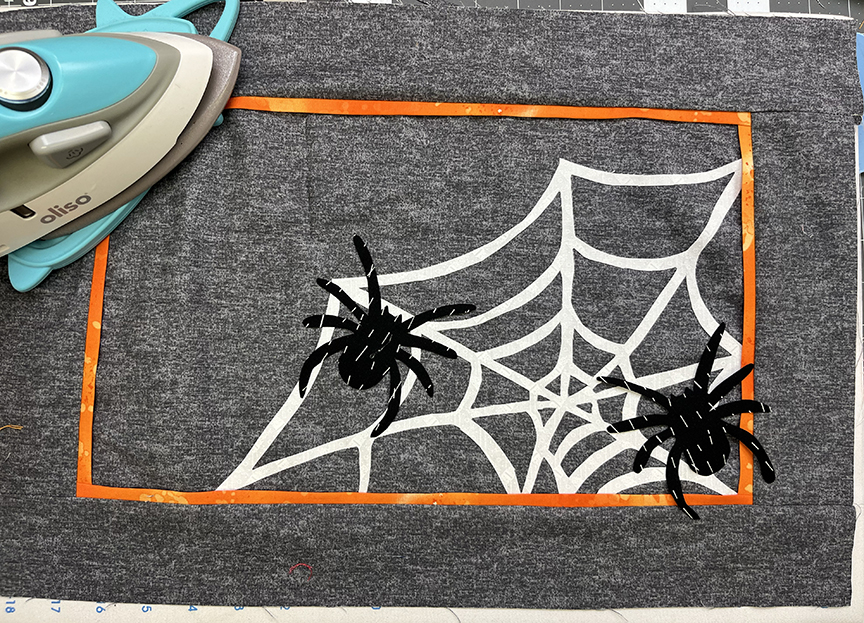
Step 8 Fuse the spiders onto the placemat top. If desired, use a decorative stitch to secure spiders in place.
Step 9 Repeat steps 1-8 to make a second spider web placemat top.
Finish the Placemats
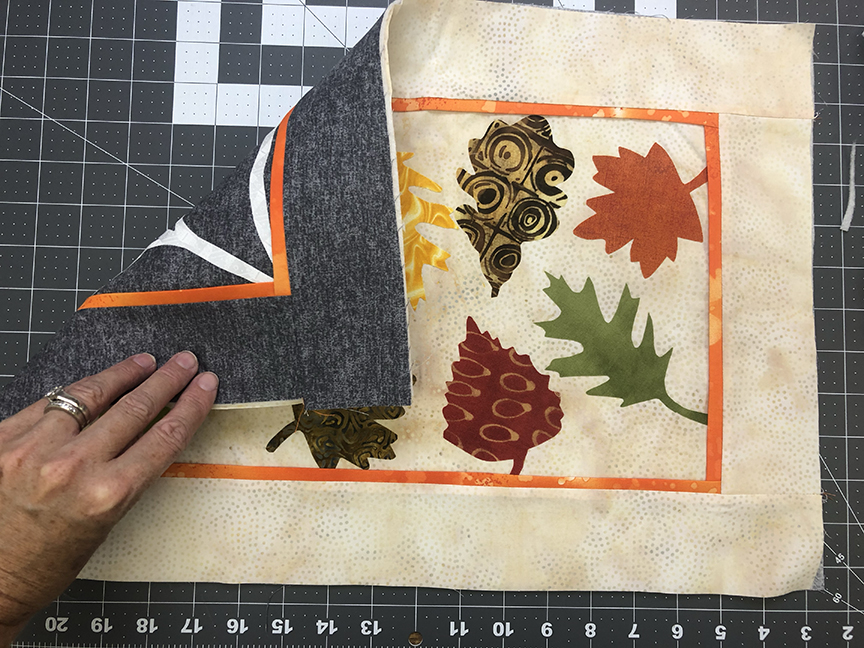
Step 1 Fuse (1) 13-1/2″ x 19-1/2″ rectangle of Fusible Fleece to the wrong side of a spider web placemat top.
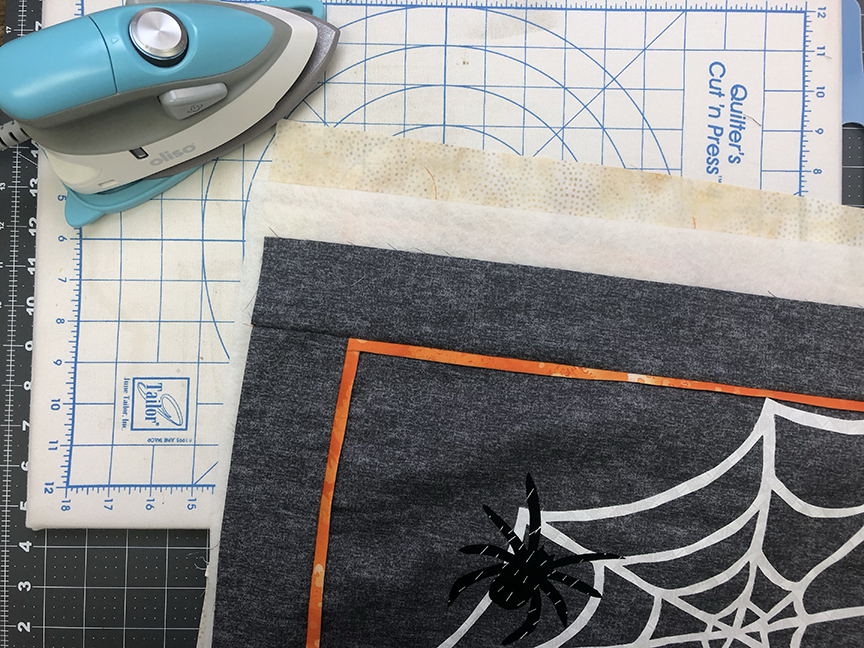
Step 2 Matching raw edges as closely as possible, use spray baste to secure a leaf placemat top to the opposite side of the fusible web. Pay attention to orientation of each placemat top.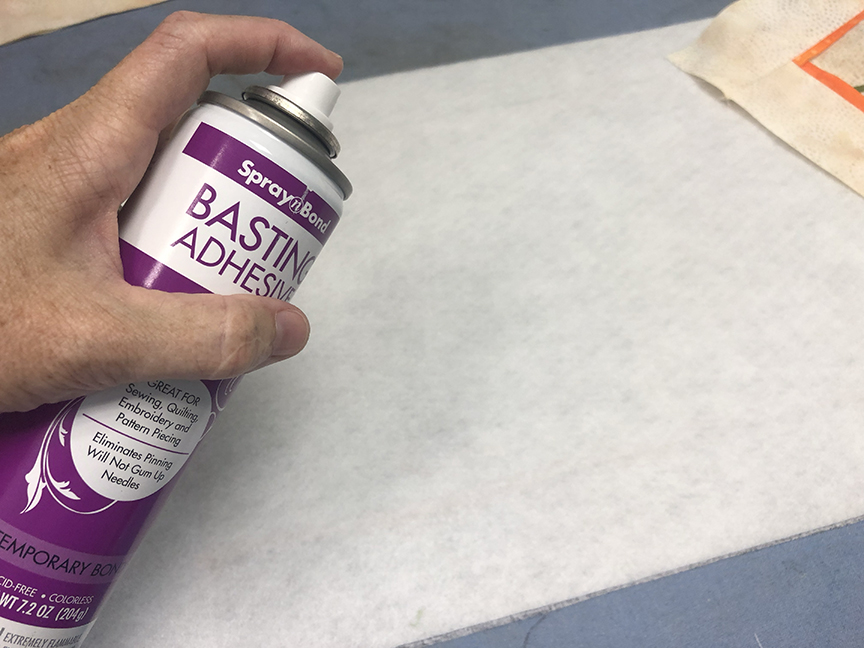
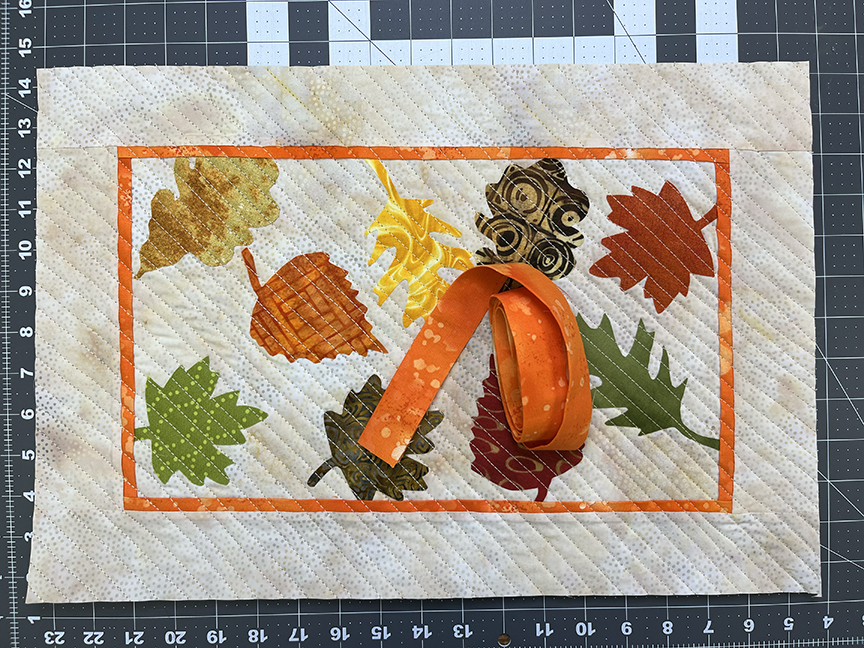
Step 3 Machine quilt the two-sided placemat sandwich as desired (I used diagonal lines, and here’s why – If I used straight lines, if my placemats weren’t lined up exactly straight, it would show in the stitching. Not a problem with diagonal lines!) I also chose a beige thread for the leaf side and used a gray thread in my bobbin so each side was quilted with thread that blended.
Step 4 Trim placemat to measure 18-1/2″ x 12-1/2″. Note: Trim so each border is the same width.
Step 5 Use (2) 2-1/4″ x WOF orange strips to bind the placemat.
Step 6 Repeat steps 1-5 to finish the second placemat.
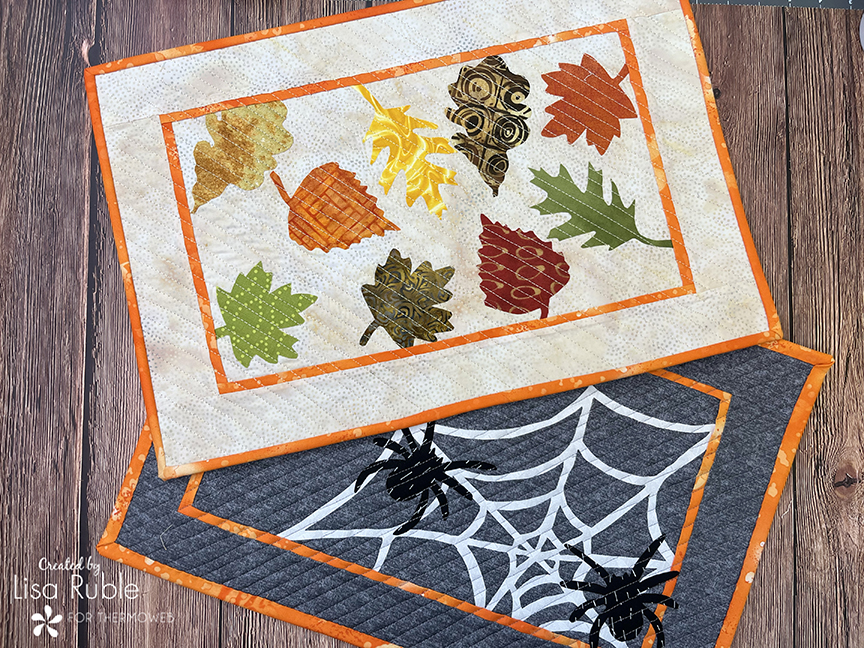
Here’s a look at both sides of the placemat. Perfect for meals from now through Thanksgiving! 🙂