


AIt’s Katrina from Paper, Scissors, Glue and Hybrid Too today here on the blog. I have to say, you guys are going to LOVE the NEW Deco Foil Toner Sheets that have just come out! I was so excited when I saw them for the first time! I have a winter-themed layout today using two of the new toner sheets along with some fun flocked trees.
Wintery Trees with Deco Foil Toner Sheets

Therm O Web Supplies Used:
ALL NEW TONER SHEETS RELEASE
Therm O Web Memory Runner XL
Therm O Web Memory Runner XL Refill
Therm O Web Sticky Strip Runner
Therm O Web 3D Foam Squares – Combo Pack
iCraft Deco Foil White Card Front Toner Sheets – Love Blooms
iCraft Deco Foil Kraft Slimline Card Front Toner Sheets – Lots of Dots
iCraft Deco Foil Transfer Sheets – Enchanted Rose
iCraft Deco Foil Transfer Sheets-Glass Slipper
iCraft Deco Foil Flock Transfer Sheets-Pink Carnation
iCraft Deco Foil Flock Transfer Sheets-Blue Sky
iCraft Deco Foil Flock Transfer Sheets-White Latte
iCraft Easy Cut Adhesive
iCraft Purple Tape-1/2 inch
iCraft Ultra Bond Liquid Adhesive
Gina K Designs Foam Tape – White
Other Supplies Used:
Pretty Little Studio-Miss Sadie Rose
Nuvo Glitter Pen-Strawberry Bonbon
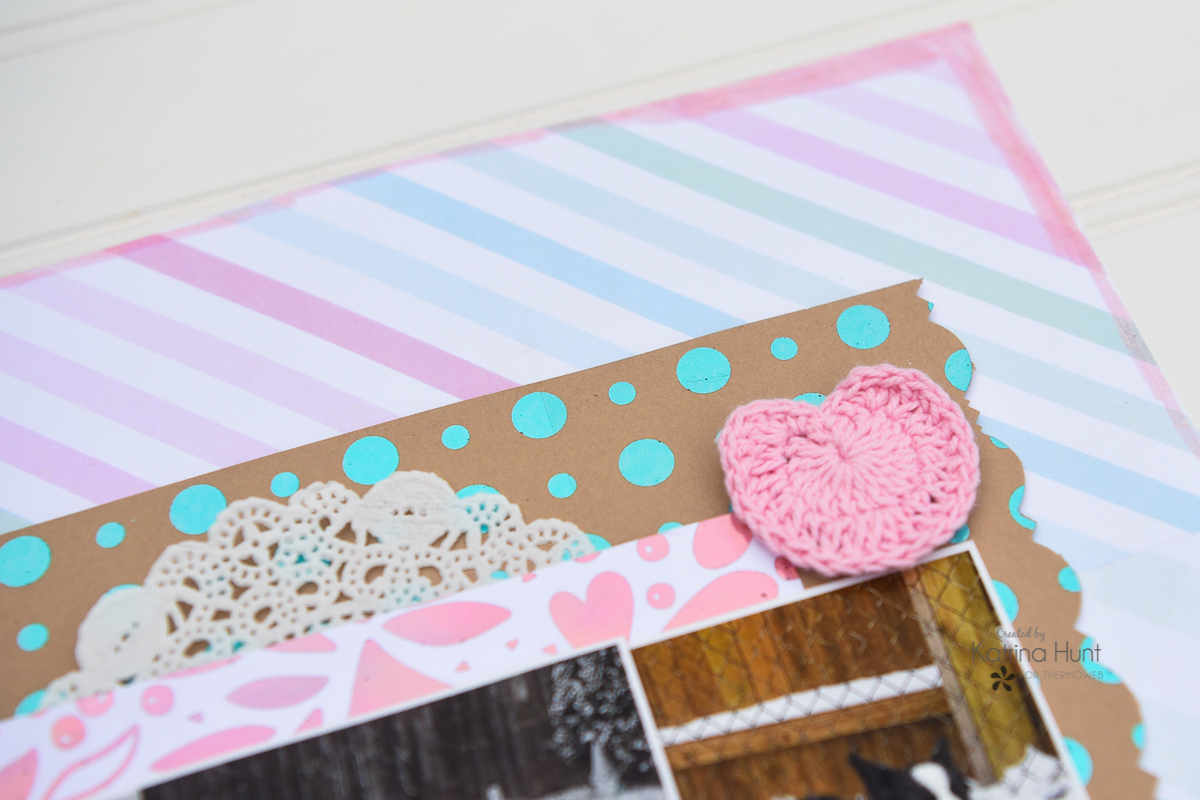
Doily
Bella Blvd. Letter Stickers
Wintery Trees Layout Details
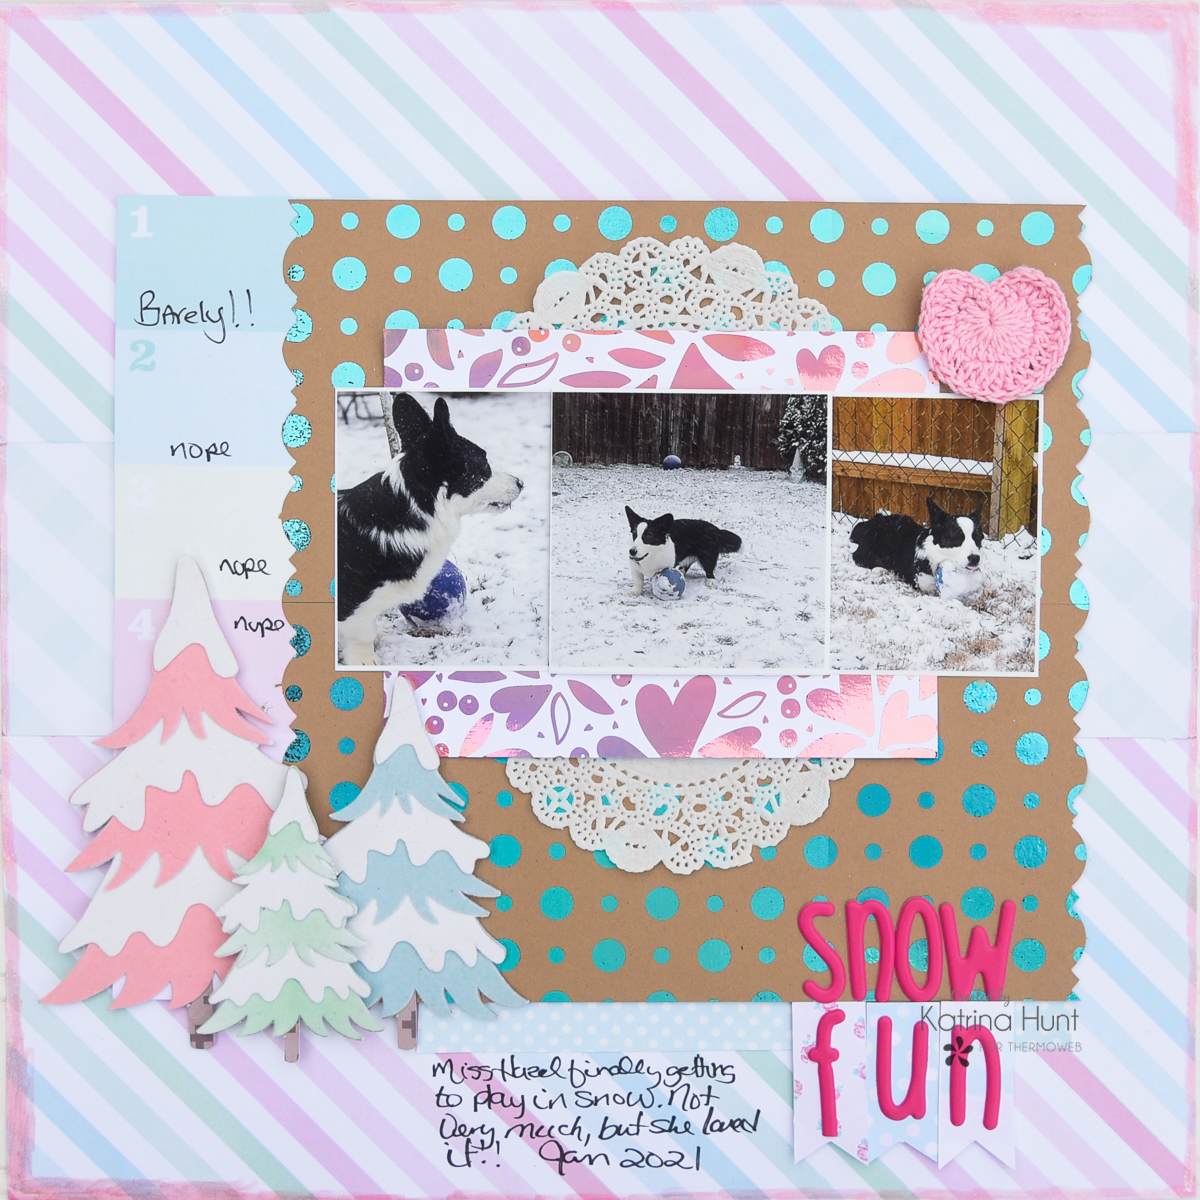
As I started this layout, I knew I wanted trees that were flocked. Beyond that idea, I was at a loss. To help me narrow down my layout design, I picked a tree cut file from the Silhouette Design Store that had layers where the trees looked like snow.
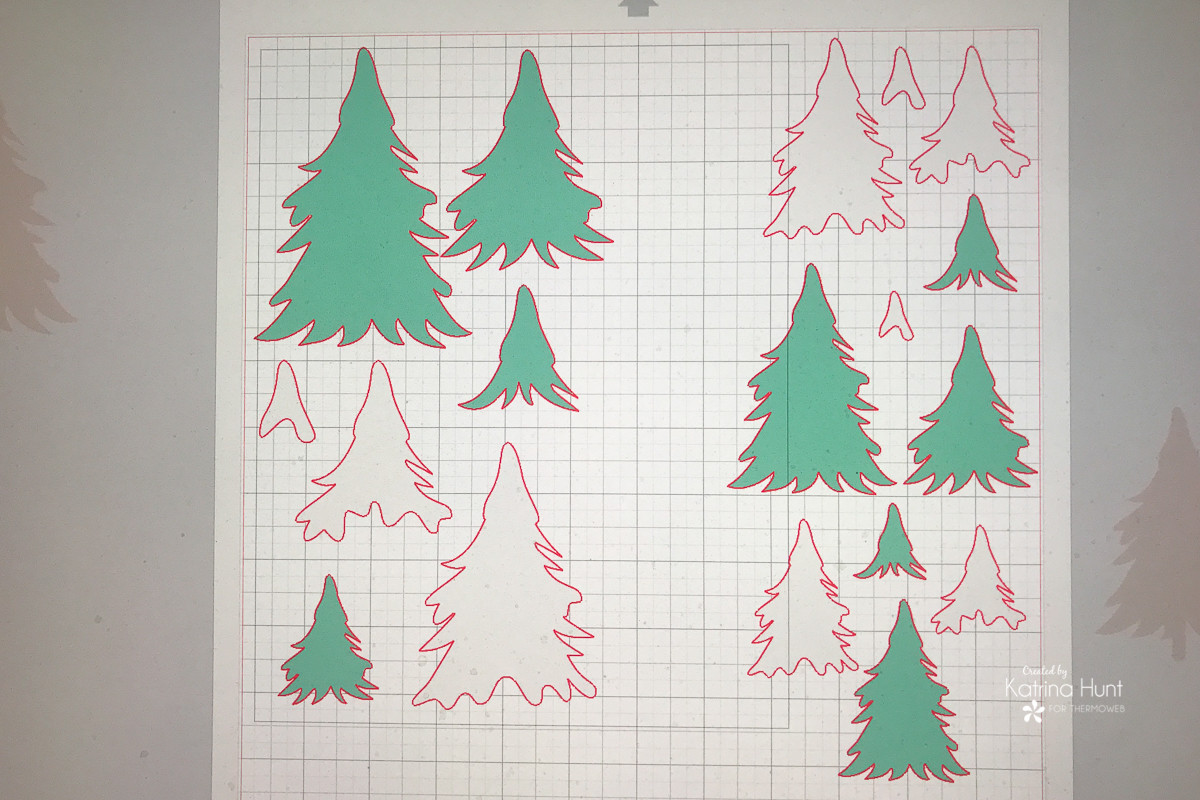
Easy-Cut Adhesive Sheets
I sized the cut file in three different sizes to create a cluster of trees. As you can see from the image above, each tree had 6 layers of greenery/snow. In order to flock the trees, I planned to use the iCraft Easy-Cut Adhesive Sheets.
The first step was adhering the Easy-Cut to cardstock. Once that was done then I ran the cardstock thru my Silhouette Cameo. I cut all the parts out at once, to save time and also not waste my cardstock/adhesive pieces! To make it easier, I grouped the same tree pieces together and snapped a screenshot with my phone. This created a reference photo that I could look at and know which piece went to which tree and also which color it was supposed to be.
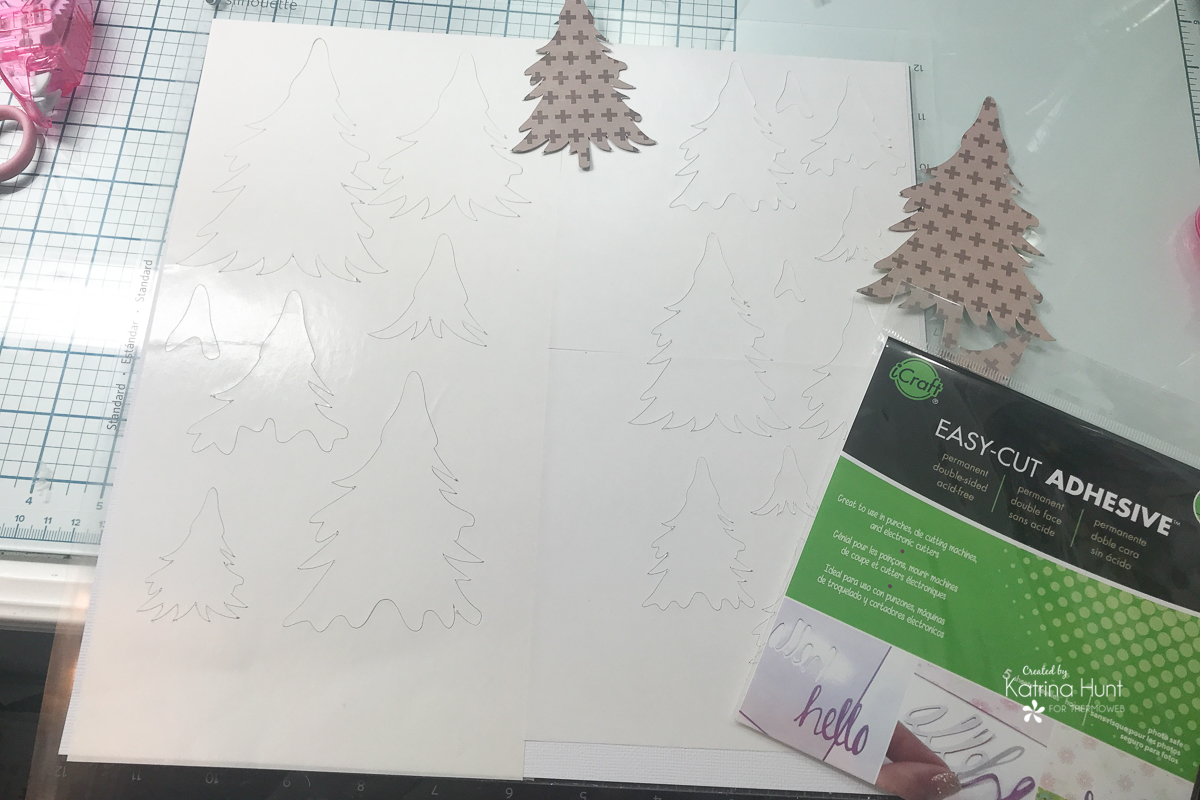
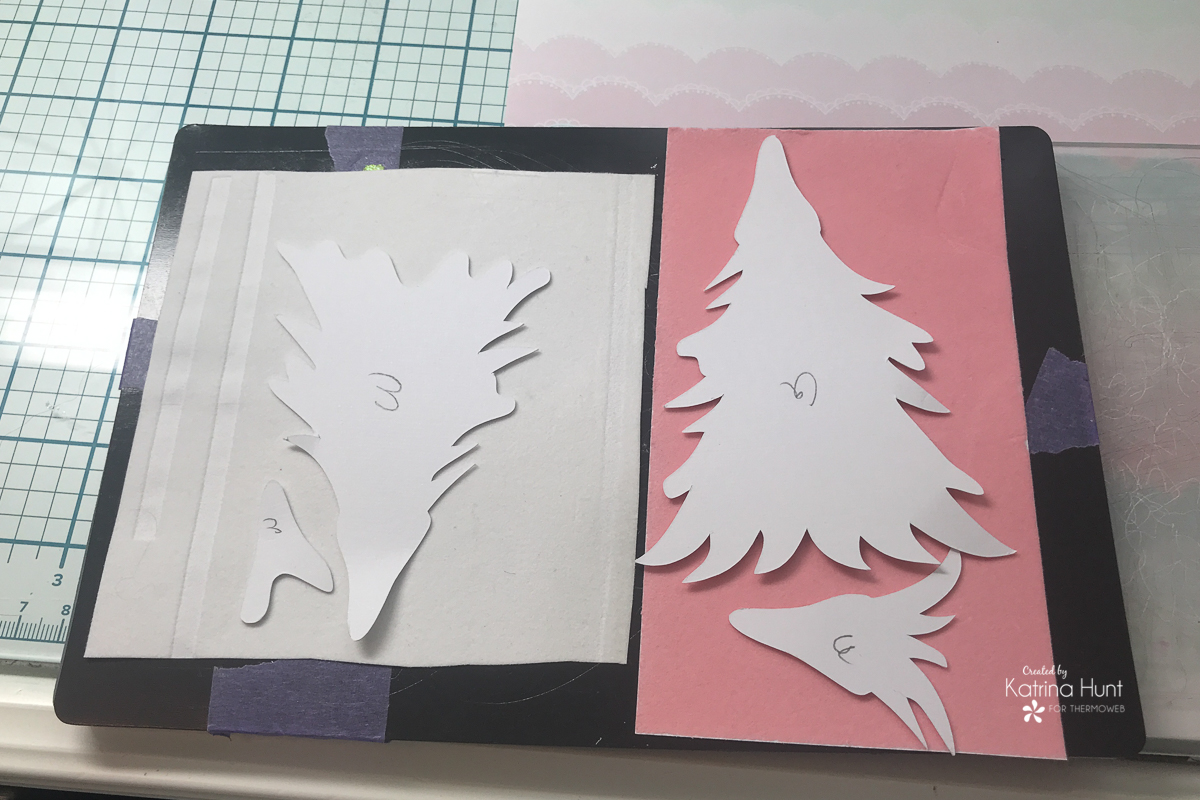
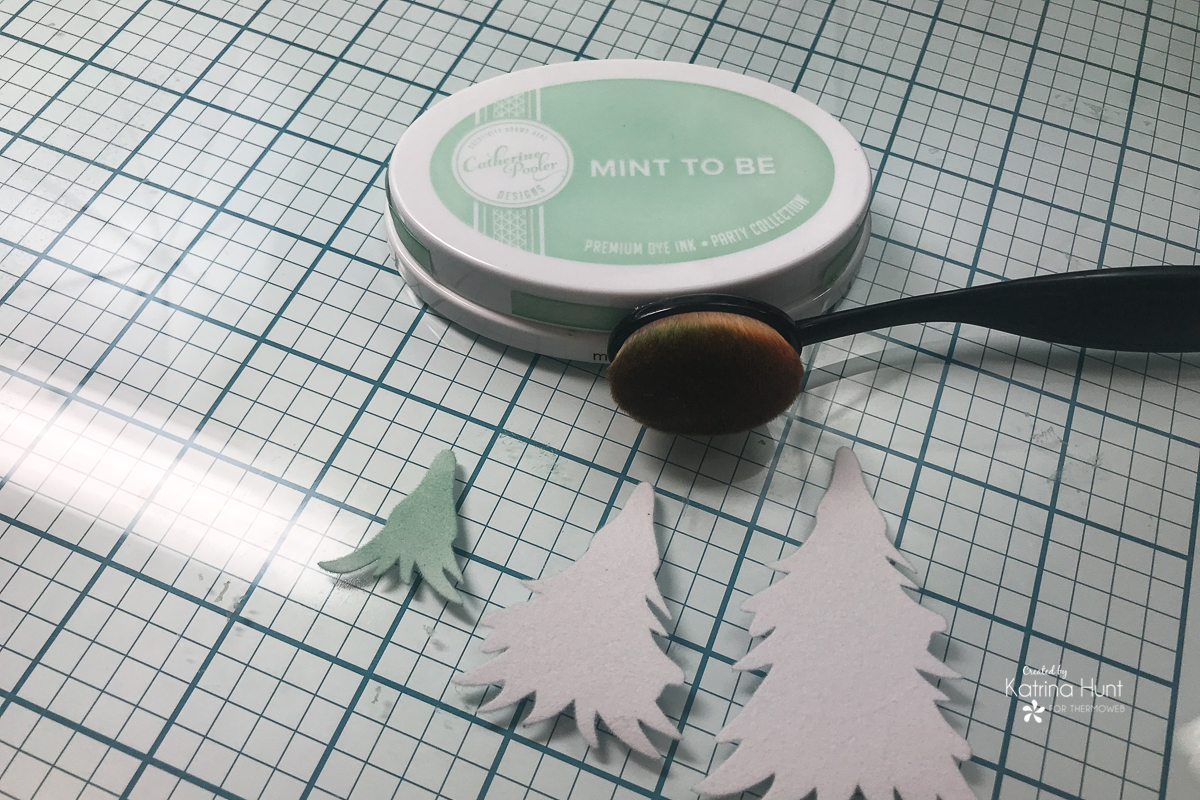
As I pulled the pieces off the mat, I wrote a G or a W on them to let me know what order they needed to be put together and grouped. After that was done, I removed the adhesive protective covering and placed the pieces face down on the colors of the flock that I wanted to use. Finally, I ran them thru my die-cutting machine to apply the flock.
Adhere in Place with Ultra Bond Liquid Adhesive
After the flock was applied, I pieced the trees together by using Ultra Bond Liquid Adhesive. For the green tree, I flocked every piece with the White Latte Flock and then I inked the green pieces with mint green ink, before gluing all the pieces together. TIP: Ink your die cuts after you apply the flock, this will allow you to control the color depth.
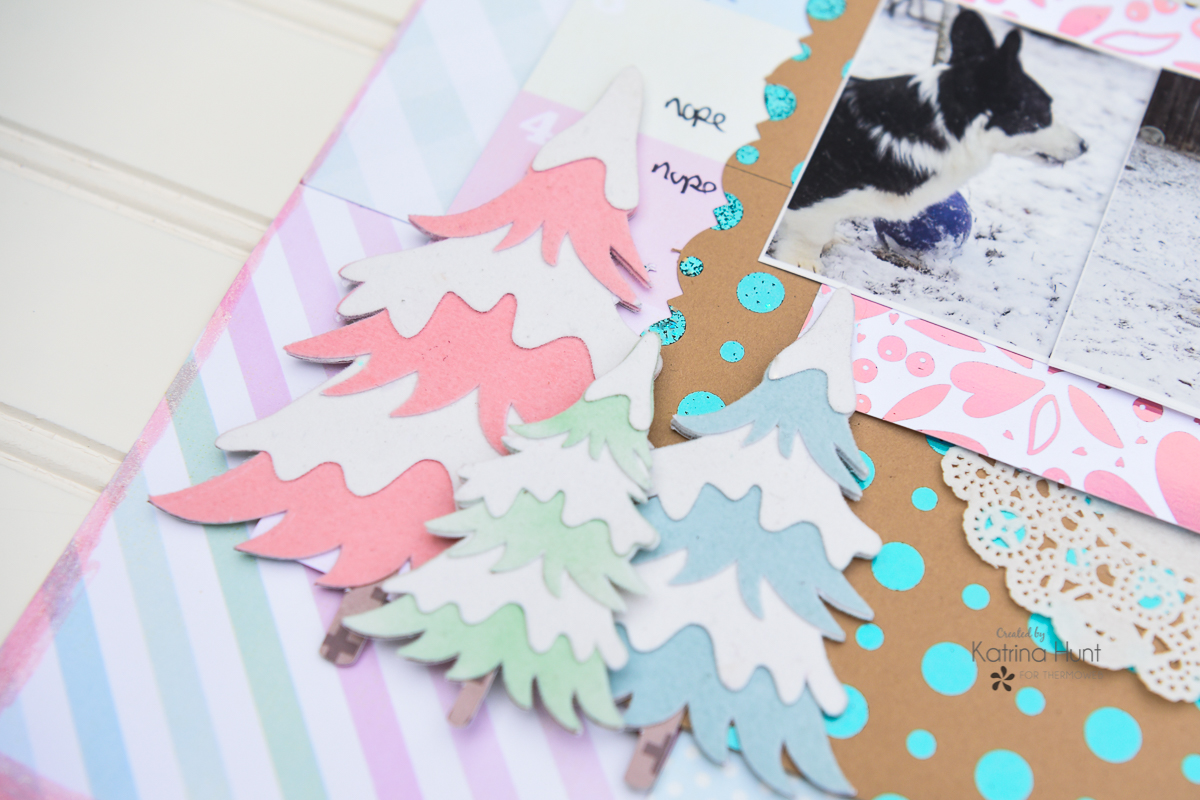
Squee!! How cute are those trees?!! I love the mint green one!
NEW Kraft Deco Foil Toner Sheets
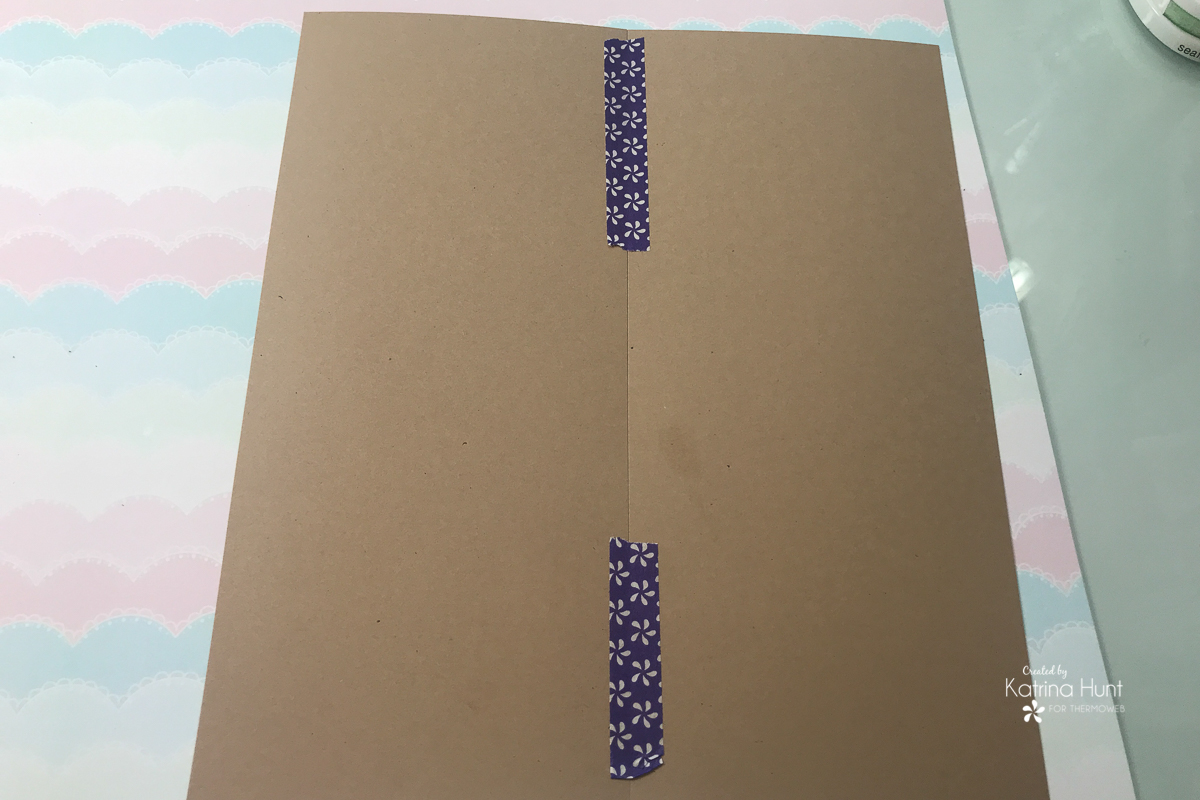
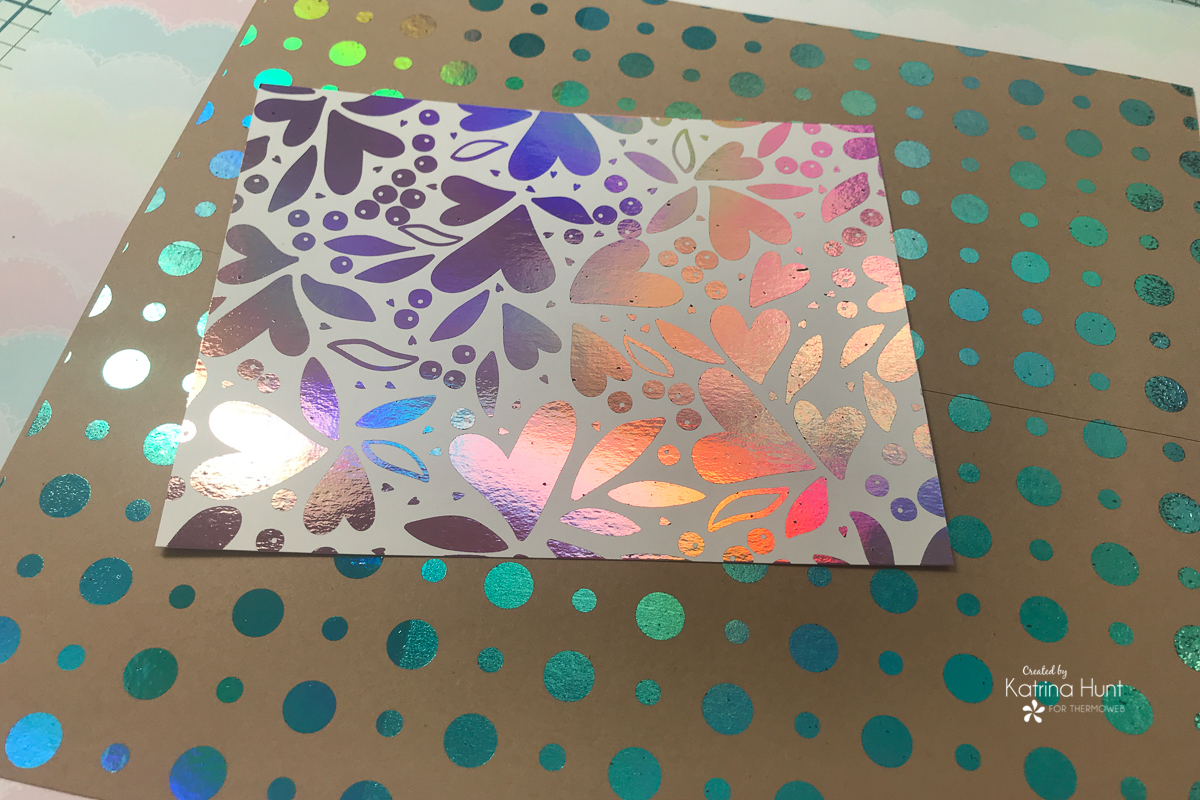
Next up, I used a couple of the new toner sheets. I taped a couple of the slimline kraft Lots of Dots together to create a bigger sheet for the focal point of the layout.
After taping together the pieces I used Deco Foil in Glass Slipper to foil the dots. In addition, I used the Love Blooms Card Front in White with the Enchanted Rose. I love the choice between white and kraft!
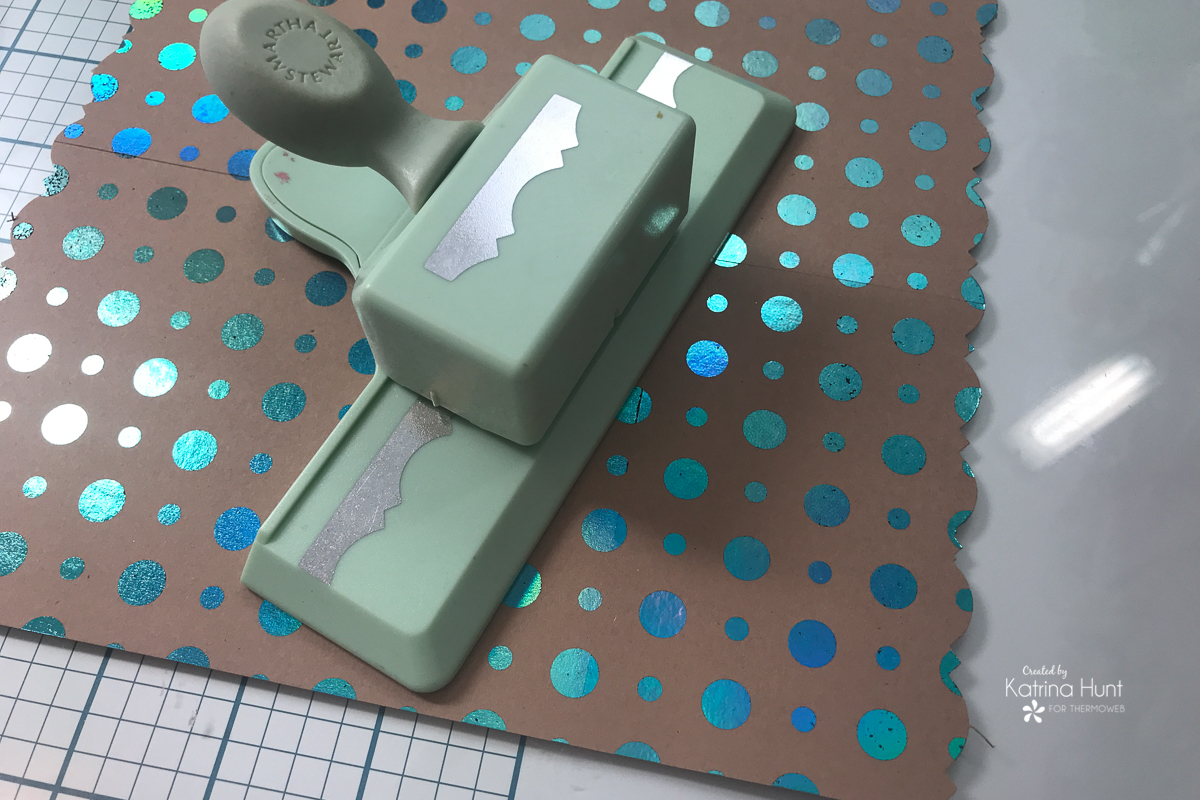
Consequently, because I wanted to add some details to my layers, I used a border punch to punch each side of the kraft paper.
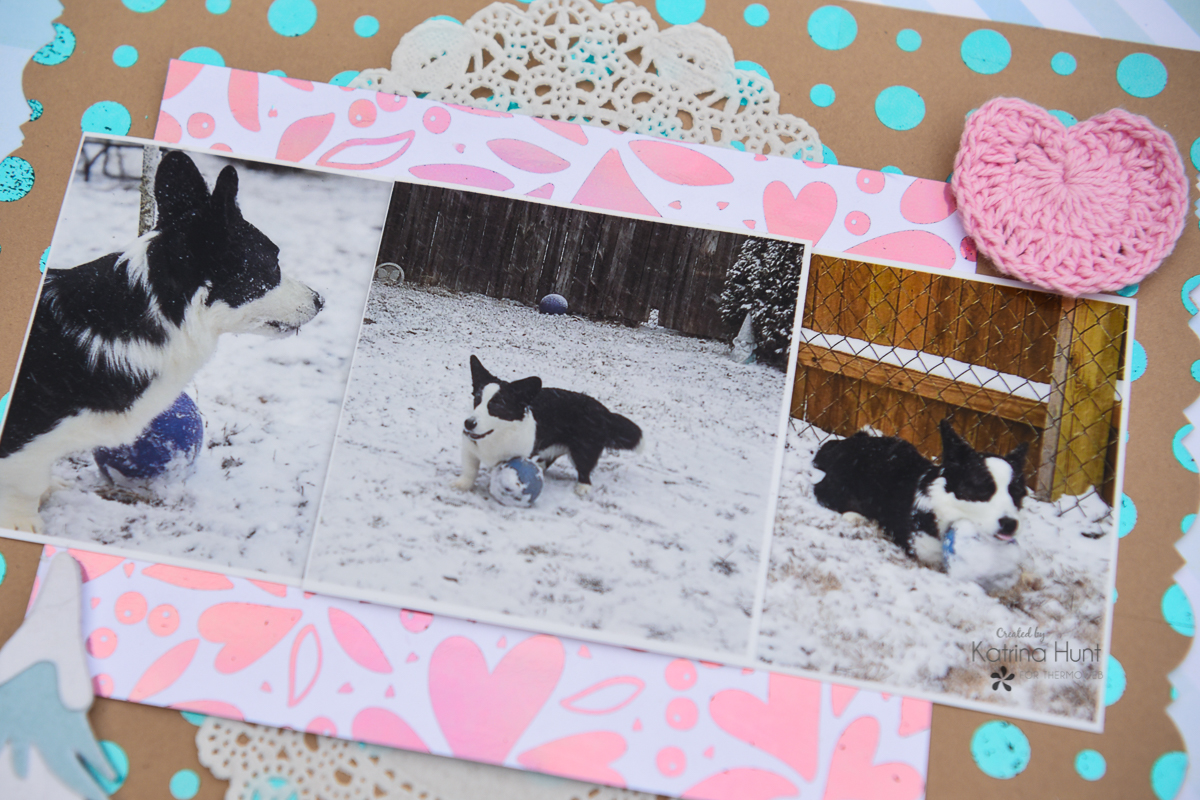
To finish, I adhered everything with either my Memory Runner XL, 3D Foam Squares or Foam Tape. If you know my layouts, I like some dimension to them. I also used a glitter pen around the edges of my background pattern paper.
So, check out all the new choices in the toner sheets! I think you will love them! Thanks for hanging out with me today on the blog!!