


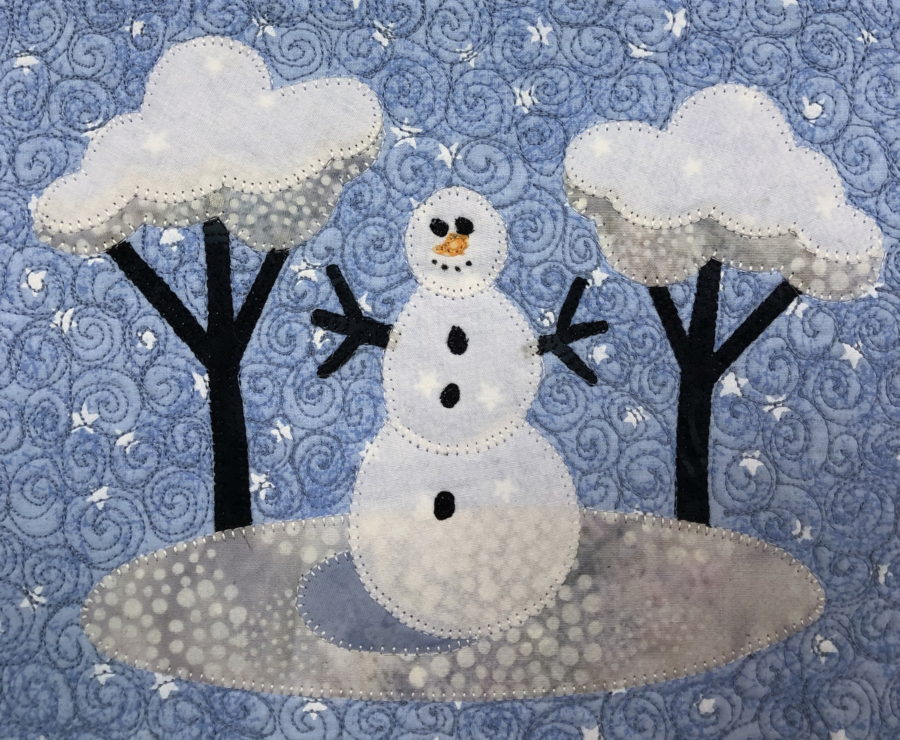
Got the winter blues??? Turn those frowns upside down with this “Snow Much Fun” table runner.
Snow Much Fun Table Runner
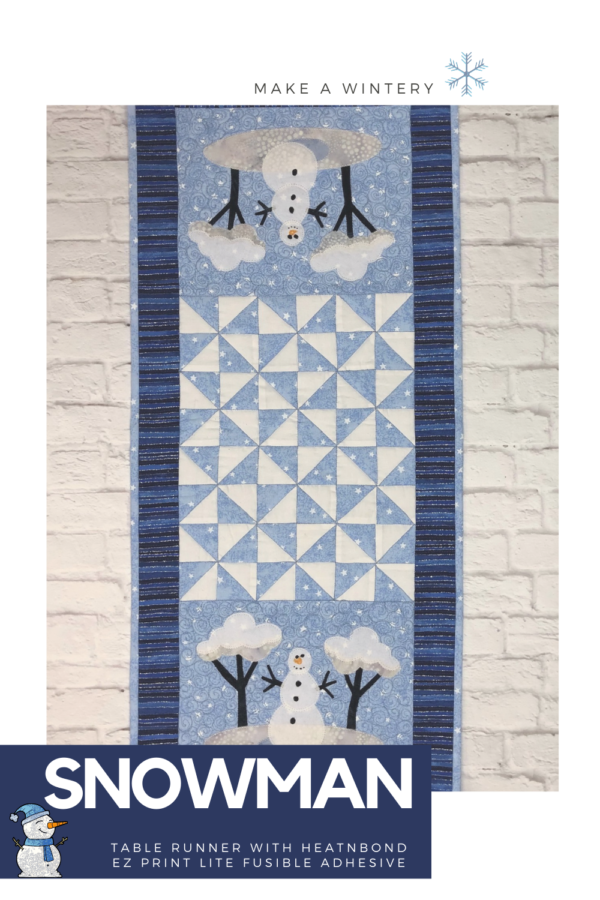
This 12 1/2″ x 30″ runner is bound to chase the blues away.
Download your free pattern HERE
Supplies
1-yard light blue background, backing, and binding fabric
¼ yard white fabric
¼ yard dark blue sashing fabric
Scraps of black, gray, orange, white and white mottled print for snowman applique
Applique pressing sheet
Batting of your choice
Threads to match
Wool Pressing Mat
Oliso Mini Iron
Cutting
From light blue fabric, cut 2 – 7 ¾” x 9 ½” squares for applique background
24 – 2 ½” x 2 ½” squares
3 – 2 ¼” strips for binding
Save remaining for backing
From white fabric, cut 24 – 2 ½” x 2 ½” squares
From dark blue fabric cut 3 -2” x 42” strips
Snow Much Fun Construction
Mark a diagonal line on the back of the 24 white 2 ½” squares. Lay them on top of the light blue 2 ½” squares, right sides together. Stitch seam ¼” on both sides of the line and cut in half on the drawn line, yielding 48 half square triangles. (Note background on photos is just background)
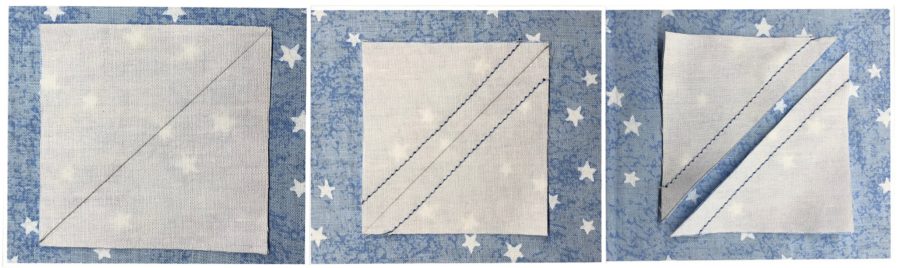
Press open, towards the blue fabric.
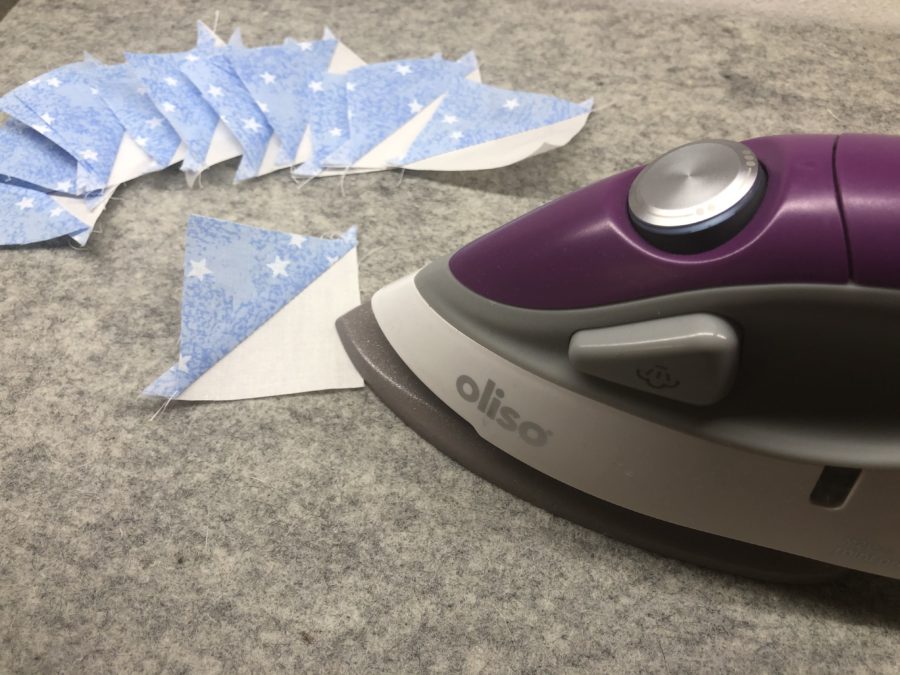
Trim to 2” square.
You can find a great “Pinwheel” block tutorial at
https://www.rachelrossi.design/getting-a-flat-pinwheel-quilt-block/
I love using my wool pressing mat and spinning the center seams as she shows, will give you a nice flat block. These blocks will finish at 3 ½” square
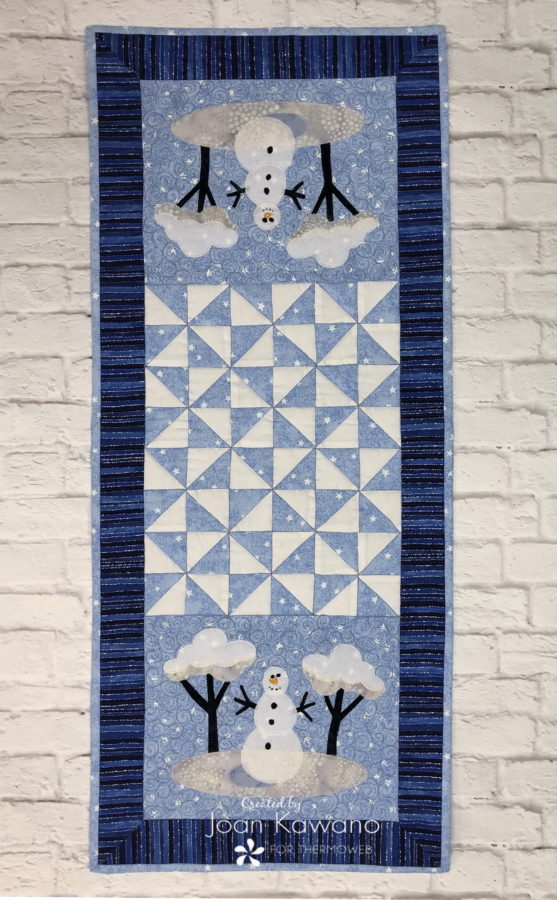
Stitch 12 pinwheel blocks and sew them into 4 rows of 3 blocks. Attach a 7 ¾” x 9 ½” square of the applique background fabric, on each end of the pinwheel center.
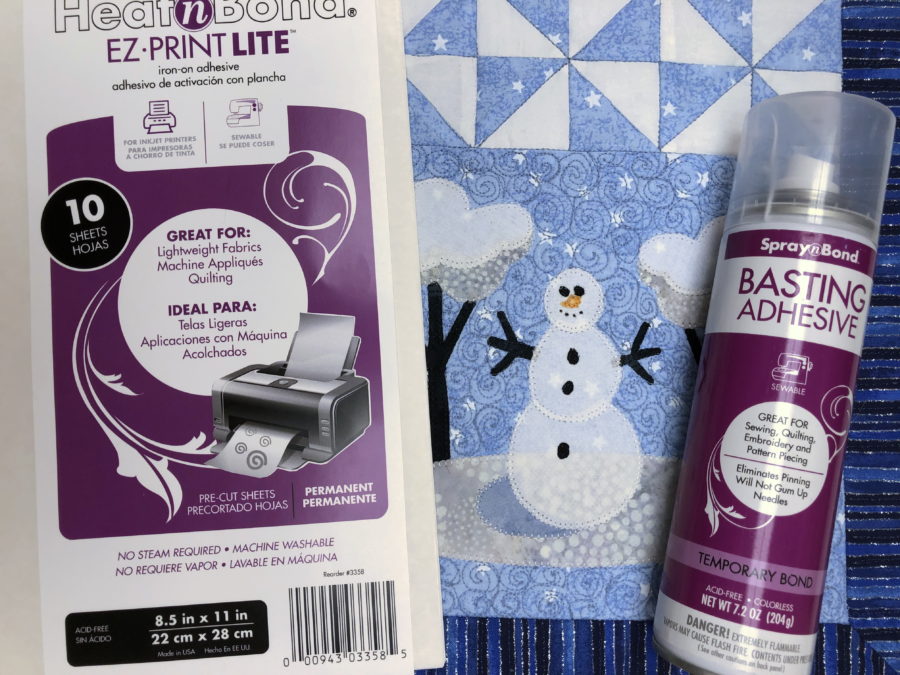
Print pattern on HeatnBond EZ Print Lite
Print 2 copies of the applique templates on HeatNBond®EZ Print Lite sheets. Cut apart pieces and fuse to the back of your applique fabrics. When cool, cut out. Using the photo as a guide, fuse your applique on an applique pressing sheet. Once cool, remove and fuse onto each end of the runner.
Sashing
We are creating a mitered sashing on this runner. It is really, not as hard as you think! A few tricks will help take that “scary” away…
Take 1 of the 2” x 42” strips, fold in half to find the center, and cut. You now have 2 – 21” pieces for the ends of the runner.
Matching the centers, stitch the 42” sashing strips starting ¼” in and stopping ¼” from the end, to each long side of the runner. NOTE: This is an especially important step.
I find that it is best to stitch with the sashing strip under the runner. Using a pencil or heat erasable marker, place a dot on each end of the runner. Measure carefully. Make sure you start and stop your stitching on that dot. Do not trim off the excess fabric on ends.
Next matching the centers, stitch the 21” strips to each end of the width of the runner. Again, stitching ¼” from each end of the runner. You will find that your stitching will start and stop at the stitch line for the long sides. Do not cut excess fabrics. Press the sashing fabrics open.
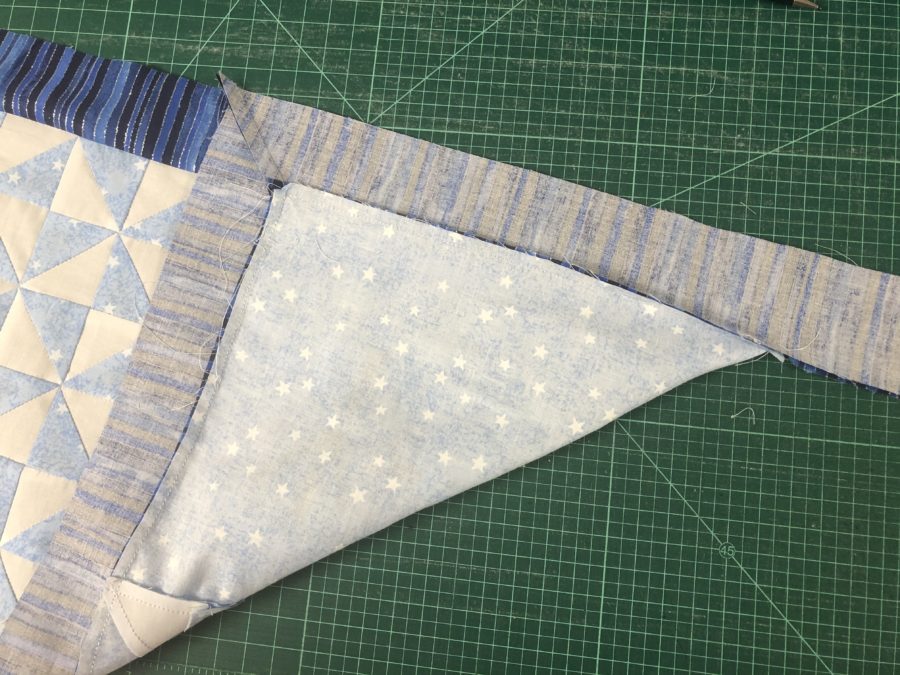
Lay your runner on a flat surface. Fold an end piece up on an angle and match up your sashing strips, as shown below. The “trick” is in lining up the sashing strips and keeping them straight. The excess “tails” will lay out nicely.
Lay your ruler with the 45-degree line on the bottom of your sashing strip.
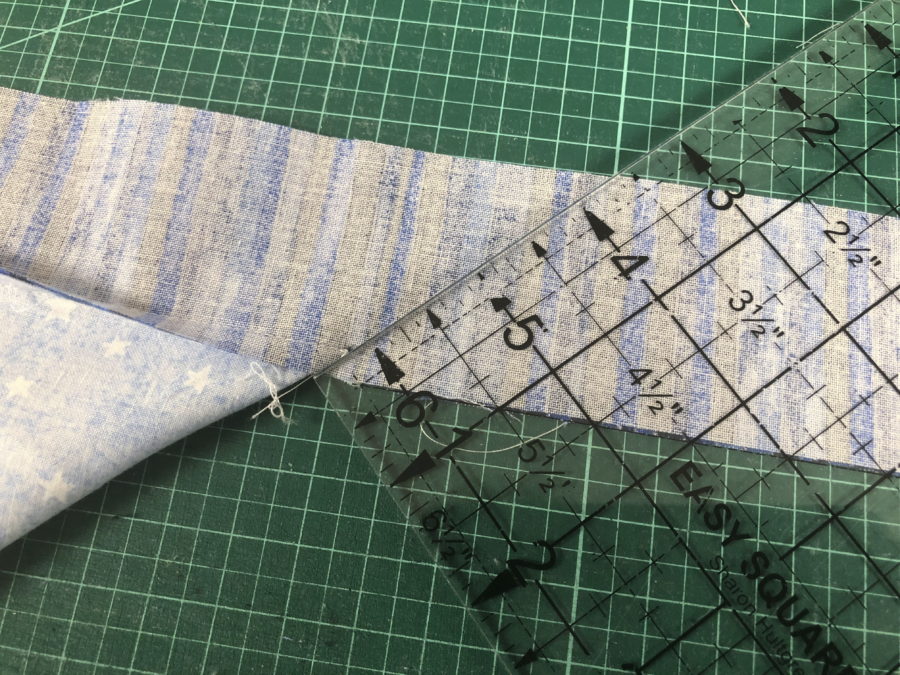
Draw a line from the corner where your stitching stopped, to the outer edge of the sashing strip, creating a 45-degree angle. (The photo below makes it easier to see)
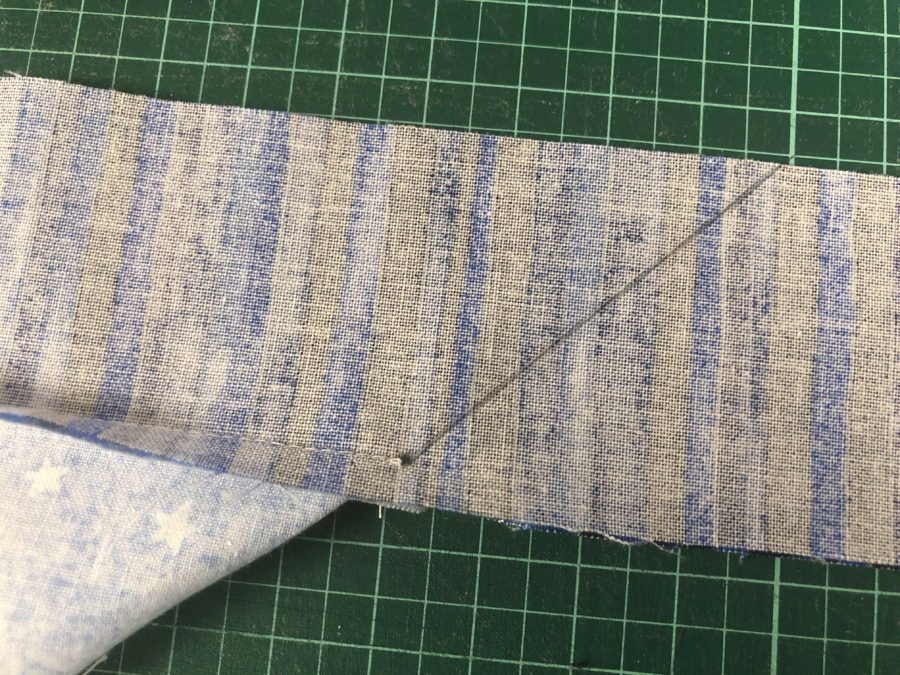
Stitch on the Drawn Line
Stitch on that drawn line, starting at the dot where the sashings meet, stitching outward. This will make a nice clean mitered corner. Continue with this method until all your corners are stitched and you are happy with the results, trim off excess fabric allowing a ¼” seam allowance, and press.
Use SpraynBond Basting Spray Adhesive
Cut a backing and batting piece about 2” wider and longer than your top. Place the backing on one side of the batting, using SprayNBond®Basting Adhesive. Flip over and center your runner on the top using SprayNBond®Basting Adhesive, as well. I love SprayNBond Basting Adhesive. It holds my projects nicely, so there is no need for pining and best yet, there is no odor to it.
Stitch down your applique
Stitch down your applique and quilt as desired. Attach binding and your “snow” ready to start enjoying your new table runner.
Carmen Montmarquet
January 22, 2021 at 5:15 pm (4 years ago)Thank You he’s adorable!
Sally Murray
January 22, 2021 at 9:43 pm (4 years ago)Joan, absolutely adorable. Thank you!