


Hello and happy fall!
It’s Lisa from Quilty Zest and I’m back with another fall tutorial. These projects were inspired entirely by the Falling for Gnomes block panel by Andi Metz for Benartex. I loved the cute little gnomes and the fall sayings, and knew they’d make adorable mug rugs. Who doesn’t need a mug rug for some hot cider and a slice of pumpkin bread, right?!?
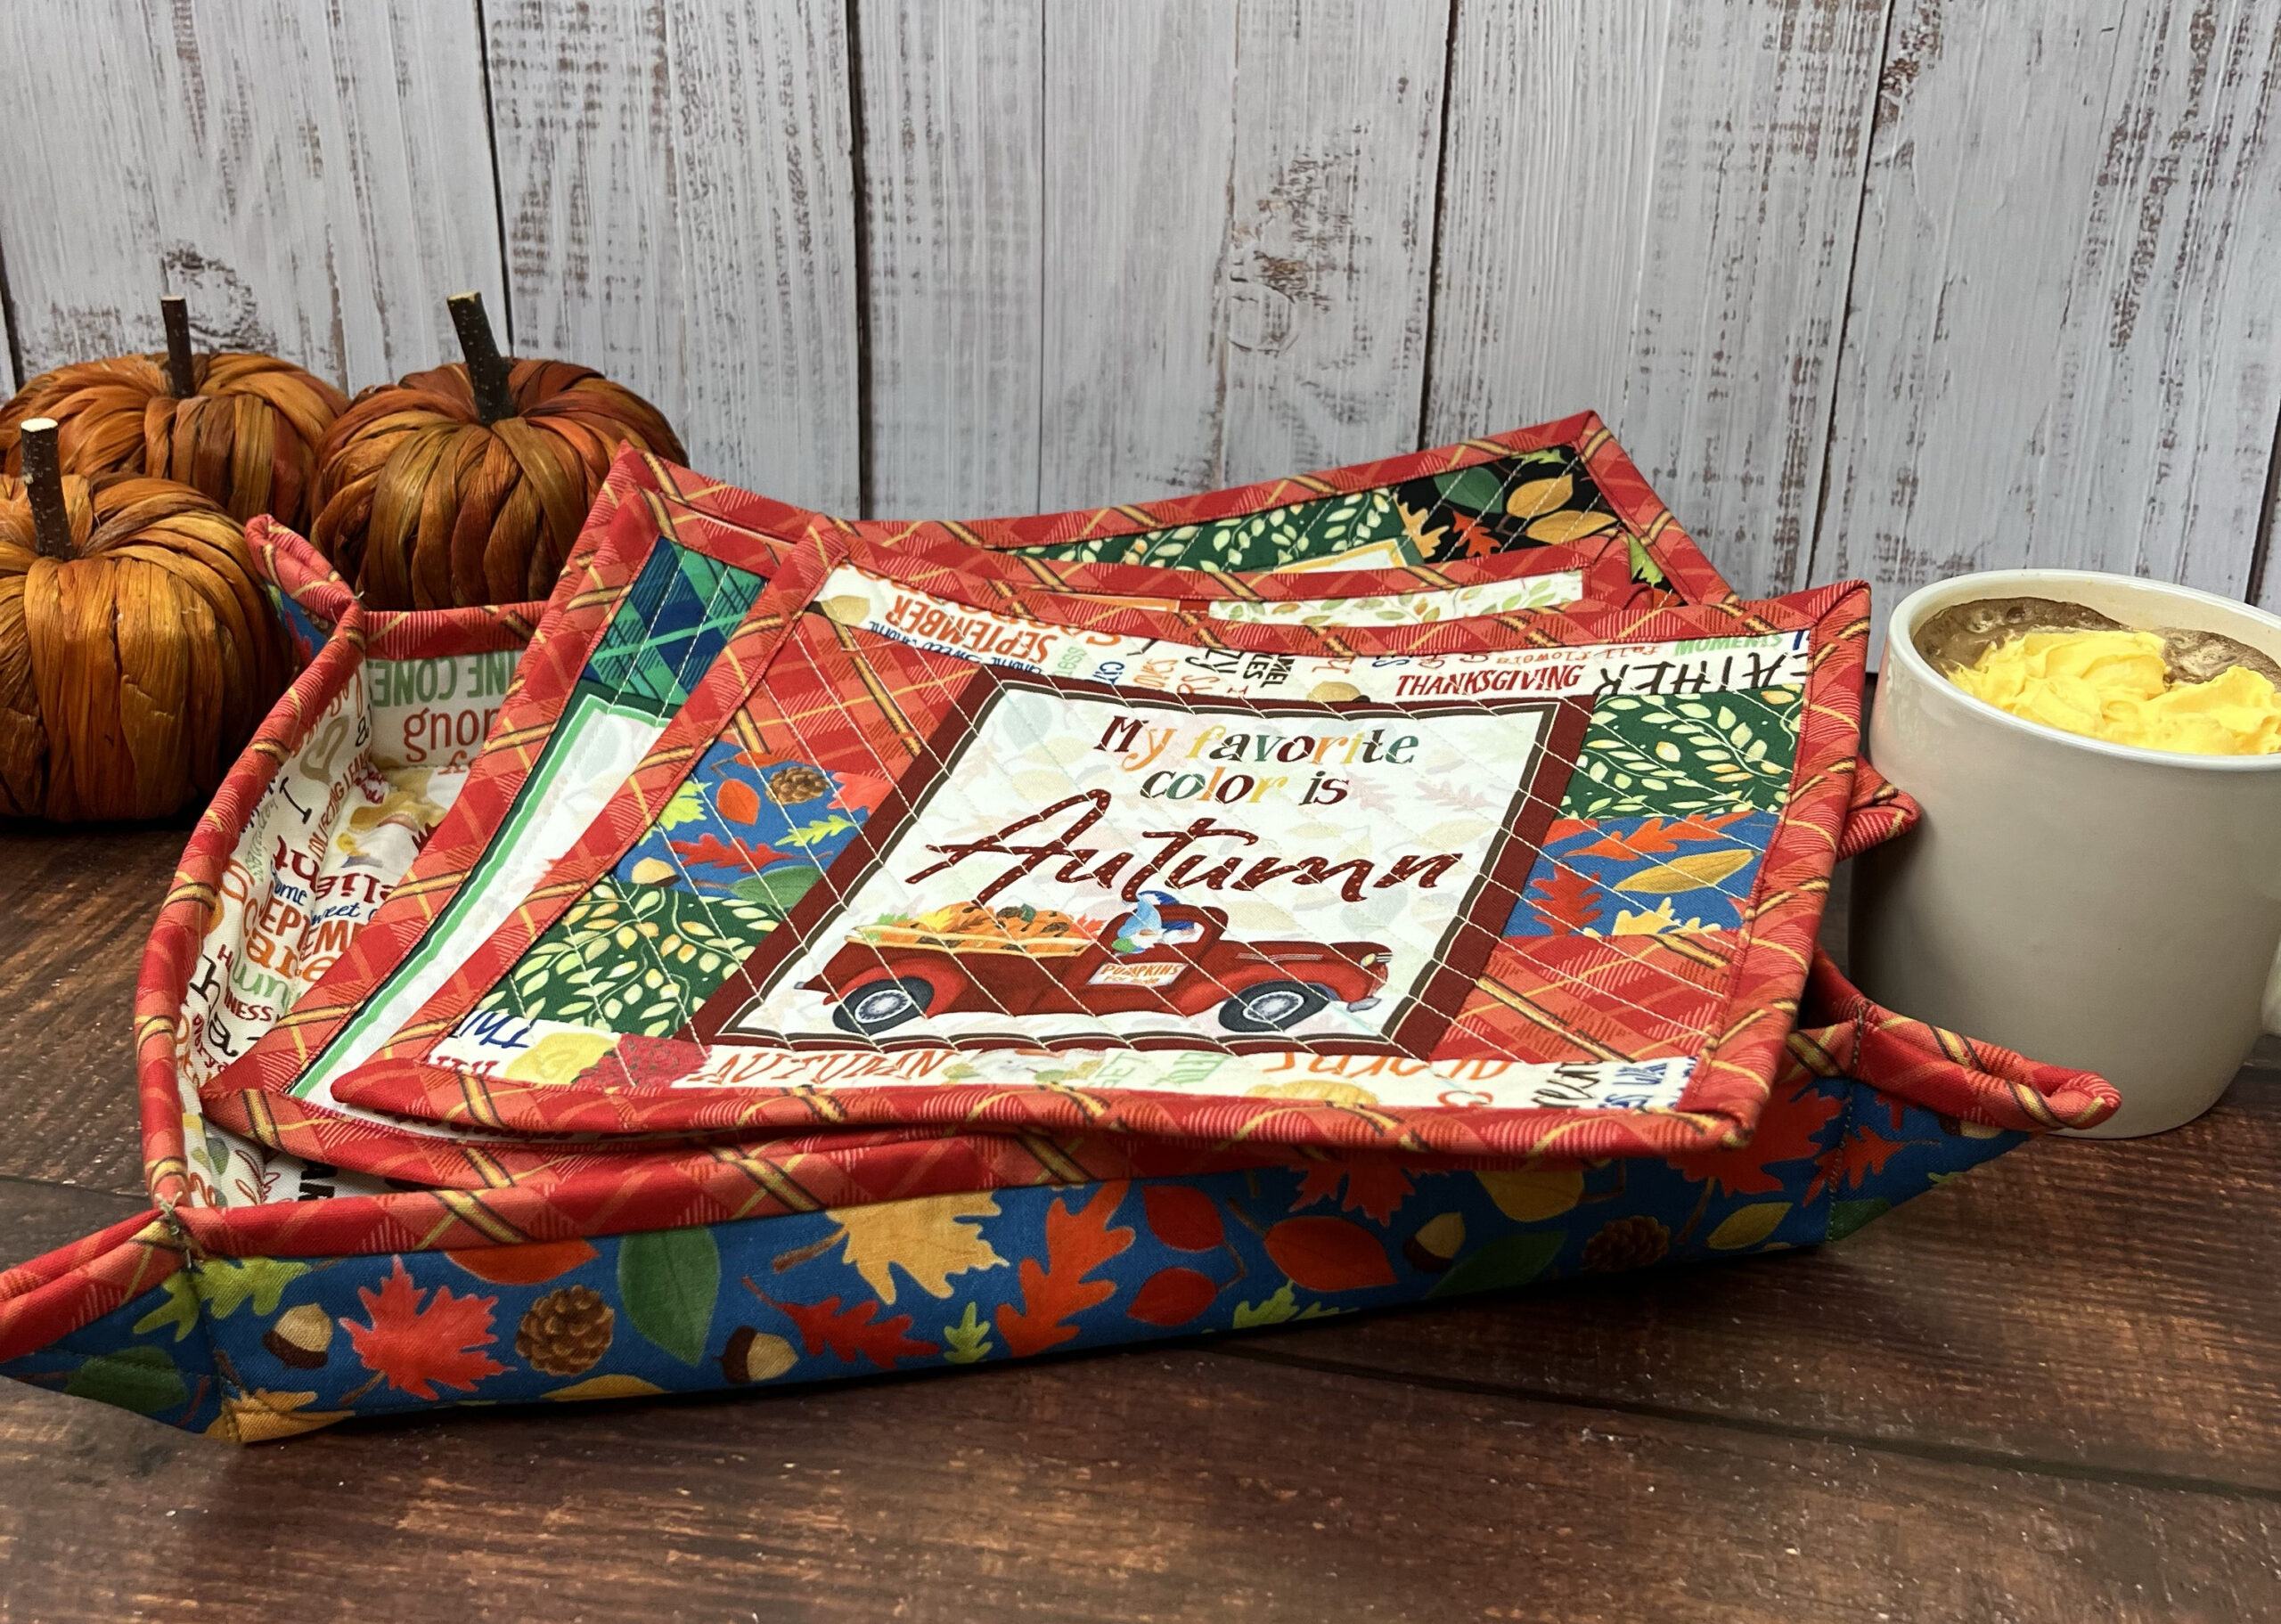
I’ll show you how to make four different mug rugs – really, they’re two different basic design variations, and then the same design for each with more piecing. Then head over to my blog to find the tutorial for making the mug rug basket. The great thing about mug rugs? They’re so small that you can sew them really quickly! These mug rugs measure 8″ x 10″ each.
The hardest part of this project is choosing which blocks to use for your mug rugs – they’re all so appealing! I’ve included a video below to help you with fussy cutting the blocks, ensuring the edges are as straight as possible.
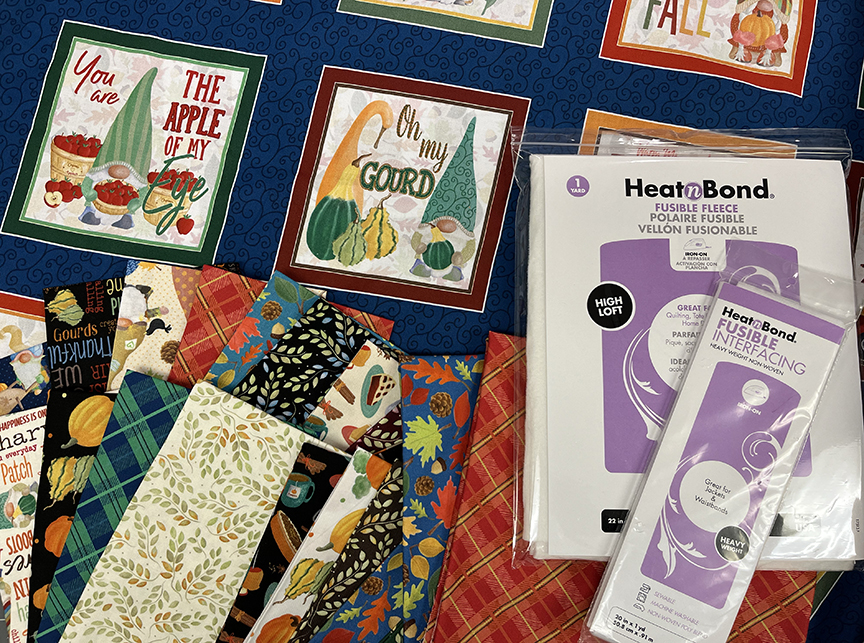
You’ll Need:
1 panel of 6-1/2″ square blocks (I used Falling for Gnomes)
6-8 fat quarters (or scraps)
1/2 yard binding fabric
HeatnBond Fusible Fleece
HeatnBond Heavy Weight Fusible Interfacing (used only for the fabric basket)
SpraynBond Basting Adhesive
Pressing Paper
Cutting:
From the block panel:
Fussy cut (4) 6-1/2″ square blocks
From assorted fat quarters or scraps, cut the following:
(4) 10″ x 12″ pieces for backing
Mug Rug #1a:
(1) 4-1/2″ x 6-1/2″ piece
(1) 2-1/2″ x 10-1/2″ piece
Mug Rug #1b:
(4) 2″ x 4-1/2″ pieces
(1) 2-1/2″ x 10-1/2″ piece
Mug Rug #2a:
(2) 1-1/2″ x 6-1/2″ pieces
(2) 2-1/2″ x 8-1/2″ pieces
Mug Rug #2b:
(6) 2-1/2″ squares
(2) 1-1/2″ x 10-1/2″ pieces
From the binding fabric:
(5) 2-1/4″ x WOF strips for binding
From the fusible fleece:
(4) 8-1/2″ x 10-1/2″ pieces
Make the Mug Rug Tops:
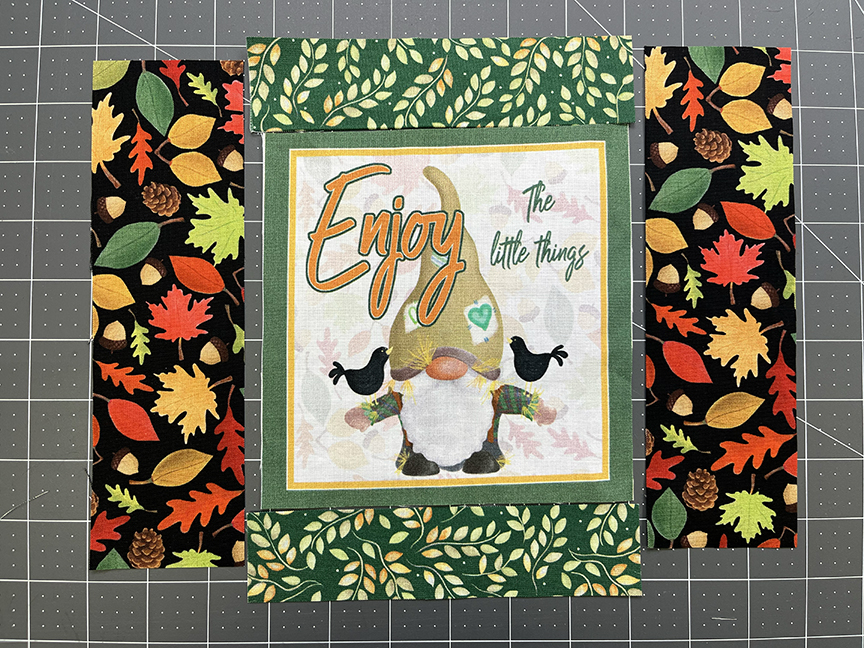
Mug Rug #1a
Sew (1) 4-1/2″ x 6-1/2″ rectangle to the right side of (1) 6-1/2″ square block. Sew (1) 2-1/2″ x 10-1/2″ piece to the top.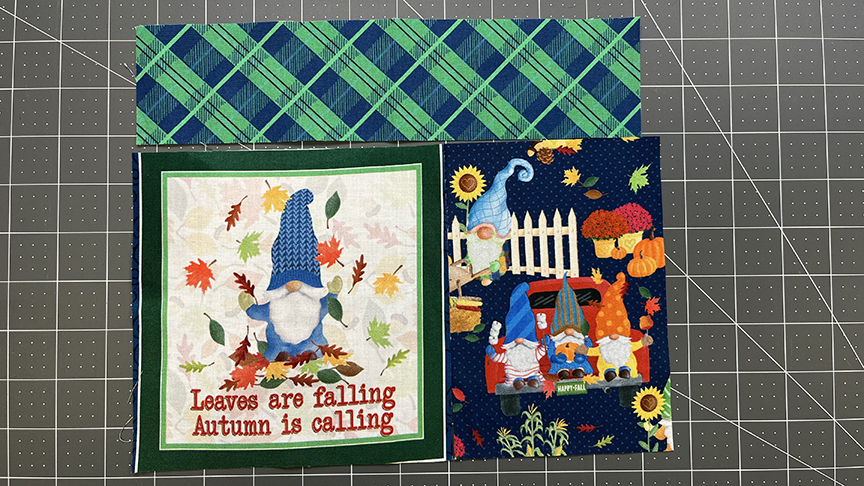
Mug Rug #1b
Sew (4) 2″ x 4-1/2″ pieces long edges together to create a pieced row measuring 4-1/2″ x 6-1/2″. Sew to the right side of (1) 6-1/2″ square block. Sew (1) 2-1/2″ x 10-1/2″ piece to the bottom.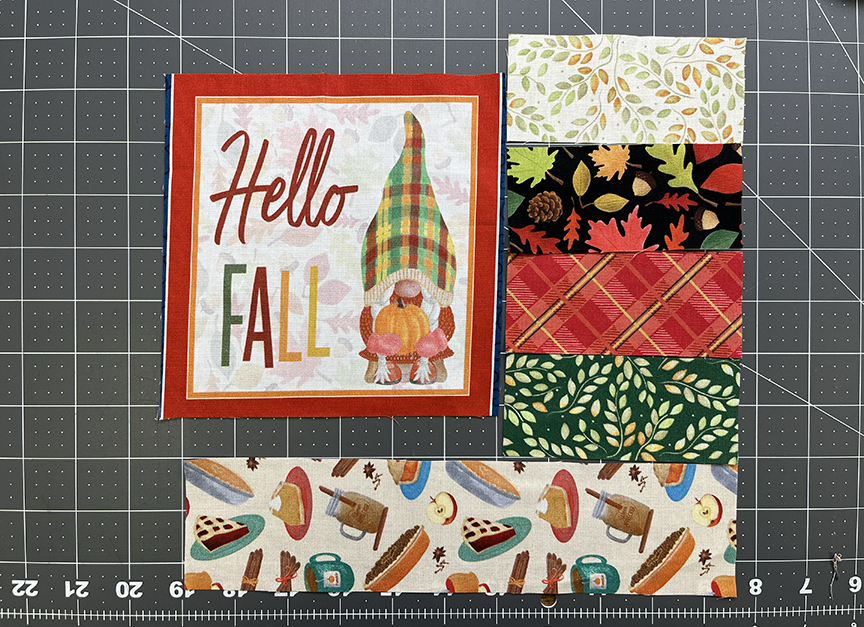
Mug Rug #2a
Sew 1-1/2″ x 6-1/2″ pieces to the top and bottom of (1) 6-1/2″ square block. Sew 2-1/2″ x 8-1/2″ pieces to the left and right sides to complete
Mug Rug #2b
Sew (3) 2-1/2″ squares together in a row. Make (2). Sew to opposite sides of (1) 6-1/2″ square block. Sew 1-1/2″ x 10-1/2″ pieces to the top and bottom.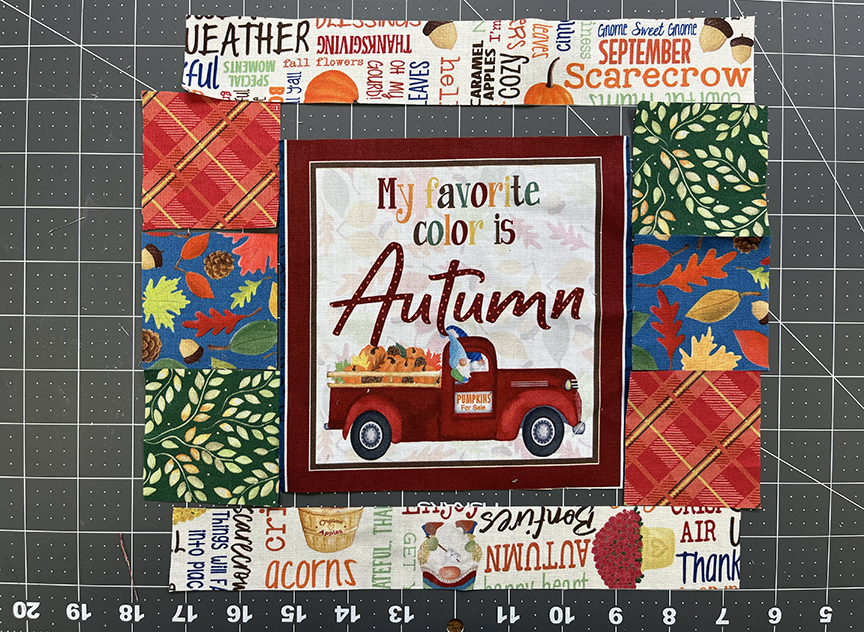
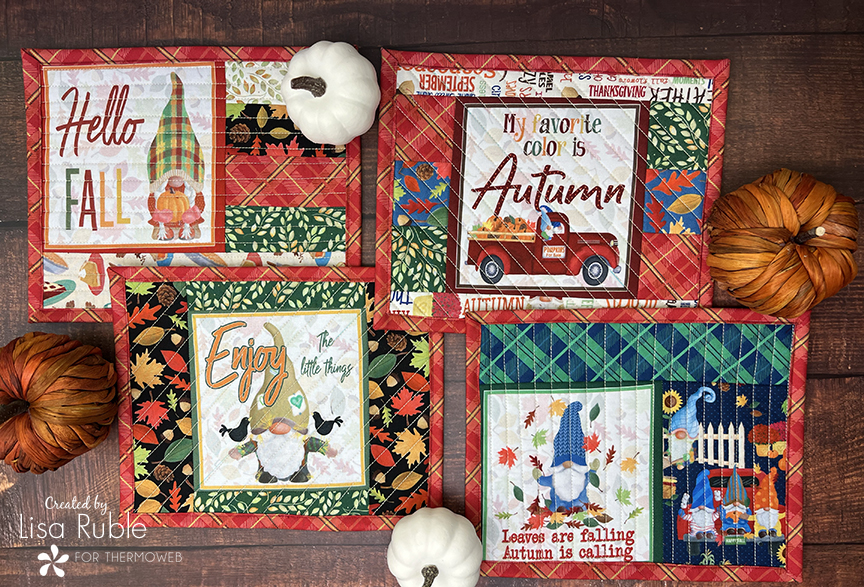
Here are all 4 of my mug rug tops. Don’t they feel like fall?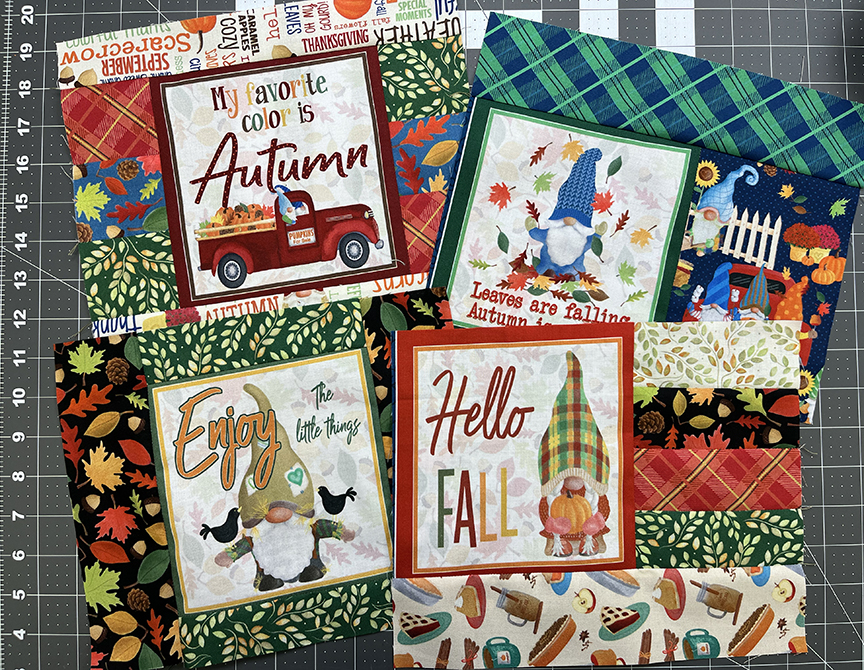
Assemble the Mug Rugs
Step 1 Fuse (1) 8-1/2″ x 10-1/2″ Fusible Fleece piece to the wrong side of (1) mug rug top. Tip: Use Pressing Paper when fusing the fleece in place to protect your iron surface.
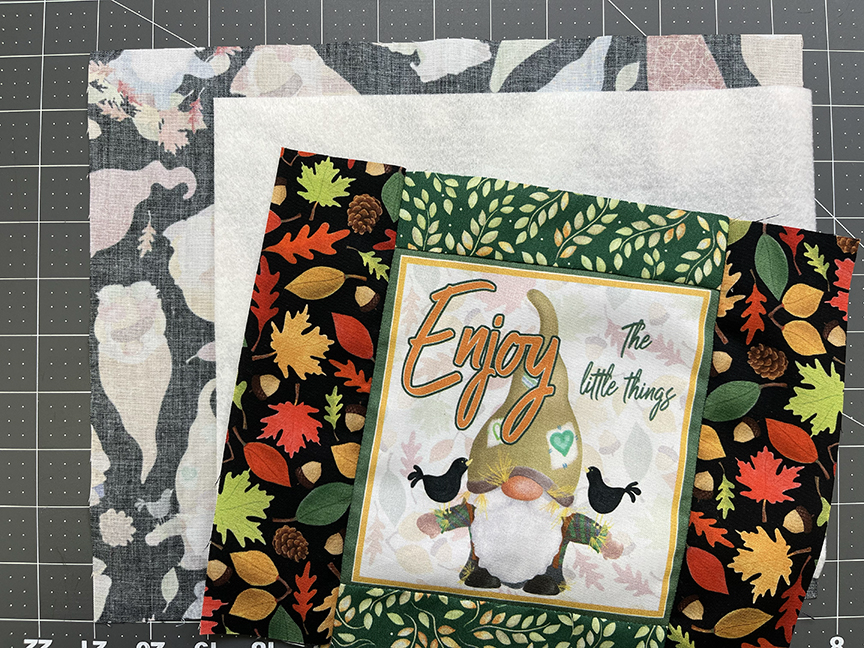
Step 2 Using Basting Spray to adhere (1) 10″ x 12″ backing piece to the back side of the mug rug top/fusible fleece combo.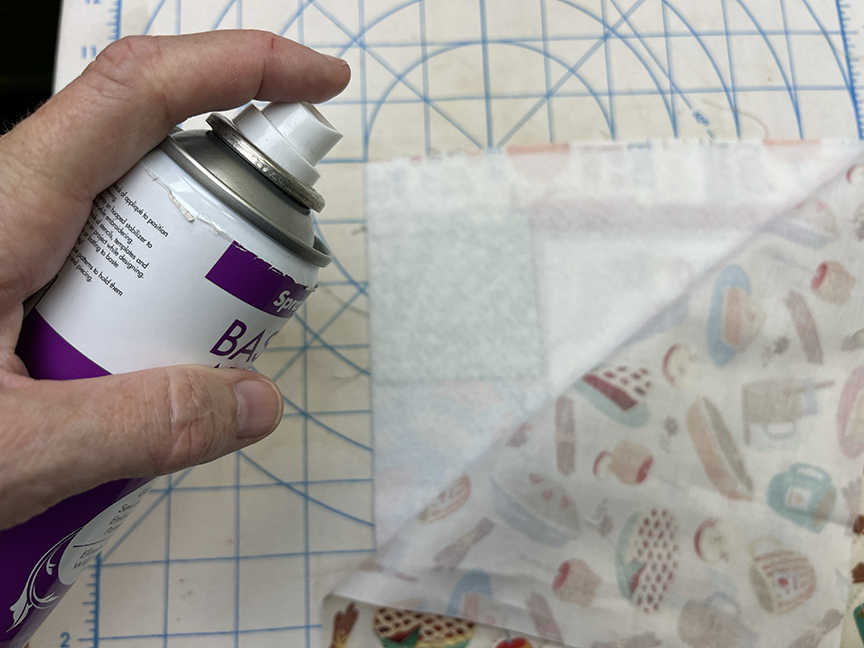
Step 3 Repeat for all (4) mug rugs. Machine quilt each mug rug as desired, and then square up to measure 8-1/2″ x 10-1/2″.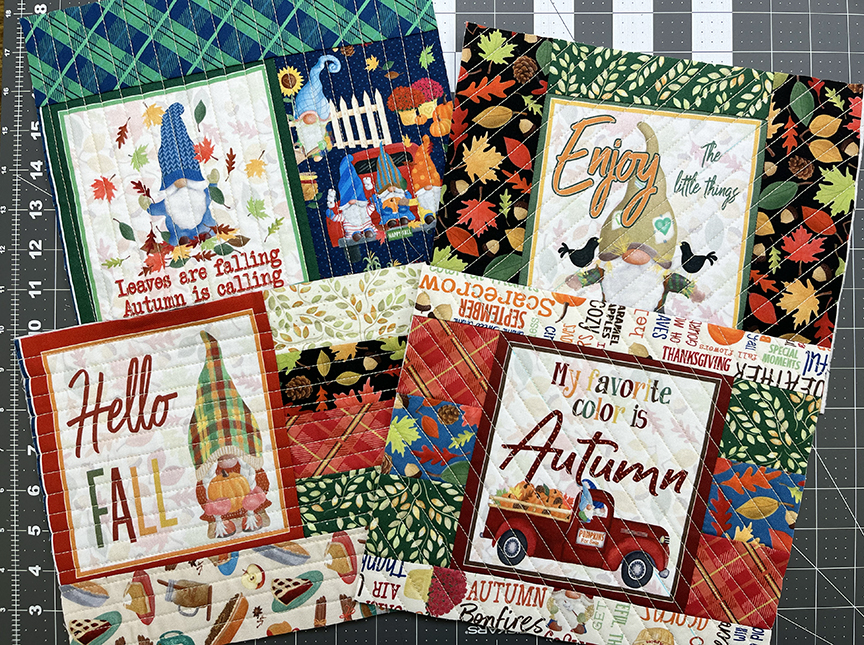
Step 4 Use the (5) 2-1/4″ x WOF binding strips to bind each mug rug. 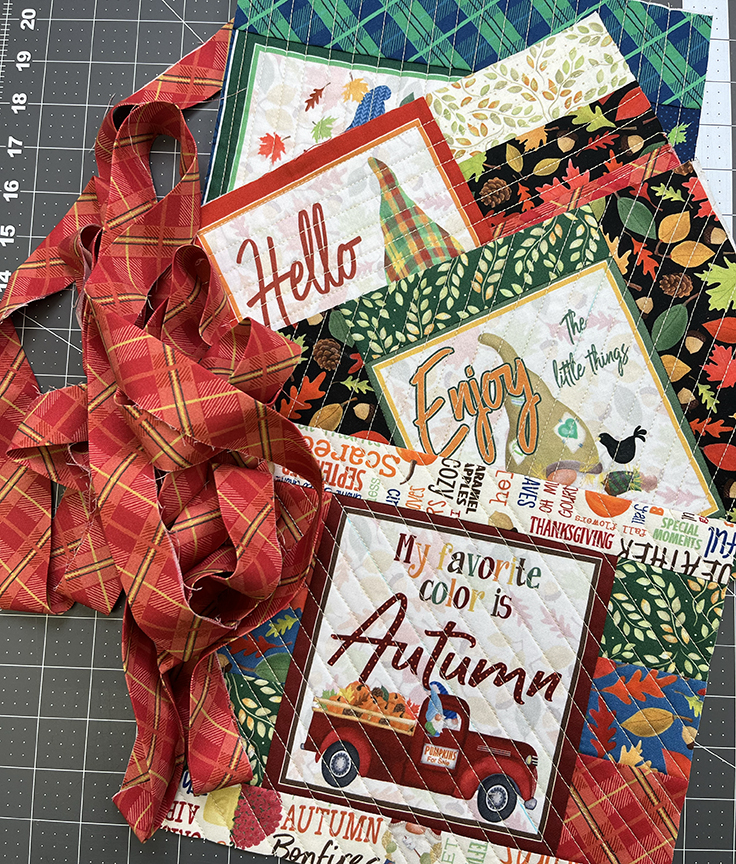
Here are the finished mug rugs – I love those gnomes!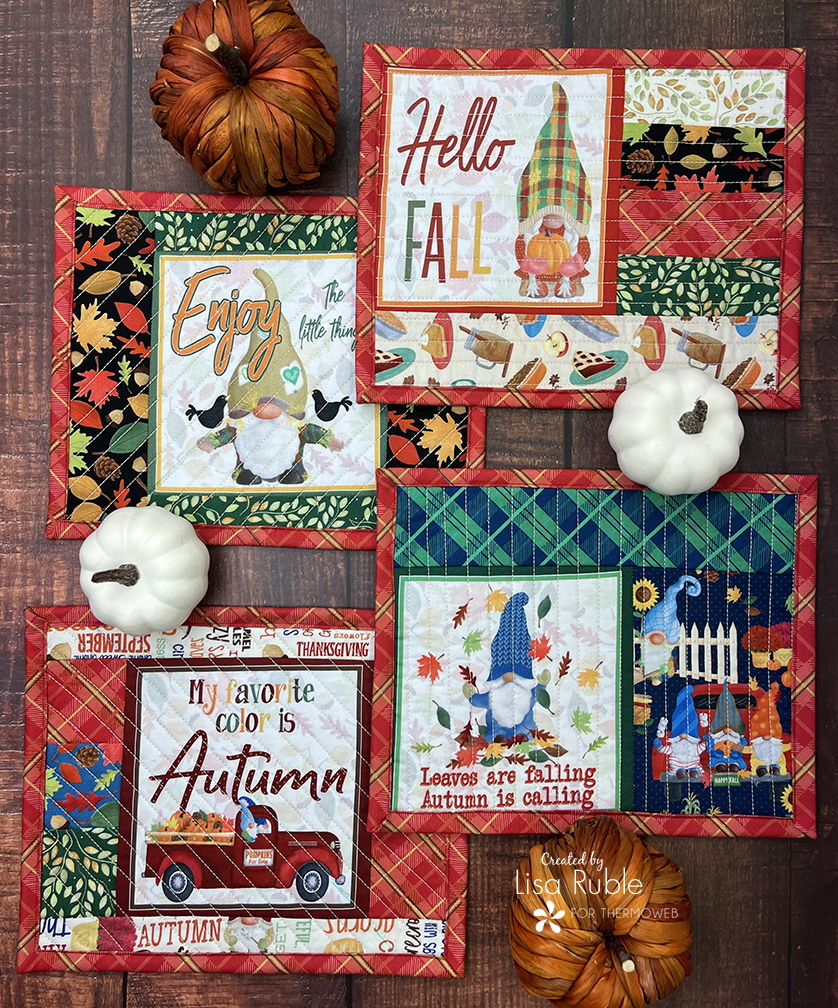
Don’t forget to head over to my blog for instructions to make the fabric basket!
 And happy fall!
This post contains affiliate links. For more information, see our disclosure HERE.